

Patchwork 'play' with scraps

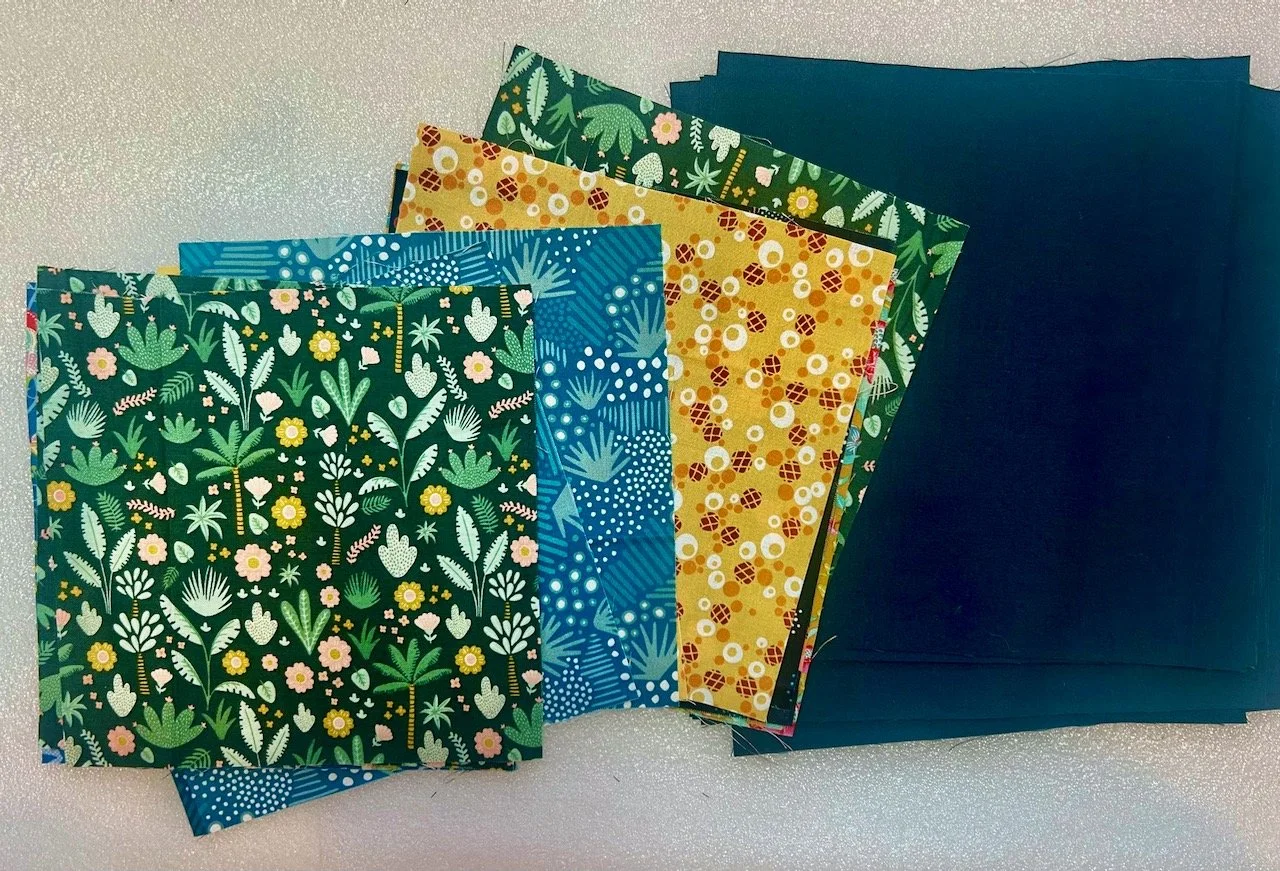
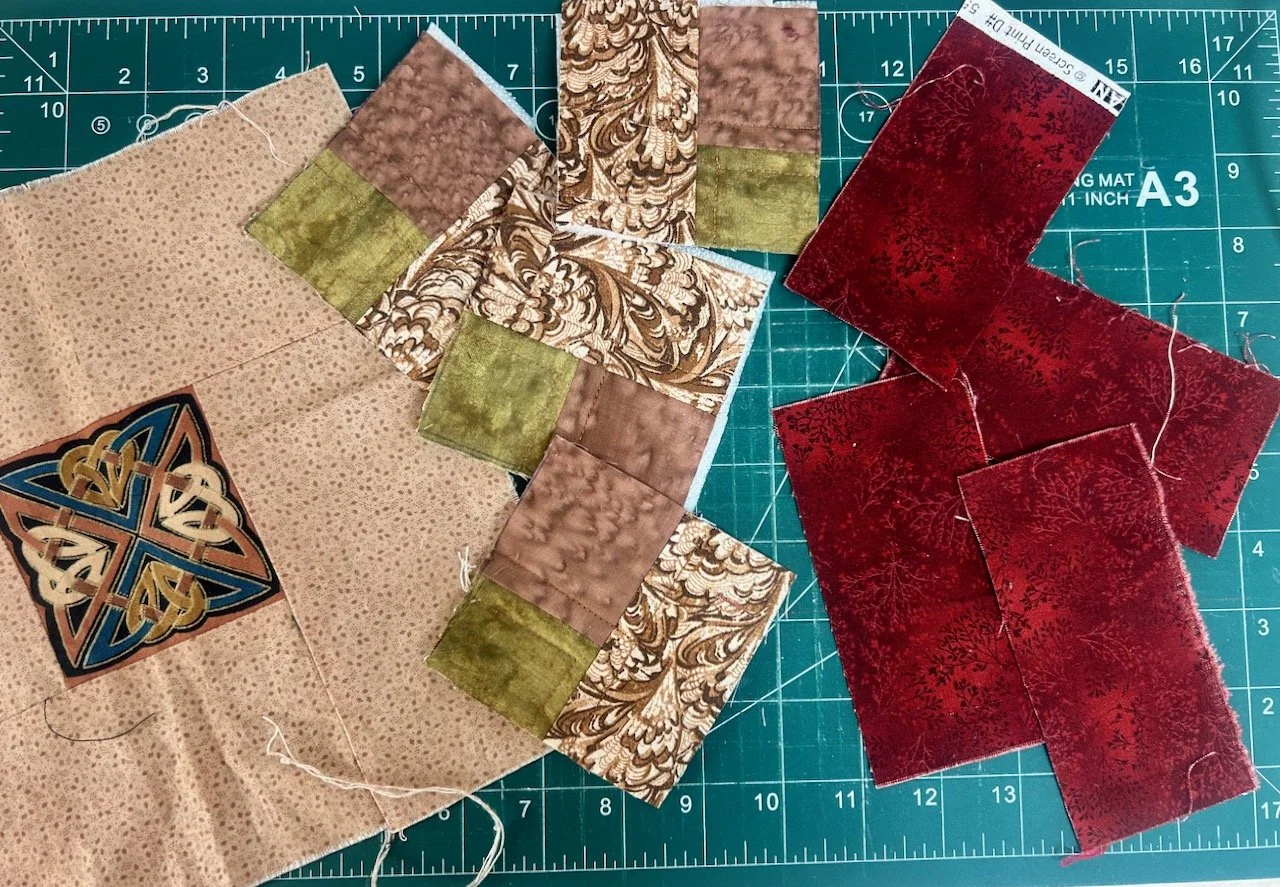
Remember that pack of scraps I picked up at my sewing group in June that I thought I could do something with at some point? Well that ‘some point’ turned out to be sooner than I imagined, and I’ve turned the bag of pre-cut and some pre-sewn pieces into quite an array of items.

They’re now a patchwork drawstring bag and a matching piece to wrap the bread in, a pouch (obviously!), an attempt at a fabric storage basket. Plus I’ve some plans for the smaller offcuts from that to become tiny pouches, and the rest has already been cut into the required sizes ready to become future houses in this year’s charity quilts.

And just for the sheer fun of it, I’m calling this my brown bread collection - mainly because these first two items are for just that. I’m still making my sourdough and much prefer to wrap it in a cloth than plastic.

It turned out pretty well I think - and I’ve used some of the ribbon that I picked up in the Gedling scrapstore that same month too.

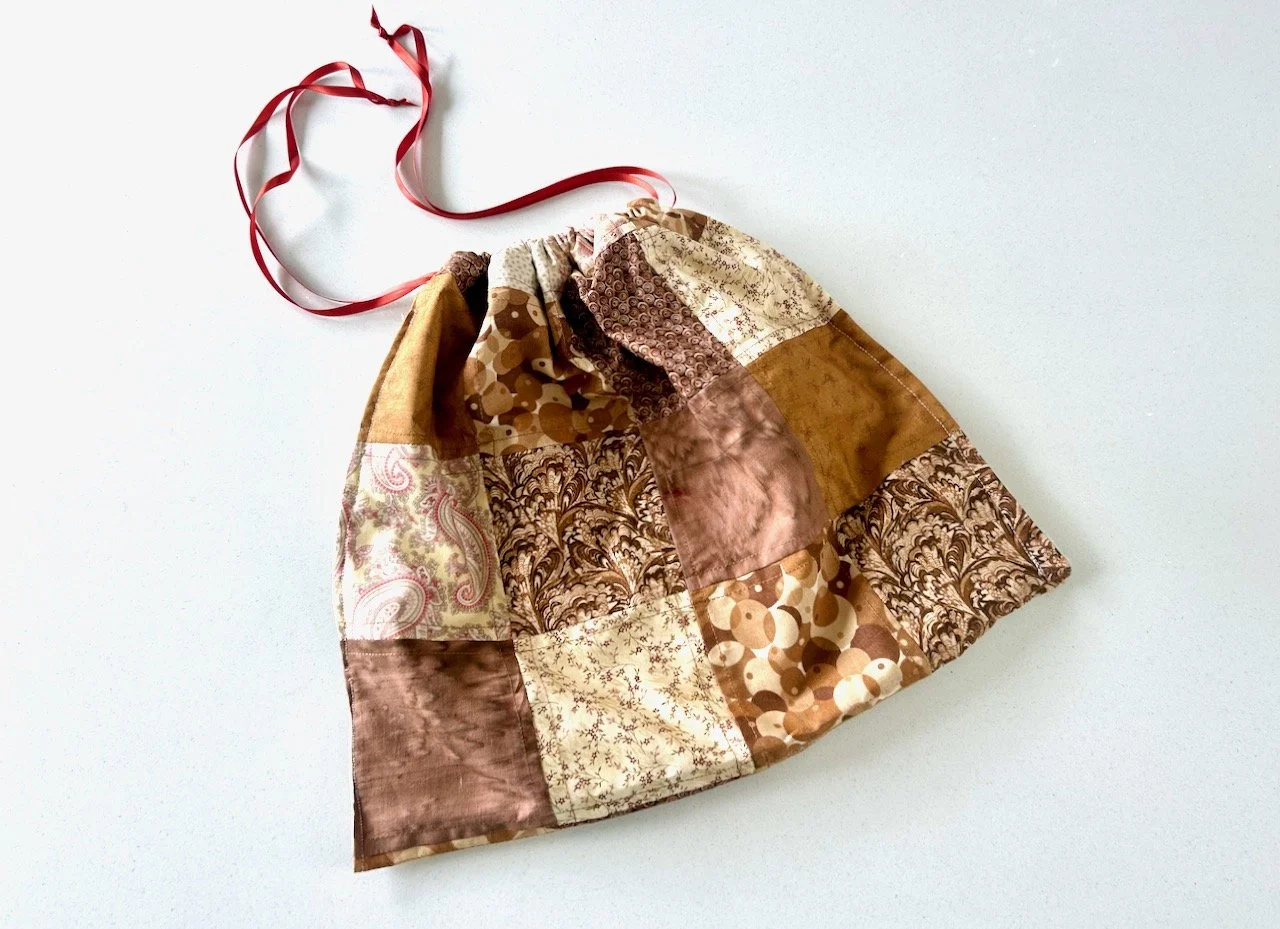
A brown patchwork drawstring bag made from the scraps
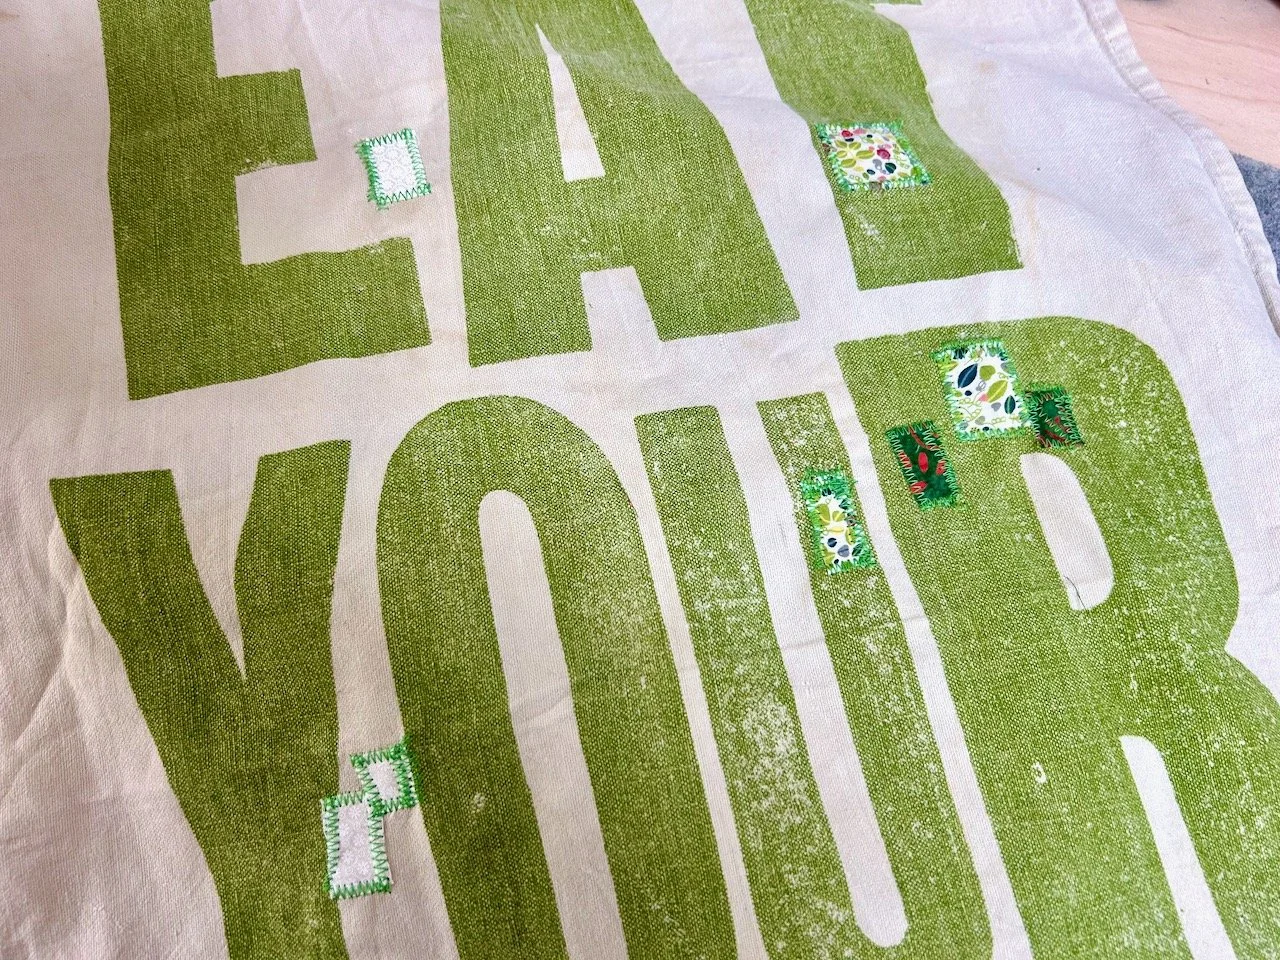
An old tea towel with visible mending for the lining

For the lining of the bag I used an old tea towel, which in case you’re wondering says ‘eat your greens’. It’s been in my craft room for a while, as I knew I’d use it one day even though it was long past its best as an actual tea towel. In fact I had to do some visible mending before I could use it, as I wasn’t keen for the crumbs to fall into the lining - and I like how they’ve turned out too.

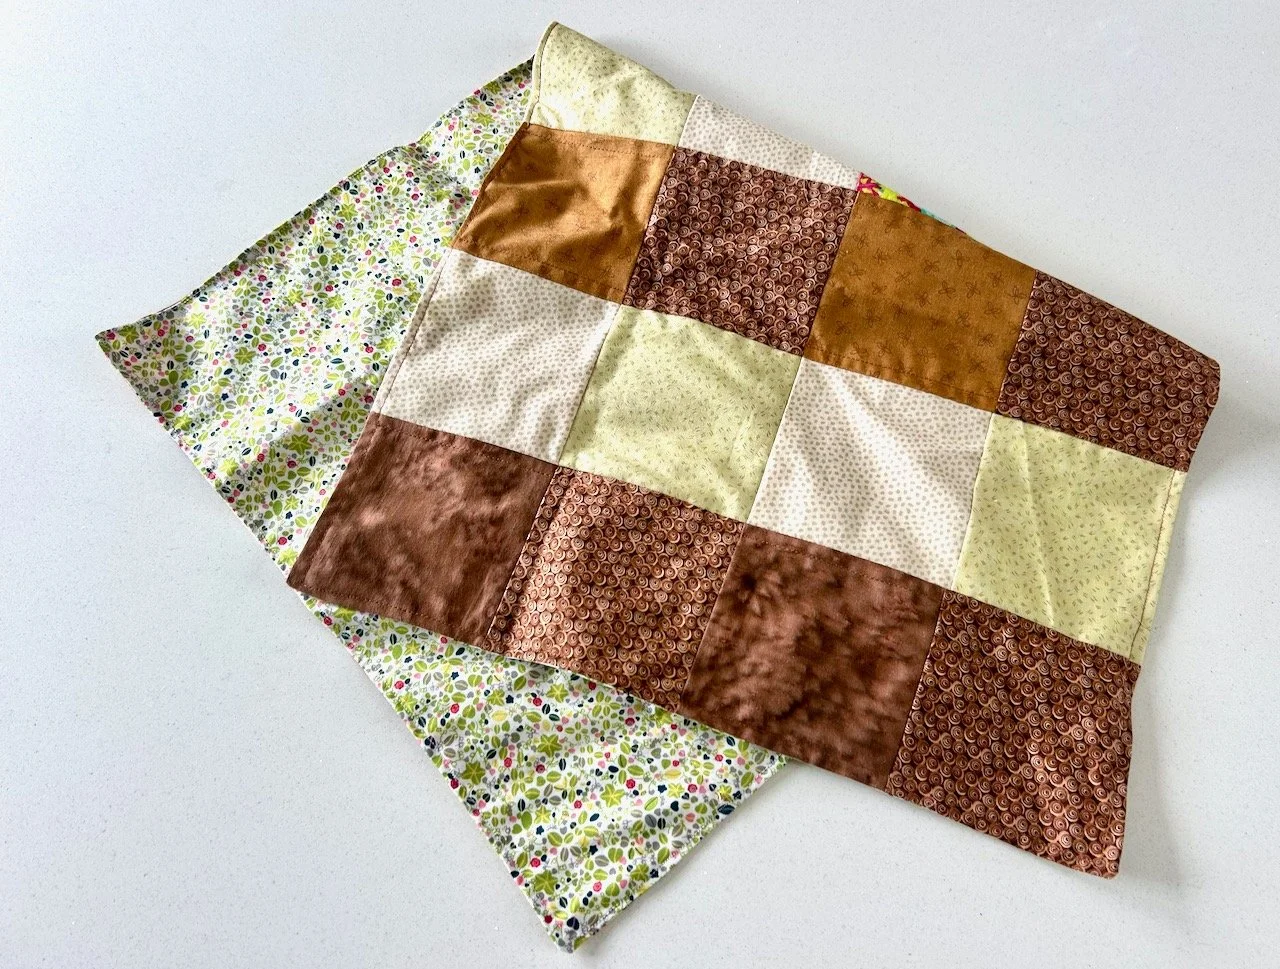
The bread cloth uses the same browns as the drawstring bag but with the addition of some of the lighter pre-cut squares, and I realised that the perfect match for the backing was some of the small patterned material left over from my mystery Block of the Month quilt, which still needs to be finished (but we’ll gloss over that!)

A similarly coloured patchwork wrap for my home baked bread

So now my brown bread has a smart new look, and even better it’s used things I already had.

But I wasn’t done yet.

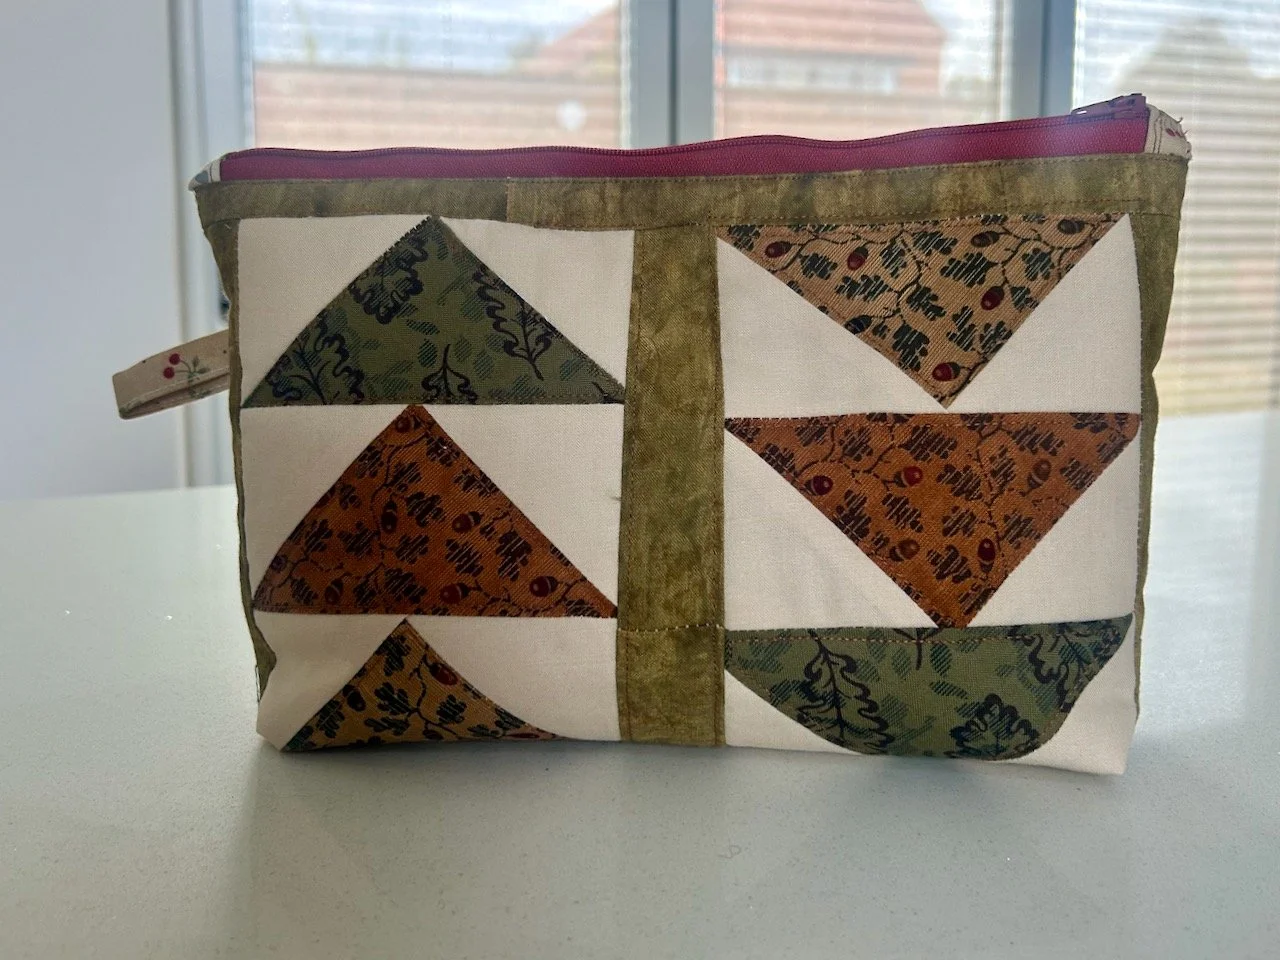
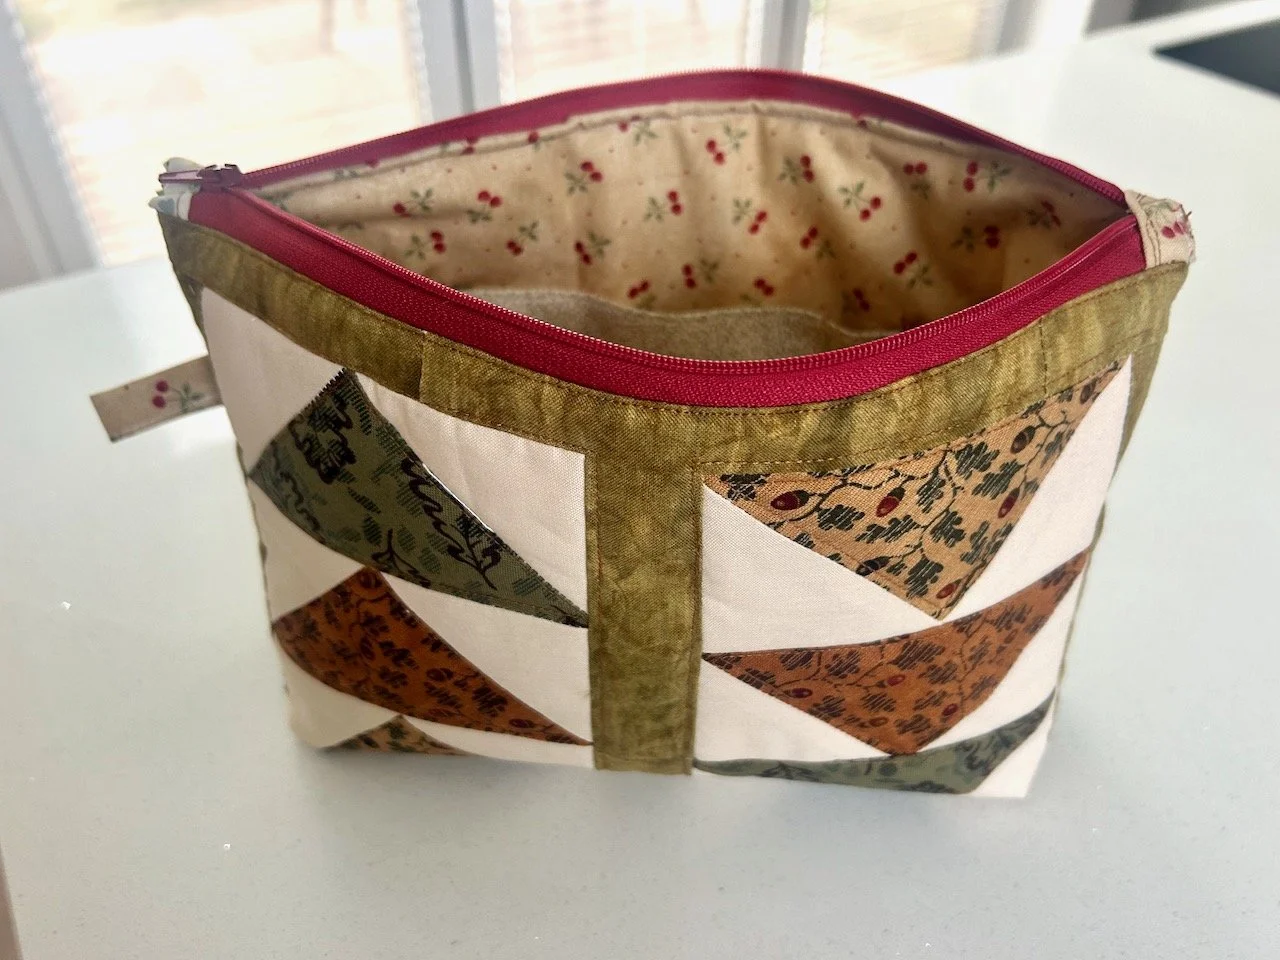
I wanted to make use of the already sewn flying geese blocks, and to me they were screaming ‘make me into a pouch’ and so I did.

Making the flying geese blocks into an autumnal coloured pouch

I was pleased to find the beige cherry fabric in my stash was the perfect tone to complement the outer sections, and I also had a cherry red zip in my stash.

Only the zip, lining and internal pocket came from my supplies, the rest was from the scrap pack

It looks like they were made to be together doesn’t it? I’m not sure what I’ll use this for yet, but I’m sure that at some point it will be obvious what its purpose is, in the meantime I’ll admire my creation and the flying geese put together by a sewer unknown.

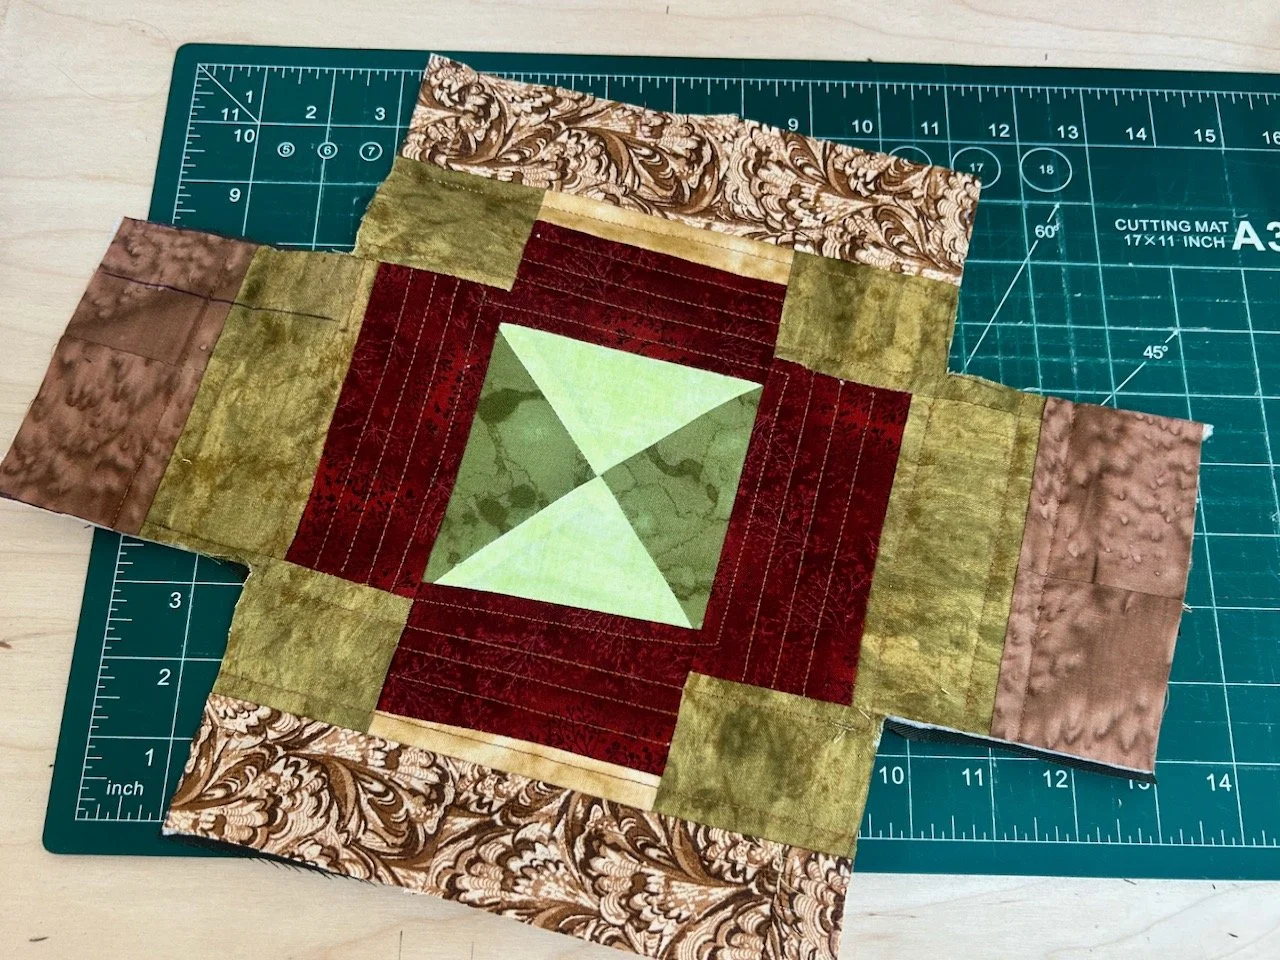
I still had a few pieces left though and I knew that unless I made a plan now it’s likely that they would languish in my scrap pile. I’ve been thinking about making some fabric storage boxes, but hadn’t got around to it so decided to do a smaller version with these remnants.

The fabric storage box before assembly - the squares are cut out to form the uprights

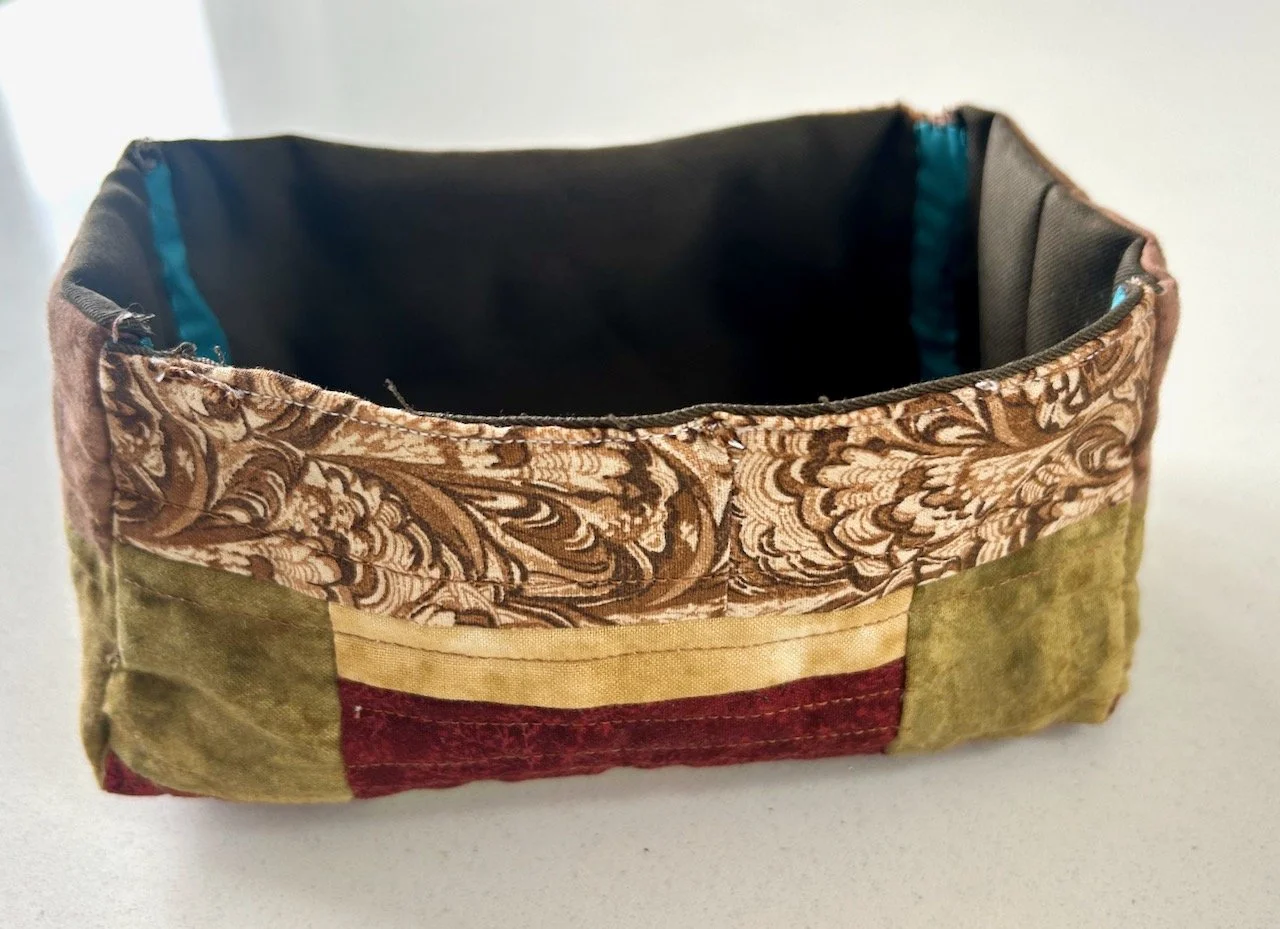
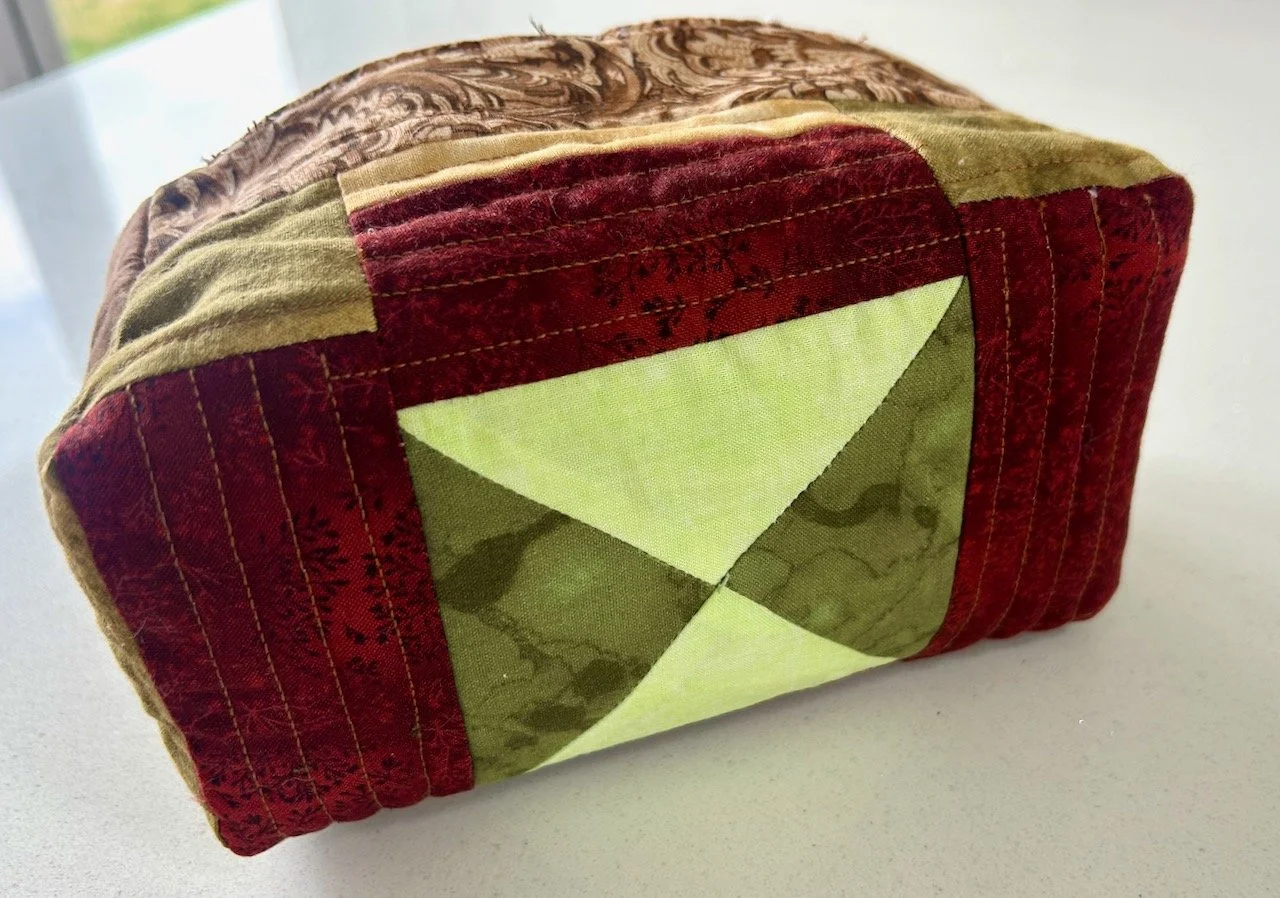
It didn’t quite go to plan, as I misread part of the instructions and so ended up with something half the size I initially intended - and as you can see I mis-measured one of the box corners (top left) so have a pen mark on my finished item, but I’m ok with that. I expect it’ll wash off, but even if it doesn’t that’s ok as this is destined for use in the garage to hold a pile of scrap cloths with MOH uses to clean his bike.

A 'make do' fabric storage box
Looking at the green block on the bottom

It was a useful learning experience, and I ended up with a useful thing so that’s good too. Which left me with these final pieces.

The remains of the scrap pack - which have now all been allocated to projects

The boxed corners from the fabric storage box (in the centre of the picture) I plan to make into tiny pouches as I’ve found these are good for holding jewellery, and even better to slip into a present, or as a nicer way of giving cash as a present. The other pieces have already been cut into the appropriate sizes for this year’s charity quilts, so you can expect to see them in a ‘house’ at some point in the future.

Now if only I was so efficient at using everything else that comes into my craft room!

A quilty update - June 2026

It was only March when I set out my quilt plans for this year, and to be honest it seems like yesterday - but one of the things I want to do more consistently this year is my quilty updates, even if there isn’t that much to share.

I’m being harsh on myself, there are some quilt updates to share but while last year’s stretch project took over a bit, I’m finding that without that structure I’m not quite so productive. I’m sure I’ll work it out, but hopefully when the weather’s not so warm!

So how am I doing?

1. The teal flying geese

2. The jeans and pyjamas

3. My floral fancy

The update for all of these is there is no update, so that was easy!

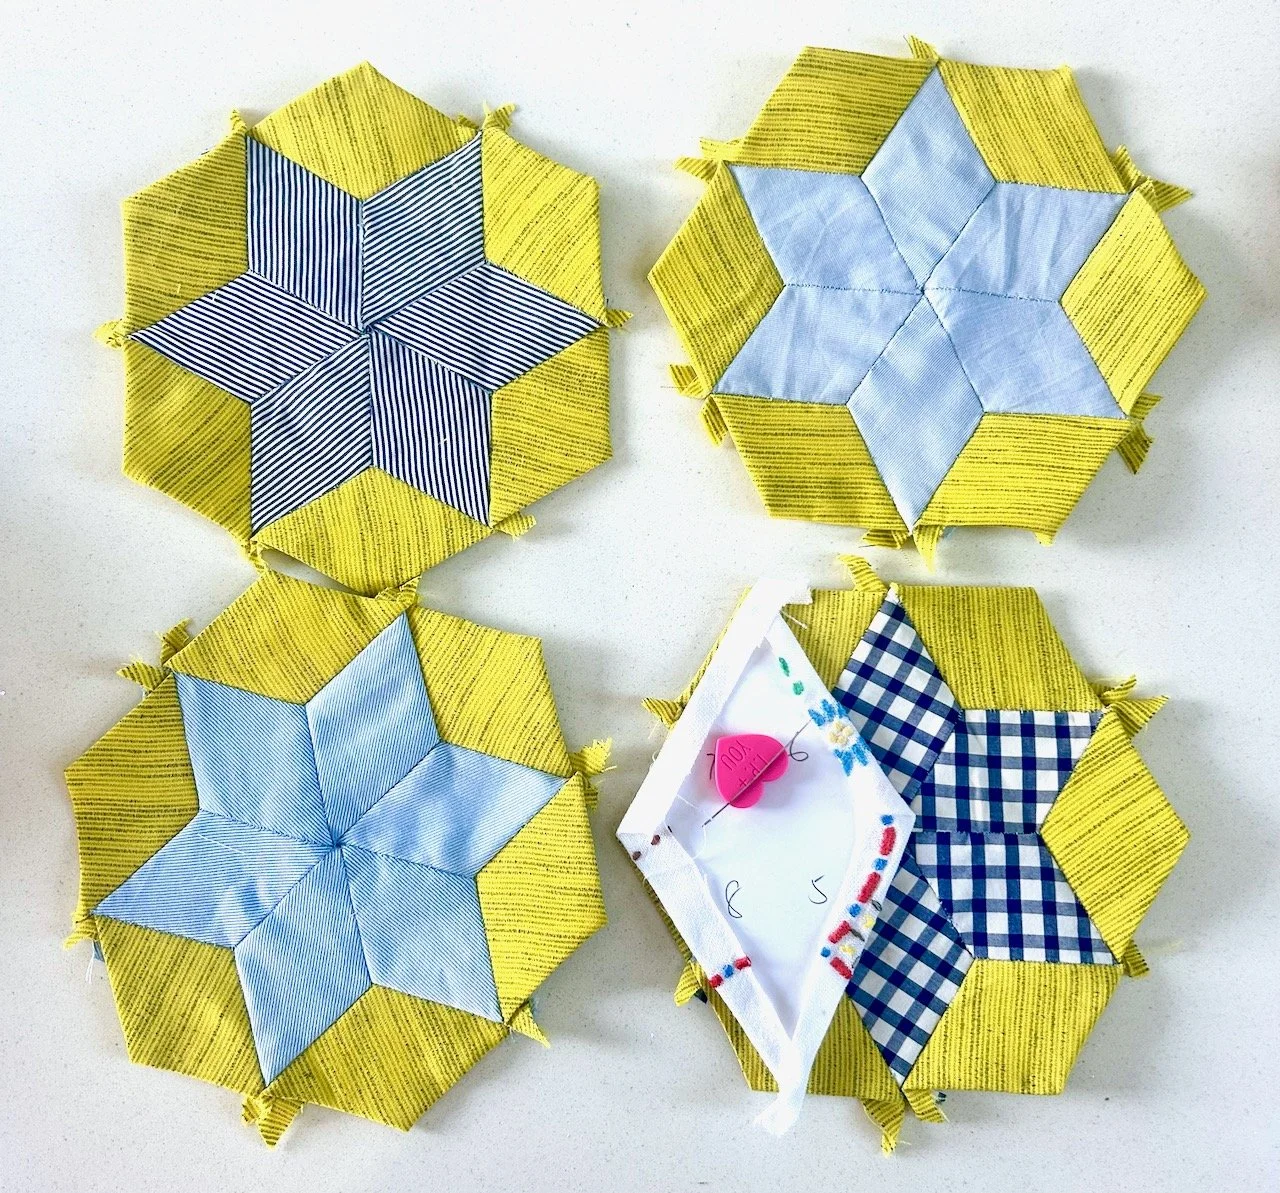
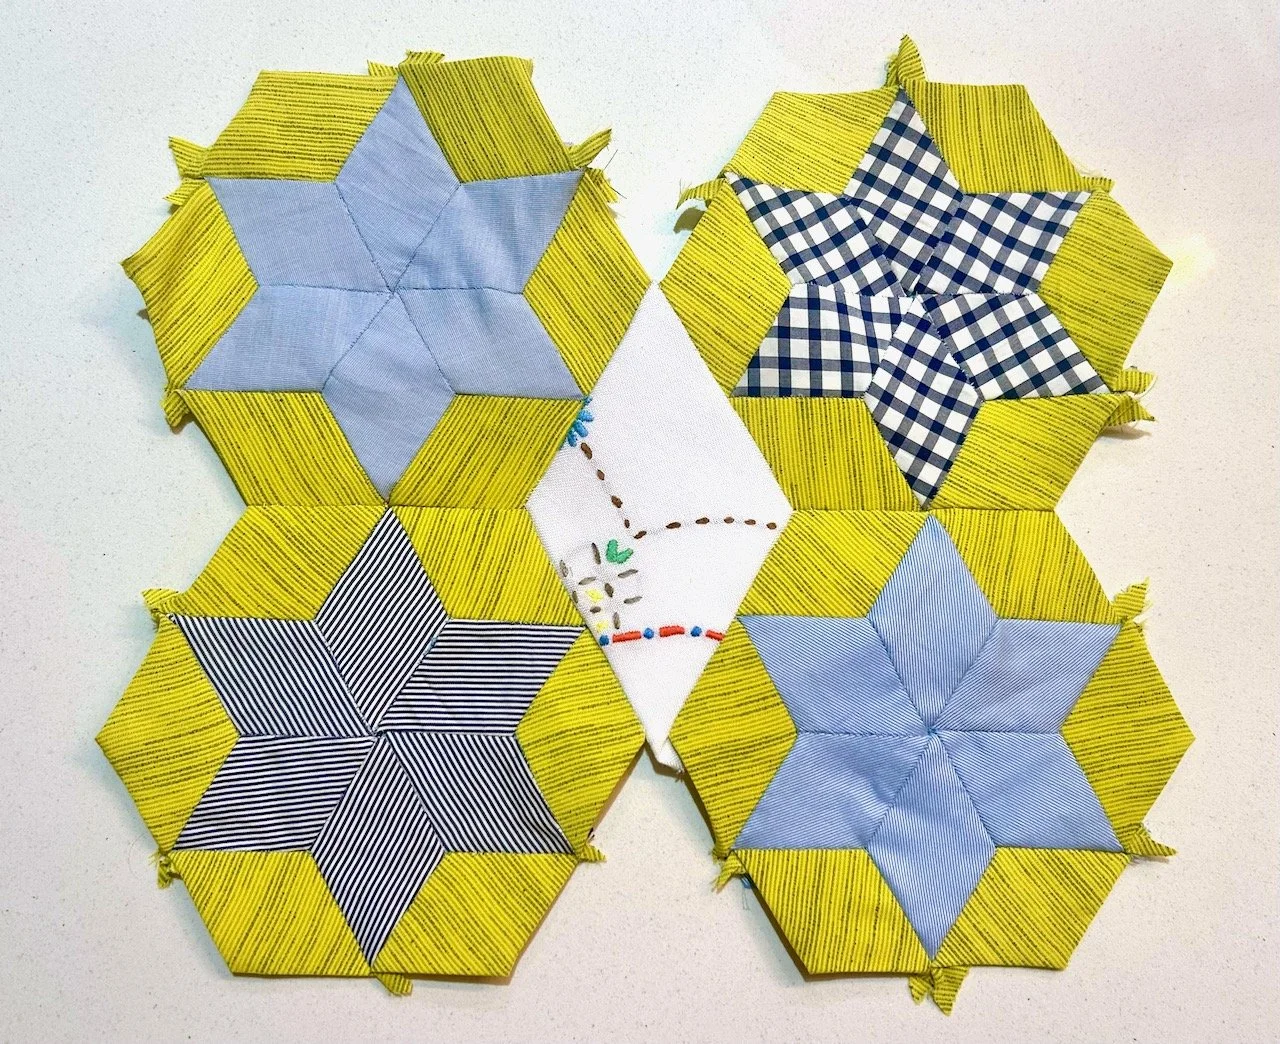
4. My English Paper Piecing (EPP) blue diamonds

There is progress of sorts on this one, albeit small. It’s become my project to take to my monthly Monday evening sewing group, and so it has had an outing and a small update. I’ve even moved it into an organised bag so I don’t need to think about getting it all together before I head out, the issue has been life - and I’ve only managed two out of five of the monthly meetings, but then again this was always going to be a slow burn project.

5. Scrappy houses charity quilts

I have completed my first village quilt, and I’ve almost got enough houses for the second one, so that’s real progress. I’m really pleased with how it’s turned out, especially as these are all pieces of fabric that were leftover from other projects (mostly the stretch project) and might have been deemed on the small side for keeping. And I’m sure whoever the recipient is won’t mind about that one bit.

6. Wonderland meets Moda

7. Word Star

Again, there is no update on these.

A couple of bonus quilty updates

1. My mystery block of the month quilt has been playing heavily on my mind, but now the quilt top is finally finished. After I joined the monthly blocks together and added the sashing between those blocks, I spent some time pondering the borders - or specifically how wide they should be.

I wanted them wide enough to add some width to the quilt so I can use it on a double bed, but not so wide that it looked silly. In the end I settled on increasing each border by an inch, and ahead of adding the final border I did the sensible thing and took it to my patchwork group for confirmation and reassurance, and the use of the floor in the village hall to check it out once and for all.

So the quilt top is now done - yay! Now it needs basting, quilting and binding which for the size of the quilt is no small job.

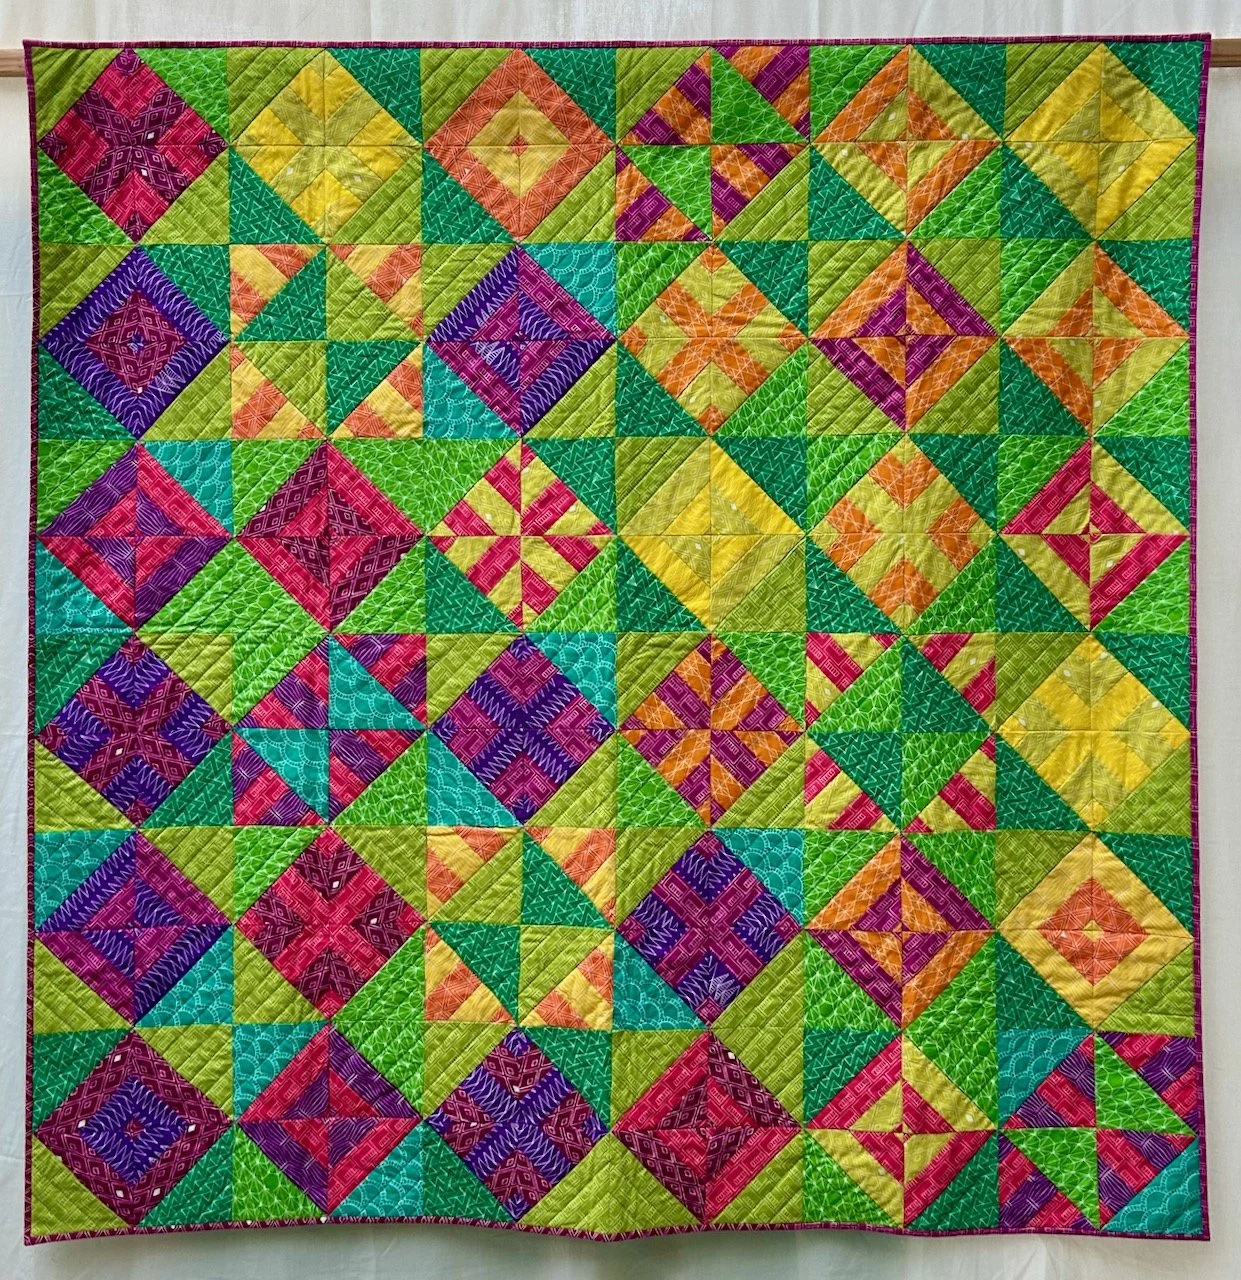
2 The second bonus quilty update is another quilt, but not one made by me. Mum decided to use up some of her charm packs and make a quilt to donate to Project Linus, which I’ll take along with me when I donate mine.

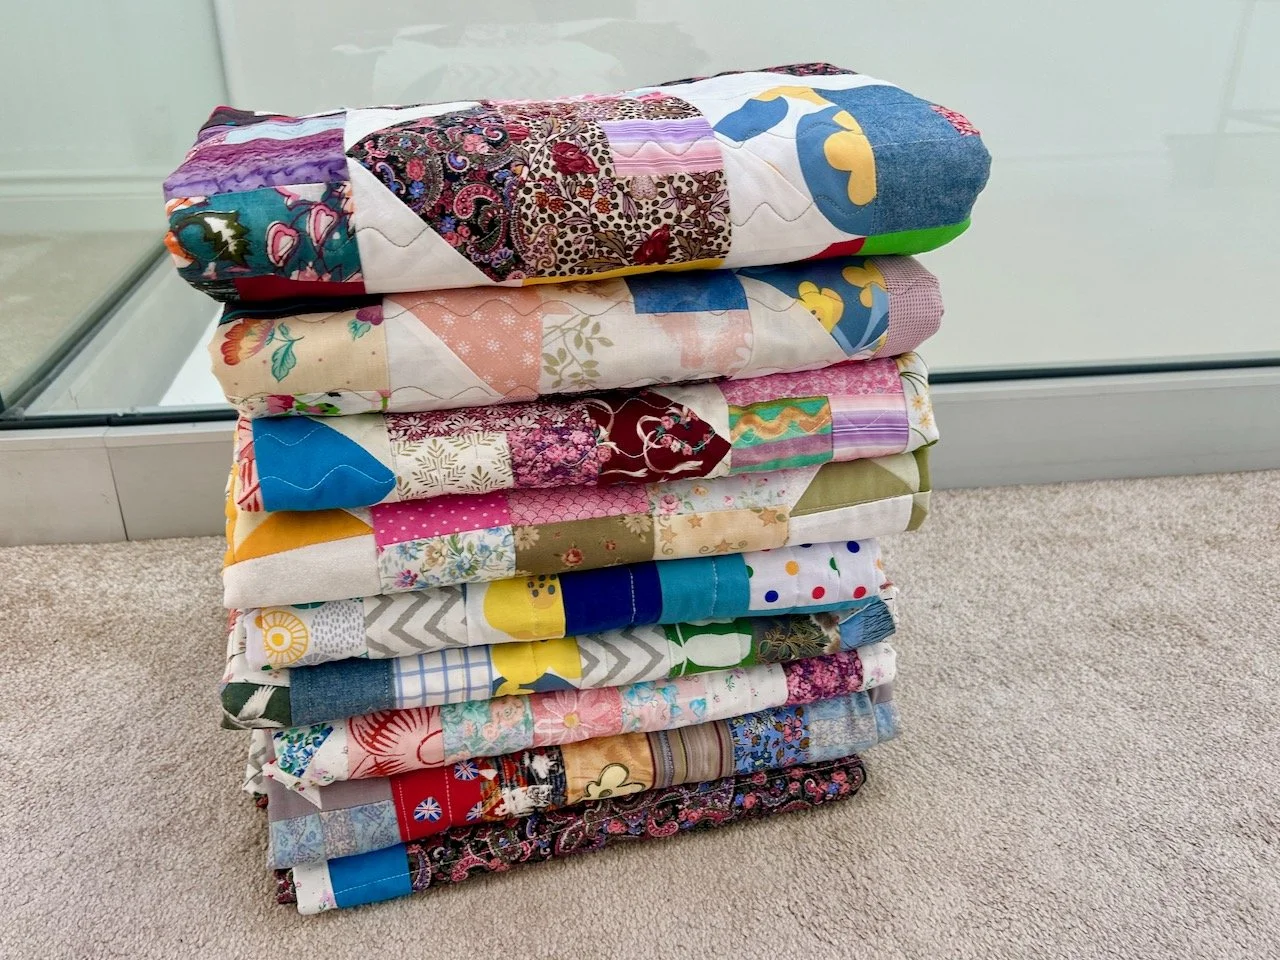
Isn’t it bright and cheery - I love it (but will still donate it, honest)

So there has been quilty progress against my long list, and none of it has been a chore - I just need to work out how to do more with my sewing time, and to make time for more sewing time!

Putting mum's embroidery to use

I have finally finished both of these project bags where I’ve used some hand embroidery sewn by my mum. It’s taken a while to finish the larger of the two, and for no other reason than I’d not got around to it. When I was helping mum to relocate her sewing room she found some embroideries that she’d completed most likely in the 1990s as part of a magazine series, which she no longer wanted. Some went to the charity shop, and I brought a couple home with me always intending to adapt them into a project bag, and that’s what I did.

Delving into my stash I found the perfect fabrics to use. The smaller of the two (which is still approximately A4 size) makes use of some tiny bobble trim I felt particularly drawn to and some pink fabric which I think also came from mum. The lining is tiny rosebuds, and that was definitely from one of her old dresses - the turquoise paisley material is one I’d bought a while back and it just felt right to use for this.

Two new project bag pouches - both brightly coloured surrounding some hand embroidery by mum

The larger orange and purple one, which just about fits into one of the cubby holes in my Kallax unit, uses more from my stash. The orange and lilac wave fabric came as part of a set - and I’m not sure if you can see it but the text on the wave says ‘a smooth sea never made a skilled sailor’ and while mum’s not a sailor, I’m sure it’s something she’d agree with. Bizarrely the material reminds me of a dress she once had, but in actual fact it’s nothing like the actual dress - I remember the dress having swirls, though I suspect they were more likely paisley shapes, and the dress was a pale blue/lilac, so I’ve no idea why this material prompted that memory!!

They’ve turned out brilliantly and I’ve adapted my usual go to pouch pattern, and although they are larger and don’t have a vinyl front they use the same principle and construction with a tweak or two along the way, but the pouch is just a small part of it, mum’s embroidery is so much more.

Focusing on mum's embroidery which I've repurposed into a project page.  This has arches and beading on the grid and sashiko like patterns
This much larger embroidery by mum uses coloured thread on the pattern which also continues on the back of the pouch

Aren’t they great? And isn’t the embroidery just fab?