Back in March when I shared my non-quilty sewing plans for this year, number 7 on the list was ‘wearables’ and I also shared a picture of the already cut out summer weight dressing gown, using a sari I’d bought from eBay.
Well it is done, who knew it’d make it out of my craft room so quickly?!
Our new house is super well insulated, and every summer we’ve been here when it’s warm I think to myself “I need a lightweight dressing gown” and this year - we’ve been here three years now - I finally have one.
And it’s glorious, I’m so pleased with it - let me talk you through it.
THE IMAGE FROM THE MARCH POST
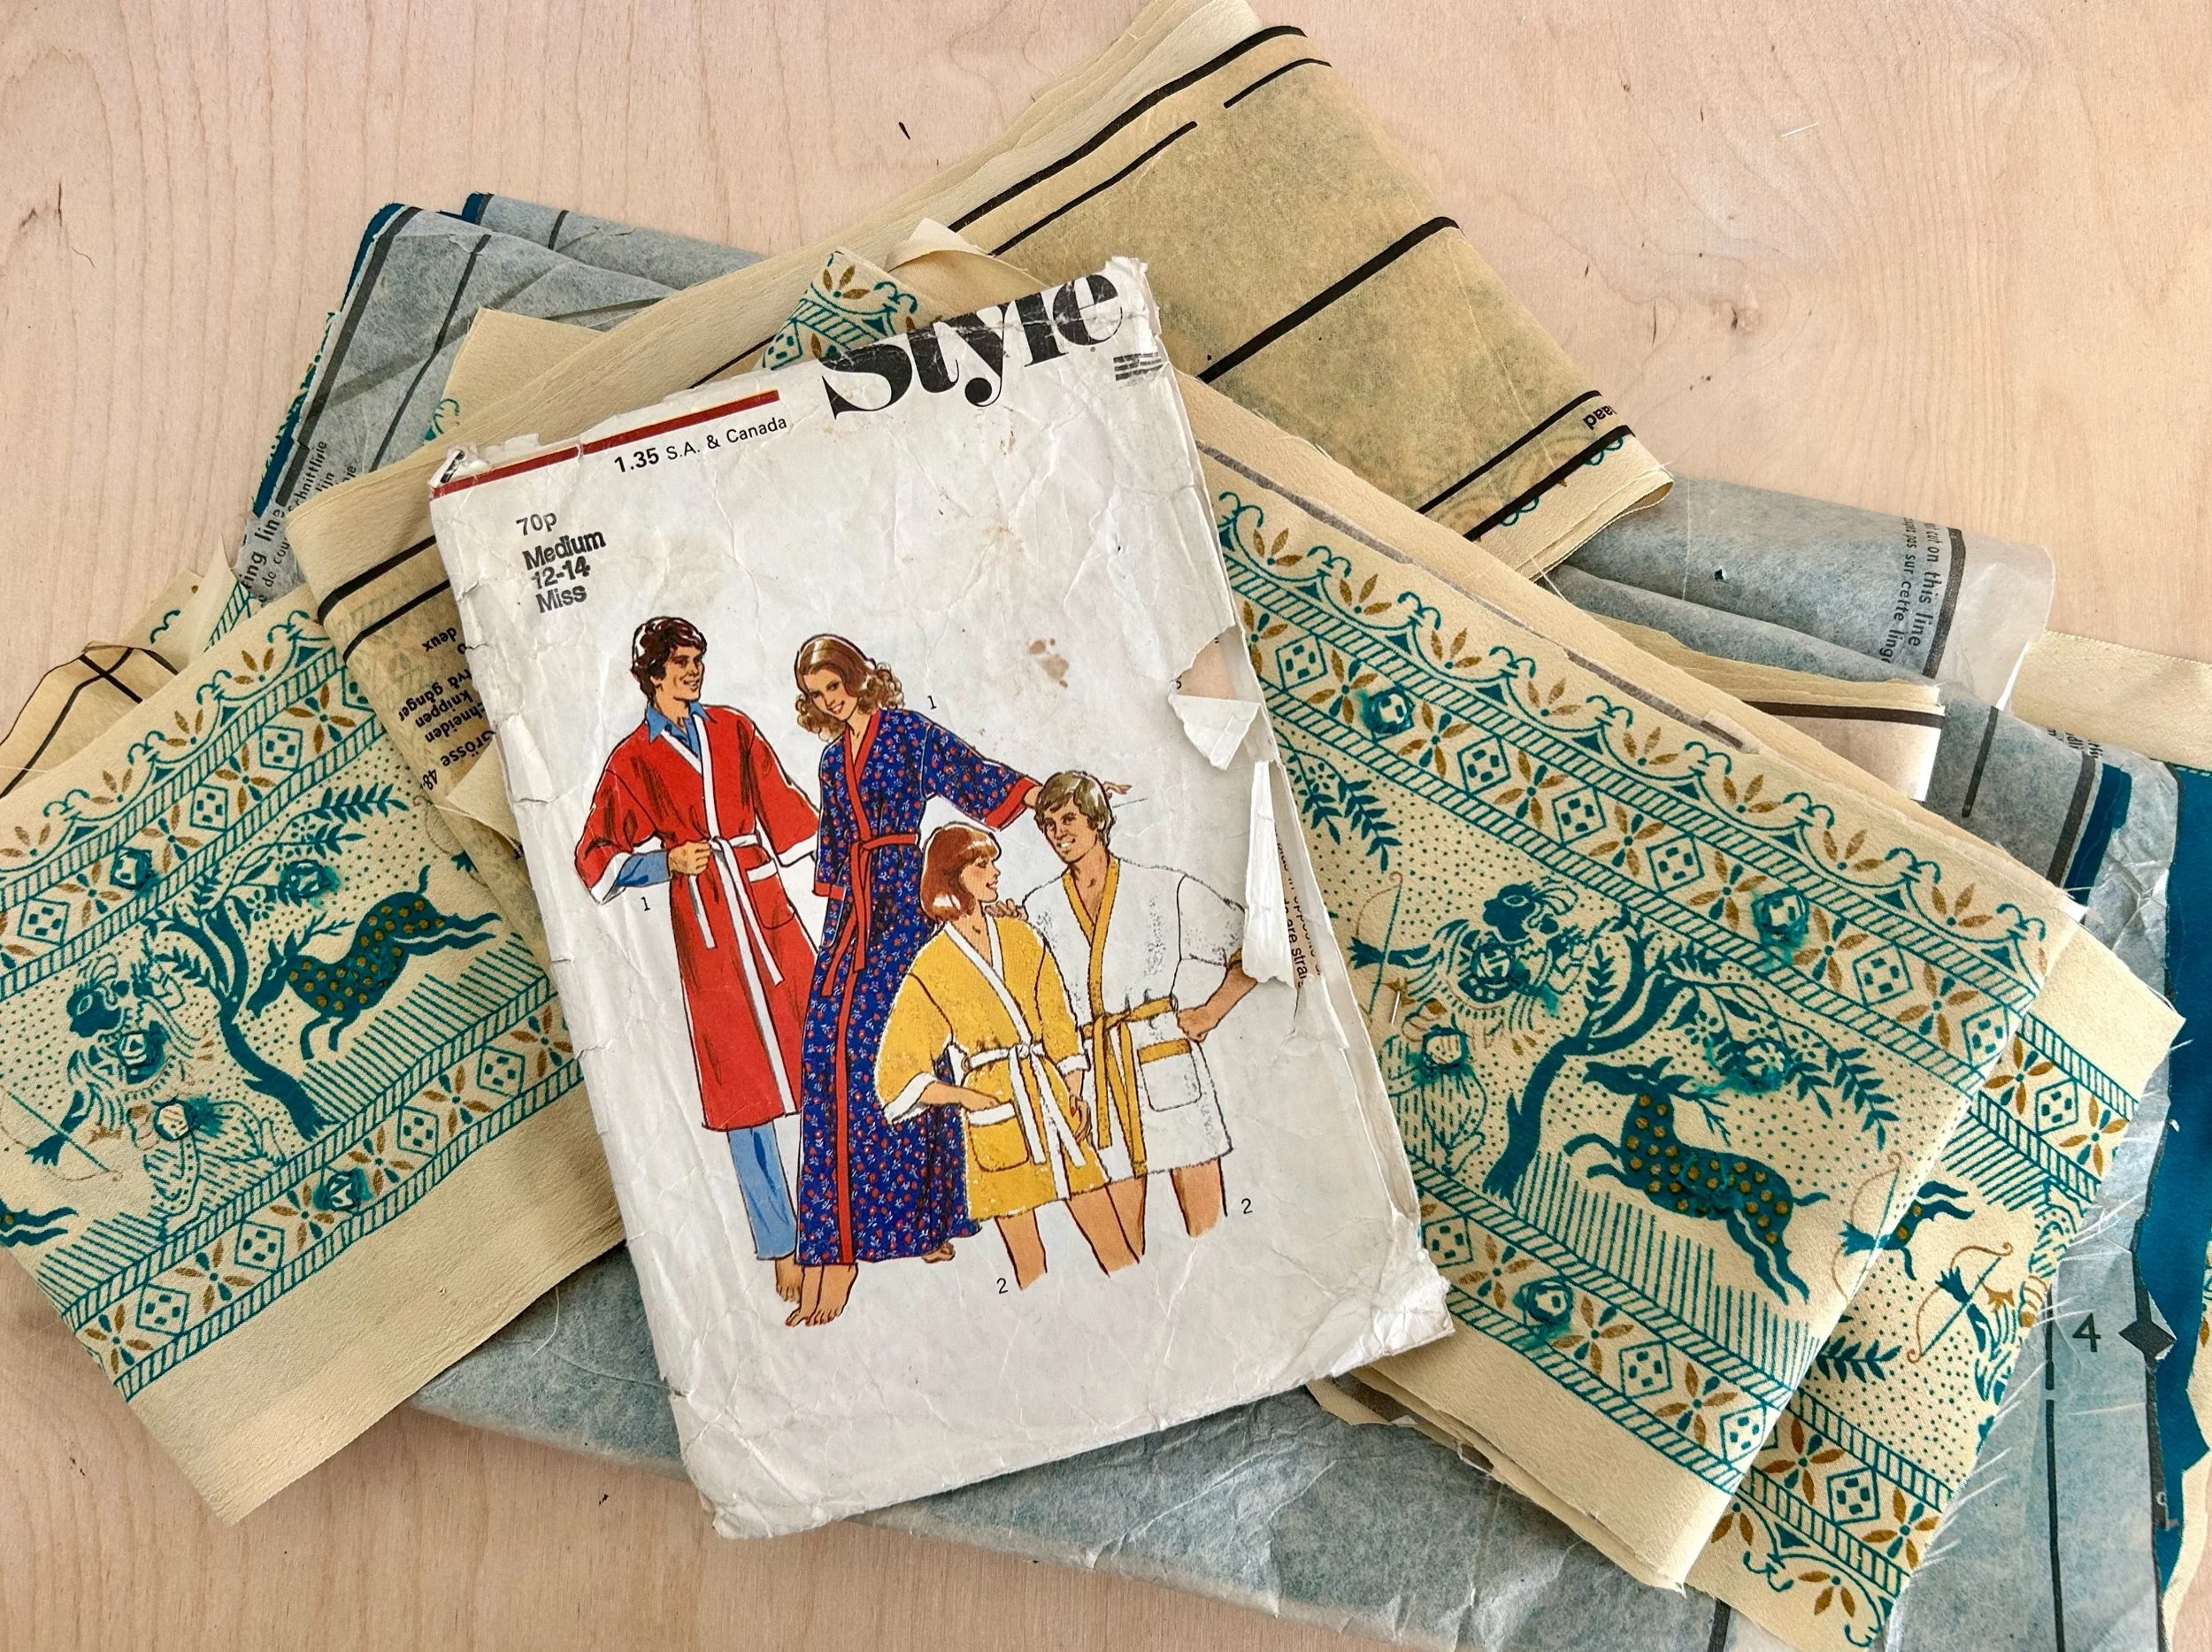
I bought both the pattern and the sari on eBay, the pattern had the tie belt pattern piece missing but as I’d also bought the men’s version of the same pattern I used that one. As you can see the pattern was well worn, but it had the instructions and the pattern pieces themselves weren’t damaged.
As I said in March, I needed to get brave and start sewing. And those warm summer days spurred me on.
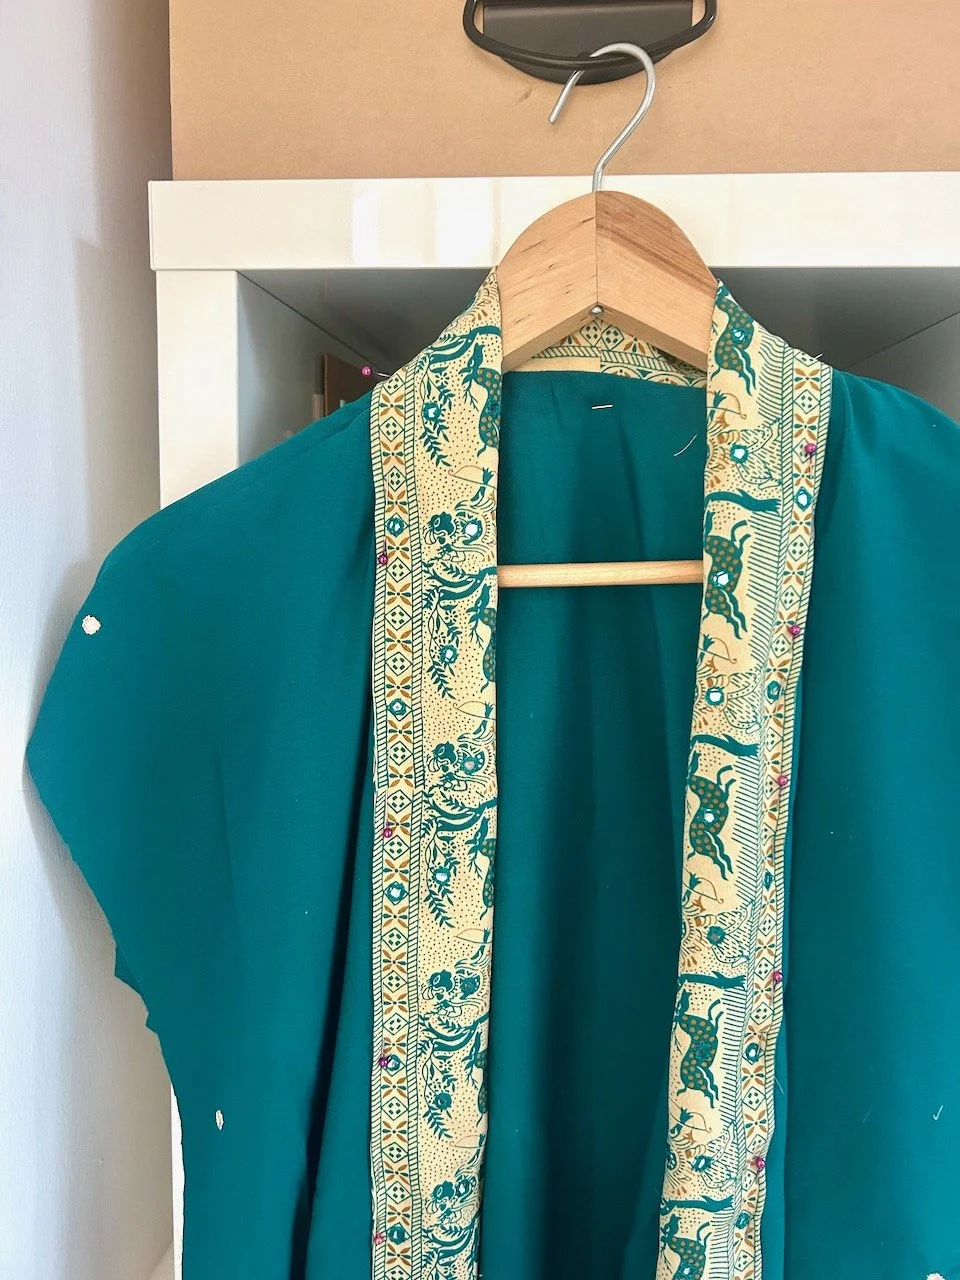
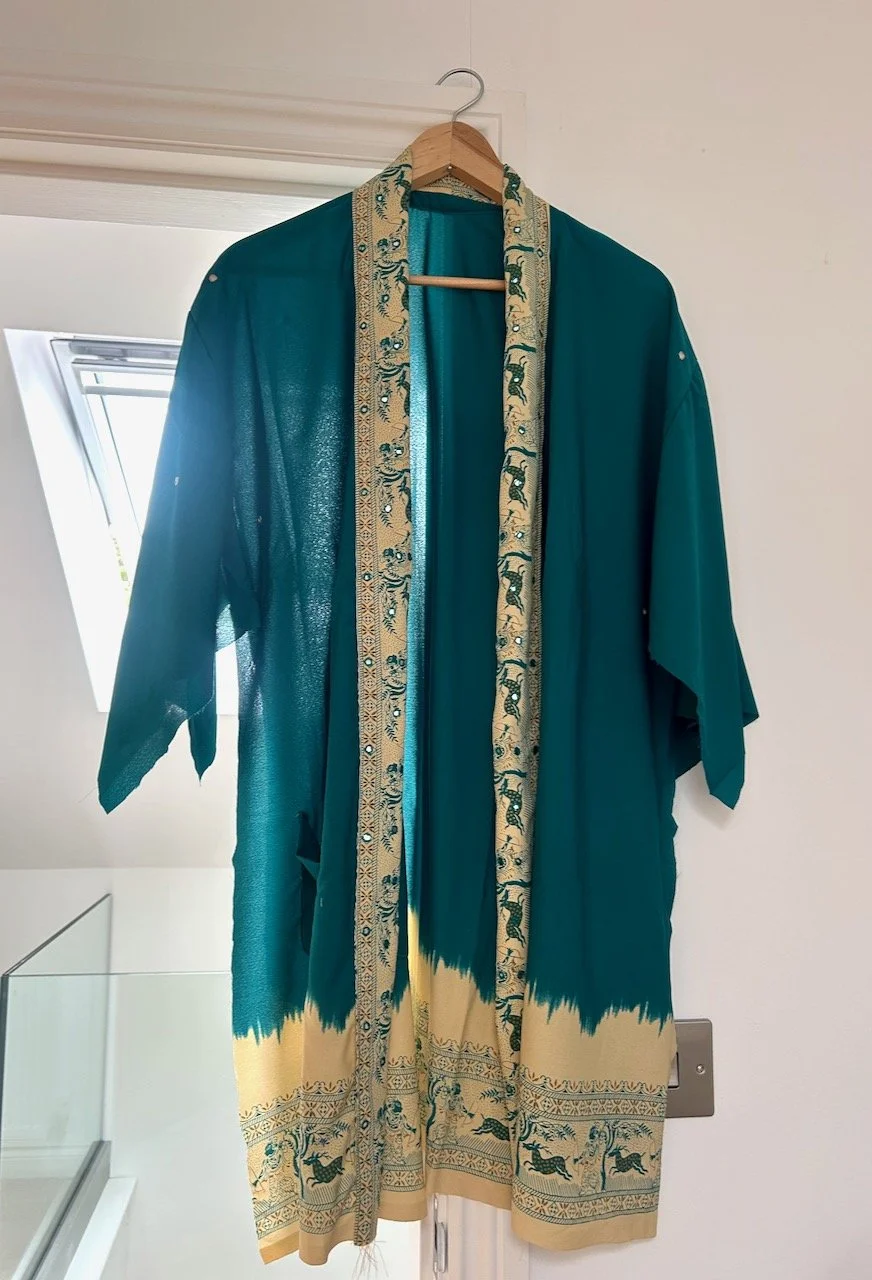
I’d already decided to make use of the sari’s pattern on the bottom of the dressing gown, and the bands around the neck and sleeves. This determined the length and I’d class the length as ‘pretty much decent’ if you know what I mean.
When I started to sew it came together pretty quickly. In my first sewing session I made the patch pocket, even though I was a bit thrown by the band instructions so may have improvised a bit, and then attached it to the front. The shoulder seams were sewn together and the prep work for the decorative band that runs down each front piece and across the neck were done, and it was pinned in place.
It was starting to take shape.
Next up, and on another day I attached the decorative band, and inserted the sleeves - and stopped to admire my progress.
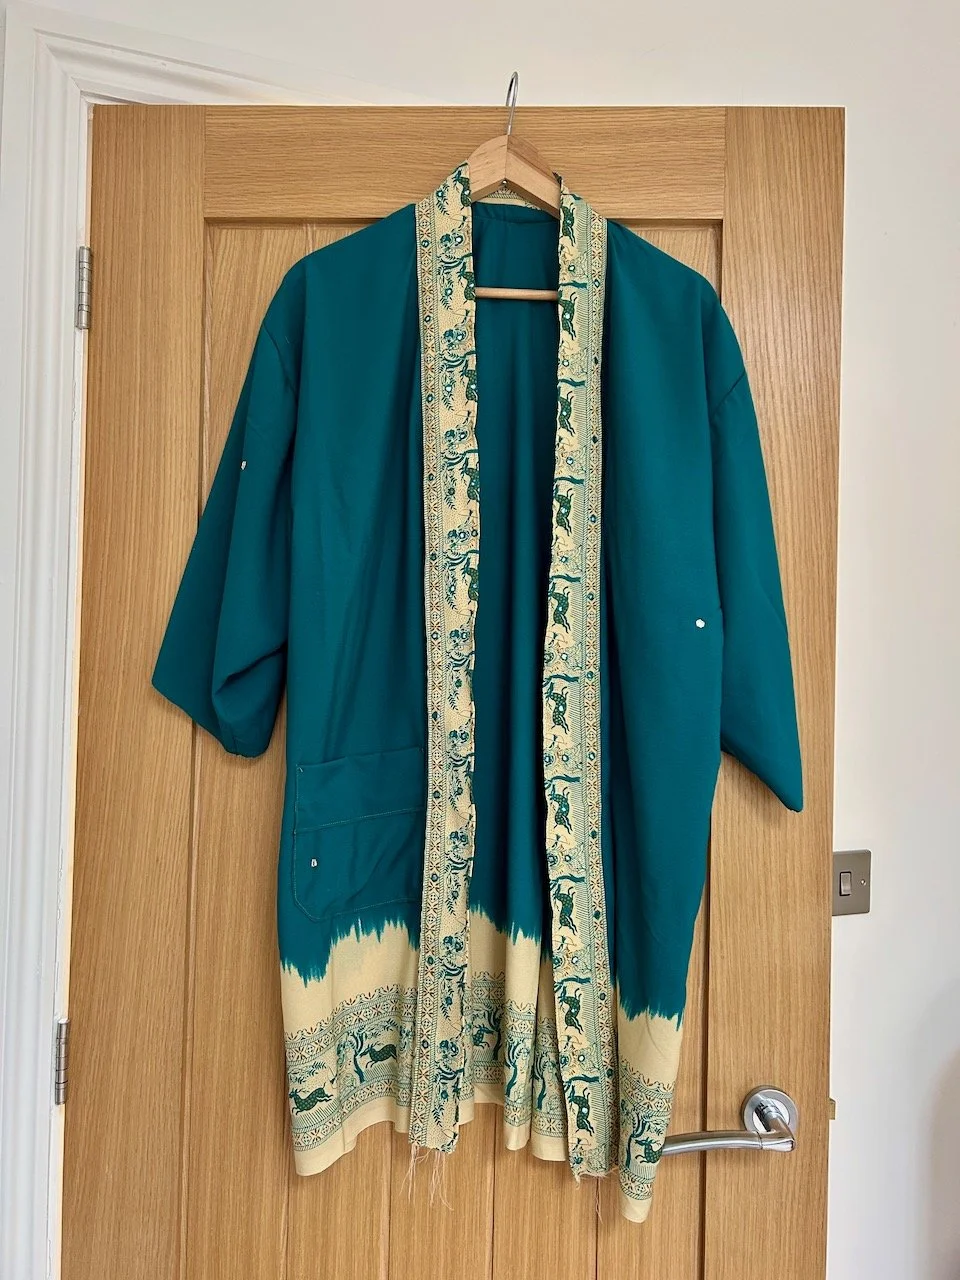
Only briefly though as I decided to press on, and sew the side seams and the sleeves together - now it really was a garment.
The sleeve bands went on much more easily than the band on the pocket had, but I think I was getting the hang of what the instructions meant by then too. The tie belt was sewn, turned through and pressed and the hem was hemmed.
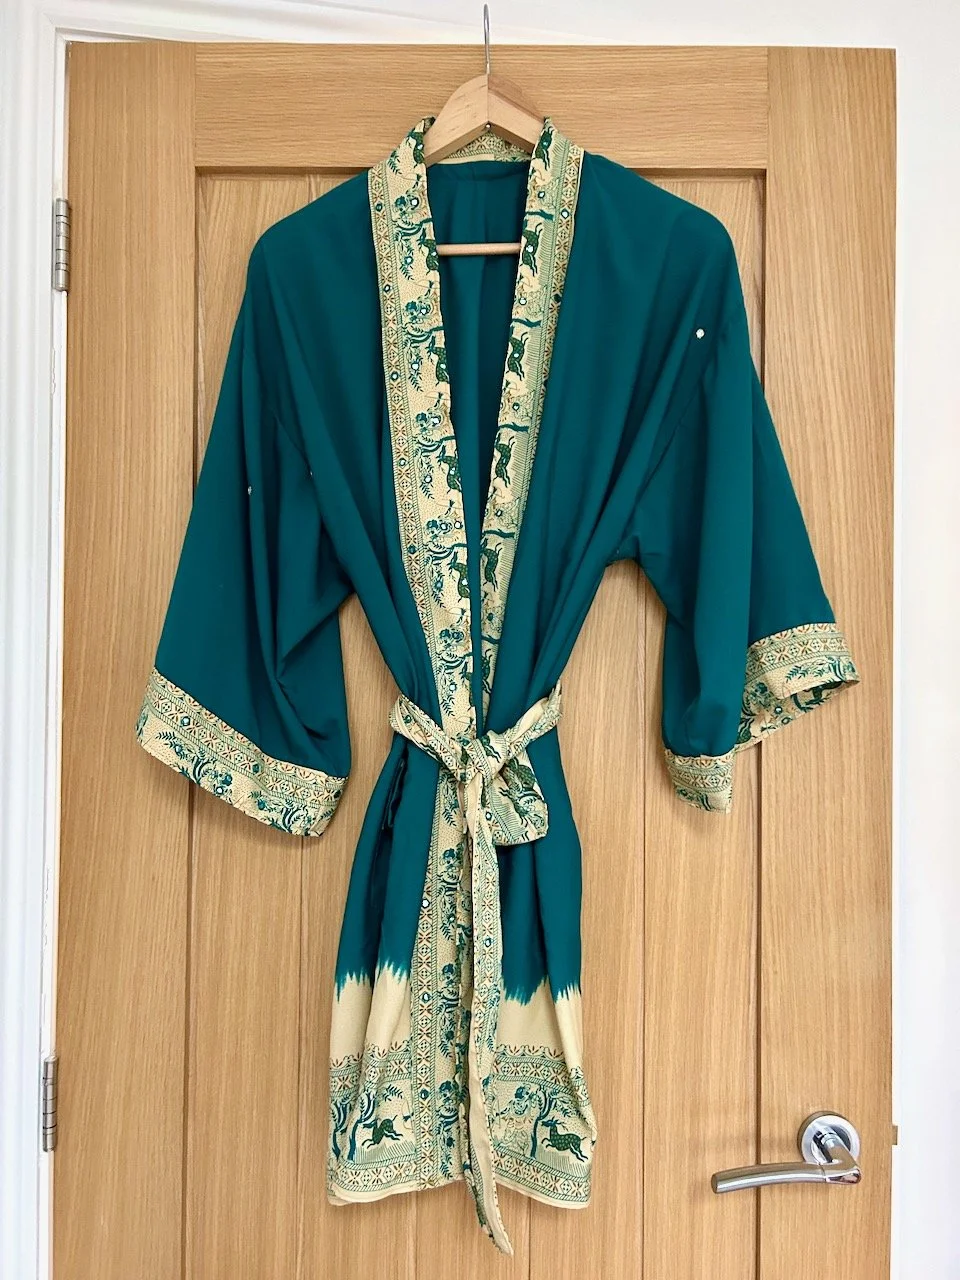
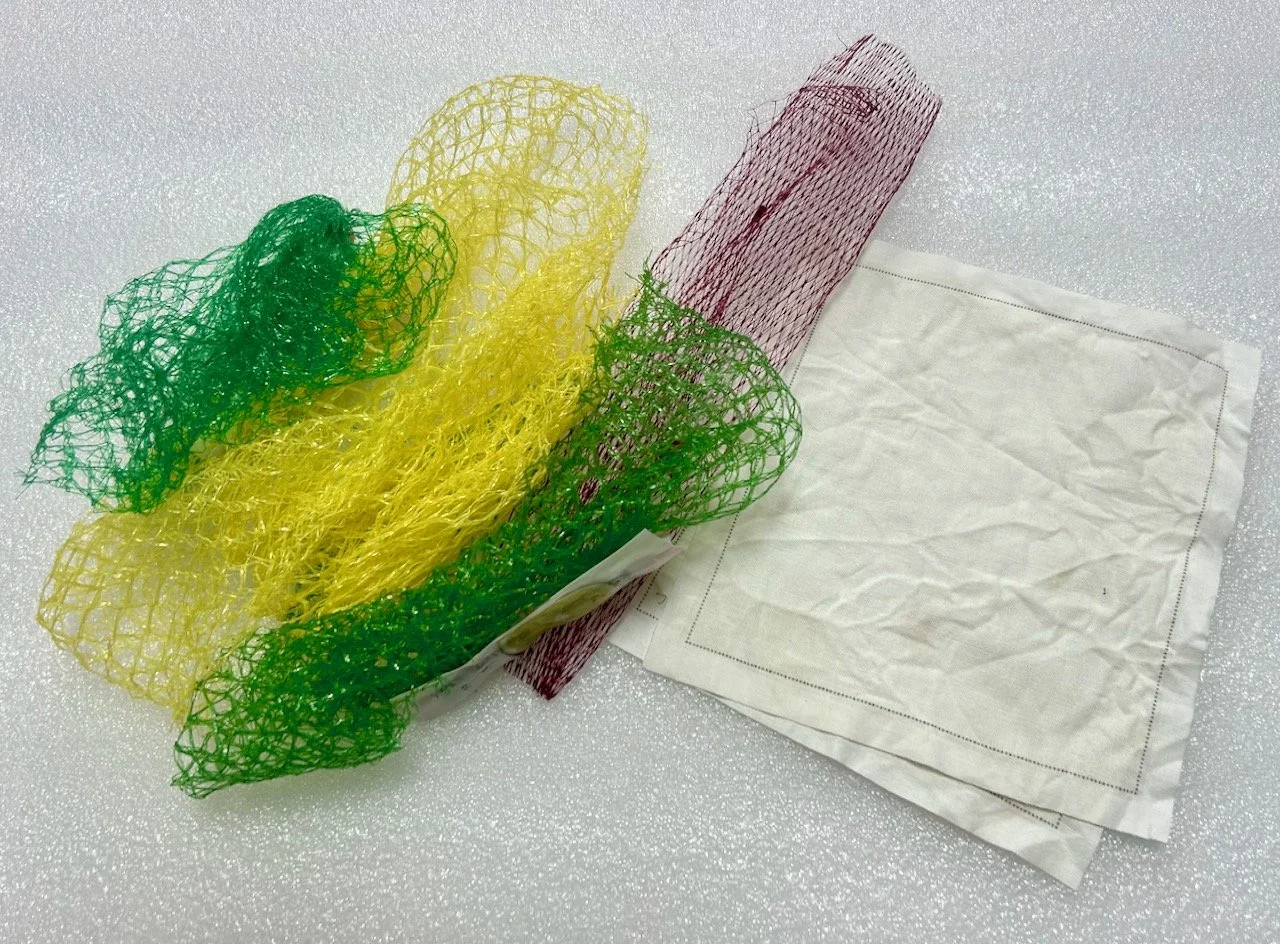
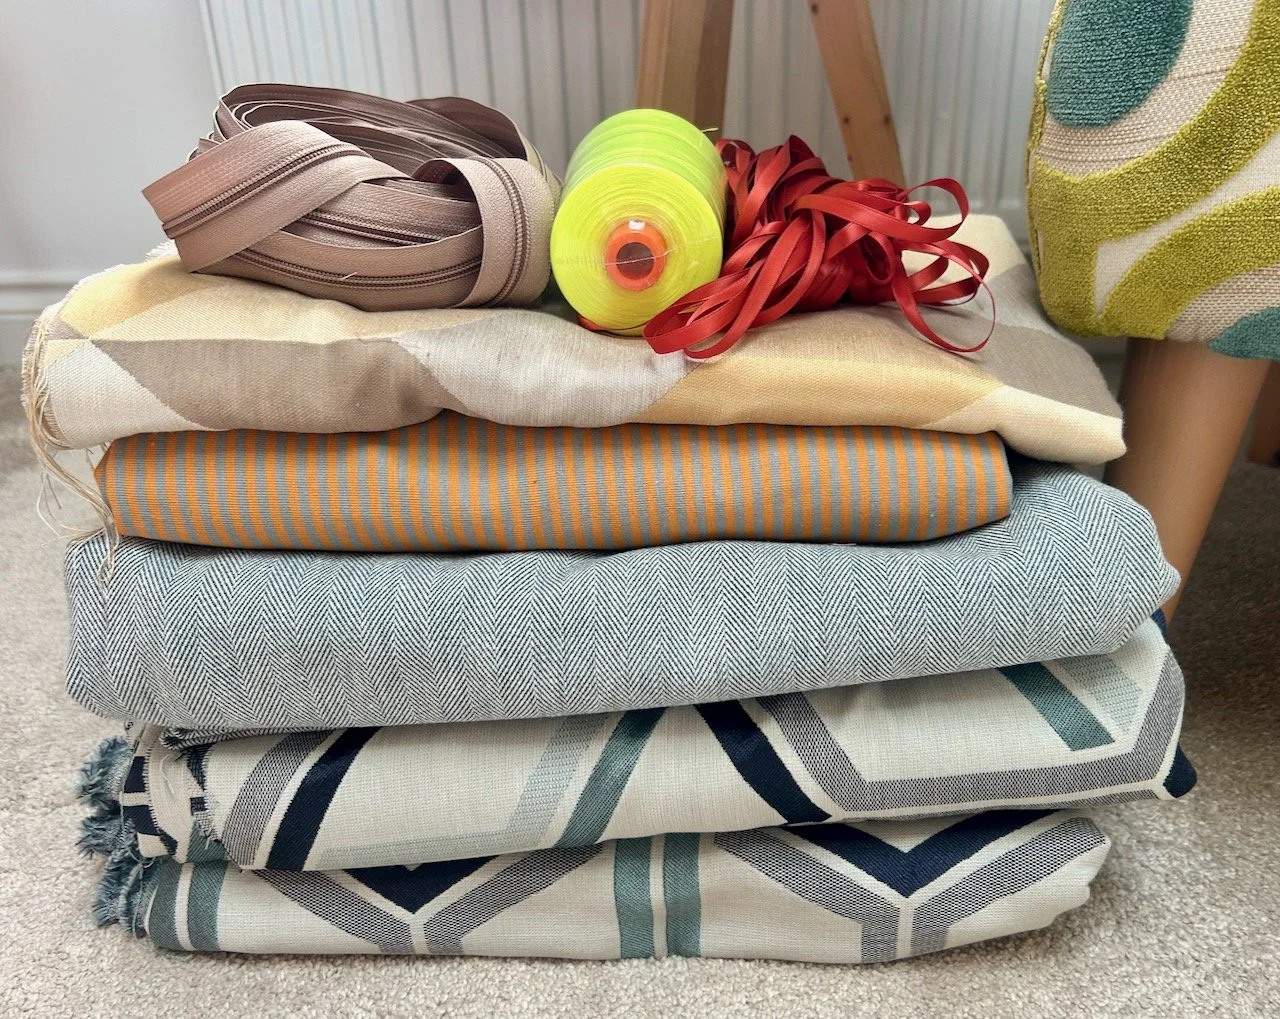
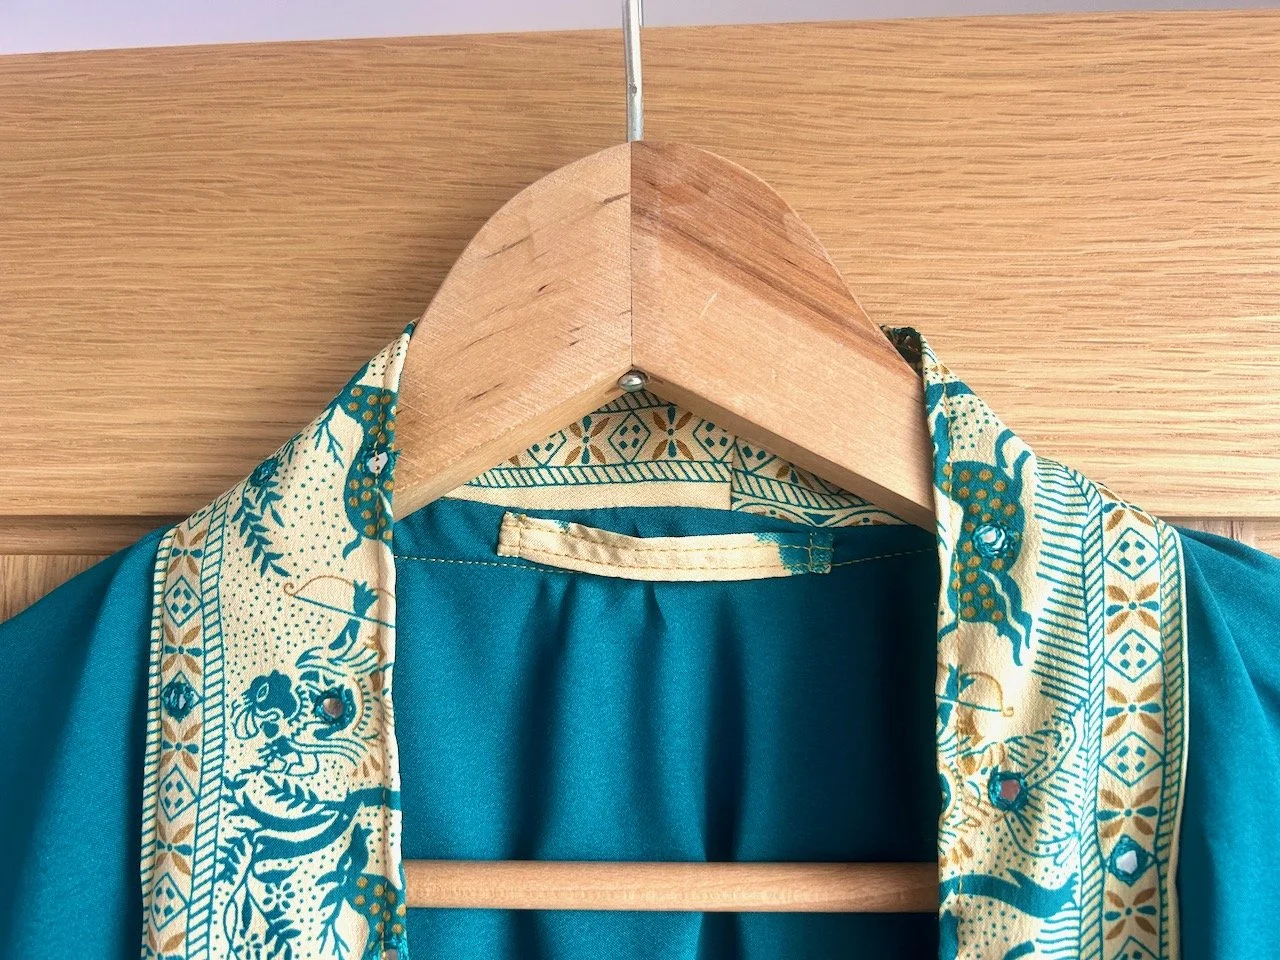
It was almost done. All bar the loops for the tie belt, and one to hang it on the back of the door. I searched my ribbon stash, but an emerald green was the closest I could get to the beautiful teal sari. And it wasn’t right at all.
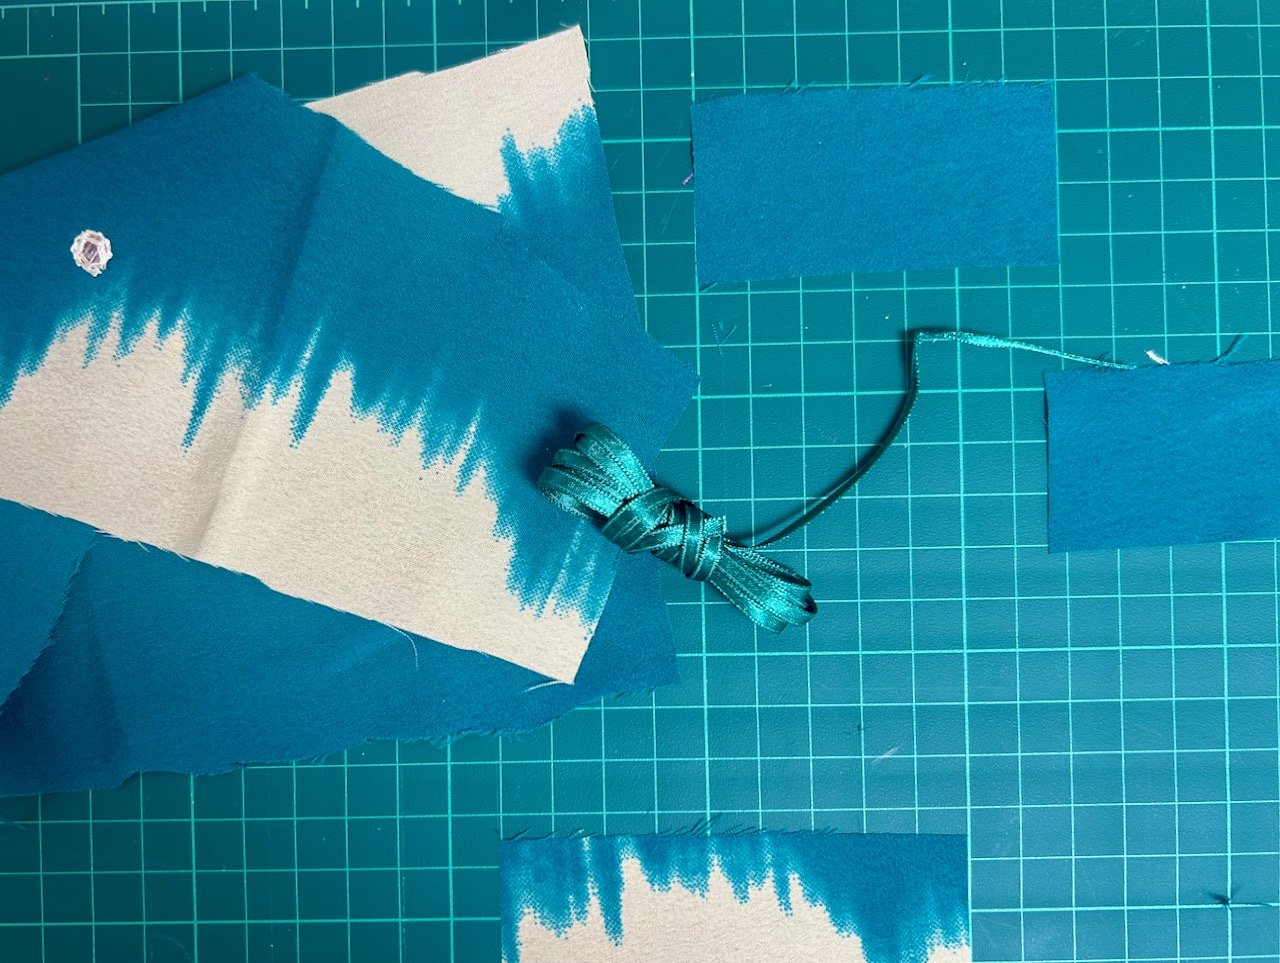
Which meant I’d have to make my own loops, or otherwise I’d never be entirely happy with it.
And so I did, choosing a contrasting piece of material for the hanging loop, and the plain teal for the belt loops.
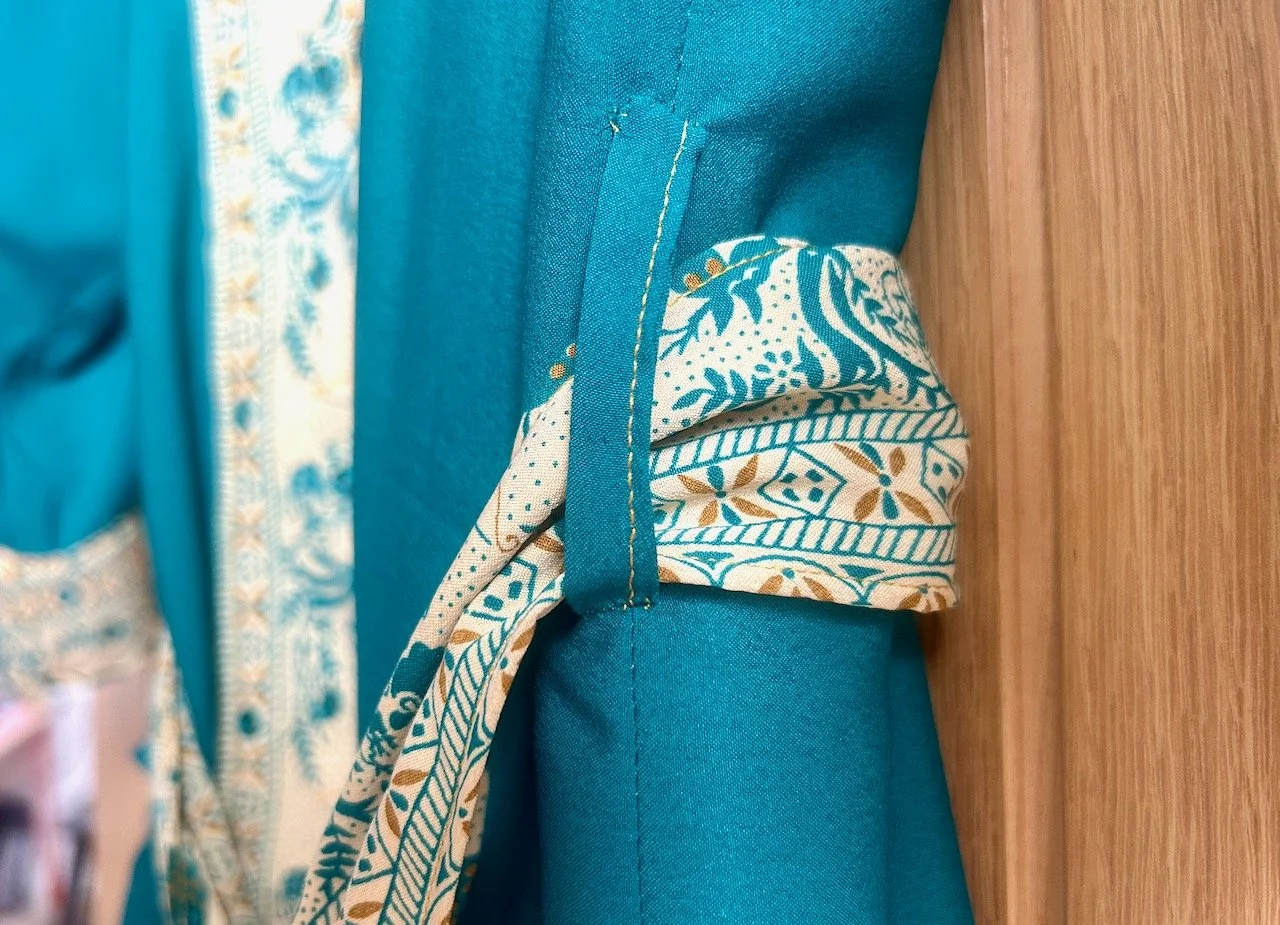
They were probably the most fiddly part of the garment, but definitely worth the effort.
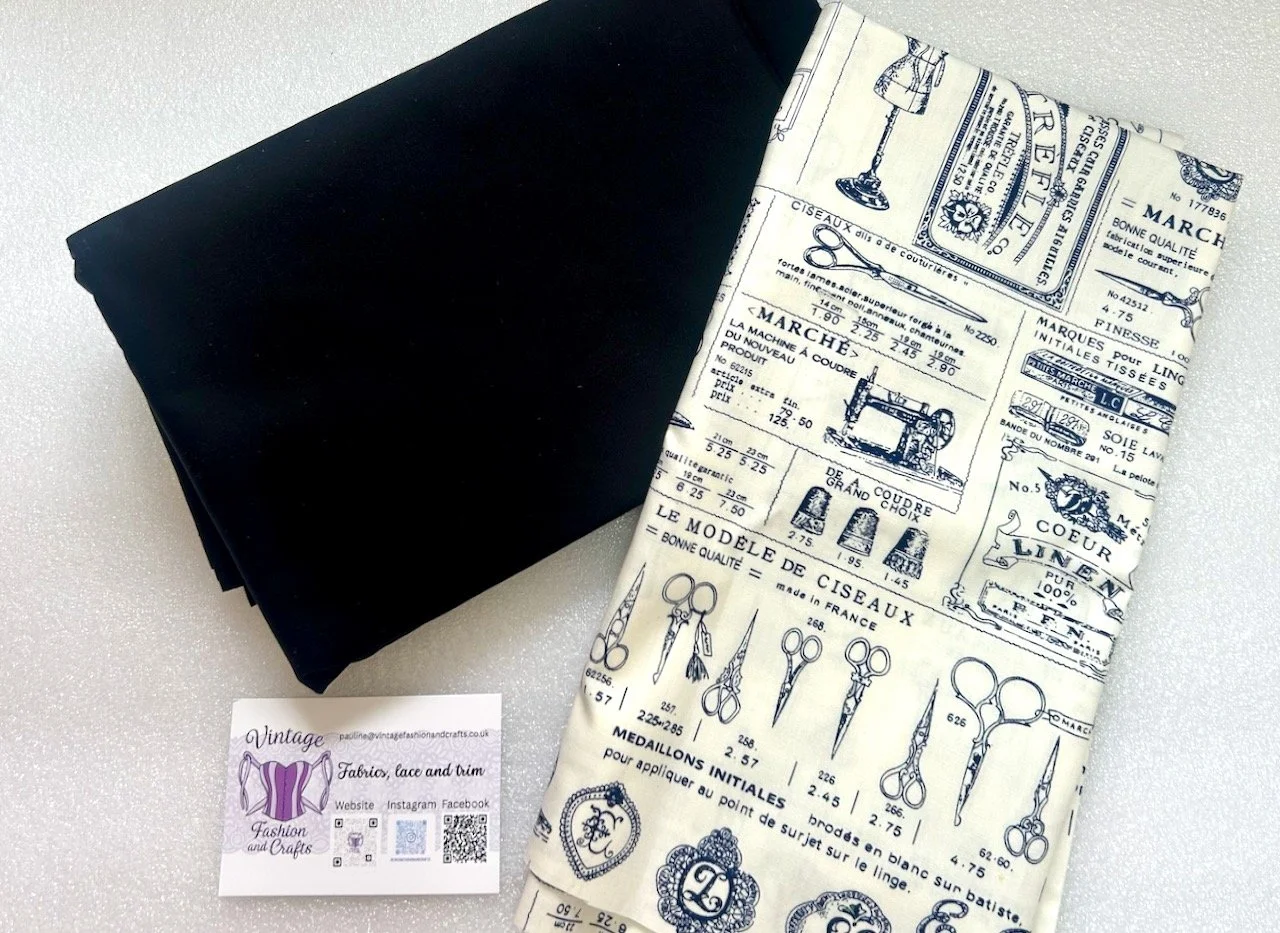
Now there’s just the small matter of doing it all again and making MOH a summer dressing gown - I’ve got the pattern, and I’ve bought a sari which he’s approved, but first I think I might try my hand to a sundress - watch this space!