


I’ve made another quilt as part of my quilting ‘stretch’ project using the block from Sherri at A Quilting Life’s mystery block a month. As I said then I don’t know if I’ll manage to make a quilt a month, but I won’t really know unless I try…
This is my fourteenth charity quilt and the pile continues to grow, since the first nine have were donated to the Mansfield Coordinator of Project Linus UK in September 2025.
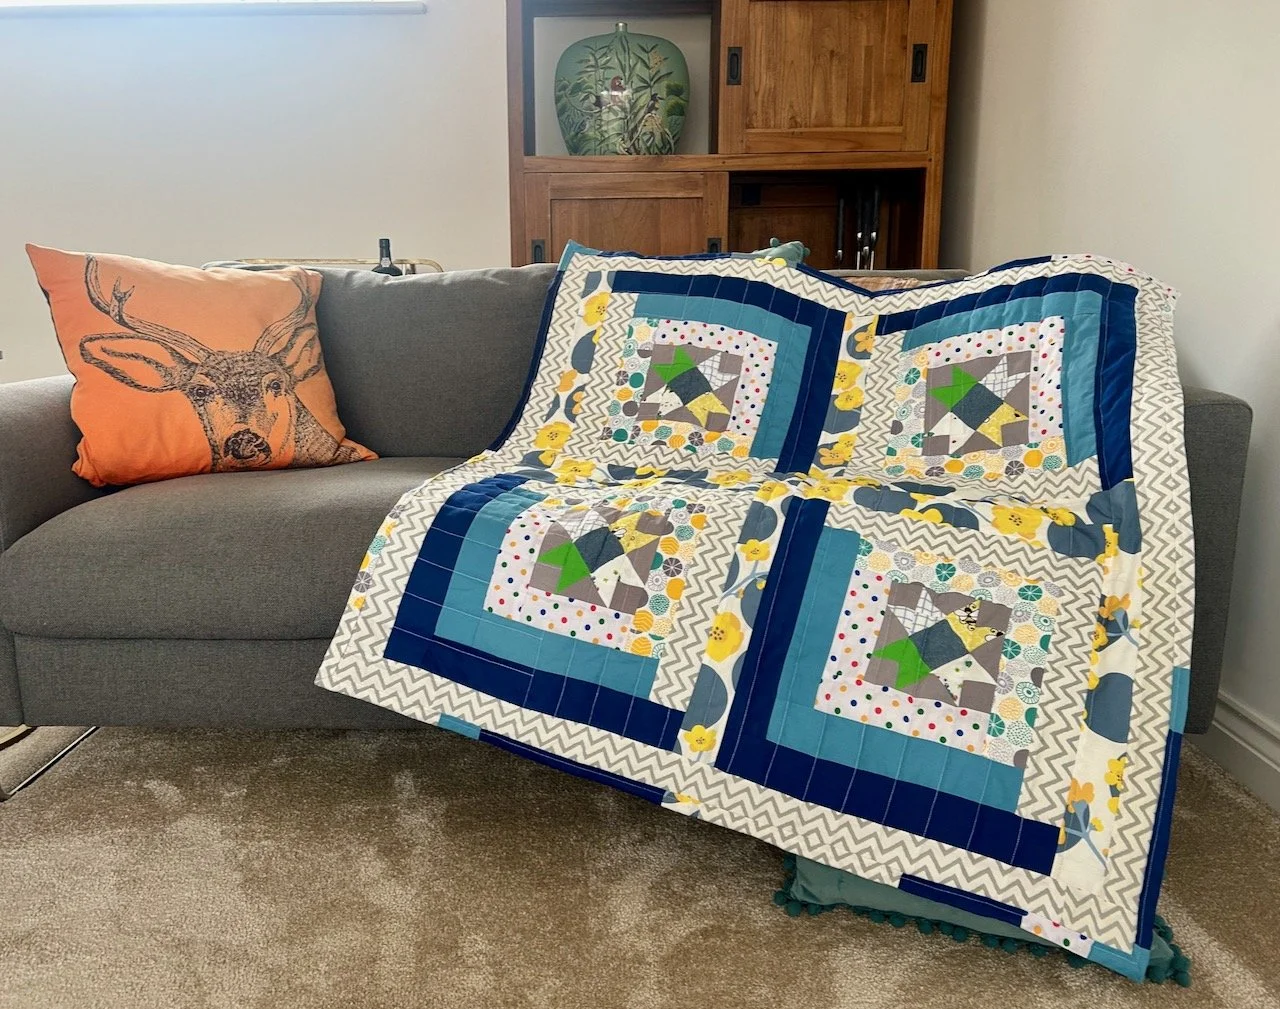
Number fourteen
This charity quilt also marks the end of my ‘stretch’ project where I set out to make a quilt for charity a month, so it is a huge milestone and a very big phew from me! I’ll be celebrating that in a separate post soon, and I already know I won’t be quite so rash when setting myself a challenge for the remaining of this year!
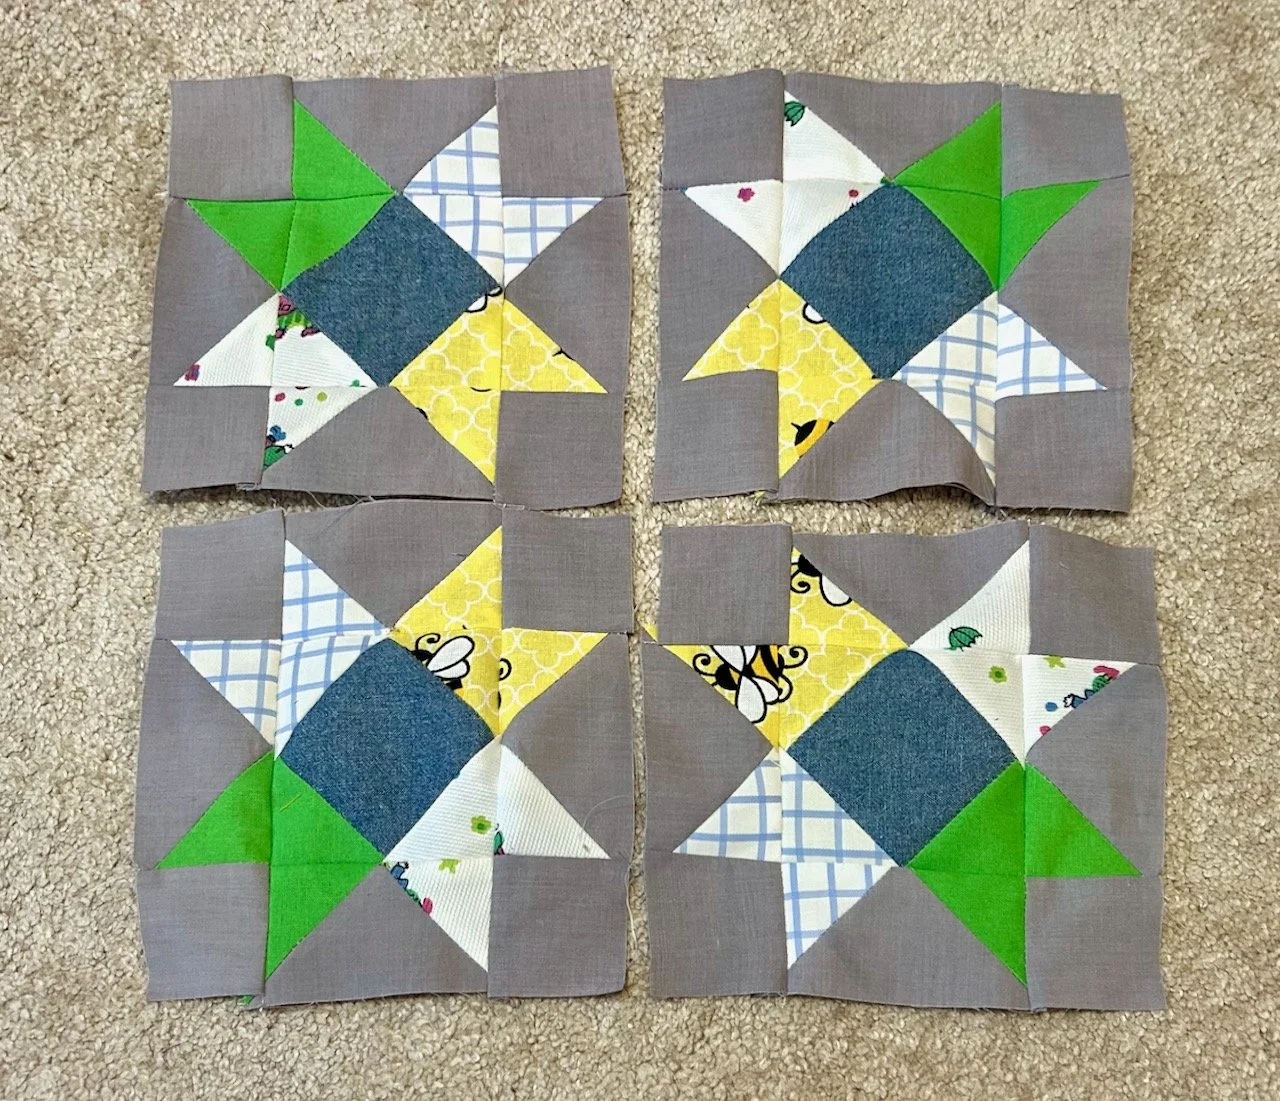
But anyway, on to the block which is another scrappy star. I had some fabrics in my ‘already used’ basket that I was keen to use as much of as I could, so that’s where I started. I cut all the central blocks using the same fabrics, and ended up with four very similar piles.
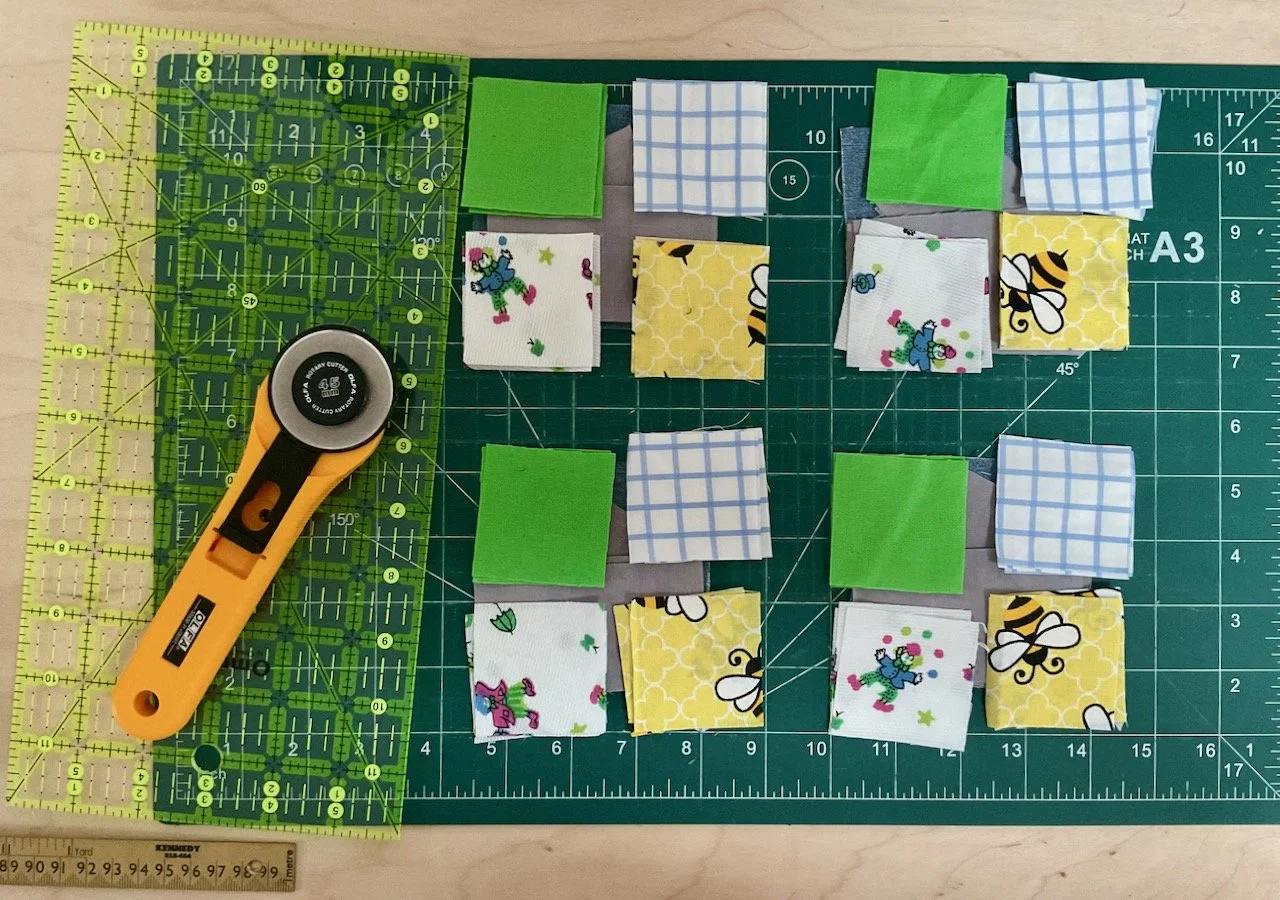
The sewing on this block was relatively easy, and used the stitch and flip method to create the triangle sections of the blocks. The challenge there is to make sure you cut off the correct corner, otherwise it means starting again. It’s definitely worth a check and double check before snipping the corner, and that method has served me well.
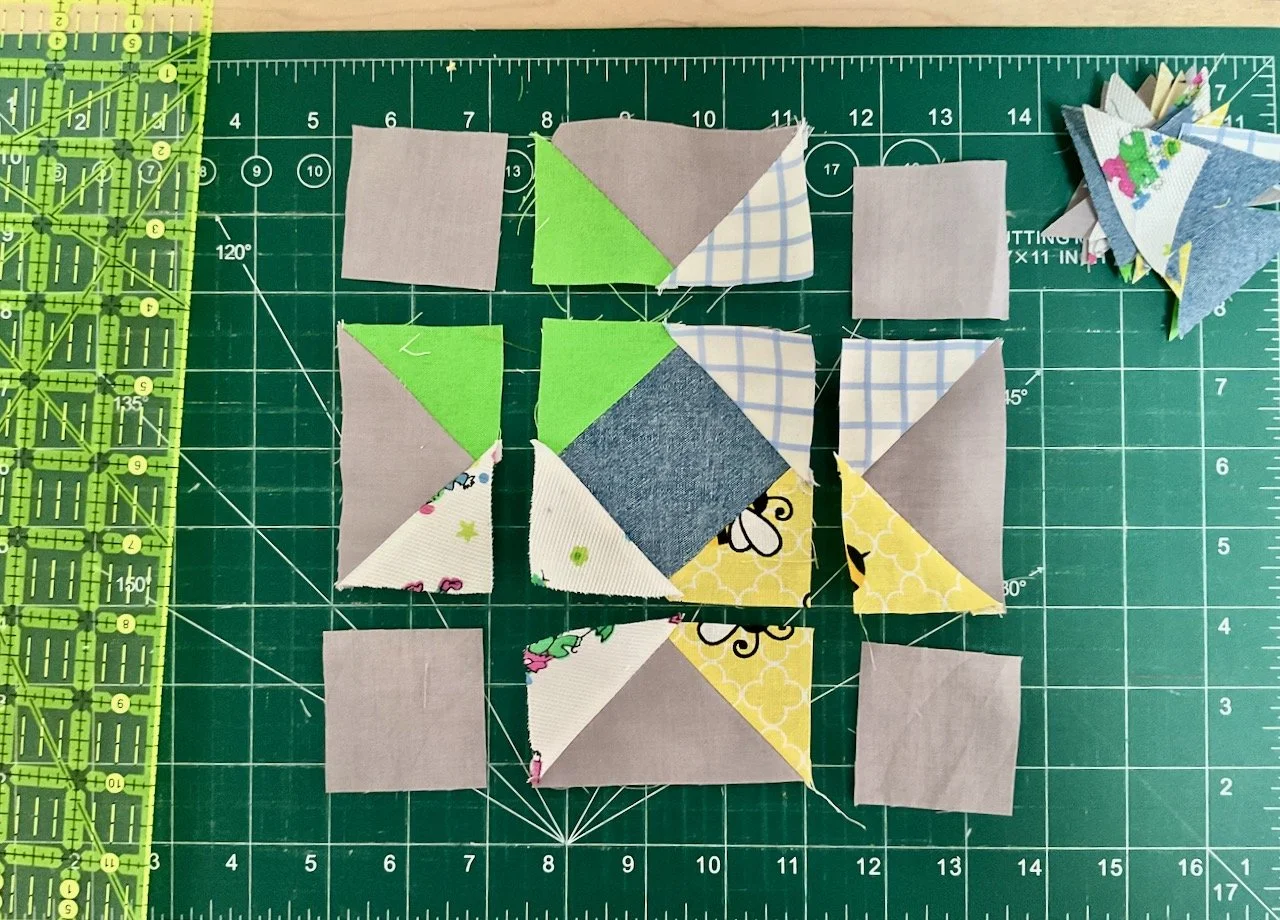
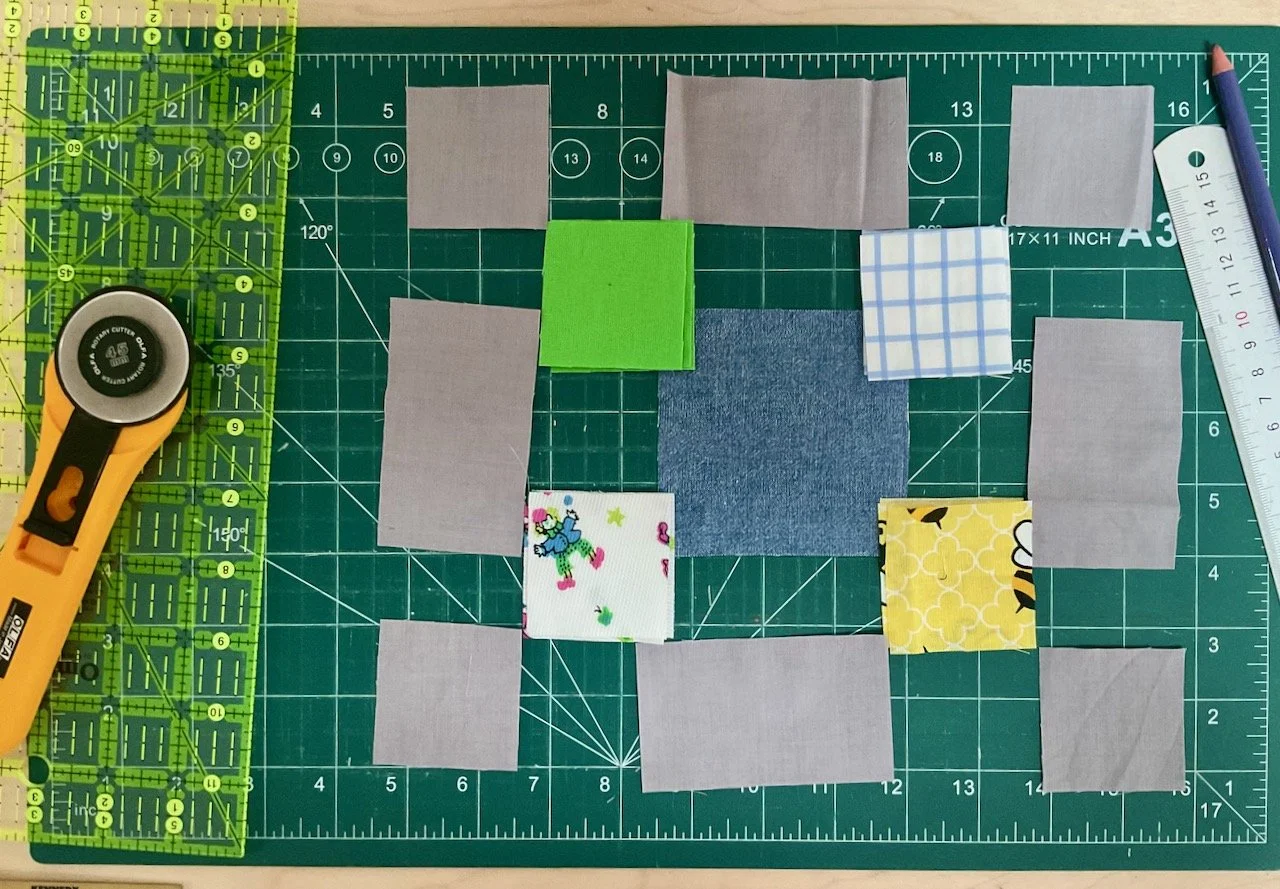
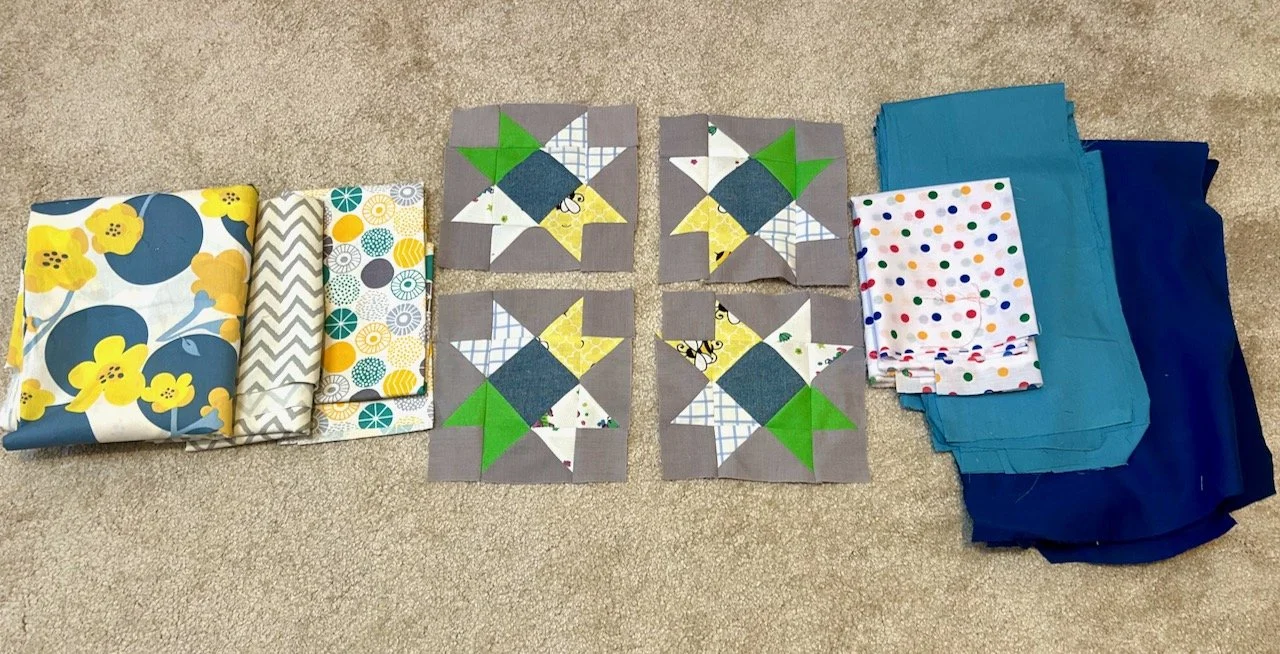
With the four central blocks made I wanted to check my fabric choices for the borders. Here I discovered that the dark blue fabric (on the far right below) had a much richer blue on the ‘wrong’ side, so the wrong side became my right side. Many of these fabrics have already appeared in previous quilts; the two blues were previously a sun dress (the lighter blue) of mine and a work shirt of MOH’s (the darker blue). The spotty fabric is the offcuts from the baby quilt I made on the Project Linus sewing day in September 2025, and the teal, grey and yellow spotted design is the only ‘new’ fabric to be used, and that came from a charity destash sale.
Happy with my fabric choices I started to add my borders, liking the dark blue on opposite sides as in the image below.
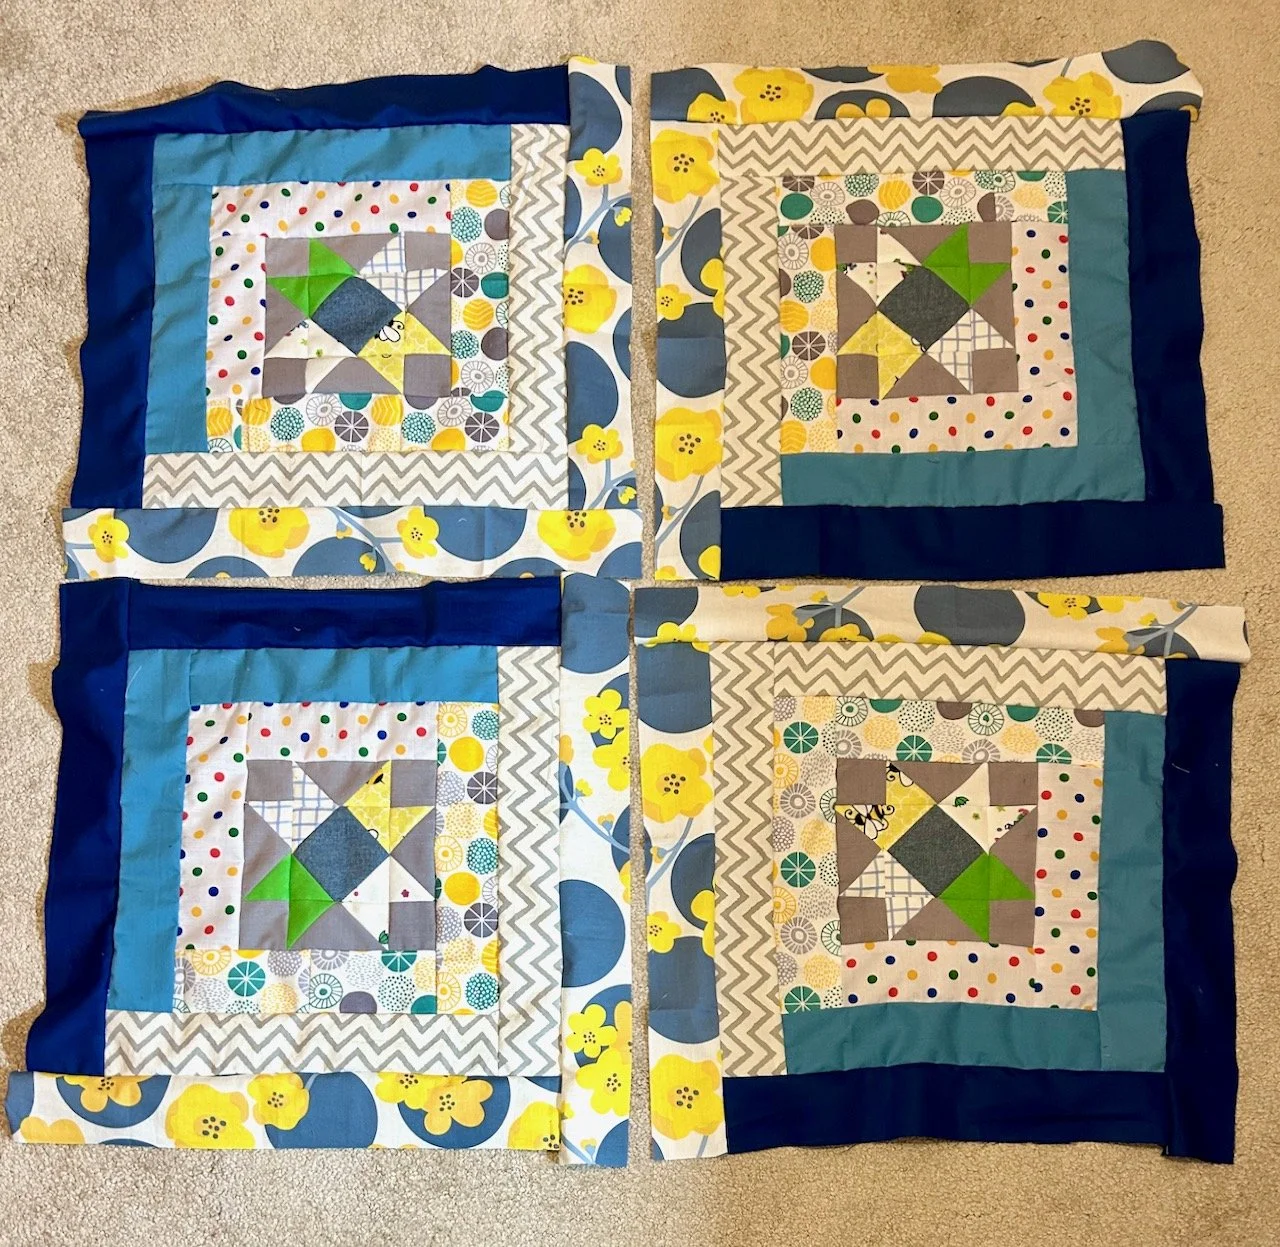
I thought it needed another border, and the grey zig zag material was the only one that had enough length - just as well it worked well.
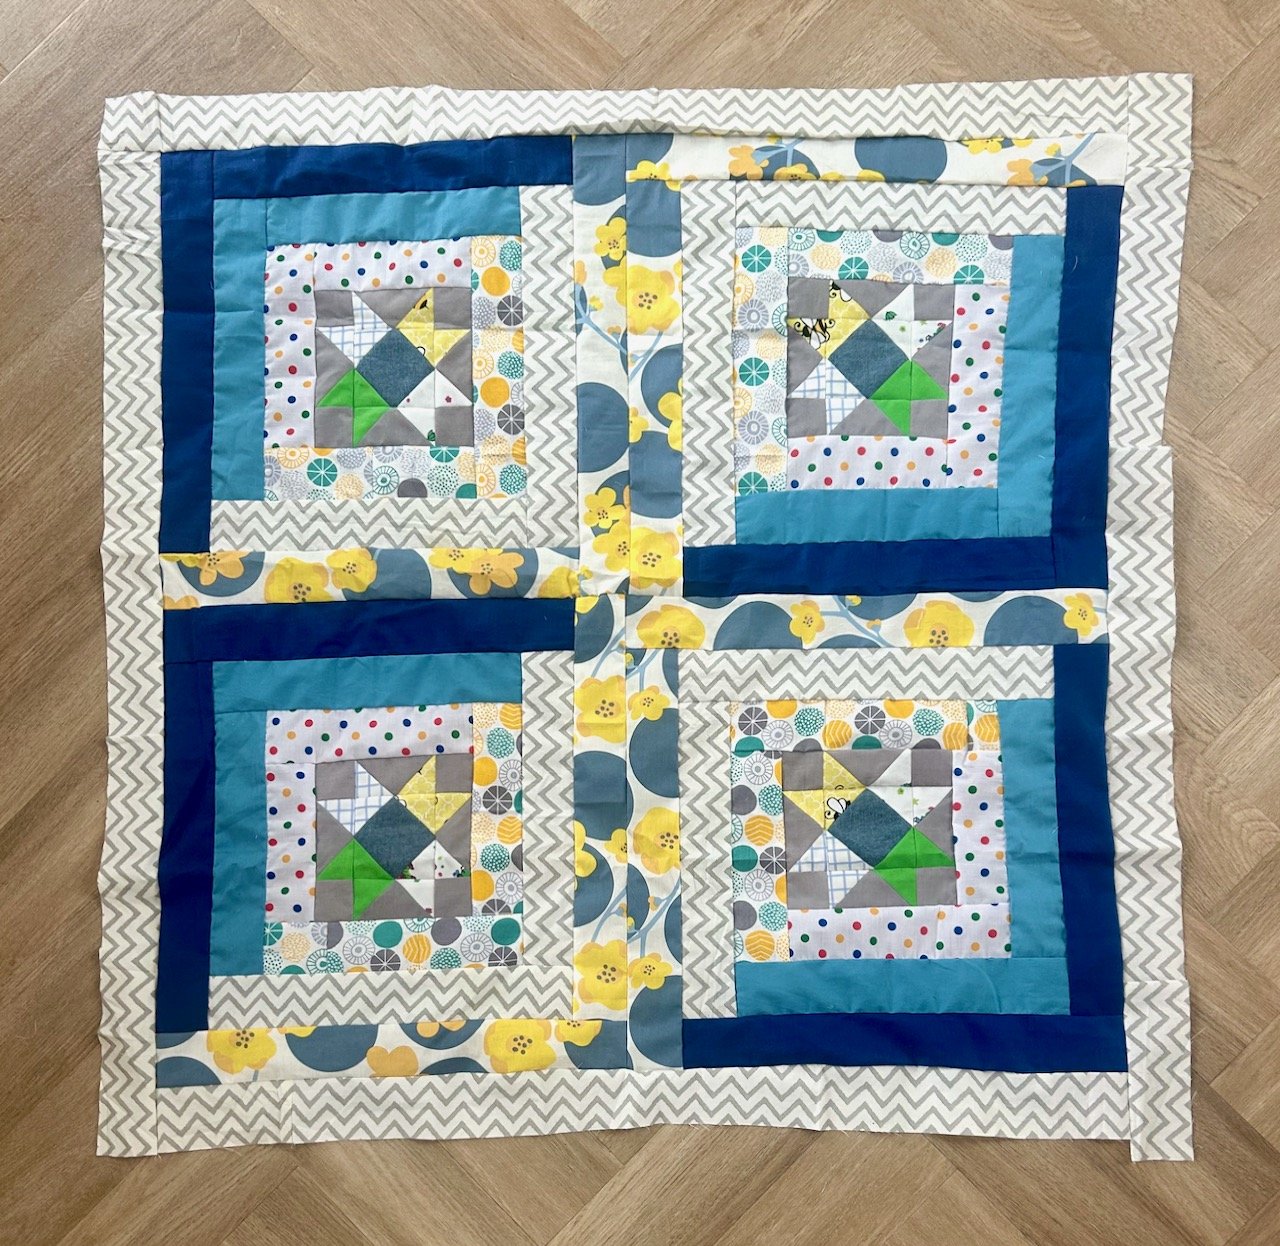
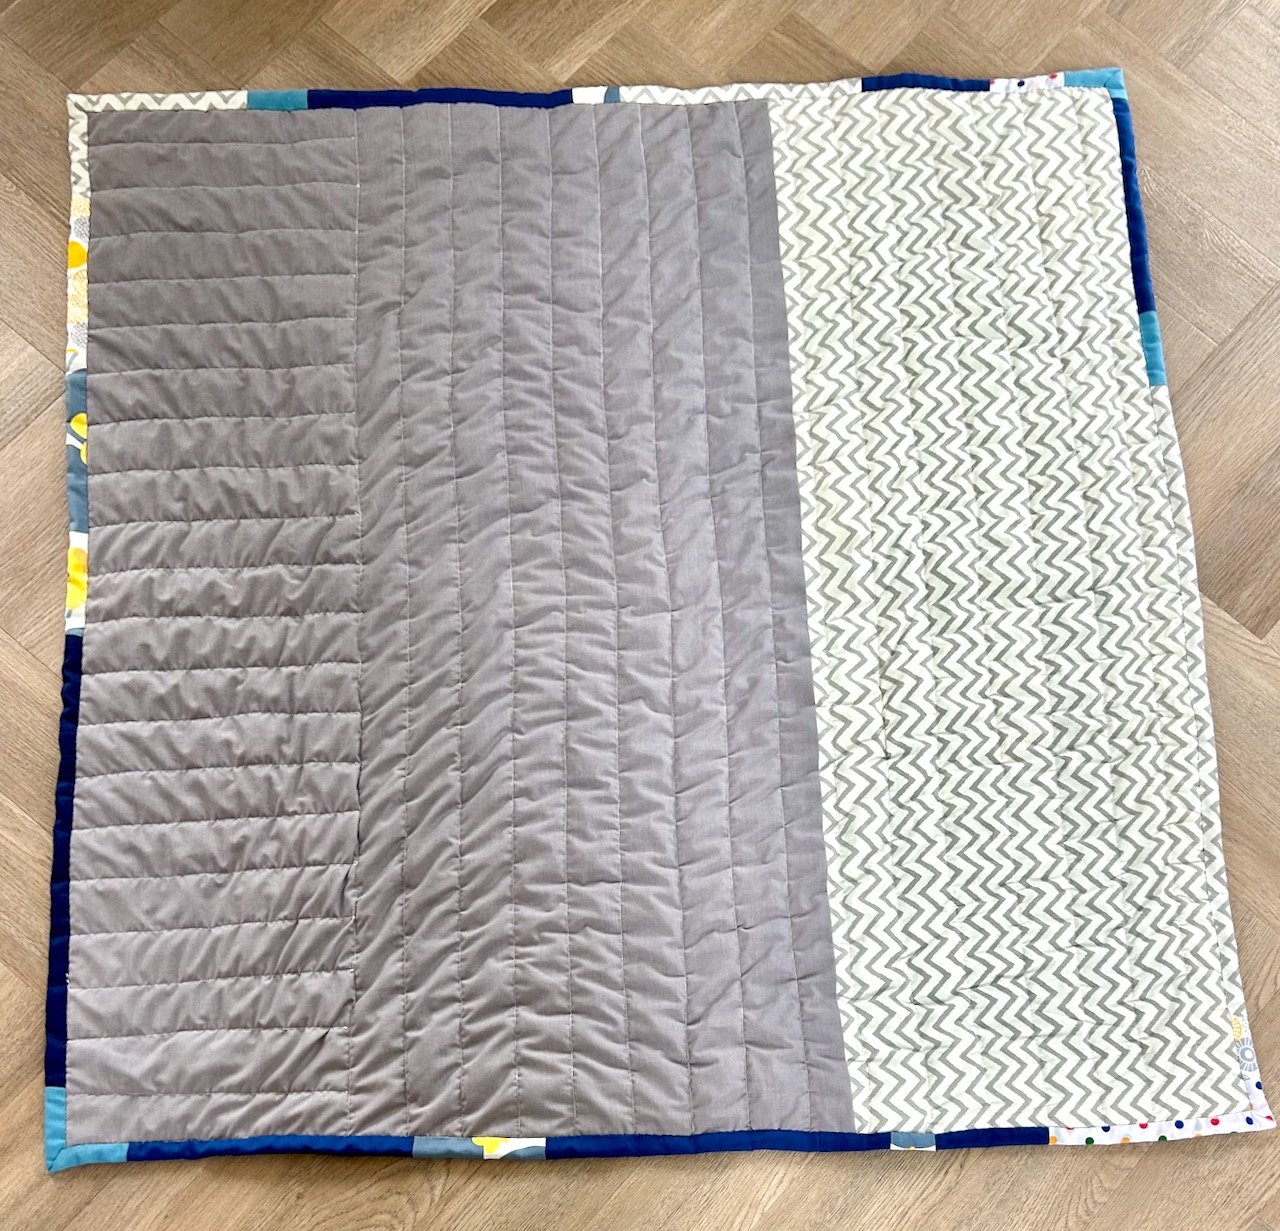
In fact I had enough of the grey zig zag fabric (the backing of a former king size duvet cover) that I was able to include some on the back too. I also played with how I quilted this one, as you can see in the photo above I quilted the left hand section horizontally, and at right angles to the quilting across the rest of the quilt.
I like the finish this gave, and it also made it much easier to quilt, so that’s something I should bear in mind going forwards.
And so, just like that, it was finished - well after I’d added the scrappy binding, which also gave me a bit of a headache. I don’t usually use the final border fabric in the binding, but I’d already sewn my scraps for the binding before I added the final border this time round.
I started pinning the binding on and quickly arrived at my first zig zag clash - and it clashed so much, I know my eyes would not have been happy with it, so I pinned that in a way that my eyes could cope with - and I’m quite pleased with how the bottom left corner turned out. I was also lucky that the other zig zag instances also lined up pleasingly - phew!
I hadn’t set out to use three different varieties of spots, and zig zags too - but that’s what I ended up with and it’s worked out just fine, and also provided the inspiration for this quilt’s name.
And what a one to end my ‘stretch’ project with!
You can see my other quilts I’ve made to donate to Project Linus - a charity whose mission is to provide love, a sense of security, warmth and comfort to children, who are sick, disabled, disadvantaged or distressed through the donation of new, homemade, washable quilts and blankets, including those that are part of this ‘stretch’ project in earlier posts.