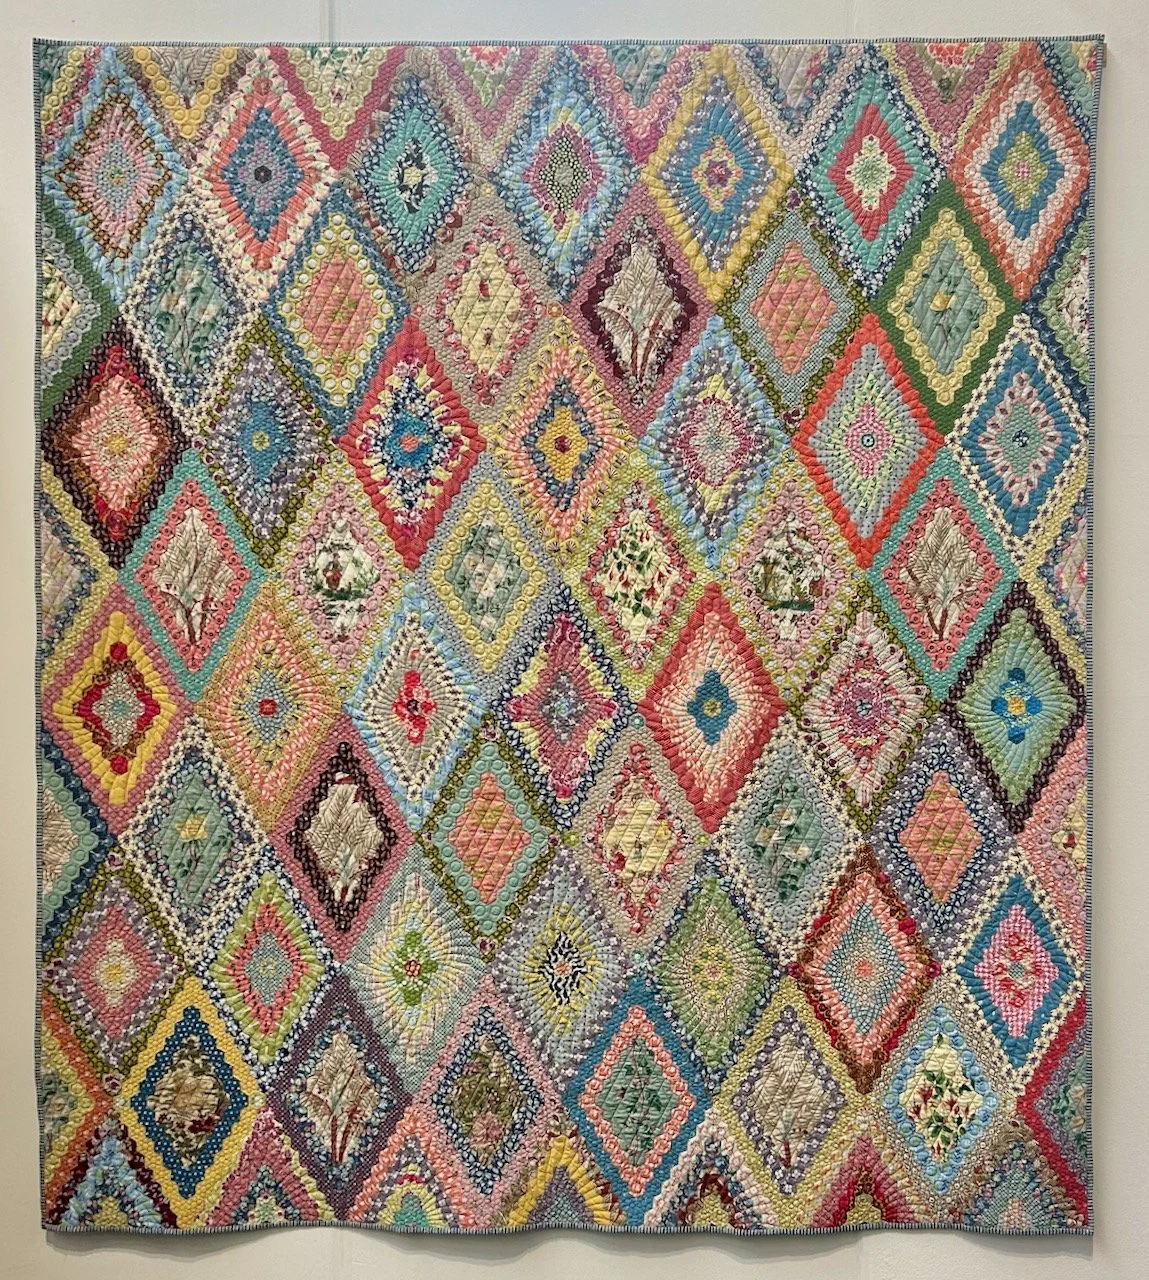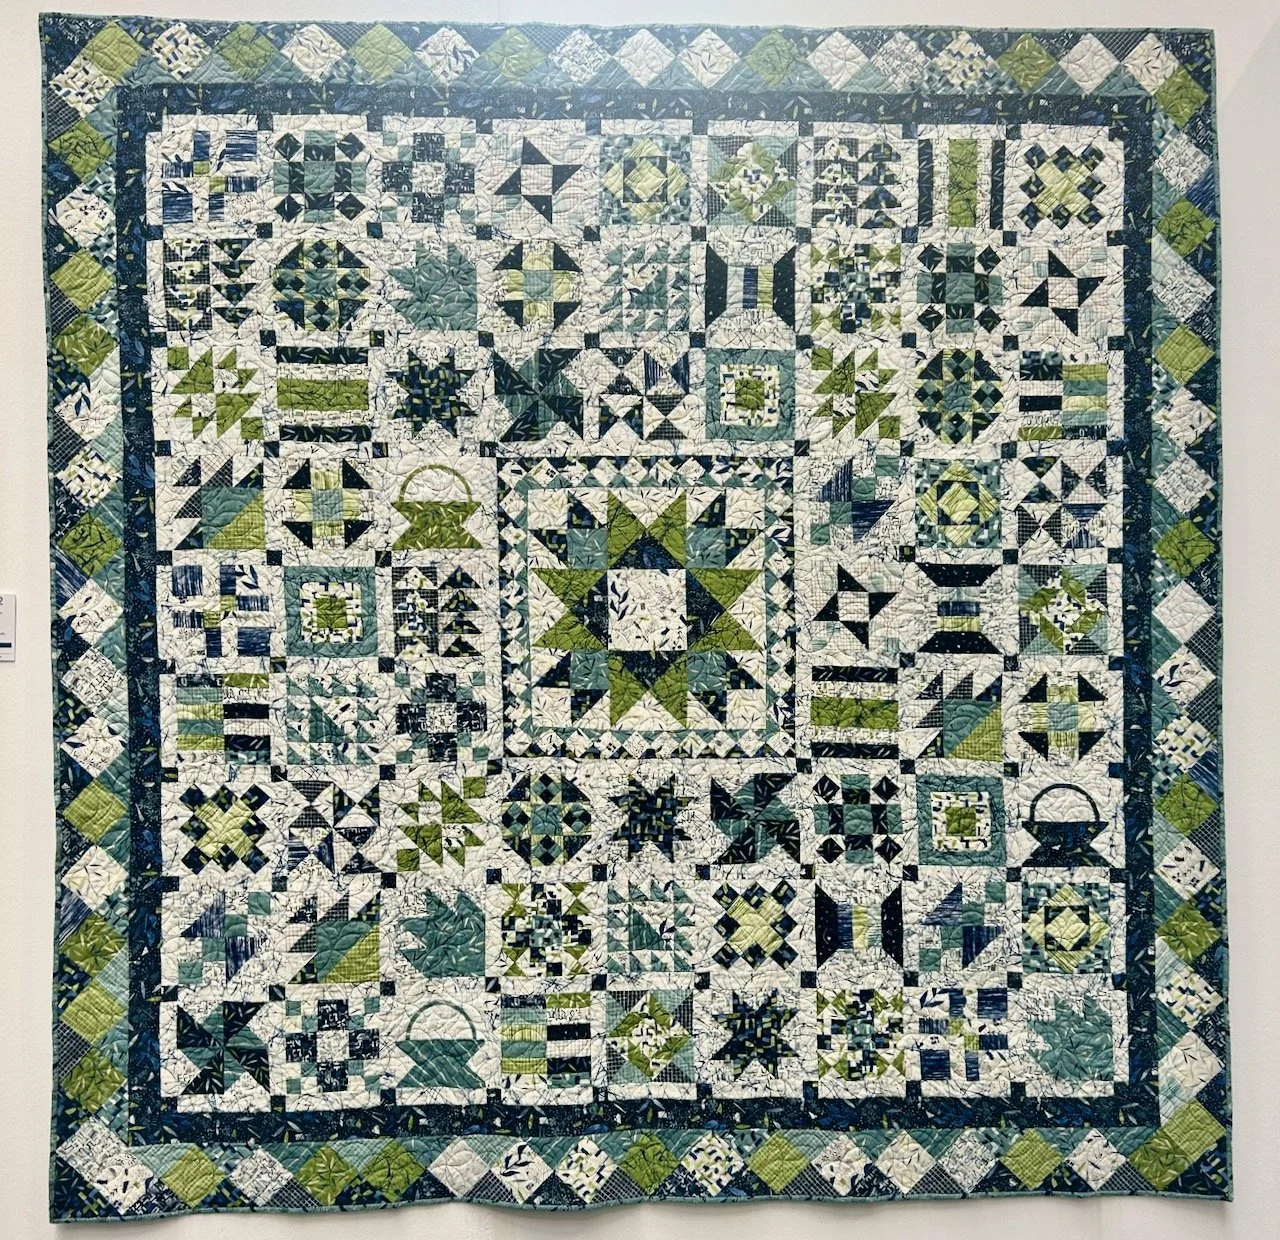


In this last post from the quilts I loved at the 2025 Festival of Quilts I’m sharing quilts displayed in a couple of the exhibition galleries, and they’re just as good as any of the others I’ve shared. I can’t quite believe that I’m getting ready to go along to the show again at the end of this month, where did that year go?
Anyway, let’s start in the Studio Art Quilt Associates (SAQA) Haven Gallery, an exhibition which explores in quilt form the ‘universal need for a safe space—a place to rest, heal, or regroup’. The pieces on display ‘posed questions about nurturing loved ones, providing refuge for those in need, and expressing each artist’s personal interpretation of what a haven represents.’
DAYTIME DREAMING, KAREN SUNDAY SPENCER
There’s many interpretations to the theme, and the quilt title helps to understand what the maker had in mind, and that itself makes the quilts so much more powerful.
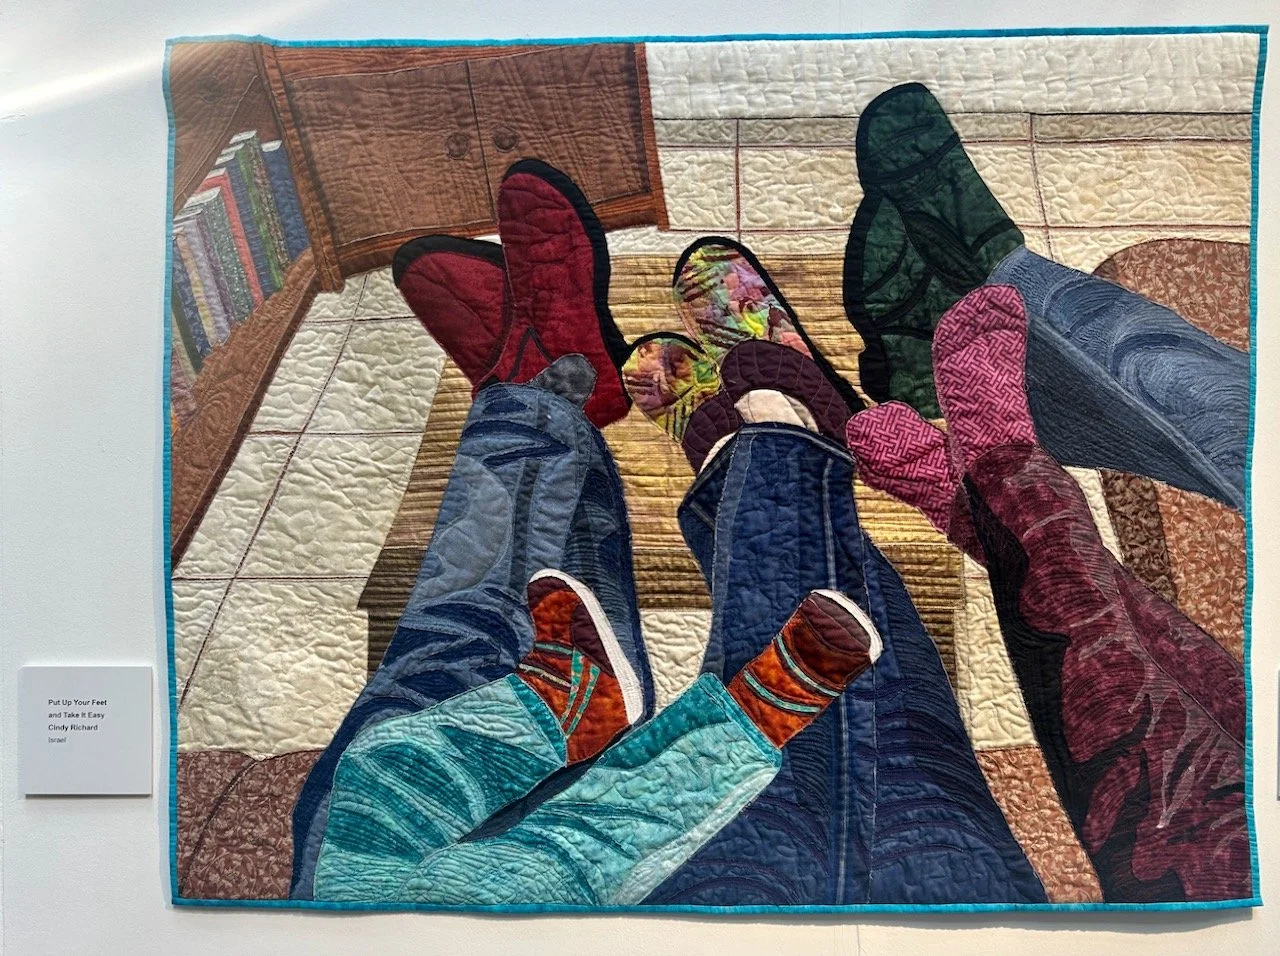
PUT YOUR FEET UP AND TAKE IT EASY, CINDY RICHARD
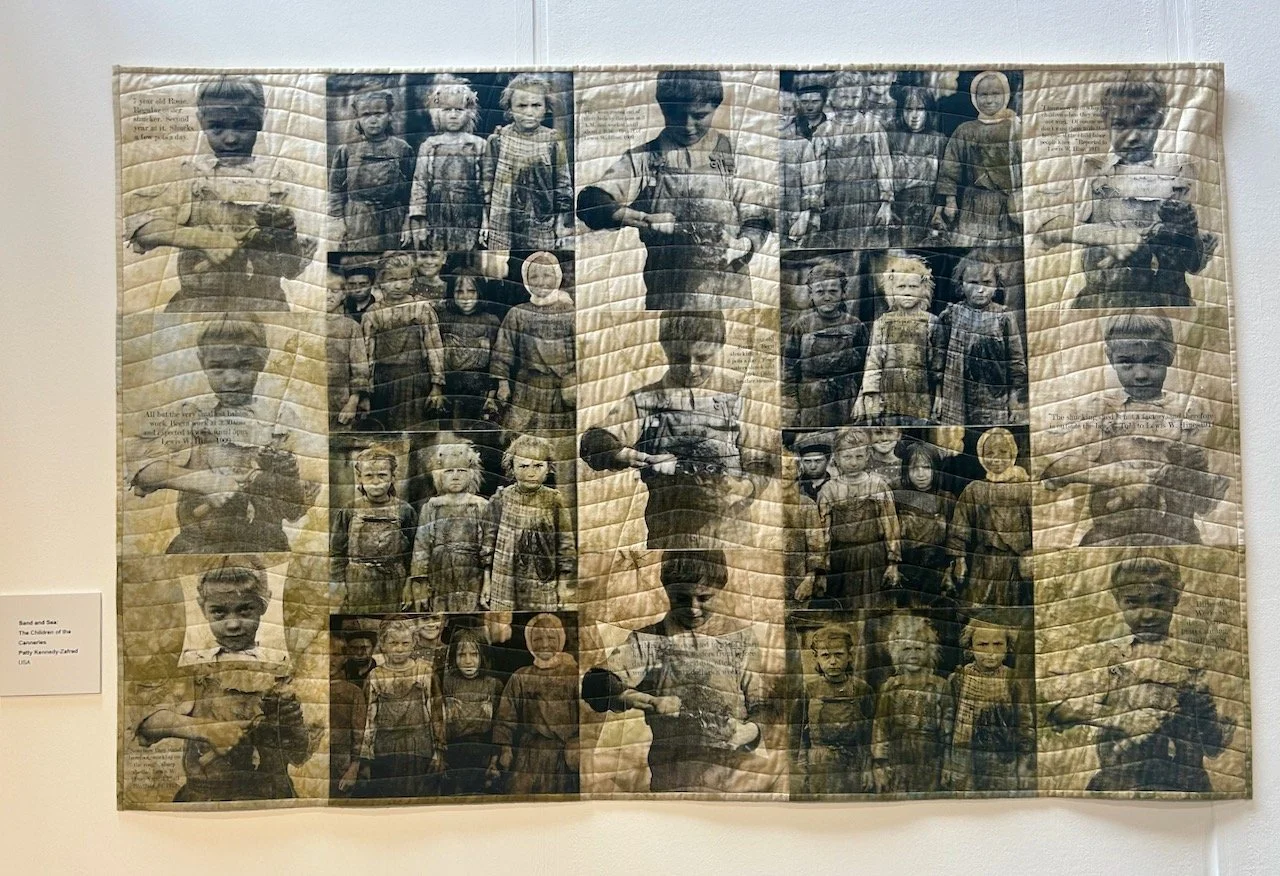
SAND AND SEA, PATTY KENNEDY-ZAFRED
The quilting techniques on show also vary, and it’s the more colourful ones that naturally caught my eye.
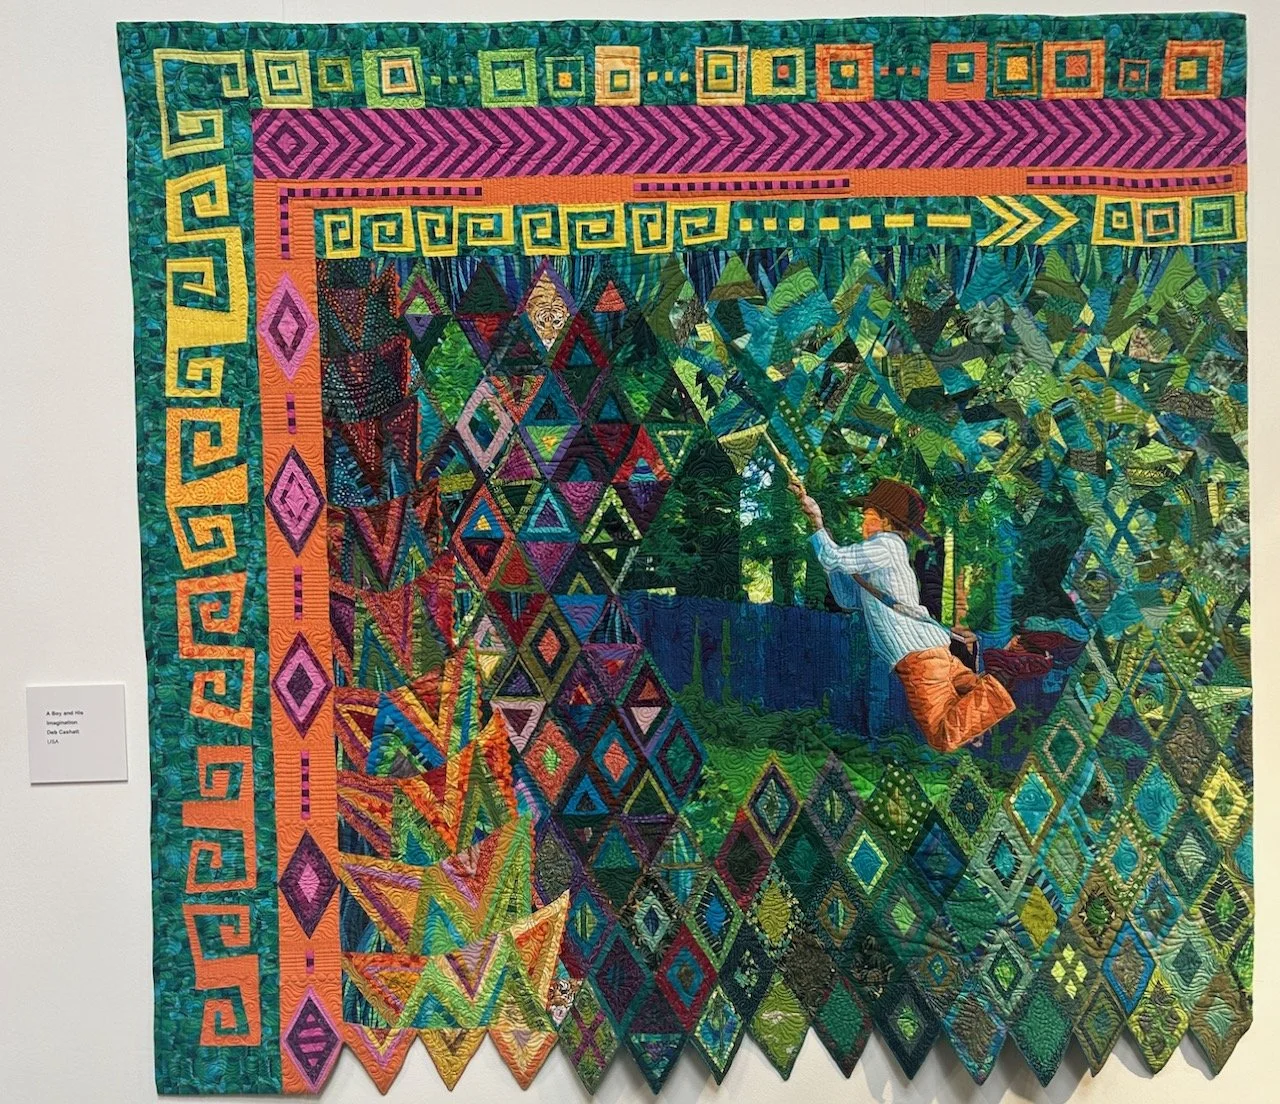
A BOY AND HIS IMAGINATION, DEB CASHATT
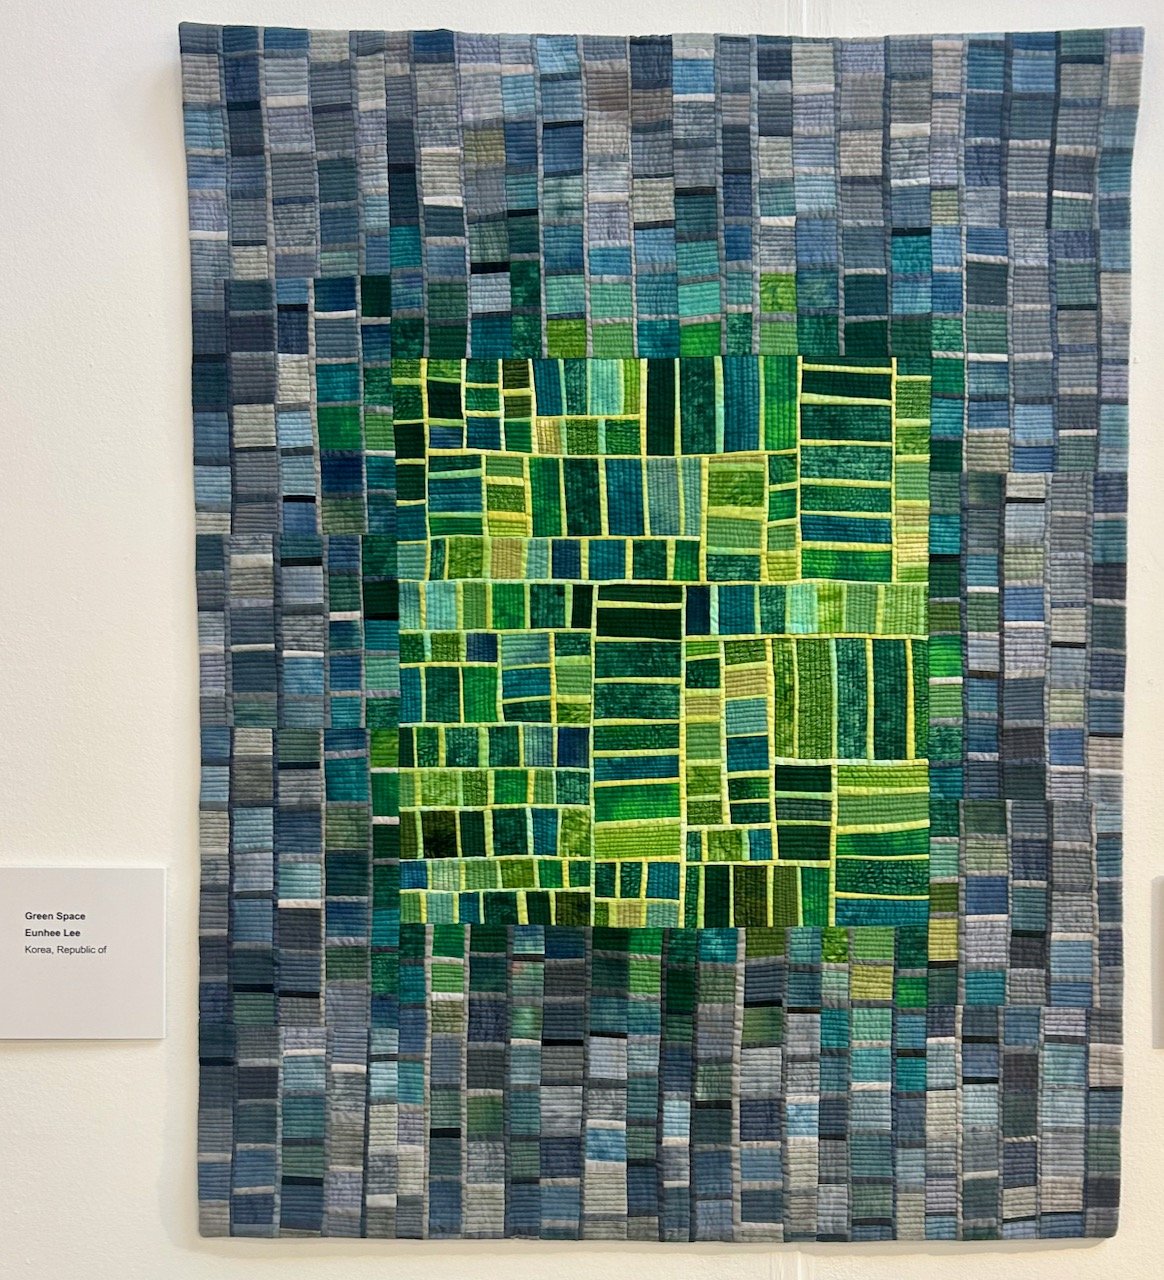
GREEN SPACE, EUNHEE LEE
But it was this final one from this gallery that took my breath away. As we walked past it we at first thought it was a painting, and therefore an odd inclusion at the show - it was a long day, we’d walked many steps by this point and had been wowed by many, many quilts.
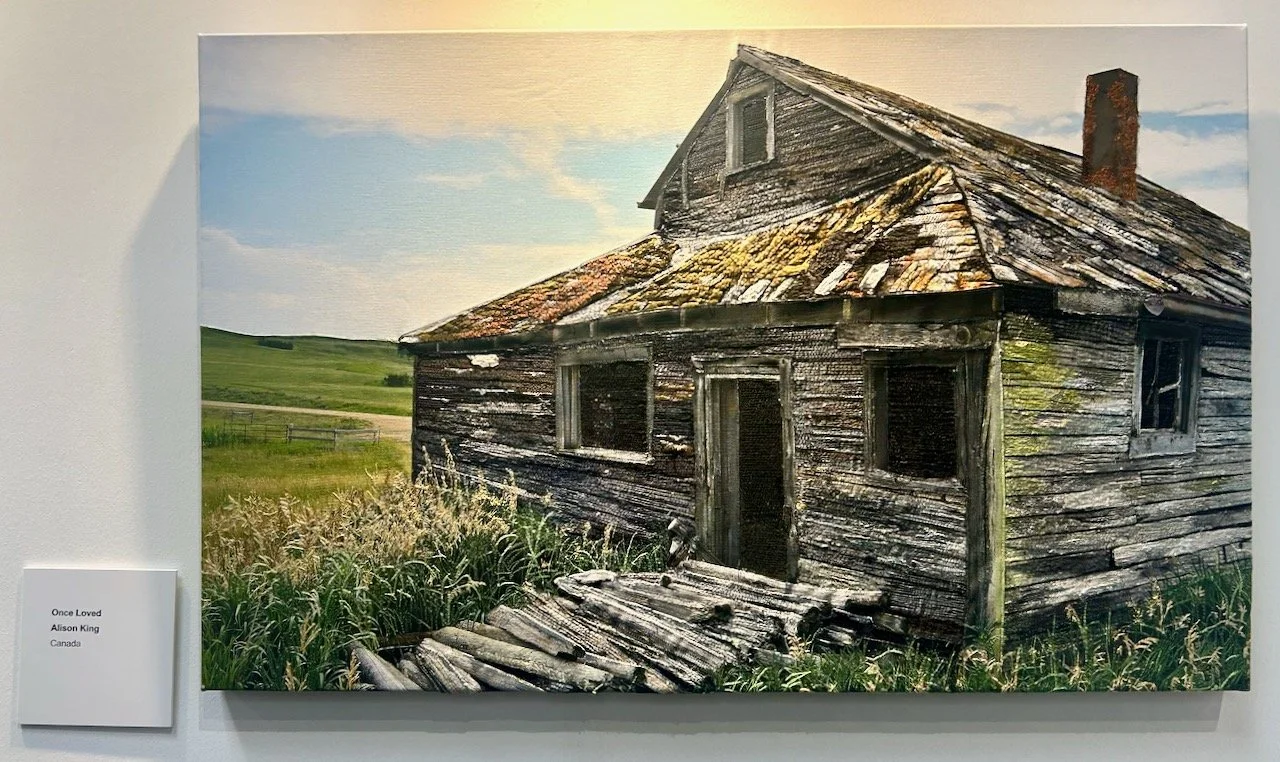
ONCE LOVED, ALISON KING
But this one deserved another look.
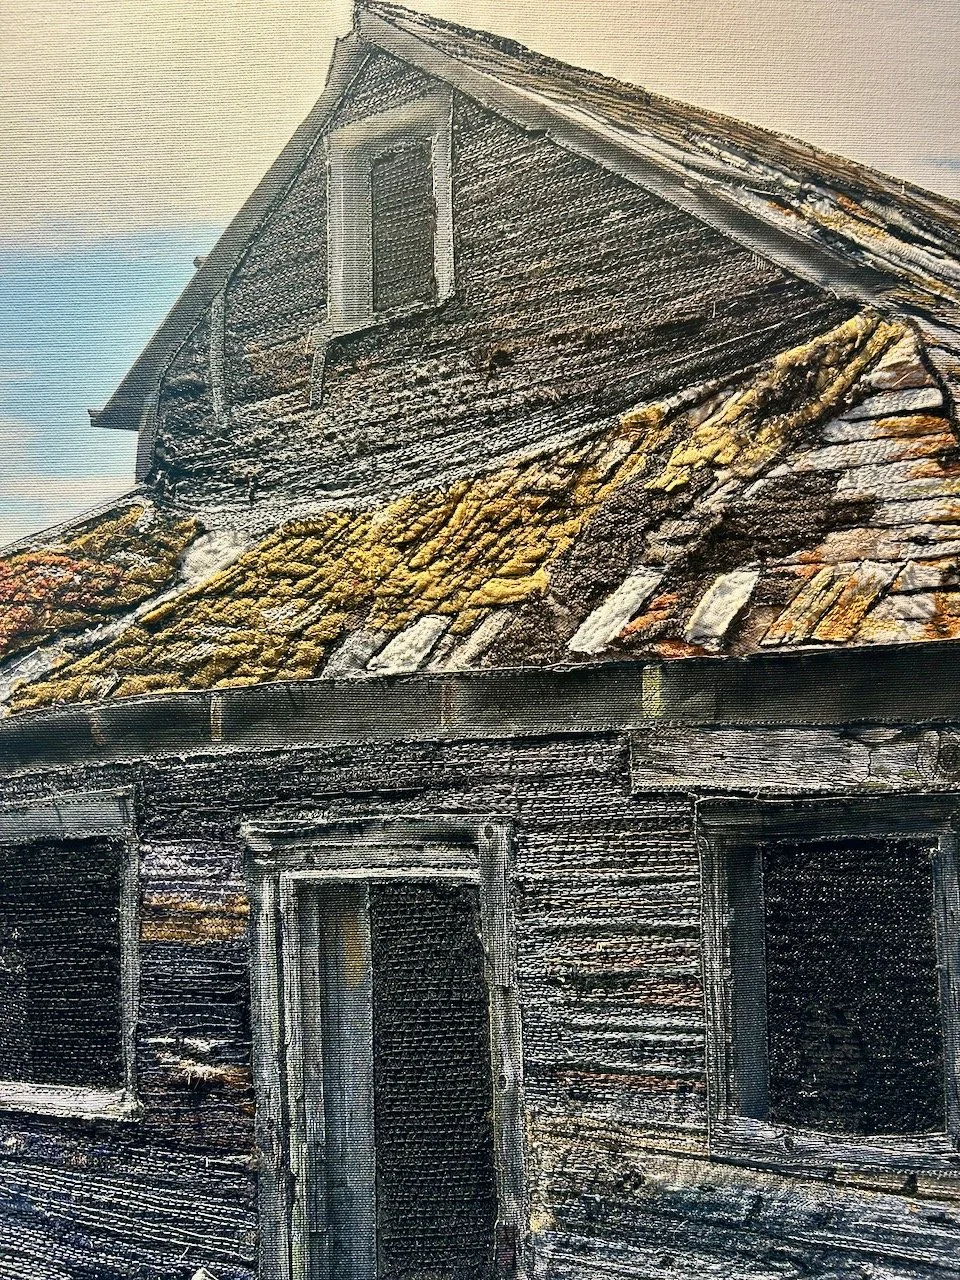
ONCE LOVED, ALISON KING
It wasn’t a painting at all, but probably the most detailed quilting I’ve ever seen. And so amazing, just look at the attention to detail of the green staining on the corner of the once loved building.
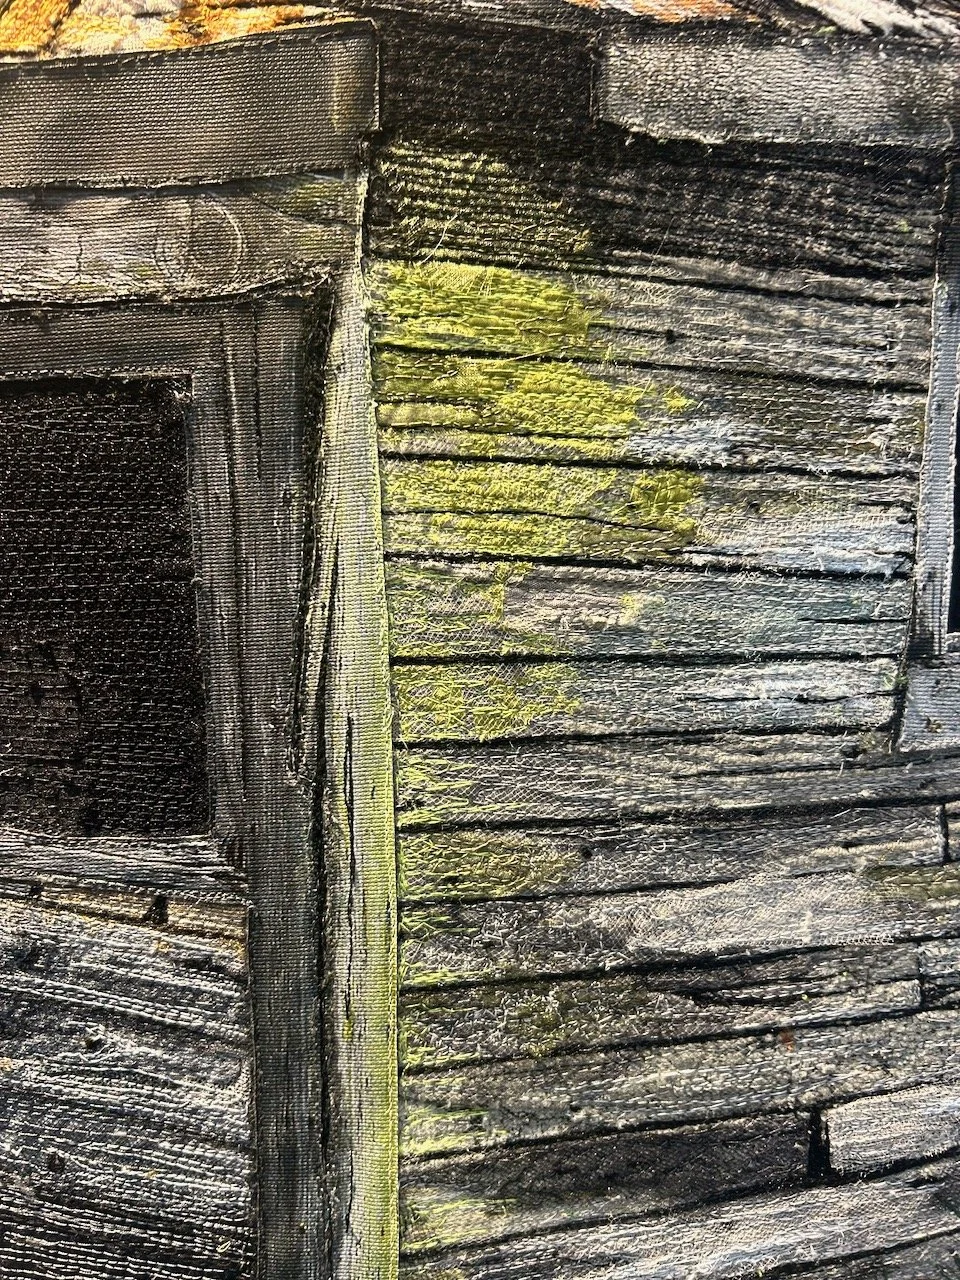
ONCE LOVED, ALISON KING
They are all amazing, but that last one was just mind blowingingly so!
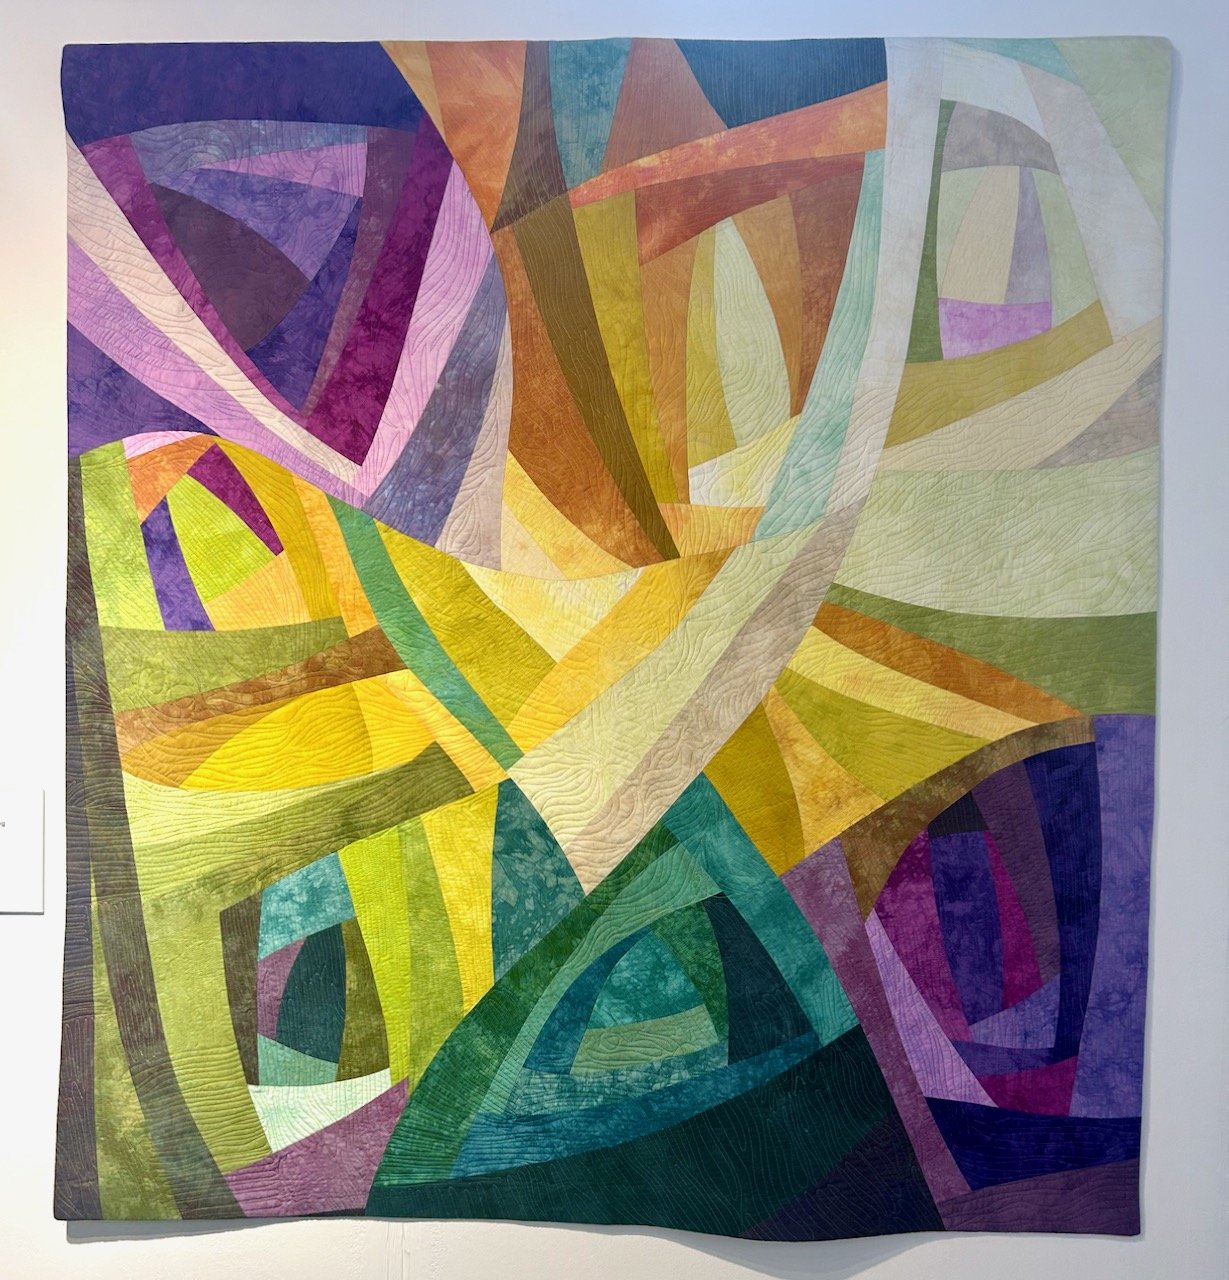
Having recovered from that amazing-ness, there was a final gallery on our list of things to see, and the next two pictures are from the Pat Pauly collection entitled ‘Pieces and Resistance’. The quilts showcase her decades of expertise in art quilting and textile design, her quilts are said to ‘bridge the worlds of painting and fabric art’ and you can totally see that when you look at the images below.
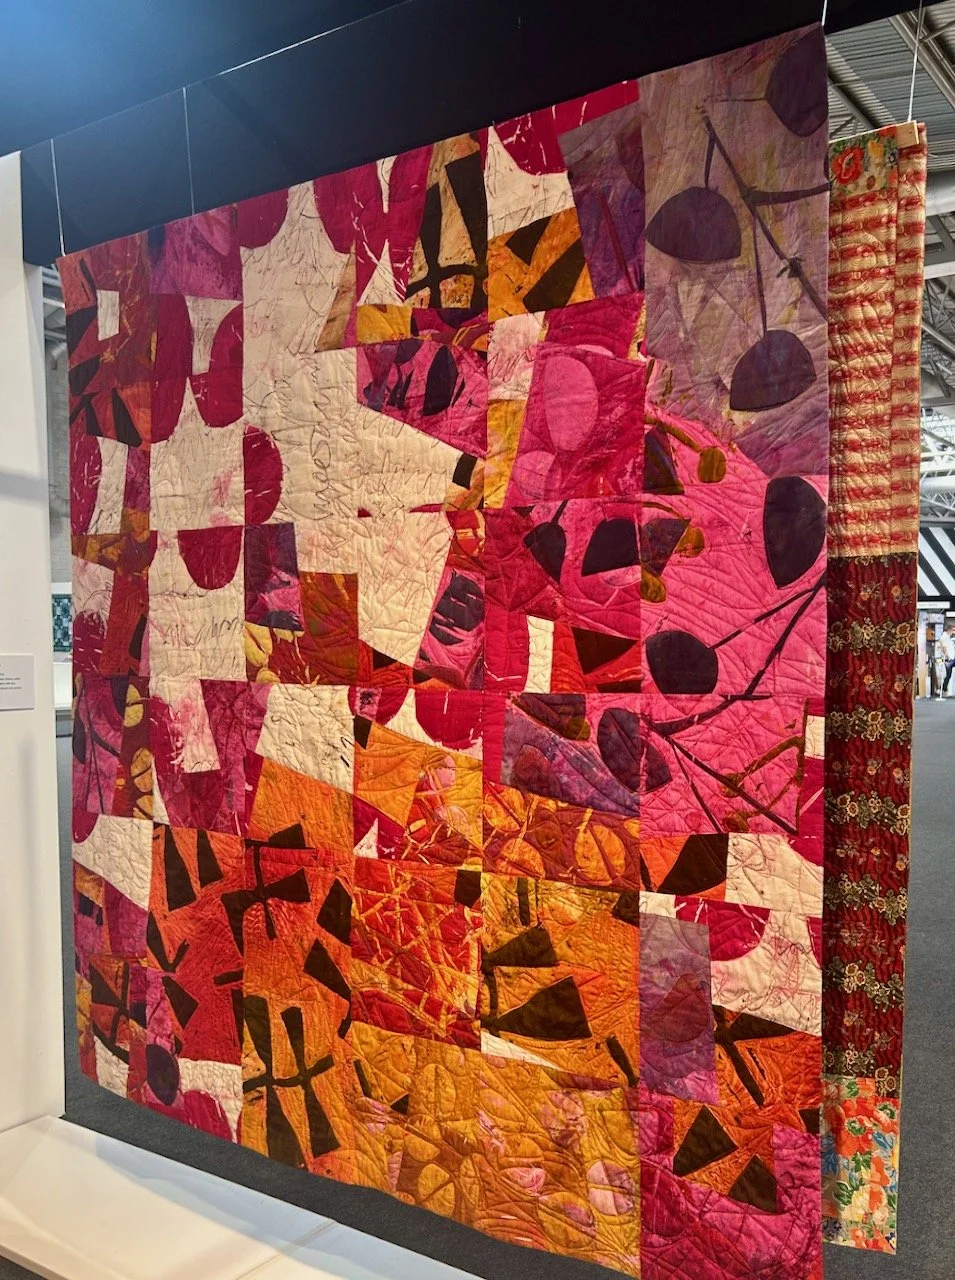
PAT PAULY
The gallery blurb said that from a distance her quilts often resemble paintings, but closer inspection reveals their complexity as intricate textile compositions. I can totally get that, and I love the explosion of colour.
PAT PAULY
Given the colour ways of these quilts, it’ll be no surprise to many of you that these were among my favourites from the whole show. The 2025 show was my first time at the Festival of Quilts, and I’m gearing up to go again at the end of the month so over the next year I’ll continue to share the quilts that catch my eye. I’m once again going to the show with my SIL and we already have a workshop booked, but knowing what’s ahead of me this time I know I need to pace myself, take a power supply for my phone and be better at giving myself clues on the quilt name and maker!
And I fully expect to be wowed and wowed again at this year’s show.