


Here’s the final post in this series, which follows more details on why we chose the first, second and third photos as part our series of four black and white pictures. As you know the first two images were of holiday memories, and the third was prompted by where we used to live, so it seems only right that the final image was of our new location. It’s also the only photo not taken by me in the series too.
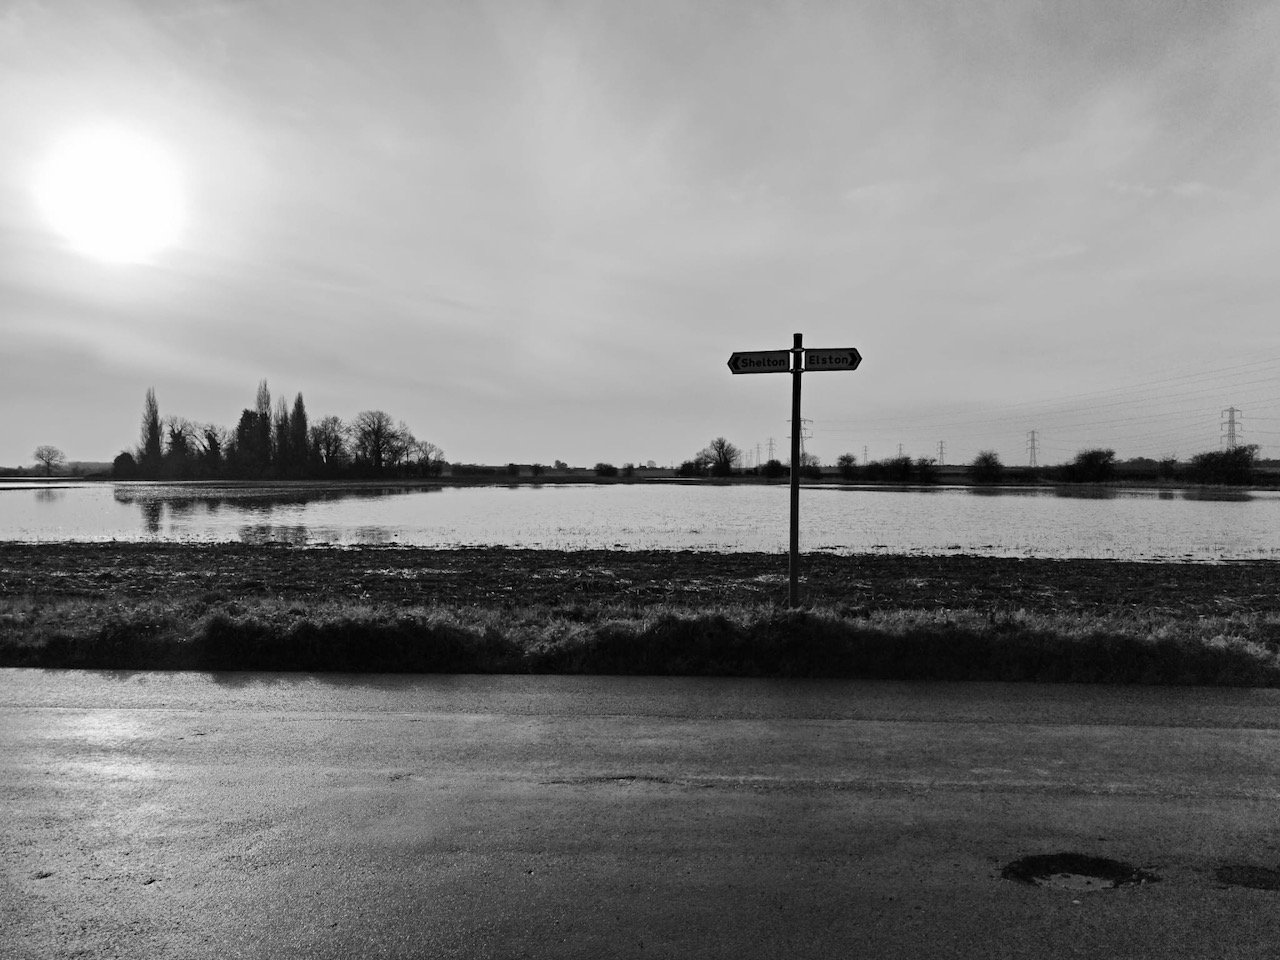
MOH took this photo of one of his regular bike rides, it’s a place we drive past often and so it was a bit of a shock to see the field full of water that first winter we were here. We were already a little bit more shocked than we thought we would be by the weather and its impact on the area around us, and I remember thinking how much hardier these country folk were, much more than us townies and questioning if we’d made the right decision to move.
But to give you an indication of how grim it was, and how much of an eye opener it was, there’s very little difference colour wise between the colour and black and white photo. There’s definitely some mileage in the ‘it’s grim up north’ saying, but it’s also true we’re glad we moved here as there is so much more it offers us.
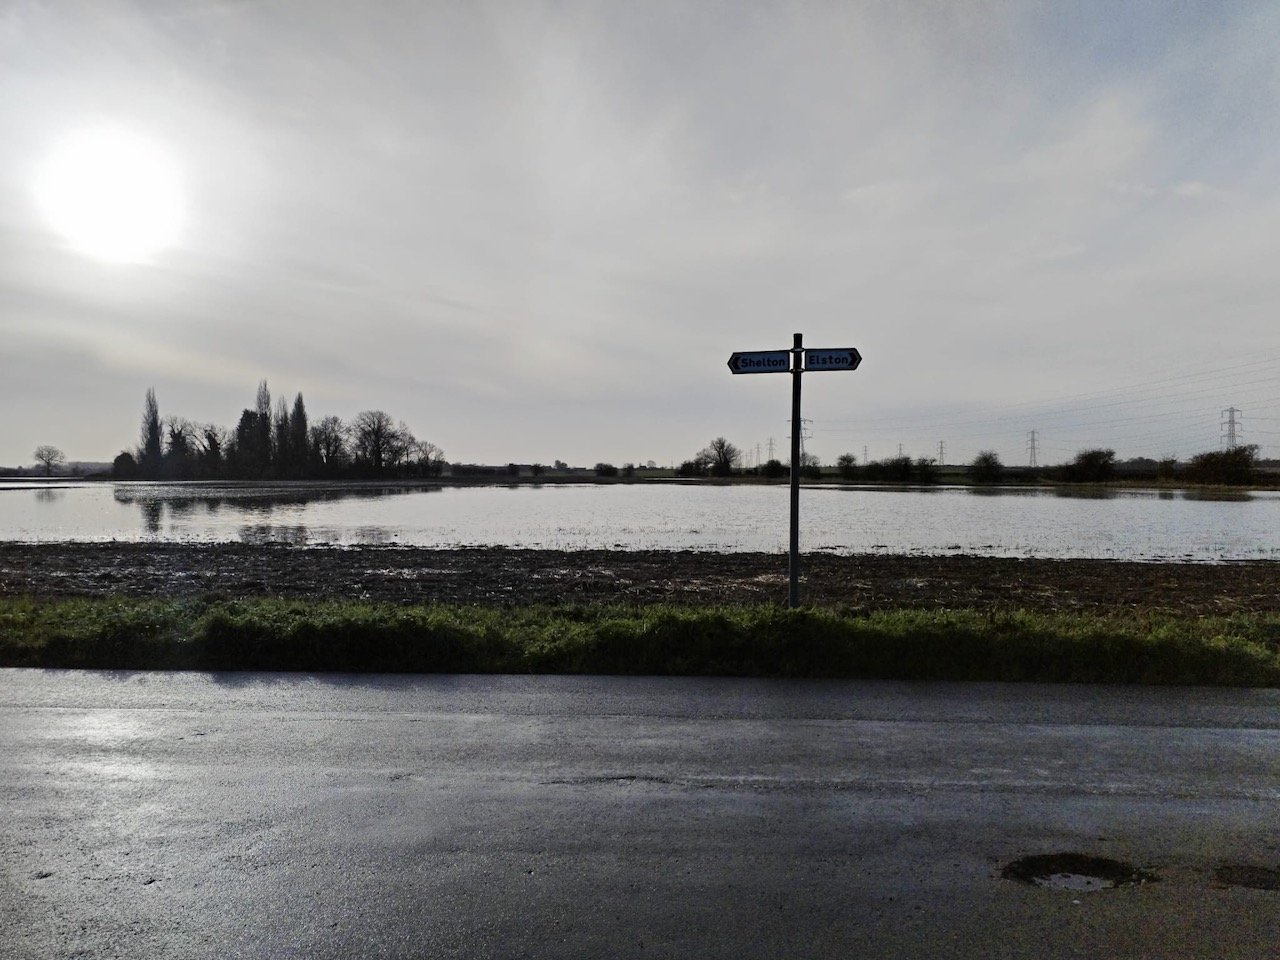
The black and white photo loses the place names on the sign, but I think accentuates the pot hole - which like many places is sadly a way of life right now. We’ve learnt that here though they draw a yellow circle around them, we’re not convinced this is to highlight where repairs are needed though as often the yellow circle wears off and needs replacing too! You’ve got to laugh though…
So the final image is a good reminder of our first winter in our new house, and I think complements the other images in our series of four black and white pictures, each of which includes an element of nature. Together they make a great and impactful display in our bedroom of our now not quite so new house!