


As part of our move from London it was important for each of us to have a ‘day space’ and for me that was a space to craft. It didn’t matter what part of the house it was in, but I was keen for it to be in the house rather than say an outbuilding (purpose built or otherwise) in the garden. I know that on the colder days I’d be tempted not to venture out, and heading upstairs would always be preferable.
But the main thing for me about having a dedicated craft space was to have my craft supplies together and organised. As a spoiler to this post, my craft supplies are together but not yet completely organised, but I’m confident that will come!
Previously I’d stored my crafts between at least a couple of rooms, and having them together felt like the ultimate luxury. Before we moved I toyed with the idea of an adjustable standing desk, and at one point one of those clever storage cupboards where the doors fold outwards and a crafting heaven comes into sight.
In the end I opted for neither of these, but nabbed the fourth bedroom which I’d earmarked from the very first time we viewed our new house. It’s the same size as the third bedroom, but importantly the room I nabbed has a built in cupboard, and as any crafter knows, storage is king.
It’s taken me a few months to get my space to where it is now, and I’m sure it’ll take a few months more to fine tune it but I’m back crafting. And I’ve many projects that I can’t wait to get started on, and to share with you, but first let me share more about setting up my space.
Three weeks in…
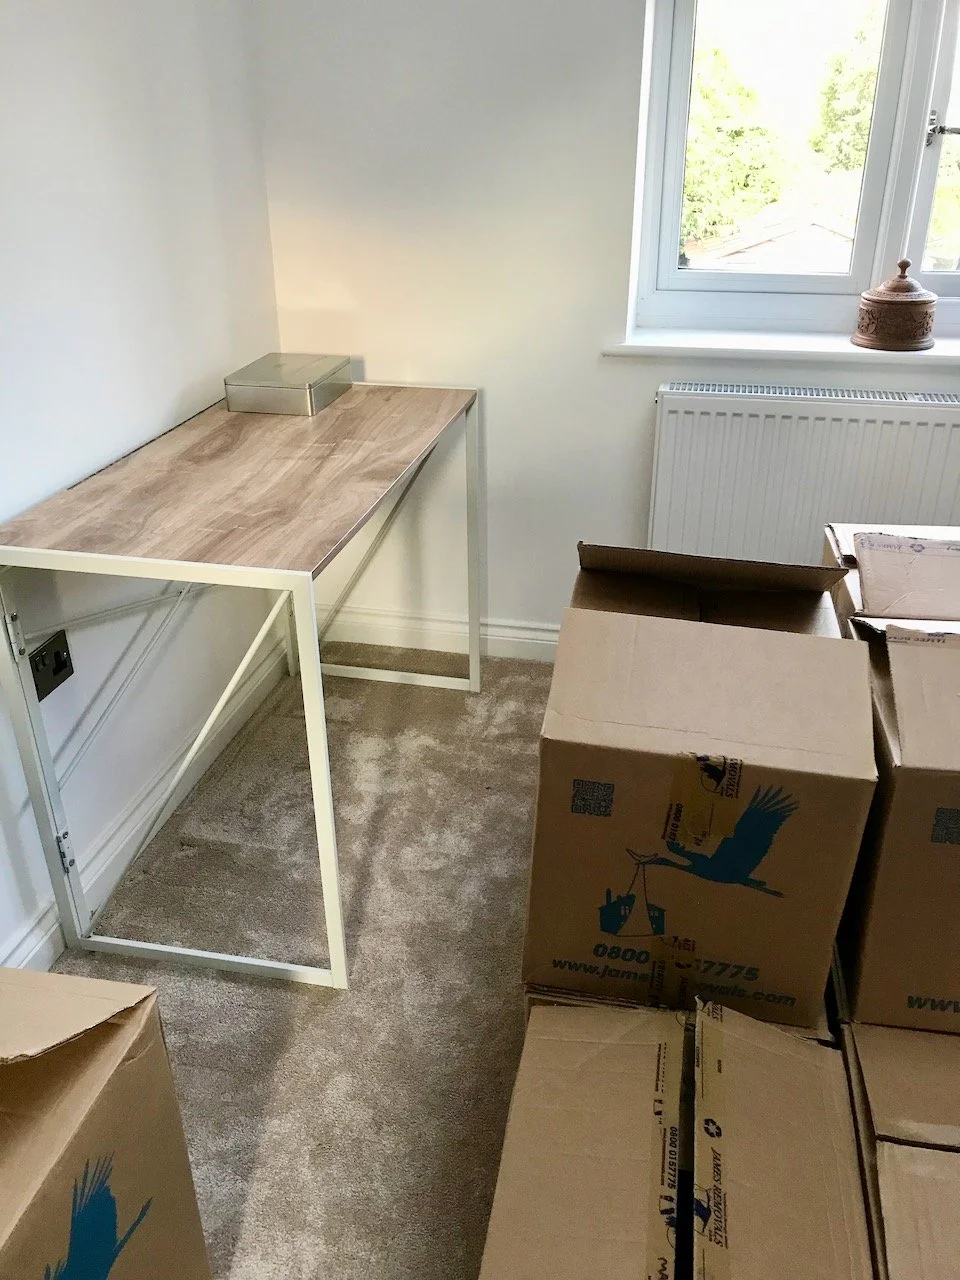
With family visiting in the first few weeks our priorities were to get living - and sleeping - spaces functional, and as a consequence the craft room became a bit of a box store, but I was determined that it wouldn’t fall to the bottom of the list. I was determined to make my mark and get my desk set up, so that’s how I ended up with this bizarre setup.
It didn’t matter that most of the room was full of boxes, that I had no actual seat and that I mostly still didn’t know where anything was, or what I wanted to craft. I had a desk and space to craft if I wanted to, and of course, the perfect excuse to disappear and ‘just sort a few boxes out’ if I wanted to.
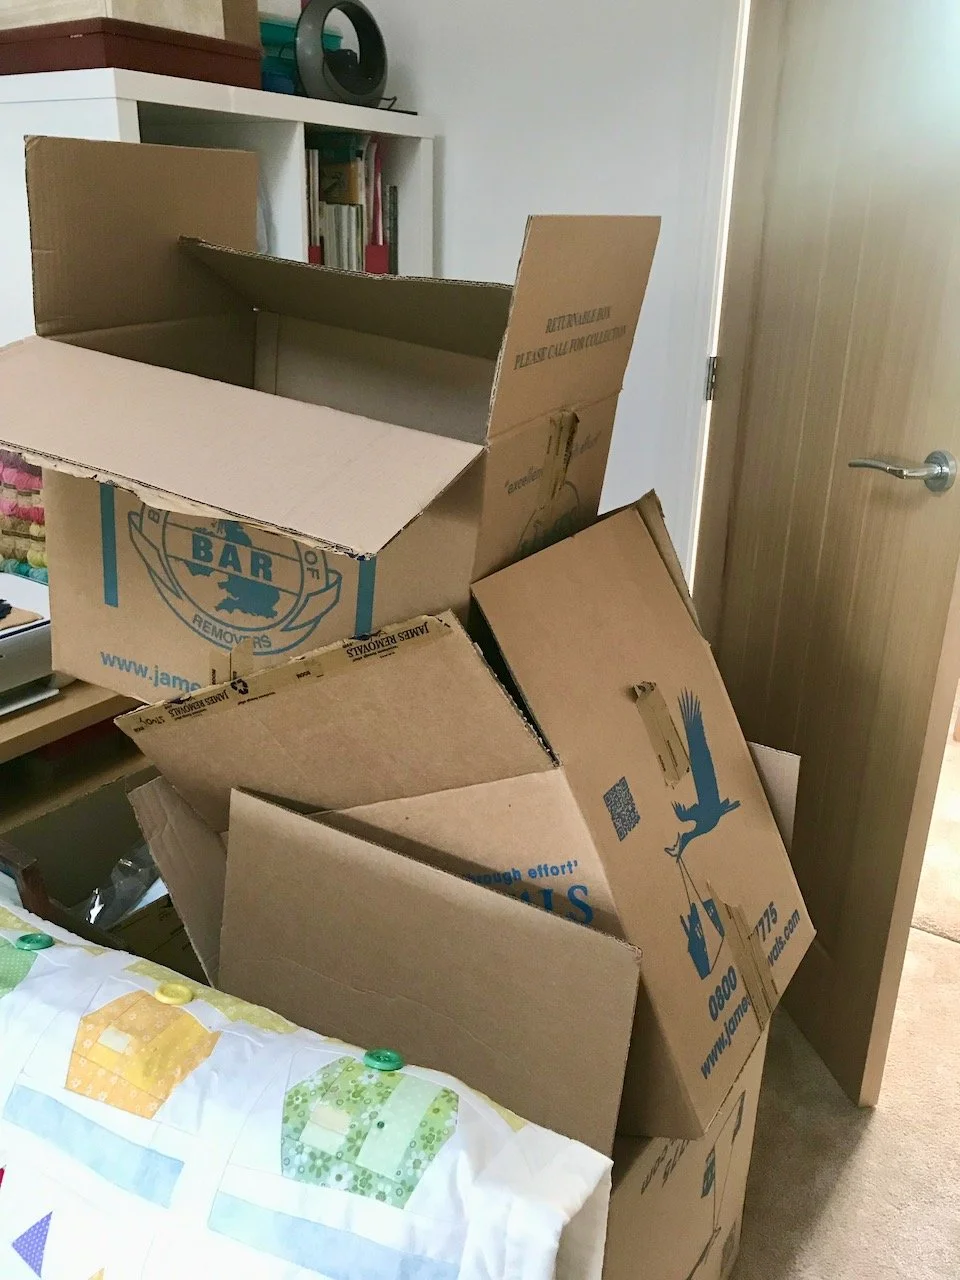
I knew I had a lot of craft supplies, and this was OK as I also knew that when I moved I should have more time to actually get on and craft. Before my Carpal Tunnel Op I’d bought ten medium sized boxes to pack while I had the use of two hands, reckoning that after my op I’d not have much call to craft immediately anyway. I filled those boxes so quickly though that even I was shocked, and there was still so much more to be packed - which also meant that unpacking would take some time.
We had two eight section Ikea Kallax units that were being repurposed as storage in this room, along with our old Ikea washing basket and the orange legged desk which MOH had used in his office while working from home, and which I’d long coveted!
I naively thought this, along with two slim Billy units in the built in cupboard, would provide all the storage I needed.
MOH looking at the storage space I’d used already and the amount of full boxes still to be unpacked managed to say with a straight face that he didn’t think I’d pull it off and perhaps I should get more storage. Realising he was probably right we soon headed off to Nottingham and Ikea for another eight section Kallax.
And it was absolutely the right thing to do, while they’re not empty there is space to flex and grow - and I’m hoping that I’ll be using supplies too, so there’ll be some natural turnover of stuff.
Starting to take shape
With the right amount of storage, by the middle of August the room was starting to take shape. I’d requisitioned the orange legged desk from its temporary place in the kitchen area as soon as the usefulness of having a desk for paperwork was proven, and quickly realised the advantage of having a double length desk space. Gone was the idea of the adjustable standing desk!
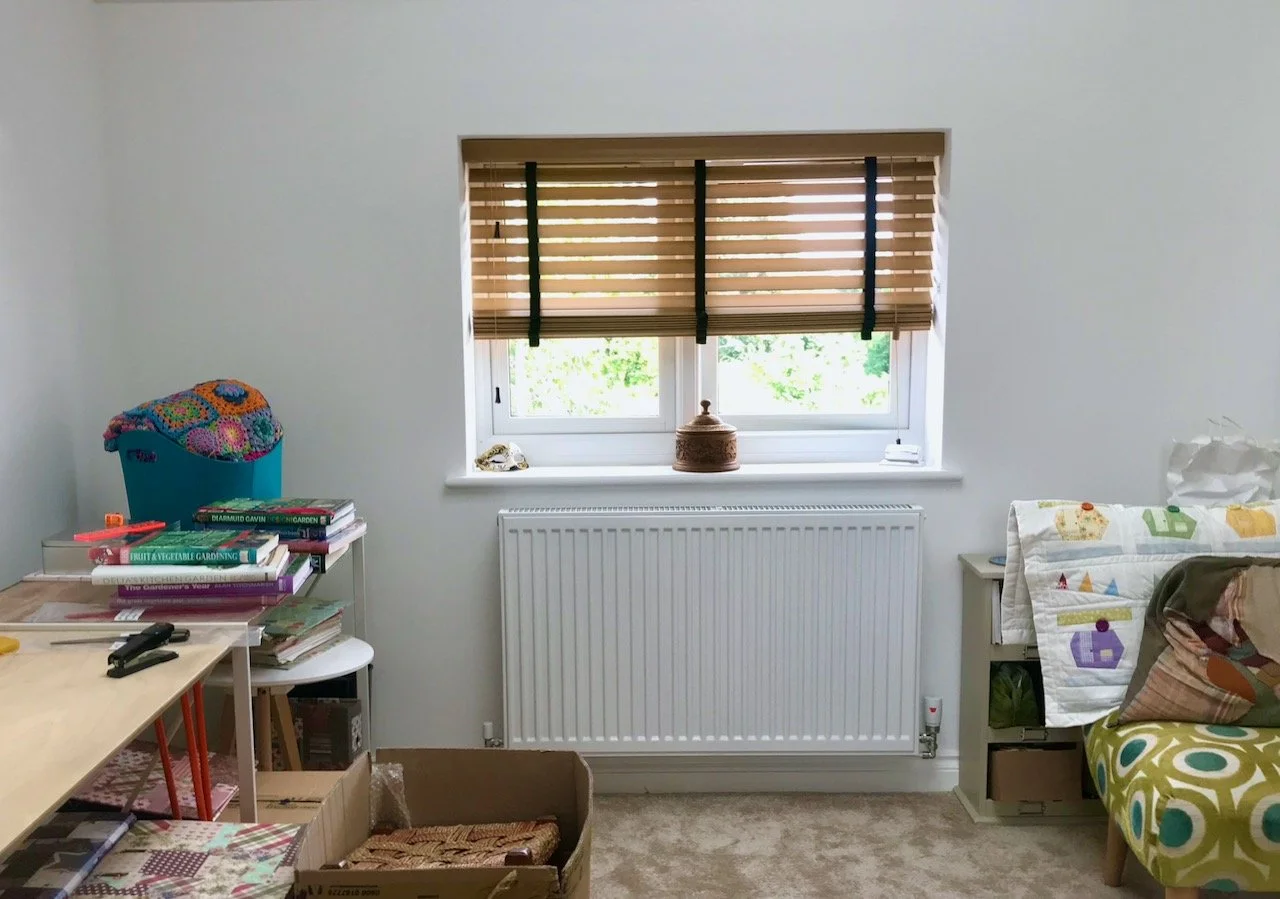
But just as quickly I discovered the shortcomings of my mismatched desks.

Yes, differences in sizes. The desks were about an inch different in height, and more like three inches different in depth. I could manage with the tops being different colours, but not the size differences, so I needed a plan B.
Plan B
I thought it would be simple to buy another desk from the same seller on Etsy to match the orange legged desk. Not so, the seller was no longer trading and try as I might I couldn’t find anything similar. A more imaginative response was needed.
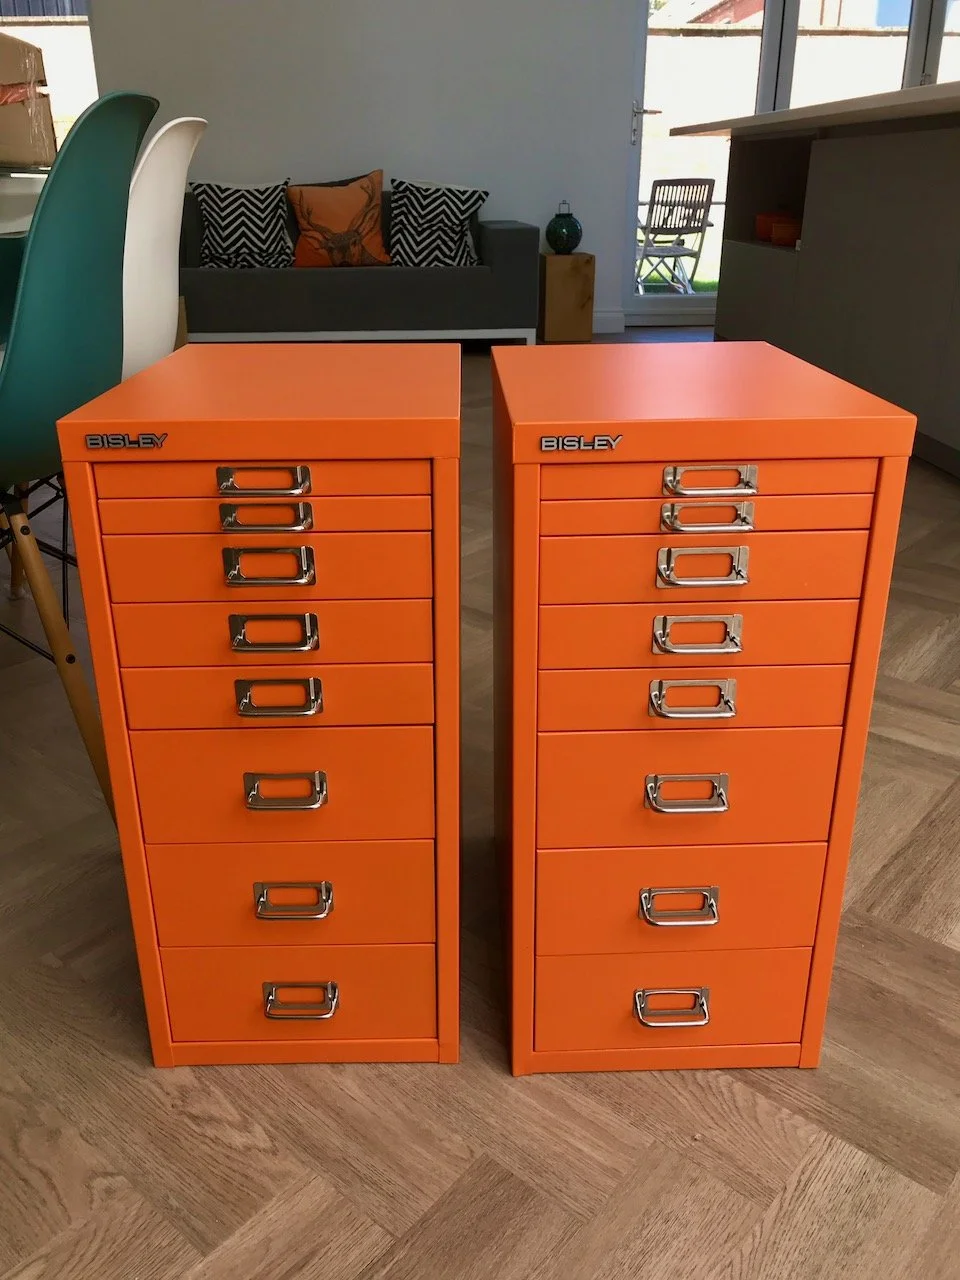
I knew I could buy the hairpin legs as this was something we’d looked at before, but discarded for ease when we saw the desk. In the interim I’d also realised my desks would benefit from some drawer space. I had my heart set on some Bisley drawers, initially looking at second hand units on eBay, but without much joy.
Instead after some umming and ahhing these arrived, and I couldn’t be happier.
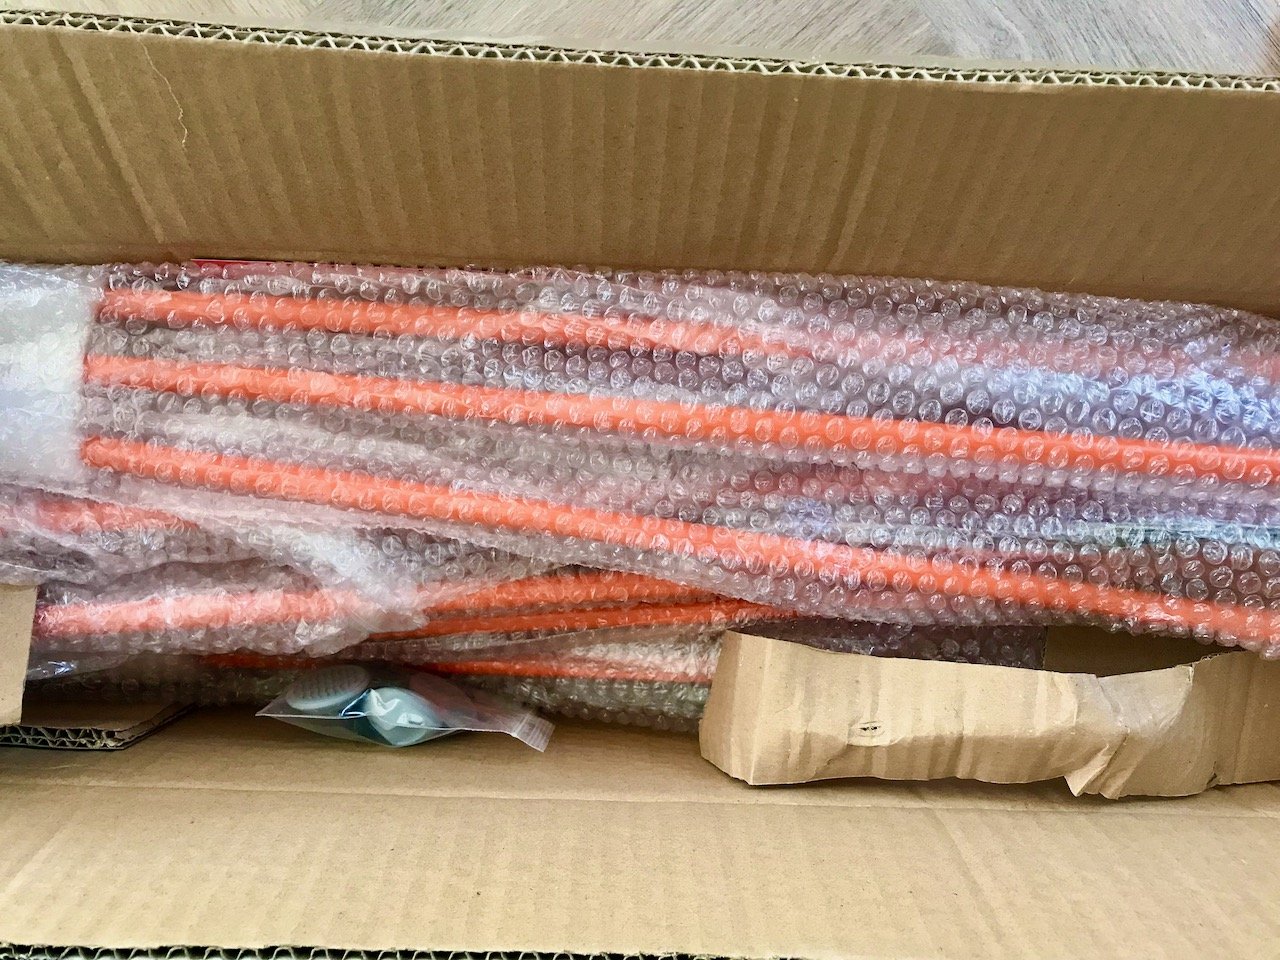
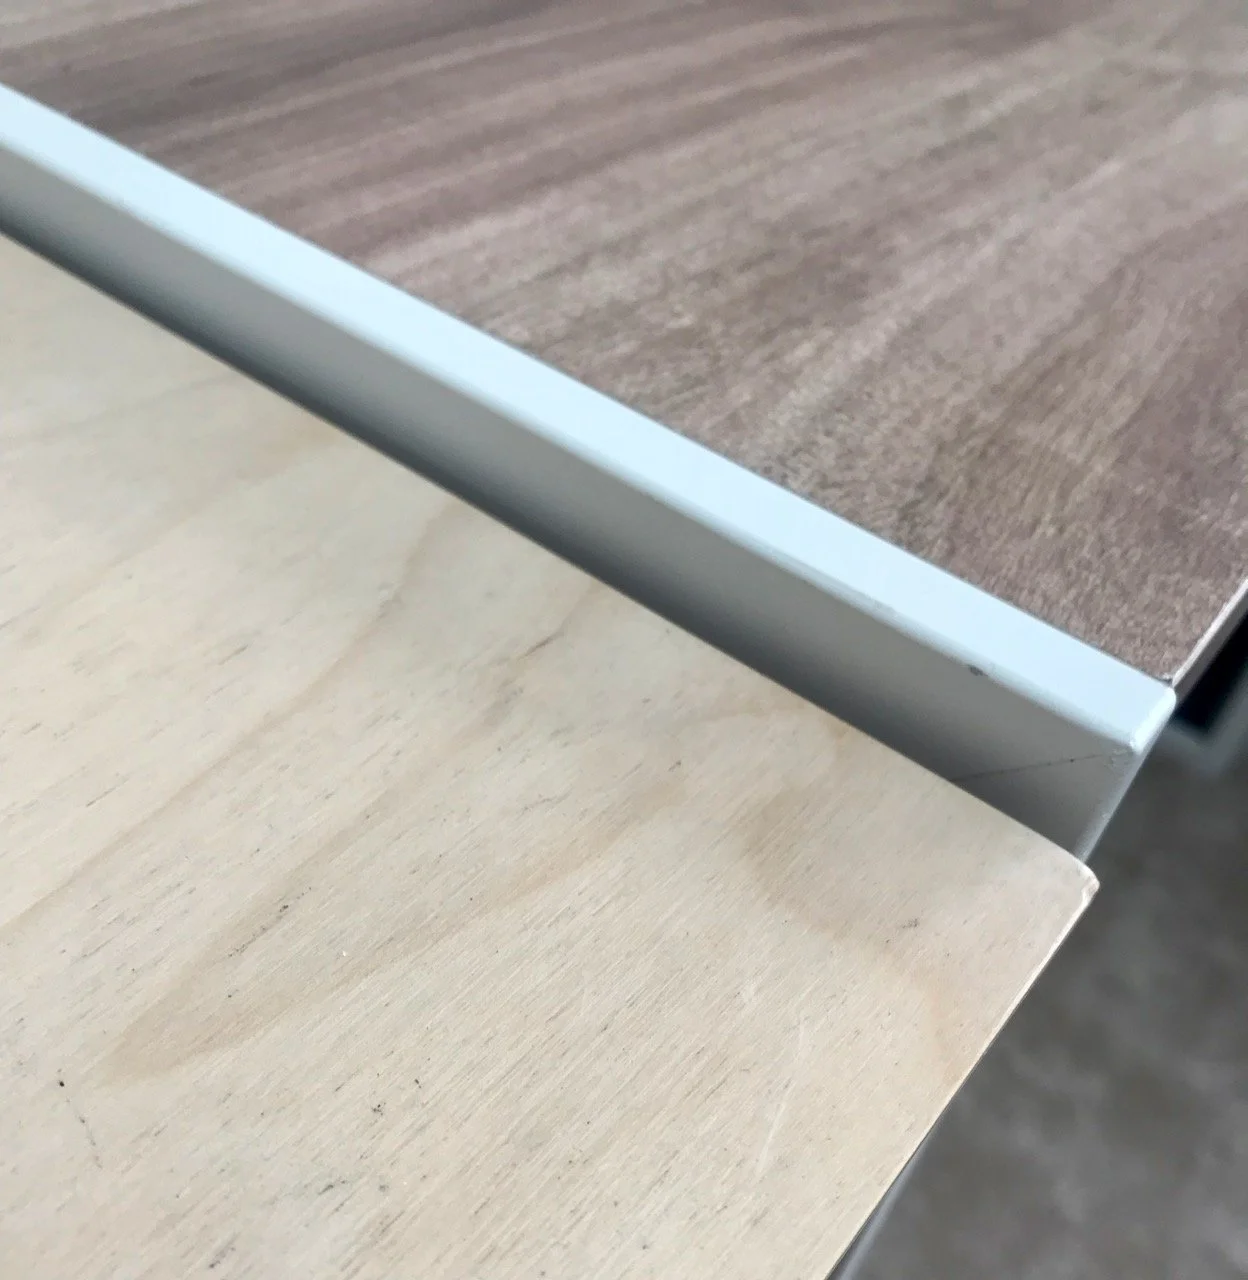
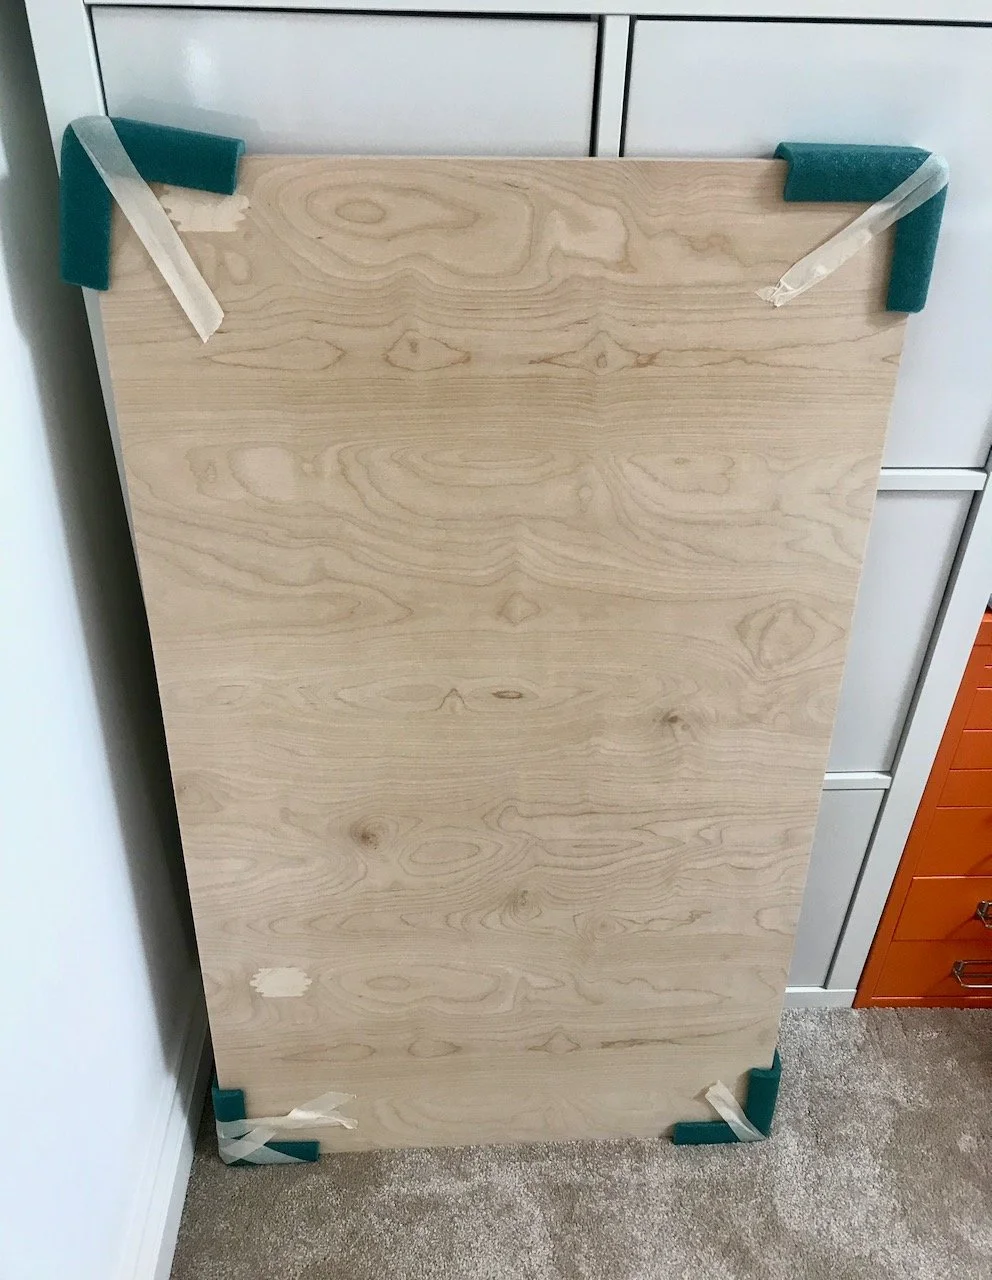
I had the legs, and now I had the drawers - all I needed now was the desk top. I struck lucky on the internet and ordered a piece of plywood the same thickness as the existing desk, I opted not to have it bevel cut as I didn’t think the cost of that was justified. I’m not sure I considered myself quite so lucky when it was delivered at seven o’clock one morning though!
All I needed now was MOH and tools. And I didn’t have long to wait.
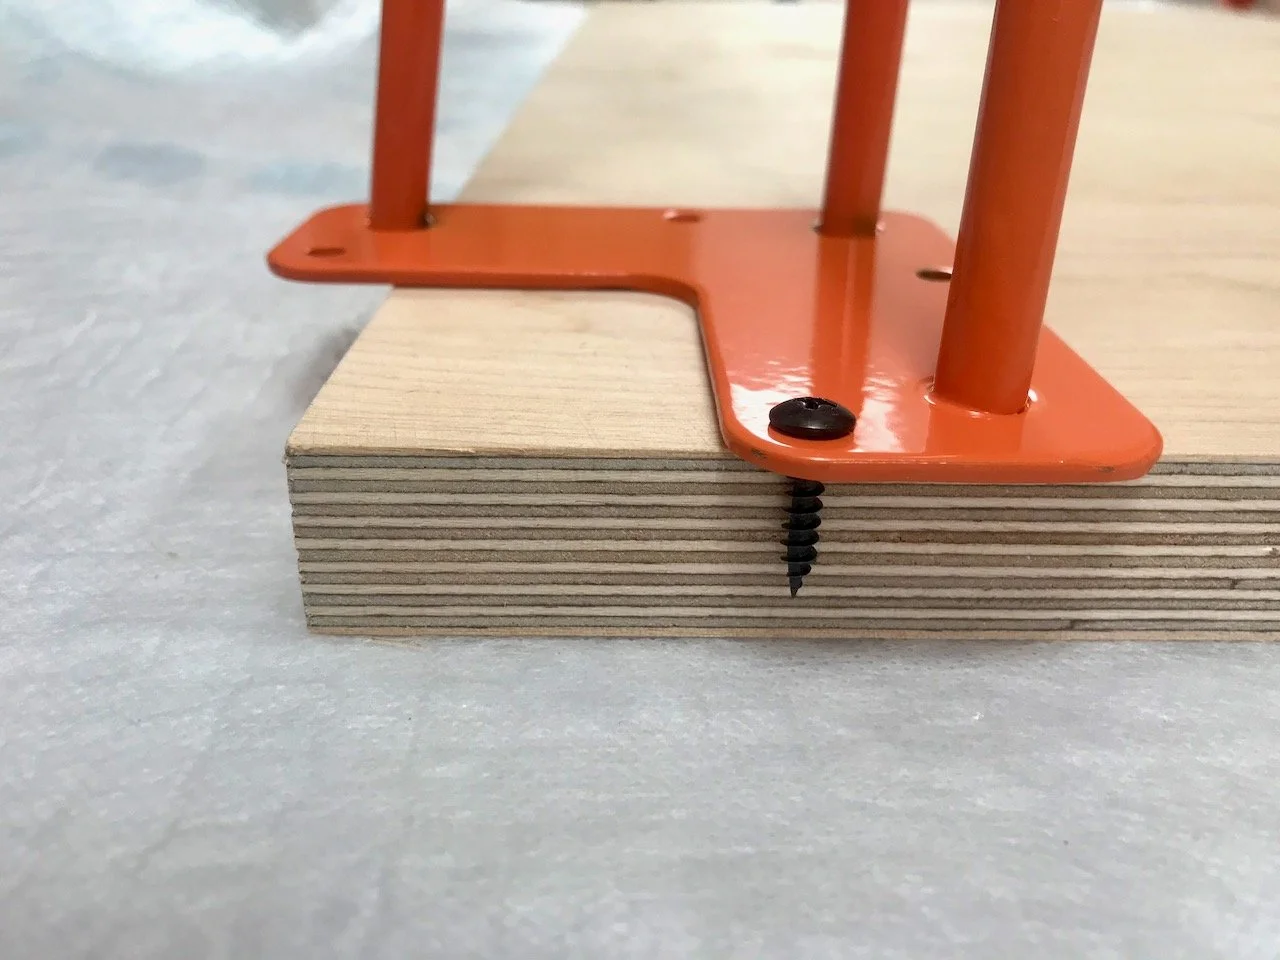
It wasn’t long before the two hairpin legs were screwed in place and the plywood top was positioned on top of one set of Bisley drawers, themselves balancing on a plinth to get to the correct desk height.
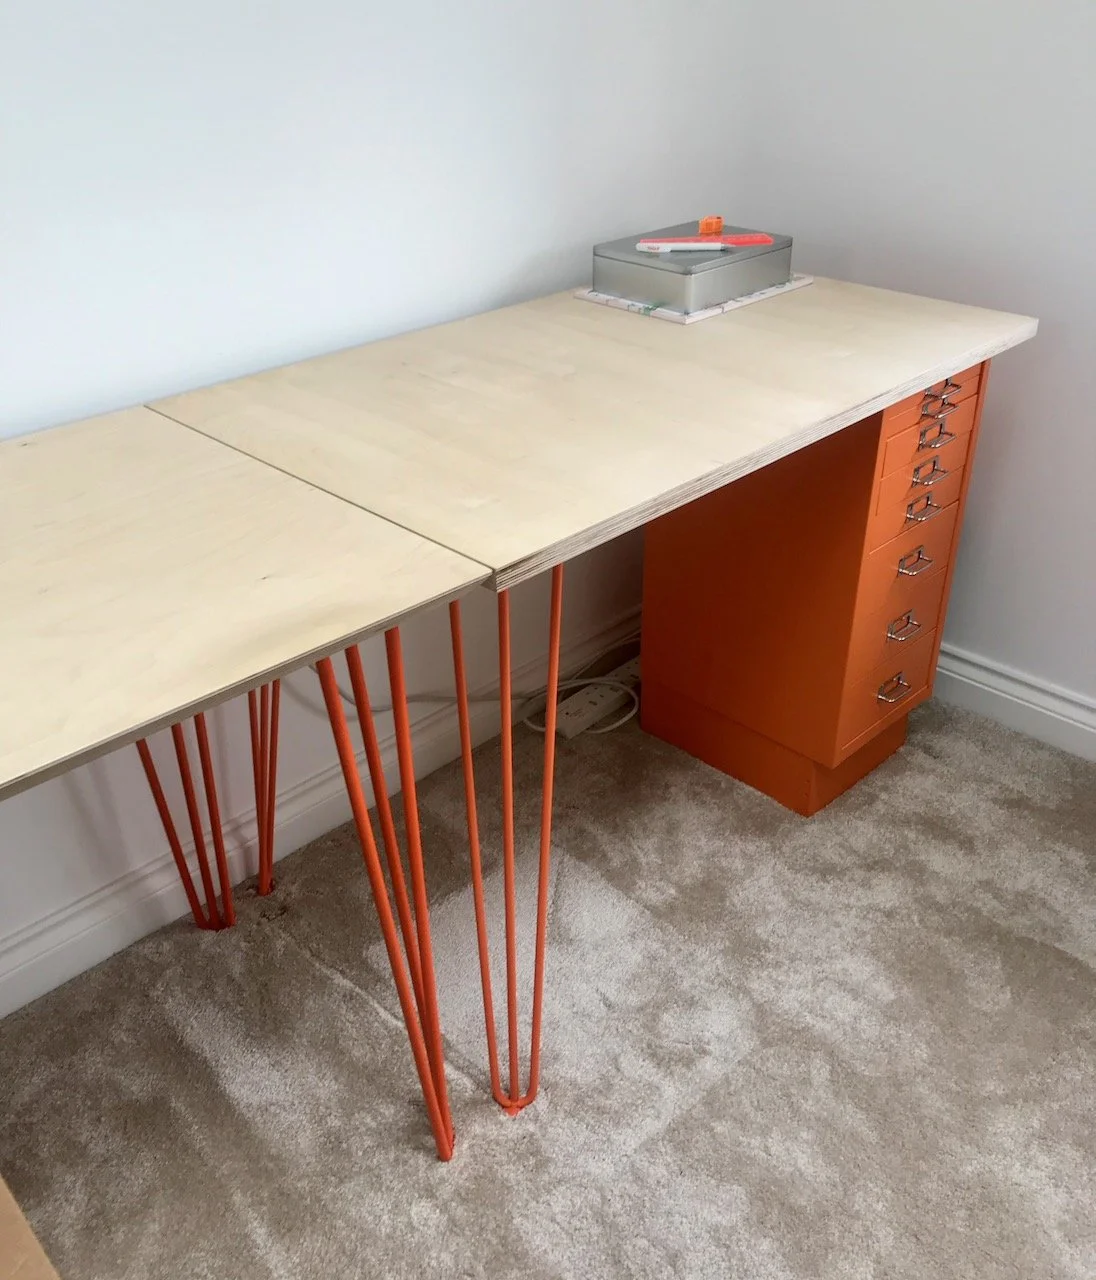
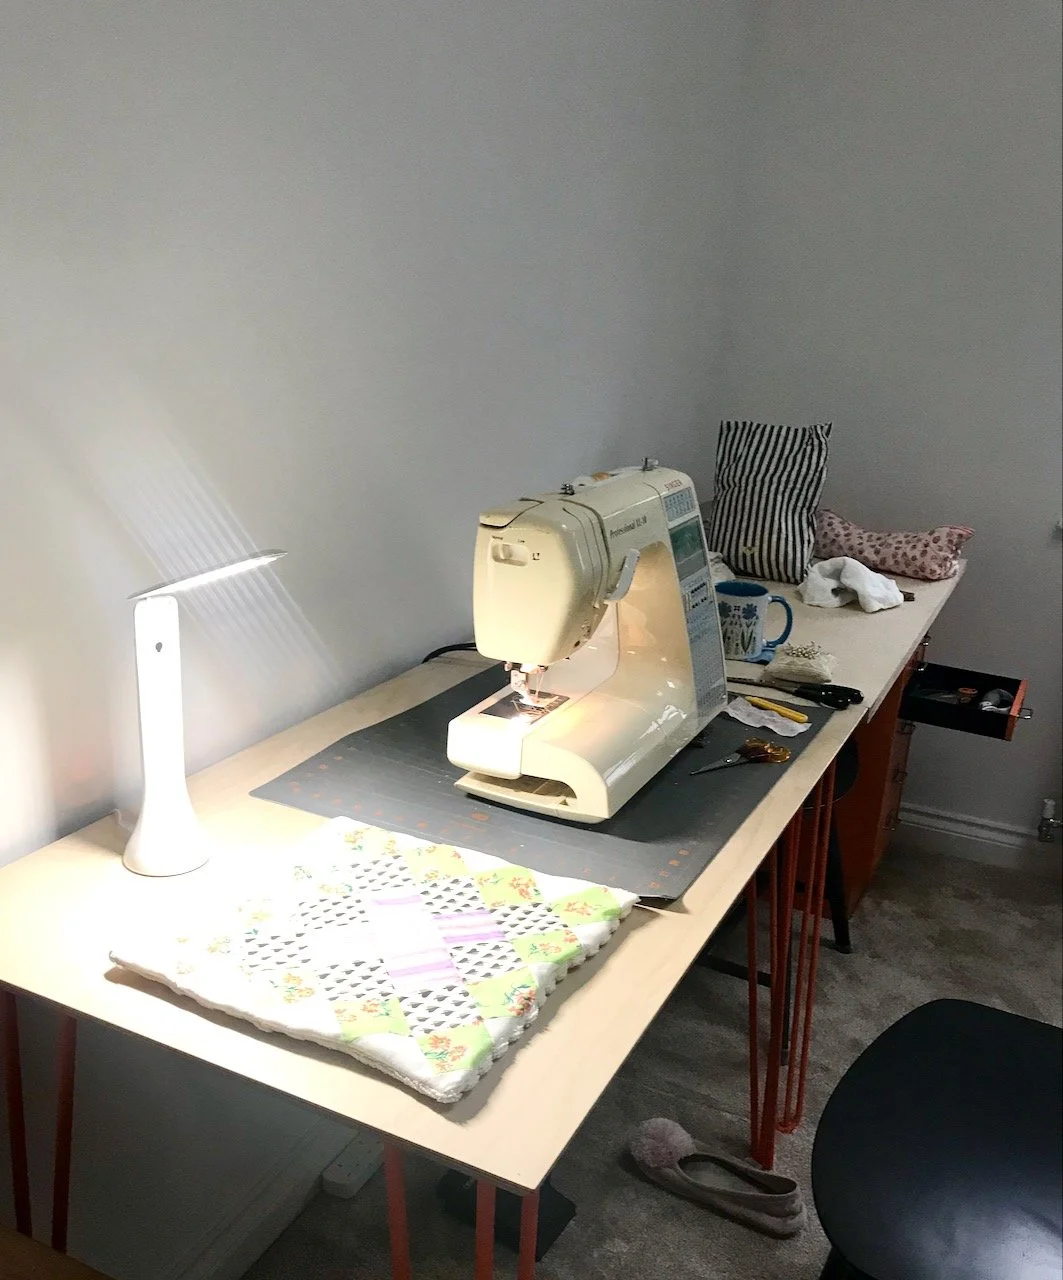
Not only did they look good side by side, but the top down view also shows they’re the same height, as well as the same depth so now I have the continuous space I was after. It gives me space to have my sewing machine out, but also space to use the other desk in anyway I want - whether that’s for pressing seams, or papercraft, or anything else.

I have no excuses now for not being productive, and to be honest I can’t wait to get started in earnest. In September I had my first ‘sewing day’ - or an hour or so at least, and that felts such an accomplishment. I only made some scrap kitchen towels, but the sense of achievement, I can’t tell you.
A sense of order is coming, I’m sure of it!
The more I use my craft room, the more it becomes familiar and the more I remember where I put stuff. Whether I’m making cards, journalling, using my watercolours, sewing, knitting or crocheting - or even just pondering, it’s a space that makes me happy.

With my new friend Alexa alongside me (we’re converts - more in another post I’m sure) bringing all the information, tunes and podcasts I could want, the issue could now be to get me out of my craft room.
I’m looking forward to rediscovering many of the projects I’ve started - maybe even finishing some of them, and starting the new projects on my list and sharing them here in the months to come - look out for details of the Christmas cards I’ve made this year coming early next week.