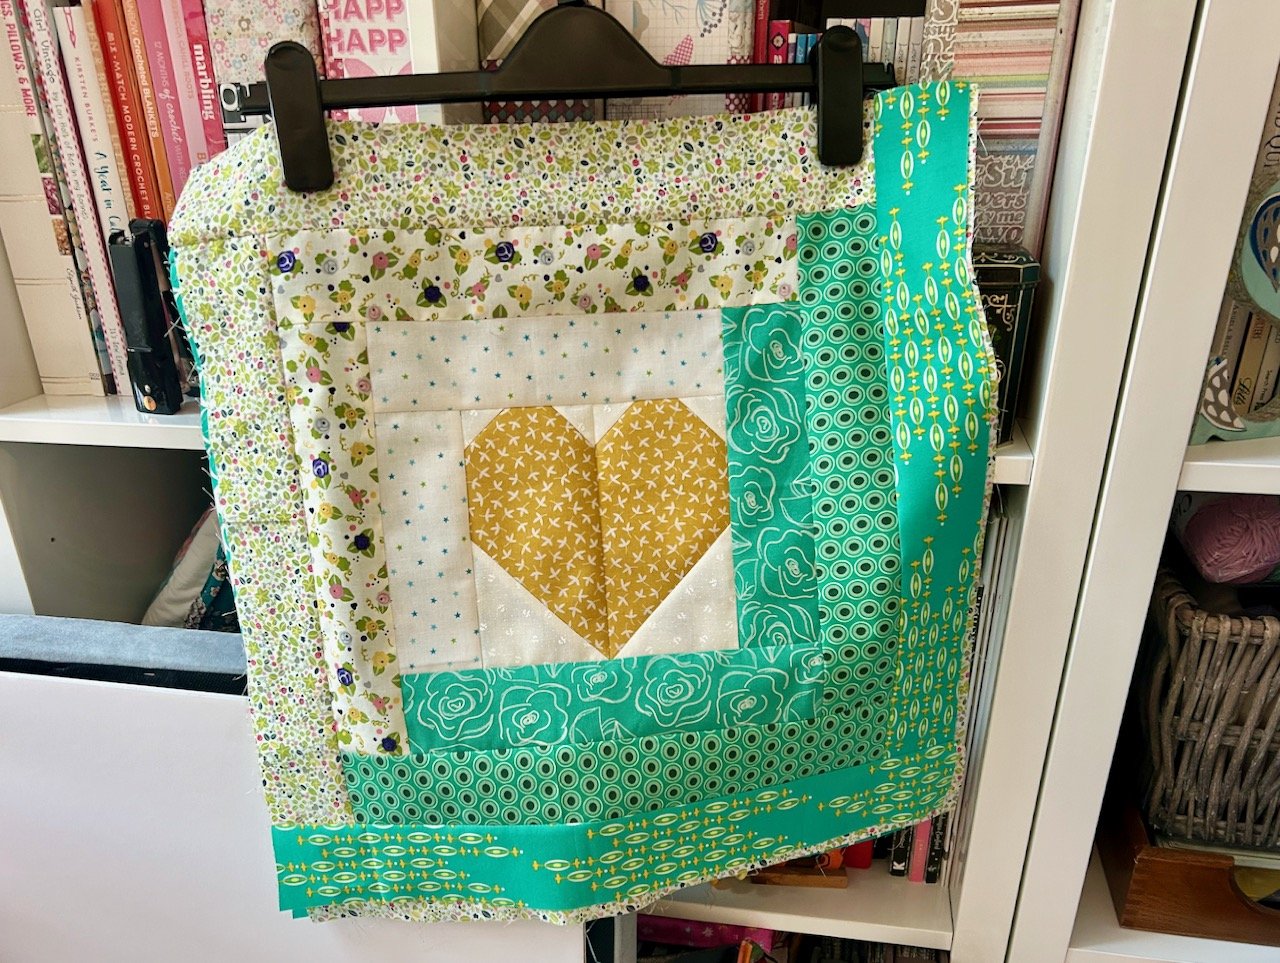


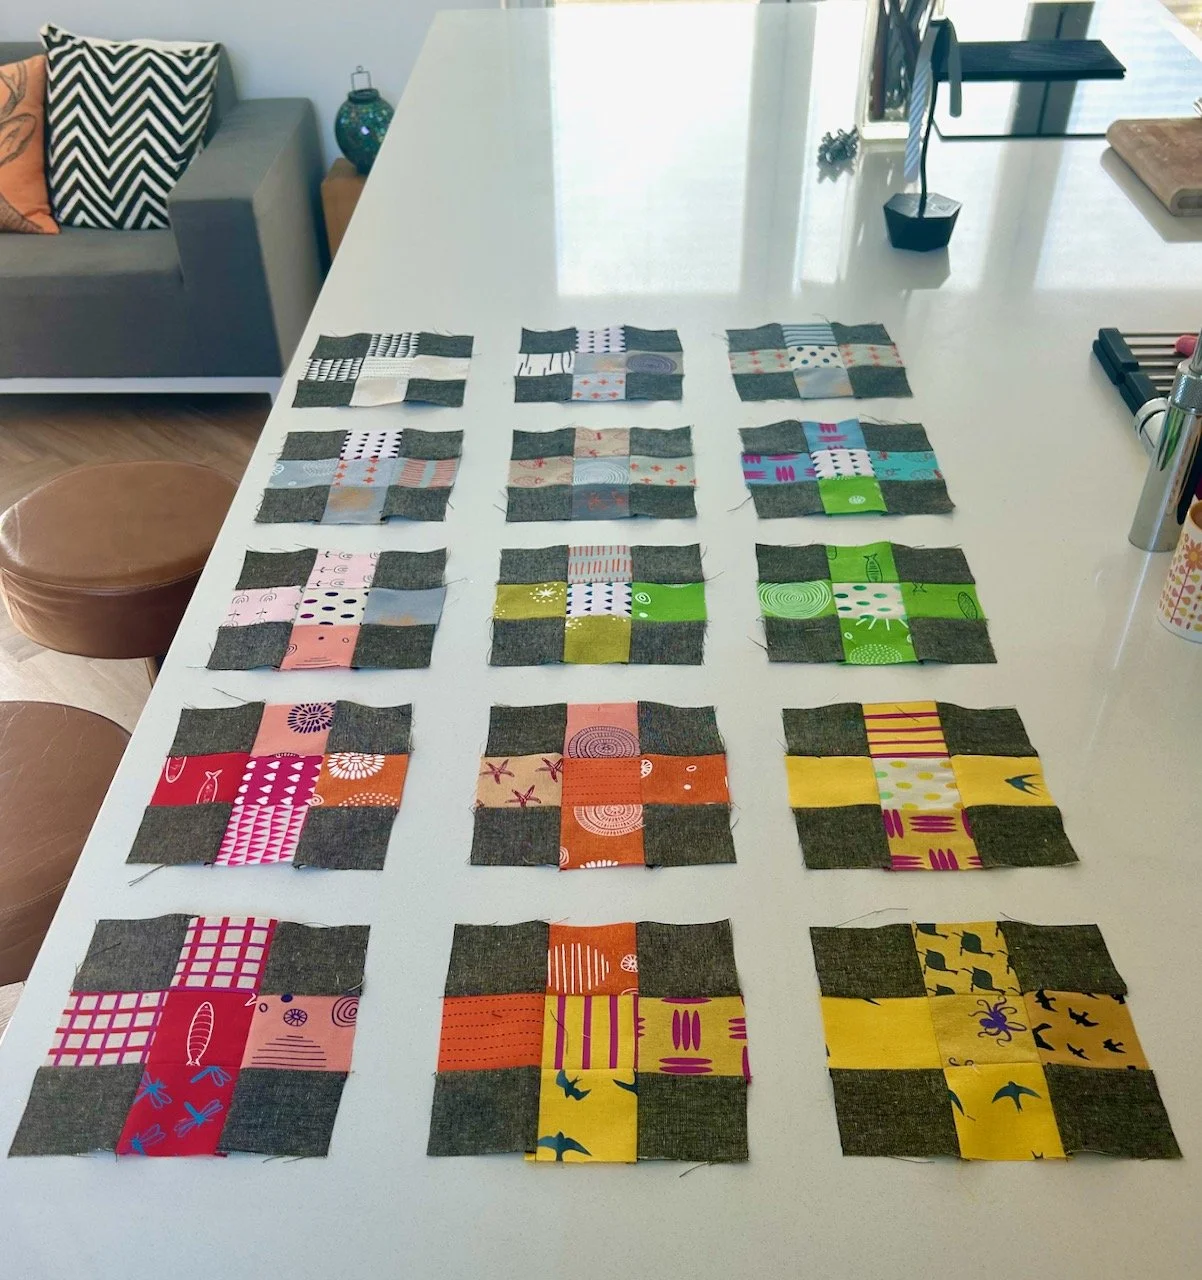


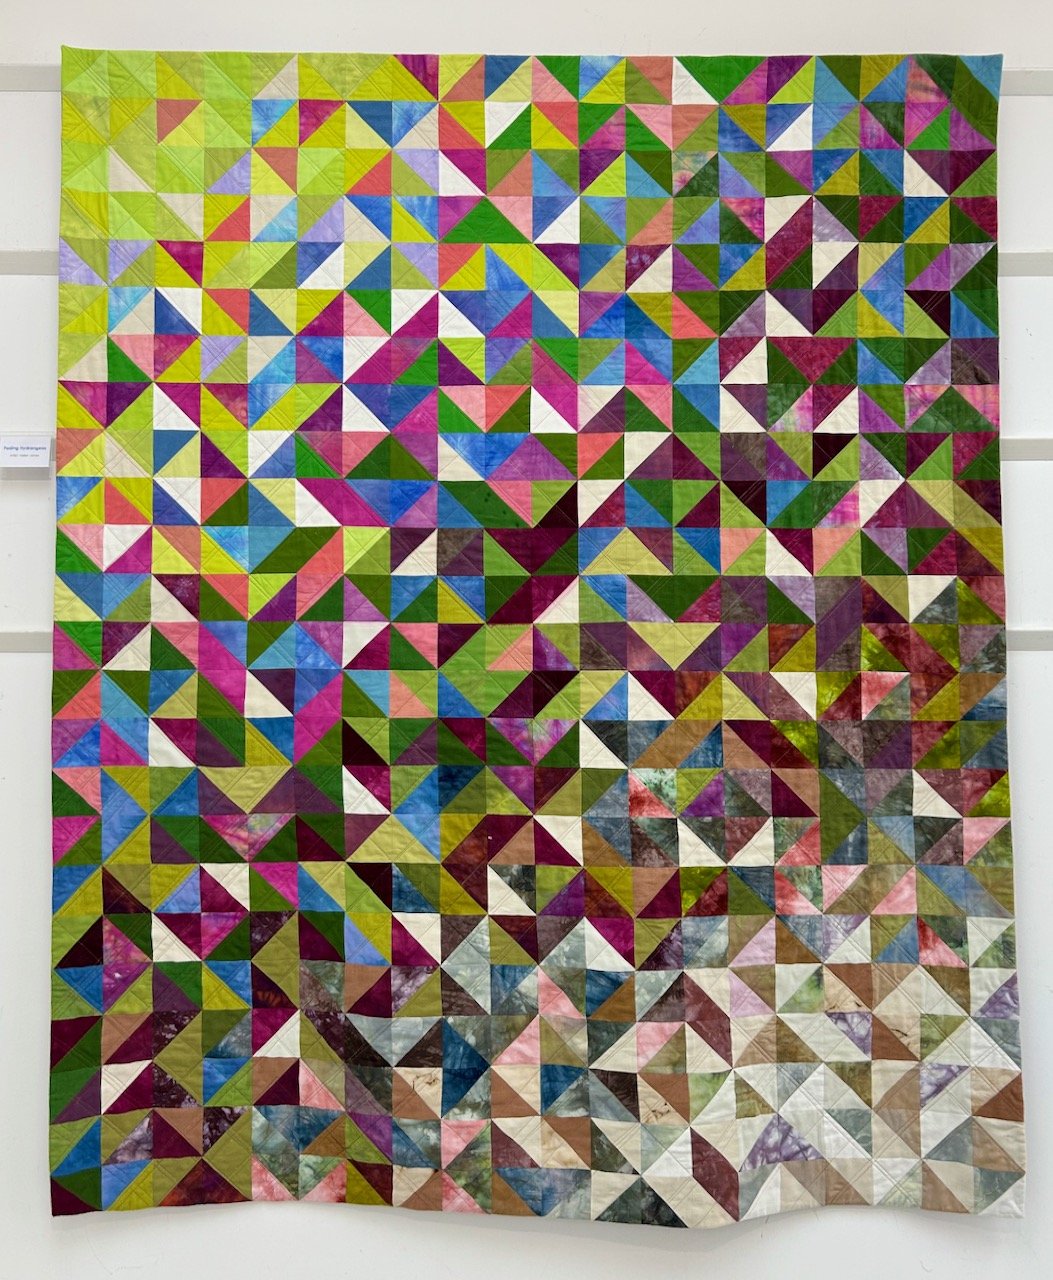


You’ll have seen that I plan to complete Sherri’s mystery block a month quilt and yesterday I shared the test blocks which I made into my seventh charity quilt, today I’m sharing the centre block I made for my own quilt.
And yes, it’s July and I’m only just sharing my May block - holidays, heatwaves and life have played their part here!
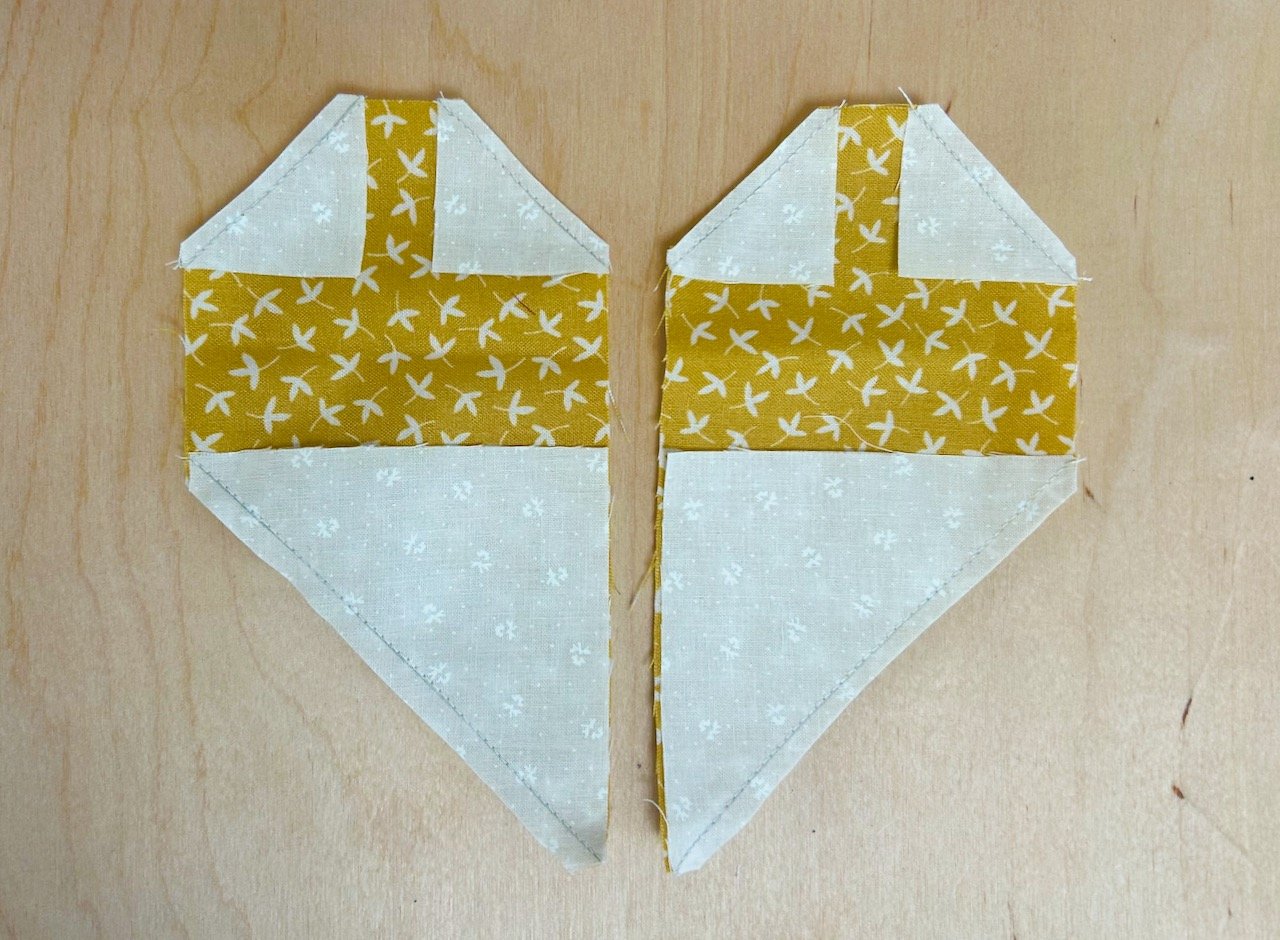
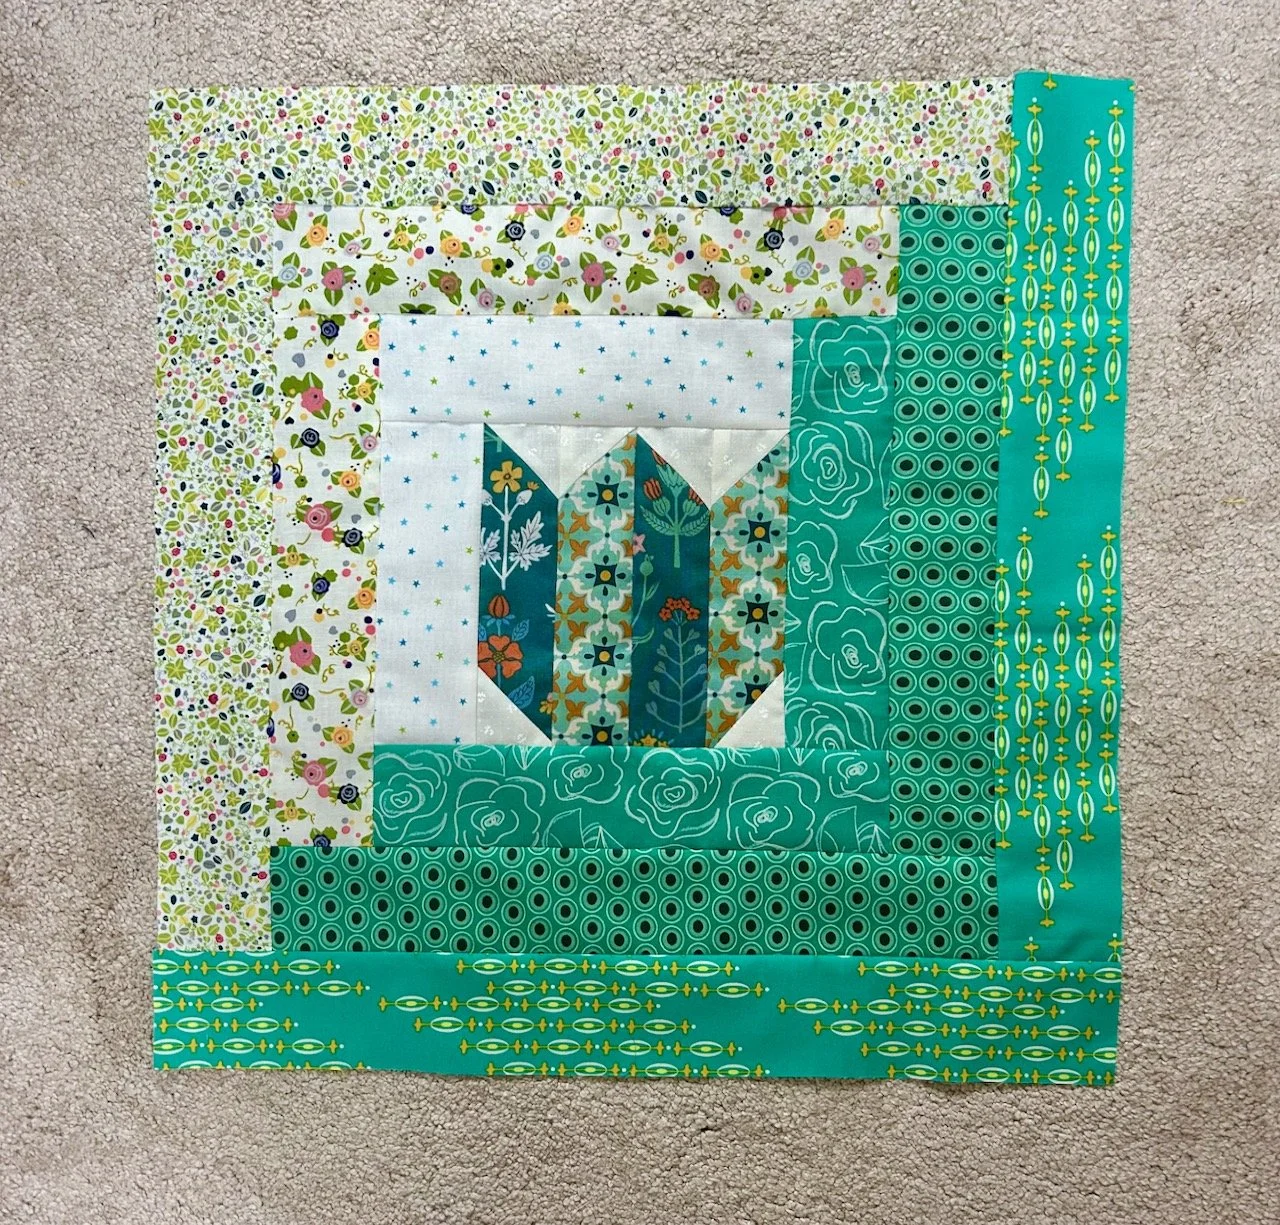
In last month’s post I speculated that the next block wouldn’t be a star, and I was right. It’s a flower, though this one looks decidedly less tulip-like, though I think that’s down to my colour choices.
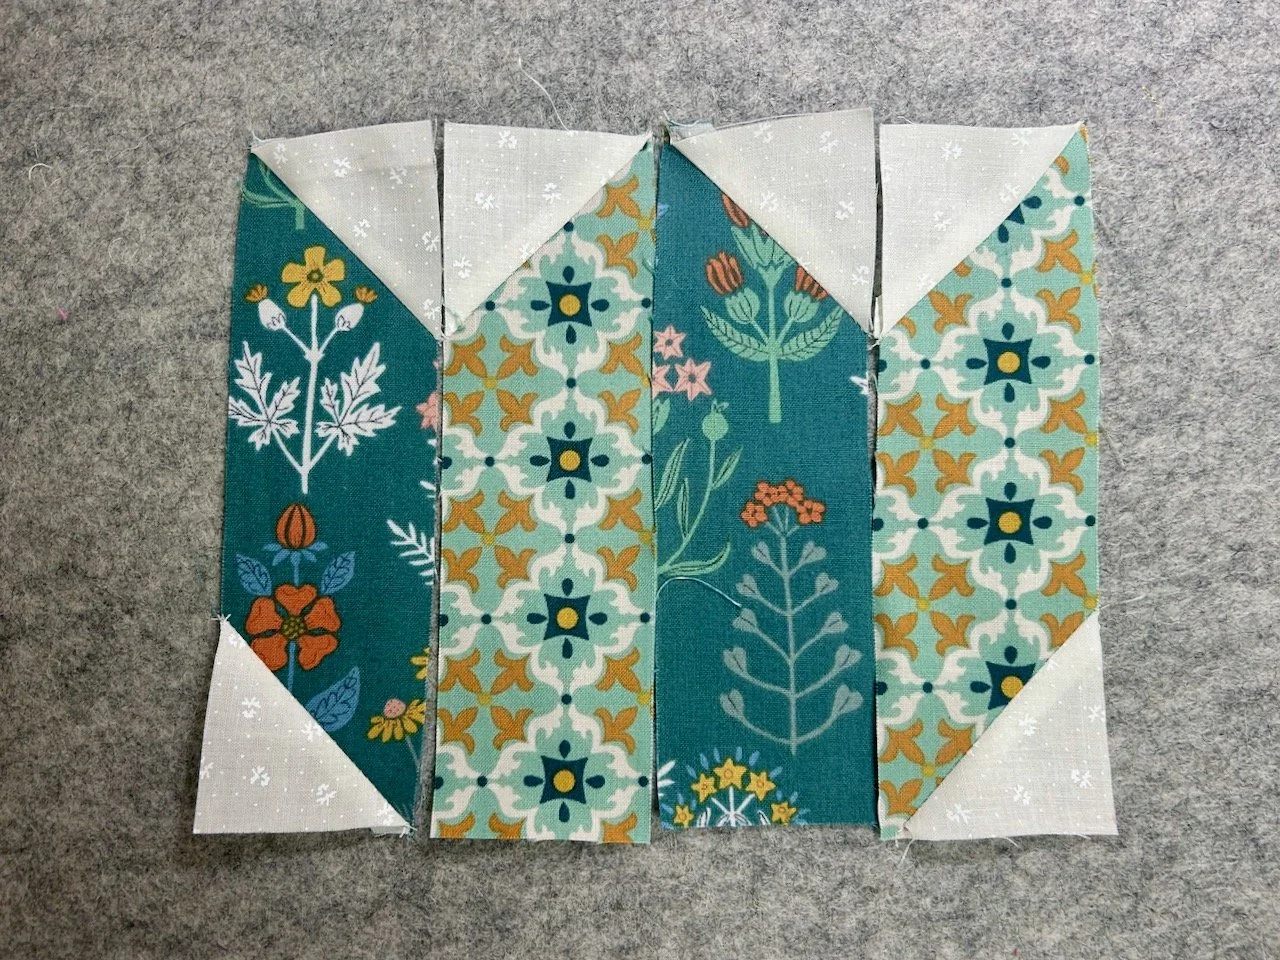
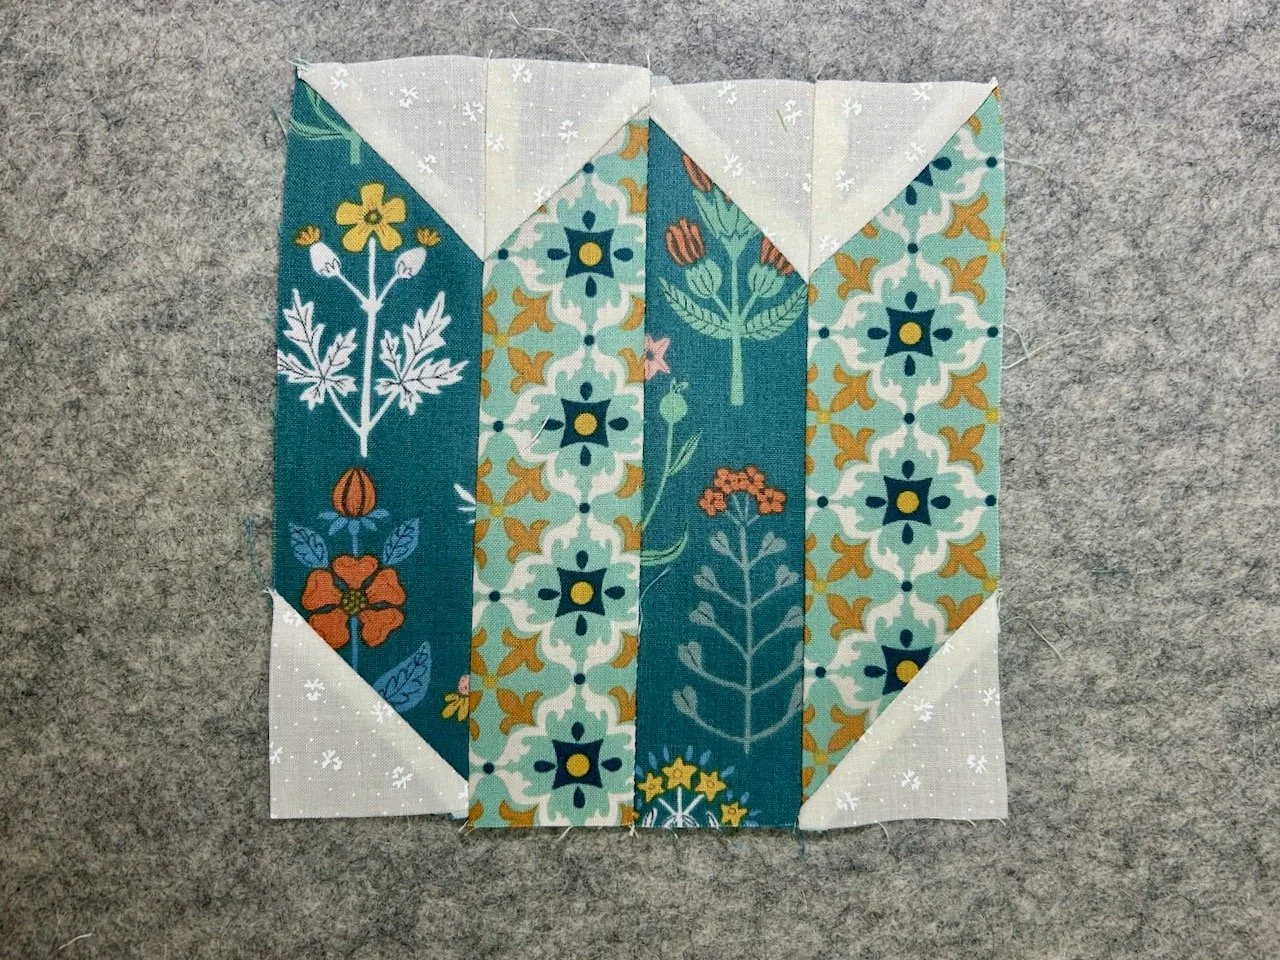
I remembered to pay attention to my seams and I’m happy with how they turned out. They’re not all perfect, but then again this is a flower and not all flowers are the same, and they all still seem to look pretty good.
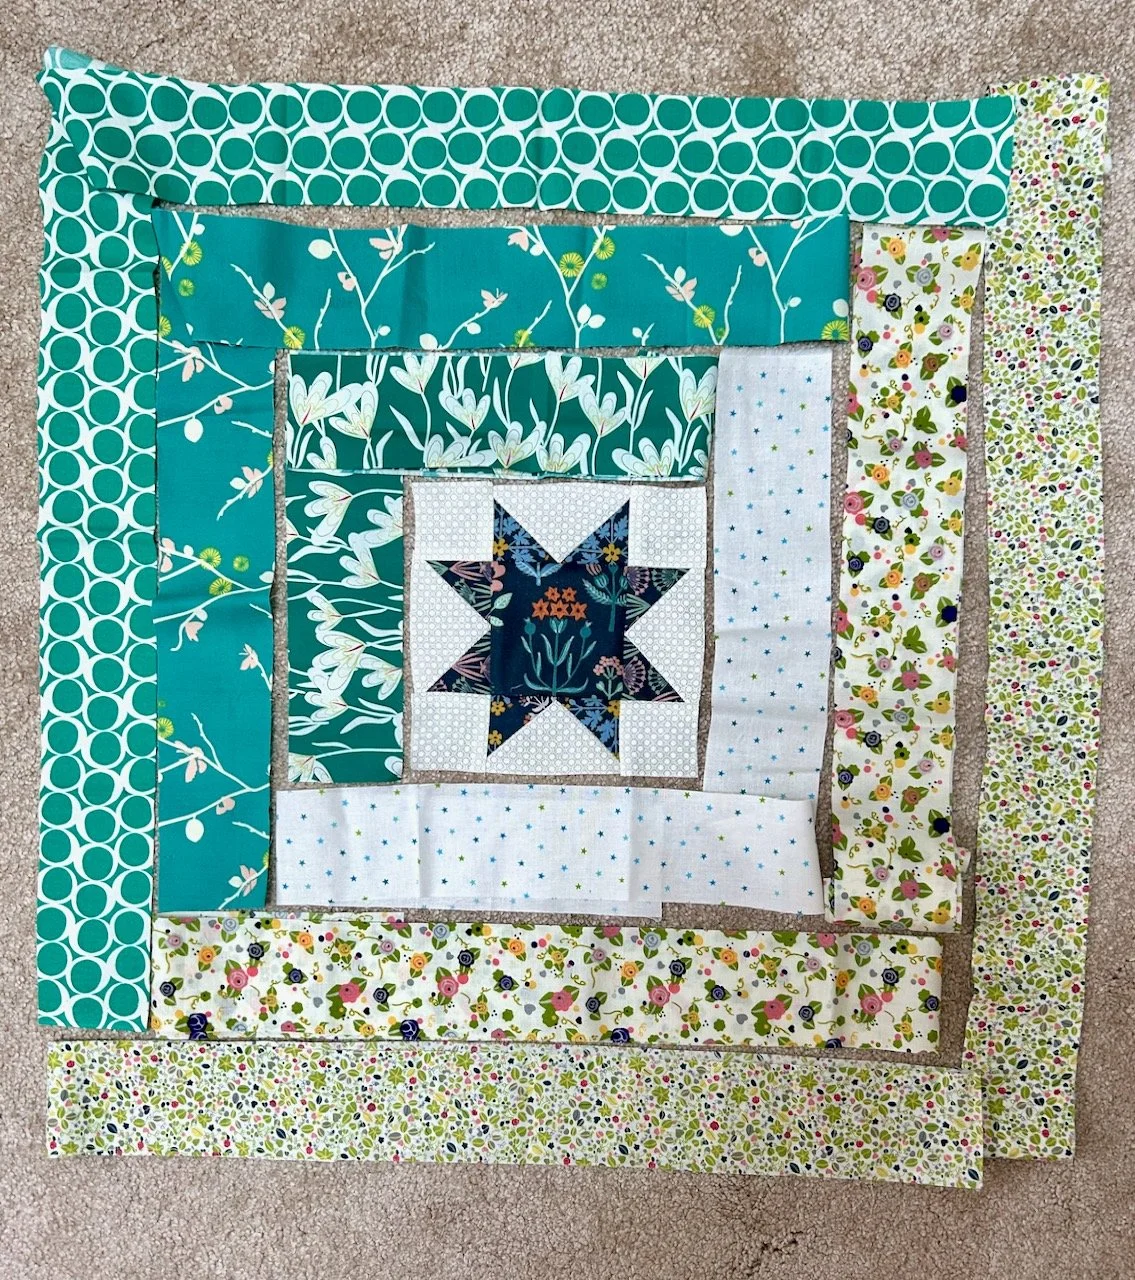
Head-scratching? Which border…
Even though I have my handy hand-scribbled plan for the eventual quilt layout, I still found myself scratching my head to work out which of the green borders to use, and which side of the block they should go.
It took way more brainpower than it should have, but I ended up with this visual reminder to save me going over it all, and doubting myself each time. It’s not necessarily conventional, but it worked.
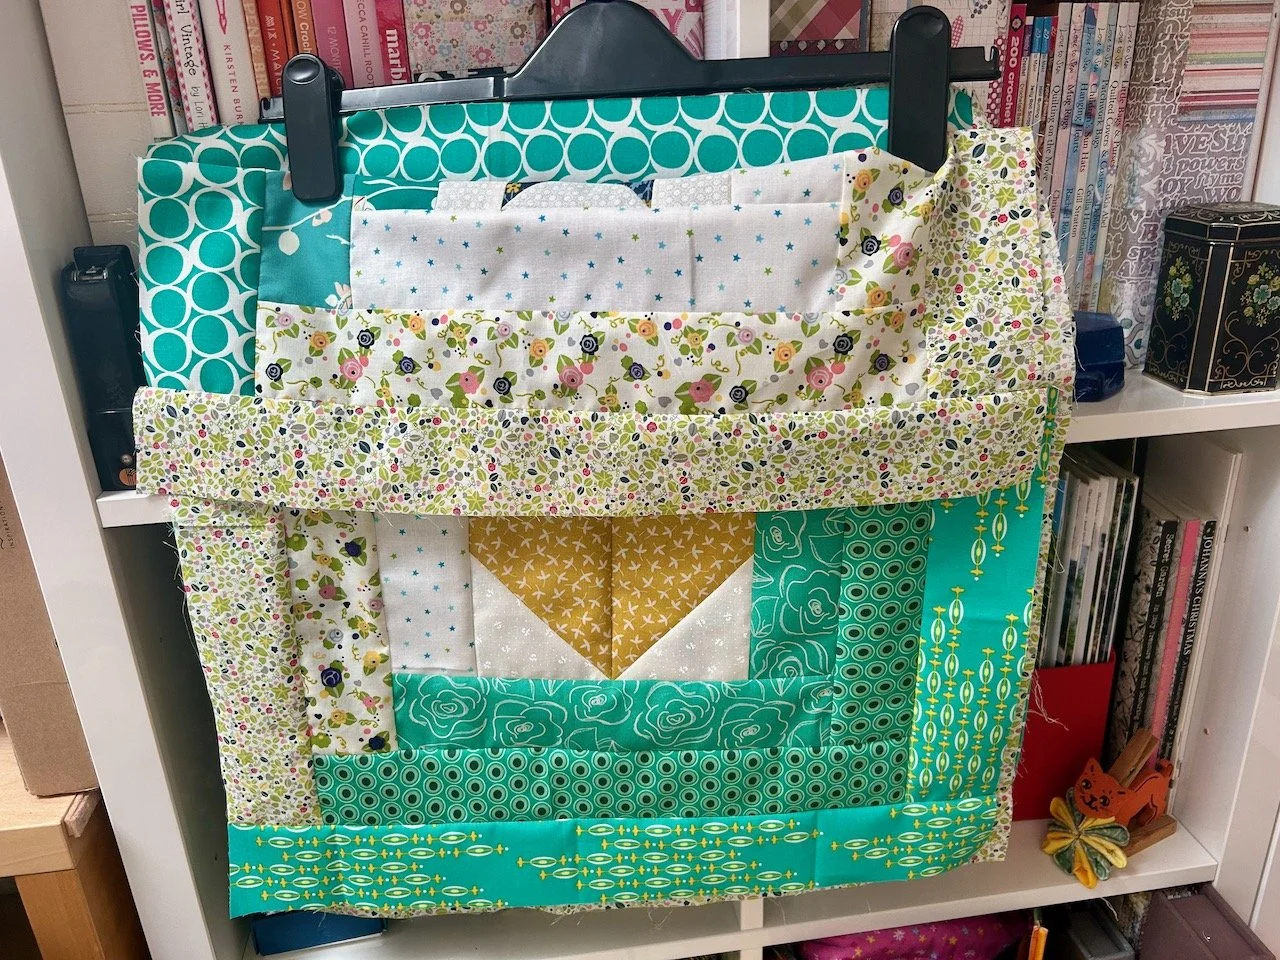
I’m pleased with my completed block, and couldn’t resist seeing what it looked like next to April’s block.
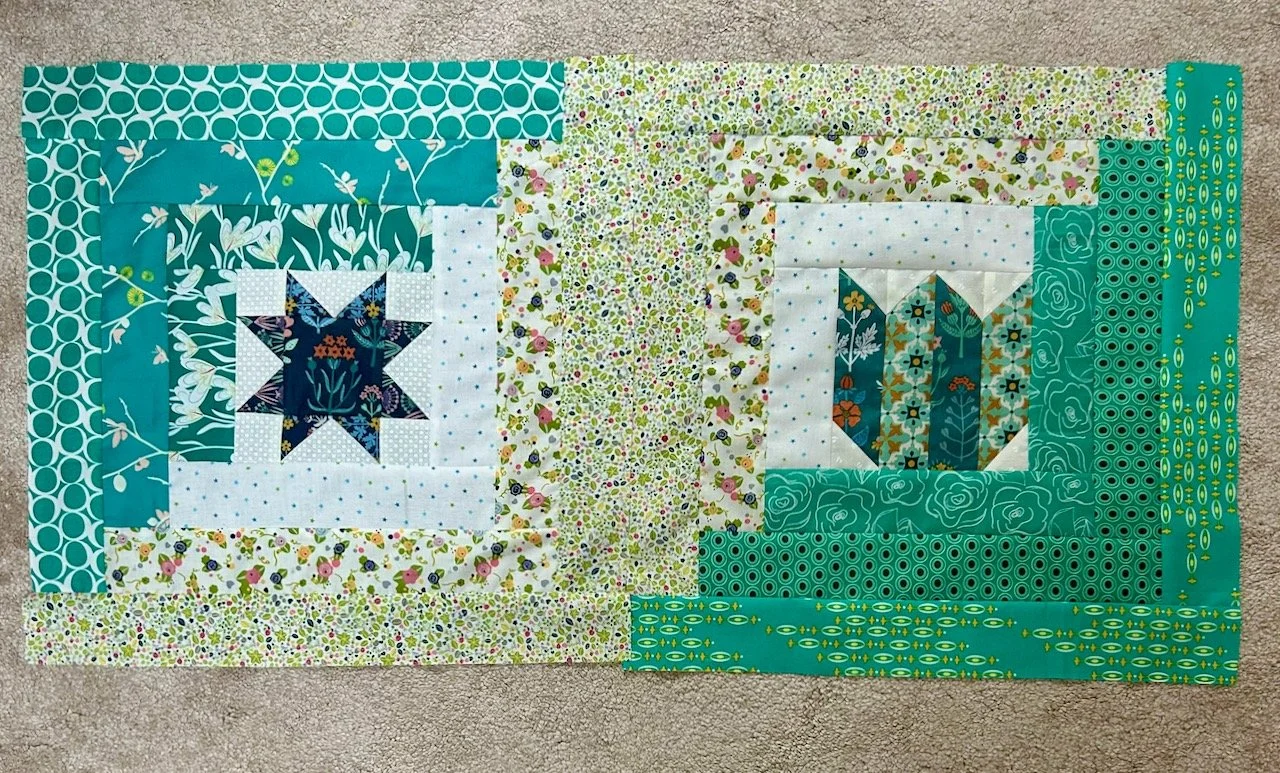
I’m even more pleased with this small preview of how the quilt will turn out, and although the green borders are not the same I’m happy with how they’re working out. It’s back to a star for June’s block so I’ll be back to the navy fabrics again, and hopefully I’ll be sharing it sooner than you know…
Join me hopefully later this month to see how I get on with the next mystery block, and check out my previous posts for my mystery block quilt or the charity quilts made from the test blocks.