


I knew that I wouldn’t be making quite so many charity quilts this year (after all one a month is quite a lot!) but I didn’t think it would take until now for me to finish my first charity quilt of the year. I guess that’s partly down to life, but also not having the defined structure that I had last year with the mystery block of the month.
Earlier in the year I decided to try and use as many scraps as I could for these charity quilts, and this cute ‘village’ pattern by Sherri from A Quilting Life looked like it could be just the thing, as I mentioned when I posted my quilt plans for this year.
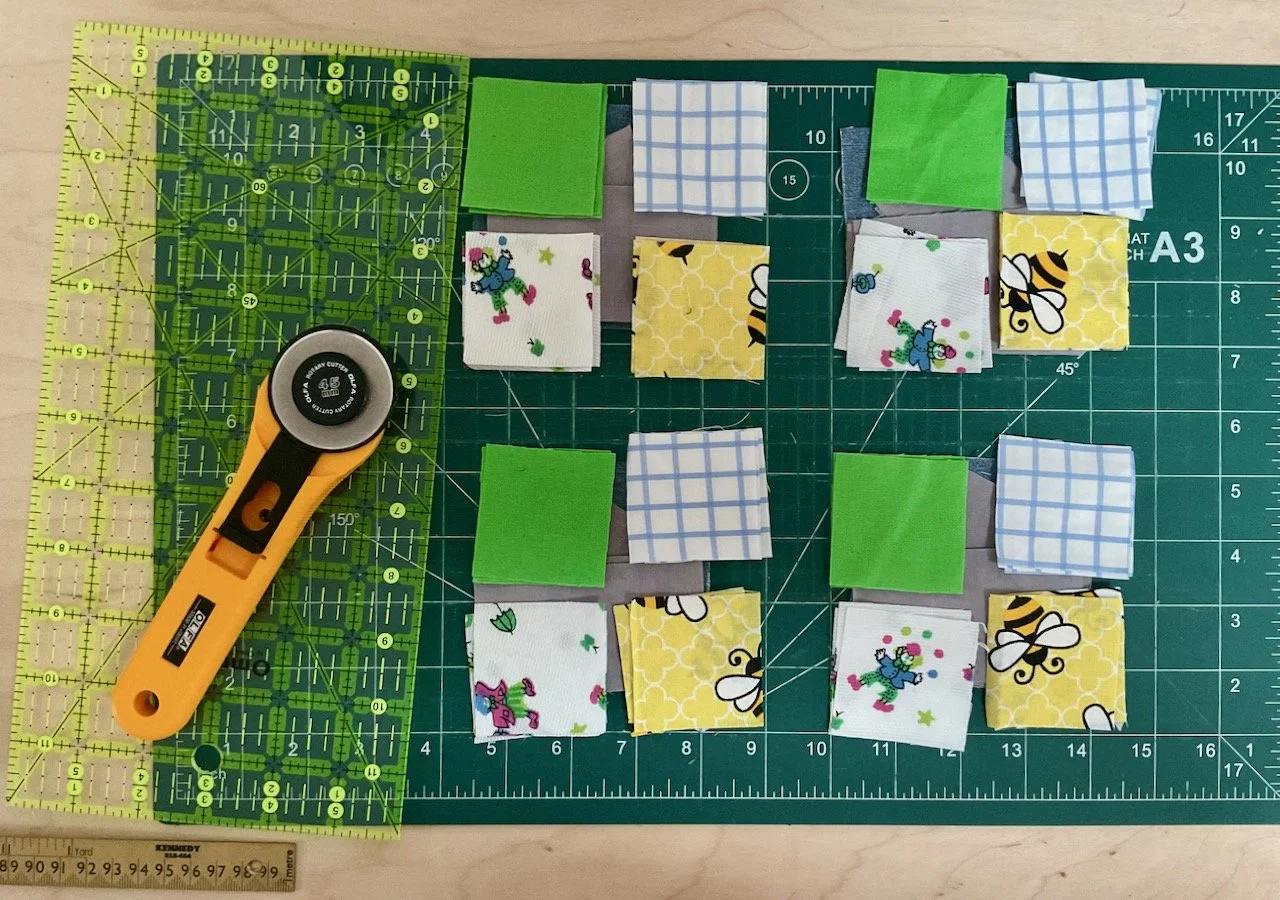
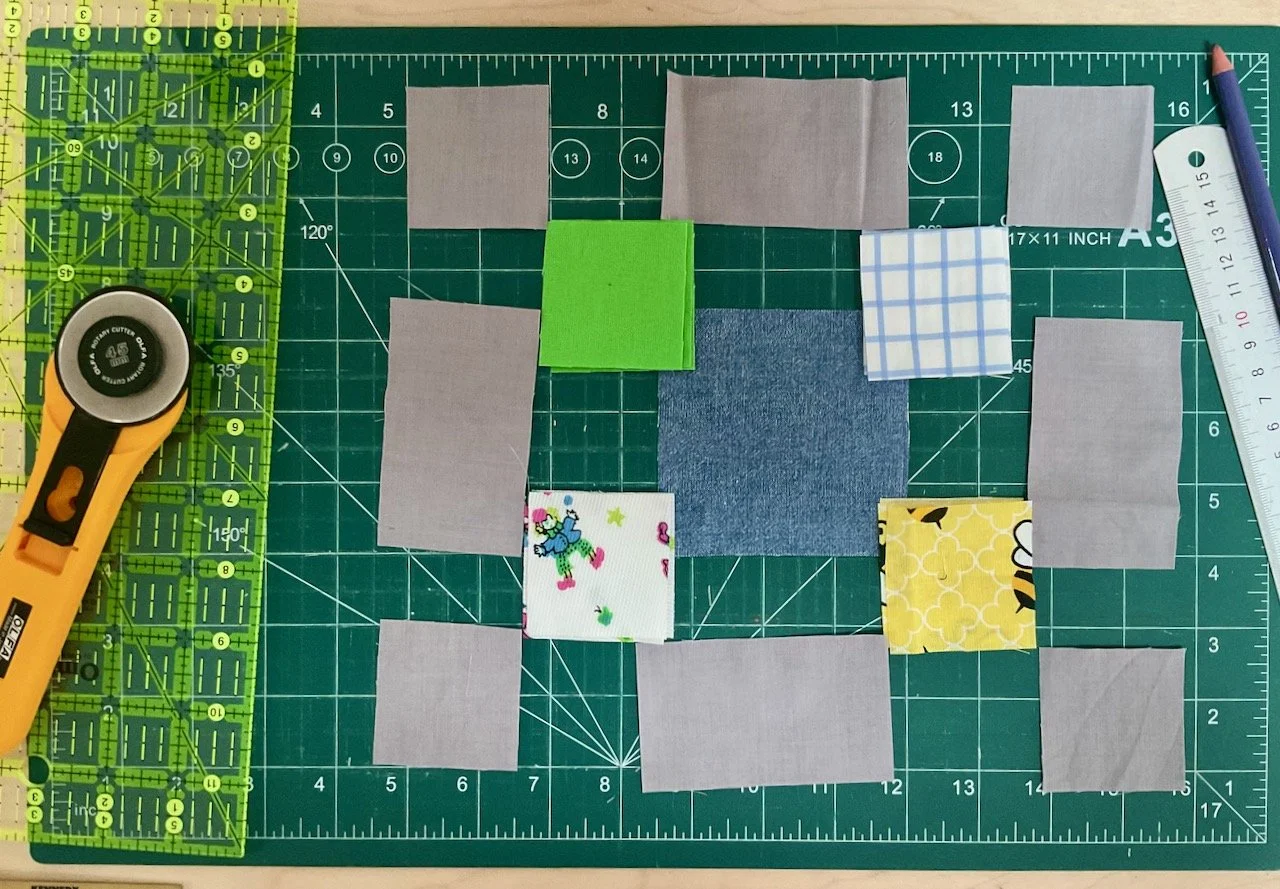
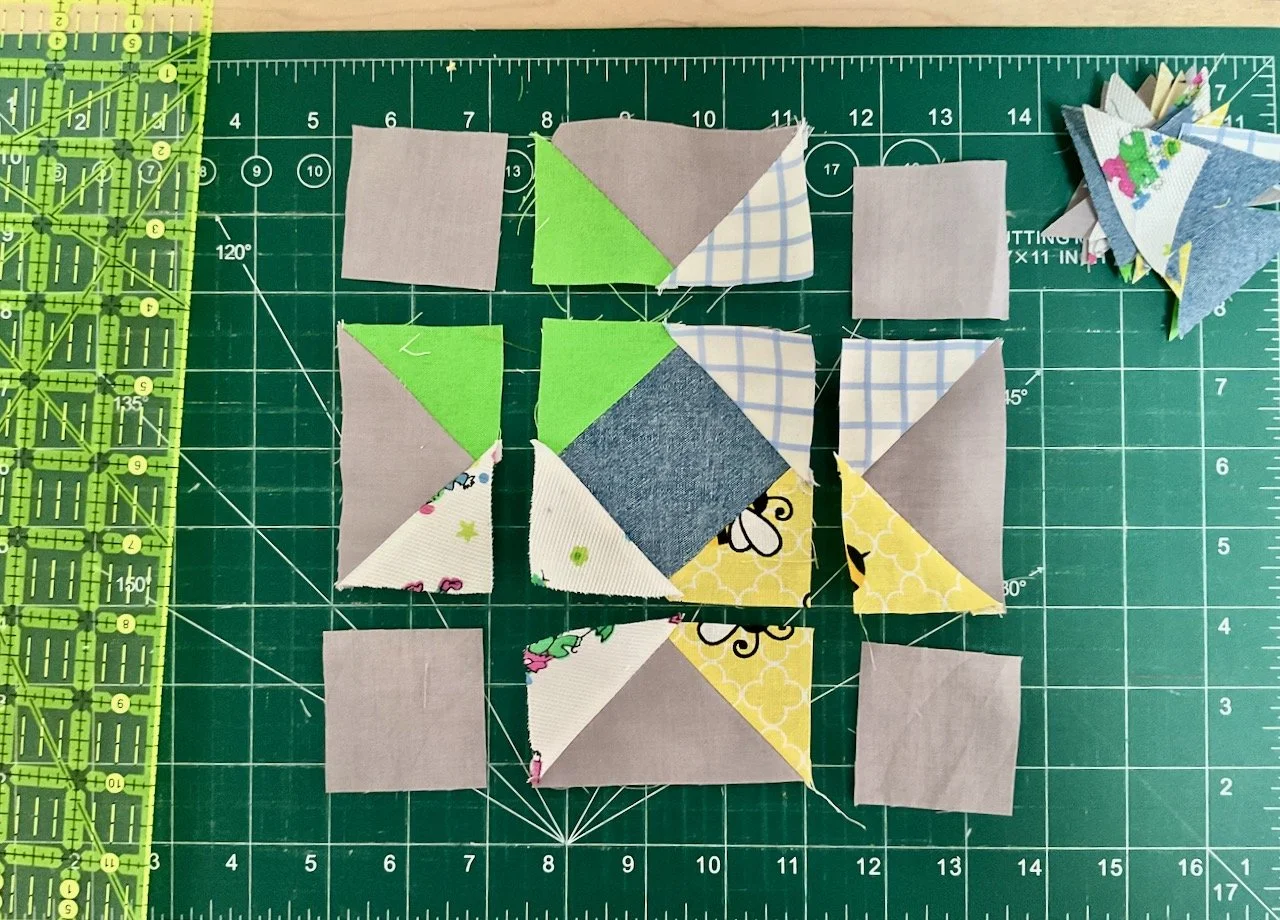
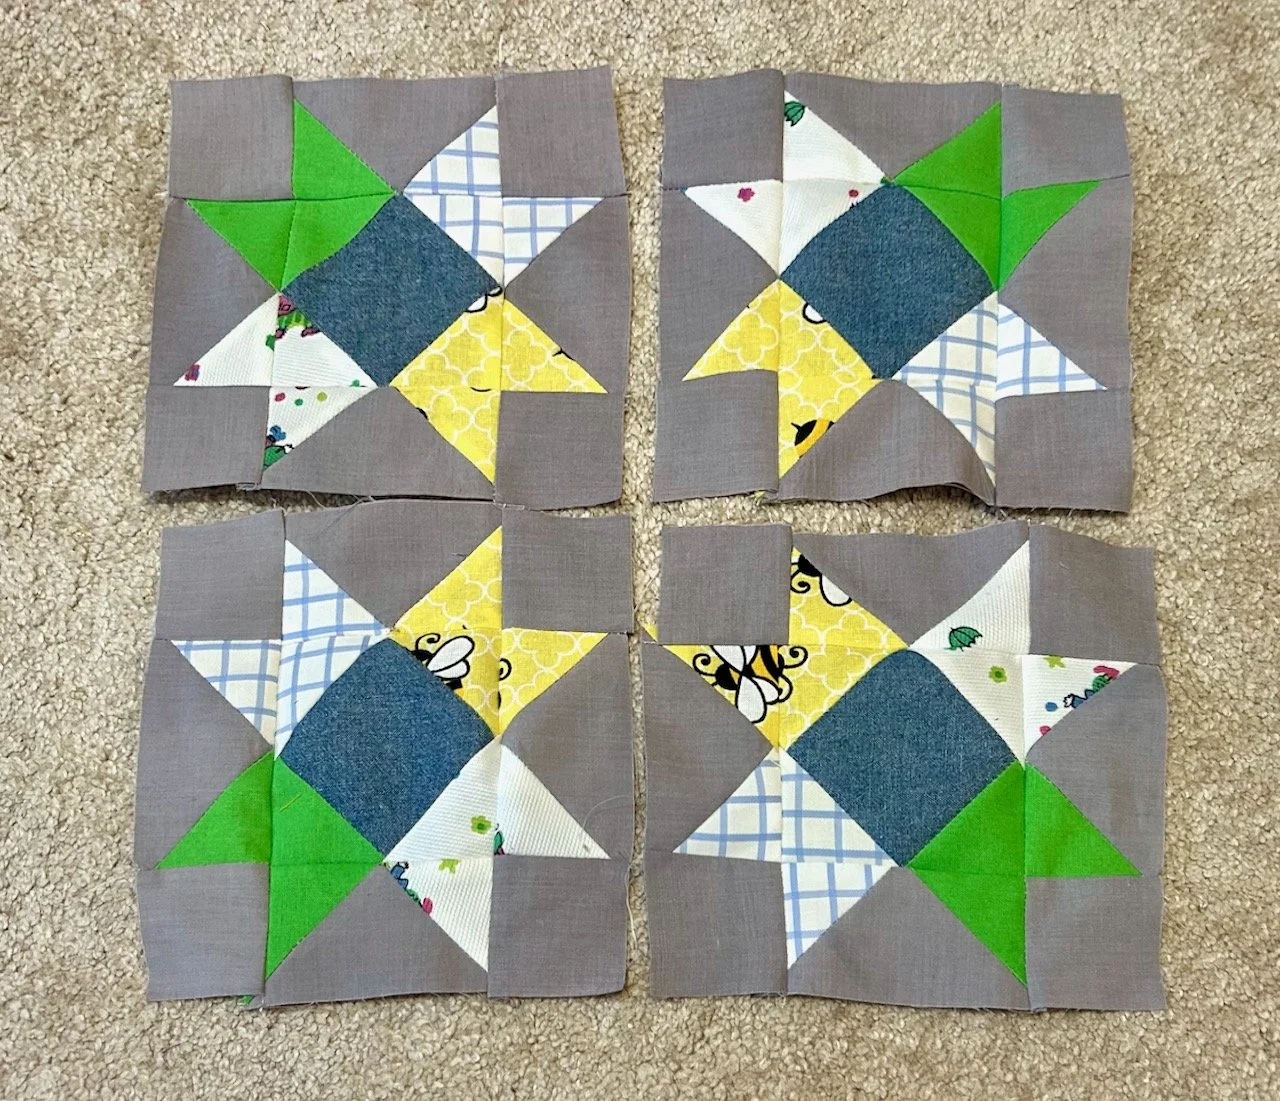
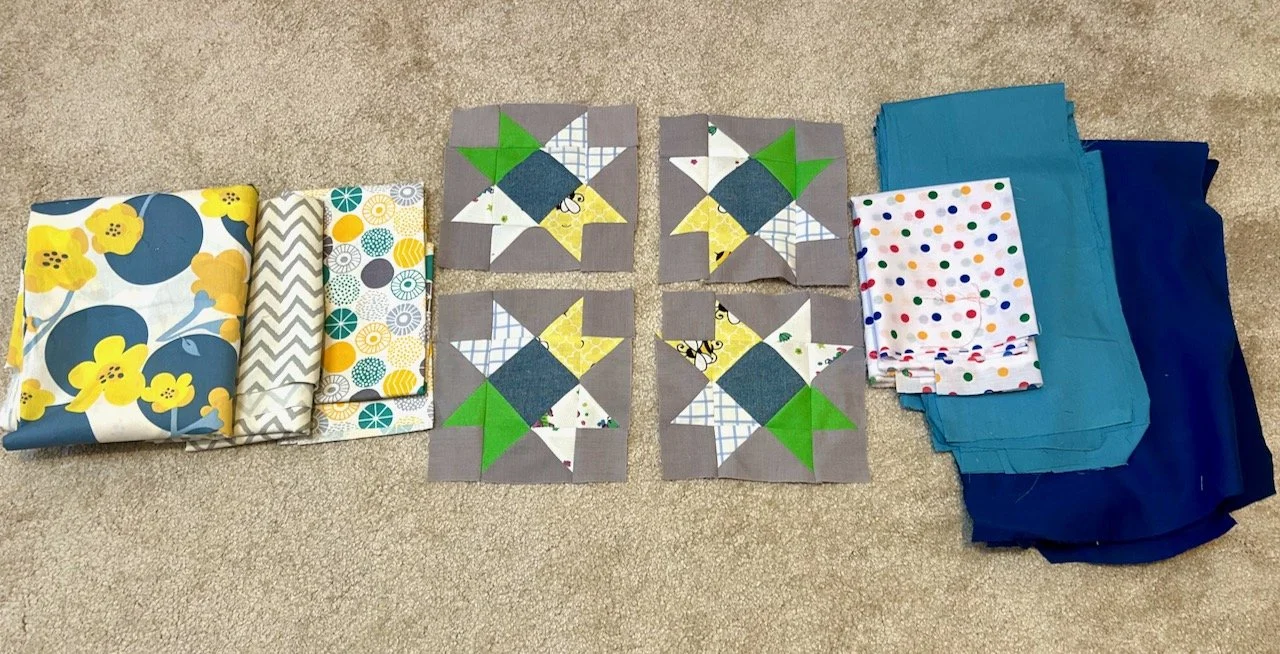
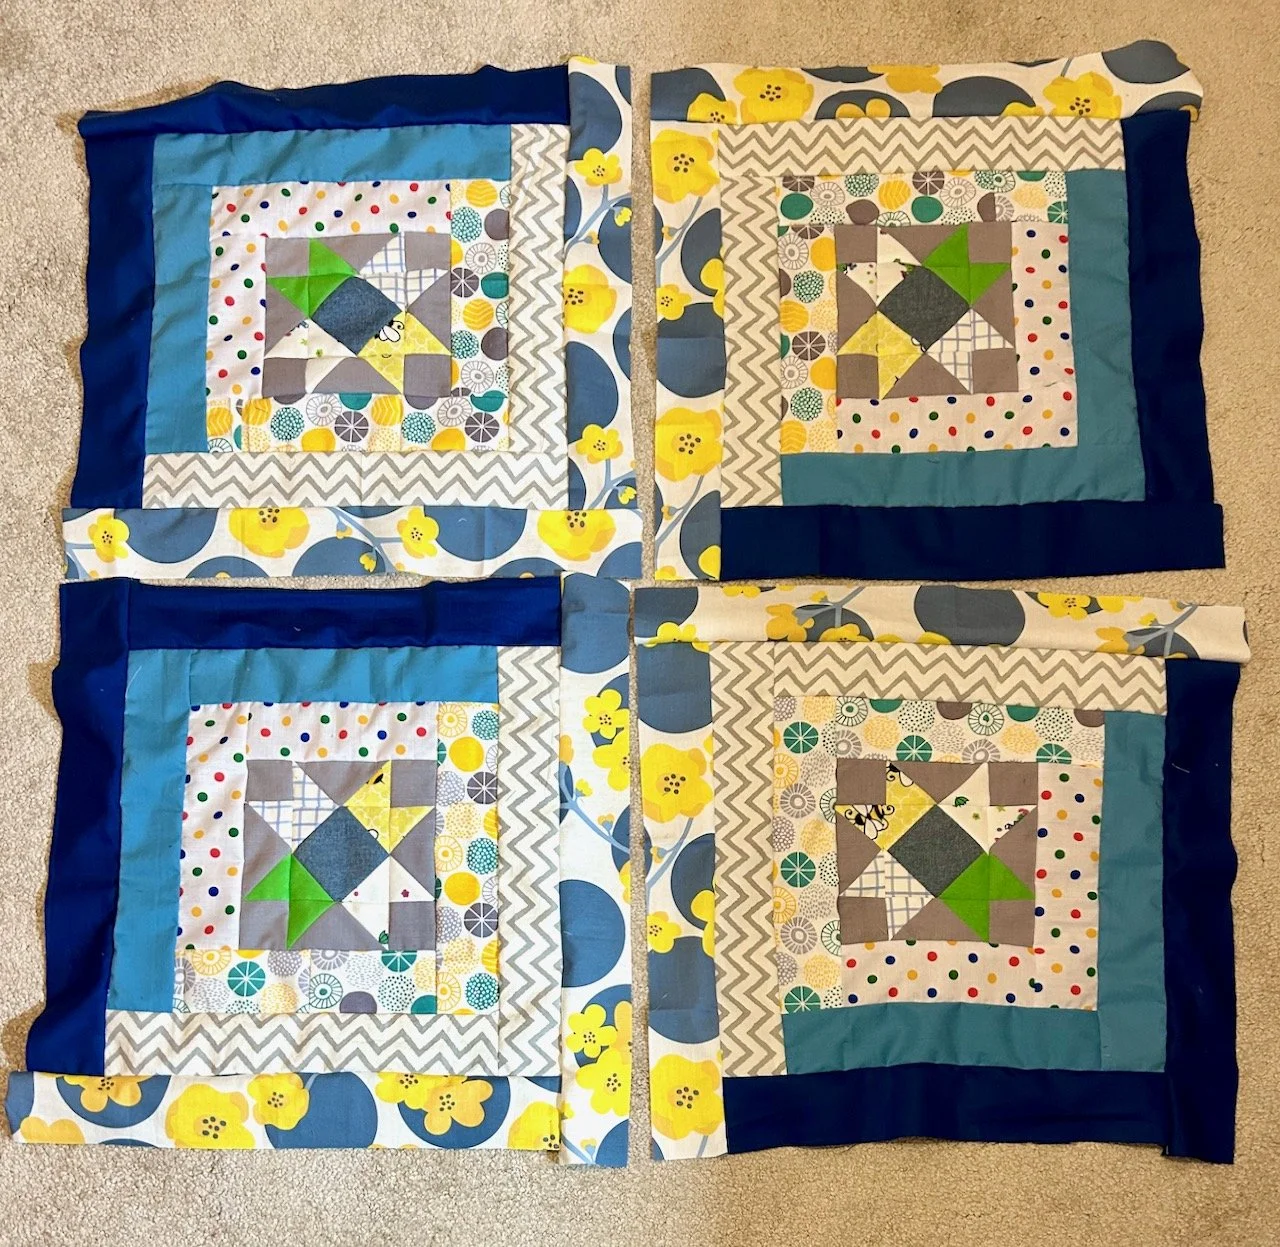
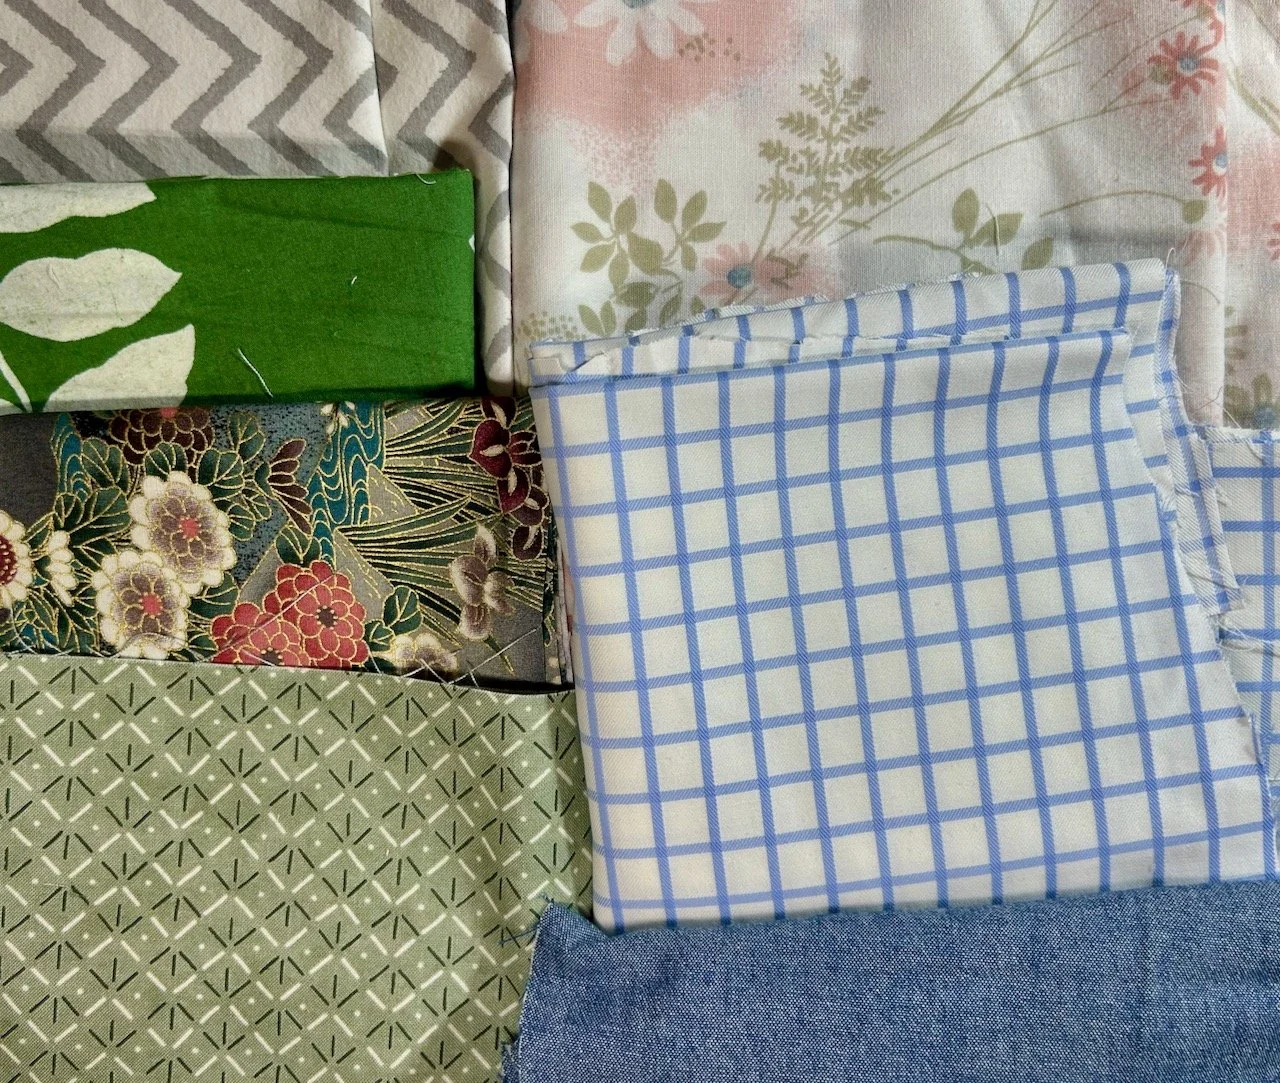
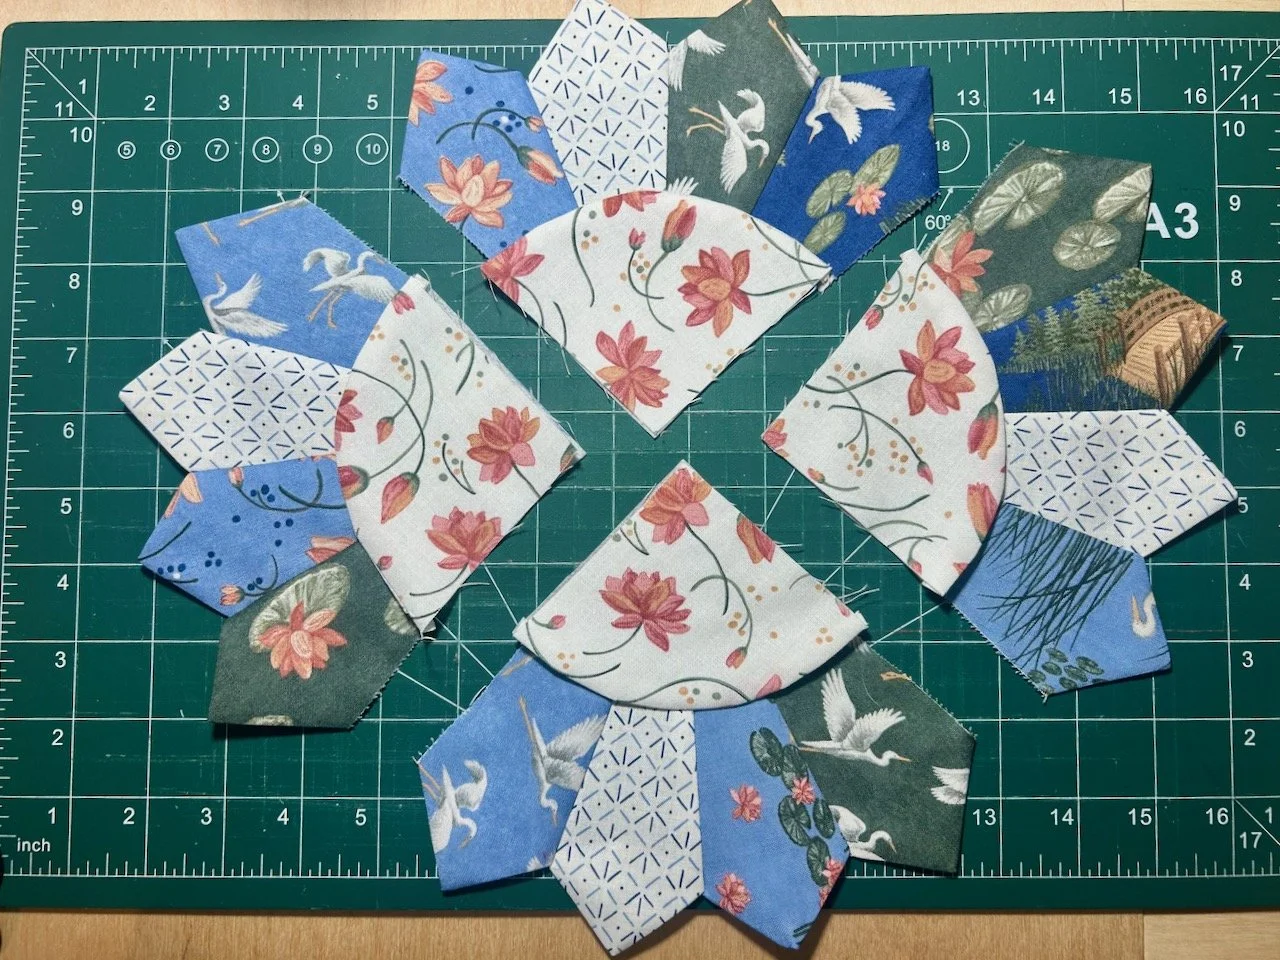
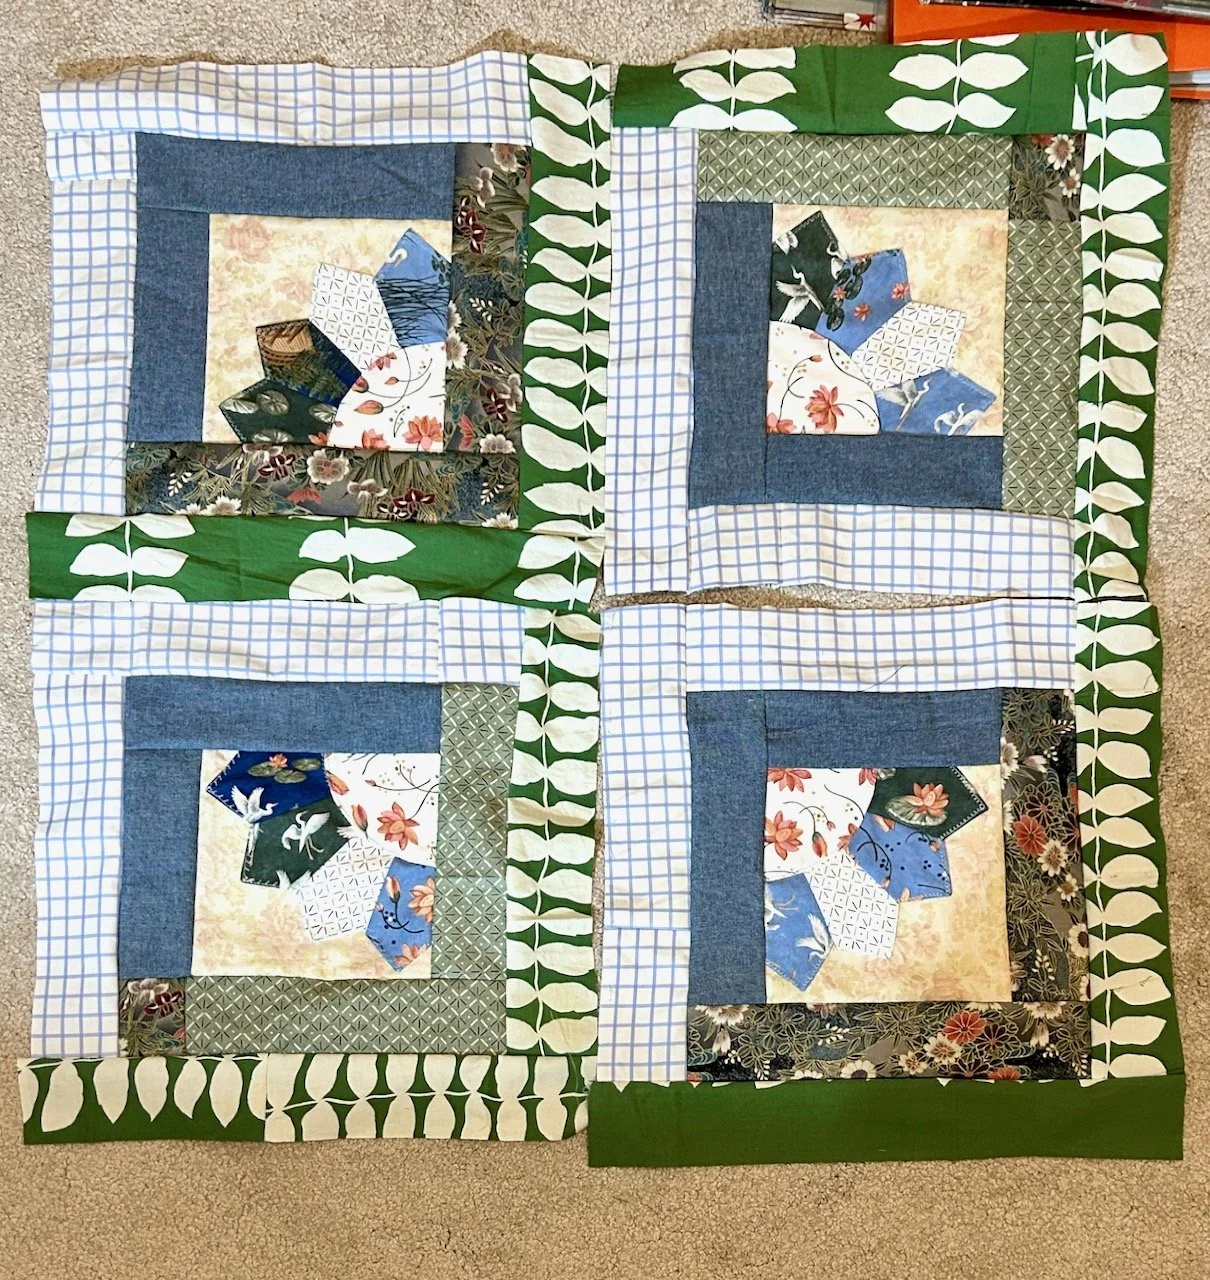
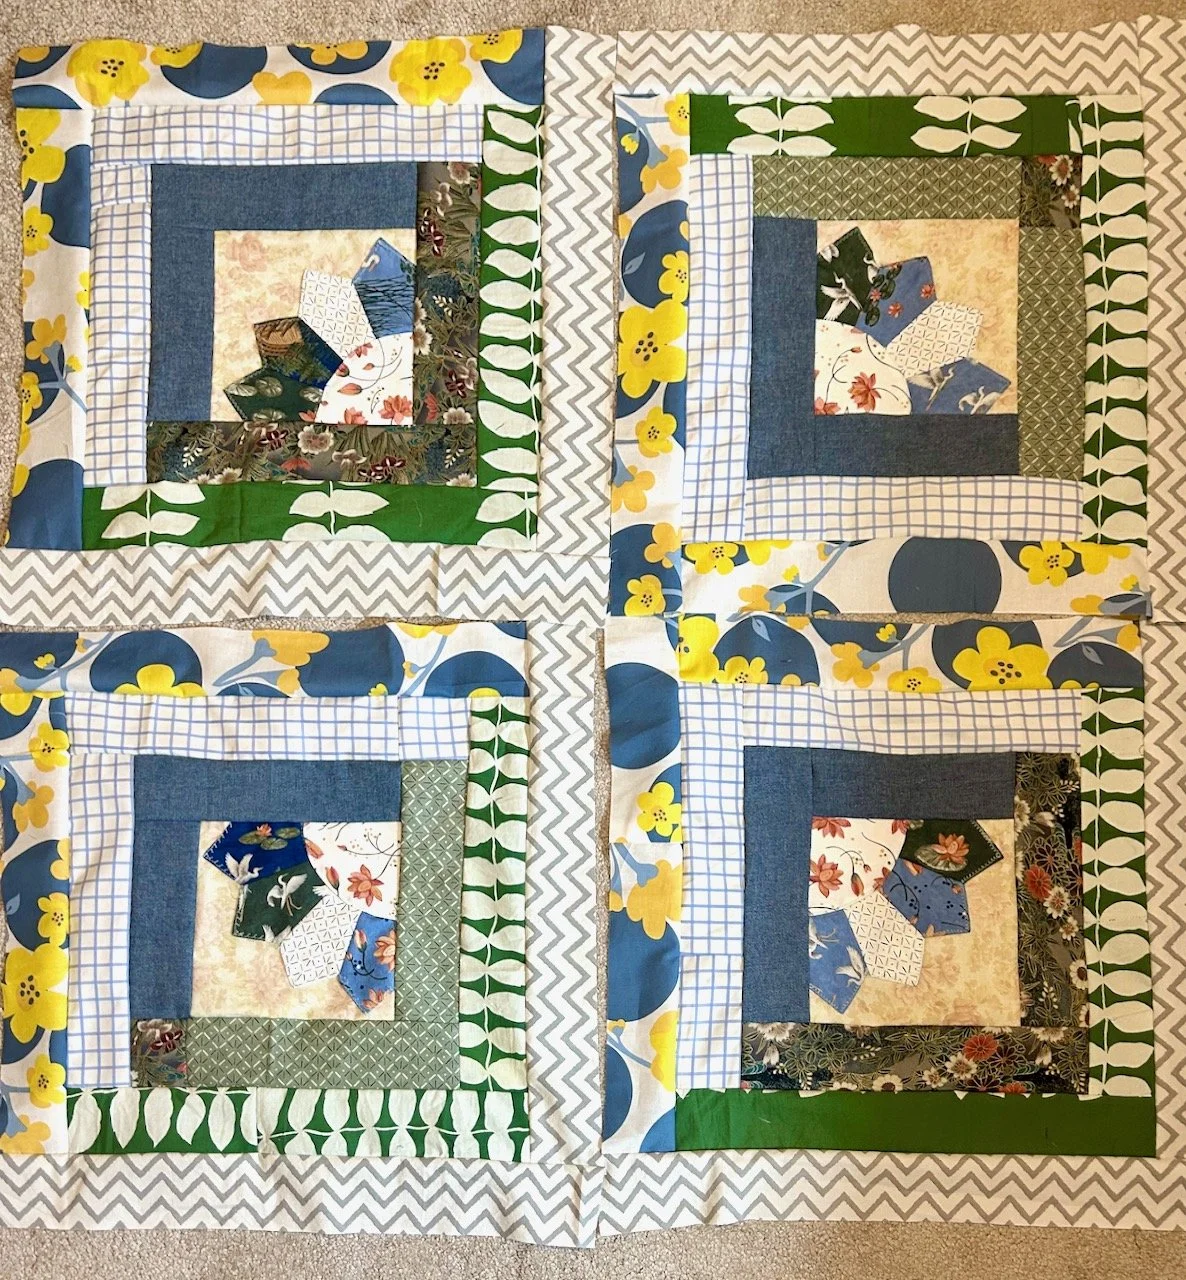
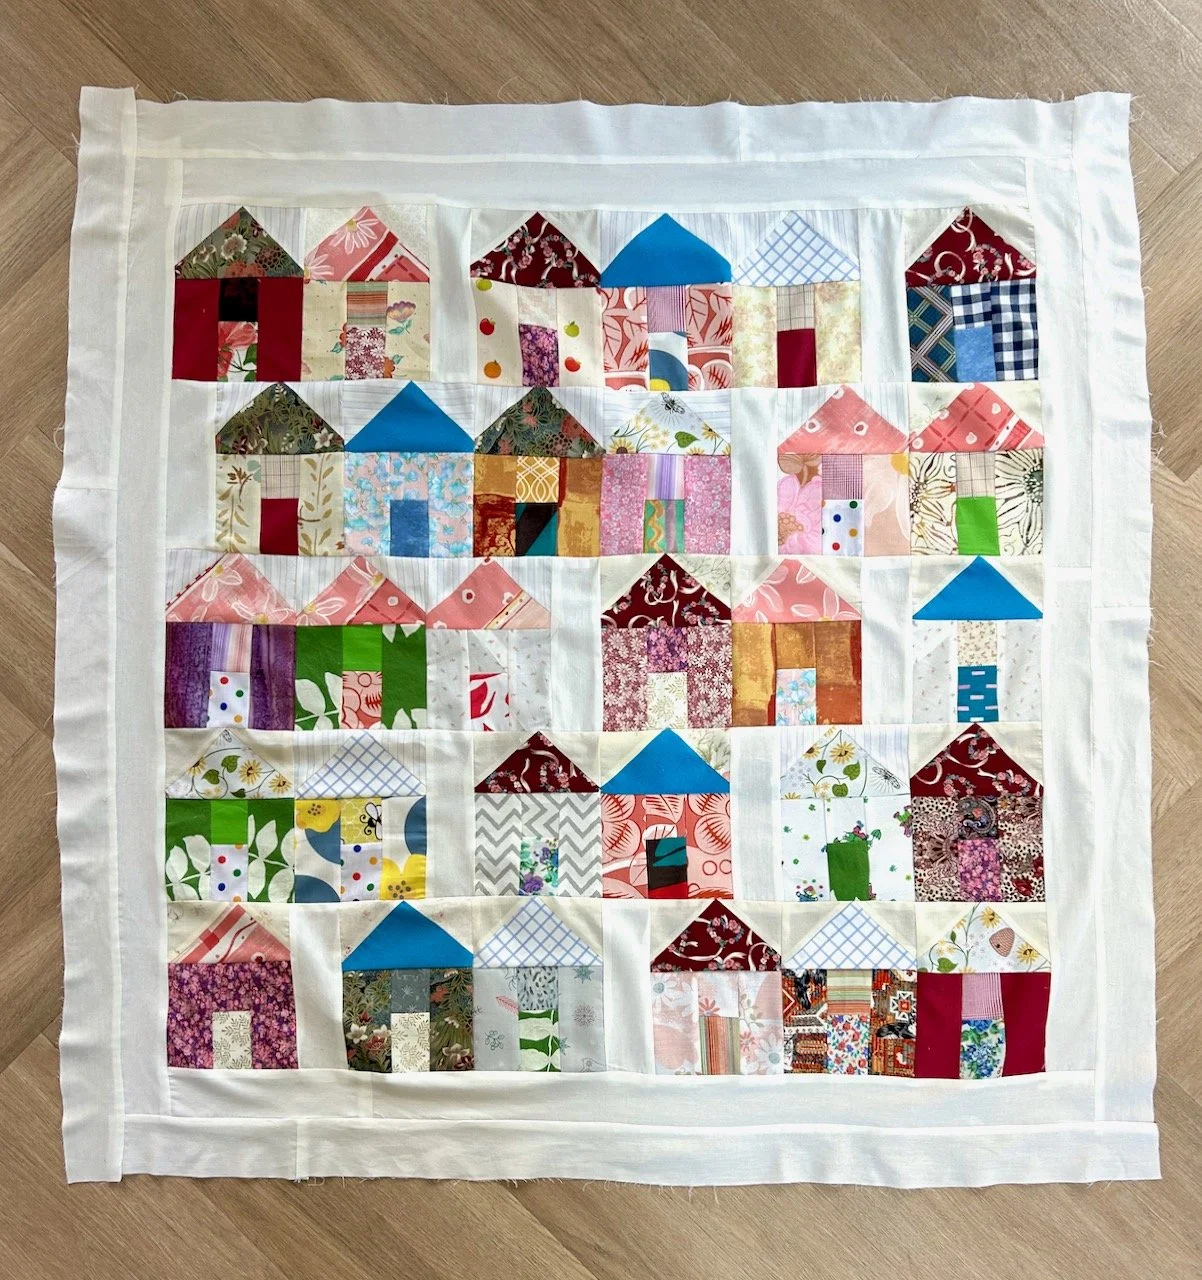
And with my tin of scraps I’ve been diligently making little scrappy houses, thoroughly loving the process of matching fabrics together.

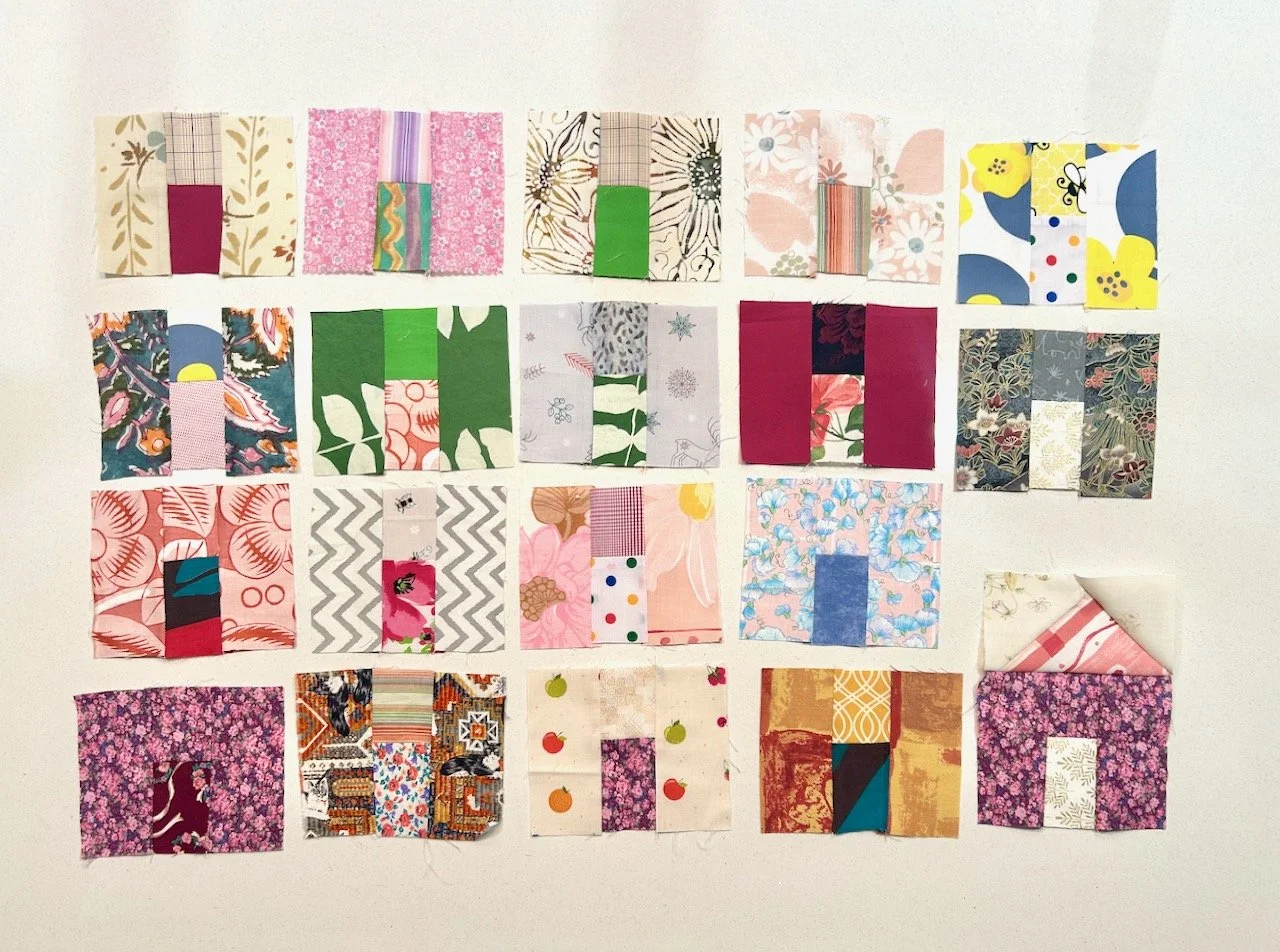
I’ve taken the tin of scraps to a few sewing and patchwork group sessions and my houses were starting to accumulate. Which got me to wondering how many houses make a small village.
There was one way to find out, and as I’m a visual person (no surprises there!) I laid them out on top of my last charity quilt to gauge my progress. Well it worked for me!
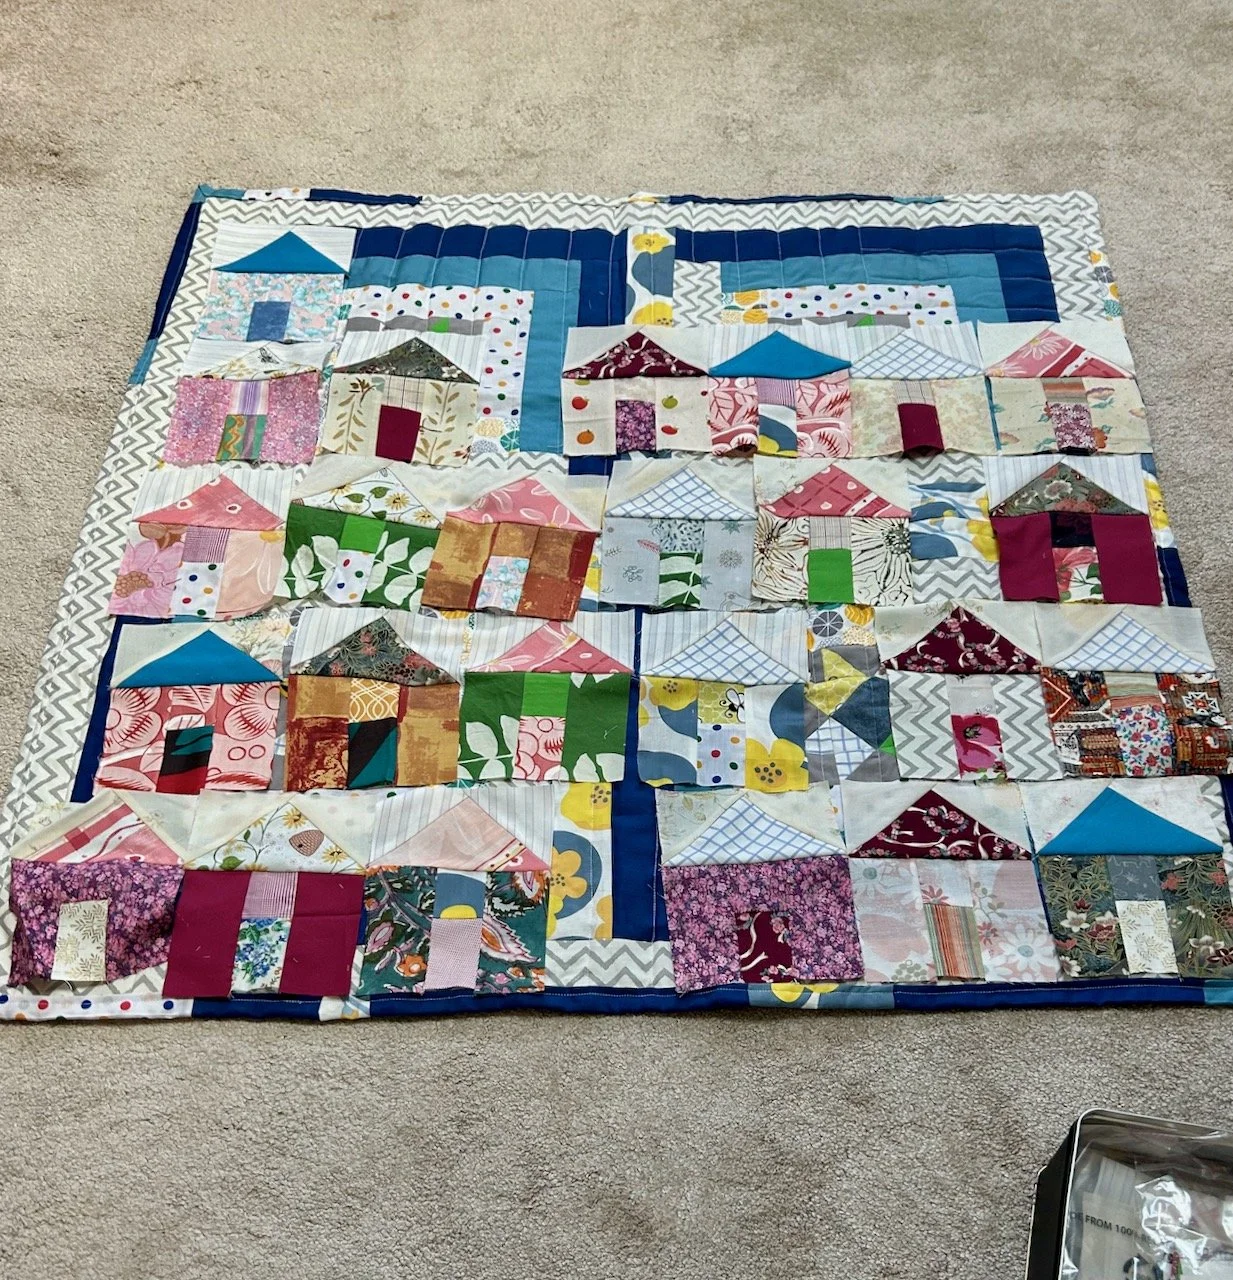
And it gave me the spur to complete the last five or so I needed to equal(ish) the size of my previous quilts.
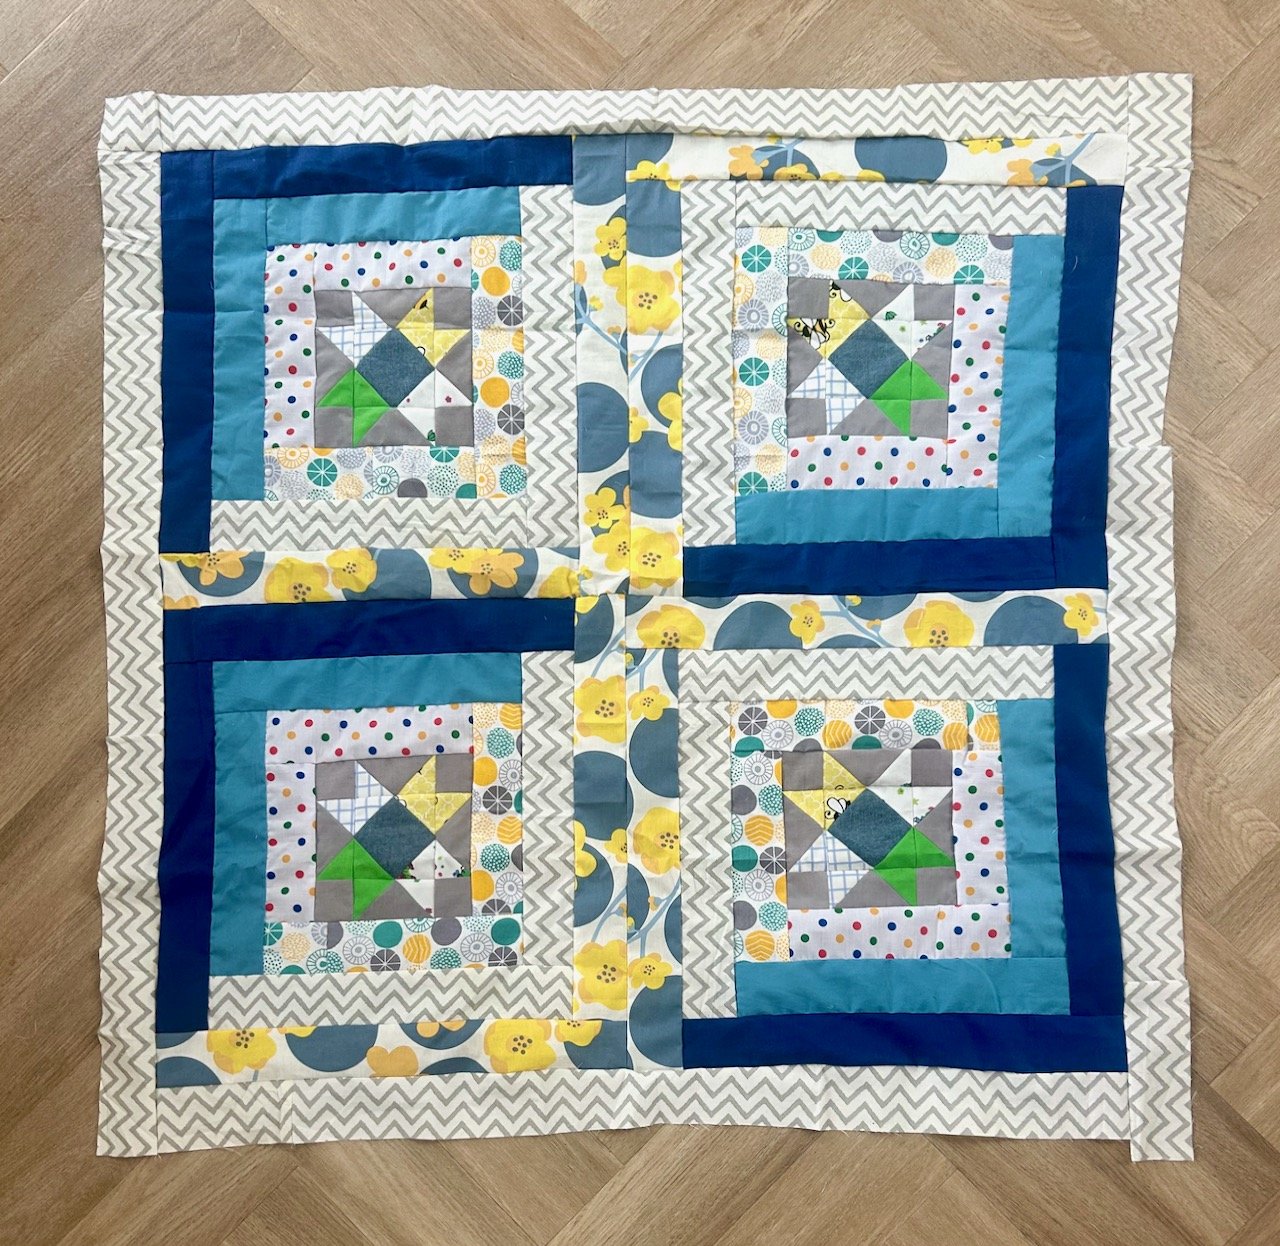
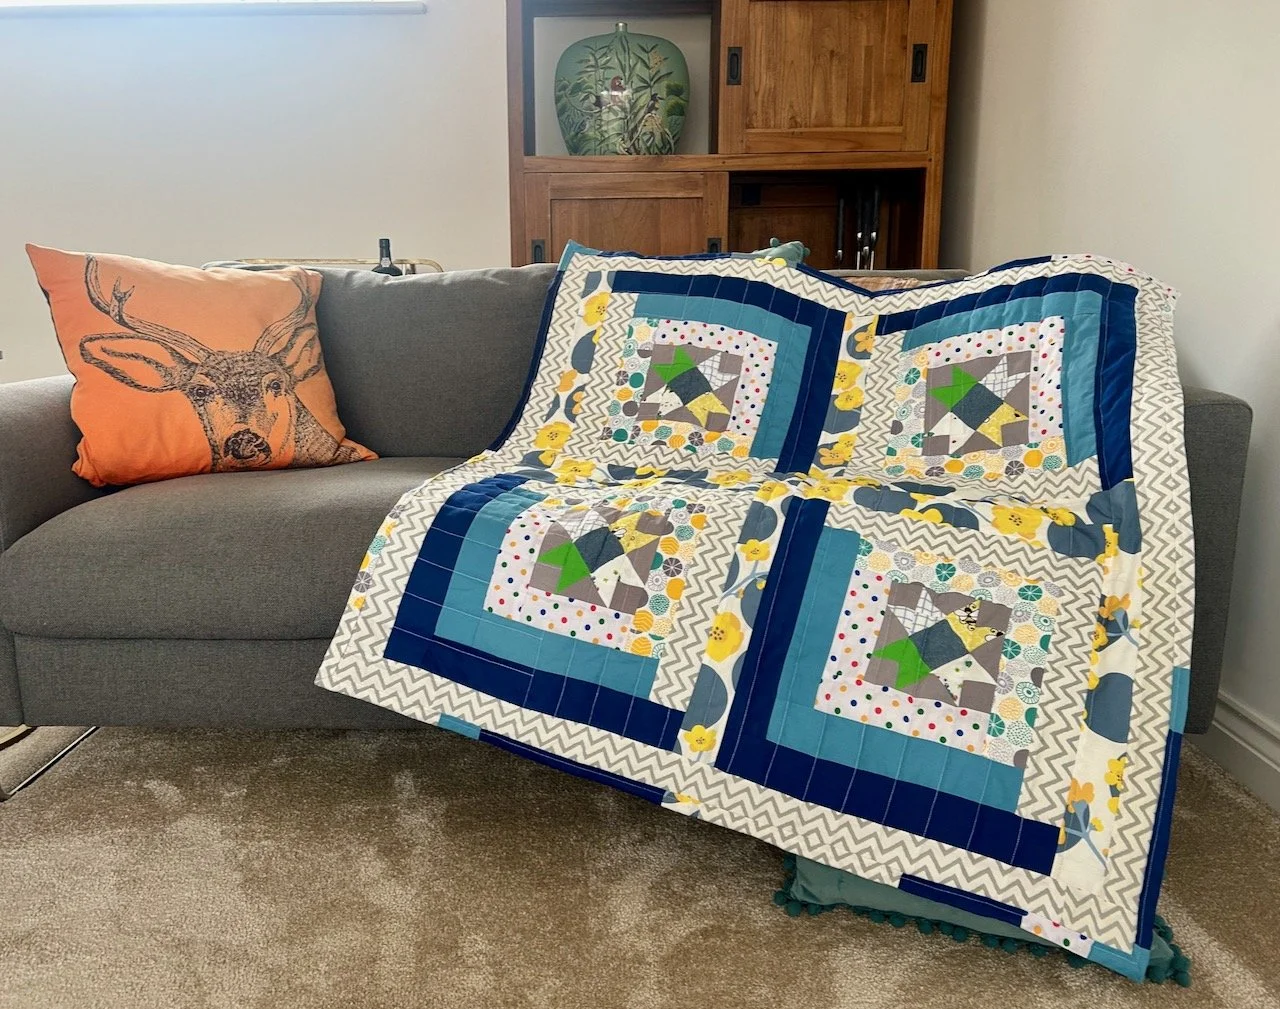
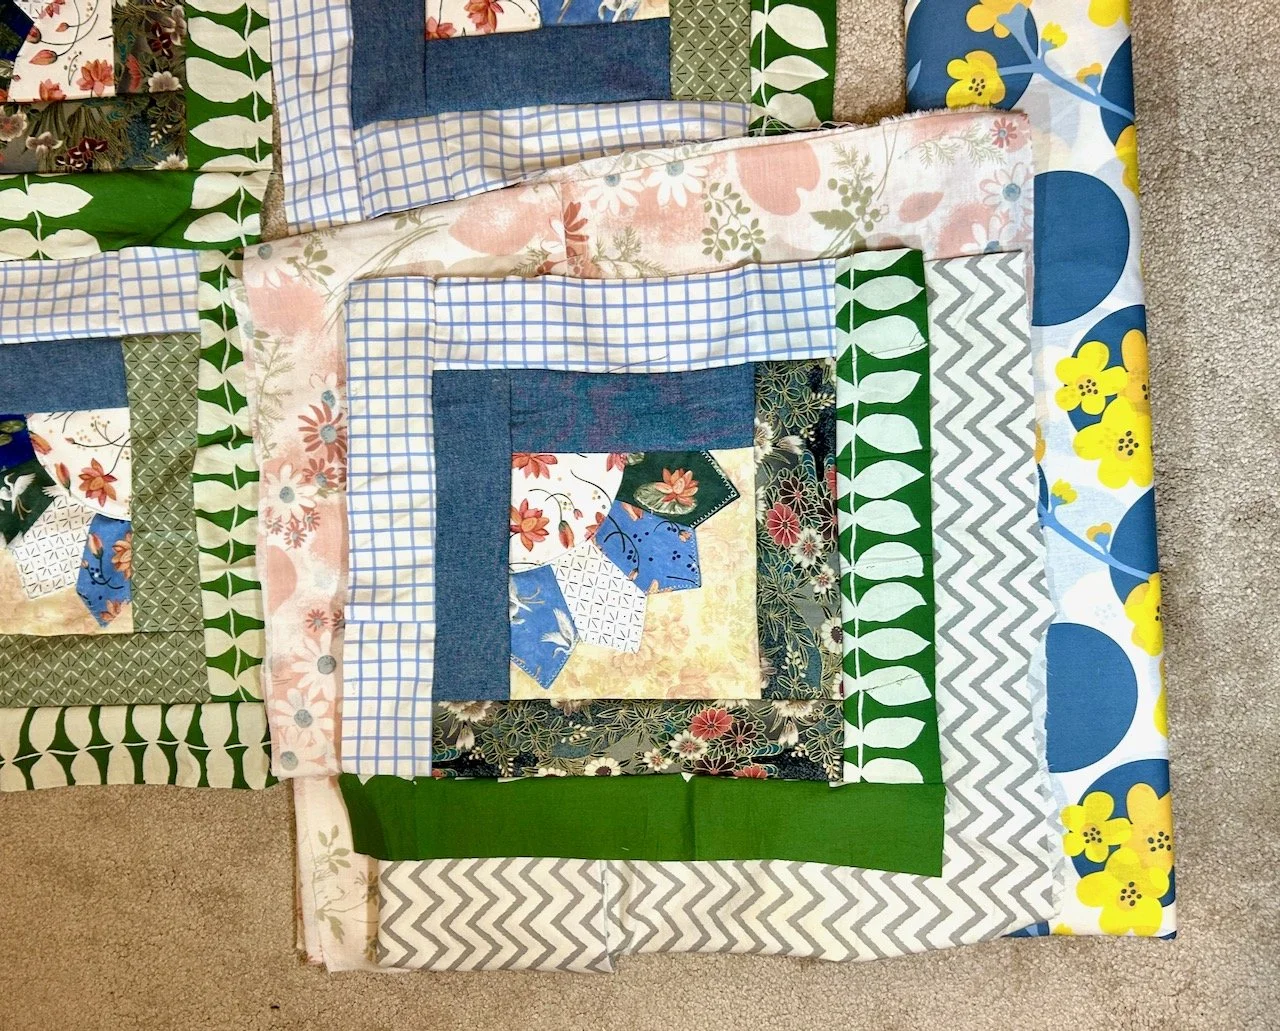
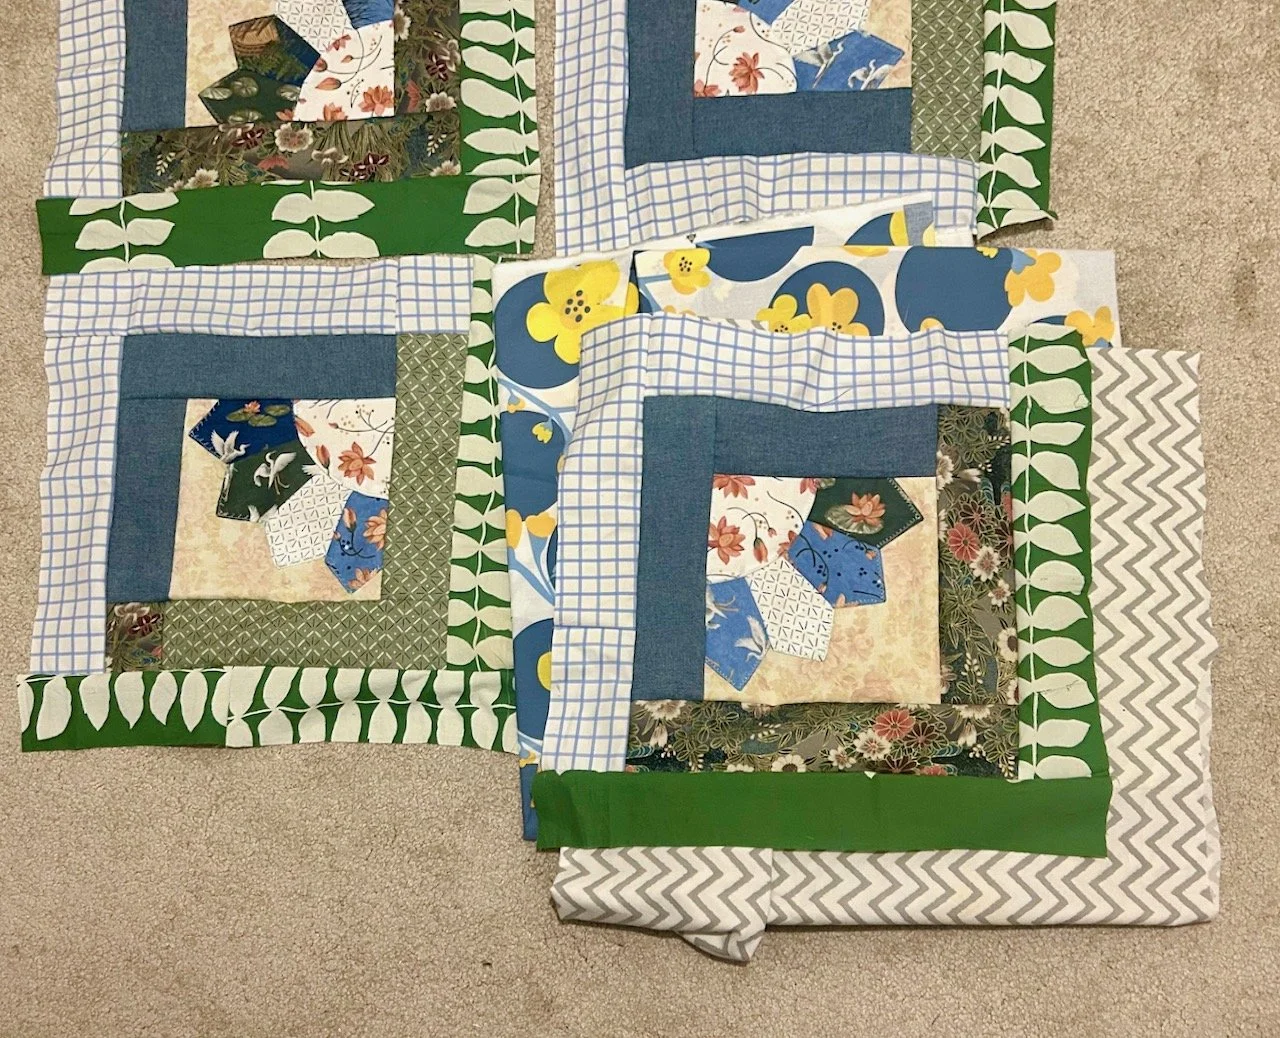
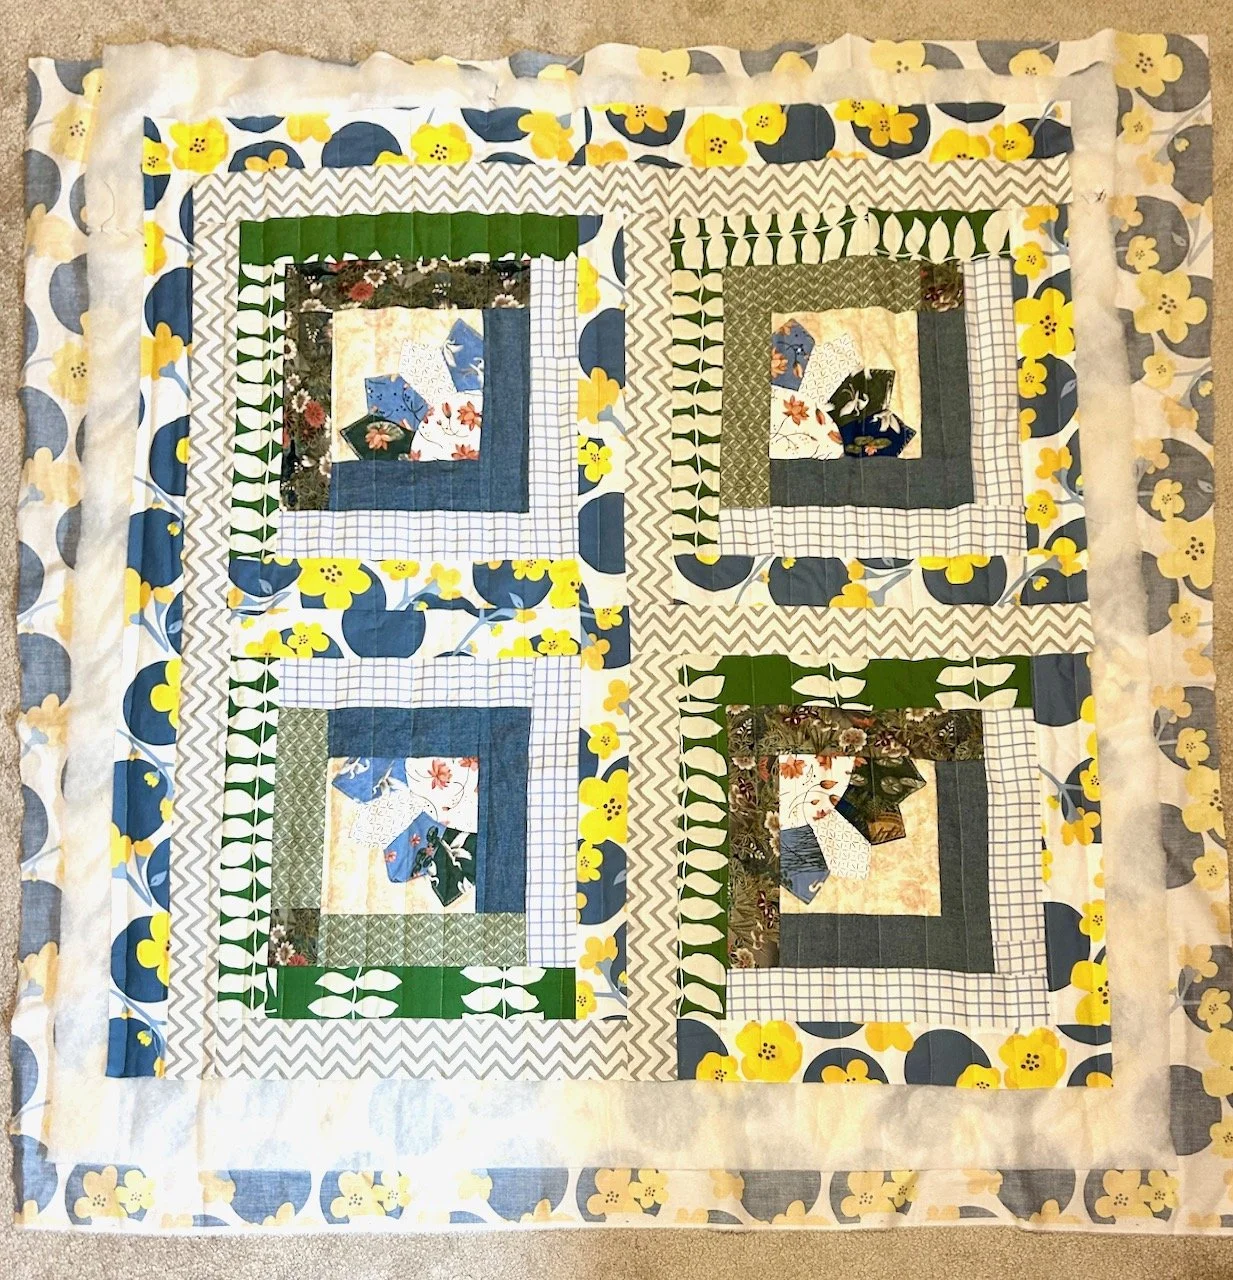
It wasn’t long before my village assembled, and acquired additional borders.
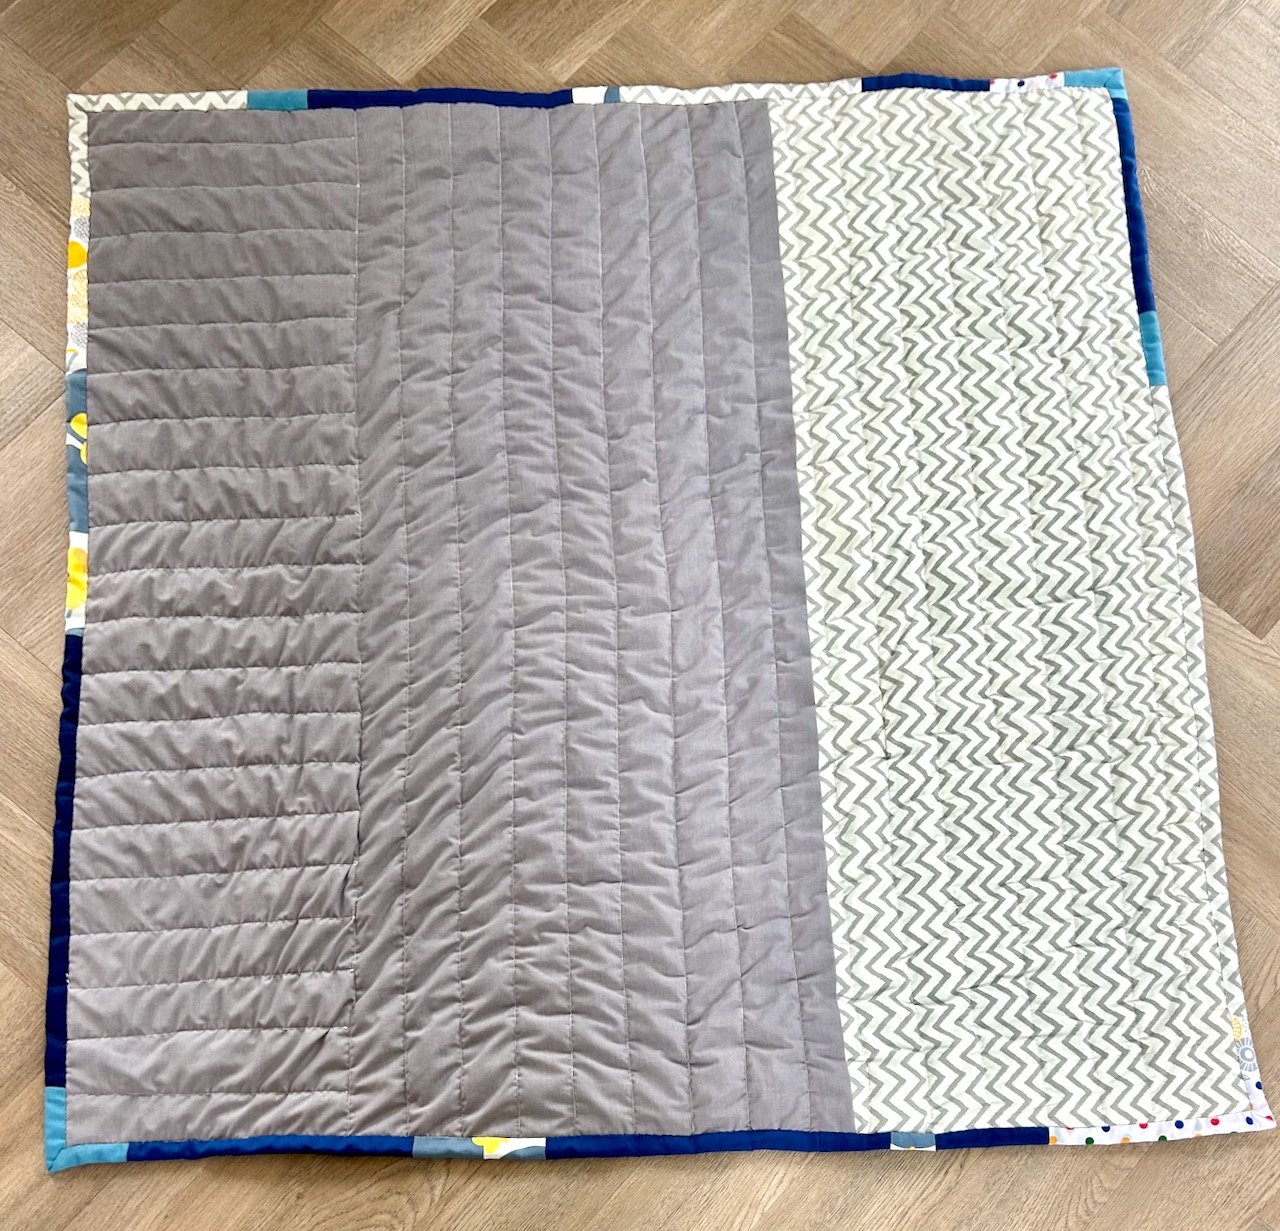
While I still love the look and process for straight line quilting, I wanted to try something different for this quilt. Partly because I’m wondering how straight line quilting would work for my larger mystery block of the month quilt, both practically and design-wise, or if something with more curves would be better suited to the mostly log cabin quilt.
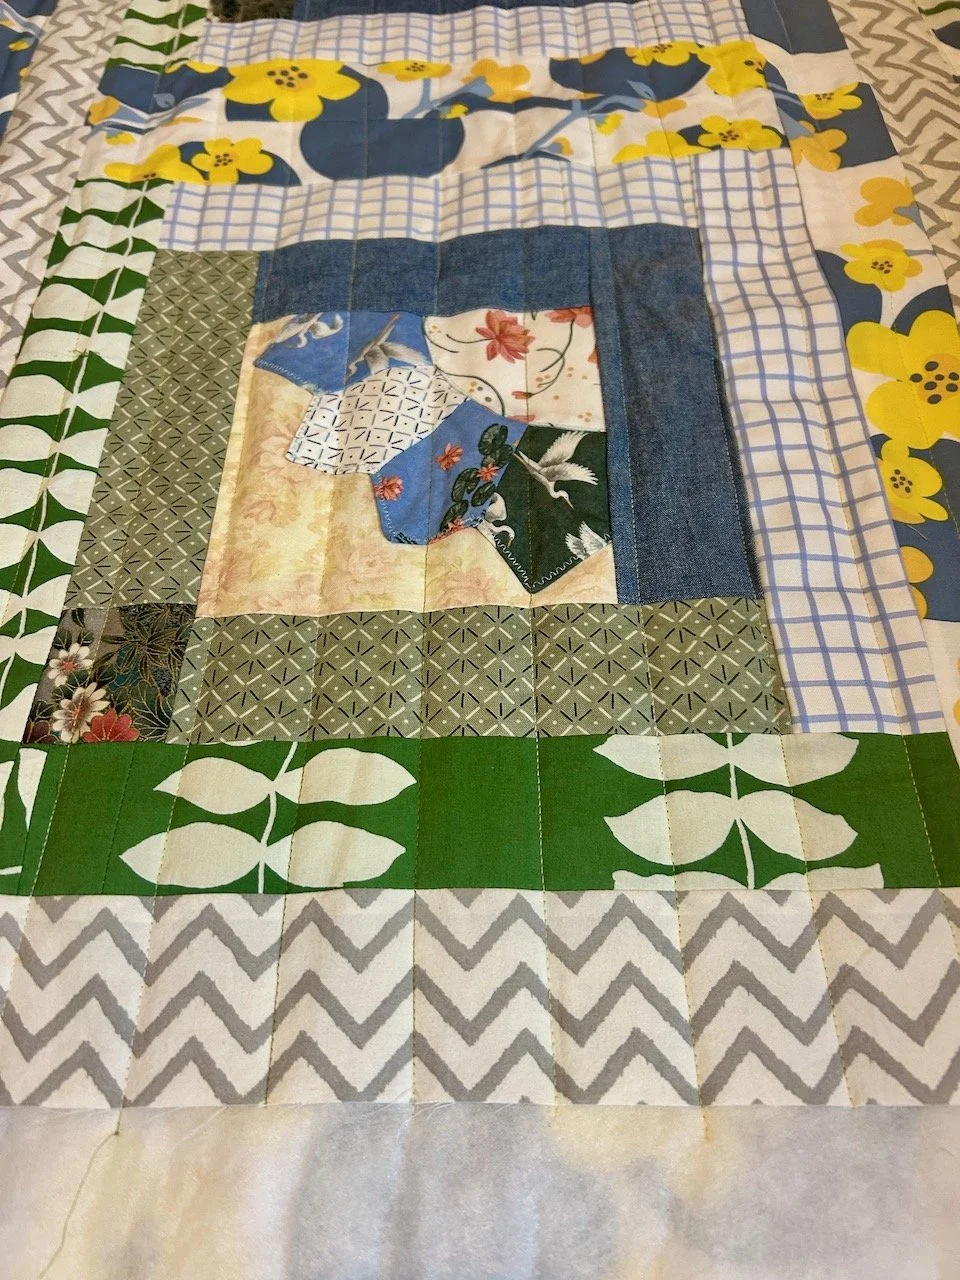
But anyway without knowing more about wavy quilting I didn’t feel informed enough to make that decision, so I’ve wavy quilted this village using one of the preset stitches on my machine.
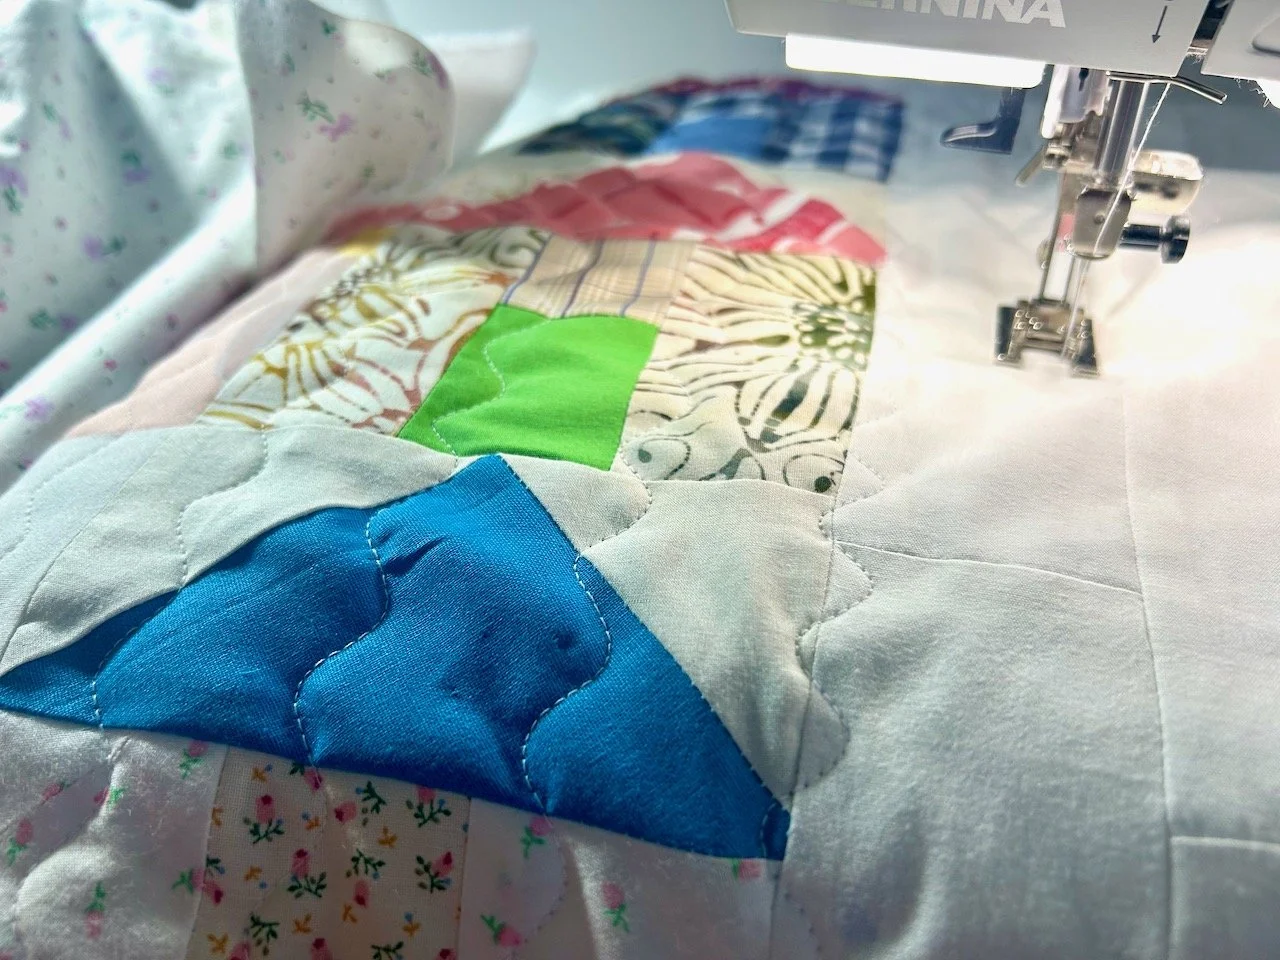
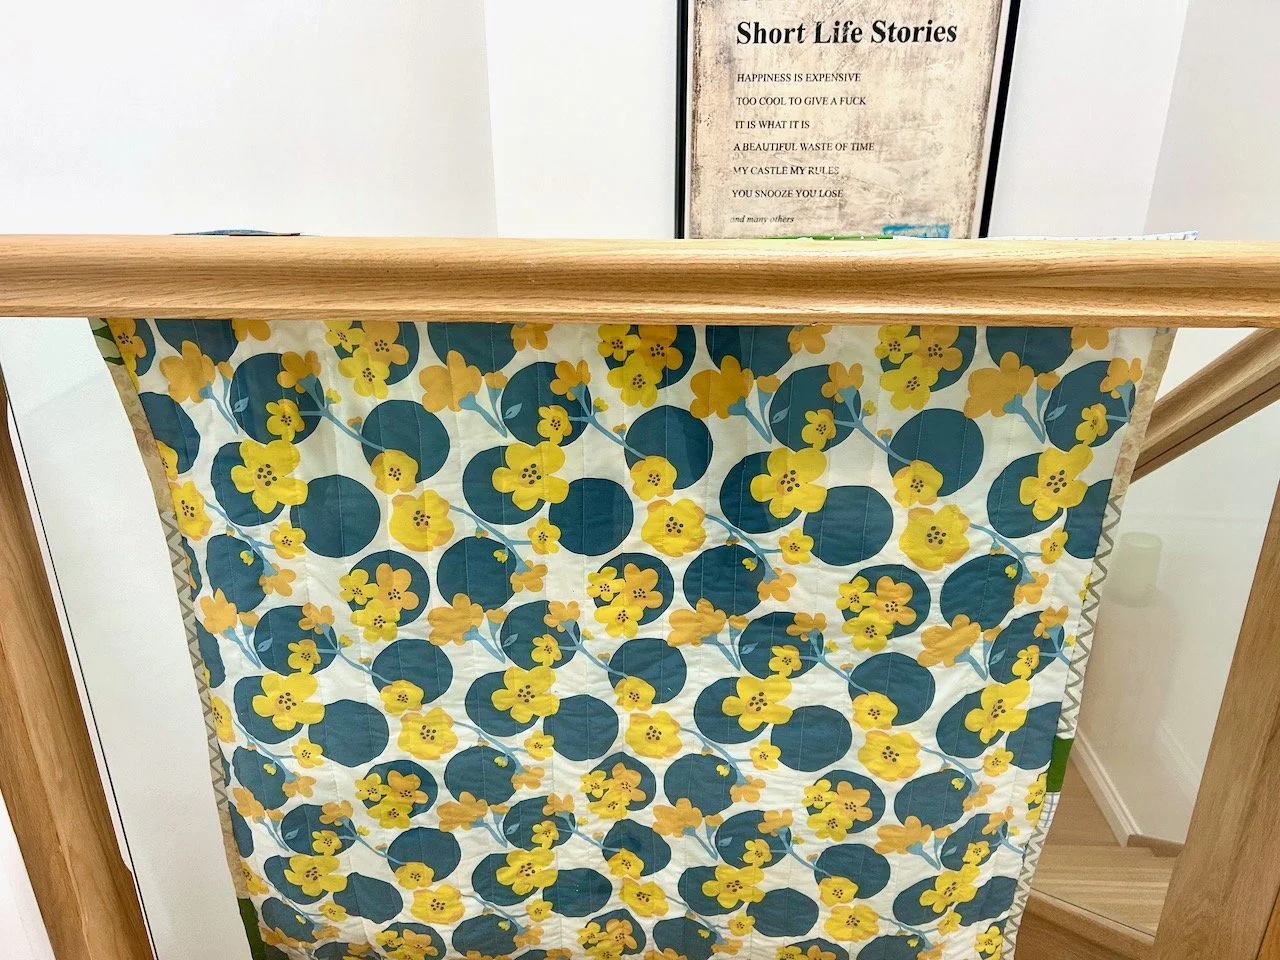
And I quite like how the wavy quilting turned out.
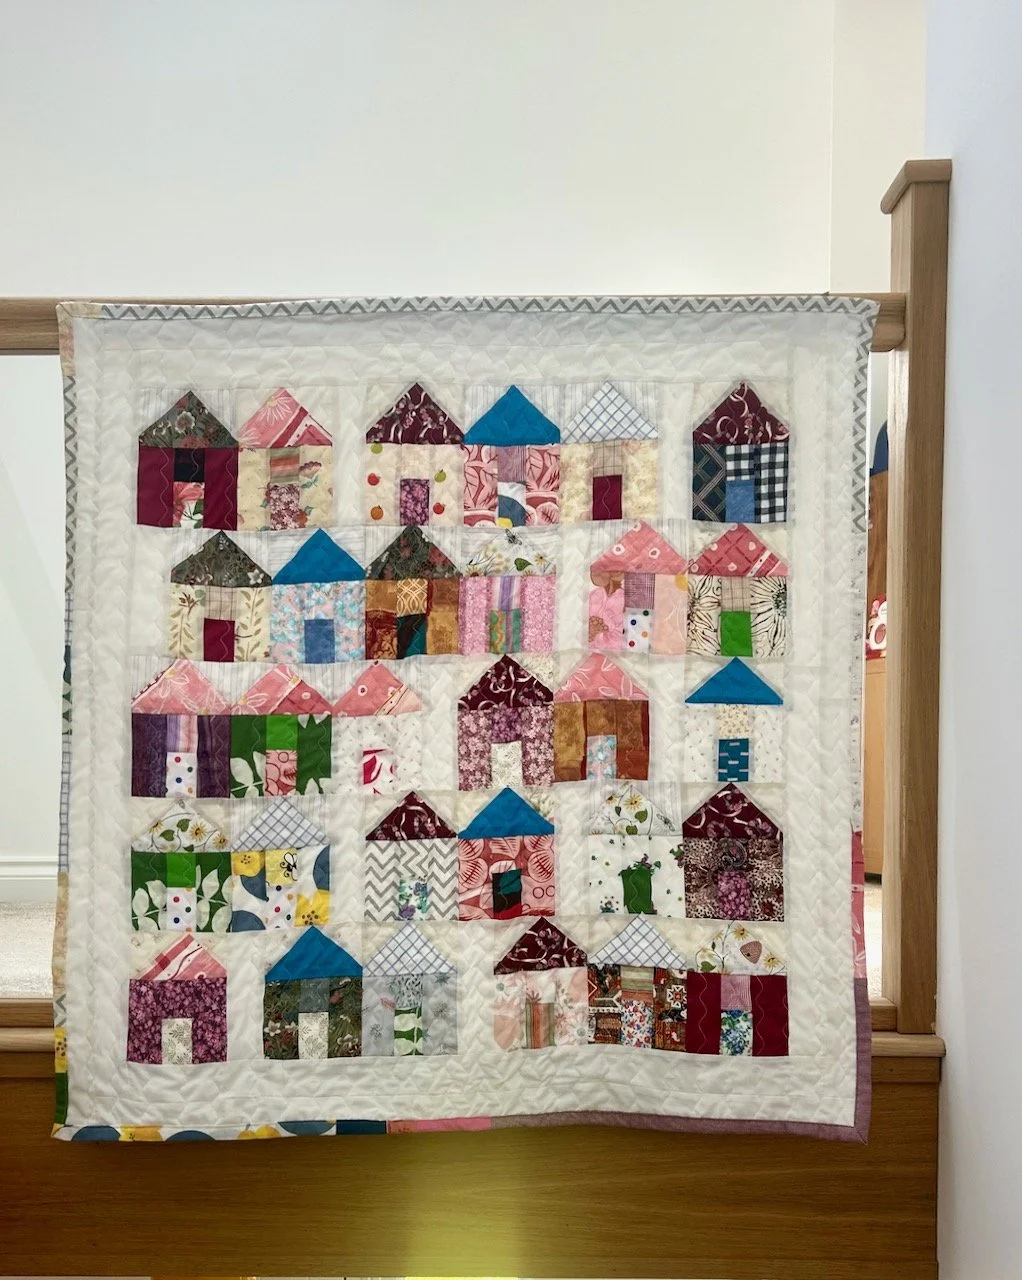
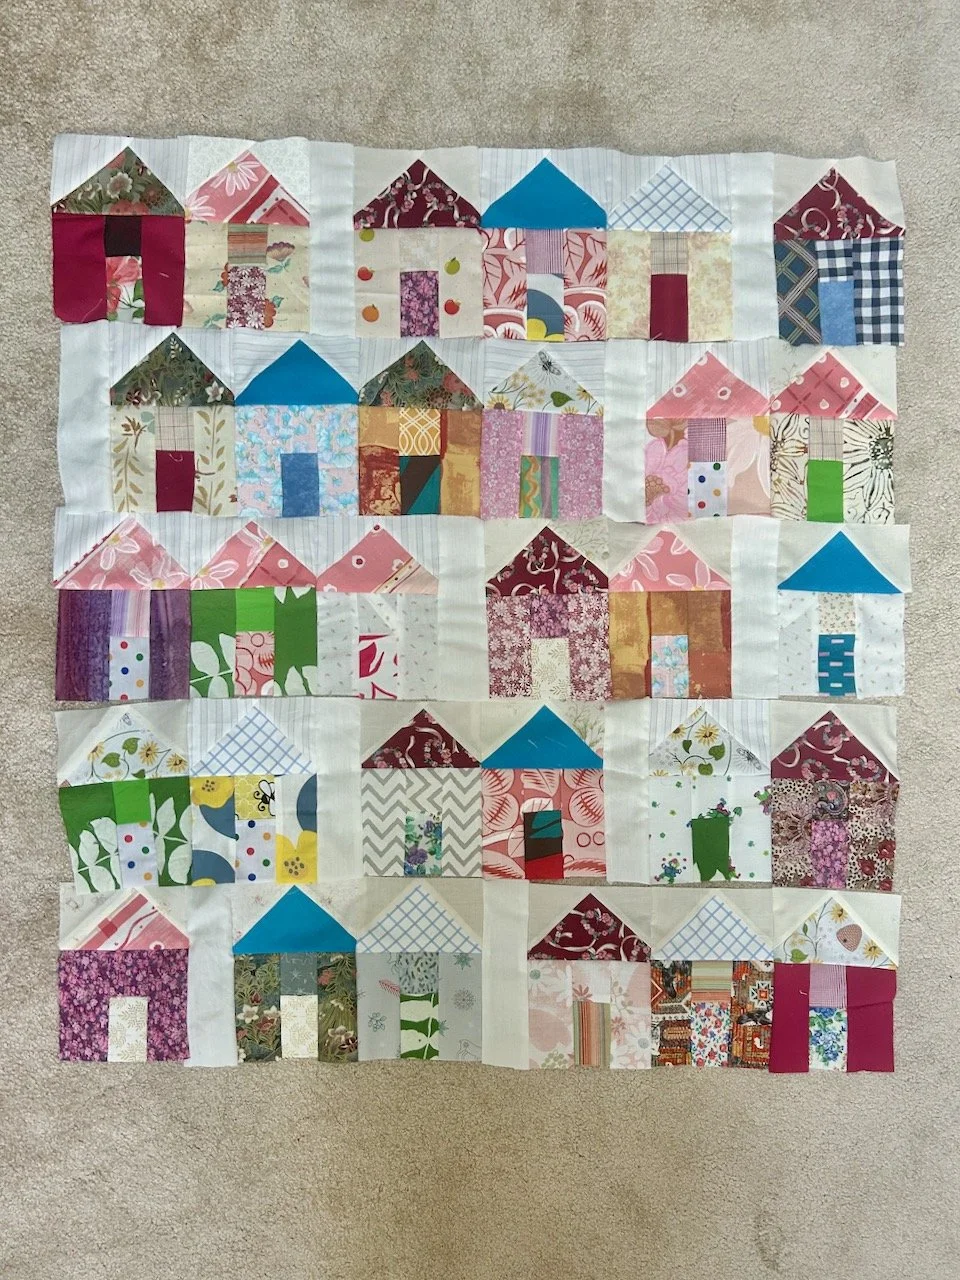
I also love how the scrappy houses have come together to form the perfect little village and I know that this design was the right choice for my charity quilts for this year. Isn’t it cute?
You can see my other quilts I’ve made to donate to Project Linus - a charity whose mission is to provide love, a sense of security, warmth and comfort to children, who are sick, disabled, disadvantaged or distressed through the donation of new, homemade, washable quilts and blankets.