Twelve Mystery Blocks of the Month

Over the past year I’ve been making mystery blocks of the month to complete Sherri’s mystery block a month quilt alongside the charity quilts I’ve made from the test blocks, which I named my ‘stretch project’.

Twelve months, or more accurately twelve blocks later I’ve realised that now the real work starts! My quilt hasn’t miraculously come together of its own accord, that’s clearly down to me. Sherri shared detailed instructions on how to assemble and finish the quilt, and I am broadly following them, but broadly is the key word here.

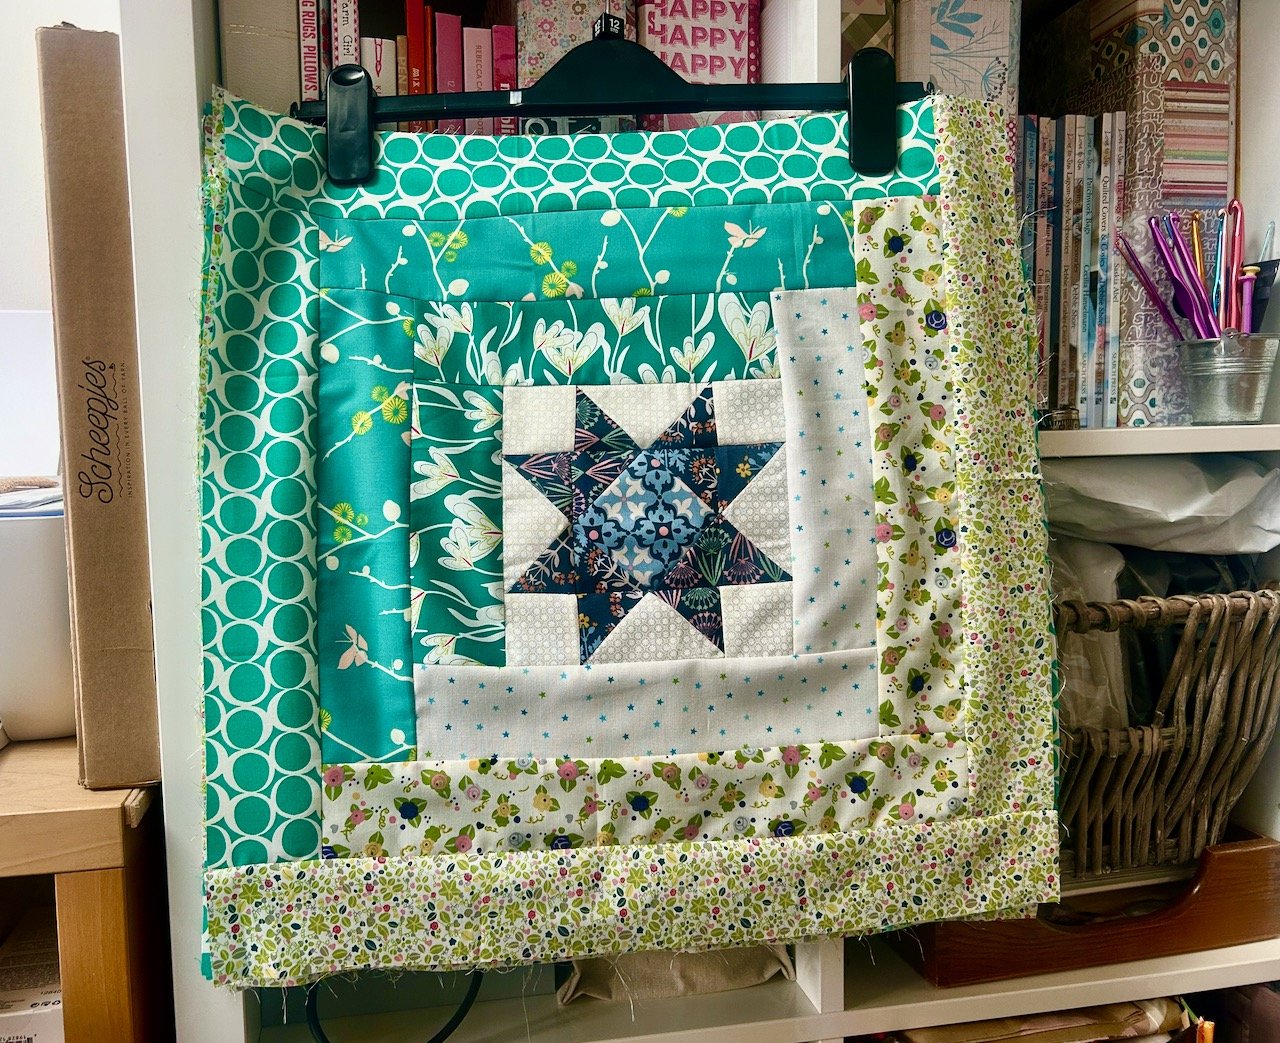
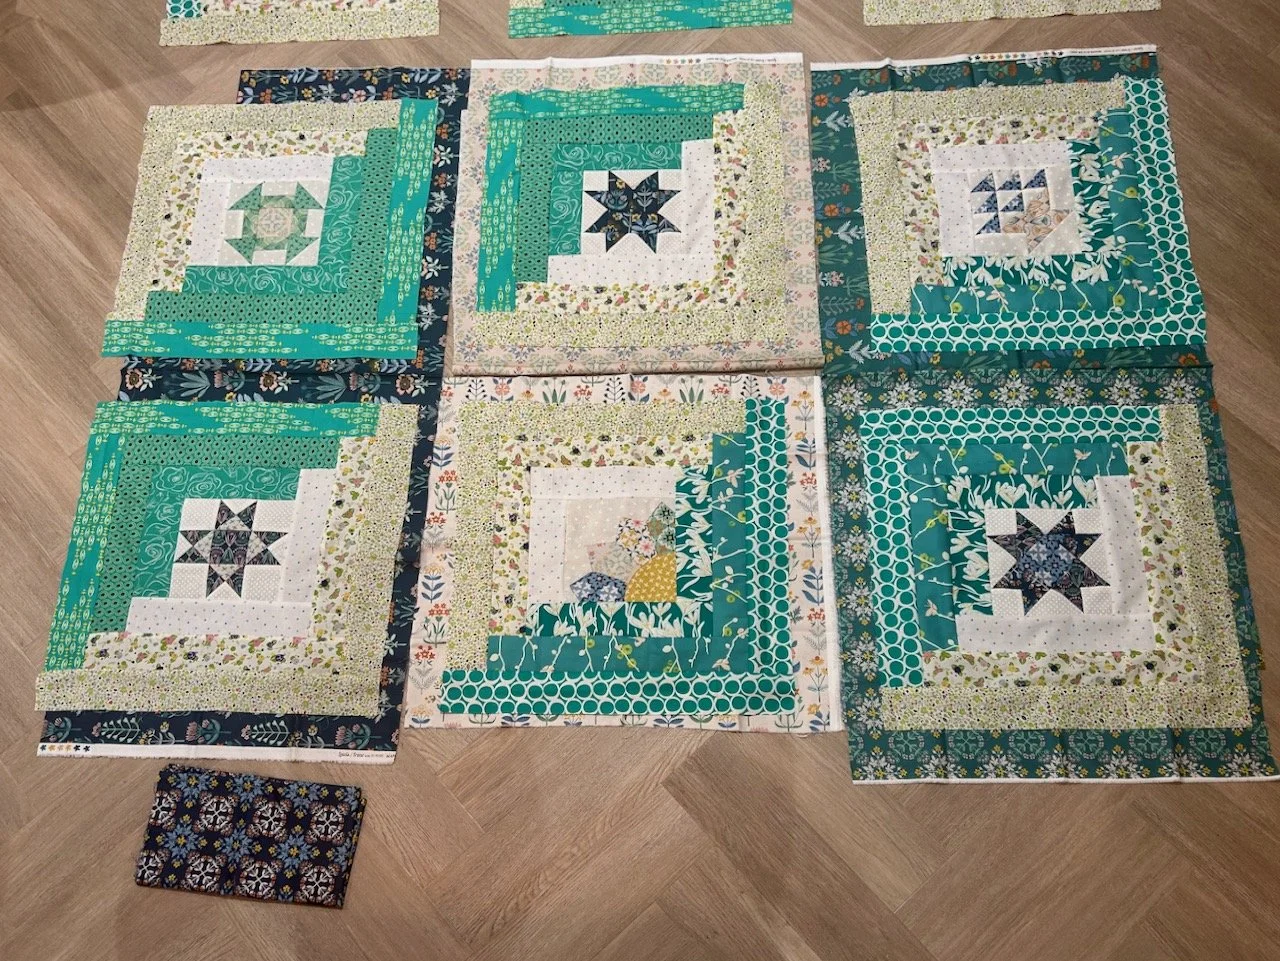
If you’ve been following my making journey for each of the blocks you’ll have seen each one on its own, but you won’t have seen them together.

Until now that is.

The twelve monthly blocks laid out in a grid formation

Don’t they look great?

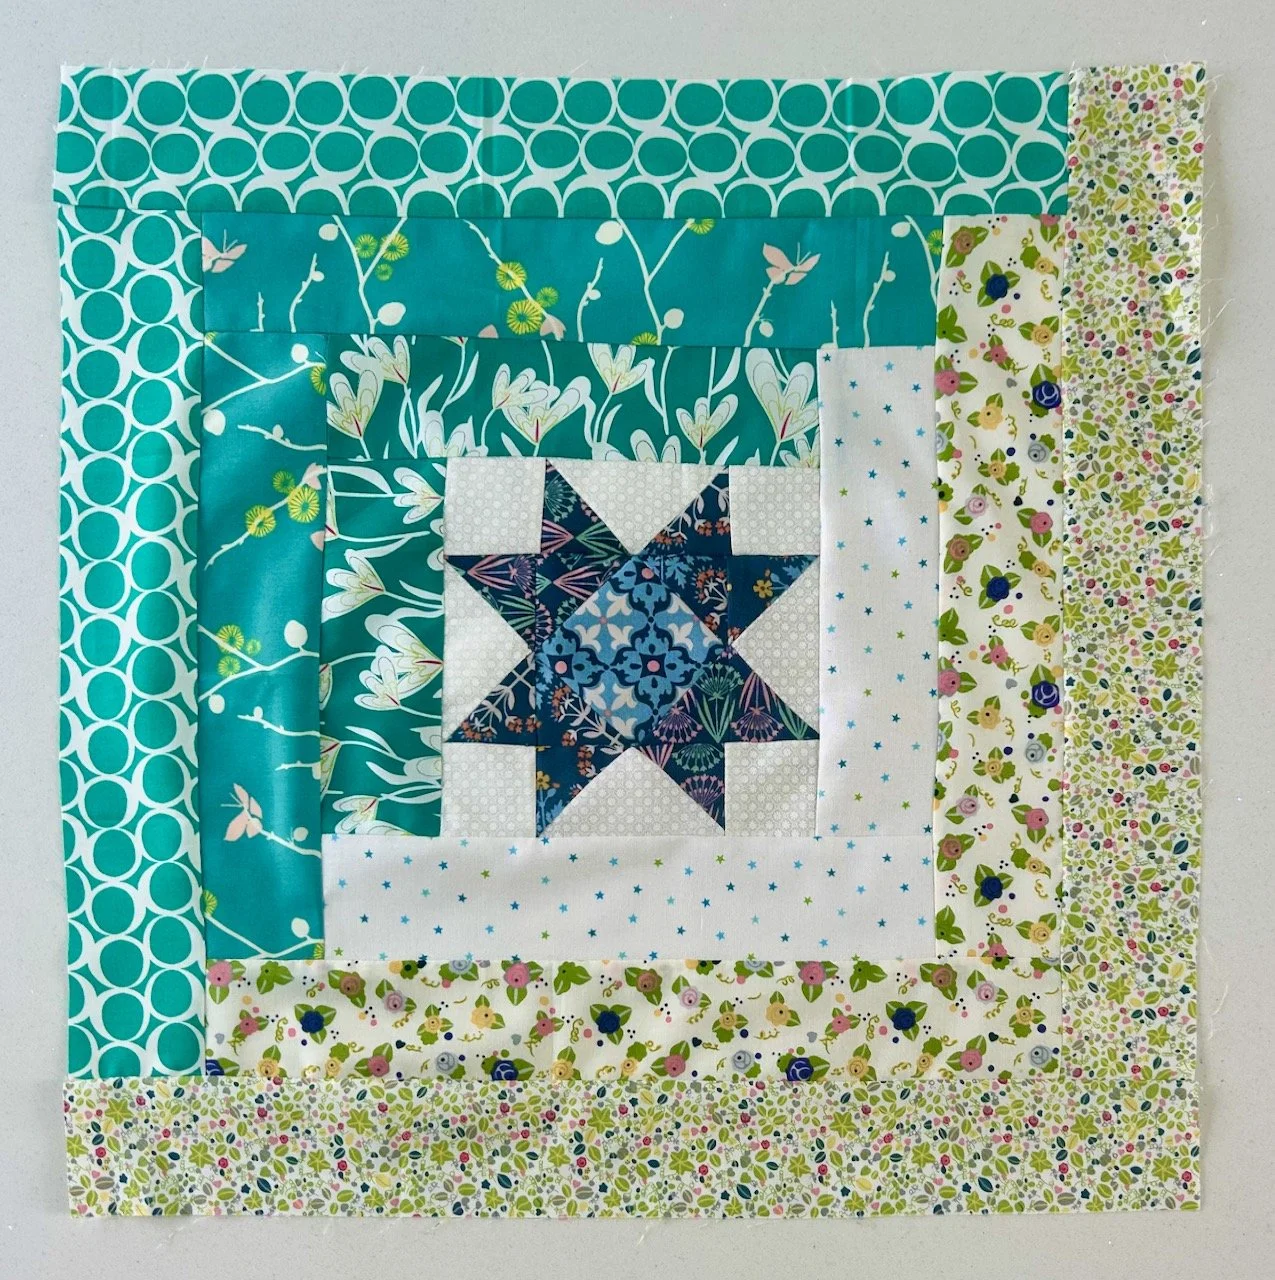
I’m so glad I chose to add a second ‘green’ log cabin border option early on in the block assembly road. I know now that I wouldn’t have had enough of the original greens to keep them consistent throughout the quilt, and as they were designs I’d had for a while topping up my supply wasn’t an easy option.

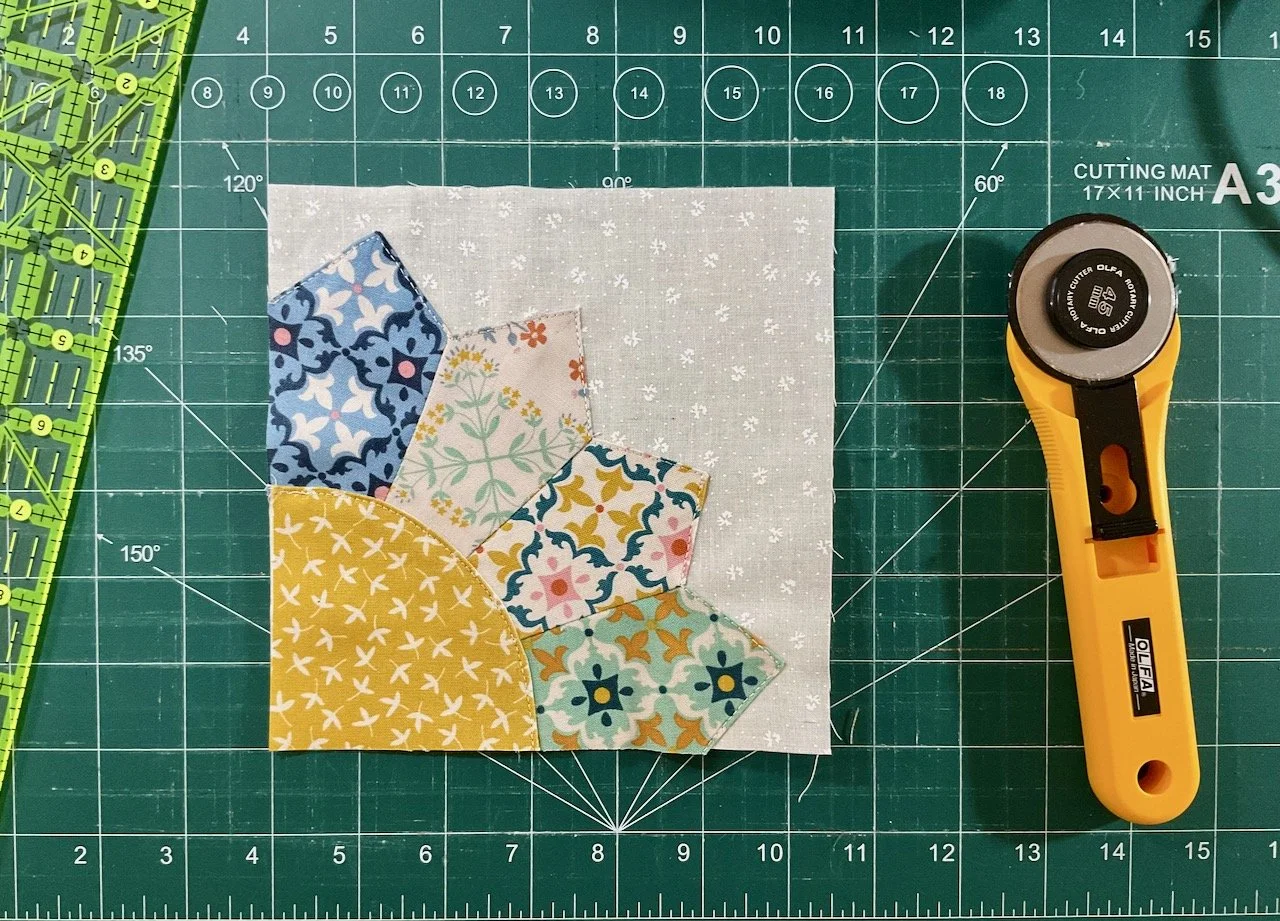
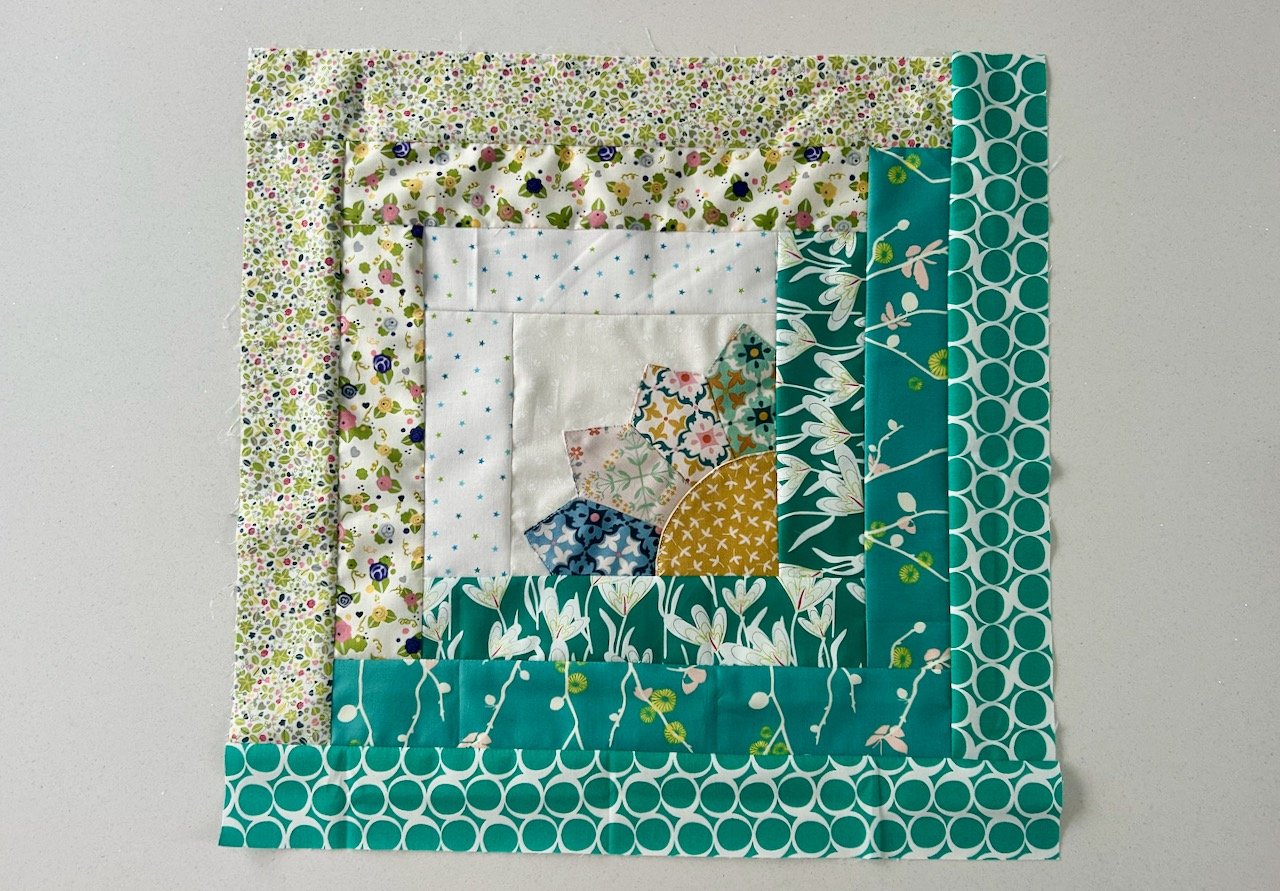
The spacing between the blocks in the photo was to help me decide which sashing and borders to add, but before we get to that, here’s a reminder of each month’s blocks:

My plan to finish this quilt

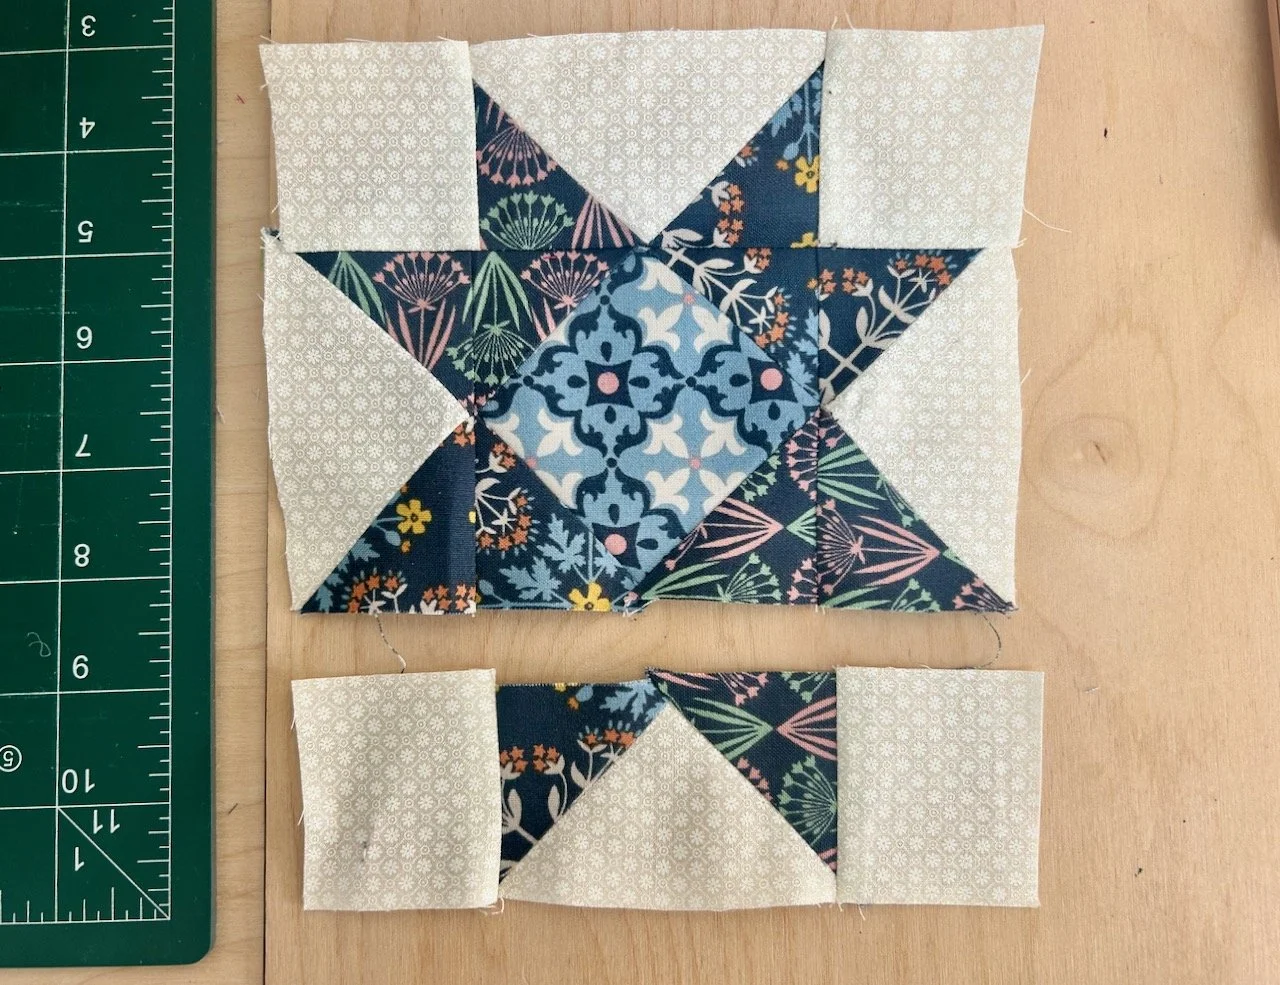
Each of the log cabin (outer) strips on the monthly blocks are 2.5 inches so with seam allowances each piece is 2 inches wide. Sherri suggests using two 1.5inch sashes between each block, so the overall finished width would be 2.5 inches, but I wanted to maximise the width, as far as I can without it looking daft - but also to use the material I already had.

In the end with a fair bit of ‘mathing’ I worked out that my sashing (internal borders) between blocks could be 2 inches at the most, so with two sashes the same width, that’s 3.5 inches when complete, which I’m happy with.

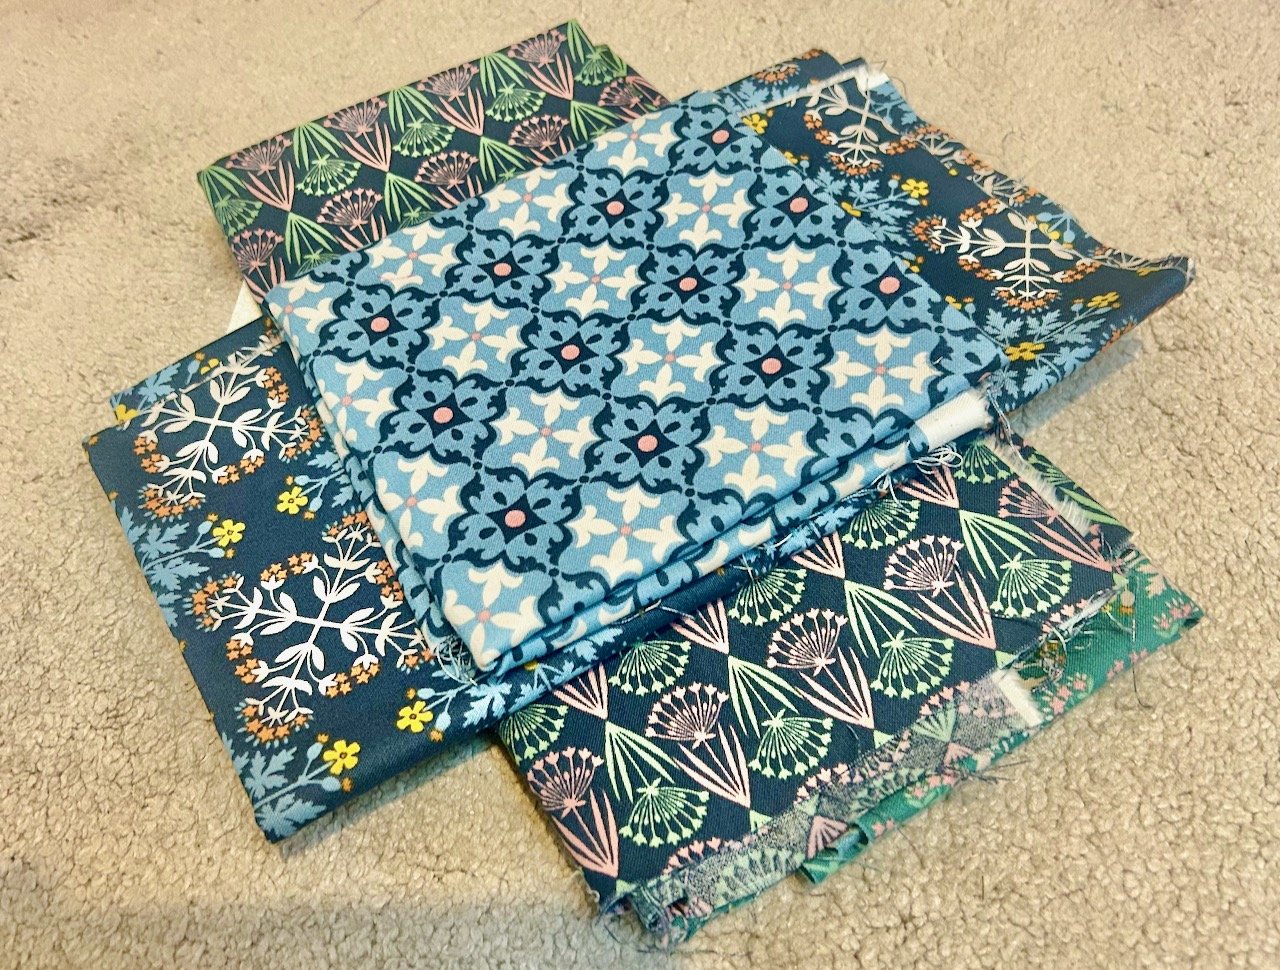
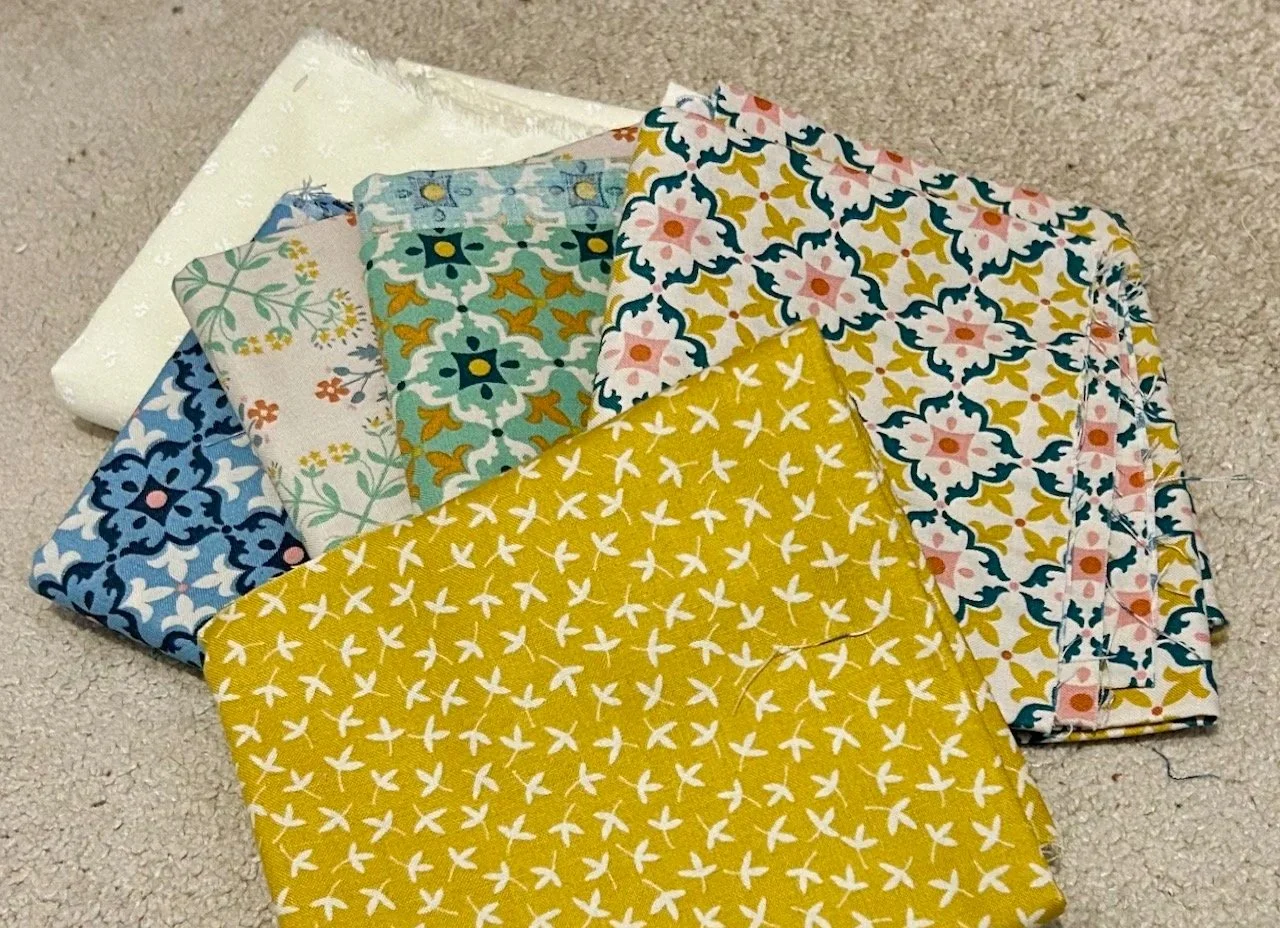
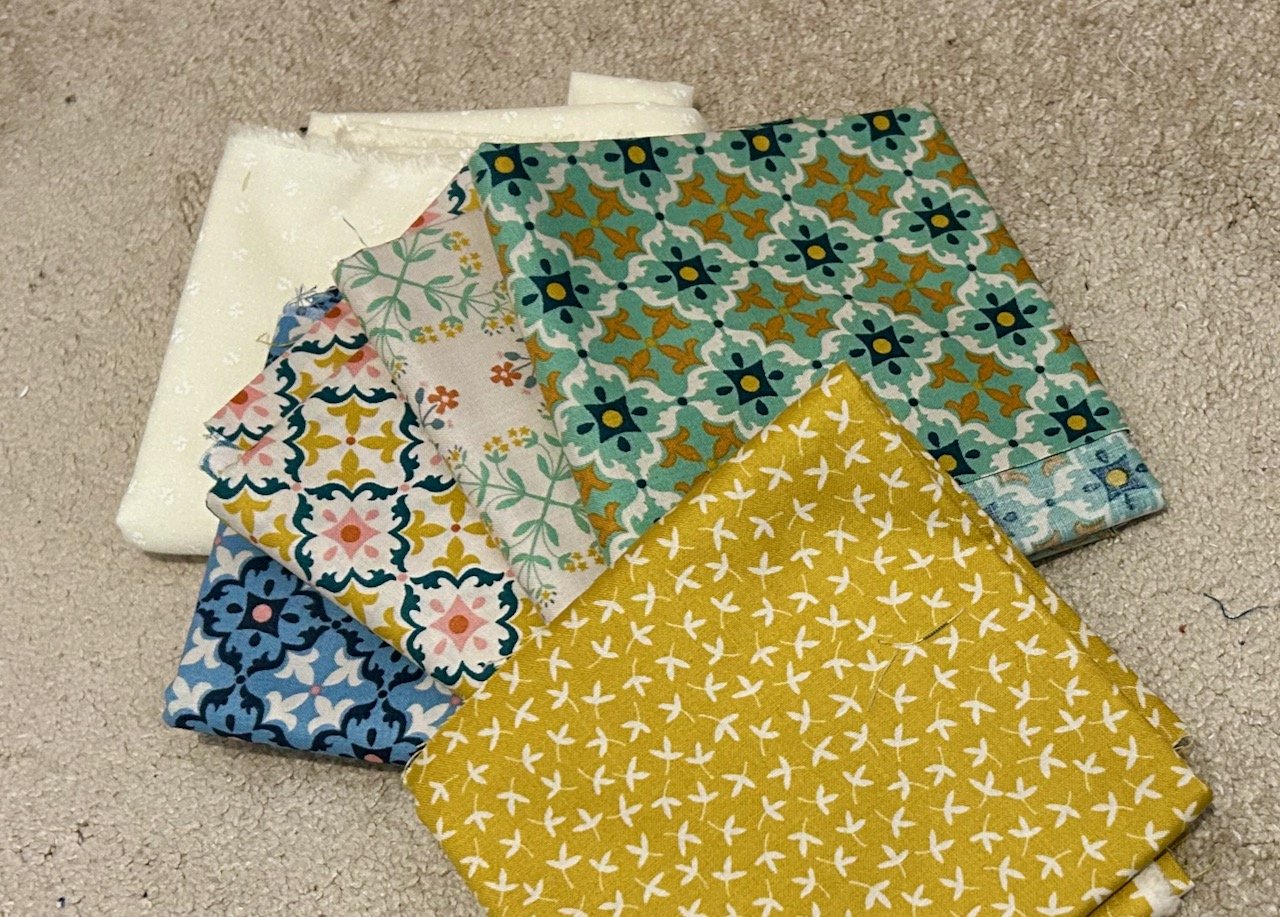
By far the trickier decision was deciding on which fabrics to use, and I spent a lot of time staring at fabrics on my kitchen floor.

A lot of time.

six of the monthly blocks laid on top of various greens, creams and navy fabrics to test out border options

And a lot of time swapping in and out different colourways and patterns. But I have finally decided, and my sashings are cut. They’re not sewn yet, but they are cut so there’s no going back now!

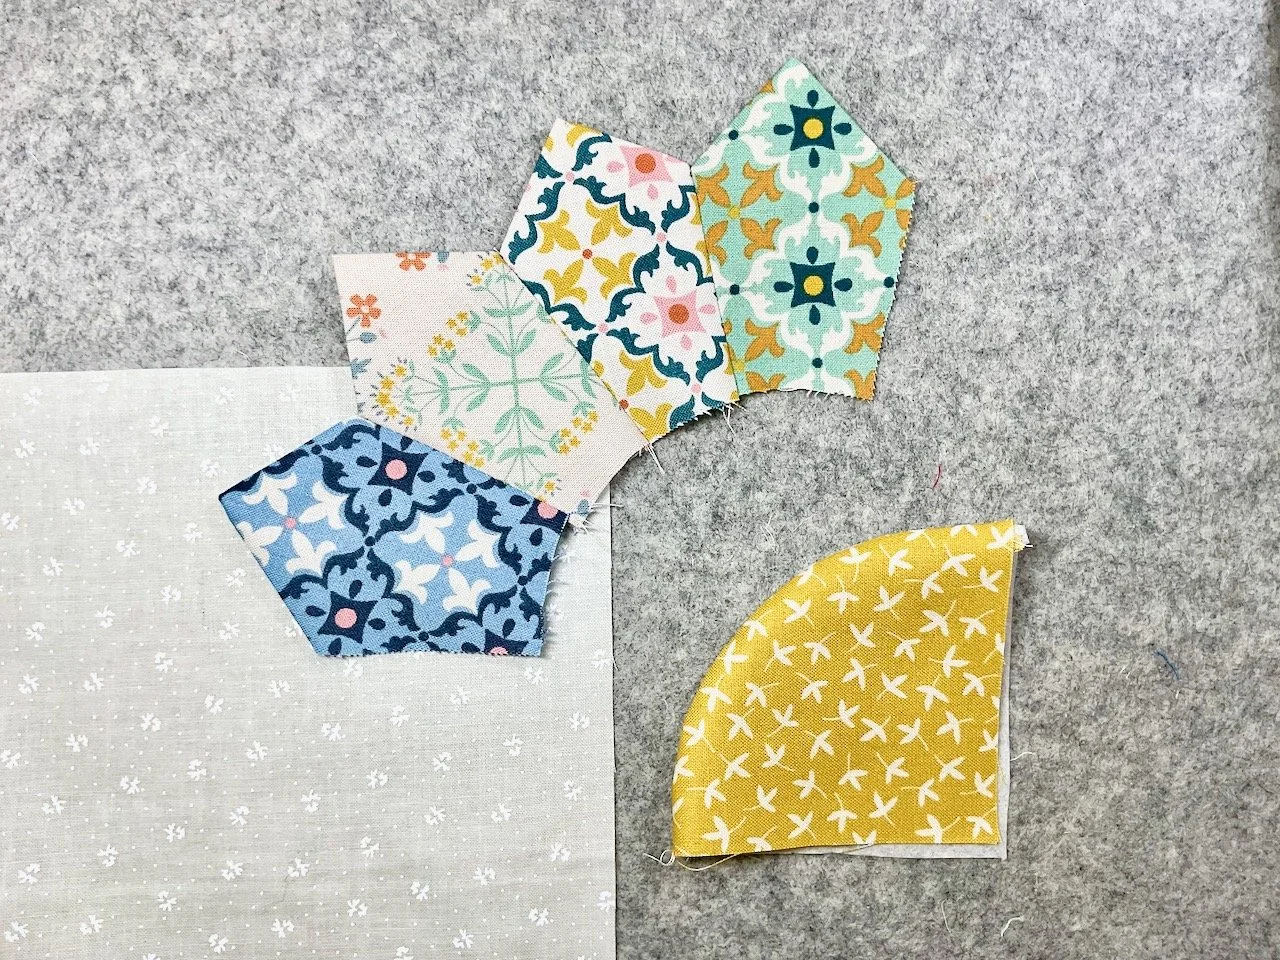
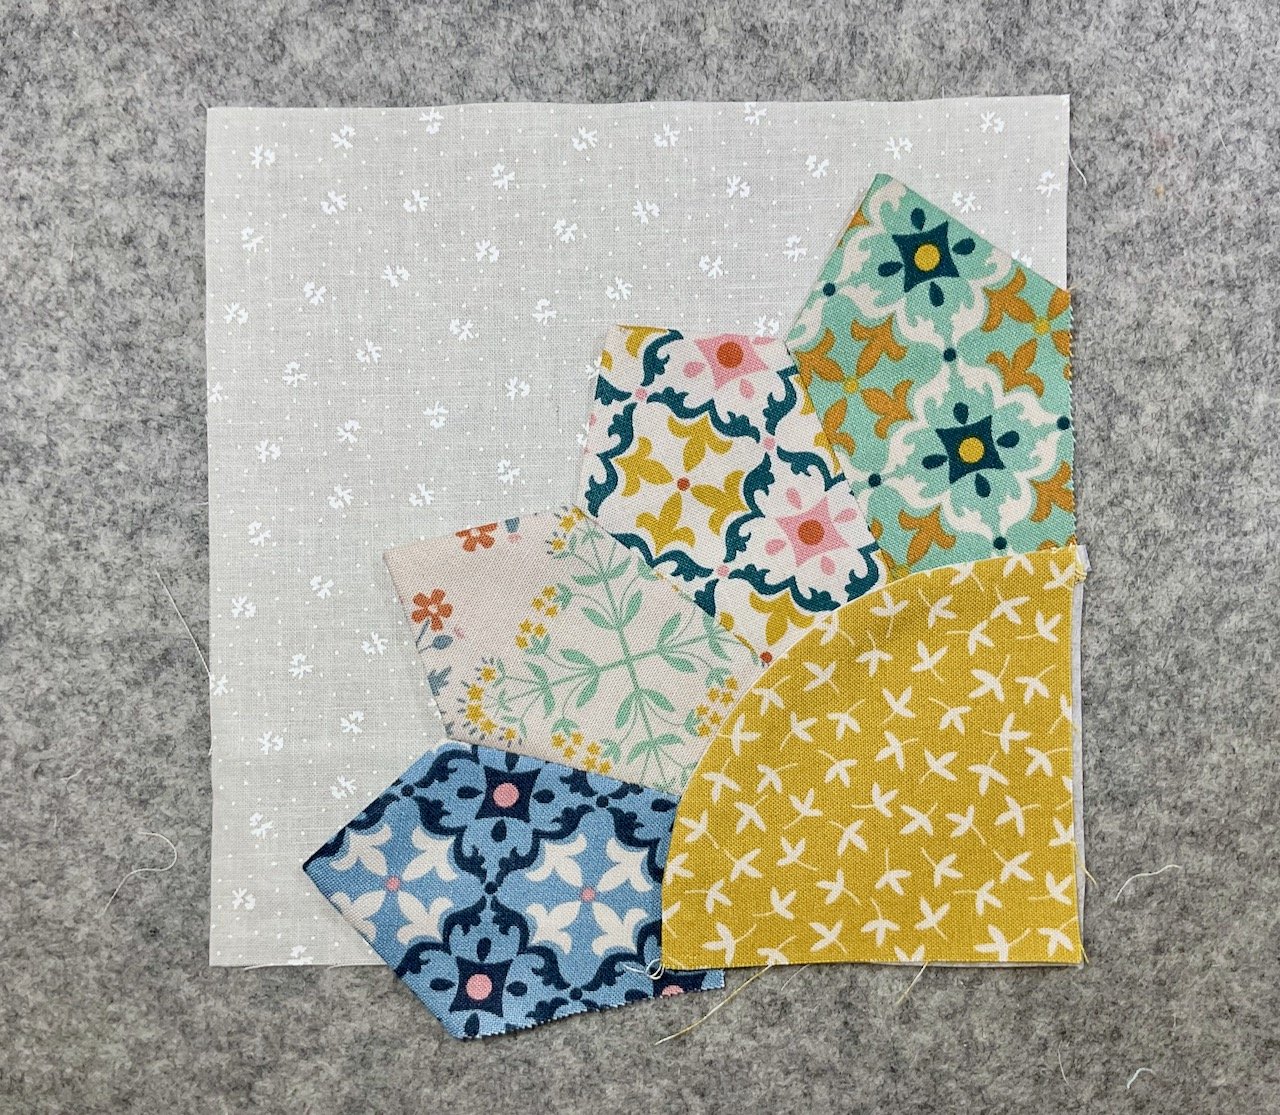
I have also decided on the colours for, and sewn, the ‘posts’ which will be at the intersections of each block, and while the colours complement the internal border colours they aren’t from the same fabrics, so you’ll have to wait until the quilt top is completed to see it in its entirety.

Six individual blocks made up of 4 squares

I’ve decided to add three outer borders around the whole quilt, which will add to the width of the quilt, and I’ve chosen the fabrics for these. I haven’t decided on the width for each border, but my instinct is to start with a narrow(er) border nearest to the quilt blocks and widen the borders as I go. More ‘mathing’ will be needed when I reach this stage, as my remaining material is limited, and while I think it’s enough I don’t have an endless supply.

It’s been a decision heavy time for this quilt, so while I was in decision making mode I even selected which fabric to use as a binding, eschewing my usual scrappy approach. Even I’m shocked at myself!

There’s still plenty of sewing to be done, but I’m really looking forward to seeing how this comes together.

Making my Mystery Block of the Month: December 2025

You’ll have seen that I plan to complete Sherri’s mystery block a month quilt and in my last post I shared the test blocks which I made into my fourteenth charity quilt, today I’m sharing the centre block I made for my own quilt.

It’s the final block of the month, and it’s a star as I was expecting - and another scrappy star at that. It’s similar in shape to the April and August blocks, but this time there’s triangles cutting across the edges of the centre square, which gives the effect of having the remaining central square set diagonally.

It’ll make more sense when you see it, but first I had to choose which blues to use for this month’s block. I have three navy fabrics which I’ve been using, but now the quilt assembly is within touching distance I have my eye on having enough of one of those navy fabrics for a border.

Laying two navy and one lighter blue fabric out to visualise how the final block might work

So I used the blue fabric in the centre which reminds me of Portuguese tiles. I know it’s not much and it may not save me anything at all, but my mind is in conservation of fabric mode, so the combination above is the one I was the happiest with.

And it’s a great block to sew, in fact I forgot to take any pictures until this point. Oops.

Three rows of the block sewn together with two rows attached - the final row is adrift and waiting to be attached

And of course having paused for a photo, when I restarted sewing and added that final row I was a little more off with my seams than I was happy with, so out came the unpicker…

Thankfully I was much happier with my second attempt and so next came the borders, and I’m back on the original greens for this block.

The completed block with borders - the original green borders on the top and the neutral borders on the bottom (these remain constant throughout the quilt)

SEE WHAT I MEAN ABOUT THE CENTRAL SQUARE SET ON THE DIAGONAL?

I know now that switching greens when I did, back March, was the right call as I have very little left of the outer green with white circle fabric left. Phew - but I did ponder on that a fair bit at the time!

The final block is now hanging on my bookcase in front of all the completed blocks

So now I have twelve completed blocks, but not yet a quilt.

Next up is finalising my plan for adding the borders and sashing between each of the blocks. I know that I want to use the borders to give the quilt as much width as I can without it looking daft, and I think that I’ve got a plan - I just need to check that I have enough fabric to do it.

As I’m a spatial learner, and like to see how things will work out, that’s likely to mean laying all the blocks and rough measuring the fabric alongside them. I’ll be using the kitchen floor for that!

Look out for a post soon sharing all the blocks together - I haven’t laid them out yet, but I’m pretty sure it’s going to be good!

This is the last mystery block now the work starts to assemble the quilt top, you can also check out my previous posts for my mystery block quilt or the charity quilts made from the test blocks.

Making my Mystery Block of the Month: November 2025

You’ll have seen that I plan to complete Sherri’s mystery block a month quilt and in my last post I shared the test blocks which I made into my thirteenth charity quilt, today - a little later than normal - I’m sharing the centre block I made for my own quilt.

Despite being pleased with how I’d previously conquered this block for my charity quilt, it wasn’t until yesterday that I cut out and made my own block. And then I quickly remembered that it wasn’t anywhere near as daunting as my mind would have me believe!

I’d been playing with the colour options for my blocks but in the end settled on these, though I did intentionally switch the placement at the last minute when I realised the cream fabric would look better framed with the darker fabric.

I was even more pleased to discover that previous me had already cut the interfacing for the quarter circle - that saved me some time, and once I got started the quarter Dresden block came together quickly.

For my test blocks, and subsequent charity quilt, I’d tested out various stitches to attach the petals to the backing square. And while these worked well, in the end I decided to stick with a plain stitch, but opted to stitch as close to the edge as I could. That turned out to be pretty close in the end with the sewing machine going oh so slowly!

I’m really pleased with how it turned out, though as I started to add the borders I remembered to check and decide which way I wanted the quadrant to face, and typically it wasn’t the way I’d set up in the photo above.

It’s been a while since I’ve used the original green fabrics for the borders so there was lots of checking and double checking to make sure I was adding them in the same way as before to avoid any unecessary unpicking.

Before I knew it the eleventh block of my mystery block quilt was completed, so there’s just one more block to go - and that final charity quilt of this series. I’ve not started it yet, but it is another star. After that there’ll be more decisions on how to finish the quilt - I’m looking forward to seeing it all laid out together, it’s been a long time coming!

Join me hopefully soon to see how I get on with the next mystery block, and check out my previous posts for my mystery block quilt or the charity quilts made from the test blocks.