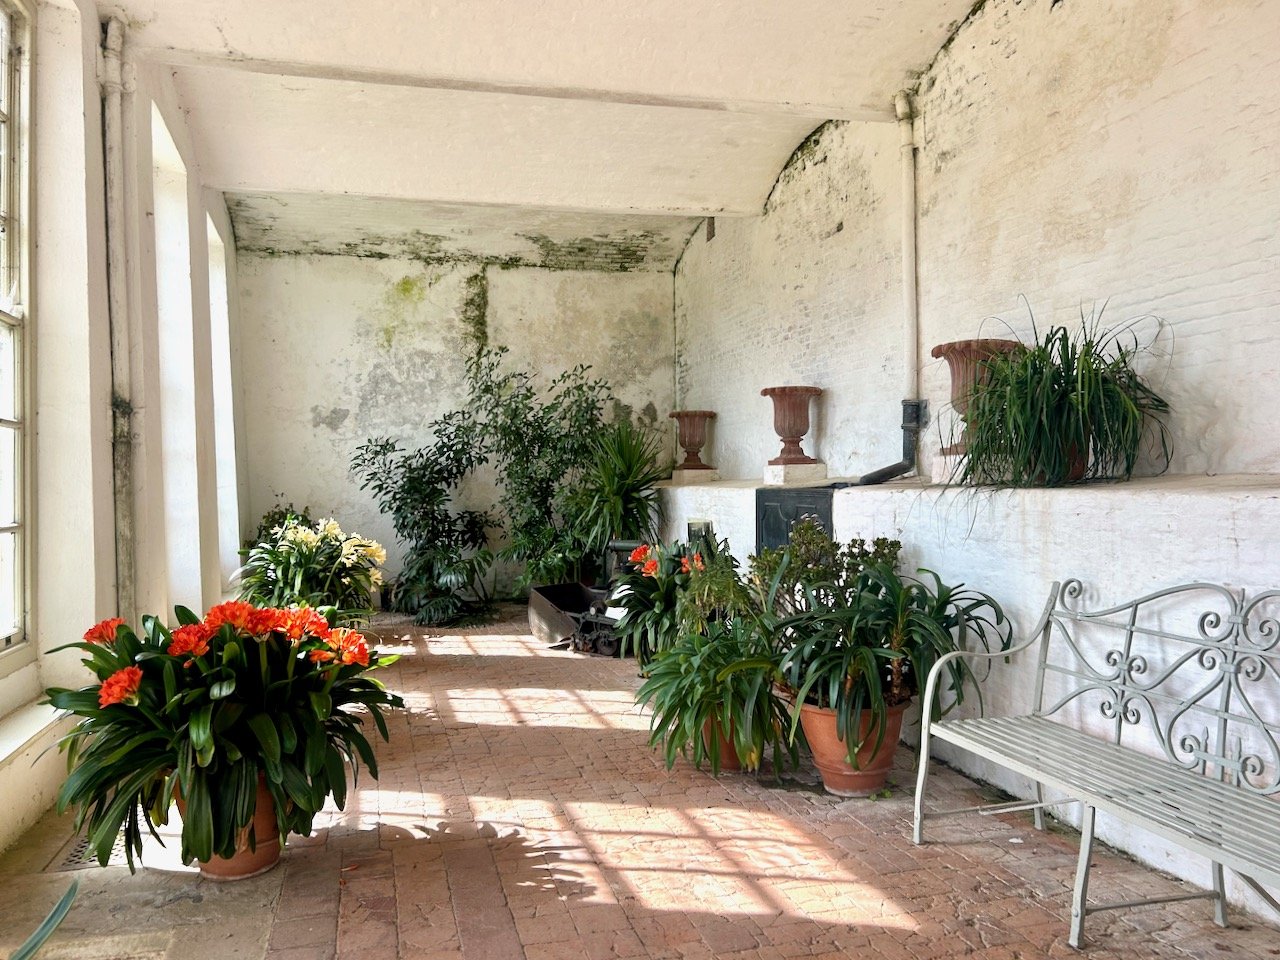
It’s been a little while since I left you admiring the terraces here, so let’s pop back today and check out the orangery - and I do love a good orangery, thankfully there’s a superb one nearby at Belton House our nearest National Trust property.
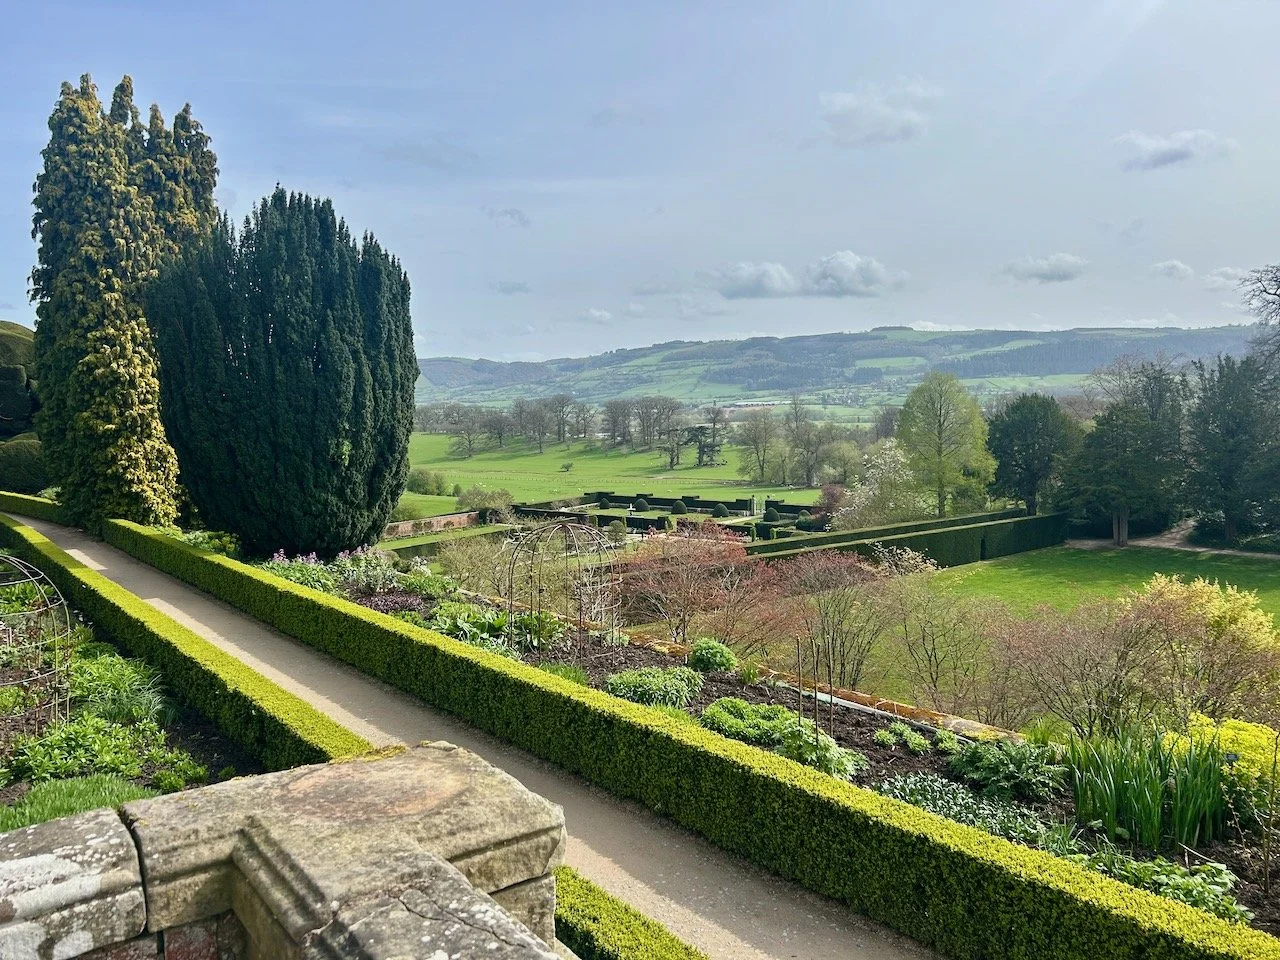
But back to Powis, and that view.
I had a good feeling about this space as we saw the multiple pots of tulips as we got closer.
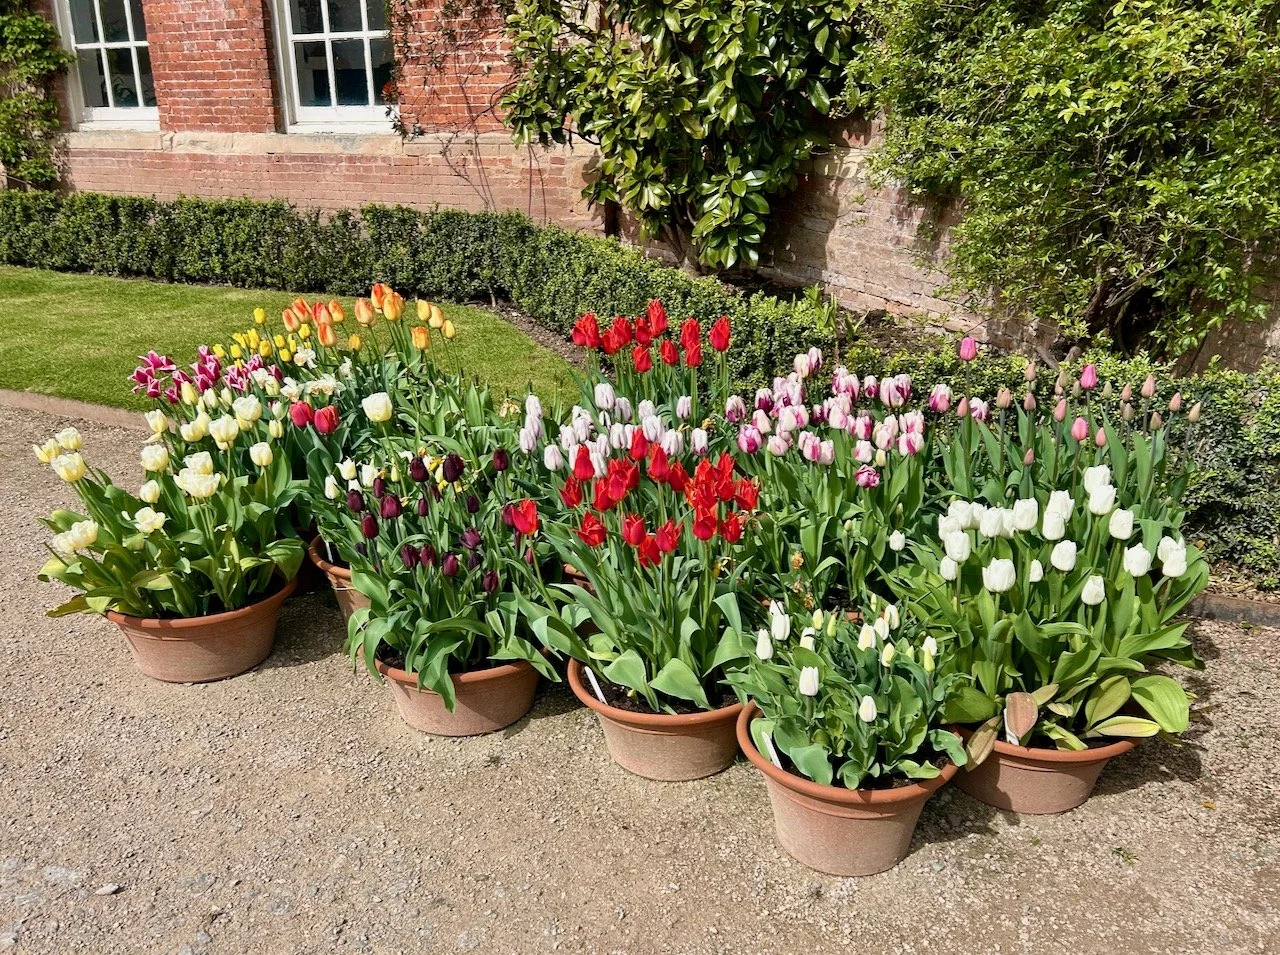
And I wasn’t disappointed, though at first glance you may be wondering what on earth I was thinking.
But just look at the plants.
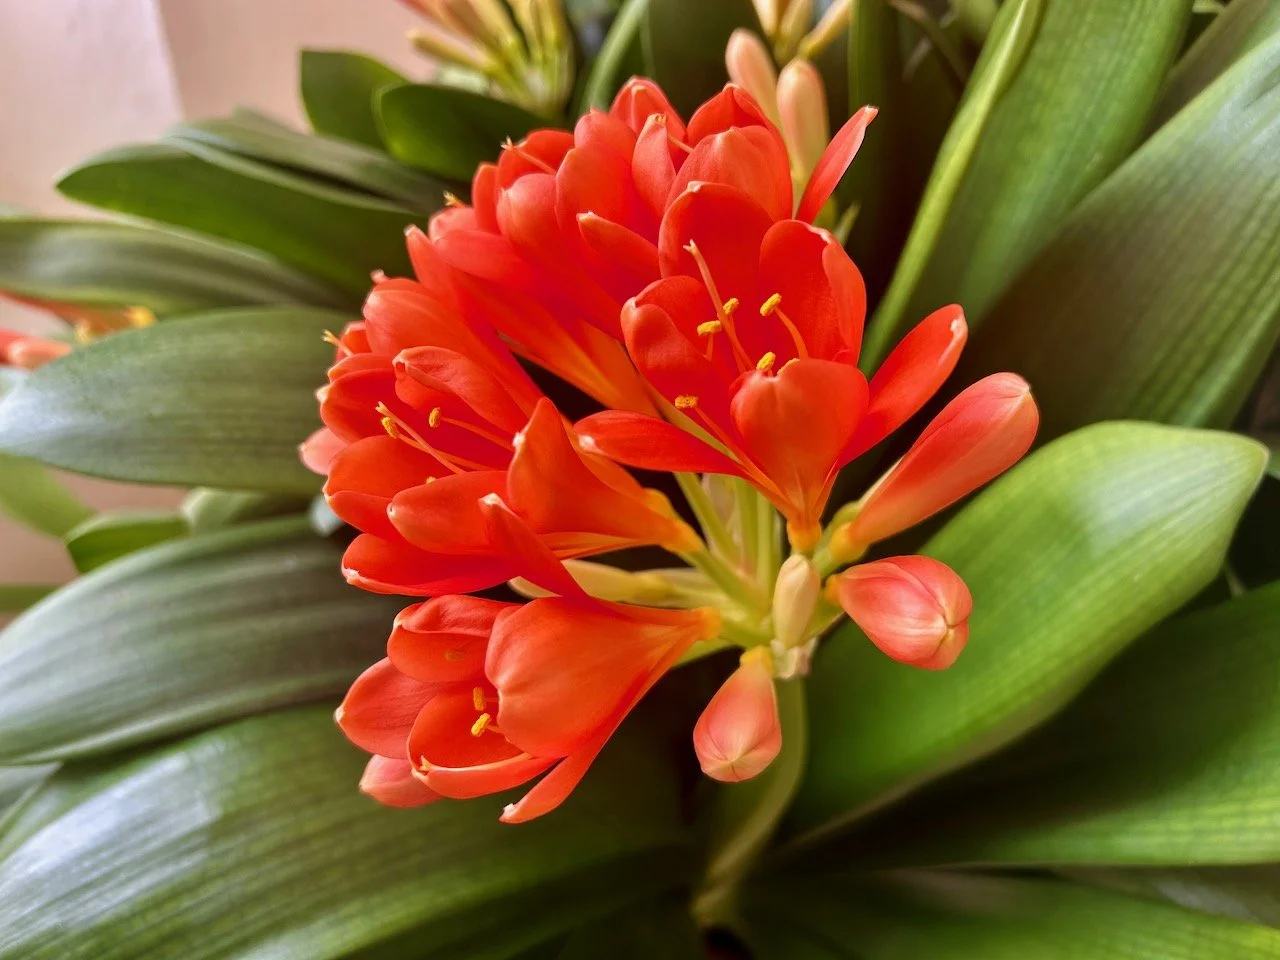
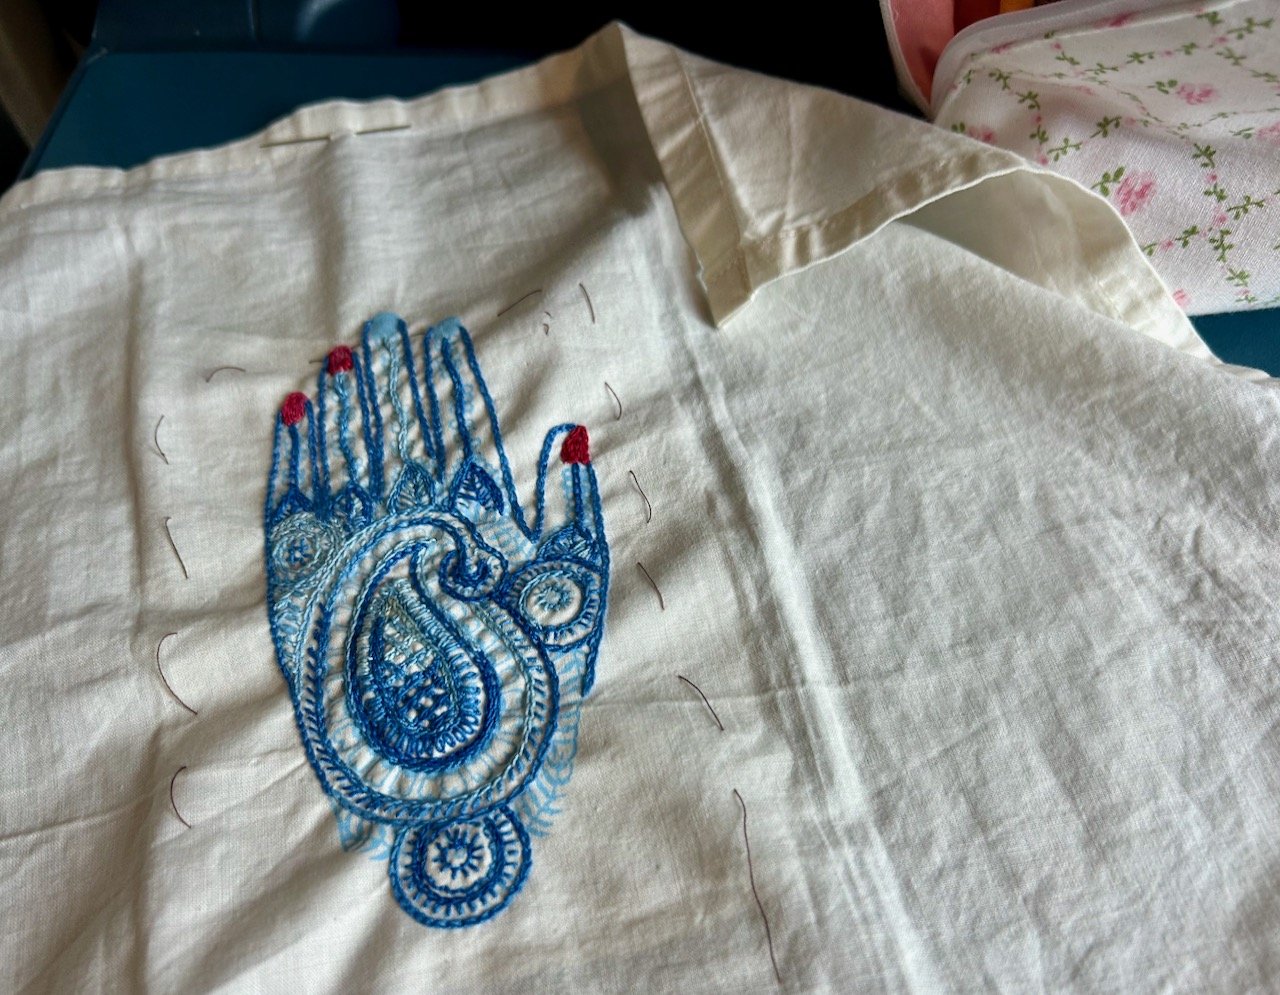
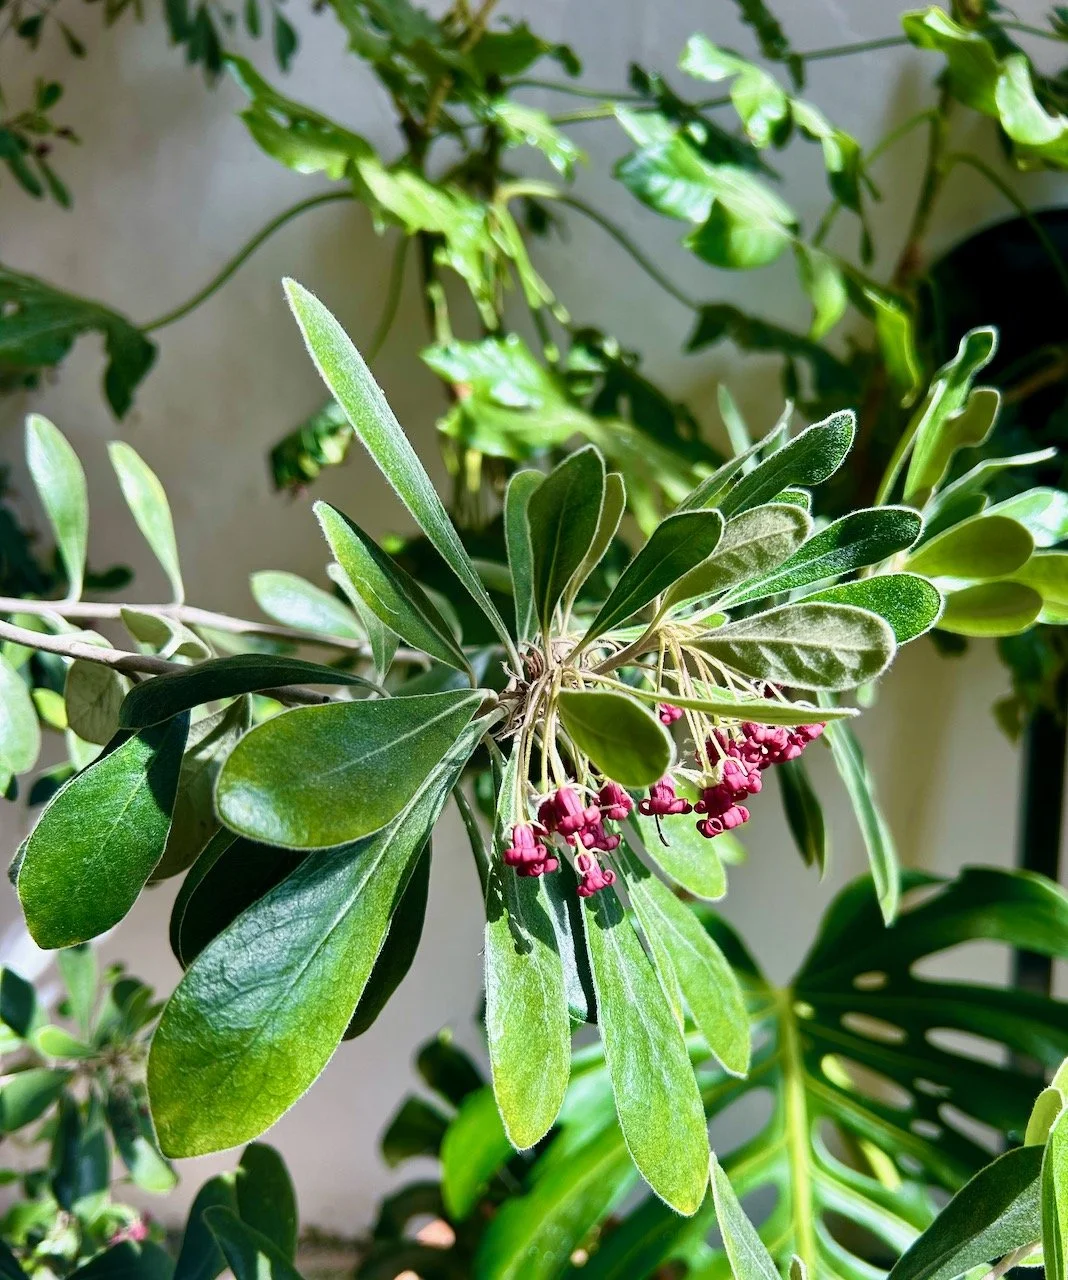
Though this one getting ready to flower did remind me of one of those plastic hands on a stick, and I couldn’t help but smile to myself. Who’d have thought this peculiar shaped thing could turn into such a beauty?
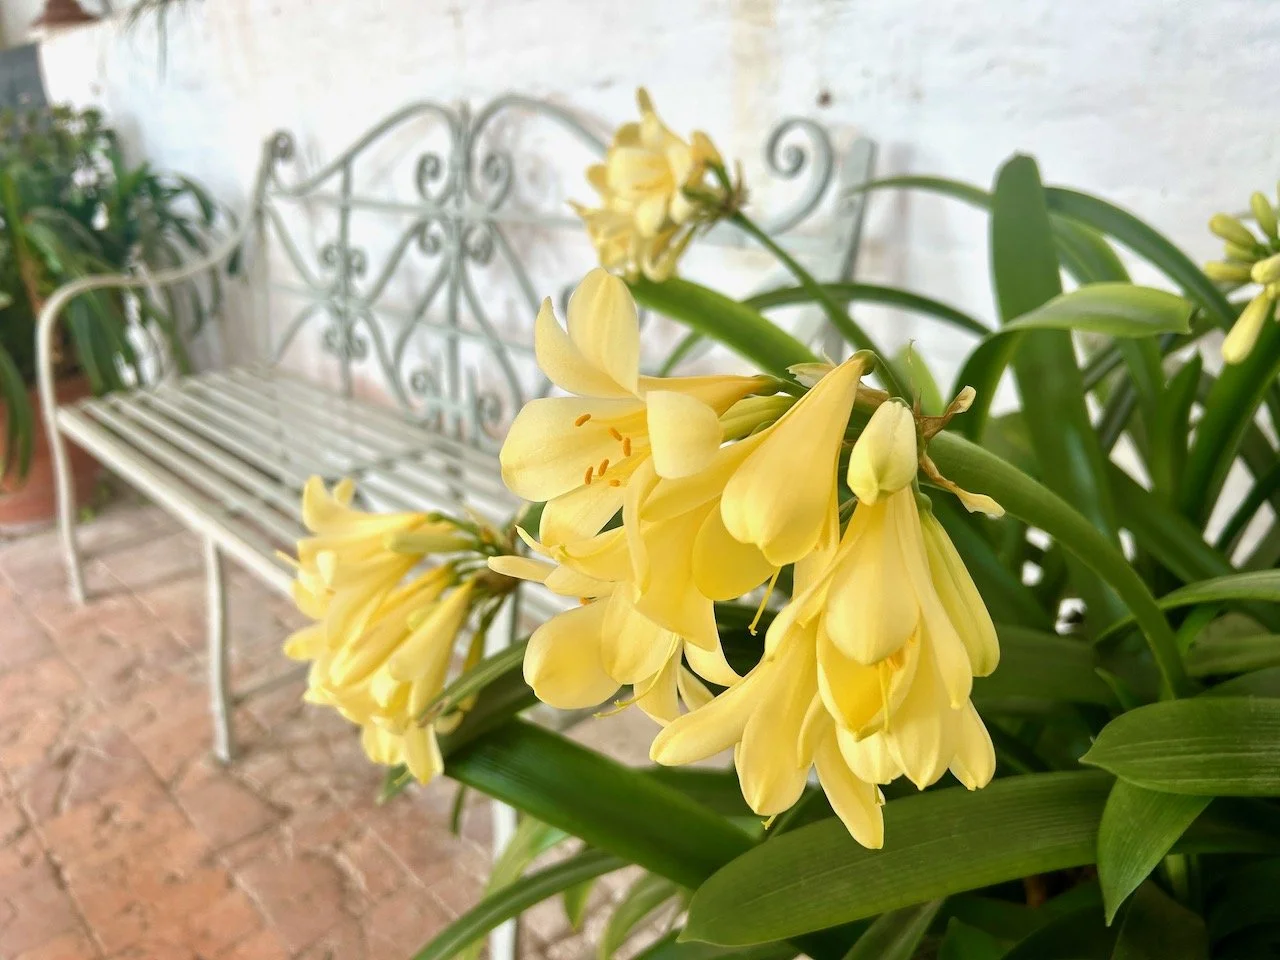
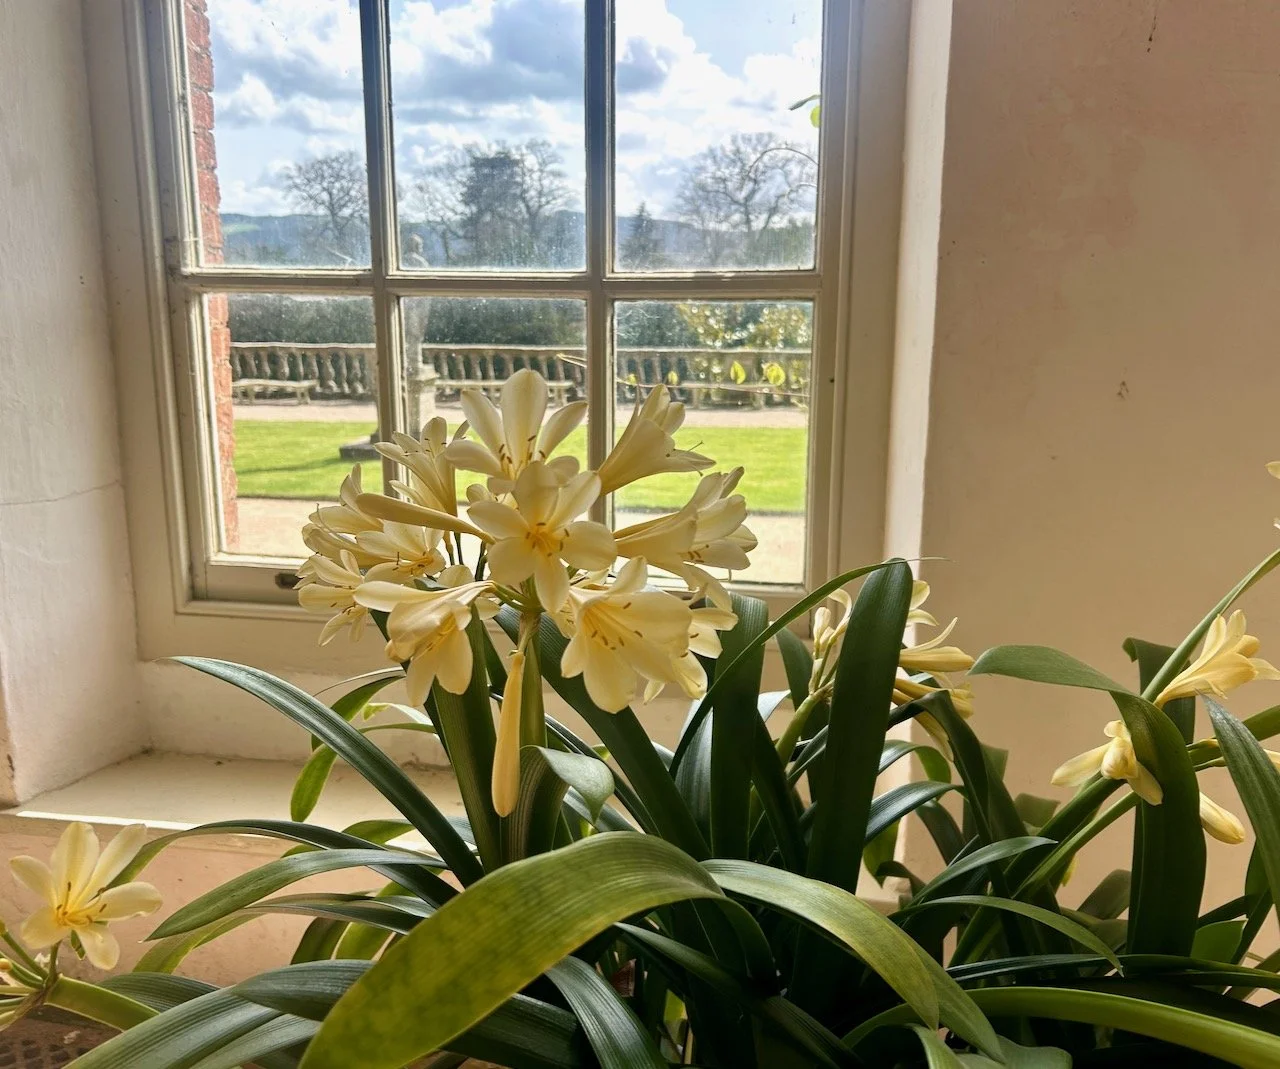
There were places to sit and enjoy, and I particularly liked this pale yellow flower as it cascaded out of its pot.
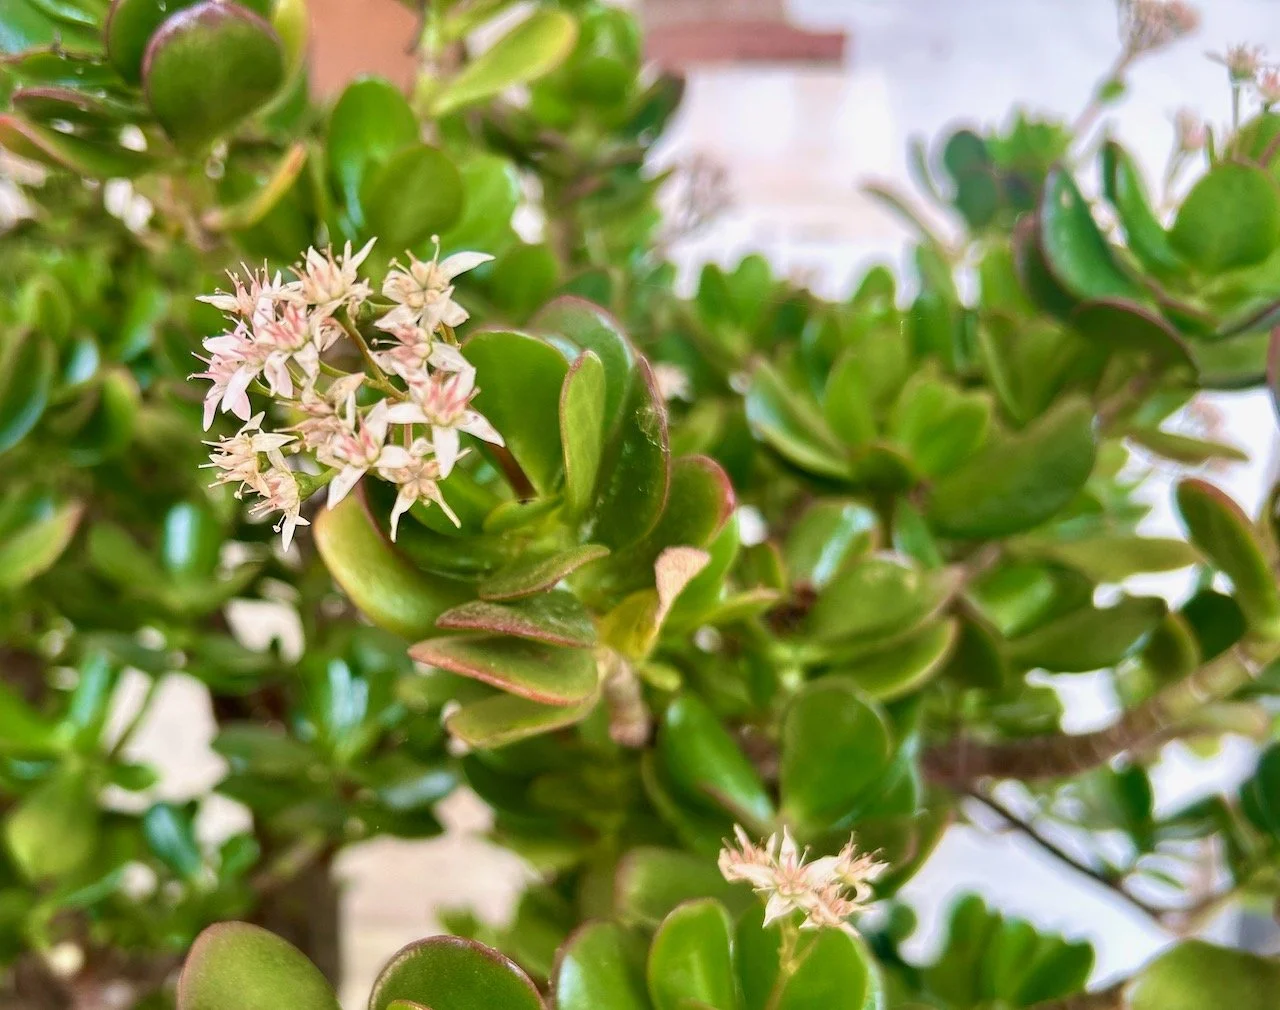
I was intrigued to see the money tree flowering, I don’t think I’ve ever seen one in flower before - and I used to have a very large one on my open porch a couple of houses ago. That is until someone stole it when I was out - to this day I still don’t know how, it was huge and extremely heavy. But I guess if someone wants something badly enough, they’ll find a way.

Isn’t it a great space?
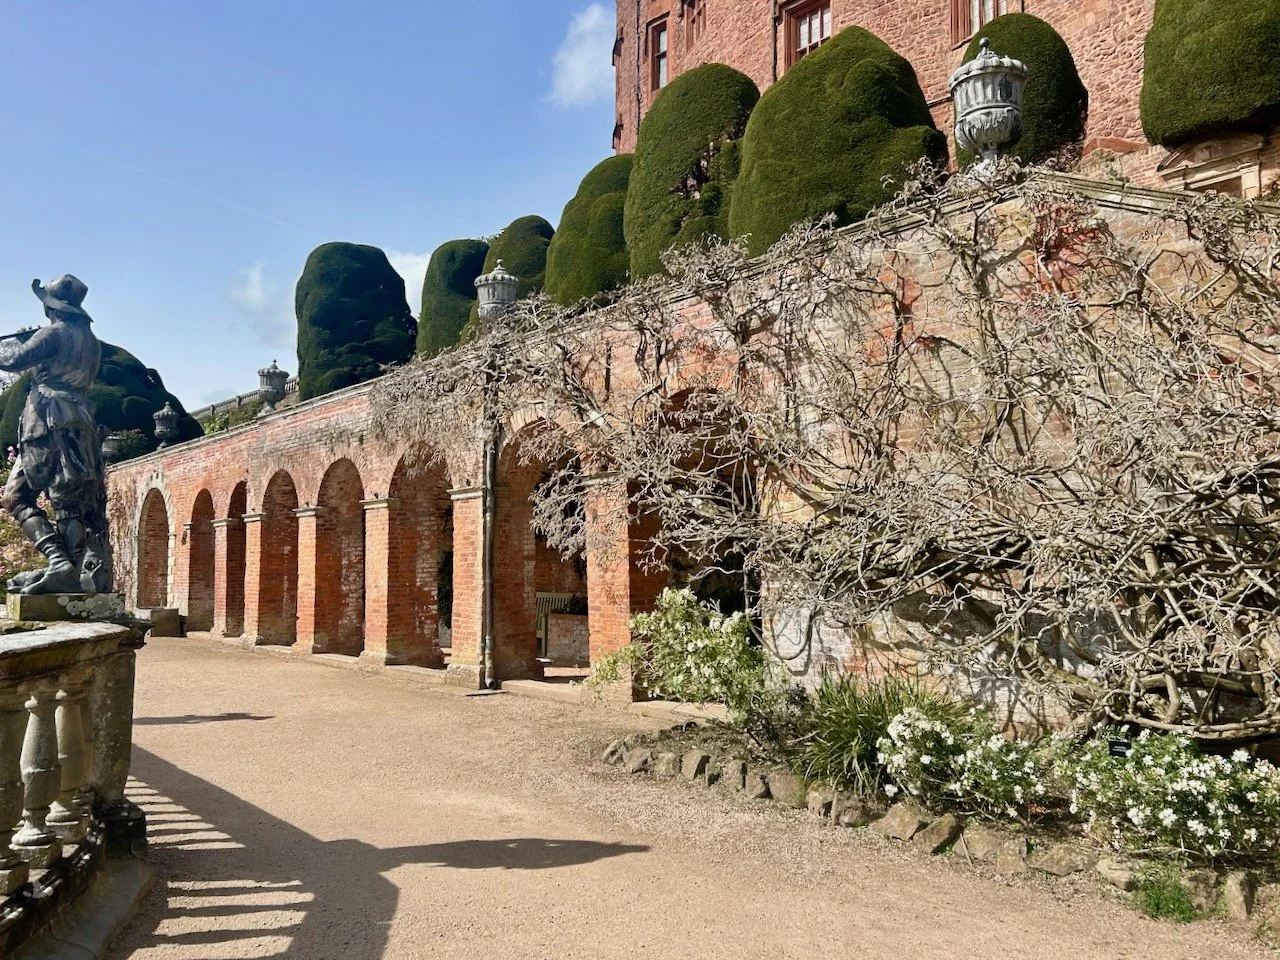
As we headed back up towards the castle we spotted these brick arches, and thought we should explore.
It was another great space, though I’m not sure what to call these as it didn’t seem to be referenced on our guide map.
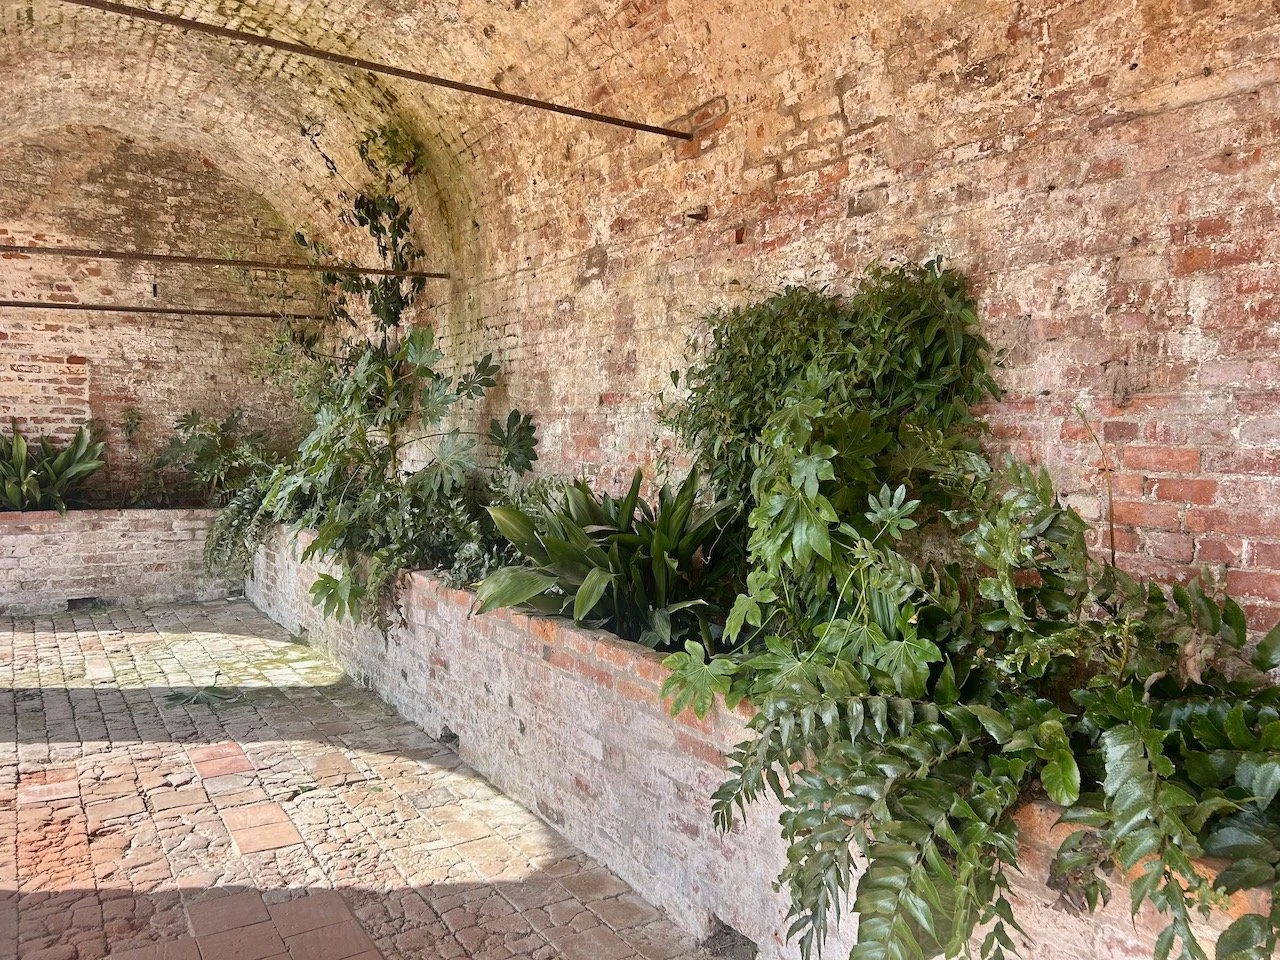
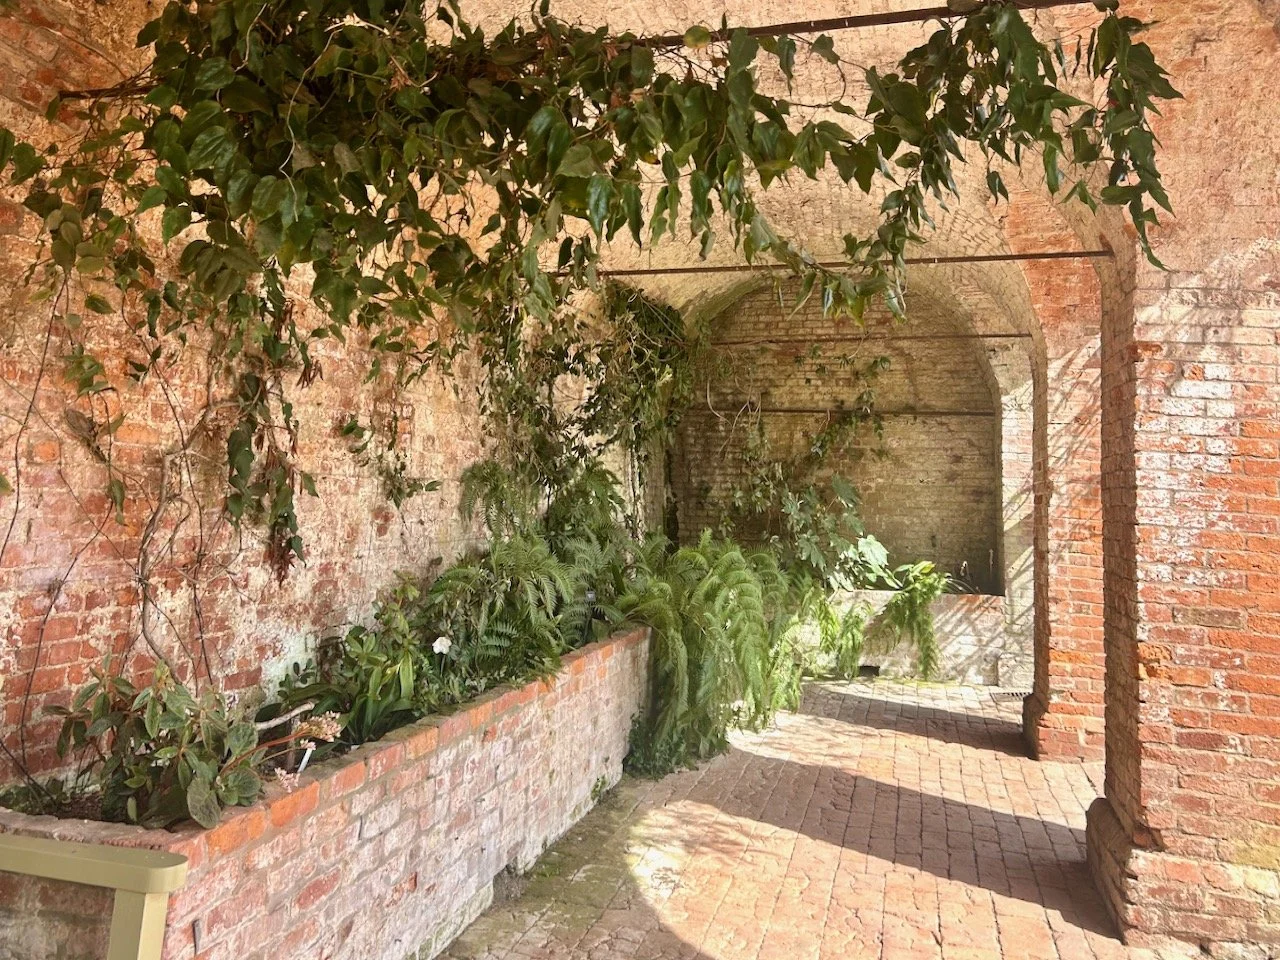
You can just feel how cool it is here can’t you? I think in someways I preferred this space to the orangery, though they were completely different in feel and in planting.
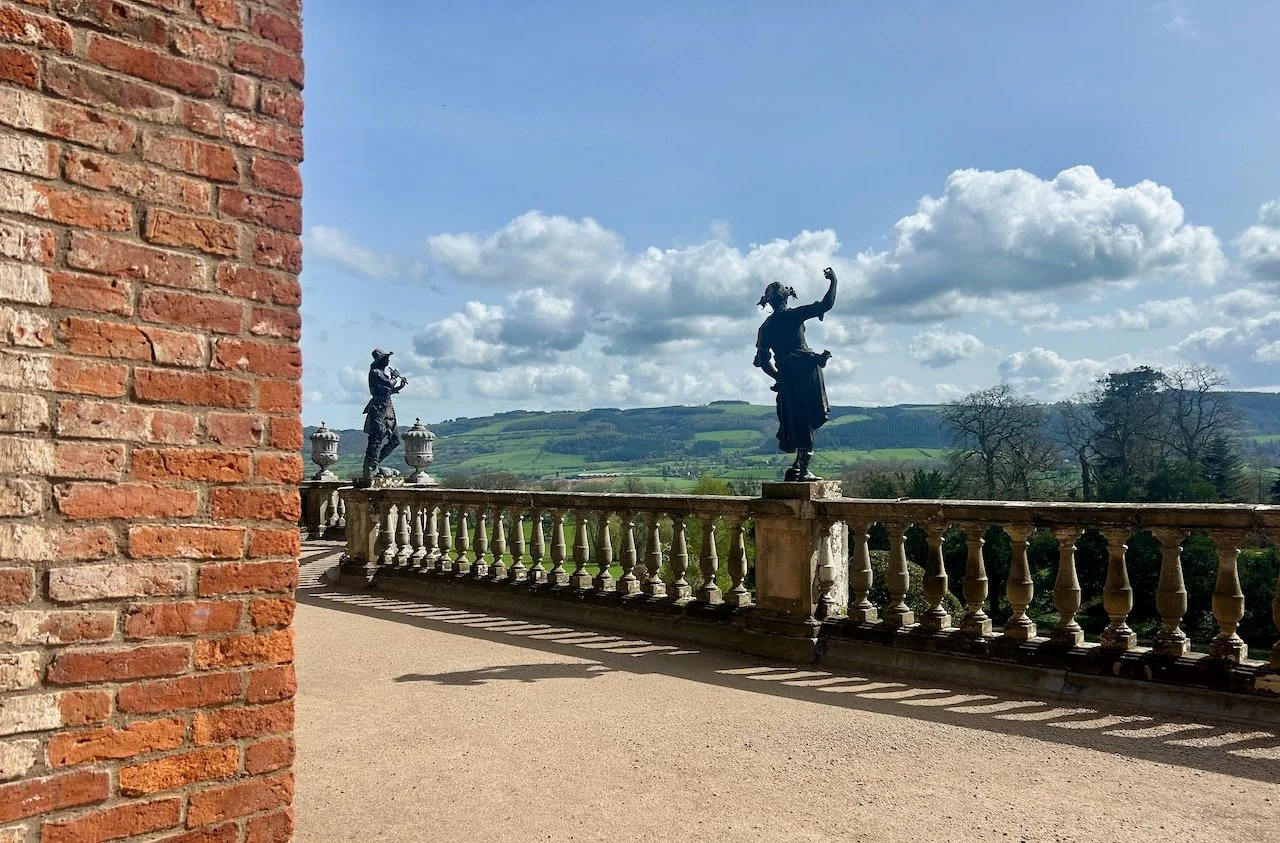
And then I realised I wasn’t the only one enjoying the view, and smiled to myself once more.