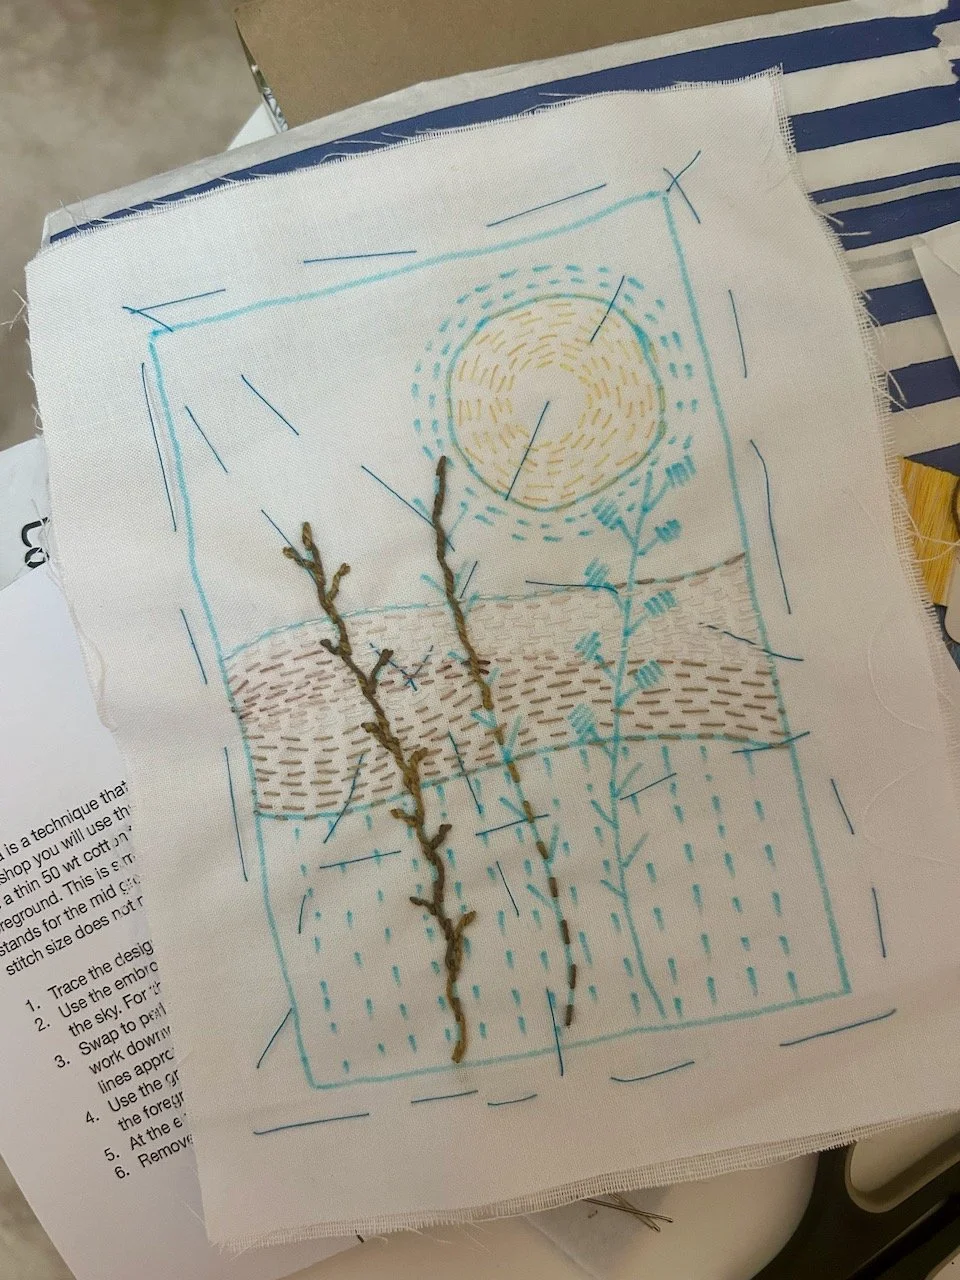


Before I got to the Newark Quilt Show this year I’d already chosen which workshop I’d like to do, and a backup choice just in case. But I was fortunate enough to get onto my first choice which was the Shabby Chic Rosettes with Kate Crossley, who as it turned out had led the bag making course that I attended in 2024. I did wonder, and I was right.
It was a great workshop, and I even finished one of the rosettes there on the day which was great as it meant that I really wanted to finish the other one at home, rather than leave it languishing in a cupboard somewhere, which can quite often be the case can’t it?
Making the rosettes
The tools and materials for this workshop were strips of material, glue, scissors and a pencil, and no sewing.
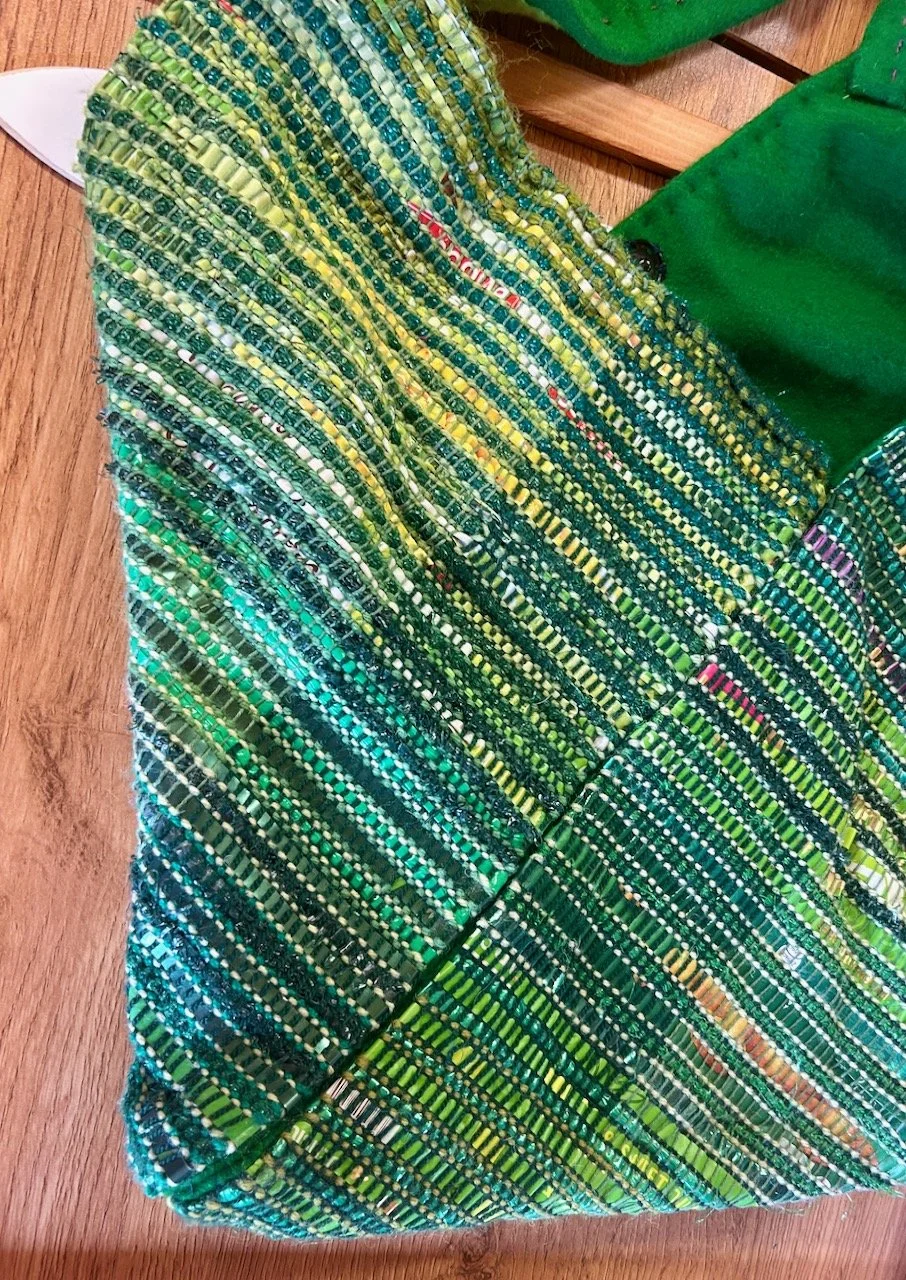
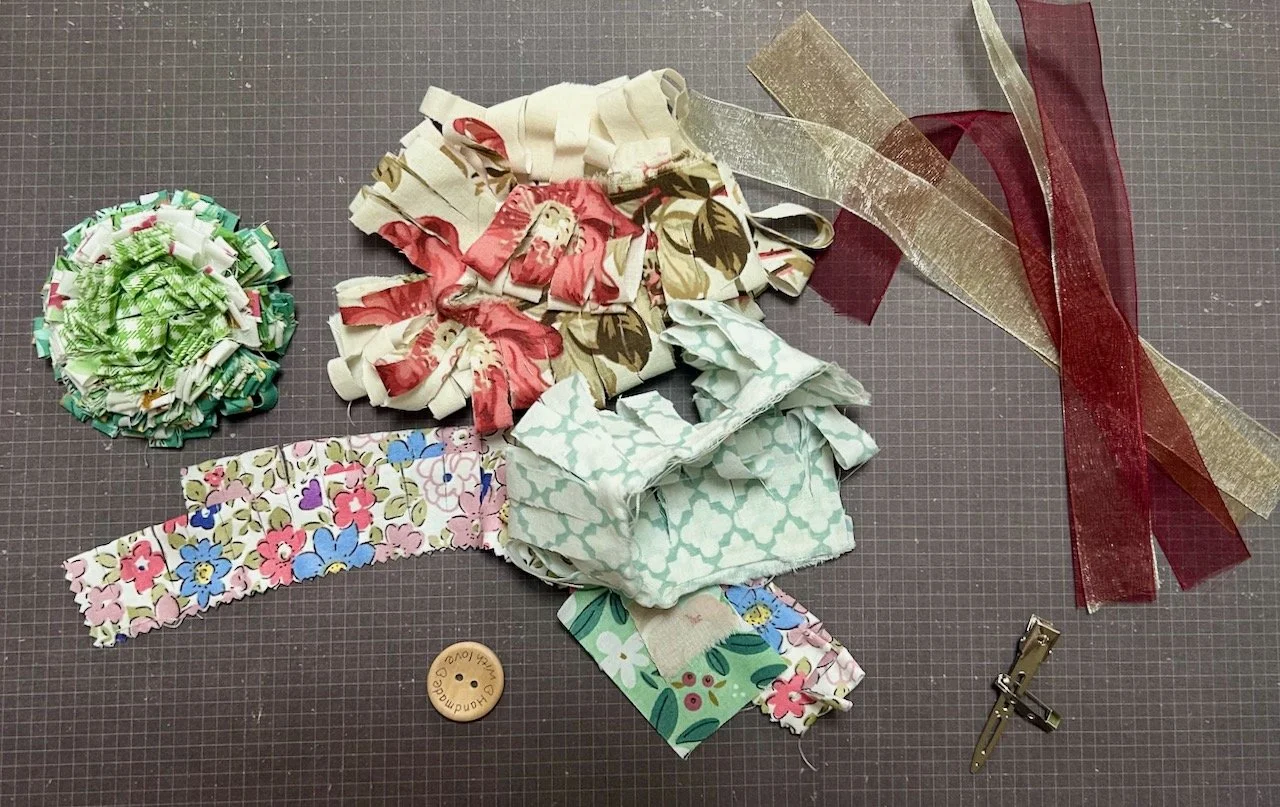
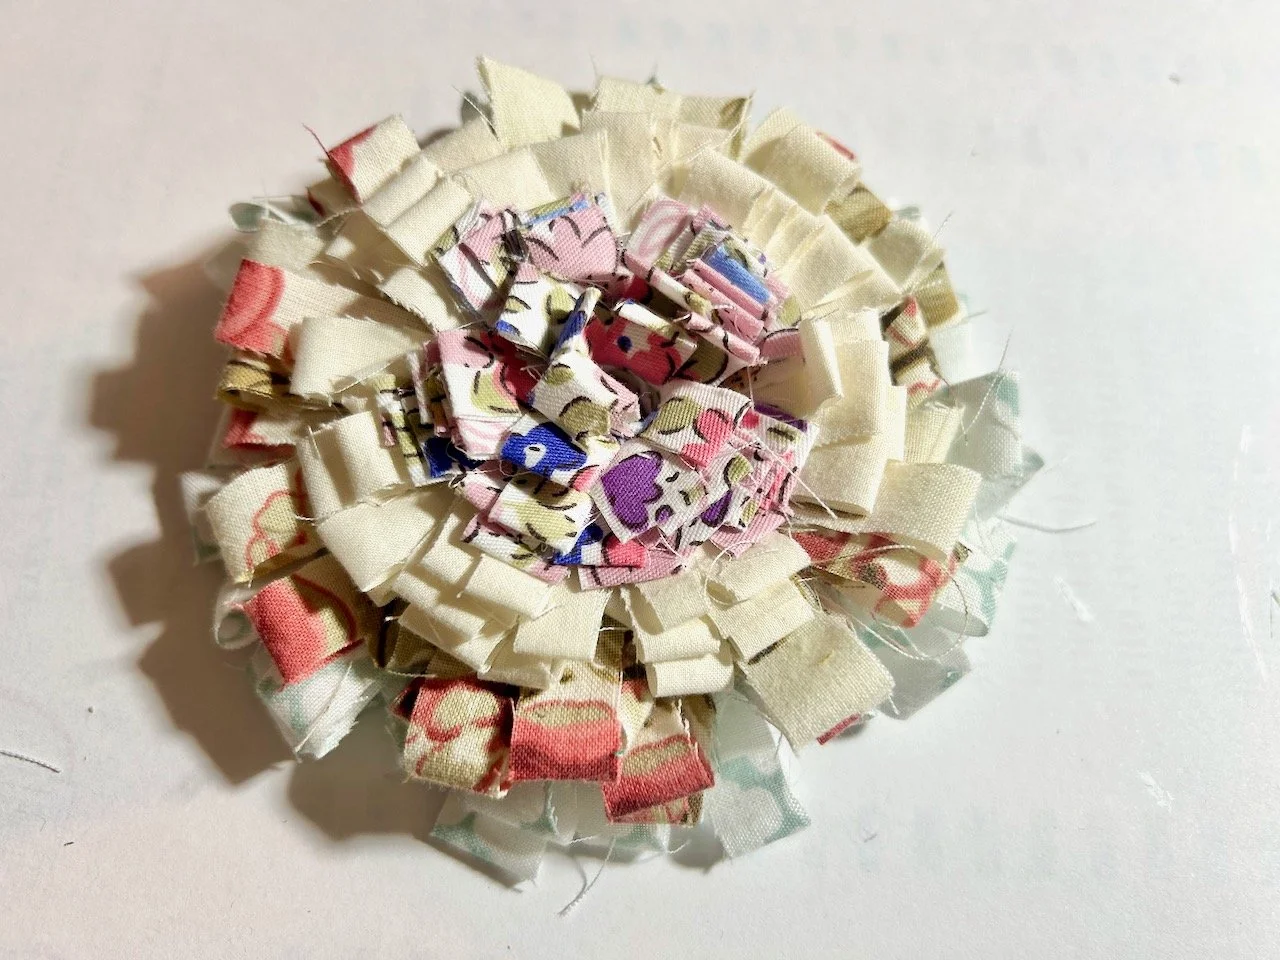
I shared the image below previously as part of my what’s new in my craft room update, the green and white rosette in the top left corner was the one I completed on the day. As well as a second rosette to make at home I also left with a button to finish the centre of the larger rosette, a selection of ribbons, some small pieces of material for the back and a brooch and hair clip attachment.
I was keen to finish the second rosette. At the workshop I’d folded the length of material in half and cut most of the way through the folded edge, creating the petals. I hadn’t started the rolling as I thought it would be easier to start afresh rather than to pick it up part way through.

The rolling is where the pencil came in, and more glue. As you roll, you glue.
Or rather glue, and roll.
Glue and roll.
And keep going.
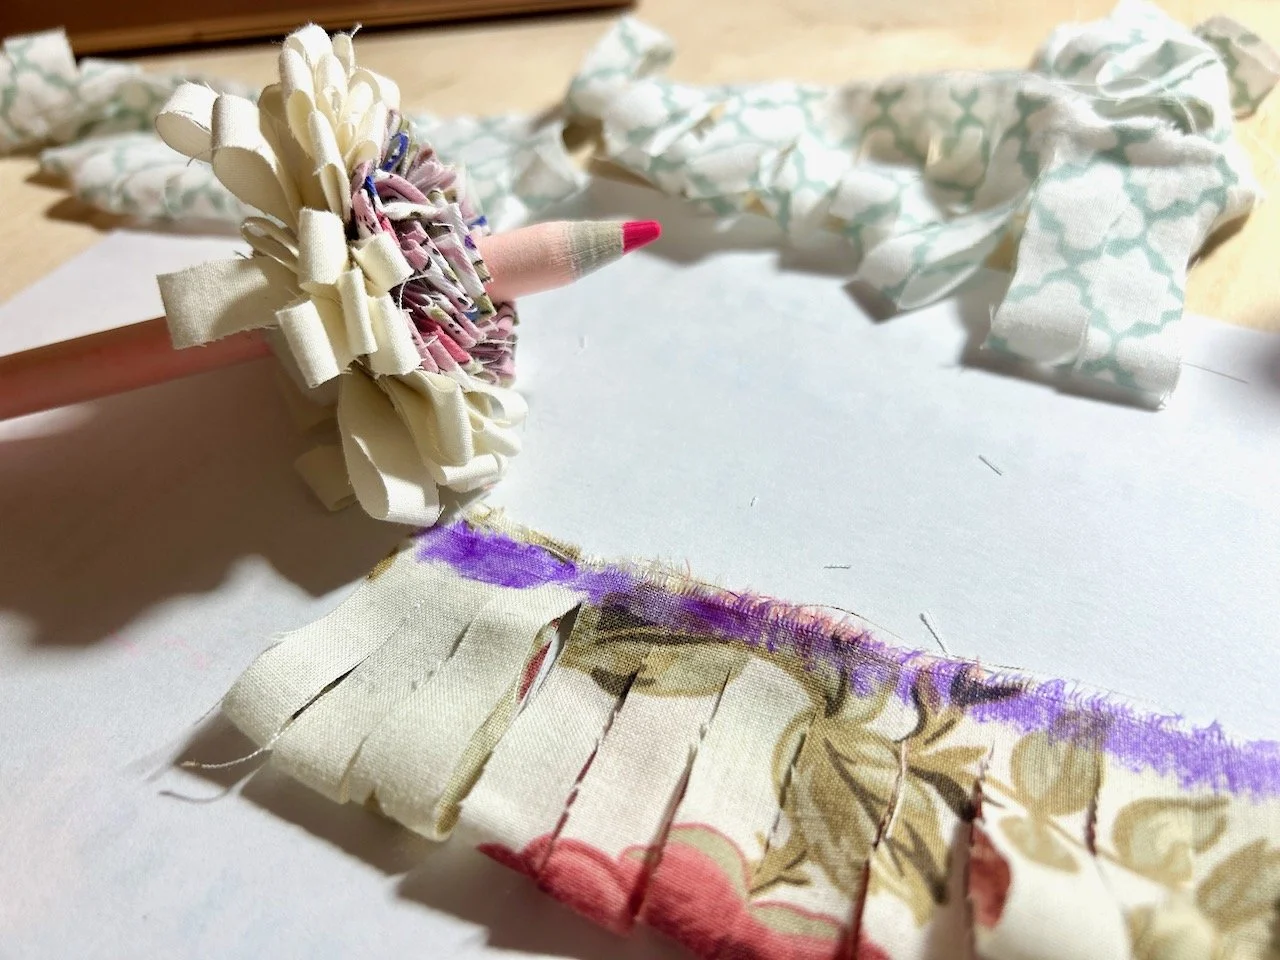
Kate suggested using this ‘Amazon Basic’ glue stick, which goes on purple and dries clear, which does make it easier to see where you’ve glued already. It’s relatively cheap too, and some slipped into my Amazon basket ahead of attempting to finish this at home.
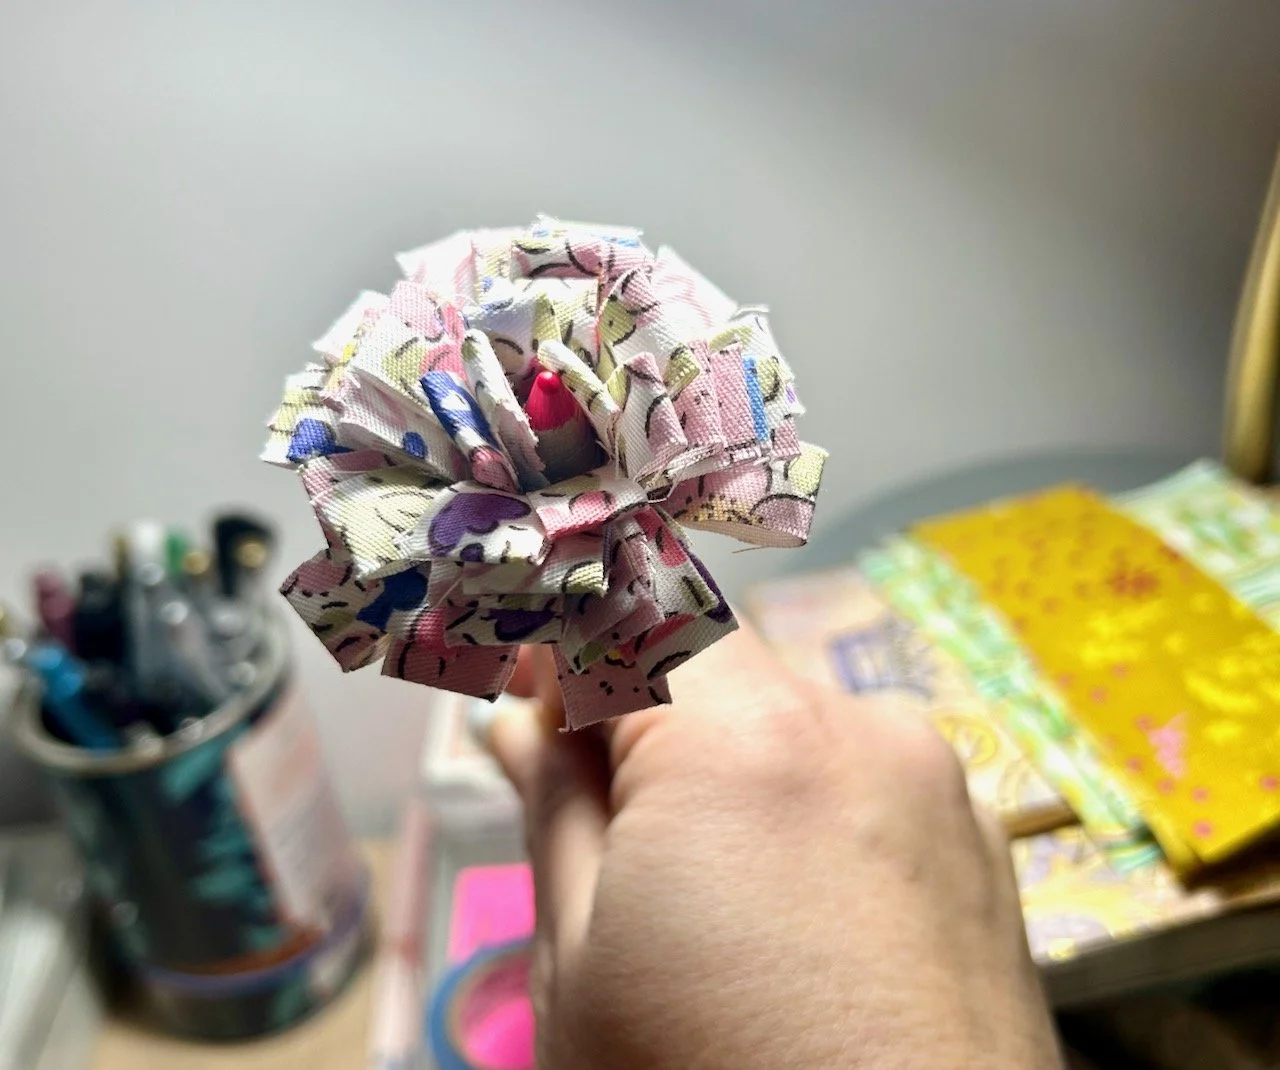
Once the four strips are glued and rolled, I was almost done.
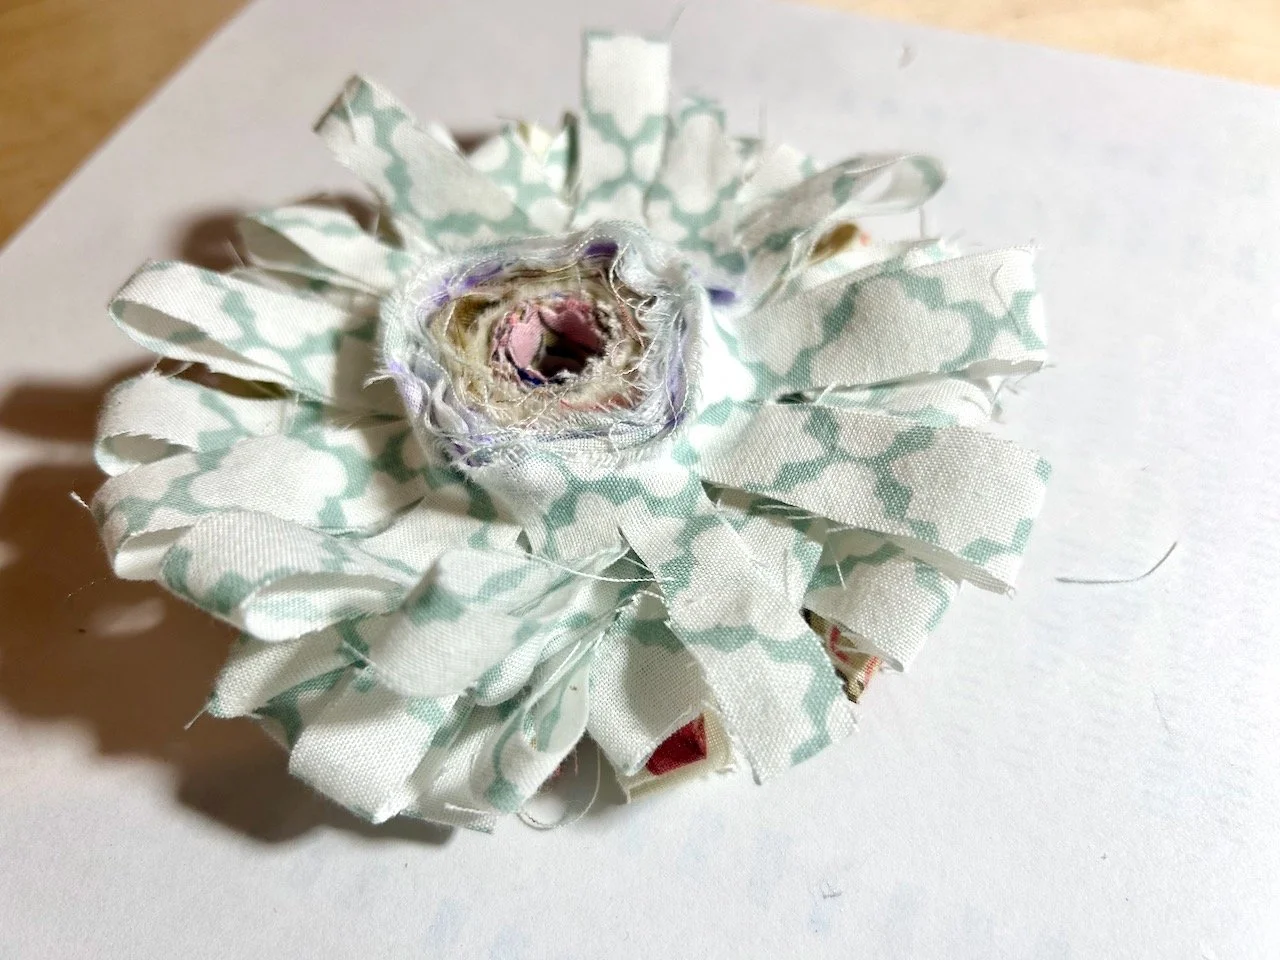
I was quite pleased at how neat mine was at the back, I’d taken particular care to keep the ends level and it worked. To help it ‘set’ Kate turns them right side up and squashes them down with her hand. And it works, even though it feels counterintuitive to squash your work!
So now I have two Shabby Chic Rosettes, and the knowledge to create many, many more. I already think they’ve got plenty of potential uses alongside the brooch and hairpin options - I haven’t added either of the backings yet, as I want to think about how I’ll use them first.
I think these could be added to bags, and pouches (!) as a decoration, and they could be made in fabric which complements your outfit for an coordinated embellishment, or even as corsages for weddings etc. Another suggestion on the day was to make two and glue them together to make a sphere, adding a hanging loop so they can hang on your bunting, or on your Christmas tree. The possibilities are endless it seems!
But it was a great way to spend an hour, and to leave with something finished, a new skill and plenty of ideas. I’m sure I’ll be making more!