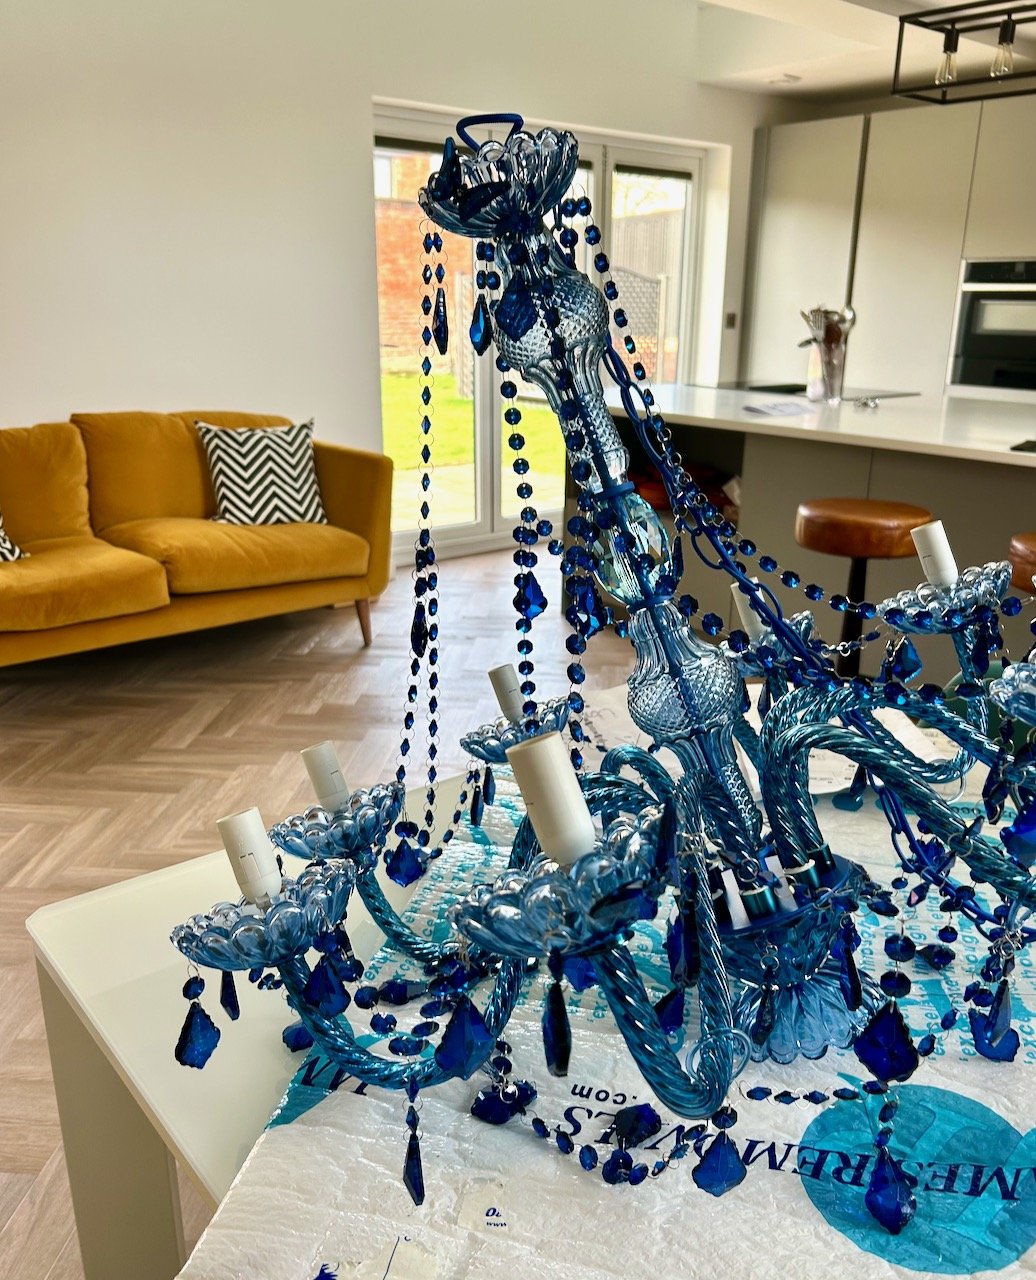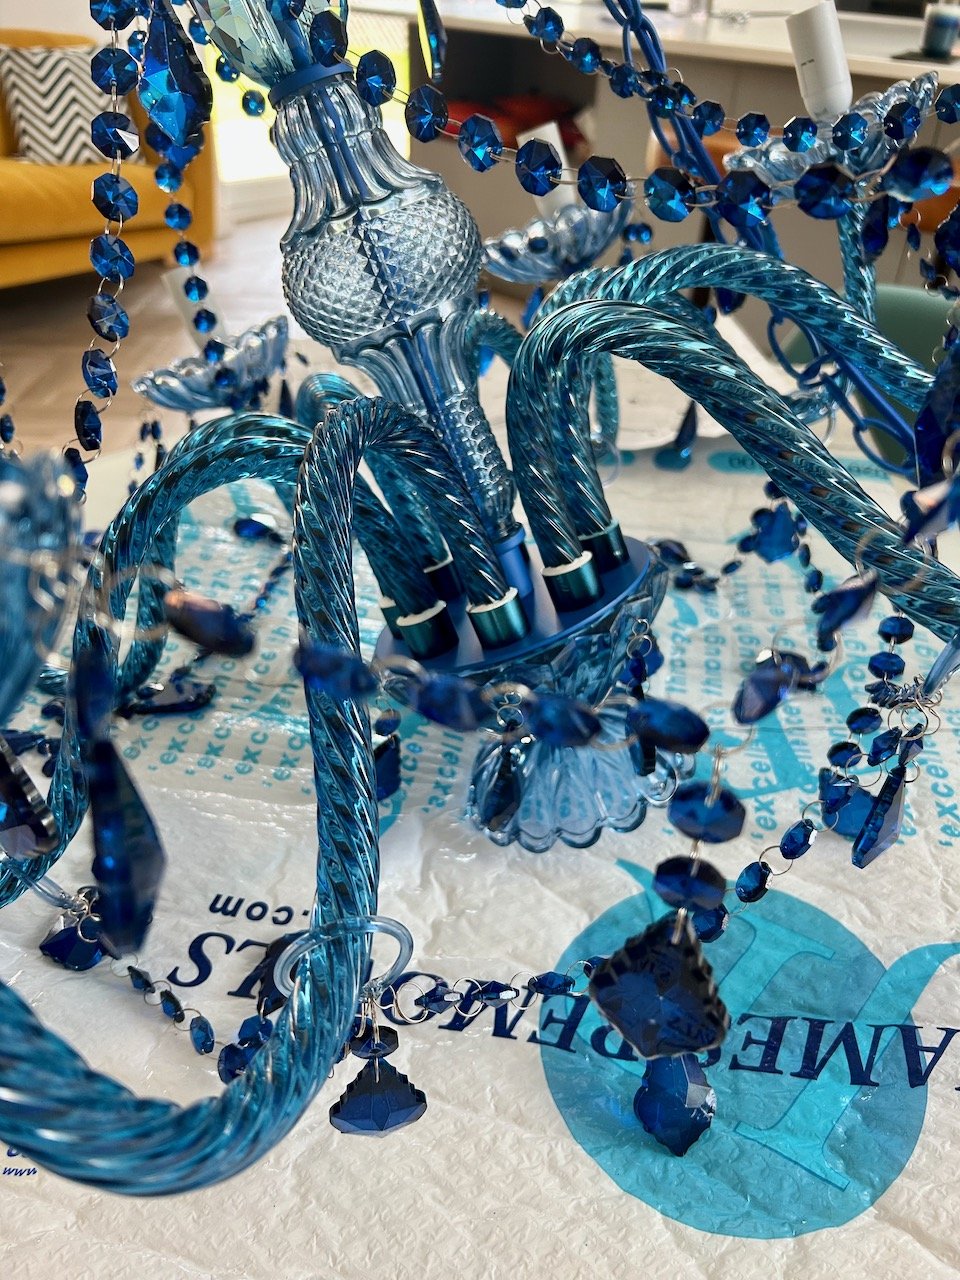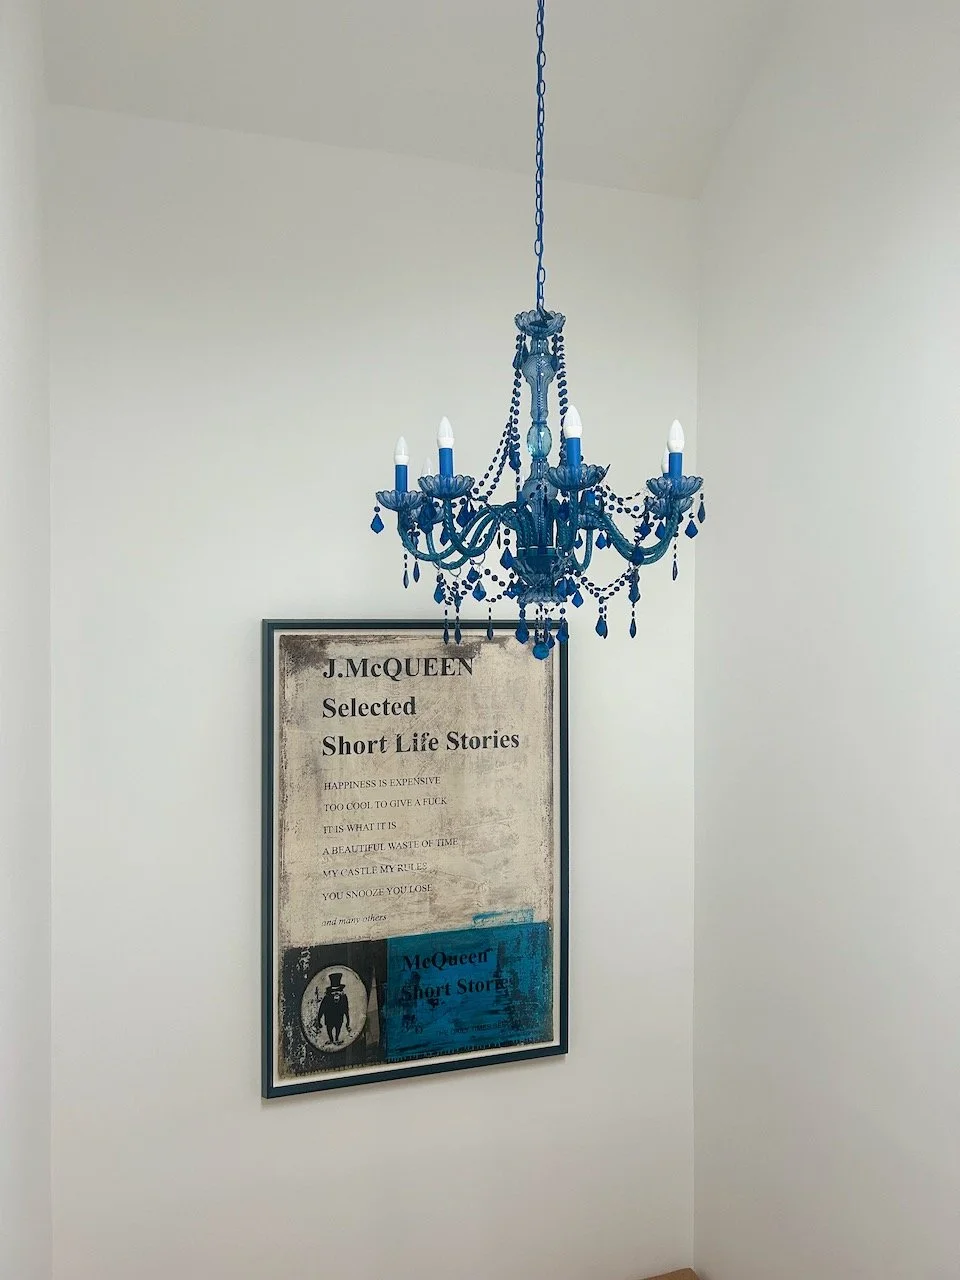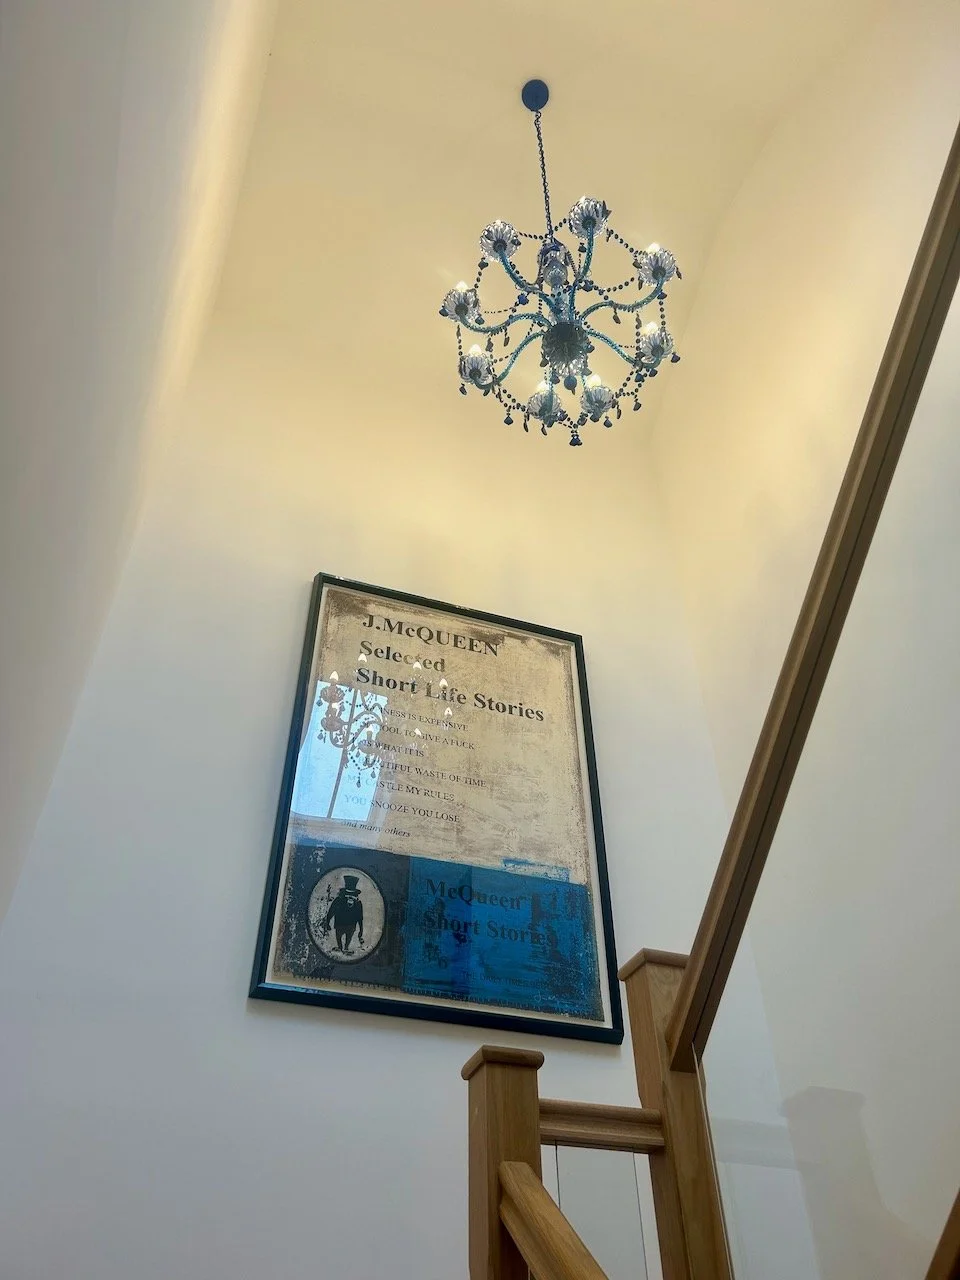


Back at the start of the year we had a flurry of house improvement type of activity, which included buying and installing the blue chandelier and some new sofas. We’d actually seen the new sofas when we stopped off in Bruton overnight in the December, whilst on the way to visit family in Devon.
Clearly they were meant to be.
MOH pointed the new sofas out in the window of a small showroom, and while he may not have fallen for them immediately, for me it was the sofa I didn’t know I was looking for. It took us a while to decide they were right for us, and after much measuring we took the plunge and ordered two rather expensive sofas.
We didn’t expect them to arrive until around Easter, so we thought we’d have plenty of time to consider our decor, and so the paint charts came out. I’d envisaged our lounge having dark green velvet sofas, and I wanted a relatively dark wall too.
But these sofas were not dark green, though they ticked the velvet box.
A rethink was needed.
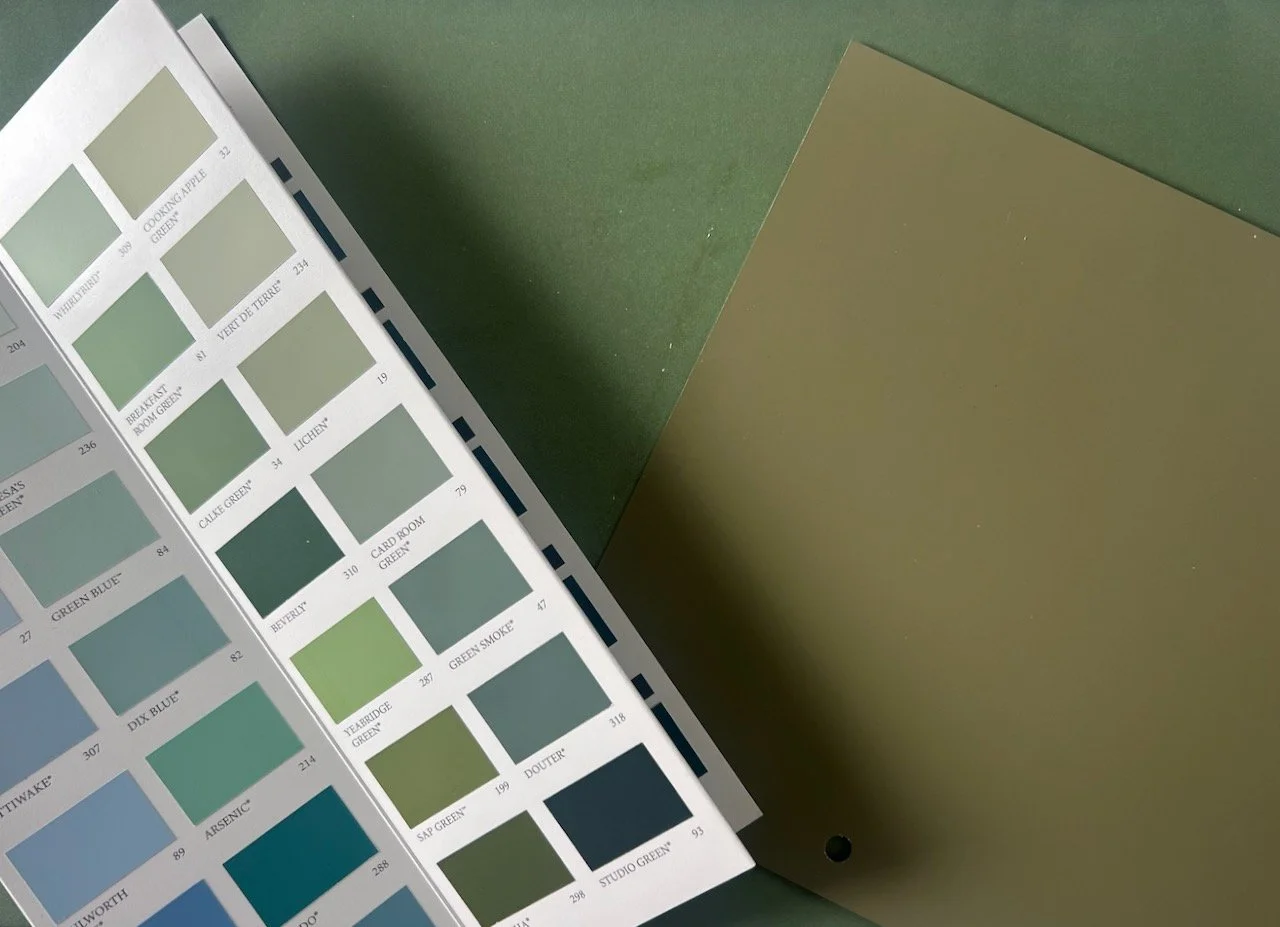
I was still keen on green though, and the small show room in Bruton were really helpful pointing us towards greens that would work with the sofas we’d chosen. So we worked our way through various paint charts but mainly sticking to the Farrow & Ball colours which we had worked so well for us in our previous home.
Larger samples were ordered of the two that we thought would work best for us, and Farrow & Ball threw a spanner in the works by sending the samples in a green envelope - which was more like the green I’d had in mind originally.
Argh!
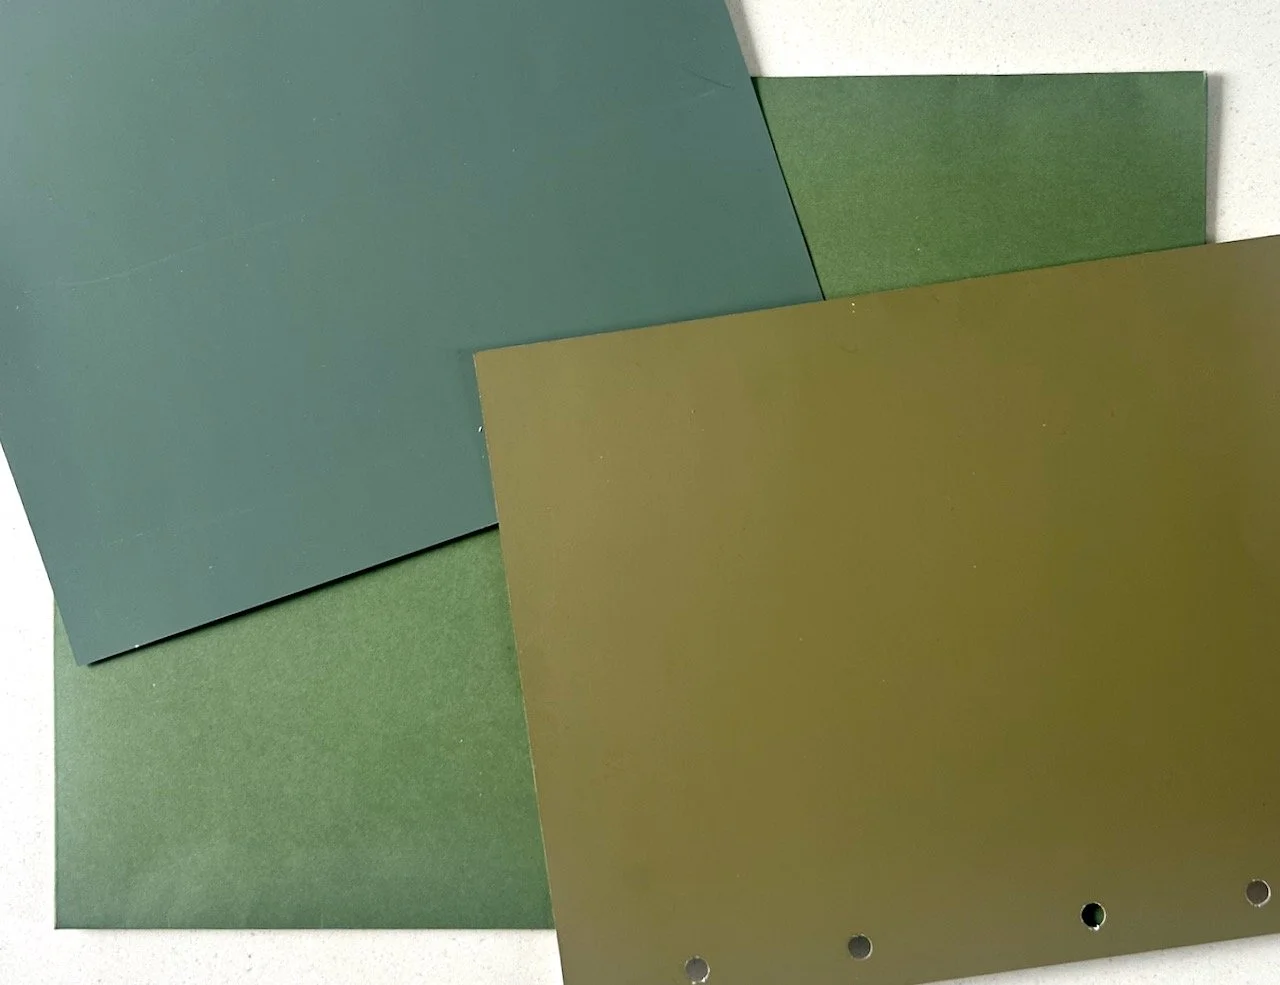
GREEN SMOKE, CALKE GREEN AND DIBBER
The Green Smoke was immediately dismissed for being too grey in our room - strangely adding it here confirms that it’s not for us. The Calke Green is still a favourite colour of ours, but not for the lounge so it’s likely that we’ll use that in another room, which leaves Dibber. On its own it isn’t a colour I’d choose, but with the sofa samples it changes from a drib muddy browny-green to something that gives me the darker colour I wanted, and goes brilliantly with our sofa samples.

The bigger challenge is choosing a white which goes with it as having these larger samples has shown that the builder’s bright white kills this colour, and it needs a softer white. The same goes for the Calke Green, builder’s bright white isn’t the match. And while on the Farrow & Ball site they give options for whites which match their colours, there isn’t a common white for both of the colours we think we’ll use in our downstairs decorating.
We don’t need - or want - three different colour whites in our downstairs, so the hunt for the white which doesn’t subdue the colours is still on. It’s harder than choosing the colours, I’m sure.
Our hunt was cut short by an earlier than expected sofa delivery, they arrived at the end of February taking us quite by surprise.
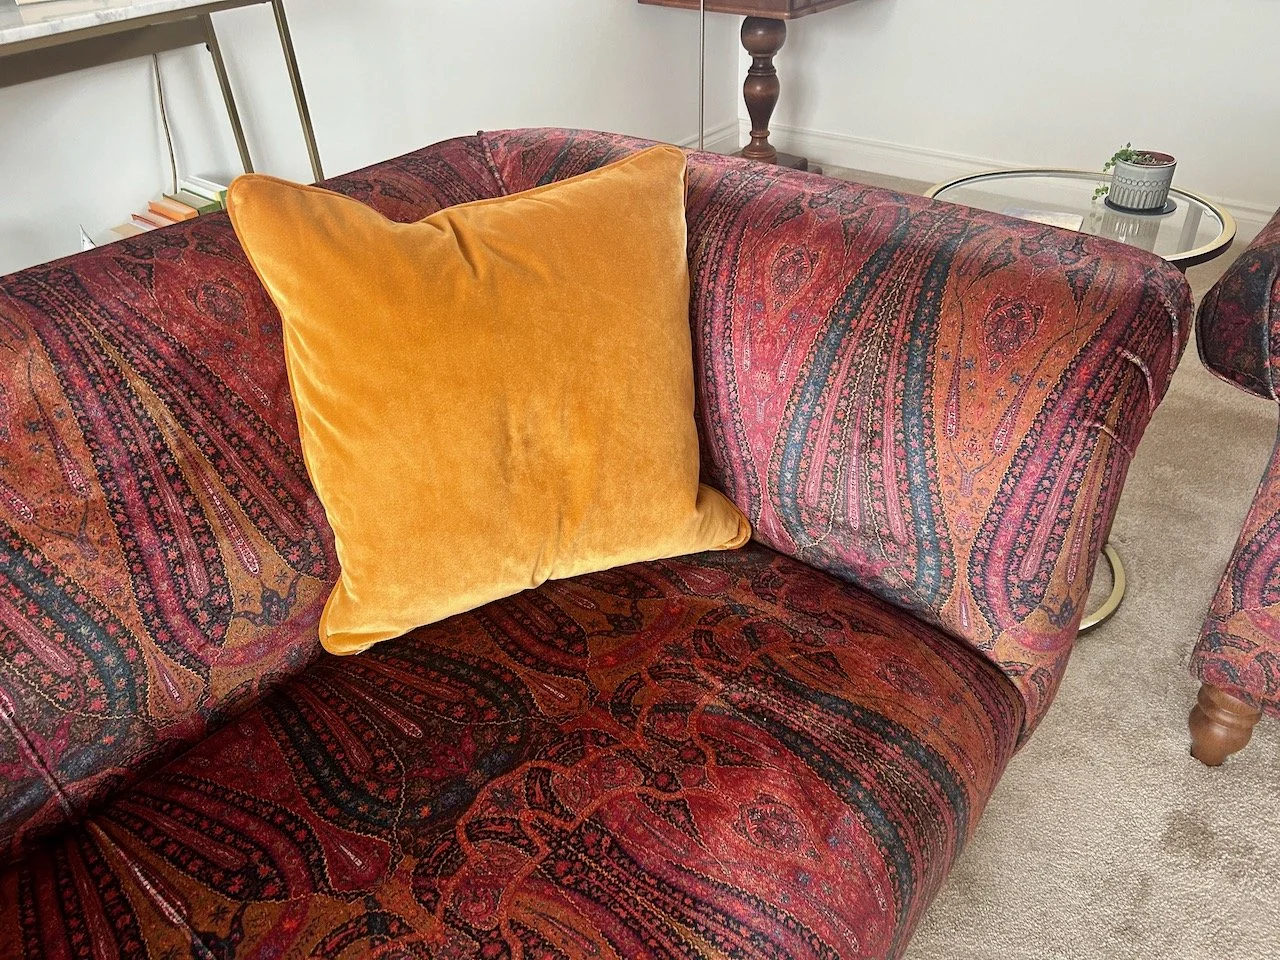
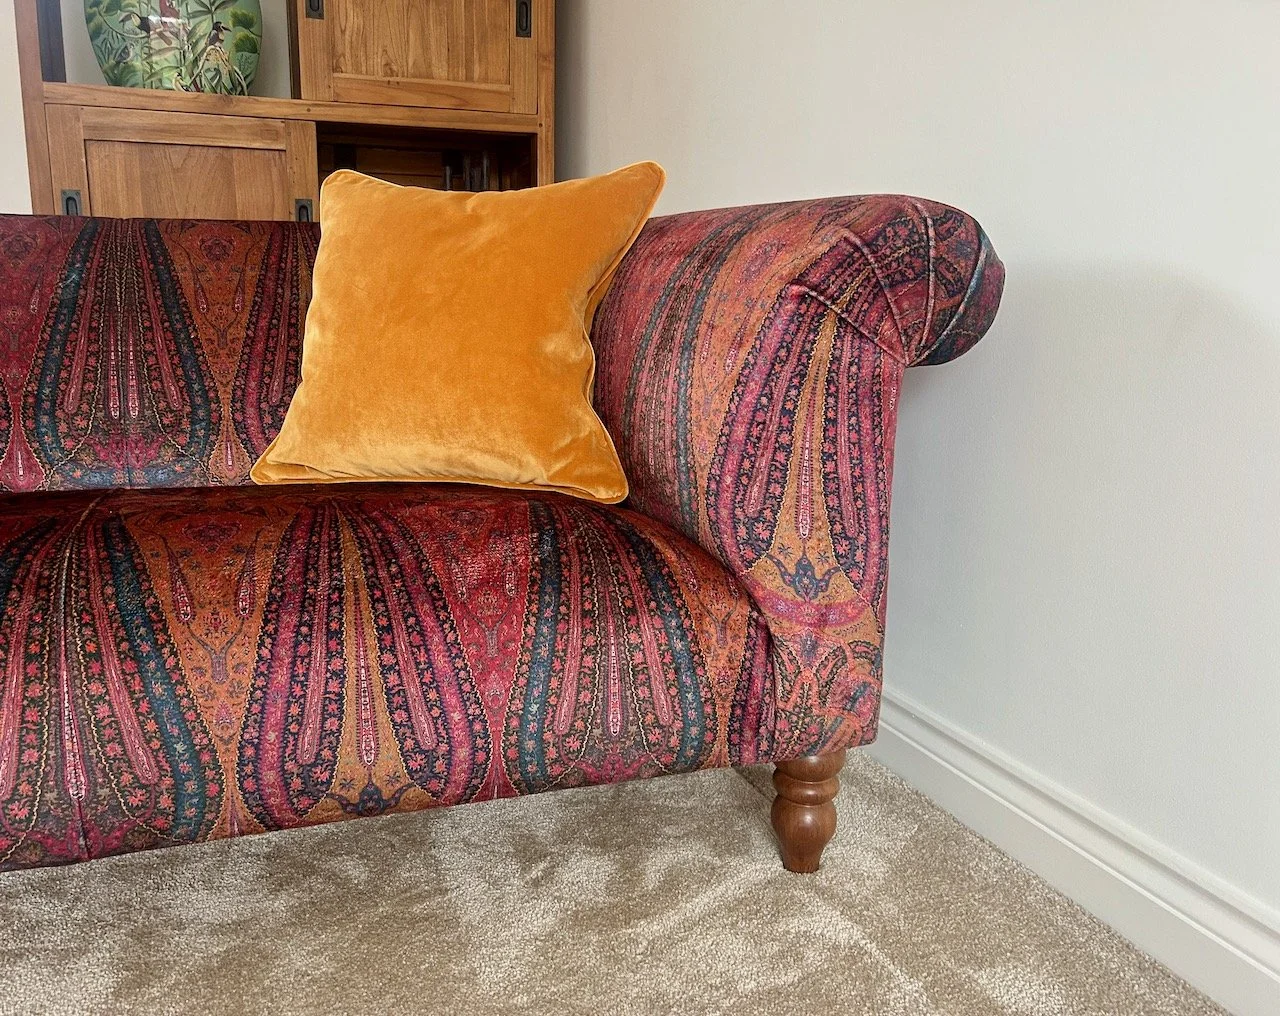
But looking good. So very good.
As you can see we still have the builder’s white on the walls, but life got in the way a bit and we will get the walls painted at some point, just as soon as we’ve found the white that works with both - and booked the decorator!