I lightheartedly dubbed 2024 the year of the shelves, and while we did get quite a few shelves up then this year has seen us tackle almost as many shelves (though I’ve not actually counted). My craft room cupboard was always on the list to have some relatively narrow shelves across the alcove to make use of the space - and I commissioned MOH to make three shelves from the large shelf that came out of our built in wardrobes (more on those another day I’m sure).
He duly and promptly made two and a half of those shelves, which sat mostly undisturbed under our stairs. But this is where it all went wrong, while I was waiting for the actual installation (and I’ve been pretty patient even if I do say so myself) I decided I needed a fourth shelf.
I think by this time MOH was very much of the opinion that he should get these four shelves on the wall PDQ in case the four grew to five, and so on.
So when I spotted this in my craft room, I knew we were in business…
Bring on the shelves

Like anything once you start and get the first piece up, it flies by - and thankfully that was the case here even after a small hiccup when the pipe/wire detector decided it needed a new battery and we actually had a spare so work could continue, phew.
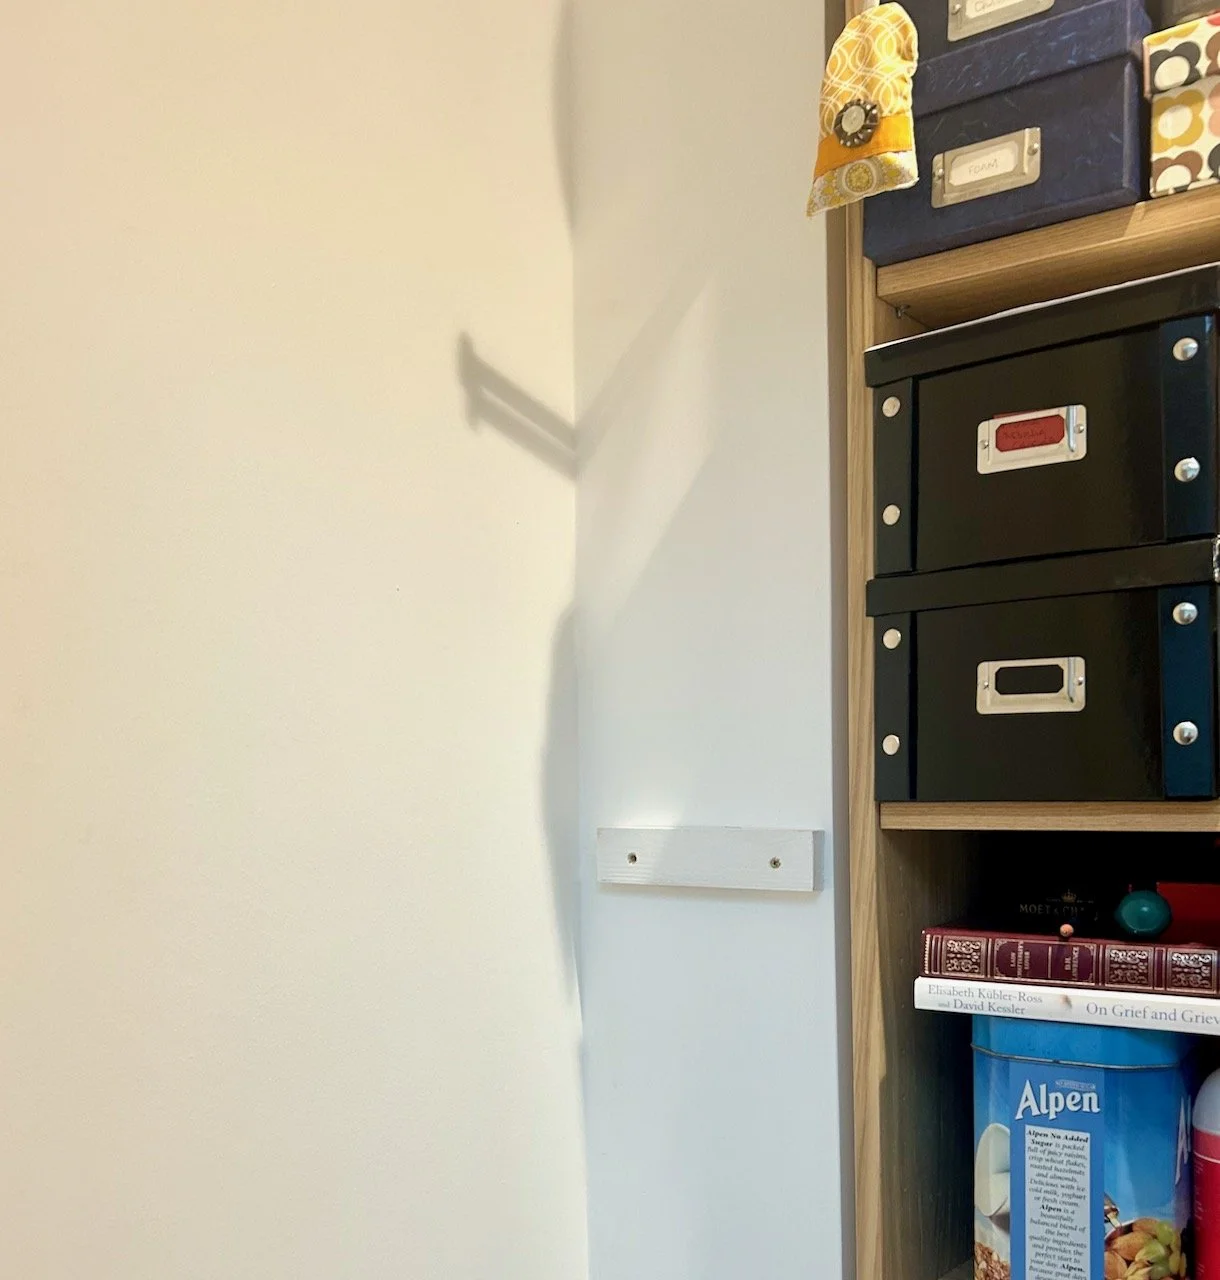

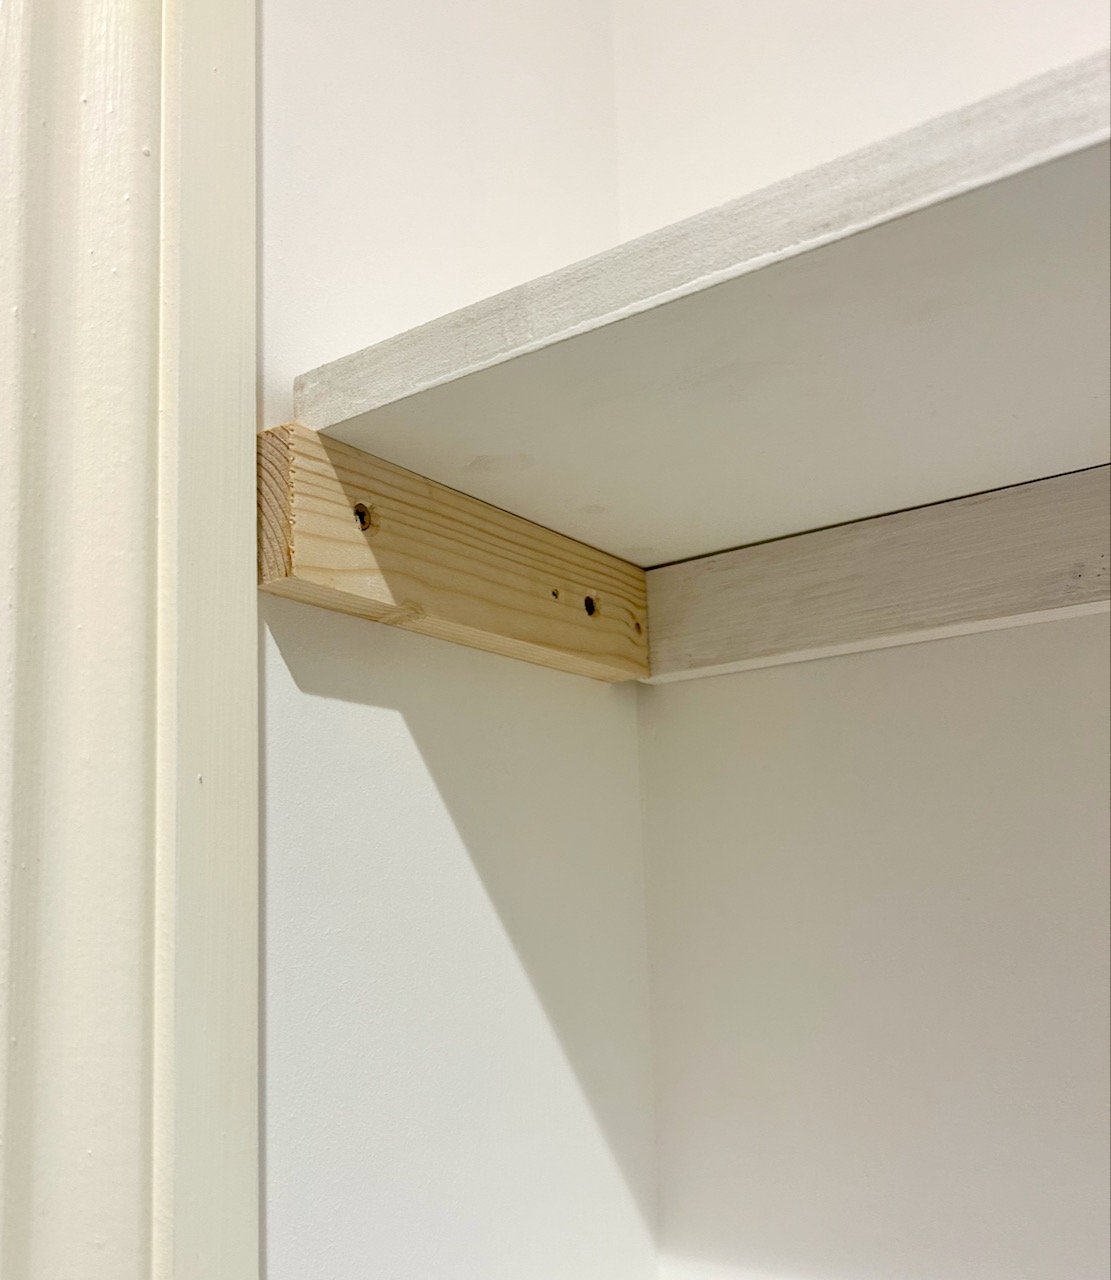
Somewhere along the way one of the shorter supports went missing, or was never cut, or whatever - but now that we’ve spent some time sorting out the garage so there’s actually space to move, MOH was able to quickly cut a new/replacement one - it’s purposefully on the inside of the cupboard, but one day it’ll get painted I’m sure.
Load them up
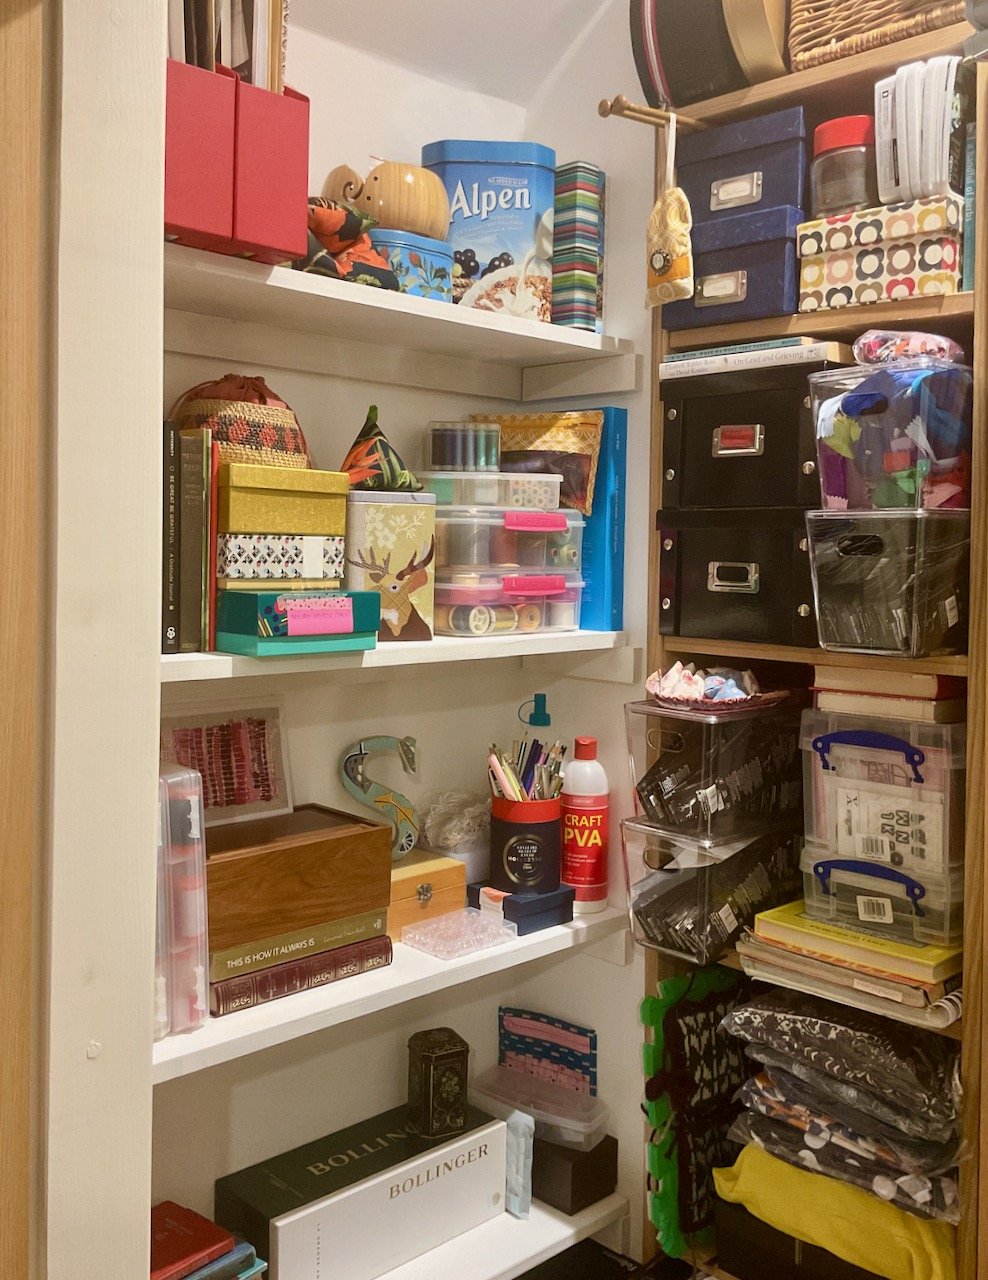
And aren’t they great?
They are only about 70cm wide by less than 20cm deep - though you’ll not be surprised to learn that MOH was provided with more detailed measurements than this! - but have really made a difference to my craft room. For comparison they offer a similar amount of space as four extra cubbyholes in my Kallax units, which is a lot of new space, but the space is linear so its easier to store and access smaller items.

The only issue was that as I moved things around, and onto the new shelves I realised that the spaces I now had in the Kallax cubbyholes should more usefully be filled with things I use more often. So these four shelves prompted an almost entire room reorganisation, which meant that for a day or two the room mostly looked like this.

But it has got better, and I can even see the carpet again!
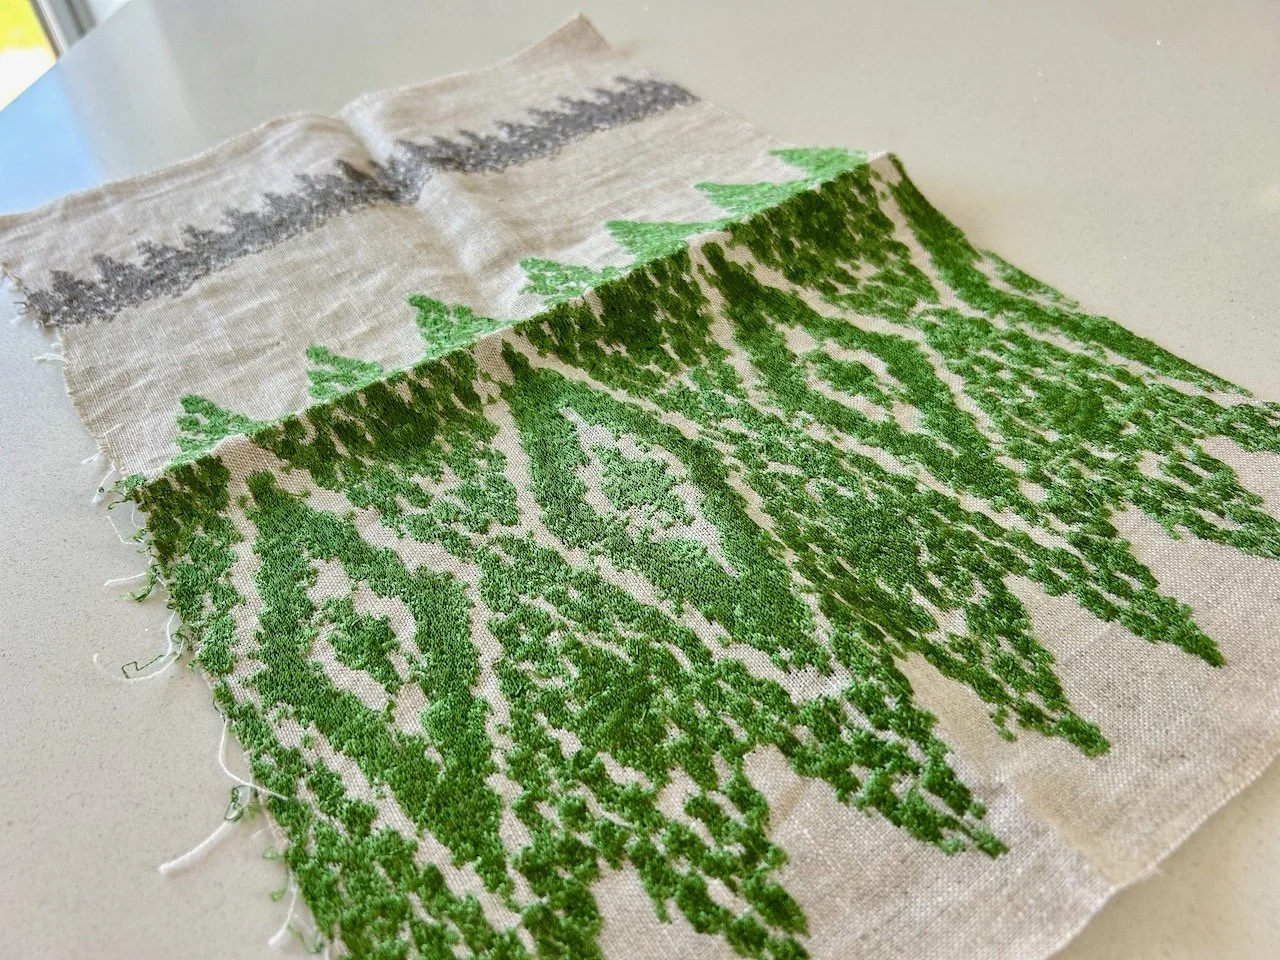
I even found things that I had forgotten about, and things I didn’t even know I had - like a small bag of felt squares, which was handy as I’ve seen a small stand-up Christmas tree which uses felt which I want to try and make, so that’s a result.
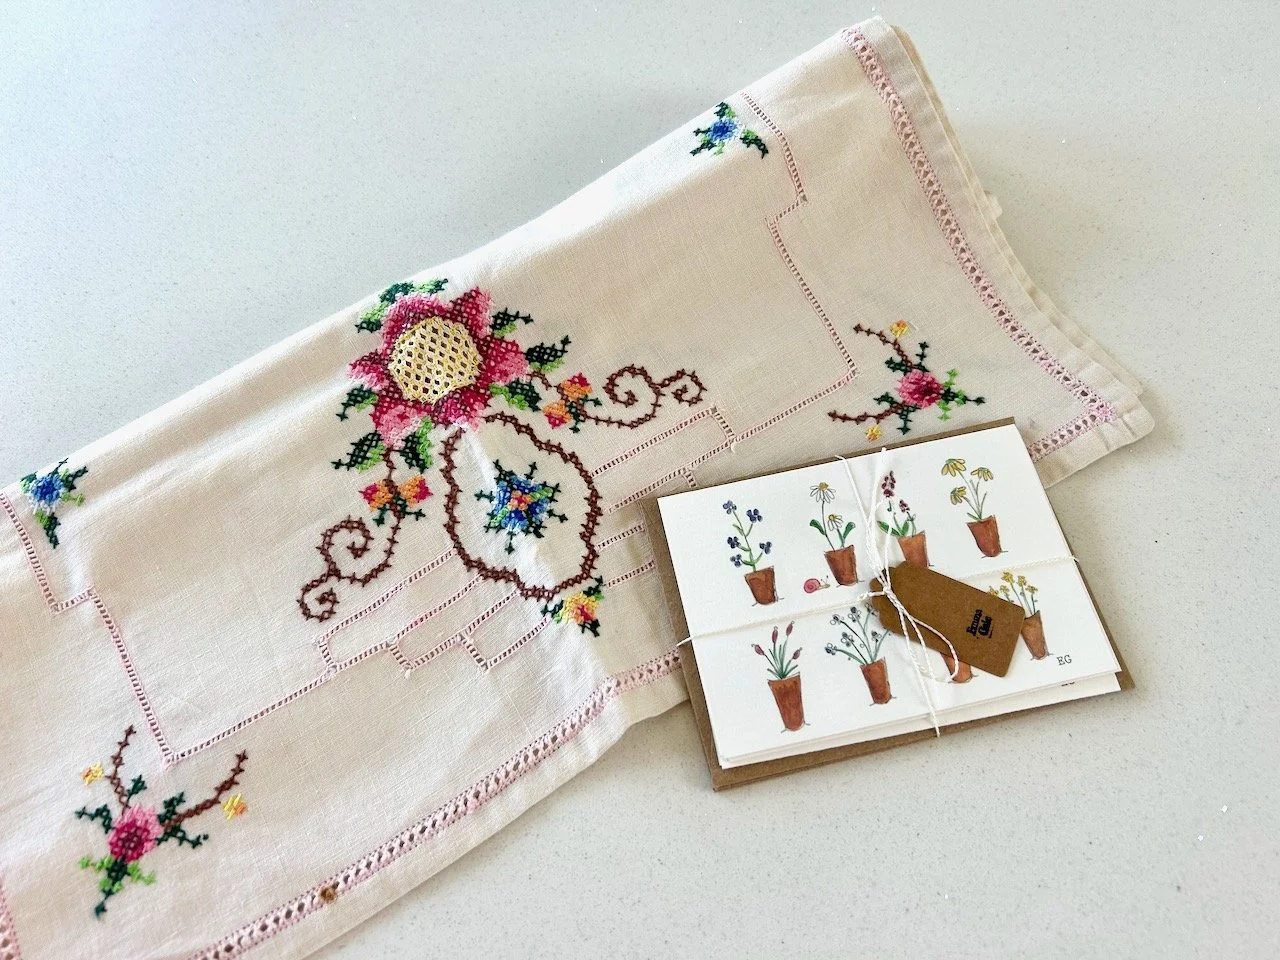
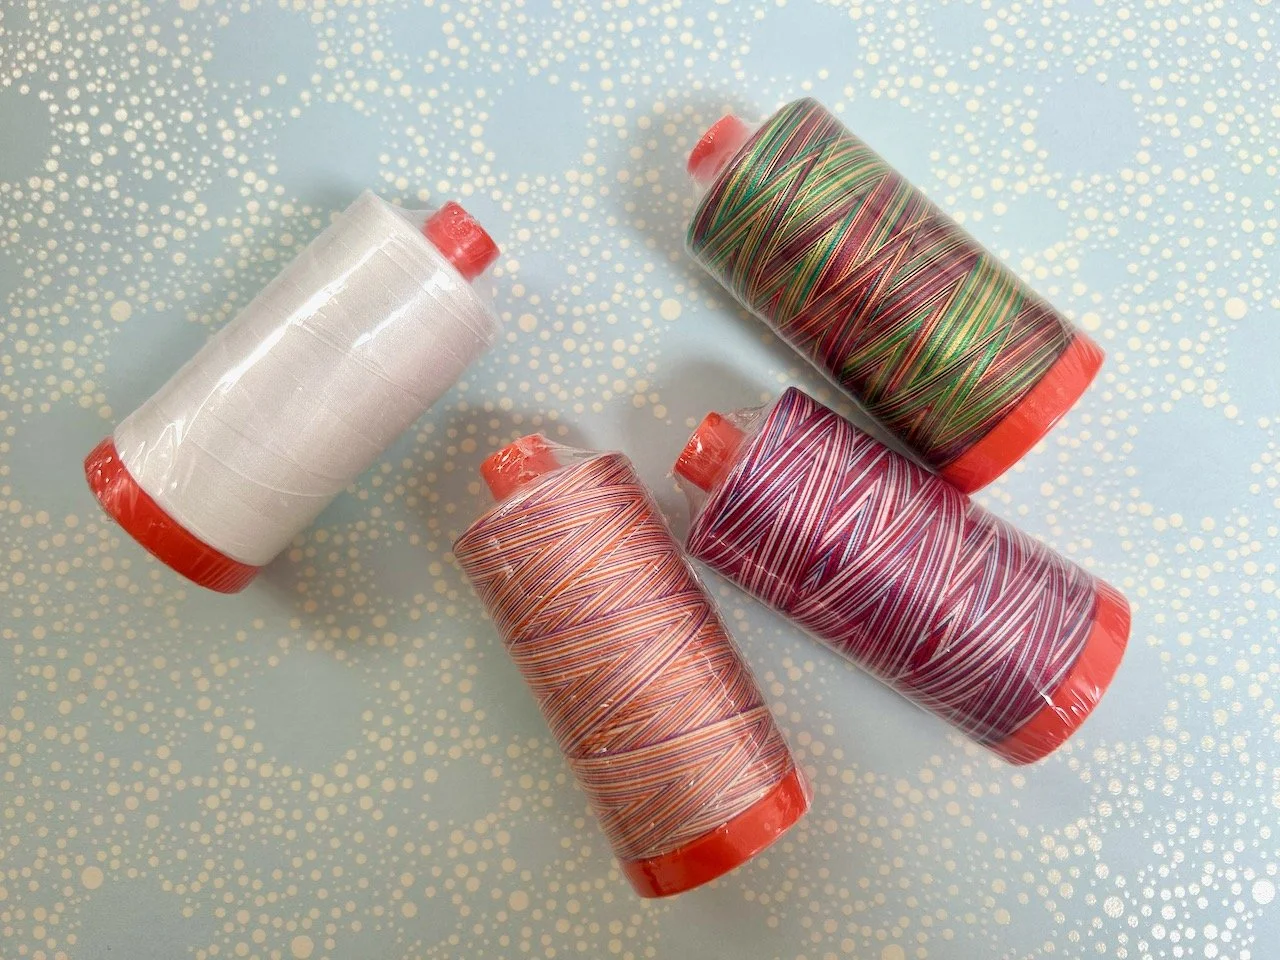
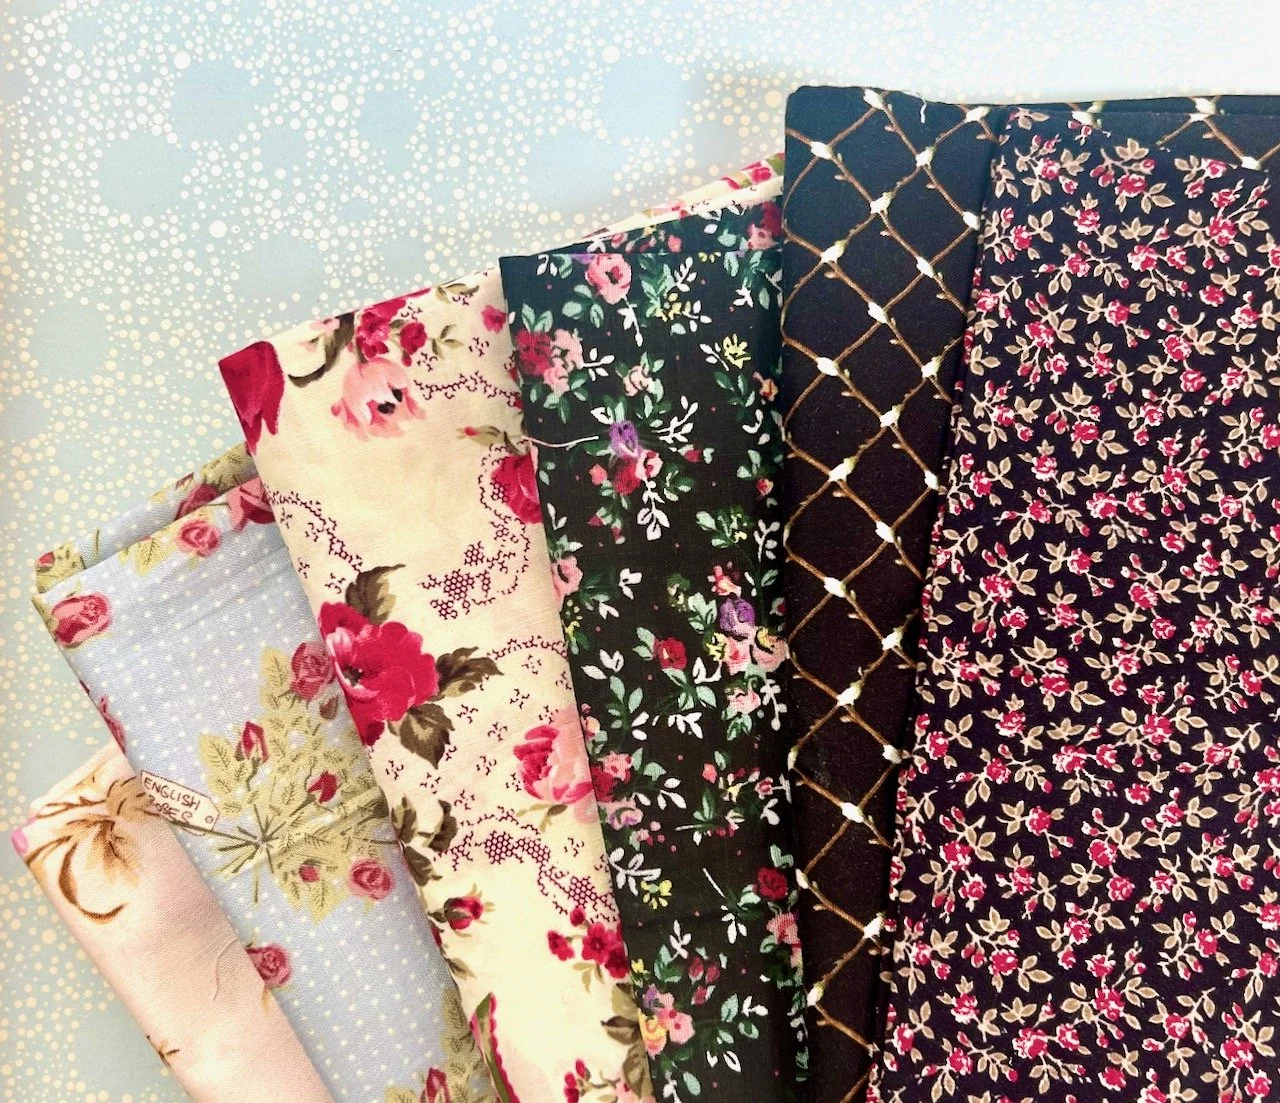
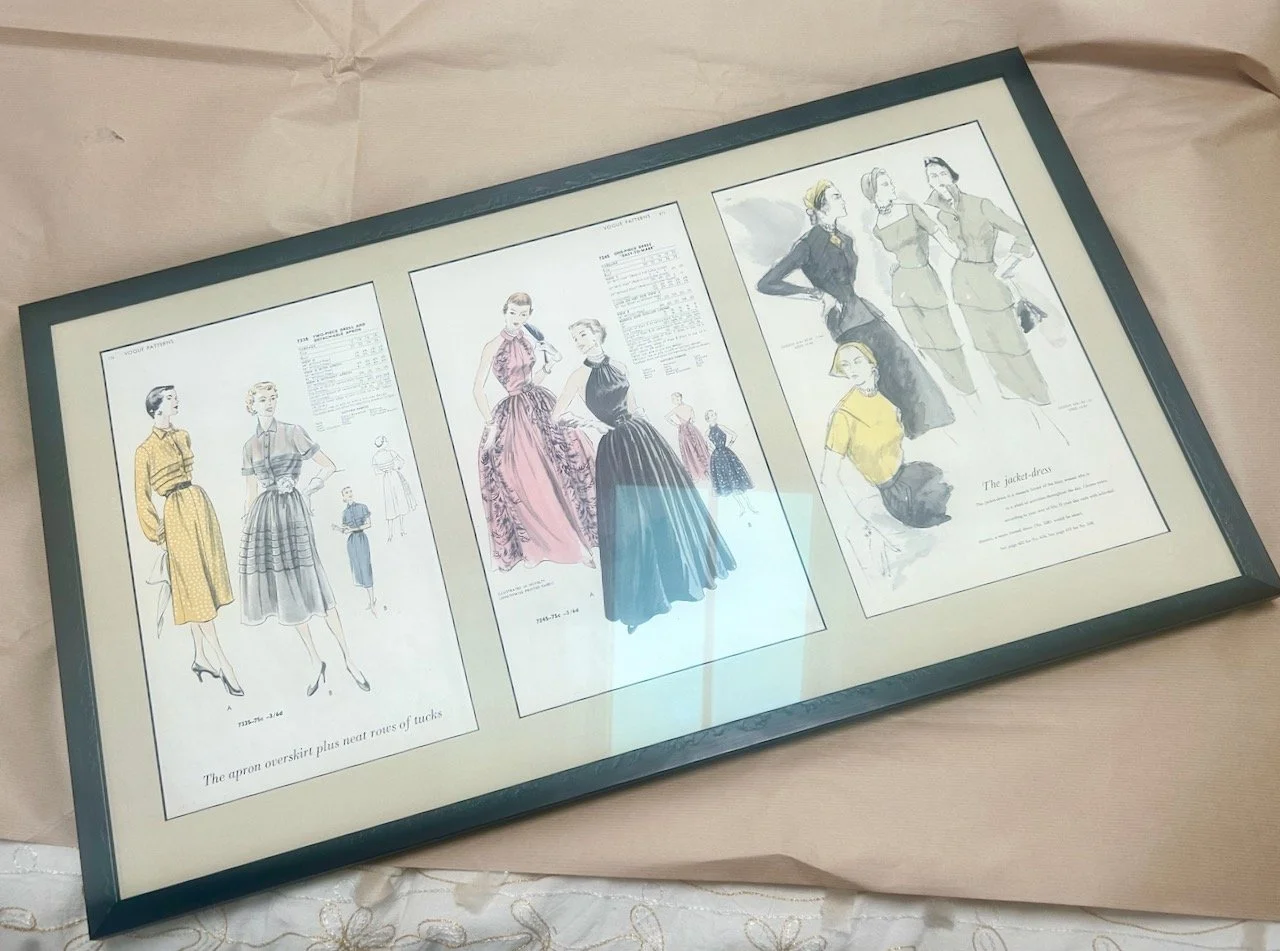
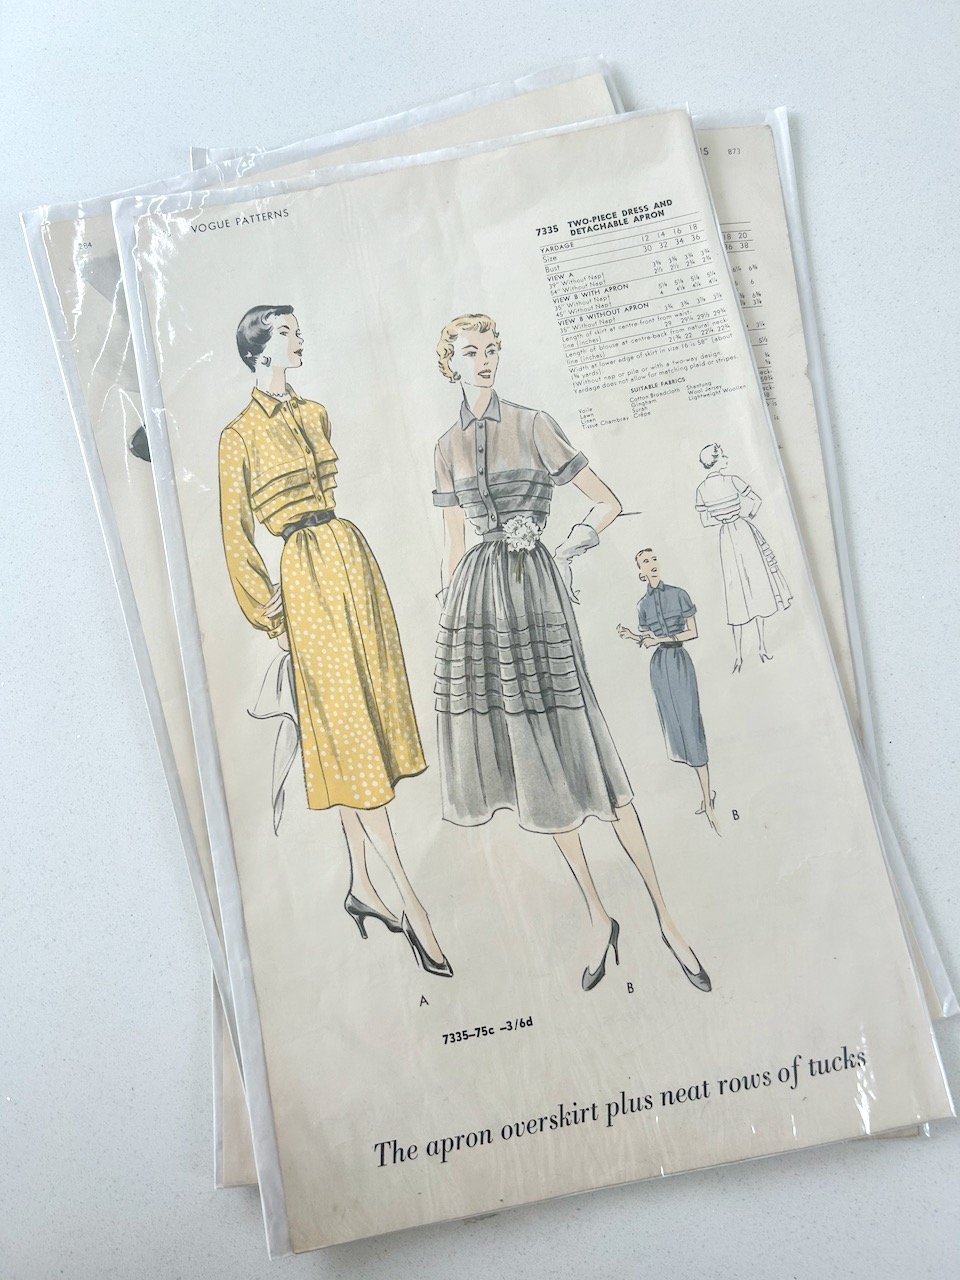
My four new shelves are fully loaded now, and everything has its place - it’s so nice to have everything, such as my threads and patterns, together. But don’t tell MOH as I’m already lining up a couple more shelf installations around the house, he doesn’t need to know about these just yet, and I promise I’ll break the news to him gently!