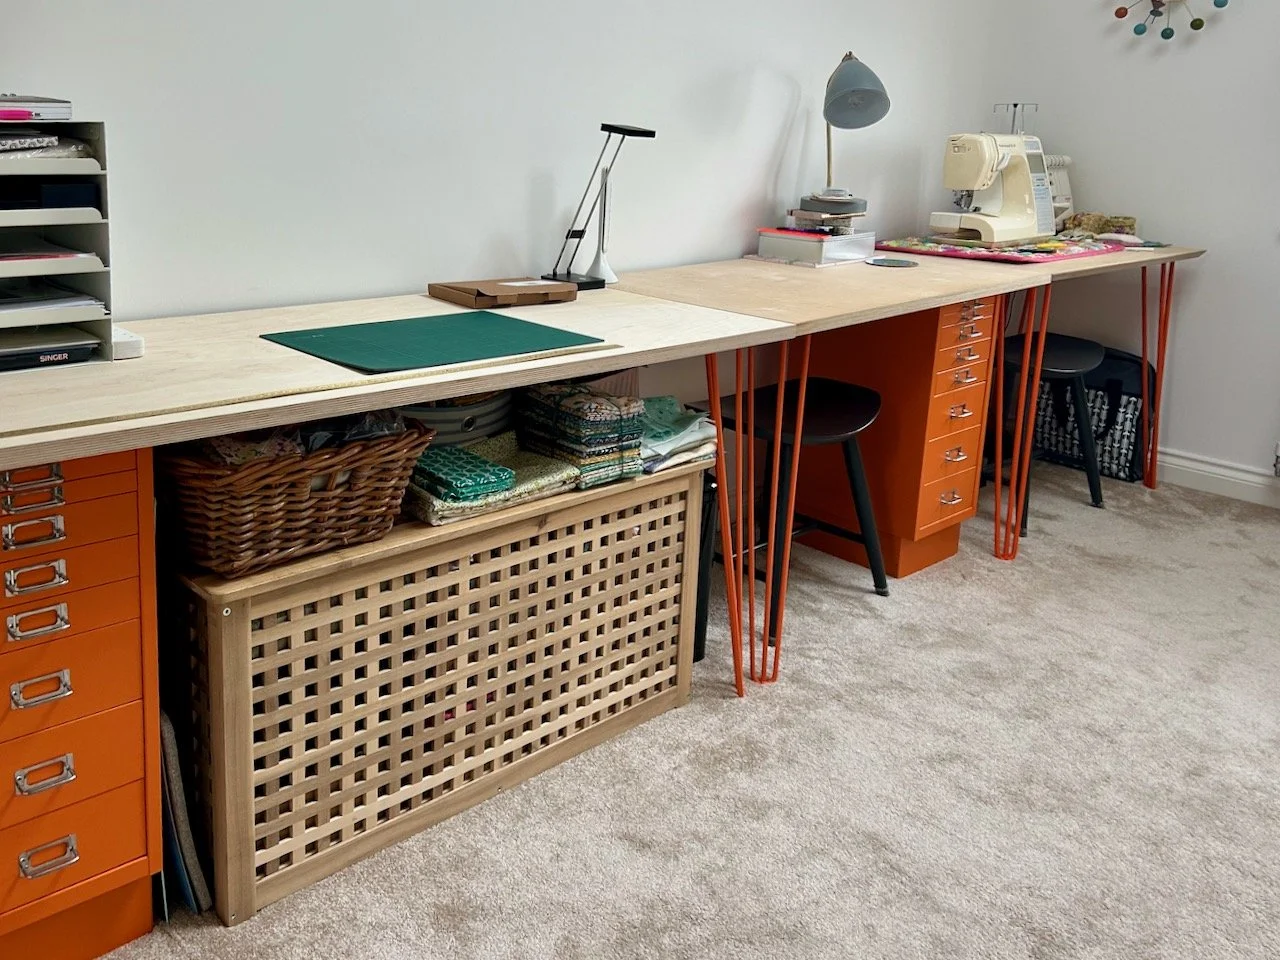
A chance conversation with MOH started this. I partly joking said that I needed more space in my craft room as even with two desks I didn’t seem to have enough surface area - I know. He quickly surveyed the situation and the mess (or as I call them organised piles of projects) and pointed out that if I didn’t have the large storage chest then I could fit in another desk.
Clearly losing the large storage chest (which was our laundry basket in our previous house) wasn’t an option, and also clearly he had no idea of the amount of junk, or as I prefer to call them useful things and future projects, that it held.
No way was that happening José!
But it did start me thinking…
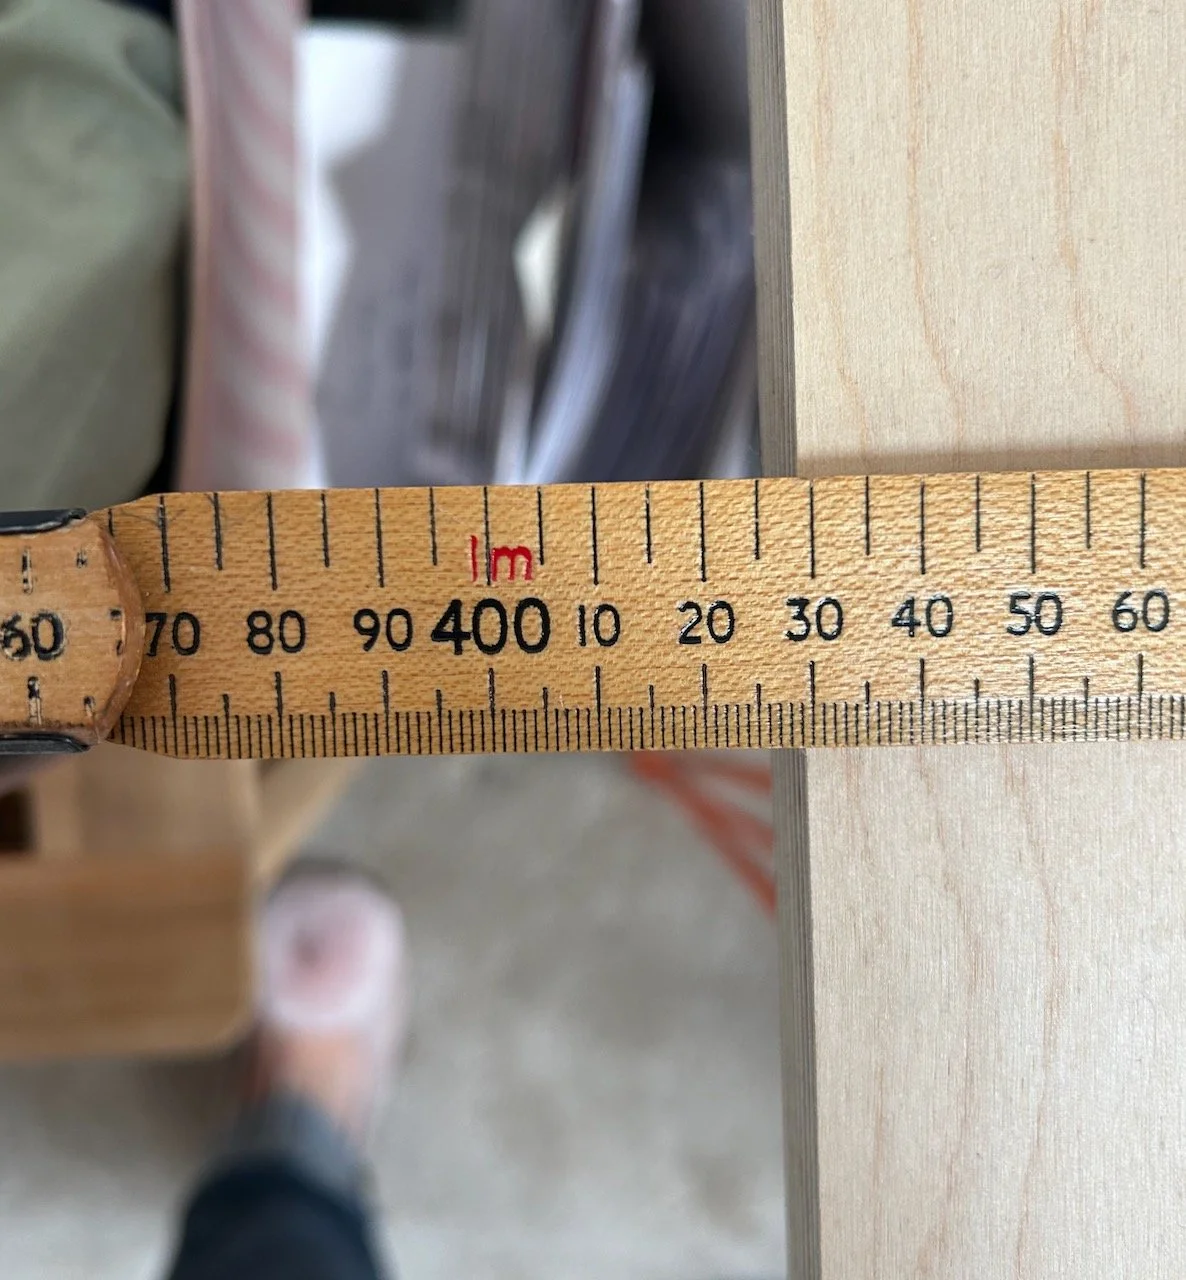
And measuring…
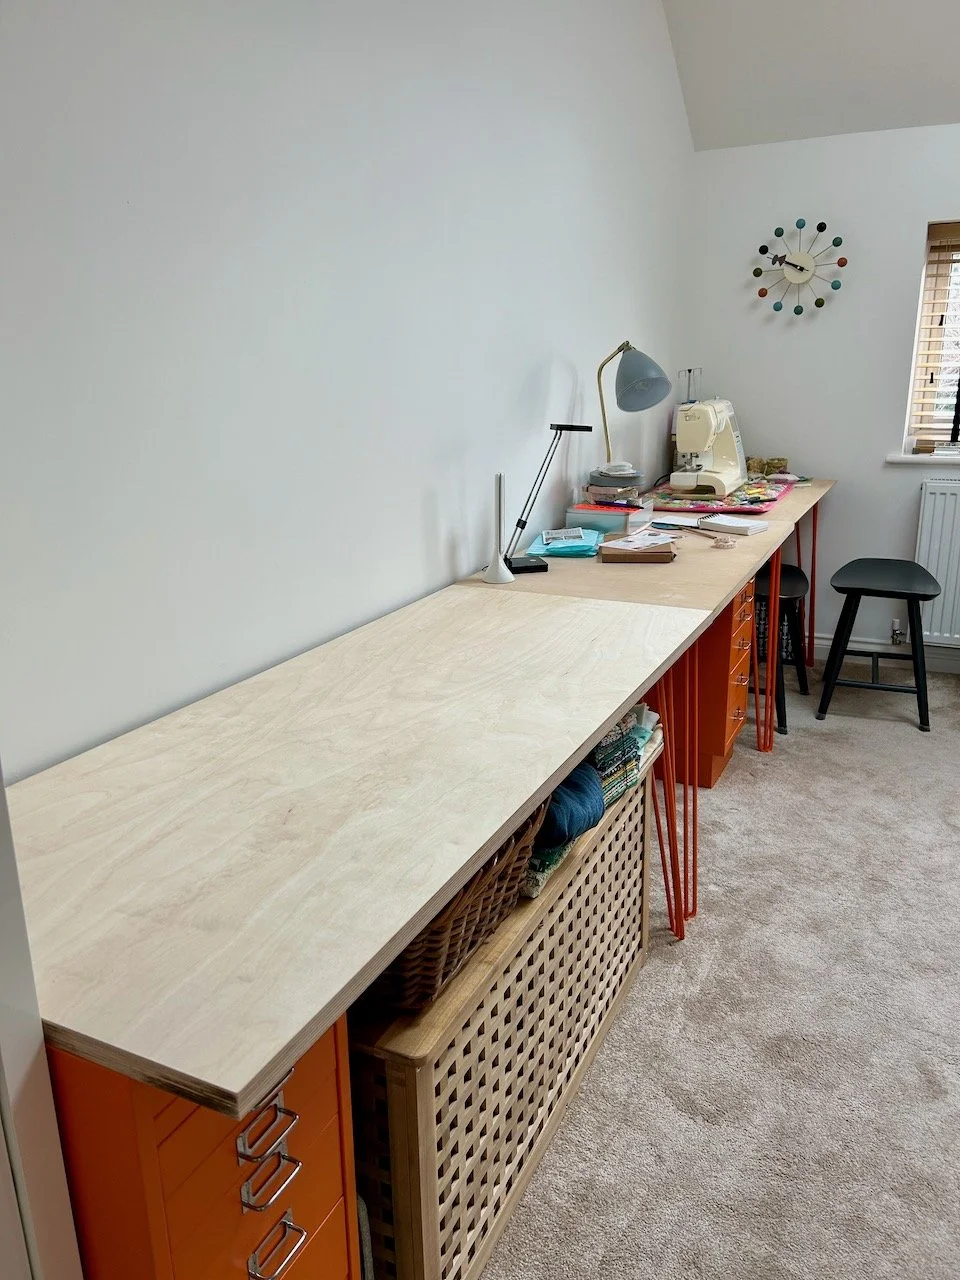
And I realised that I could do both, and relatively simply too. I worked out that I could still access the large storage chest, and have a desk above it.
A plan started to develop
When I bought my two sets of Bisley drawers I’d bought one with a plinth and one without. The plinth raises the drawers to a standard desk height, and my thinking was that if I needed another plinth in the future then I could buy one then. So I did.
At that time I also bought a set of four hairpin legs when to create a space to craft, and the plan was originally to sell the extra legs on - but thankfully that hadn’t happened and they were still in the box, still in their bubble wrap and in our spare bedroom. Phew - as they were about to be brought into action.
So by adding a plinth and using the legs I already had, all I needed was the desk top, and one that could be cut to size. I bought this from the same company as before but this time a larger length of marine ply was ordered. This wasn’t cheap - but all wood prices seem to have sky rocketed, just like everything else..
When it arrived MOH noticed it had taken a bit of a bash on one corner, and while the company offered to send a replacement I was keen to get my room sorted out and didn’t want to wait any longer. And what would I do with a spare desk top? Plus I’d worked out that I could put the bashed corner on the underside at the back and then it wouldn’t really show anyway. So I agreed a part-refund with the company, and MOH was in business.
I was hoping to get away without moving the large storage chest - but I wasn’t sure if I’d be lucky or not. Just in case though I decided to rearrange it, as don’t tell anyone but I’m not sure even I knew what exactly was in there. And as you do, I found some right treasures once I started sorting through it.
It’s now much better organised - the fabric is in storage baskets that I can lift in and out easily - and I mostly know where things are, which will make retrieving things much easier too. I also thought it prudent to do this before the desk top was in place as sorting through these things is never a quick job is it?!
I also took the opportunity to switch around my existing two desks to make better use of the space. So my sewing area is now closest to the window, and my overlocker machine is happy to sit in the far corner of the desk which keeps it out of the way, but close enough for it to be handy too.
I was lucky, as I hoped I would be, and the large storage chest didn’t need moving with the new desk slotting in around it. I’m putting that down to a lot of luck, as well as precise measuring! It wouldn’t have been a deal breaker if I needed to move it as I had some space at the far end of the run of desks, but if I didn’t have to move it then that would be a result.
This arrangement also gives me space on top of the large chest for my current projects, and the room looks so much larger - and I’ve even got all my junk, or tools as I prefer to call them, on the extended space too. And I checked with the desk top in place I can still get things into and out of the large storage chest - though I did knock my head the first time I tried it, but I’ll learn!
The final metre
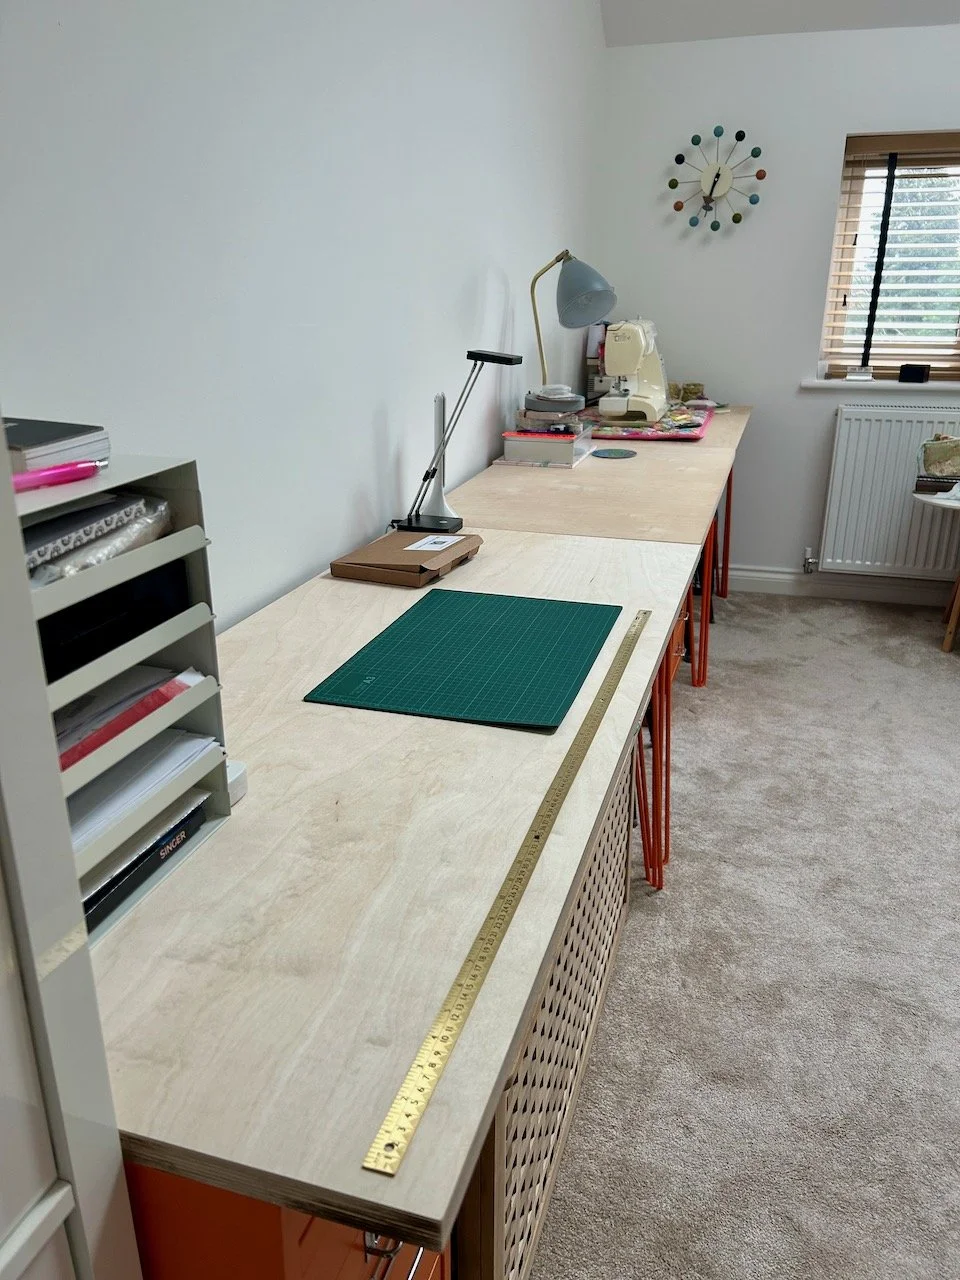
I haven’t yet decided on the exact location for the brass 1 metre/1 yard rule as I’m working out if it will get in the way where it is or not. I think not, but I’m going to leave it unsecured for a little while to make sure it doesn’t.
I’ve also added my paper tray in the corner at the near end (which also covers the small dented end), which now acts as a handy place to stow my mini iron. One of the things I was really keen to add was a counter top extension lead - so there’s no more scrabbling under the desk for me to plug in my iron (though on the plus side at least I always knew I’d turned it off!).
As it worked out there’s also a gap between the first set of drawers and the large storage chest which is ideal for both my craft mats and the wool ironing pad - it’s almost like it was planned. And at the other end of the large storage chest, nestled between the hairpin legs (but not on show) is space for the shredder, which previously didn’t really have a useful home.
The only small issue I had by moving my sewing machine was that I kept backing into the small white round table - and that was almost looking for a new home, but in the end I moved my peacock easy chair enough of a smidgeon to stop that happening, so thankfully the table had a reprieve!
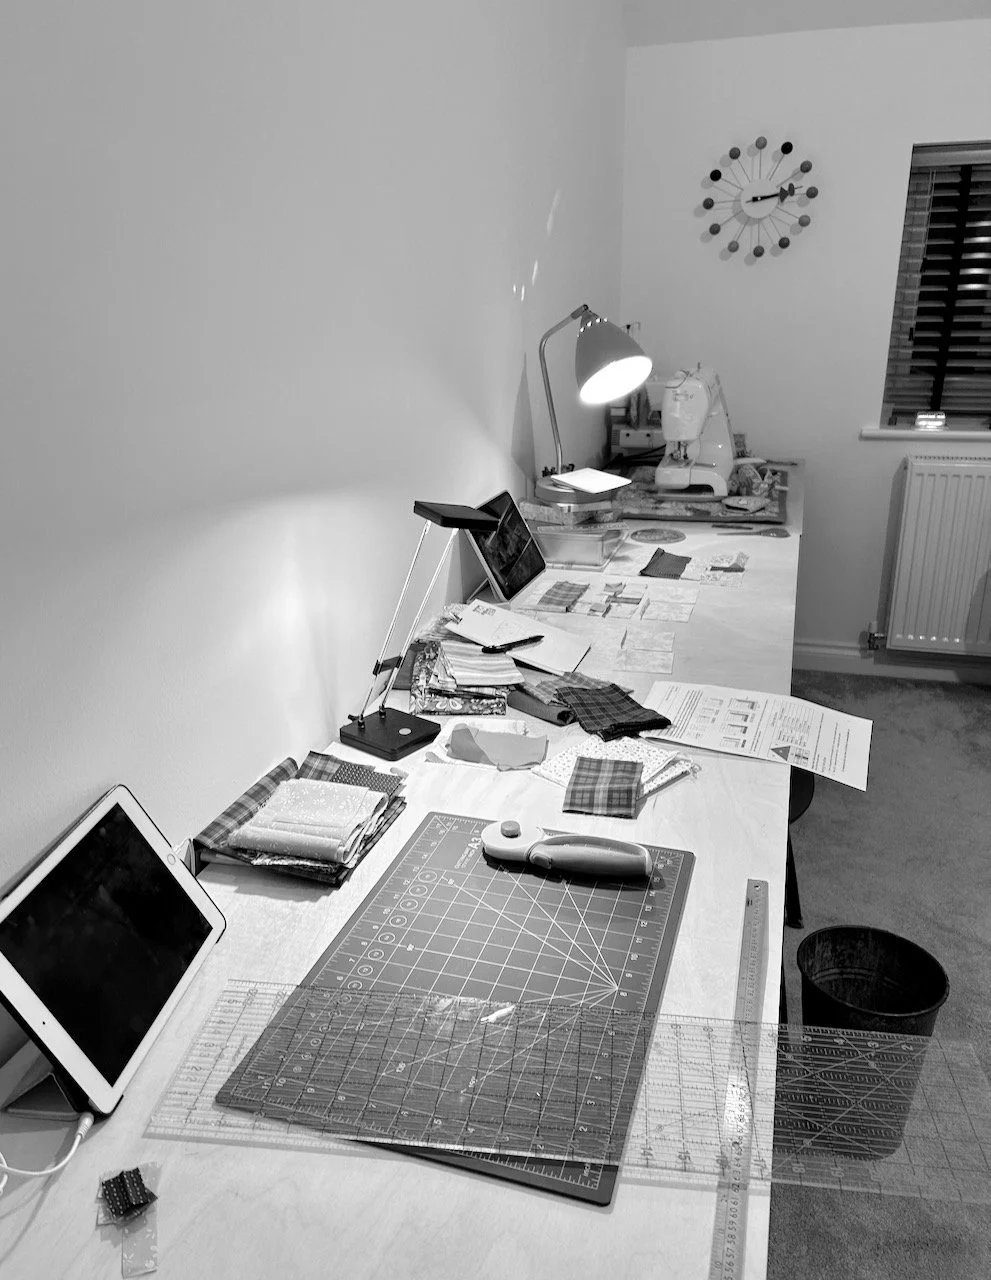
Needless to say I’m loving this small tweak and it’s getting plenty of use - and that means it isn’t always as neat as it once was - hence the black and white photo!


