The Exe Valley Contemporary Quilt Group displayed their triangle challenge quilts at the 2026 Newark Quilt Show, and the results were thought provoking as perhaps not all of the triangles were quite what you’d think. Many quilting blocks use triangles, notably the half square triangle, which is pretty self descriptive. But the group’s challenge allowed any medium or technique, and the only criterion was that the quilt should include at least one recognisable triangle of any size.
I loved to see how the individual quilters interpreted the challenge, and I hope you do too. The challenges are set by members and quilters from across the region from North Dorset to South Cornwall participated.
Here’s some of the ones I loved from the display:
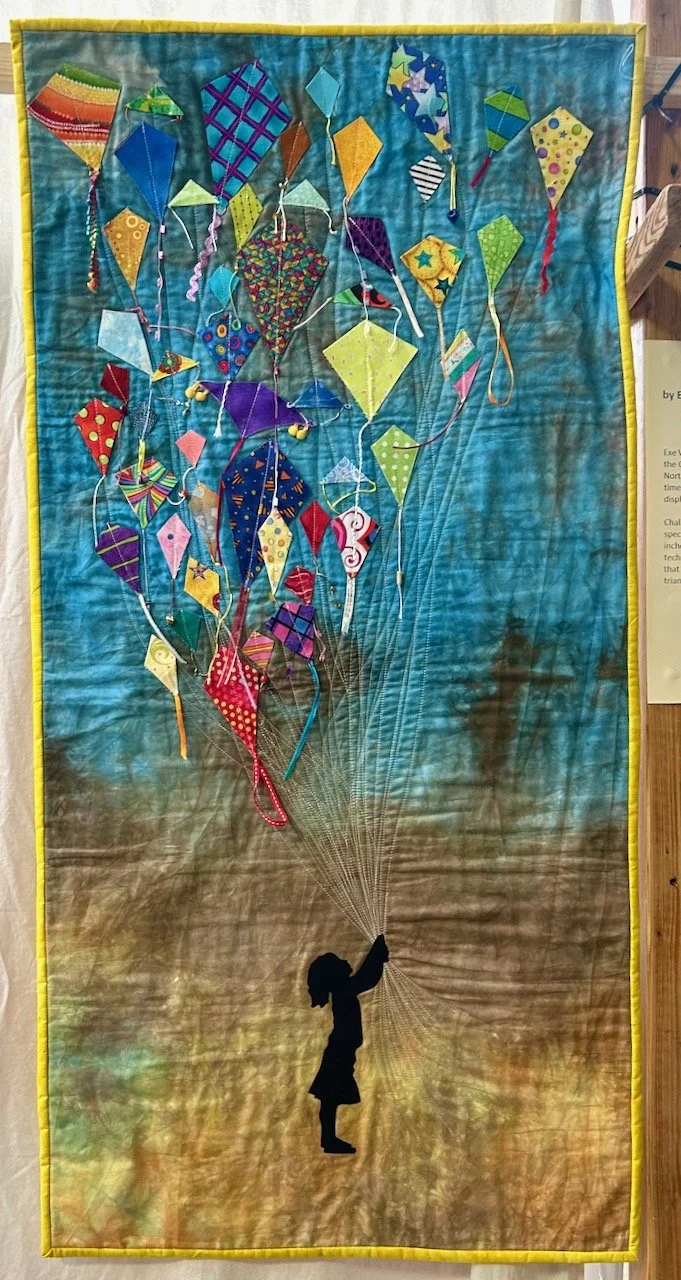
LET’S GO FLY A KITE BY SALLY HARRADINE
If triangles were the challenge my mind wouldn’t automatically go to kites, but the inspiration for this one came from looking out the window on a blowy day and thinking that it would be fun to fly kites with the grandchildren - and so the triangles are incorporated in amongst the kites, in what I think is a really effective and dreamy looking quilt.
I’ll admit that the next one is my favourite from this display, I love its contemporary-ness, plus it uses scraps and simple stitches, and hand sewing - all of which appeal to me.
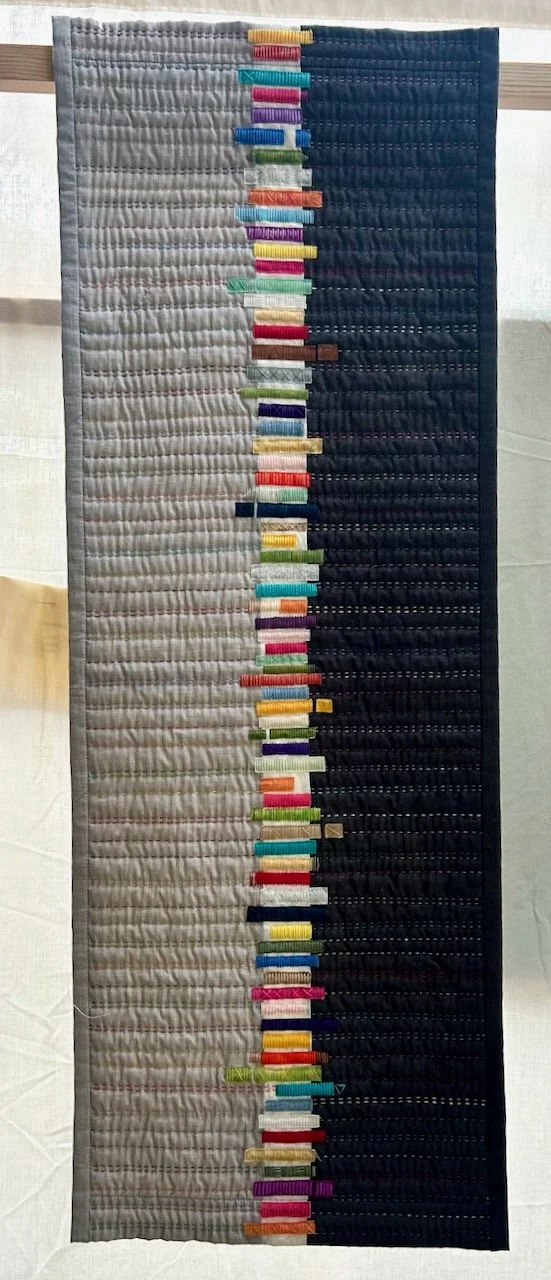
TWELVE TRIANGLES BY JANE SYERS
TWELVE TRIANGLES BY JANE SYERS
But look at the detail, and how the triangles are included. So very clever, meets the brief in a quiet and understated but also impactful way. Bravo!
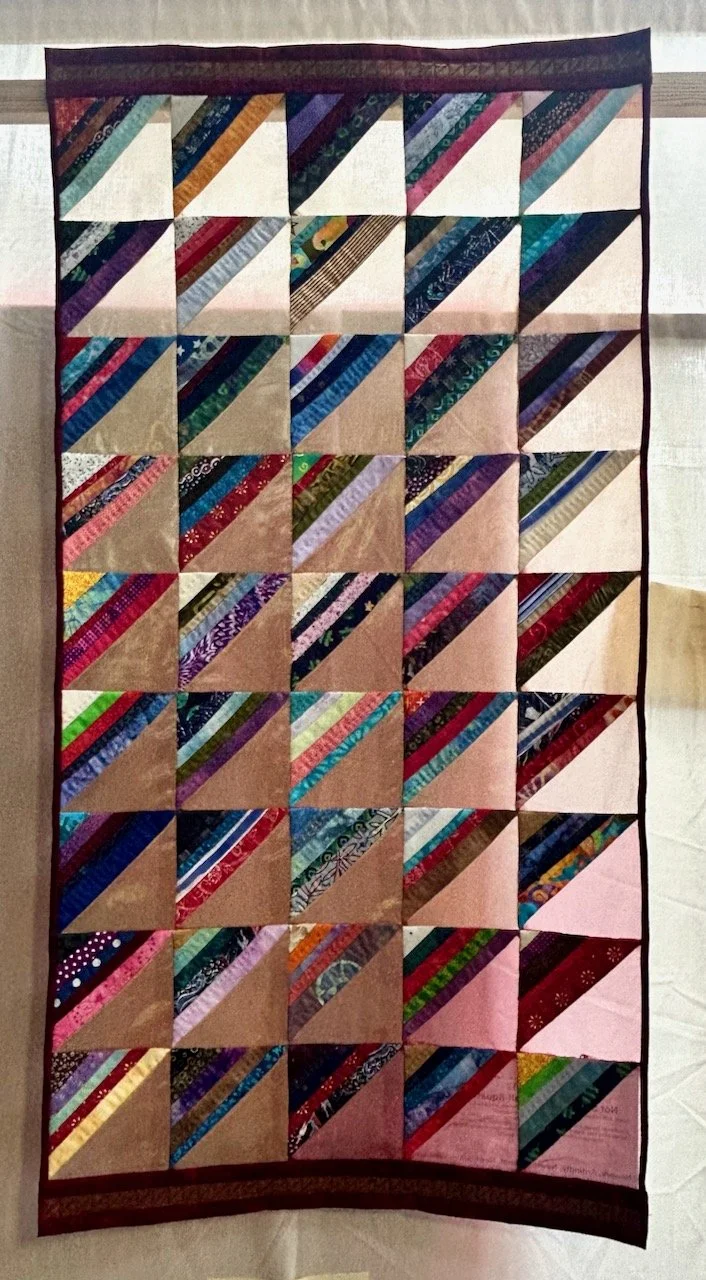
NOT SO TRADITIONAL HALF-SQUARE TRIANGLES BY PENNY KUROWSKI
NOT SO TRADITIONAL HALF-SQUARE TRIANGLES BY PENNY KUROWSKI
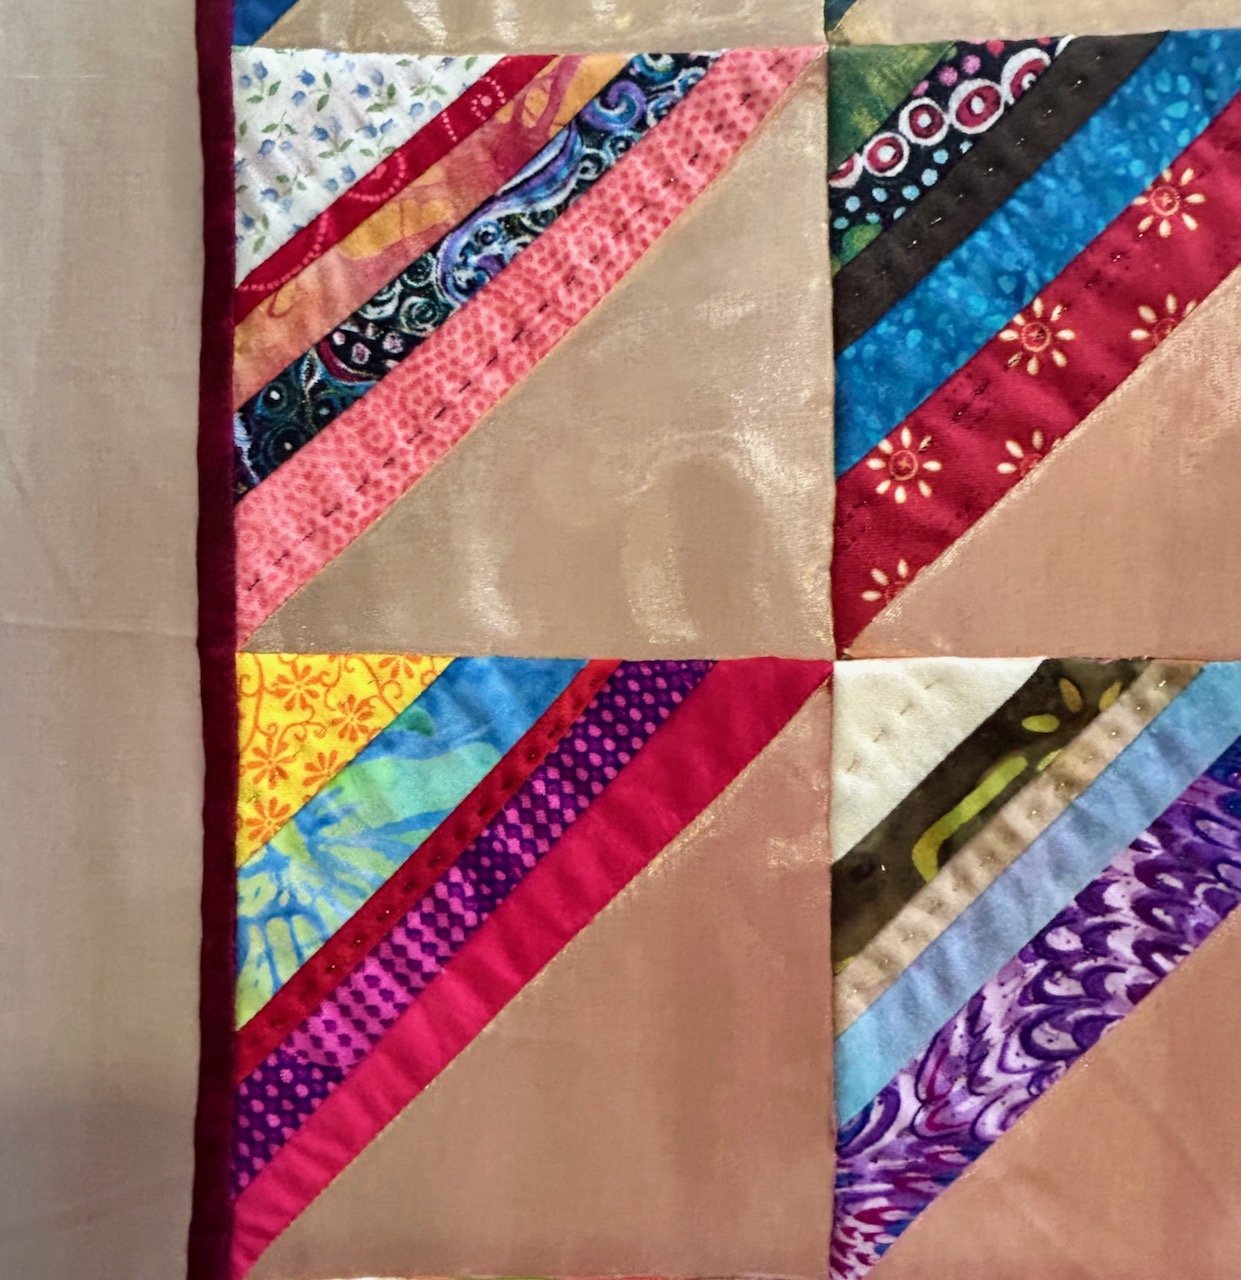
I mentioned half square triangles at the top of this post, and this quilt uses them in a not so traditional way, again with scraps but also the plain triangle is organza, which is way harder to sew with so I take my hat off to this quilter and her shimmery creation.
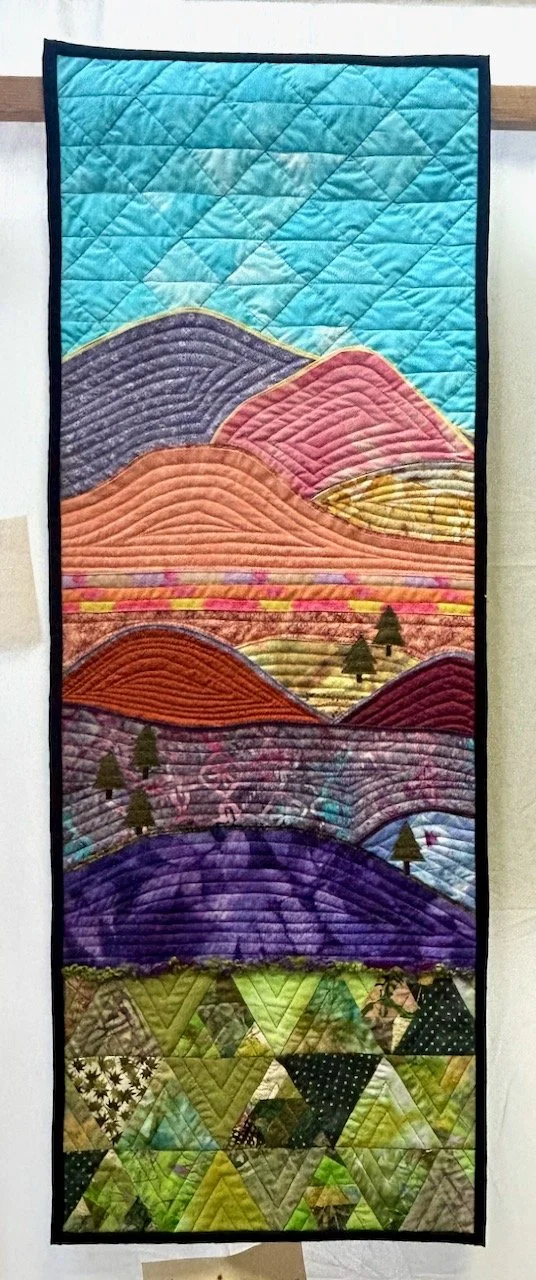
COLOURS OF ANDALUCIA BY MANDY WINTER
I love the colours and patterns in this quilt which is inspired by visits to Spain, and influenced by and created in the style of artist Poul Webb. The triangles form the sky and the grassland, but also the mountains are kind of triangles too right?
So it just goes to show, not all triangles are equal, or even equilateral!