It was only March when I set out my quilt plans for this year, and to be honest it seems like yesterday - but one of the things I want to do more consistently this year is my quilty updates, even if there isn’t that much to share.
I’m being harsh on myself, there are some quilt updates to share but while last year’s stretch project took over a bit, I’m finding that without that structure I’m not quite so productive. I’m sure I’ll work it out, but hopefully when the weather’s not so warm!
So how am I doing?
1. The teal flying geese
2. The jeans and pyjamas
3. My floral fancy
The update for all of these is there is no update, so that was easy!
4. My English Paper Piecing (EPP) blue diamonds
There is progress of sorts on this one, albeit small. It’s become my project to take to my monthly Monday evening sewing group, and so it has had an outing and a small update. I’ve even moved it into an organised bag so I don’t need to think about getting it all together before I head out, the issue has been life - and I’ve only managed two out of five of the monthly meetings, but then again this was always going to be a slow burn project.
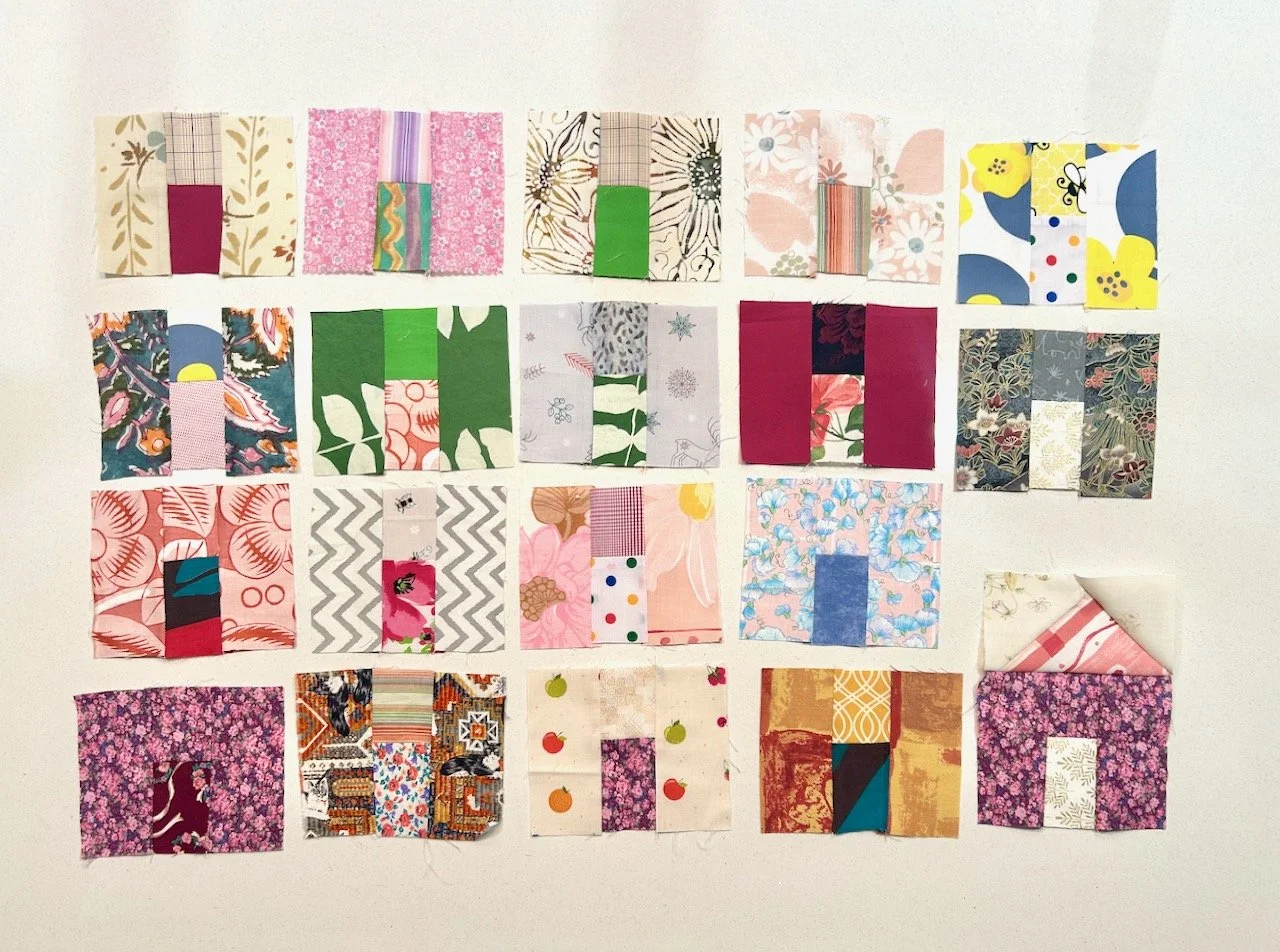
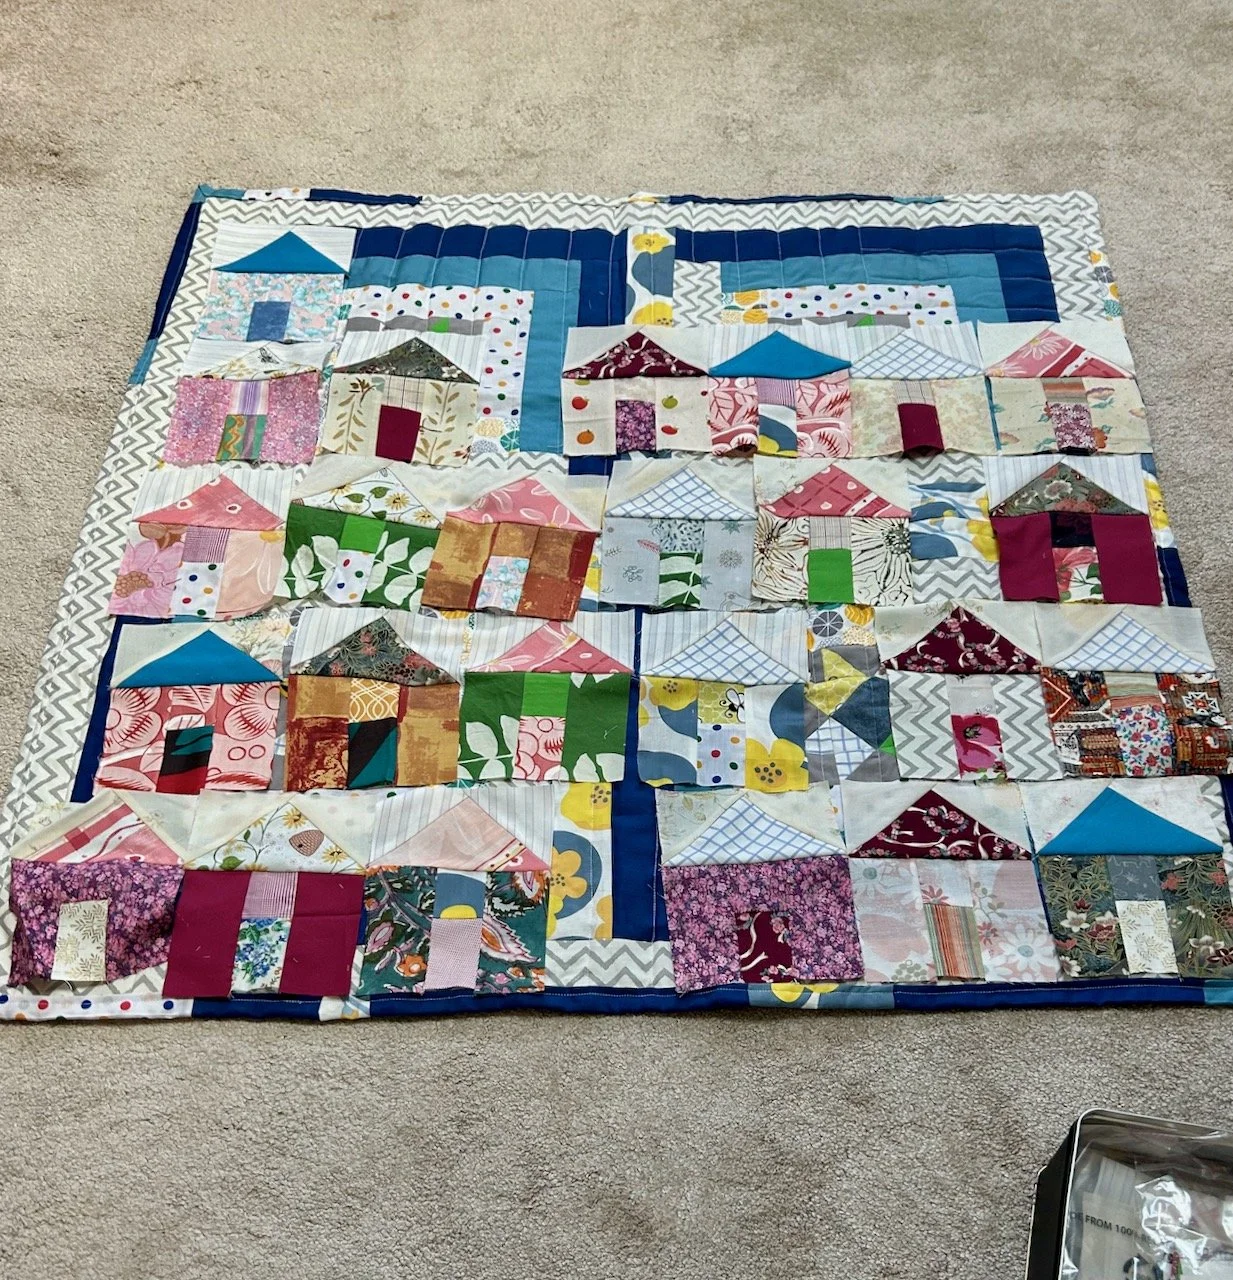
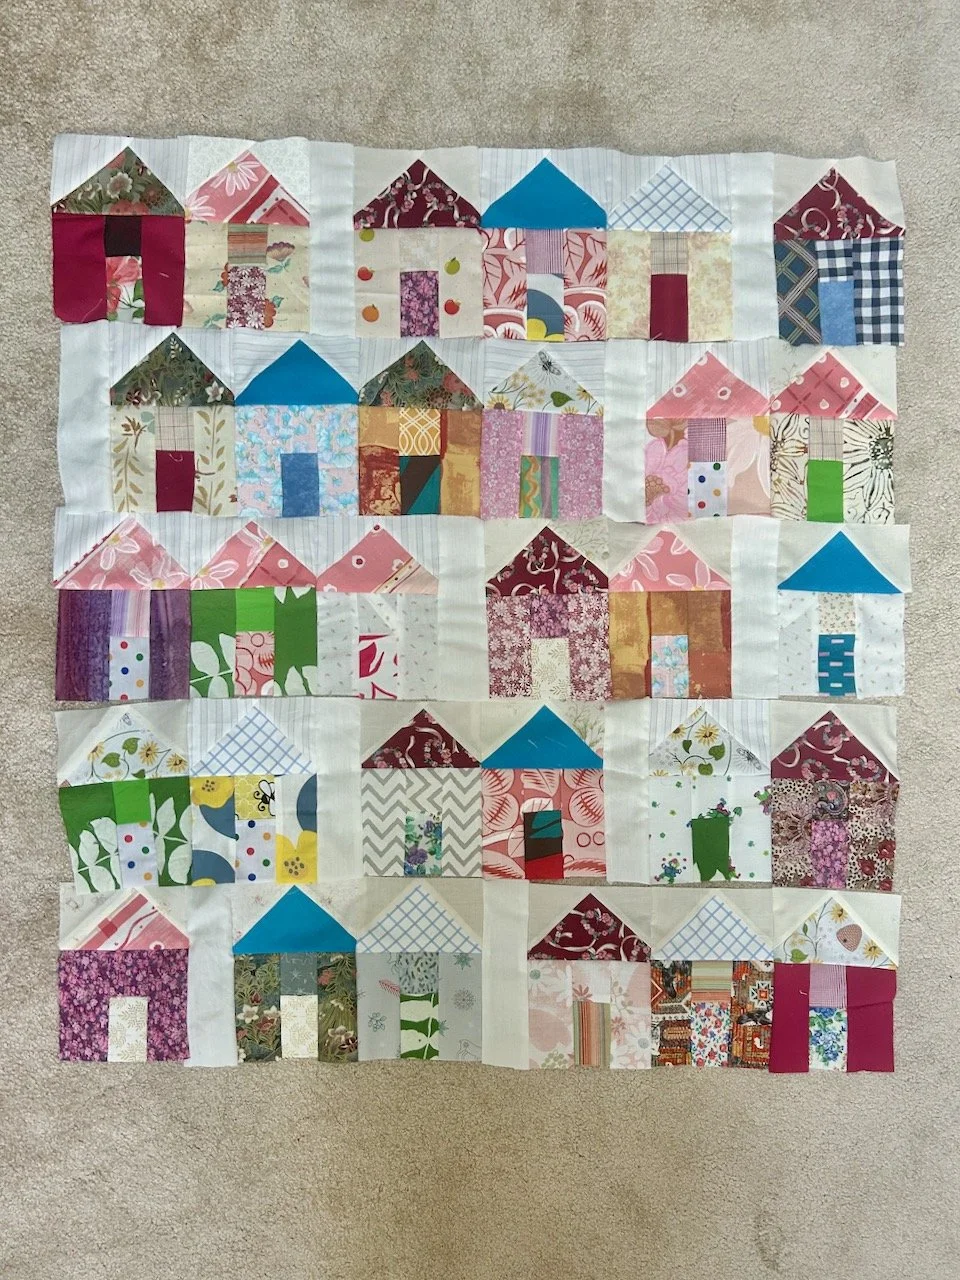
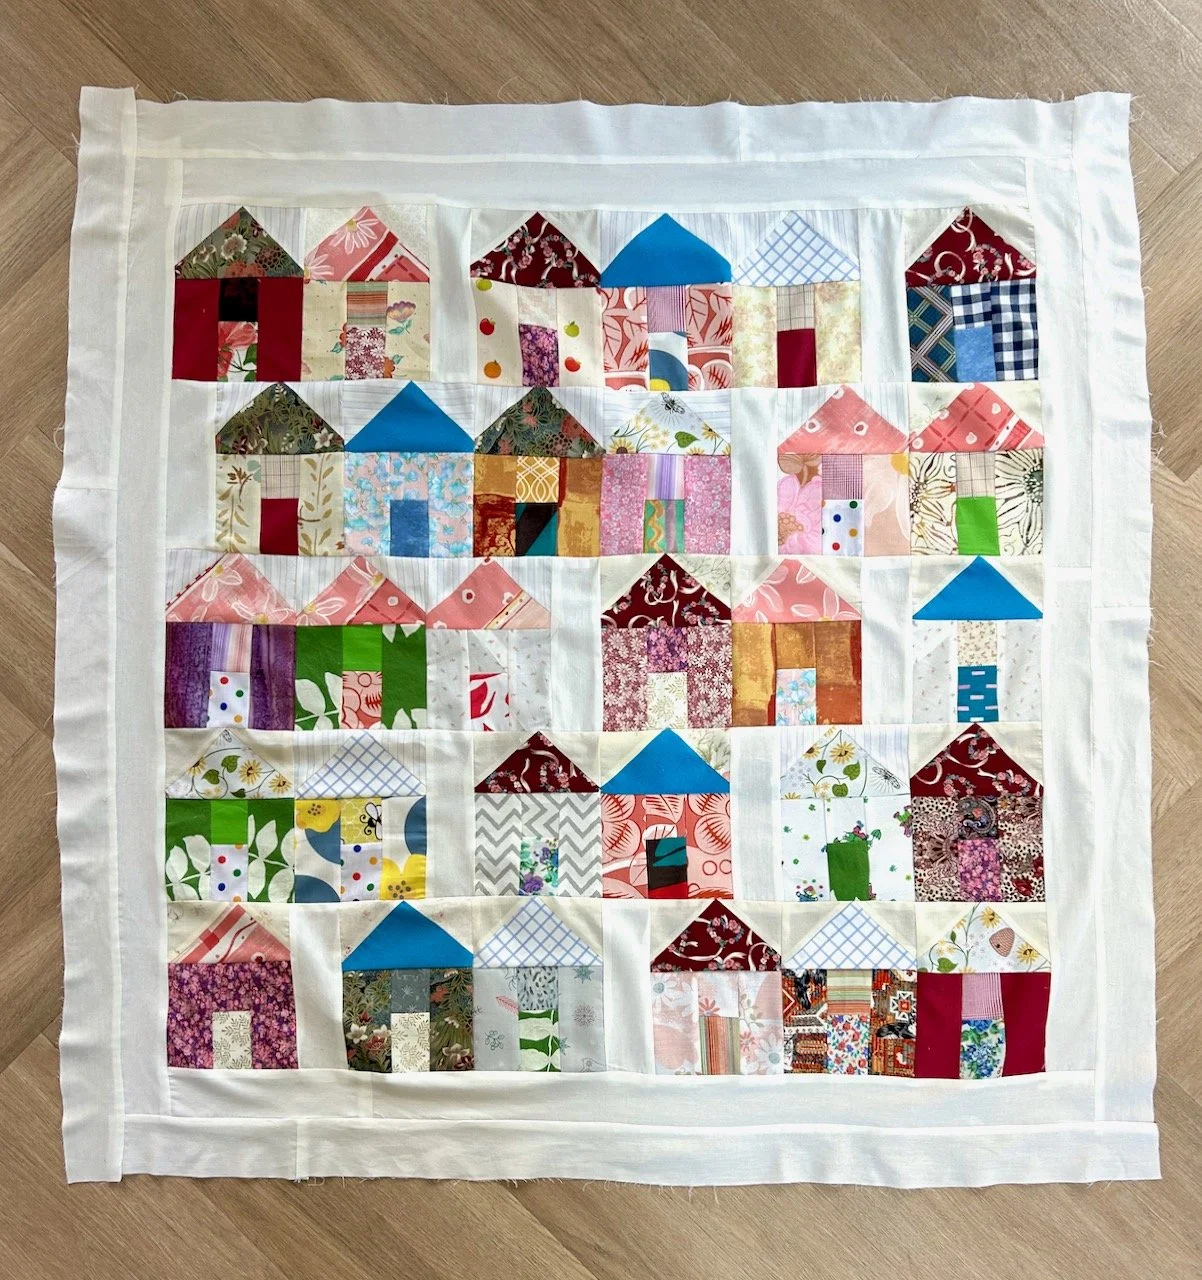
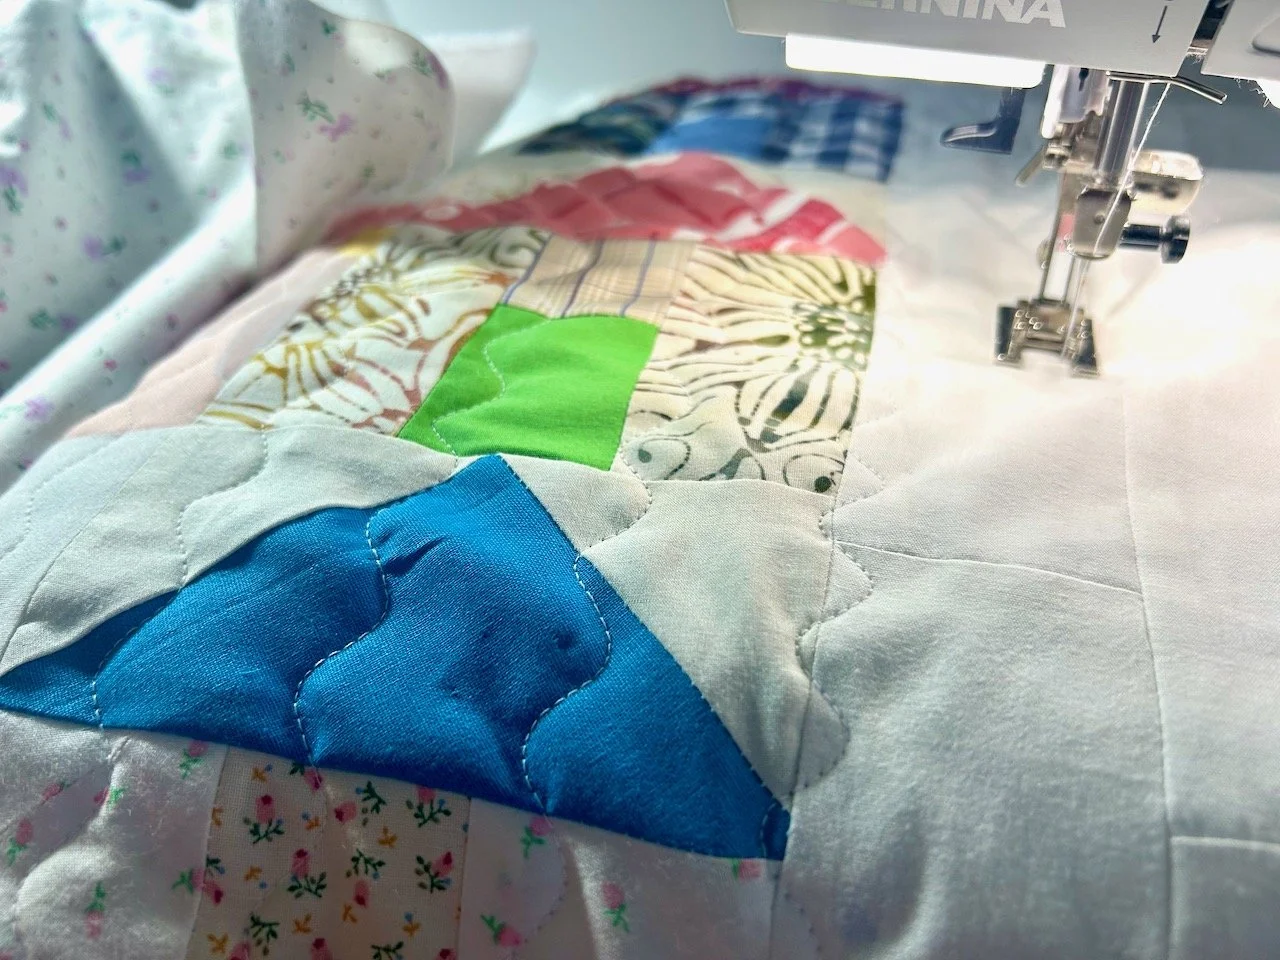
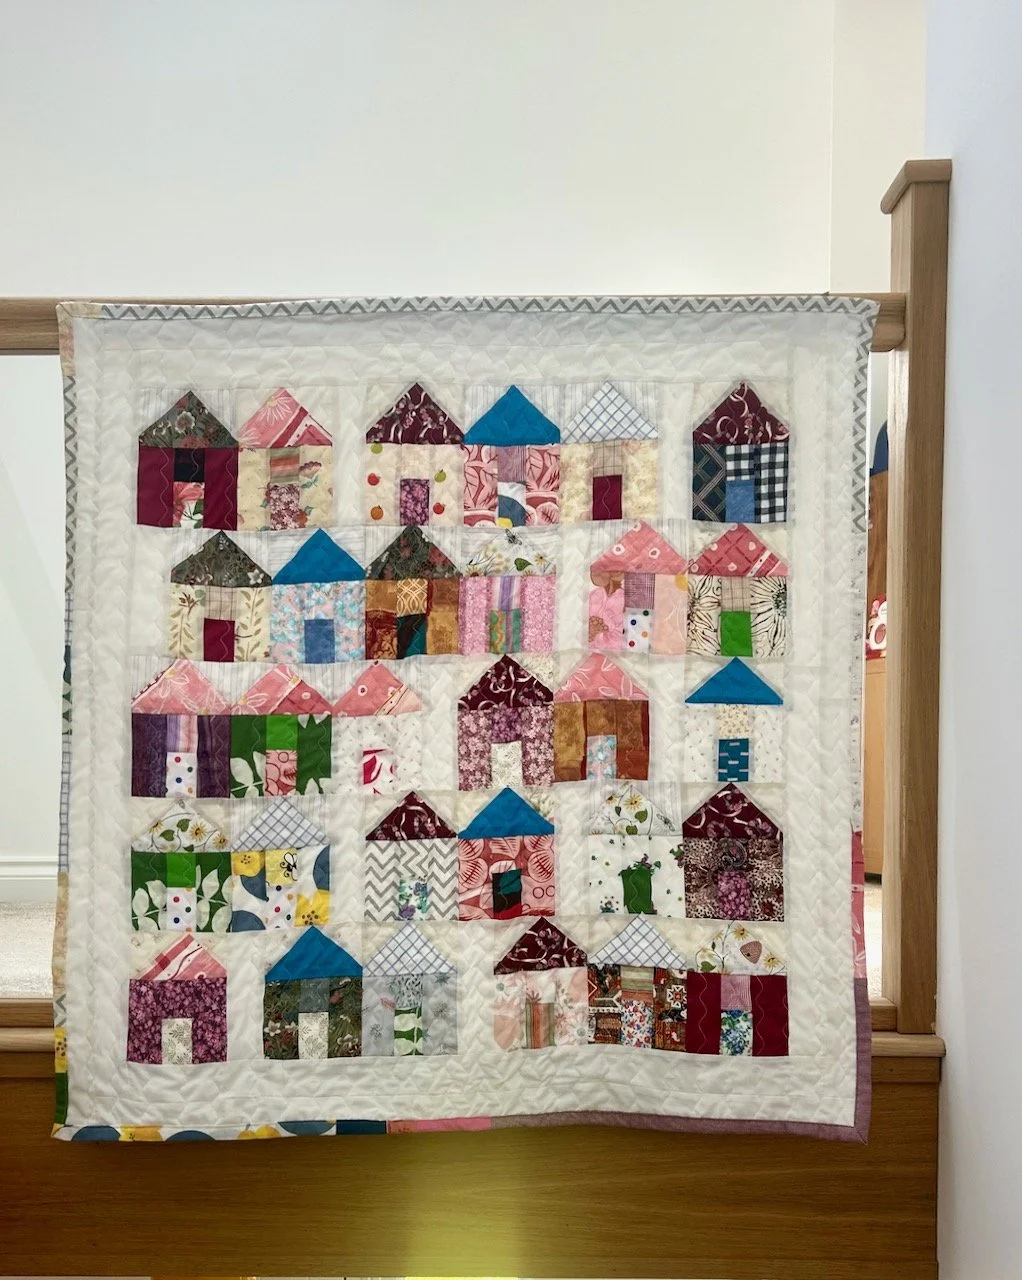
5. Scrappy houses charity quilts
I have completed my first village quilt, and I’ve almost got enough houses for the second one, so that’s real progress. I’m really pleased with how it’s turned out, especially as these are all pieces of fabric that were leftover from other projects (mostly the stretch project) and might have been deemed on the small side for keeping. And I’m sure whoever the recipient is won’t mind about that one bit.
6. Wonderland meets Moda
7. Word Star
Again, there is no update on these.
A couple of bonus quilty updates
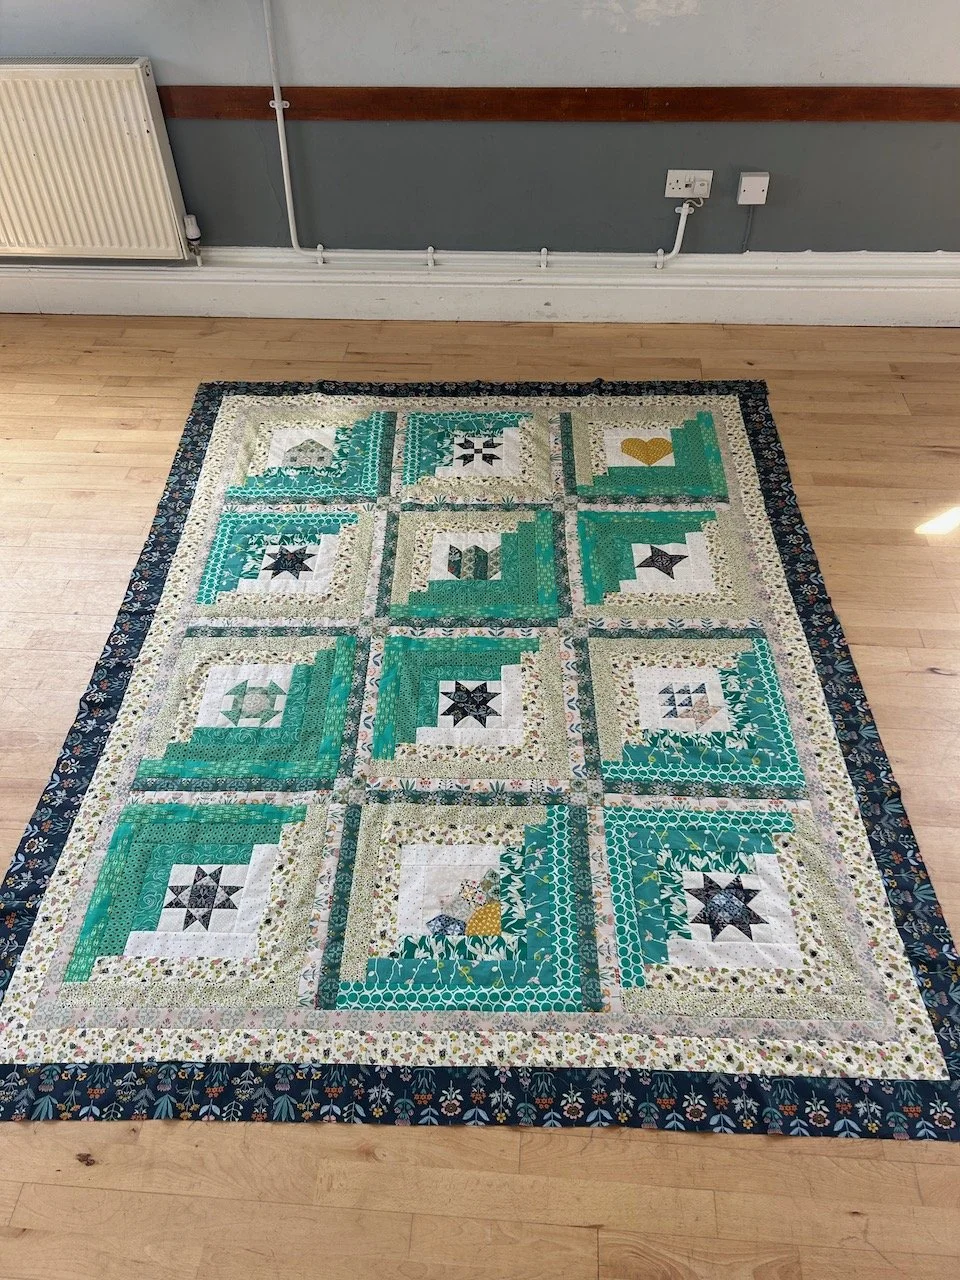
1. My mystery block of the month quilt has been playing heavily on my mind, but now the quilt top is finally finished. After I joined the monthly blocks together and added the sashing between those blocks, I spent some time pondering the borders - or specifically how wide they should be.
I wanted them wide enough to add some width to the quilt so I can use it on a double bed, but not so wide that it looked silly. In the end I settled on increasing each border by an inch, and ahead of adding the final border I did the sensible thing and took it to my patchwork group for confirmation and reassurance, and the use of the floor in the village hall to check it out once and for all.
So the quilt top is now done - yay! Now it needs basting, quilting and binding which for the size of the quilt is no small job.
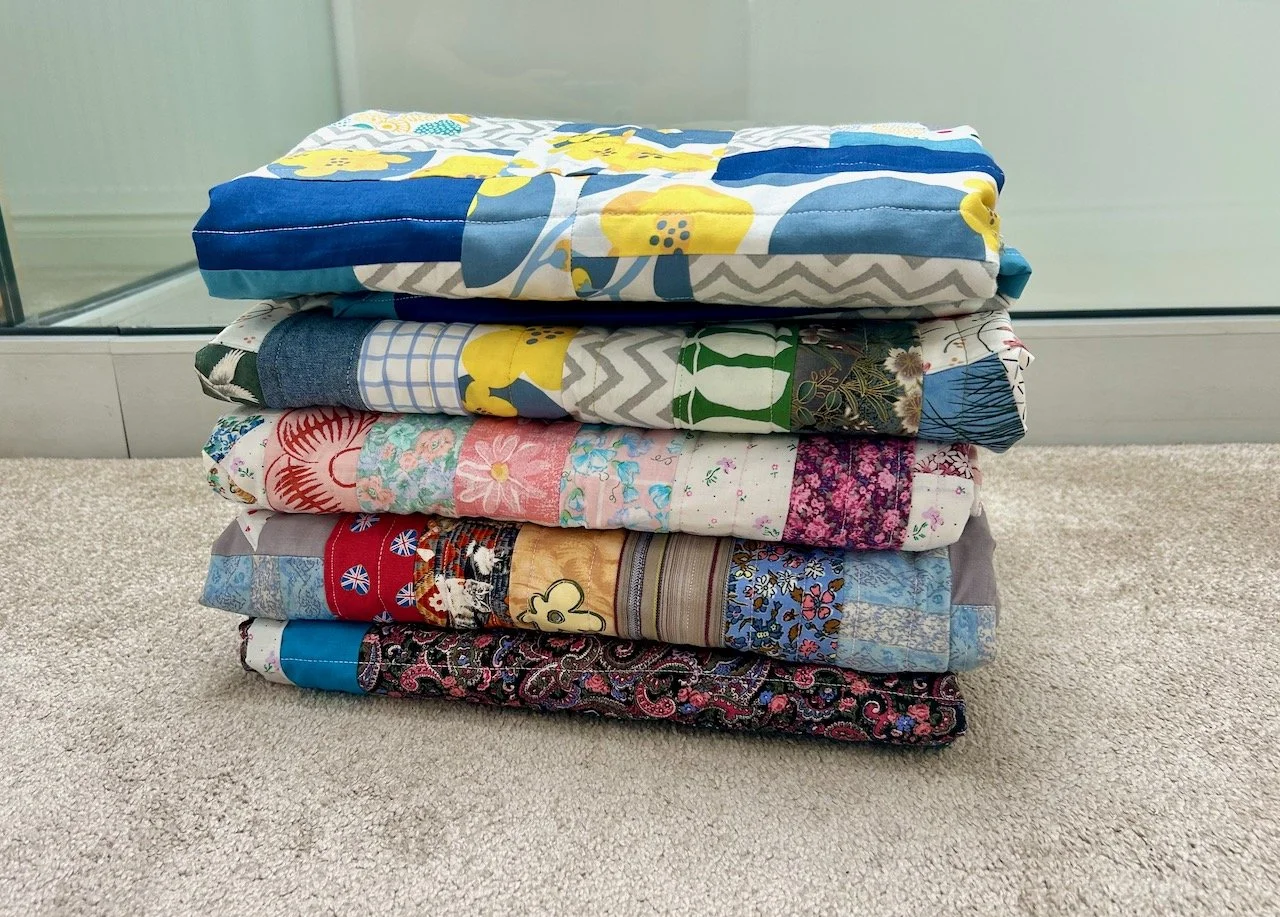
2 The second bonus quilty update is another quilt, but not one made by me. Mum decided to use up some of her charm packs and make a quilt to donate to Project Linus, which I’ll take along with me when I donate mine.
Isn’t it bright and cheery - I love it (but will still donate it, honest)
So there has been quilty progress against my long list, and none of it has been a chore - I just need to work out how to do more with my sewing time, and to make time for more sewing time!