Making my Mystery Block of the Month: December 2025

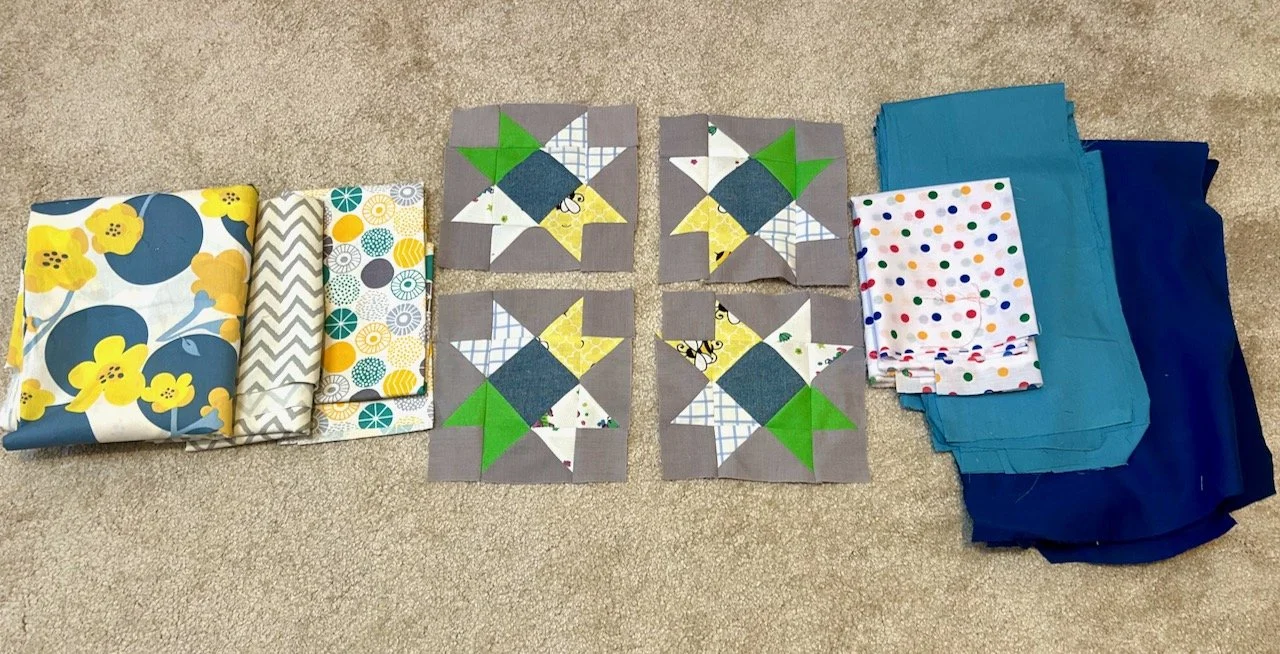
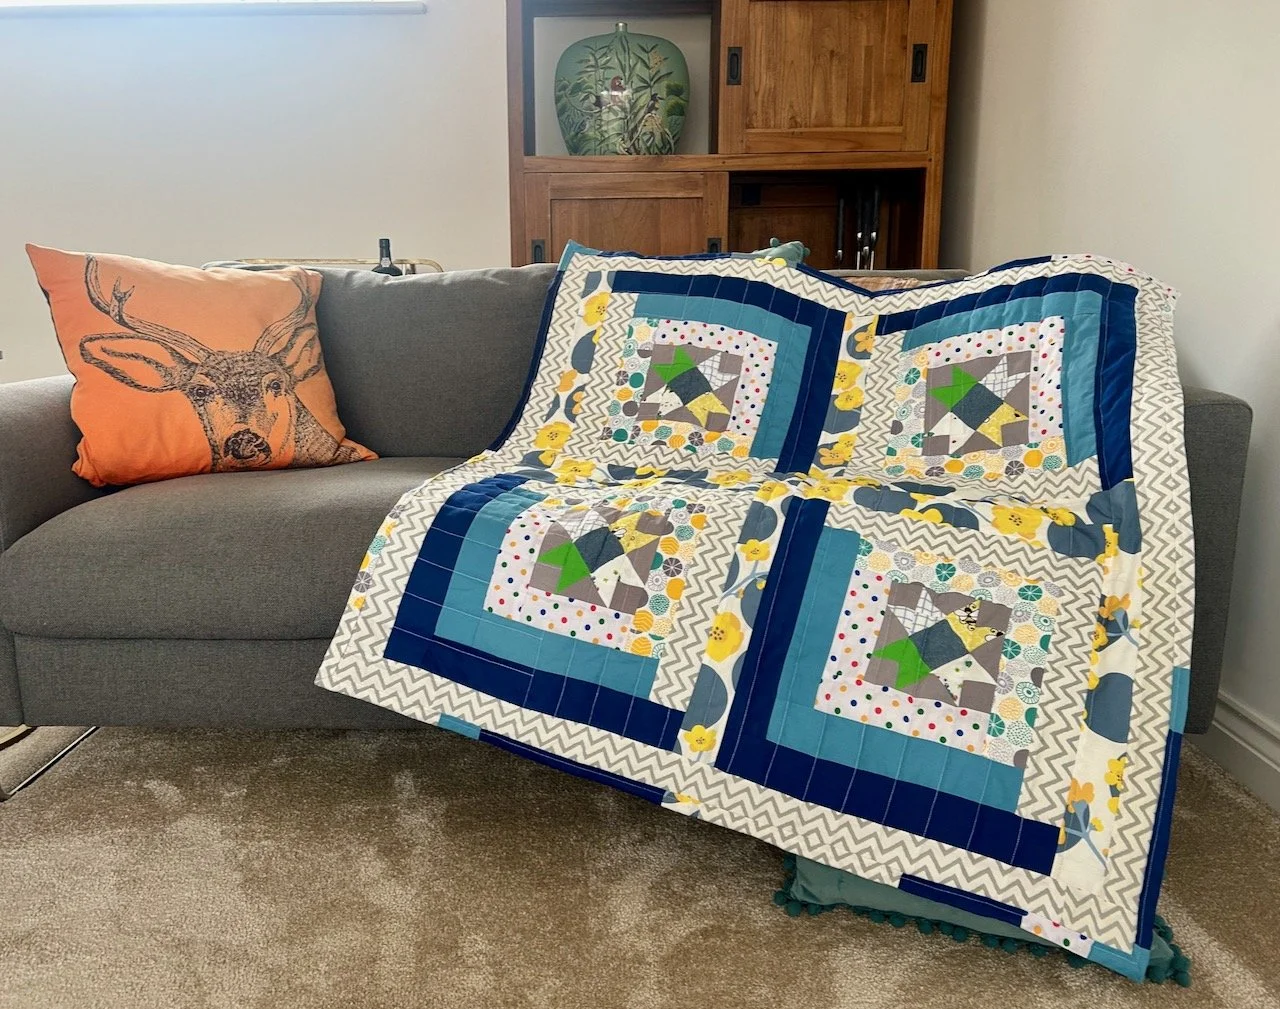
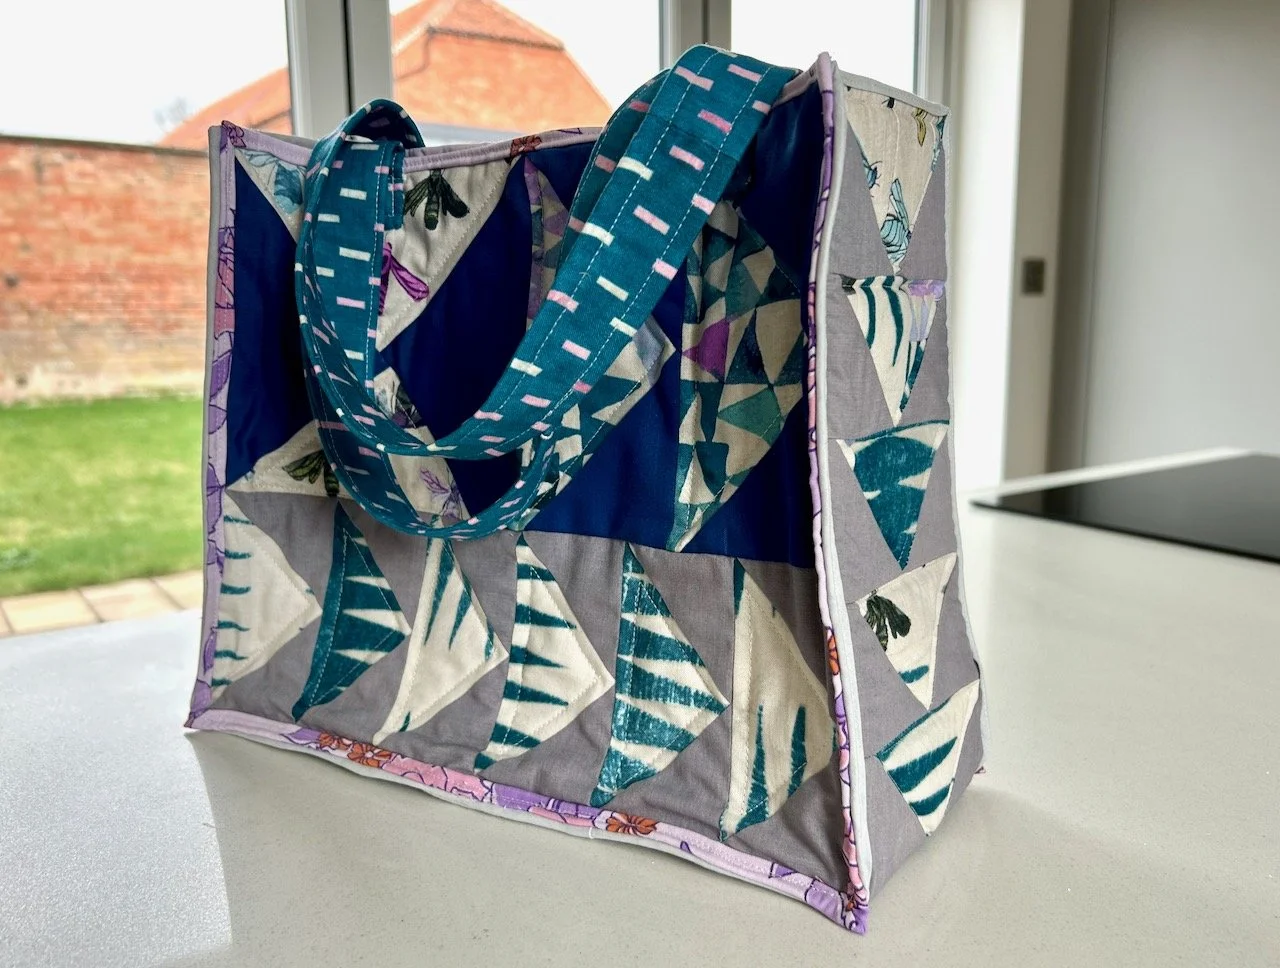
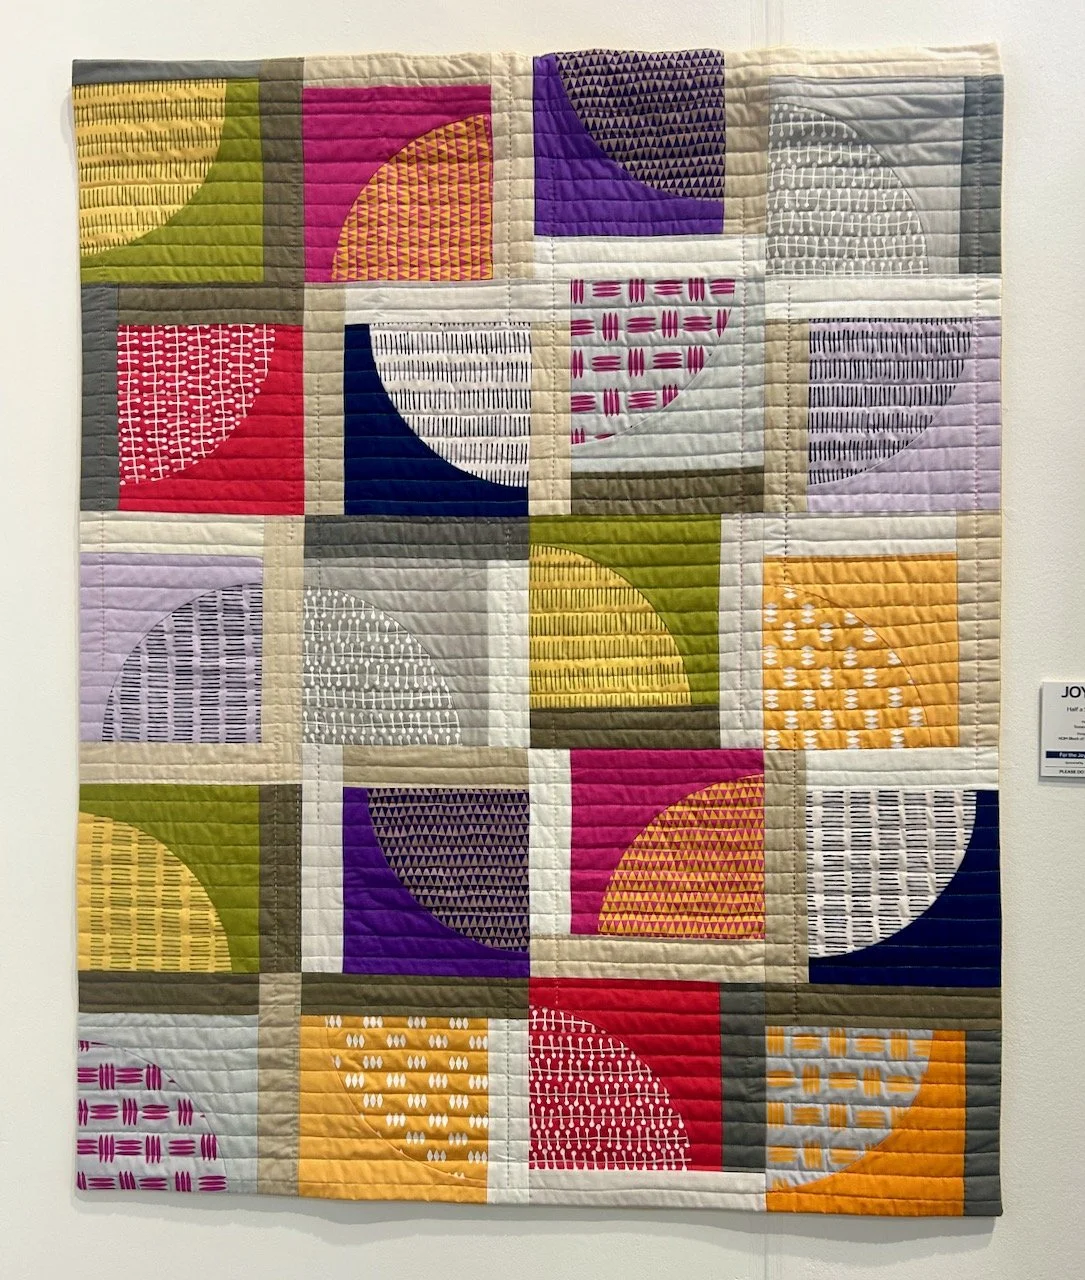
You’ll have seen that I plan to complete Sherri’s mystery block a month quilt and in my last post I shared the test blocks which I made into my fourteenth charity quilt, today I’m sharing the centre block I made for my own quilt.

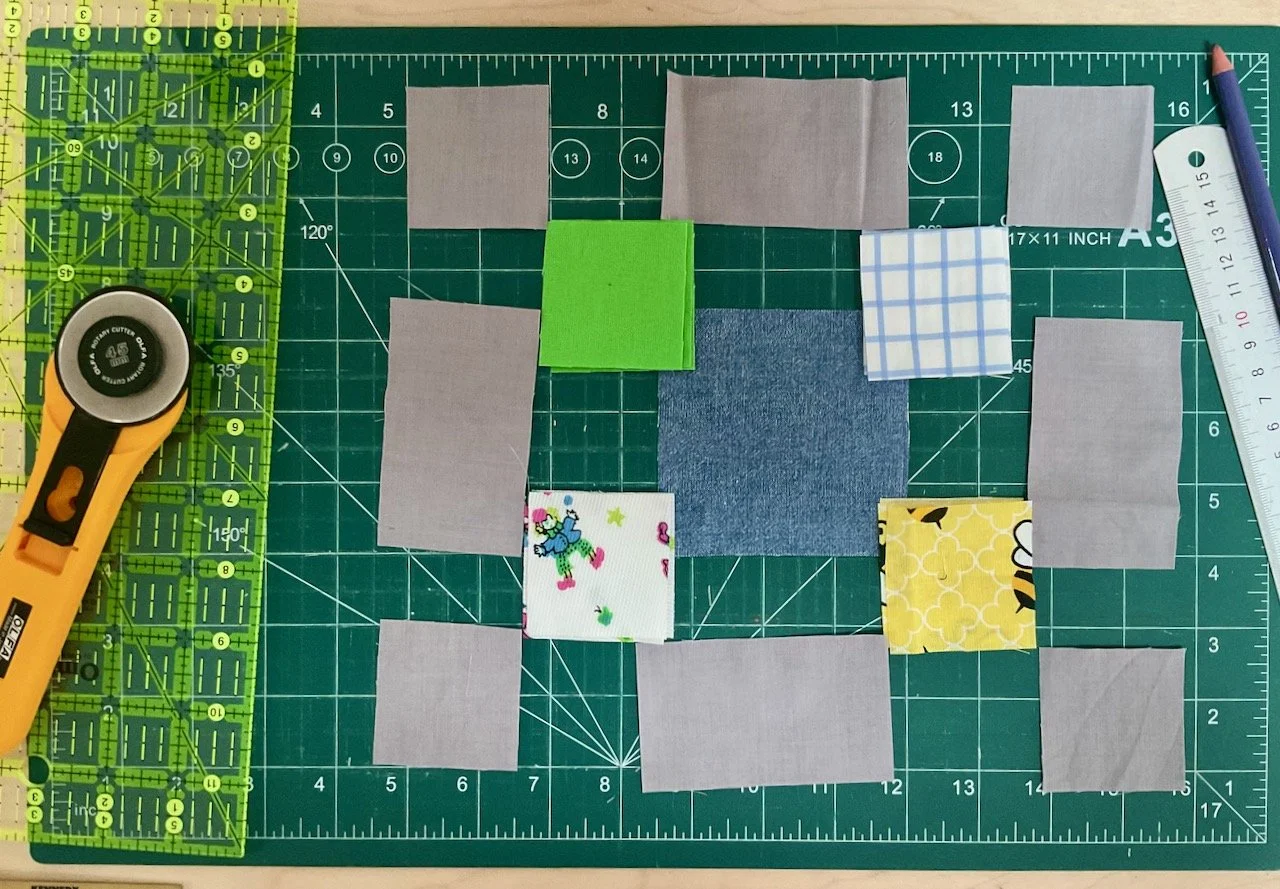
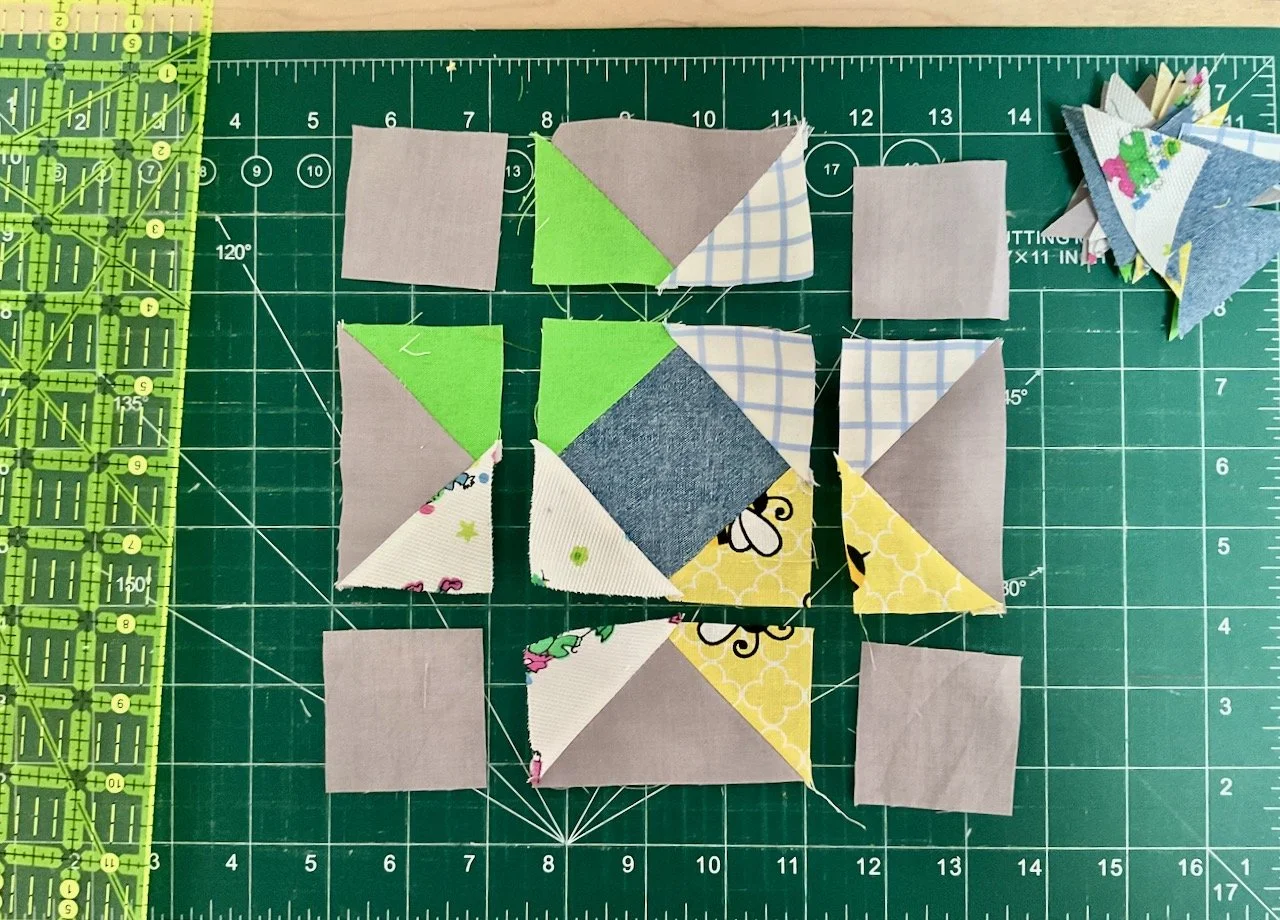
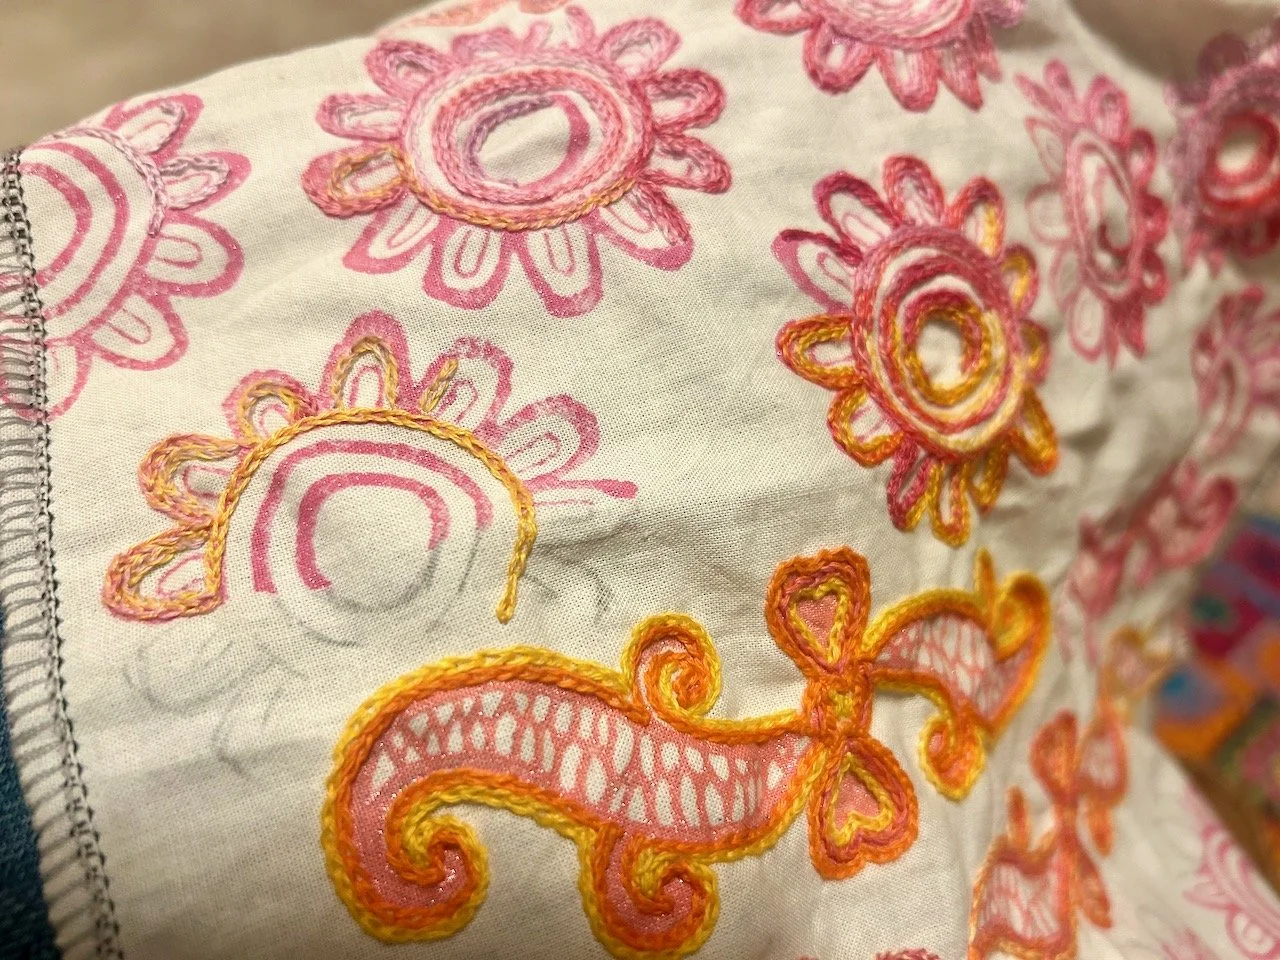
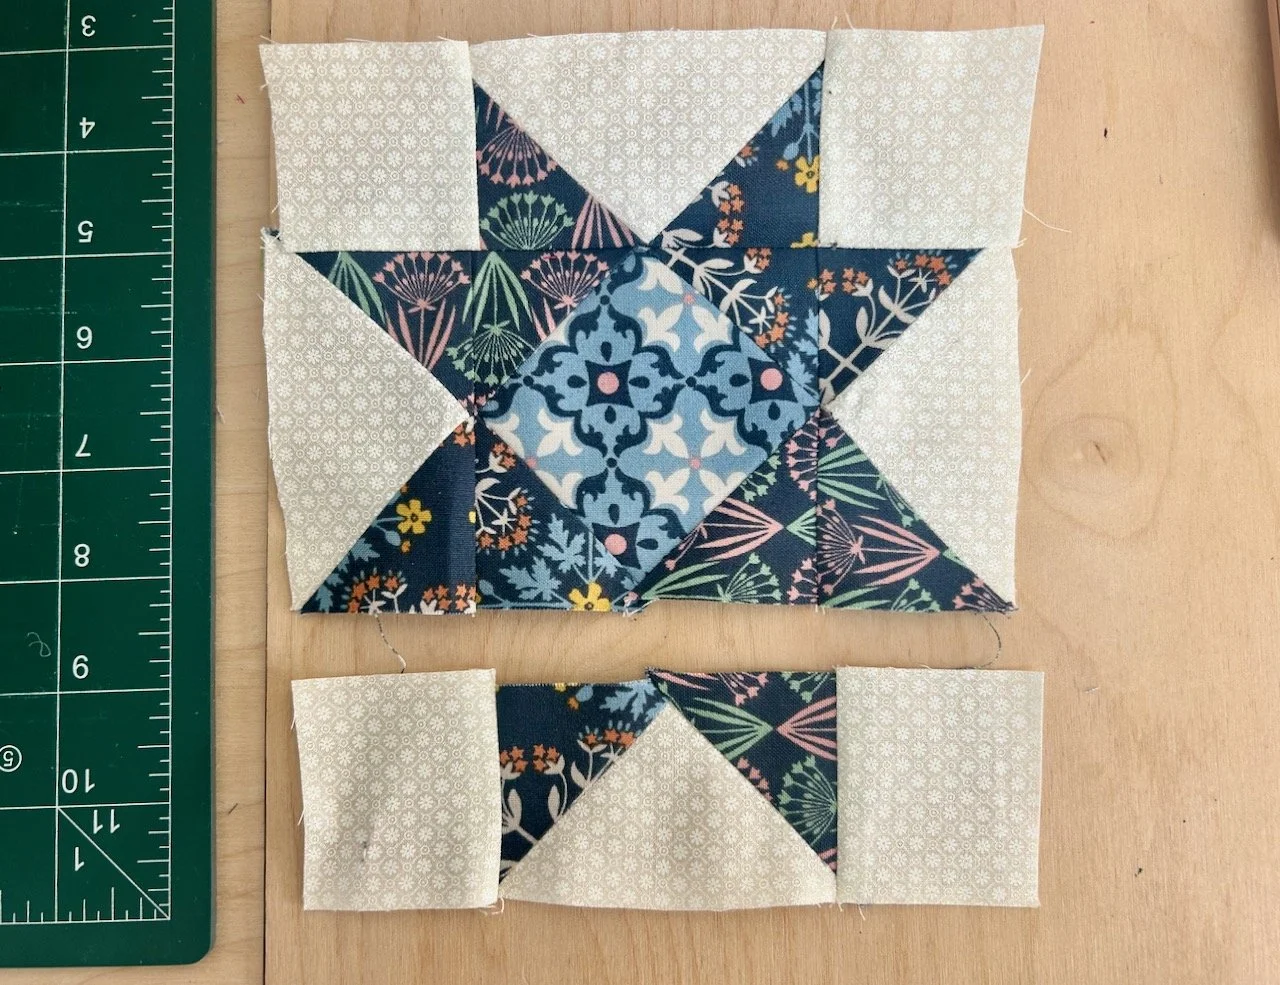
It’s the final block of the month, and it’s a star as I was expecting - and another scrappy star at that. It’s similar in shape to the April and August blocks, but this time there’s triangles cutting across the edges of the centre square, which gives the effect of having the remaining central square set diagonally.

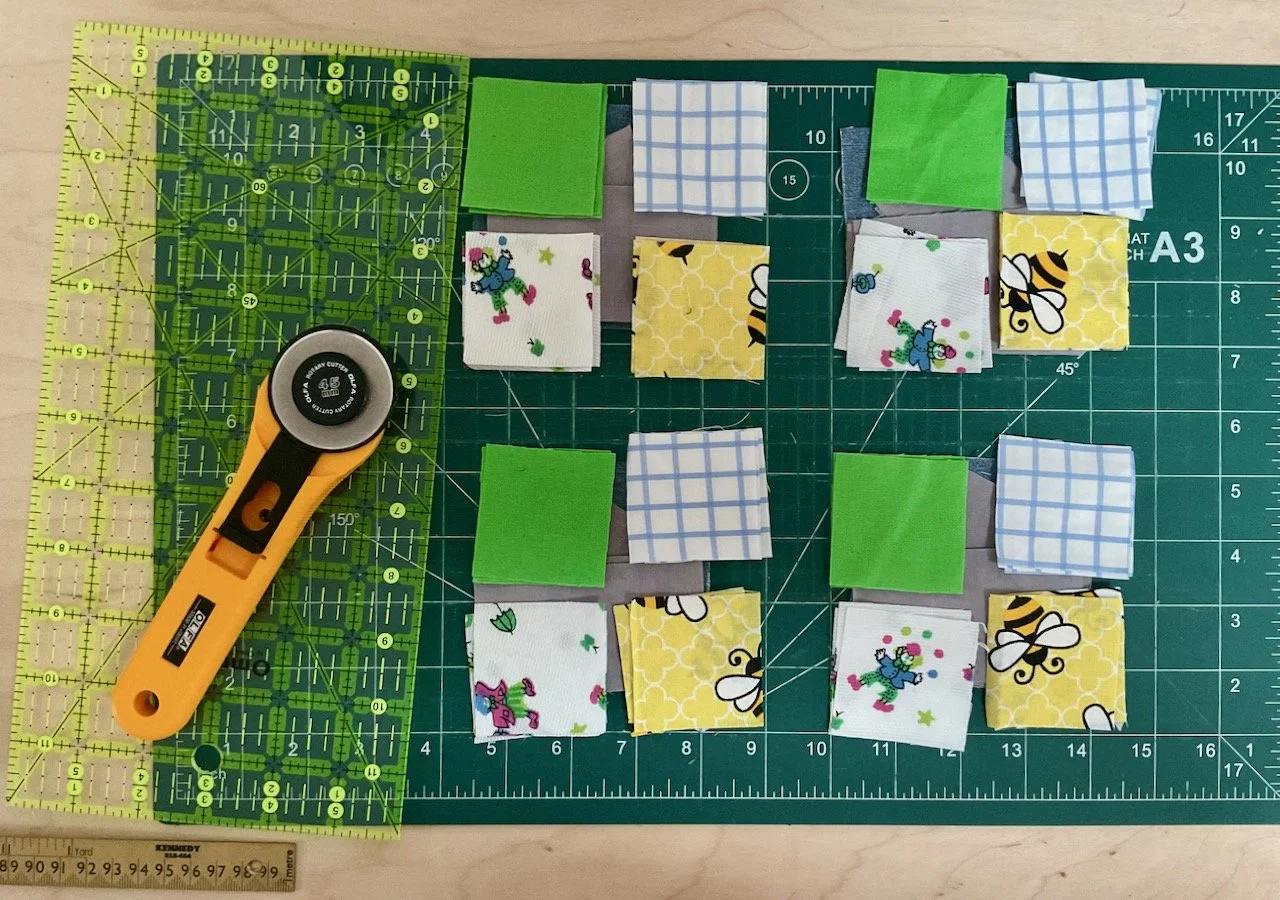
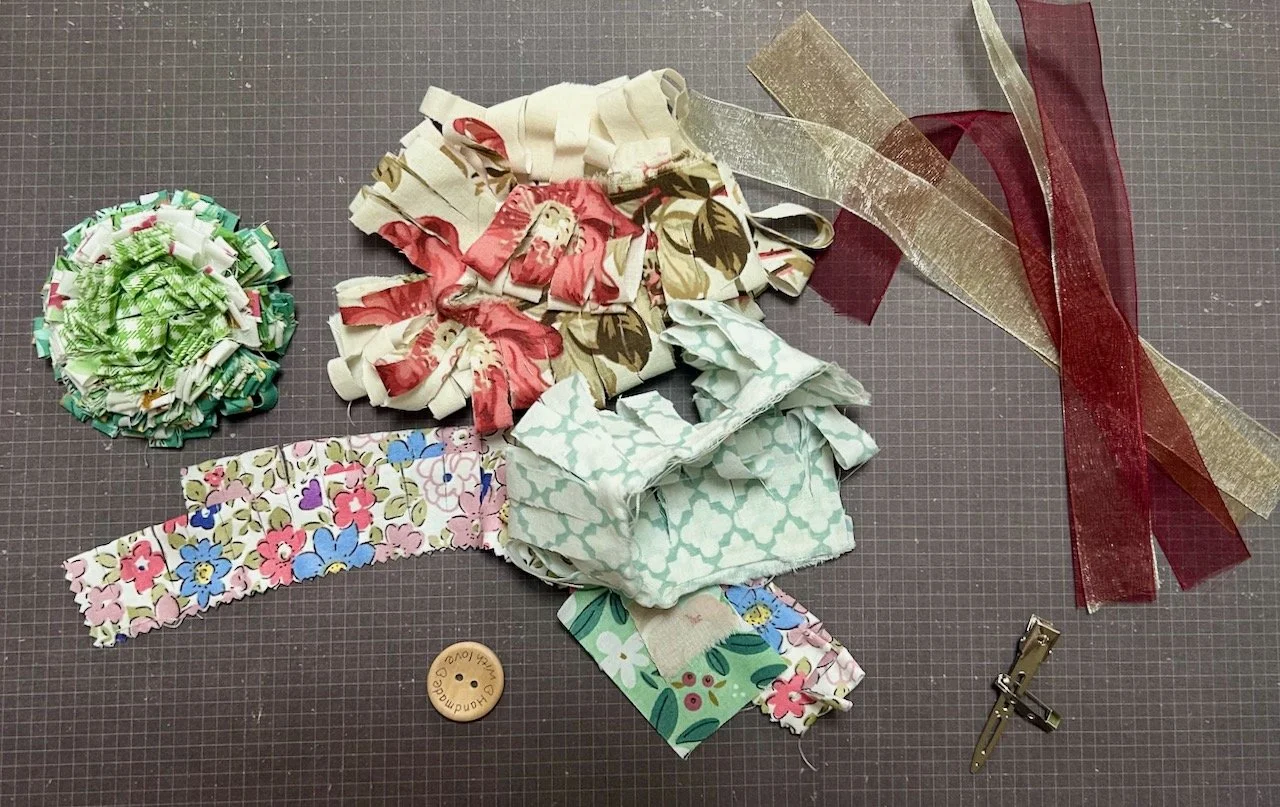
It’ll make more sense when you see it, but first I had to choose which blues to use for this month’s block. I have three navy fabrics which I’ve been using, but now the quilt assembly is within touching distance I have my eye on having enough of one of those navy fabrics for a border.

Laying two navy and one lighter blue fabric out to visualise how the final block might work

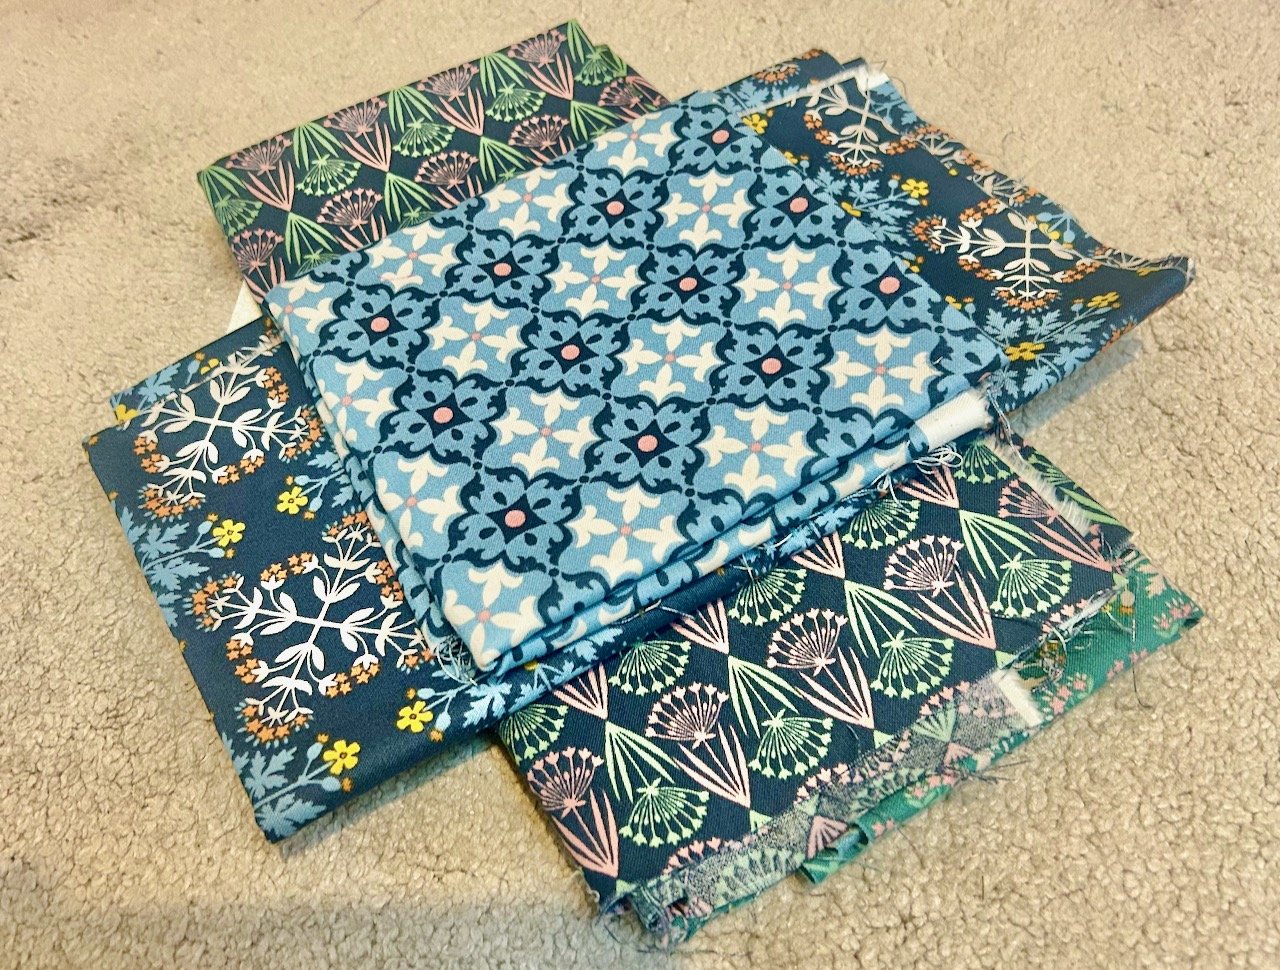
So I used the blue fabric in the centre which reminds me of Portuguese tiles. I know it’s not much and it may not save me anything at all, but my mind is in conservation of fabric mode, so the combination above is the one I was the happiest with.

And it’s a great block to sew, in fact I forgot to take any pictures until this point. Oops.

Three rows of the block sewn together with two rows attached - the final row is adrift and waiting to be attached

And of course having paused for a photo, when I restarted sewing and added that final row I was a little more off with my seams than I was happy with, so out came the unpicker…

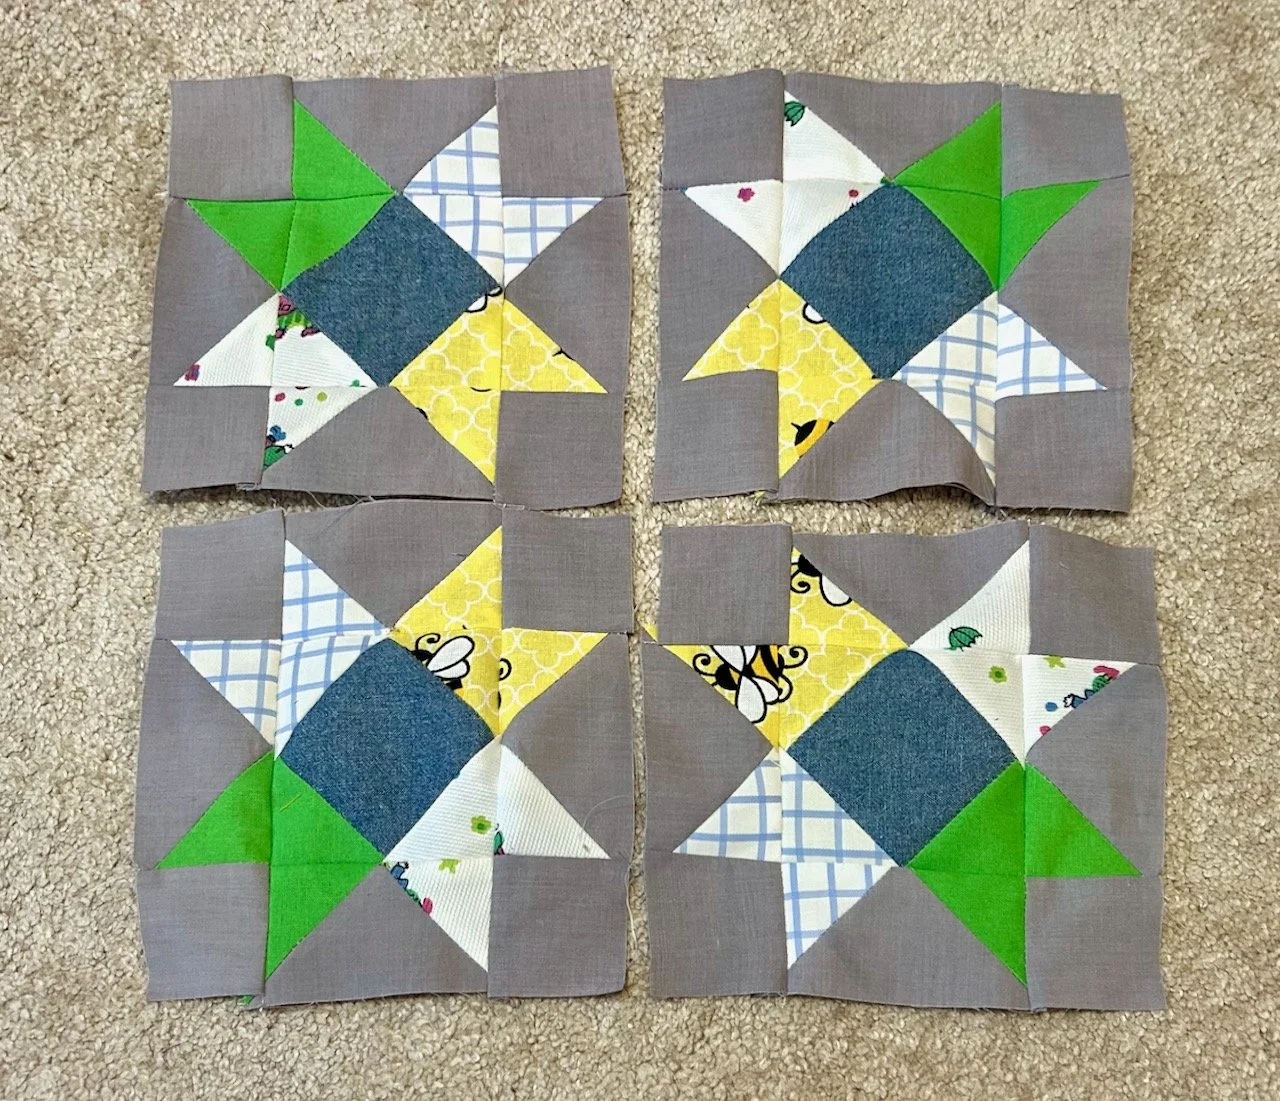
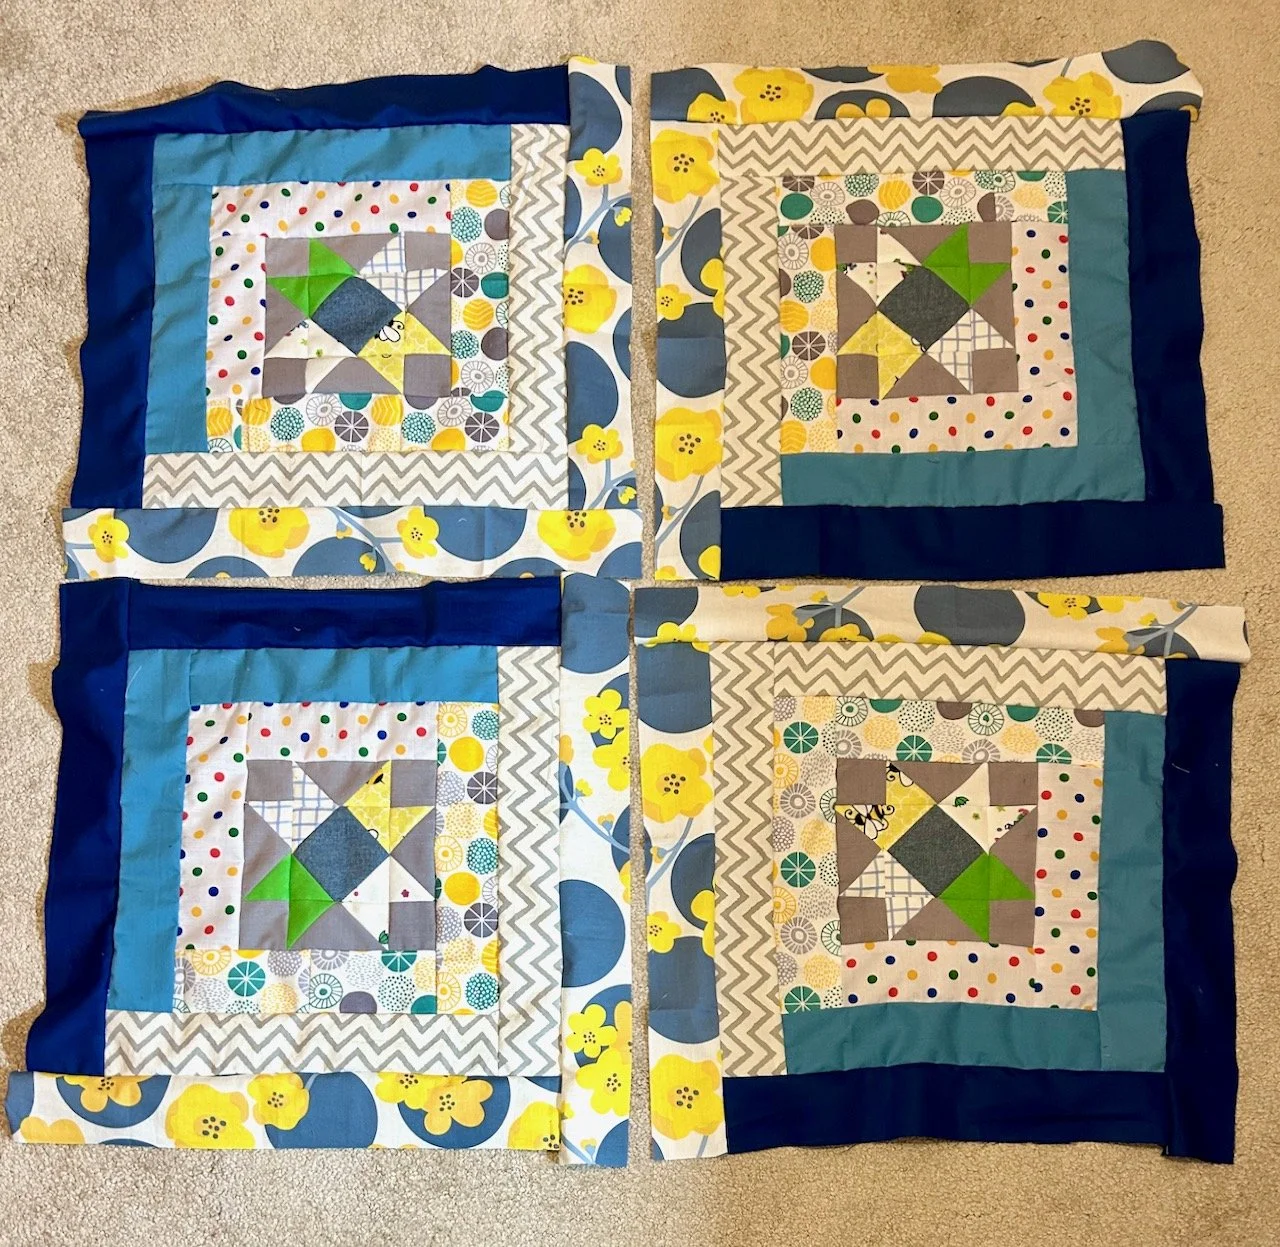
Thankfully I was much happier with my second attempt and so next came the borders, and I’m back on the original greens for this block.

The completed block with borders - the original green borders on the top and the neutral borders on the bottom (these remain constant throughout the quilt)

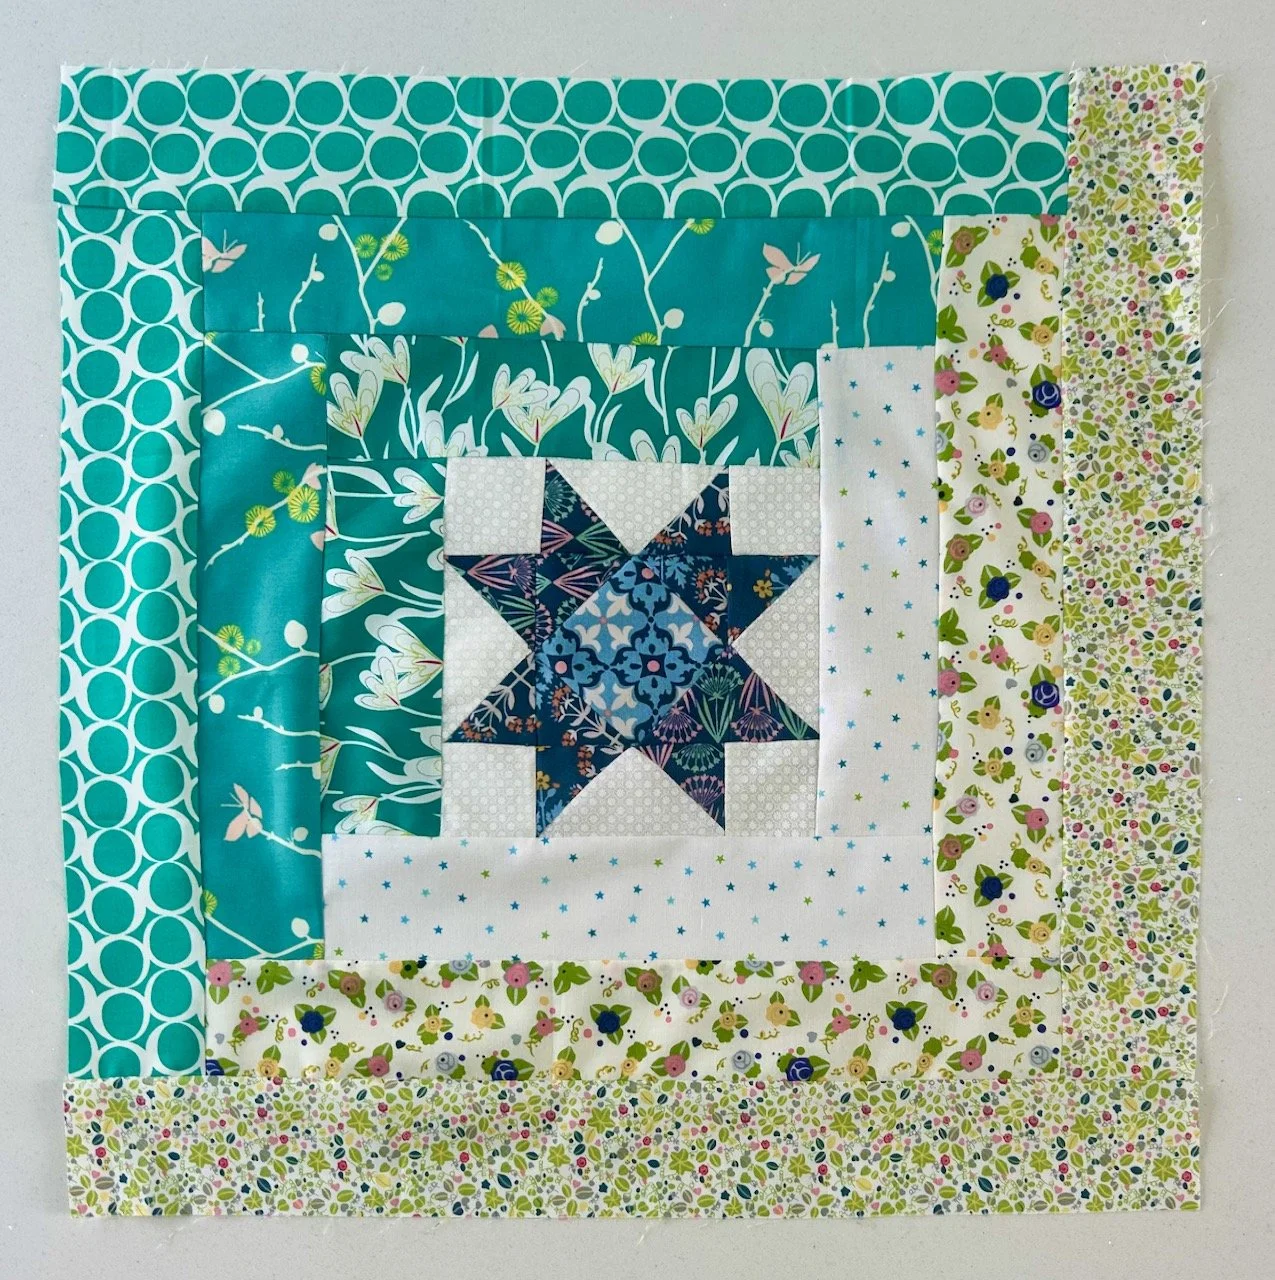
SEE WHAT I MEAN ABOUT THE CENTRAL SQUARE SET ON THE DIAGONAL?

I know now that switching greens when I did, back March, was the right call as I have very little left of the outer green with white circle fabric left. Phew - but I did ponder on that a fair bit at the time!

The final block is now hanging on my bookcase in front of all the completed blocks

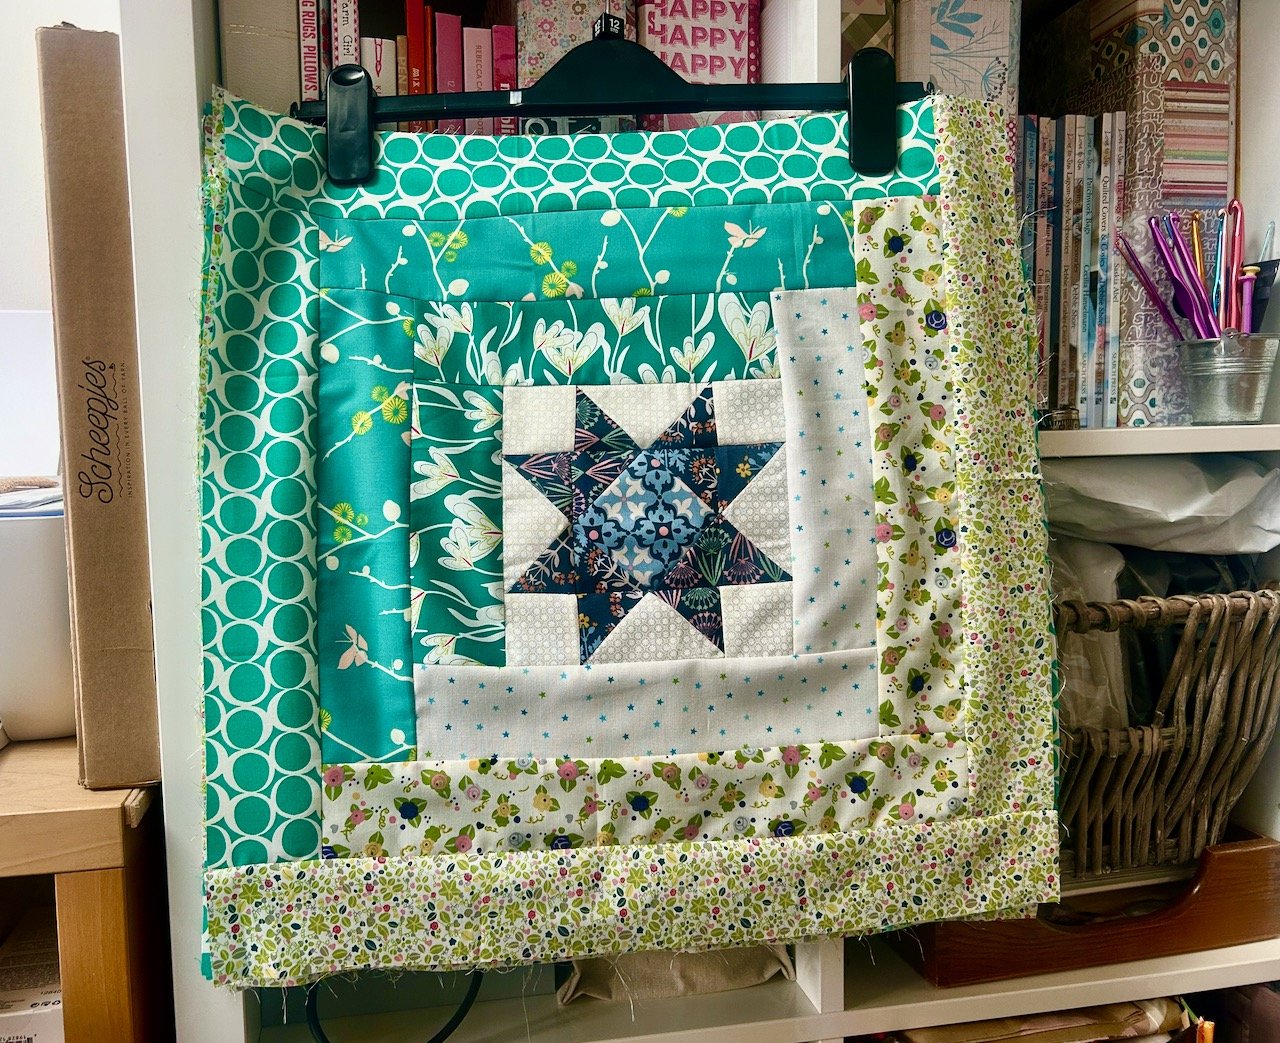
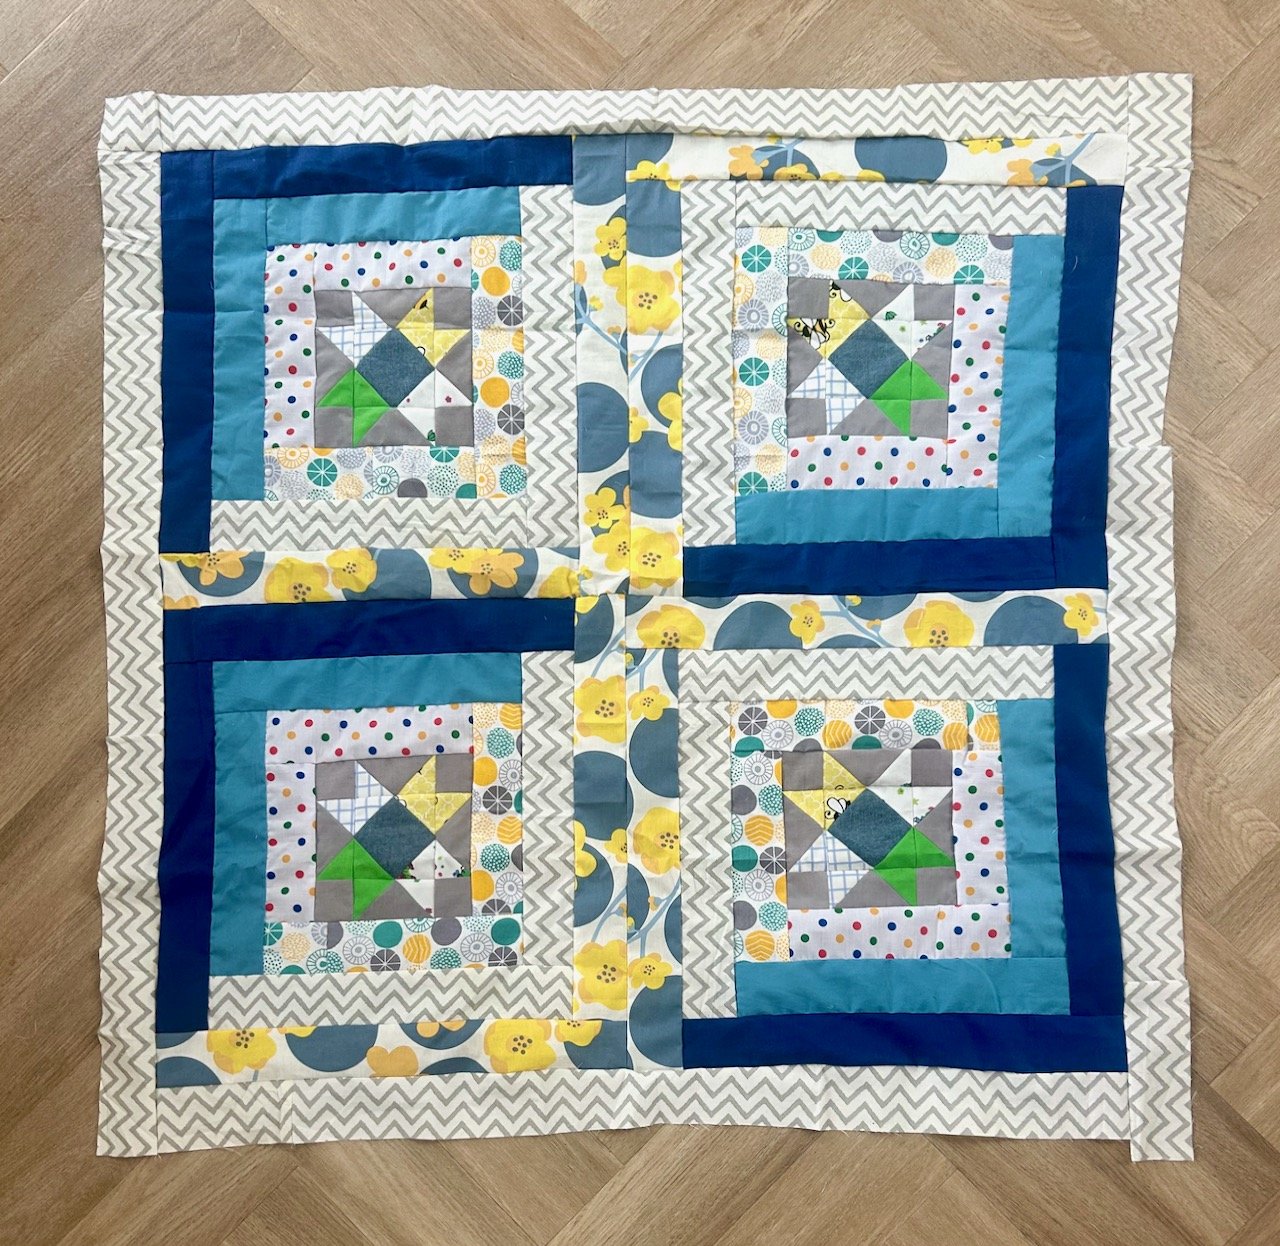
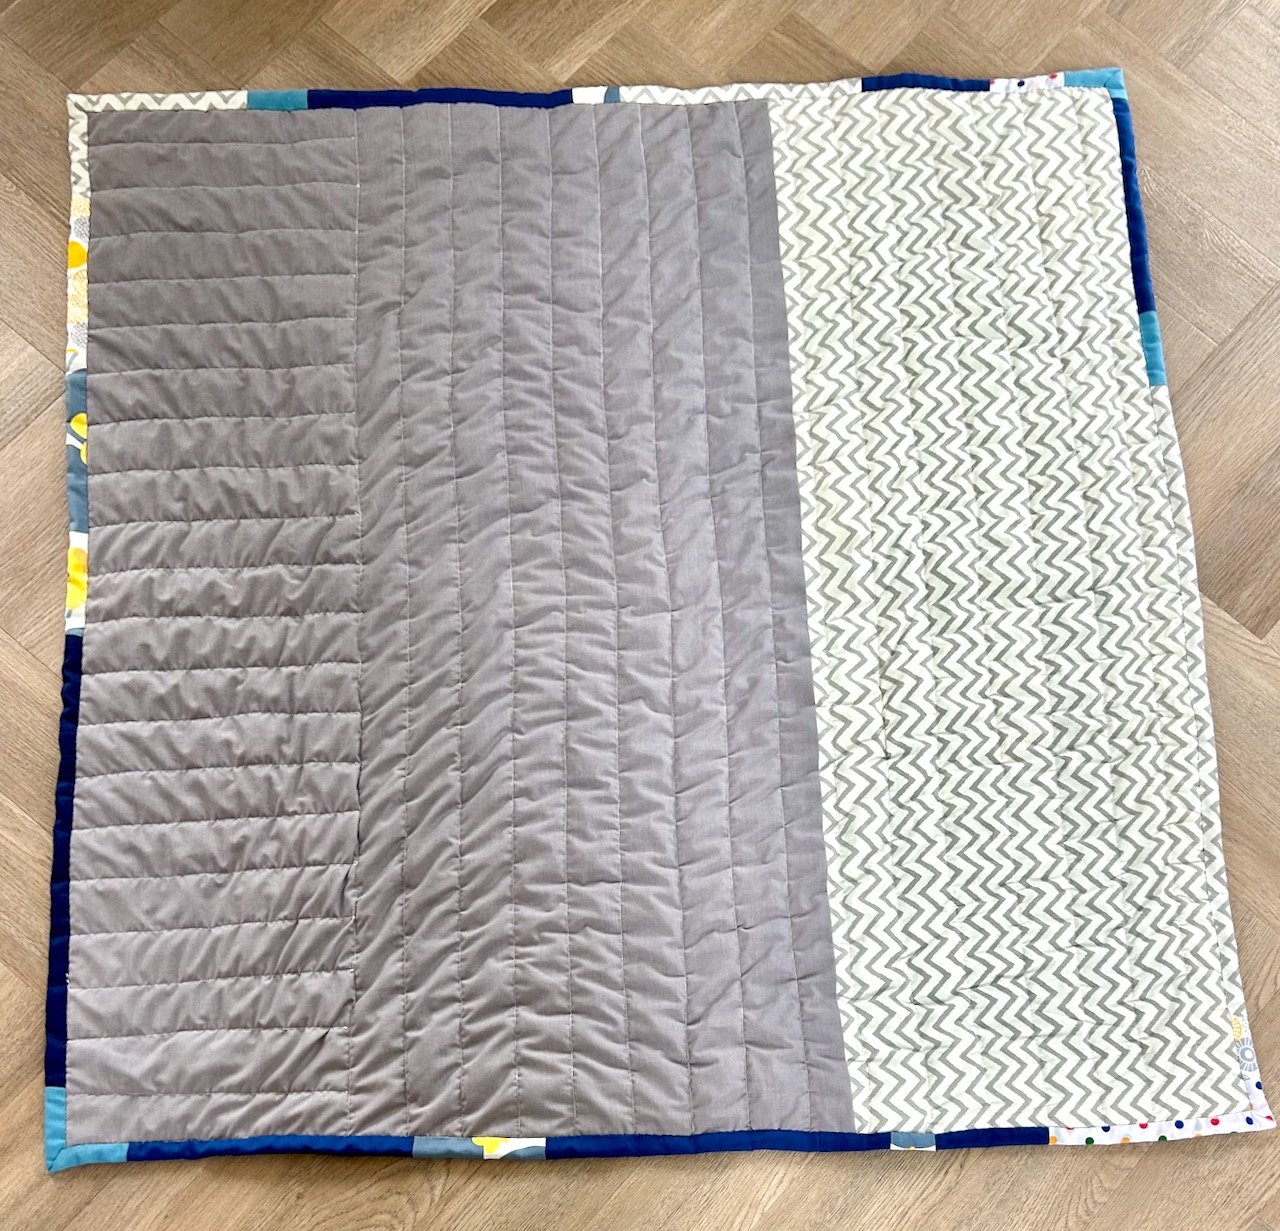
So now I have twelve completed blocks, but not yet a quilt.

Next up is finalising my plan for adding the borders and sashing between each of the blocks. I know that I want to use the borders to give the quilt as much width as I can without it looking daft, and I think that I’ve got a plan - I just need to check that I have enough fabric to do it.

As I’m a spatial learner, and like to see how things will work out, that’s likely to mean laying all the blocks and rough measuring the fabric alongside them. I’ll be using the kitchen floor for that!

Look out for a post soon sharing all the blocks together - I haven’t laid them out yet, but I’m pretty sure it’s going to be good!

This is the last mystery block now the work starts to assemble the quilt top, you can also check out my previous posts for my mystery block quilt or the charity quilts made from the test blocks.

Stars and spots

I’ve made another quilt as part of my quilting ‘stretch’ project using the block from Sherri at A Quilting Life’s mystery block a month. As I said then I don’t know if I’ll manage to make a quilt a month, but I won’t really know unless I try…

This is my fourteenth charity quilt and the pile continues to grow, since the first nine have were donated to the Mansfield Coordinator of Project Linus UK in September 2025.

Number fourteen

This charity quilt also marks the end of my ‘stretch’ project where I set out to make a quilt for charity a month, so it is a huge milestone and a very big phew from me! I’ll be celebrating that in a separate post soon, and I already know I won’t be quite so rash when setting myself a challenge for the remaining of this year!

But anyway, on to the block which is another scrappy star. I had some fabrics in my ‘already used’ basket that I was keen to use as much of as I could, so that’s where I started. I cut all the central blocks using the same fabrics, and ended up with four very similar piles.

Four piles of squares to make each of the central blocks on my cutting board, with ruler and cutter
Laying out the components for one of the squares, ready to draw a diagonal line on the small coloured squares

The sewing on this block was relatively easy, and used the stitch and flip method to create the triangle sections of the blocks. The challenge there is to make sure you cut off the correct corner, otherwise it means starting again. It’s definitely worth a check and double check before snipping the corner, and that method has served me well.

The triangles have been made and each row and component is laid out in place - note the stack of small triangles in the top right
The four 'star' central blocks sewn together and laid out in a grid formation

With the four central blocks made I wanted to check my fabric choices for the borders. Here I discovered that the dark blue fabric (on the far right below) had a much richer blue on the ‘wrong’ side, so the wrong side became my right side. Many of these fabrics have already appeared in previous quilts; the two blues were previously a sun dress (the lighter blue) of mine and a work shirt of MOH’s (the darker blue). The spotty fabric is the offcuts from the baby quilt I made on the Project Linus sewing day in September 2025, and the teal, grey and yellow spotted design is the only ‘new’ fabric to be used, and that came from a charity destash sale.

Adding the border fabrics to both sides of the four central star blocks

Happy with my fabric choices I started to add my borders, liking the dark blue on opposite sides as in the image below.

The four blocks now with the borders sewn on

I thought it needed another border, and the grey zig zag material was the only one that had enough length - just as well it worked well.

The four blocks are sewn together and a grey/white border has been added around the edge
The reverse of the finished quilt - 2/3 grey, 1/3 grey/white chevrons. 2/3 quilted vertically, 1/3 quilted horizontally.

In fact I had enough of the grey zig zag fabric (the backing of a former king size duvet cover) that I was able to include some on the back too. I also played with how I quilted this one, as you can see in the photo above I quilted the left hand section horizontally, and at right angles to the quilting across the rest of the quilt.

I like the finish this gave, and it also made it much easier to quilt, so that’s something I should bear in mind going forwards.

The finished quilt draped over the sofa with an orange stag cushion to the left on the grey sofa

And so, just like that, it was finished - well after I’d added the scrappy binding, which also gave me a bit of a headache. I don’t usually use the final border fabric in the binding, but I’d already sewn my scraps for the binding before I added the final border this time round.

I started pinning the binding on and quickly arrived at my first zig zag clash - and it clashed so much, I know my eyes would not have been happy with it, so I pinned that in a way that my eyes could cope with - and I’m quite pleased with how the bottom left corner turned out. I was also lucky that the other zig zag instances also lined up pleasingly - phew!

I hadn’t set out to use three different varieties of spots, and zig zags too - but that’s what I ended up with and it’s worked out just fine, and also provided the inspiration for this quilt’s name.

And what a one to end my ‘stretch’ project with!

You can see my other quilts I’ve made to donate to Project Linus - a charity whose mission is to provide love, a sense of security, warmth and comfort to children, who are sick, disabled, disadvantaged or distressed through the donation of new, homemade, washable quilts and blankets, including those that are part of this ‘stretch’ project in earlier posts.

A couple of Shabby Chic Rosettes

Before I got to the Newark Quilt Show this year I’d already chosen which workshop I’d like to do, and a backup choice just in case. But I was fortunate enough to get onto my first choice which was the Shabby Chic Rosettes with Kate Crossley, who as it turned out had led the bag making course that I attended in 2024. I did wonder, and I was right.

It was a great workshop, and I even finished one of the rosettes there on the day which was great as it meant that I really wanted to finish the other one at home, rather than leave it languishing in a cupboard somewhere, which can quite often be the case can’t it?

Making the rosettes

The tools and materials for this workshop were strips of material, glue, scissors and a pencil, and no sewing.

I shared the image below previously as part of my what’s new in my craft room update, the green and white rosette in the top left corner was the one I completed on the day. As well as a second rosette to make at home I also left with a button to finish the centre of the larger rosette, a selection of ribbons, some small pieces of material for the back and a brooch and hair clip attachment.

One finished rosette, elements for a second one and ribbon and more to finish both off

I was keen to finish the second rosette. At the workshop I’d folded the length of material in half and cut most of the way through the folded edge, creating the petals. I hadn’t started the rolling as I thought it would be easier to start afresh rather than to pick it up part way through.

Rolling one of the strips around the pencil

The rolling is where the pencil came in, and more glue. As you roll, you glue.

One strip glued and rolled - more to go!

Or rather glue, and roll.

Glue and roll.

And keep going.

Showing the purple glue on the second strip, rolling in progress

Kate suggested using this ‘Amazon Basic’ glue stick, which goes on purple and dries clear, which does make it easier to see where you’ve glued already. It’s relatively cheap too, and some slipped into my Amazon basket ahead of attempting to finish this at home.

Once the four strips are glued and rolled, I was almost done.

The reverse of the finished rosette

I was quite pleased at how neat mine was at the back, I’d taken particular care to keep the ends level and it worked. To help it ‘set’ Kate turns them right side up and squashes them down with her hand. And it works, even though it feels counterintuitive to squash your work!

The front of the second completed rosette

So now I have two Shabby Chic Rosettes, and the knowledge to create many, many more. I already think they’ve got plenty of potential uses alongside the brooch and hairpin options - I haven’t added either of the backings yet, as I want to think about how I’ll use them first.

I think these could be added to bags, and pouches (!) as a decoration, and they could be made in fabric which complements your outfit for an coordinated embellishment, or even as corsages for weddings etc. Another suggestion on the day was to make two and glue them together to make a sphere, adding a hanging loop so they can hang on your bunting, or on your Christmas tree. The possibilities are endless it seems!

But it was a great way to spend an hour, and to leave with something finished, a new skill and plenty of ideas. I’m sure I’ll be making more!