


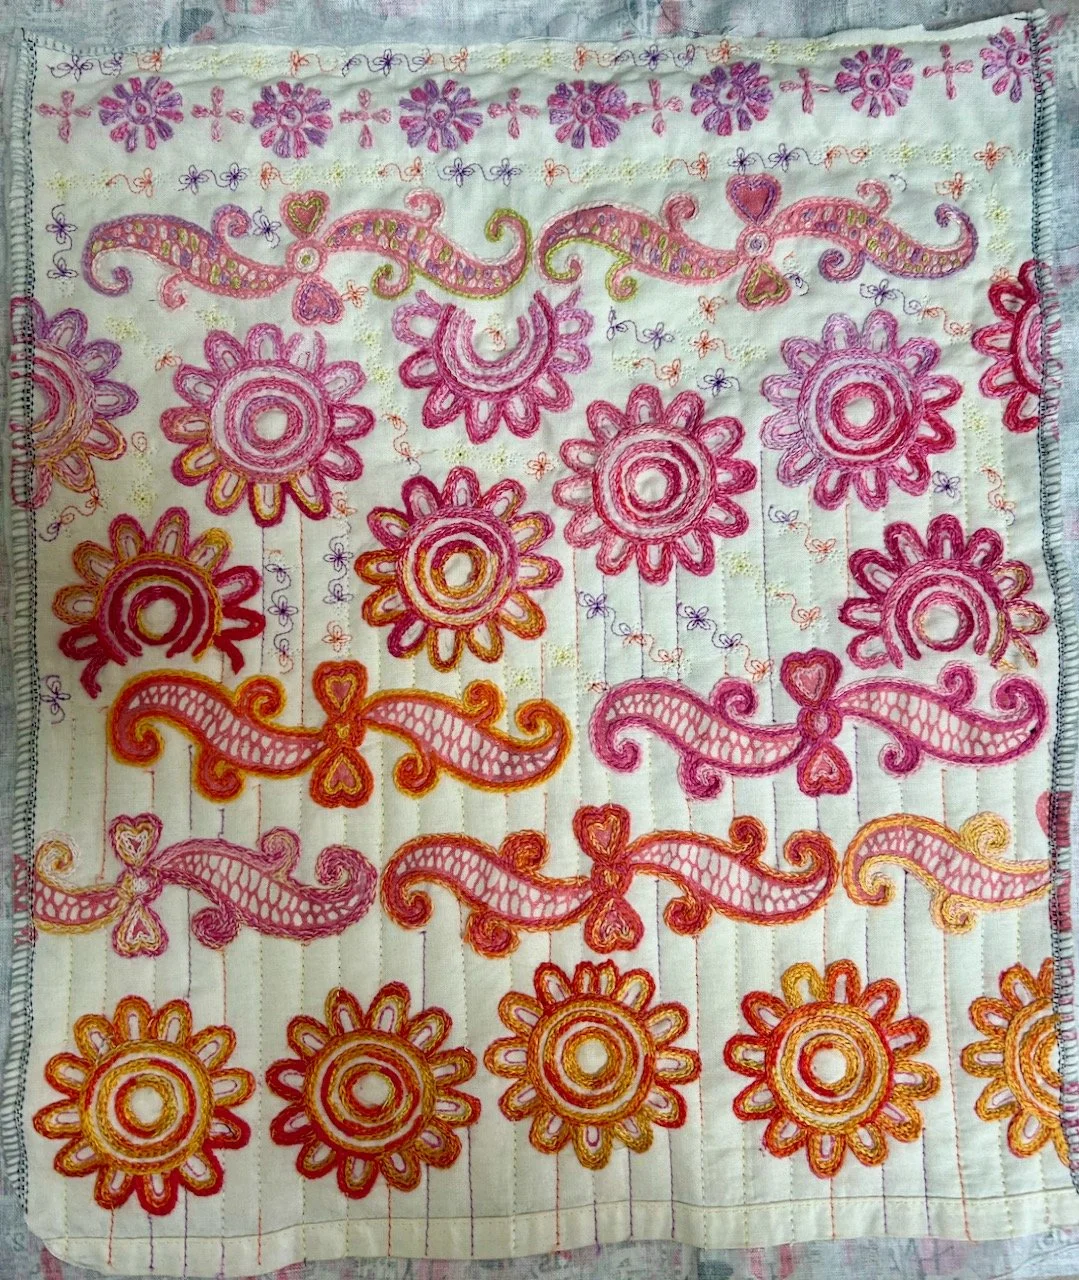
Last week I shared how I added to my swirls and completed my pink and orange embroidery, and today I’m sharing the completed pouch which I first set about quilting.
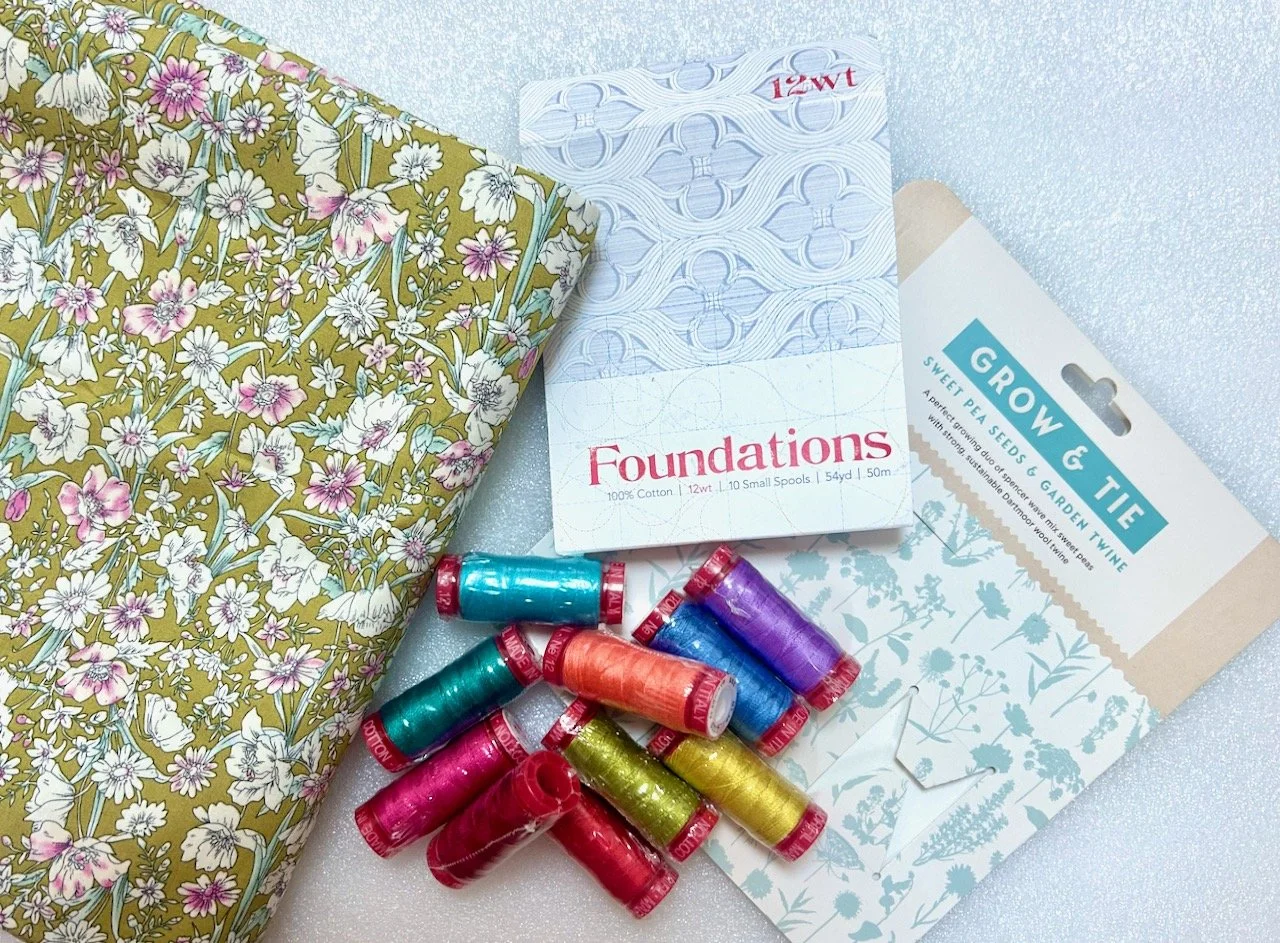
I wanted to use a decorative stitch on my machine and I’d found some variegated thread which looked a good match. It didn’t work out quite how I expected, but it wasn’t a disaster - and well to be honest, I wasn’t unpicking that first line. I’d tried it out on a test piece before I started so I knew how it looked.
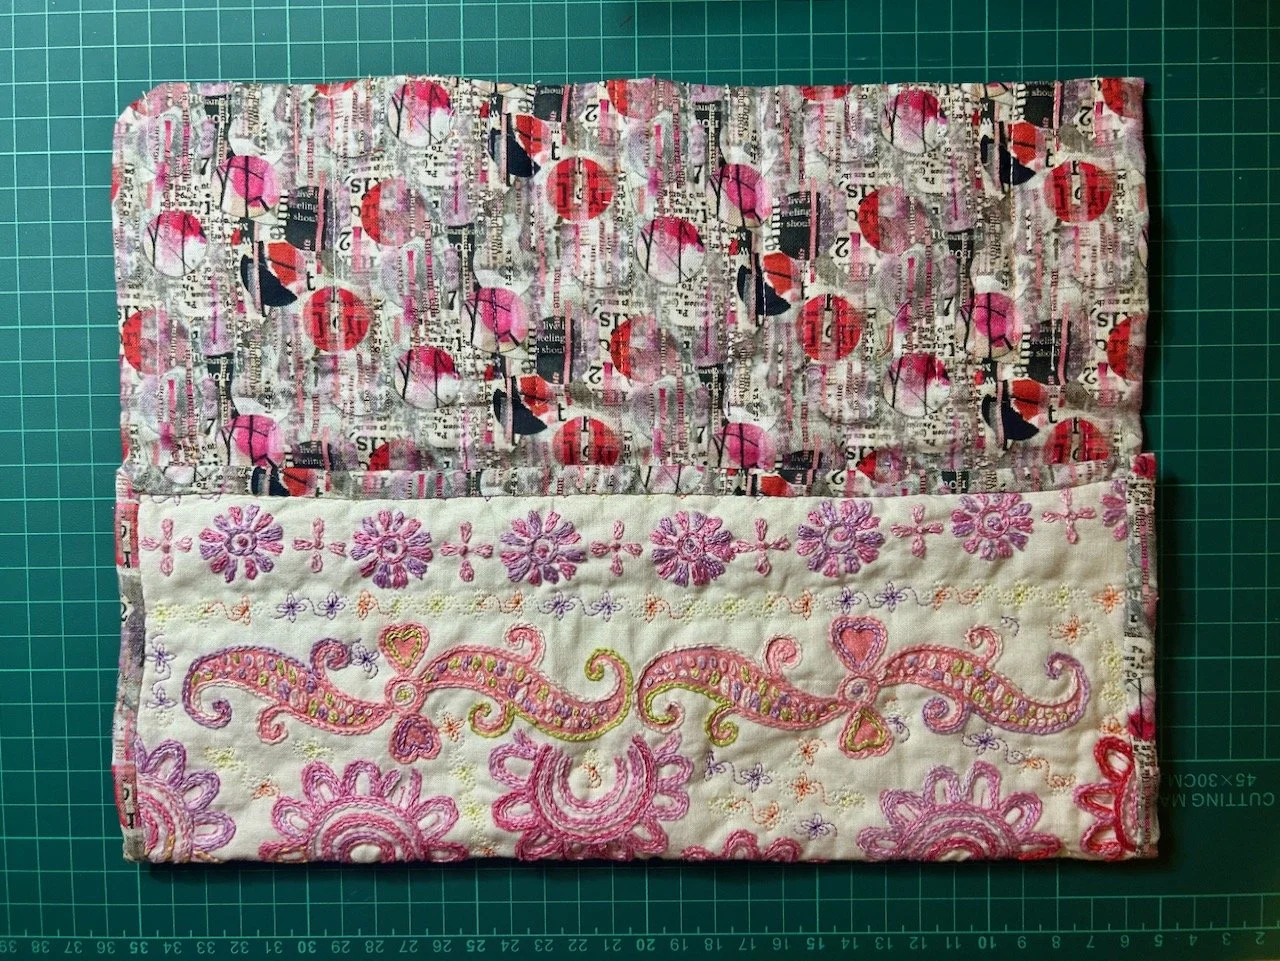
I wanted to quilt this small piece using a variety of styles and so I continued with that plan, and I’m much happier with how it turned out once the narrow straight lines were added, especially once I decided to add these in the mid-section too.
So with my quilted embroidery, it was time for the pouch. As ever I had a plan in my head - and thankfully that worked out.
Onto the pouch!
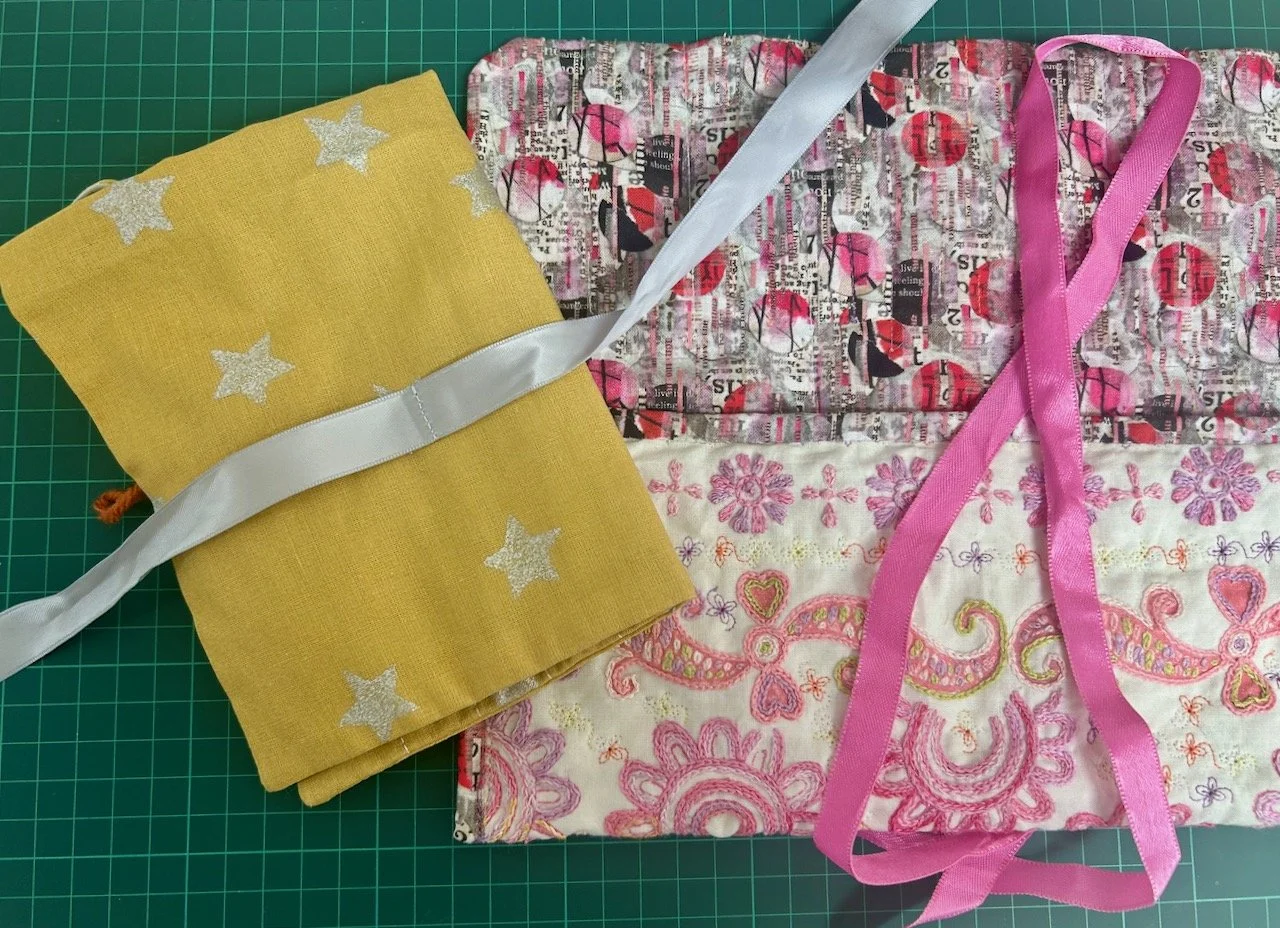
It will be a long thin pouch, which is idea for its intended use - and this may sound like overkill, but it’s for my round hairbrush when we travel. Currently I use a plastic bag to avoid the bristles catching on any of my clothes, but I knew I could improve on that. I hadn’t always set out on that being its purpose, but the colours I chose also swayed me. It’s been a while since I’ve had orange and pink highlights in the front section of my hair (underneath not right on show) and so to me it made perfect sense to use for my hairbrush, in a nod to my previously more colourful hair.
How I wish I still had those colours, but I’m not up to dyeing my hair myself and my hairdresser here doesn’t do red dyes, let alone pinks - I tried another hairdresser and it didn’t work out, as she did what she wanted to do rather than what I wanted, and I hated it. So I’m not going there for a while yet anyway!
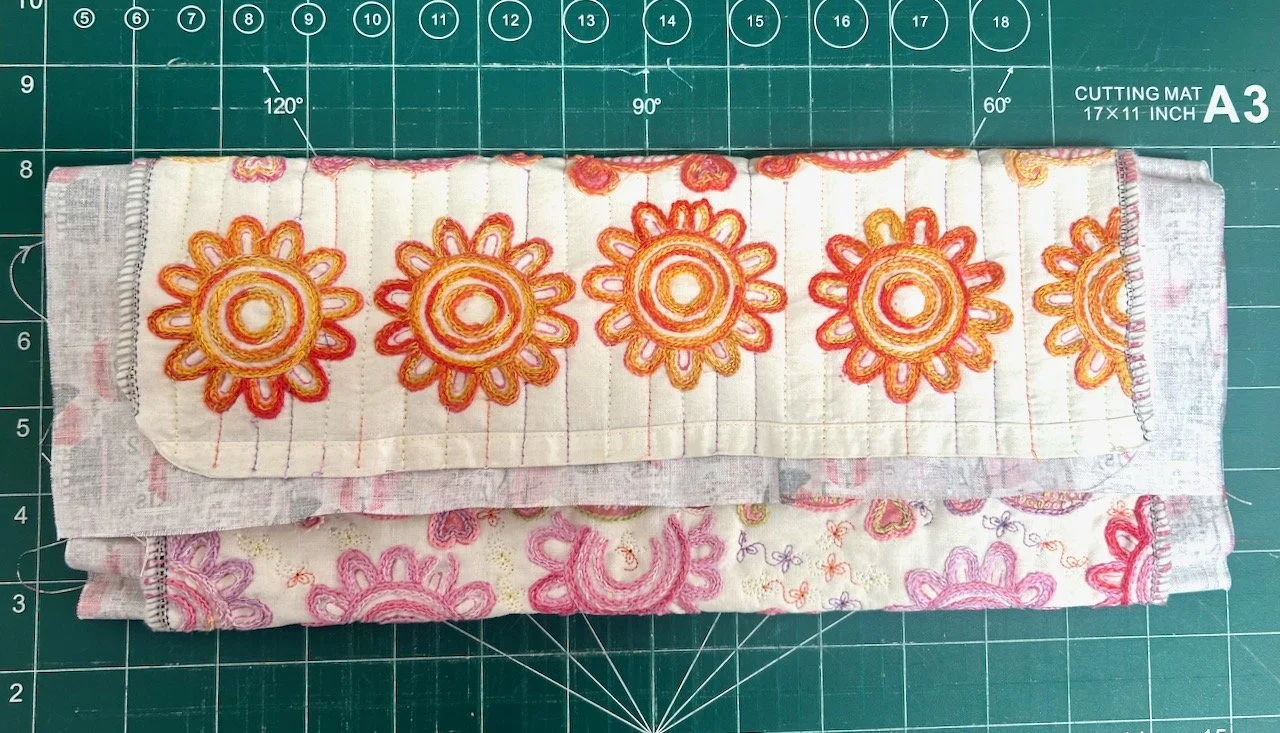
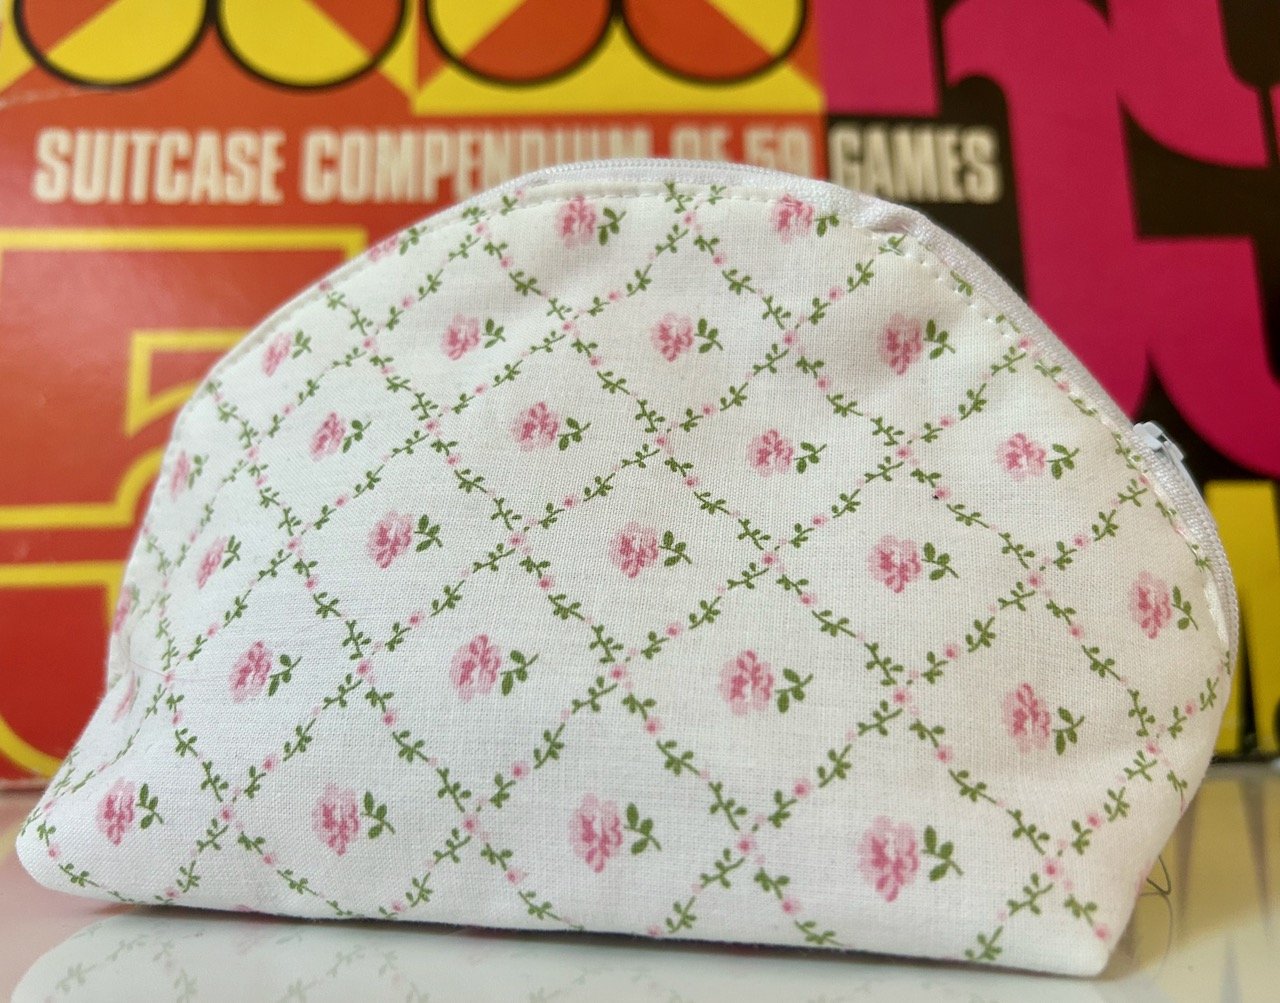
I cut my lining fabric larger than the embroidered piece and hoped that I could use that as a binding; clipping it into place showed me that it would work.
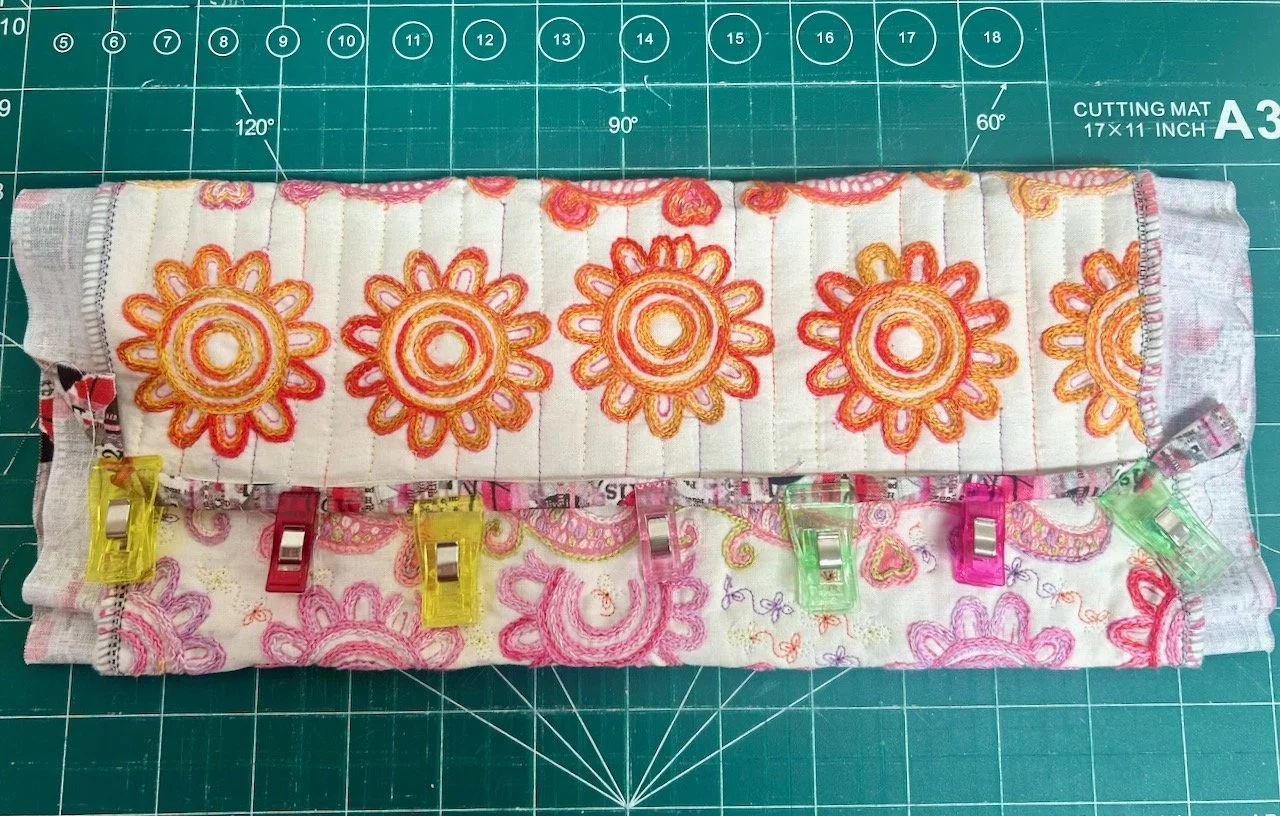
So that’s what I did. I intentionally put a curved corner on the left hand side to echo the motif, and left the right hand side squarer. The lining works well with all of the embroidery despite it not having any, or much, orange in it. It’s one of those ‘Spread the Word’ fat quarters that I fell for last October.
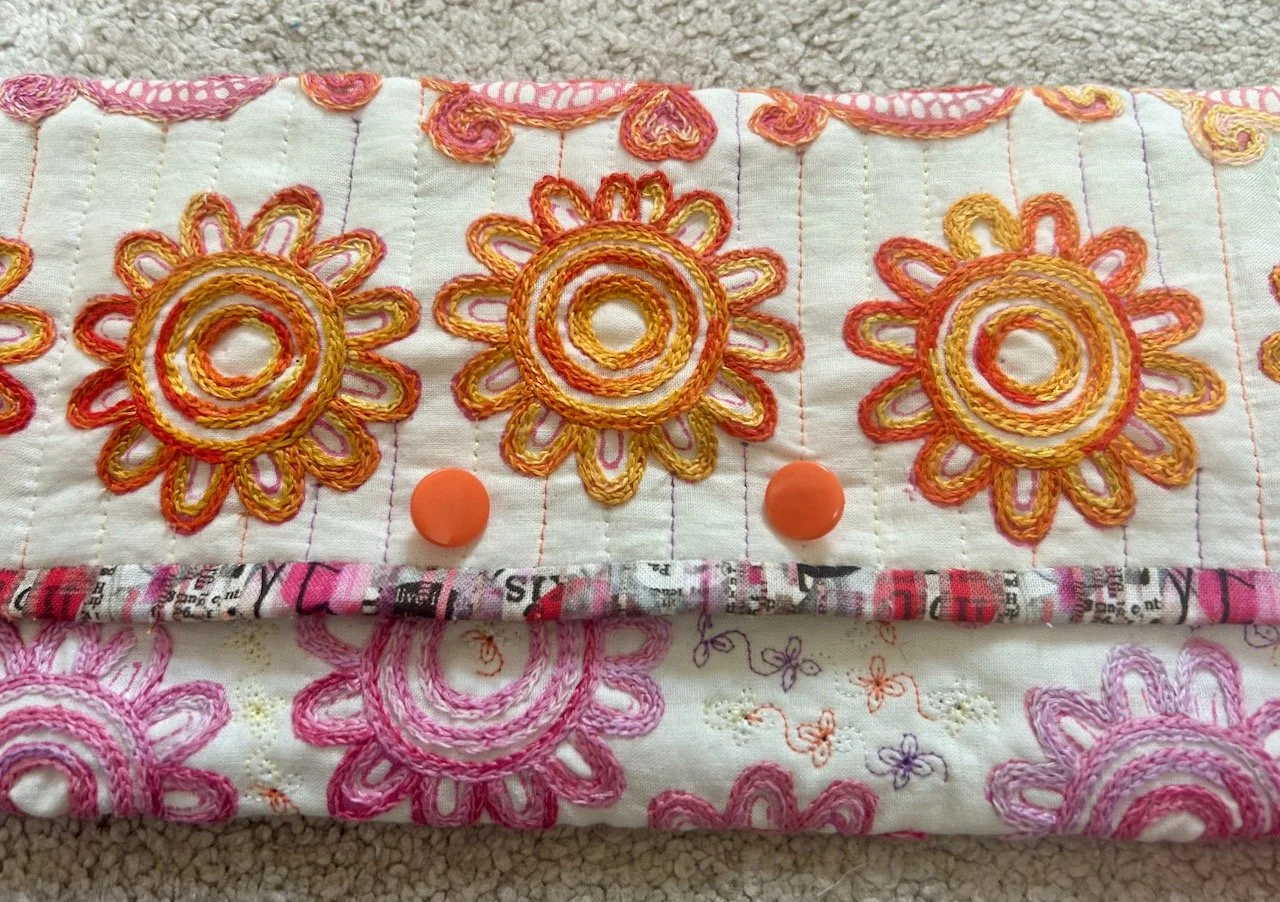
I thought I’d add poppers, but I didn’t like how they looked. I considered the older style metal press fasteners but they weren’t really what I was after either.

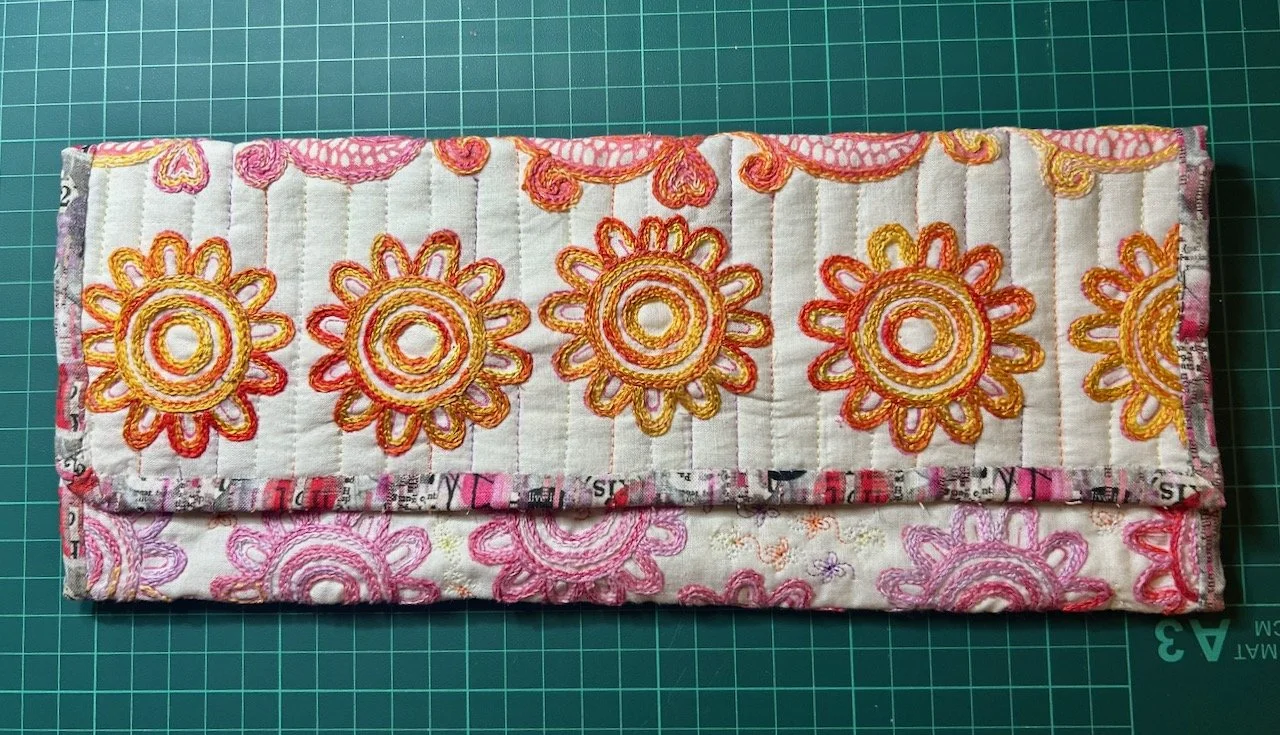
Then inspiration struck, in the form of my crochet hook case, and I knew that ribbons would be the way forward - but which one?
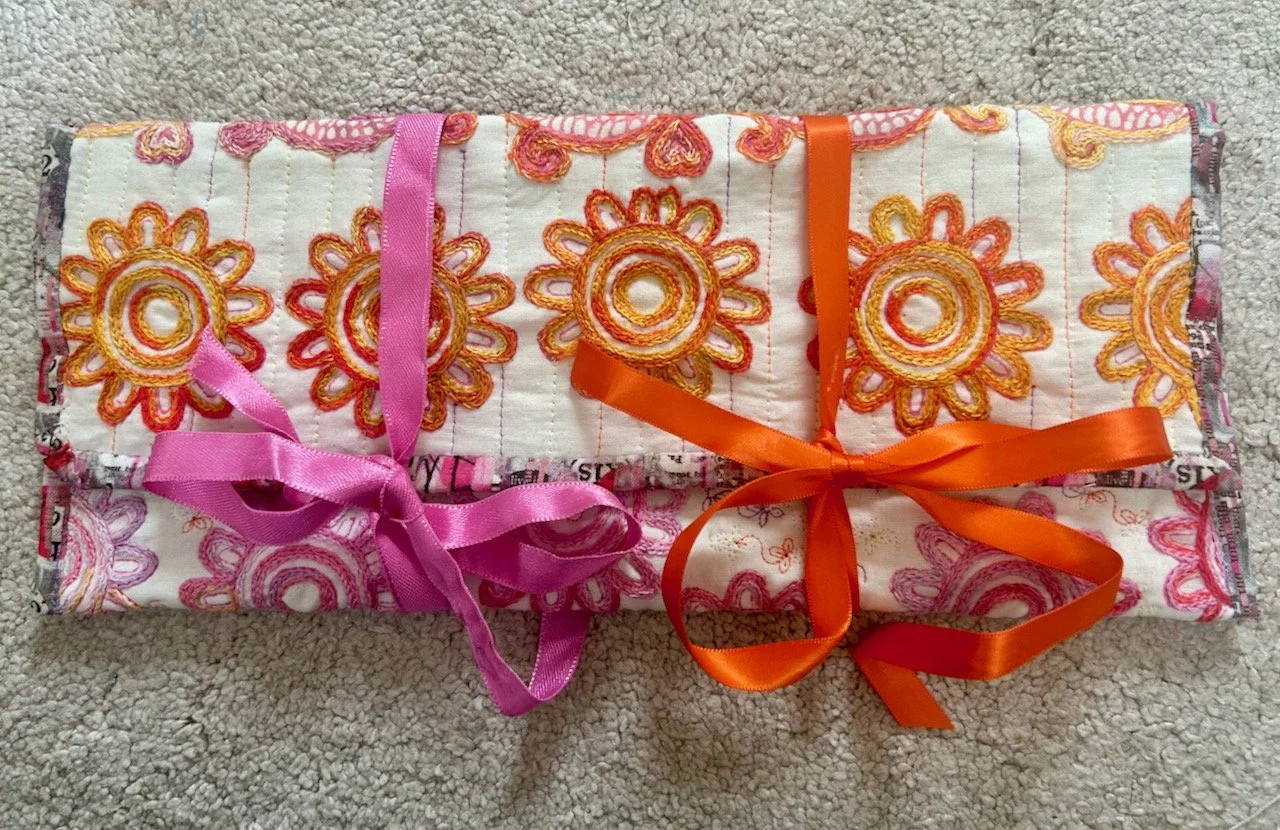
I think both the pink and the orange ribbons were from our wedding back in 2007, and so were of course at the bottom of my ribbon jar. And while either worked, I surprised myself and opted for what I thought would be my second choice - the pink.
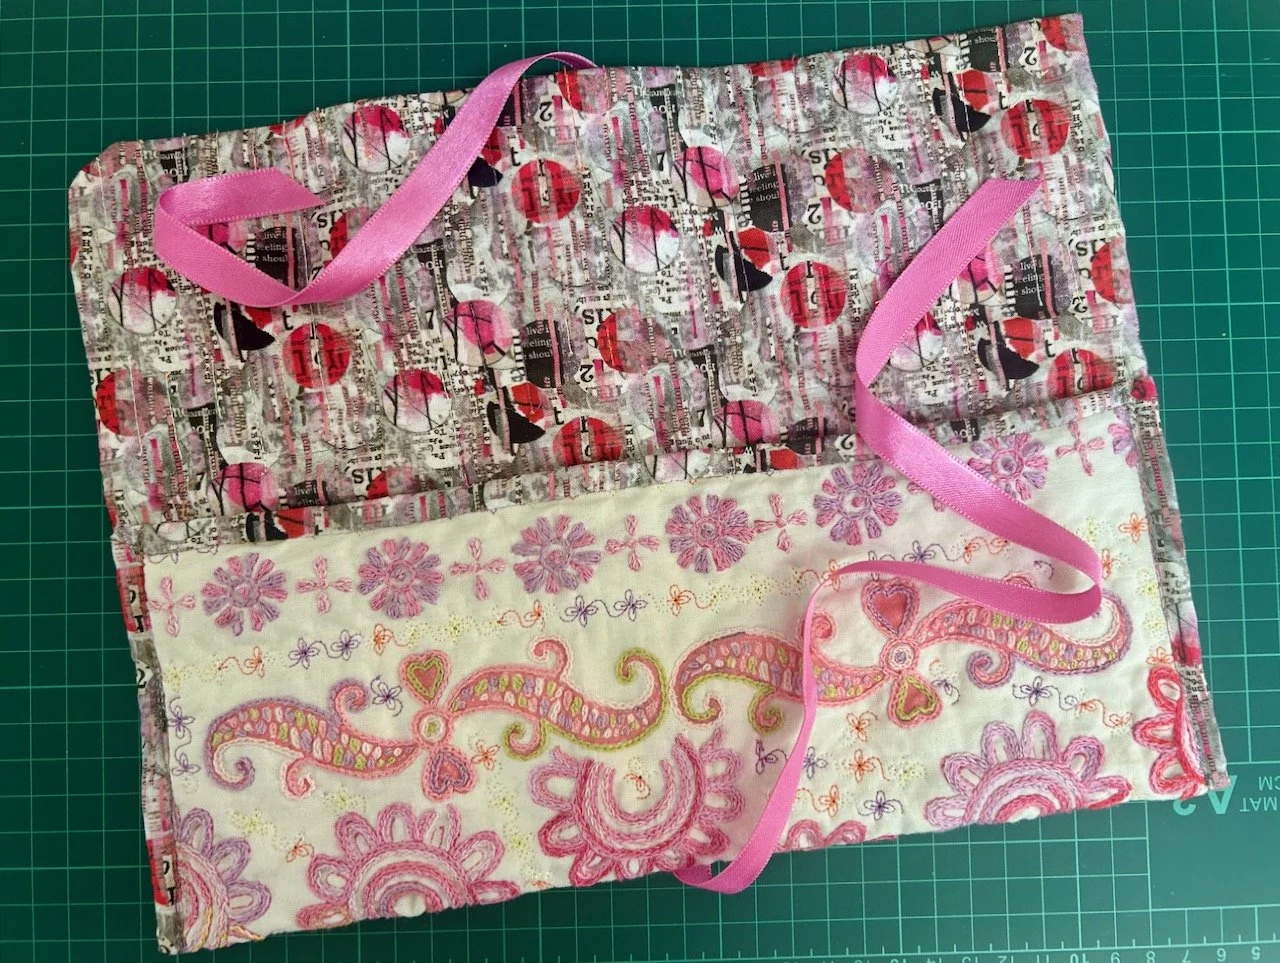

Yeap, I’m happy with that. In fact I’m more than happy with how it worked out - and I’m even more happy to have something a bit fancier than a plastic bag to protect my clothes from my hair brushes’ bristles!