Interiors inspiration from Yorkshire

One of the things we enjoyed on our weekend trip to Malton was browsing around the independent shops - and there’s plenty of those. What I realised afterwards is that it’s not only the interiors store which provided interiors inspiration, so in this post I’m sharing photos from our mooch around the shops, and more.

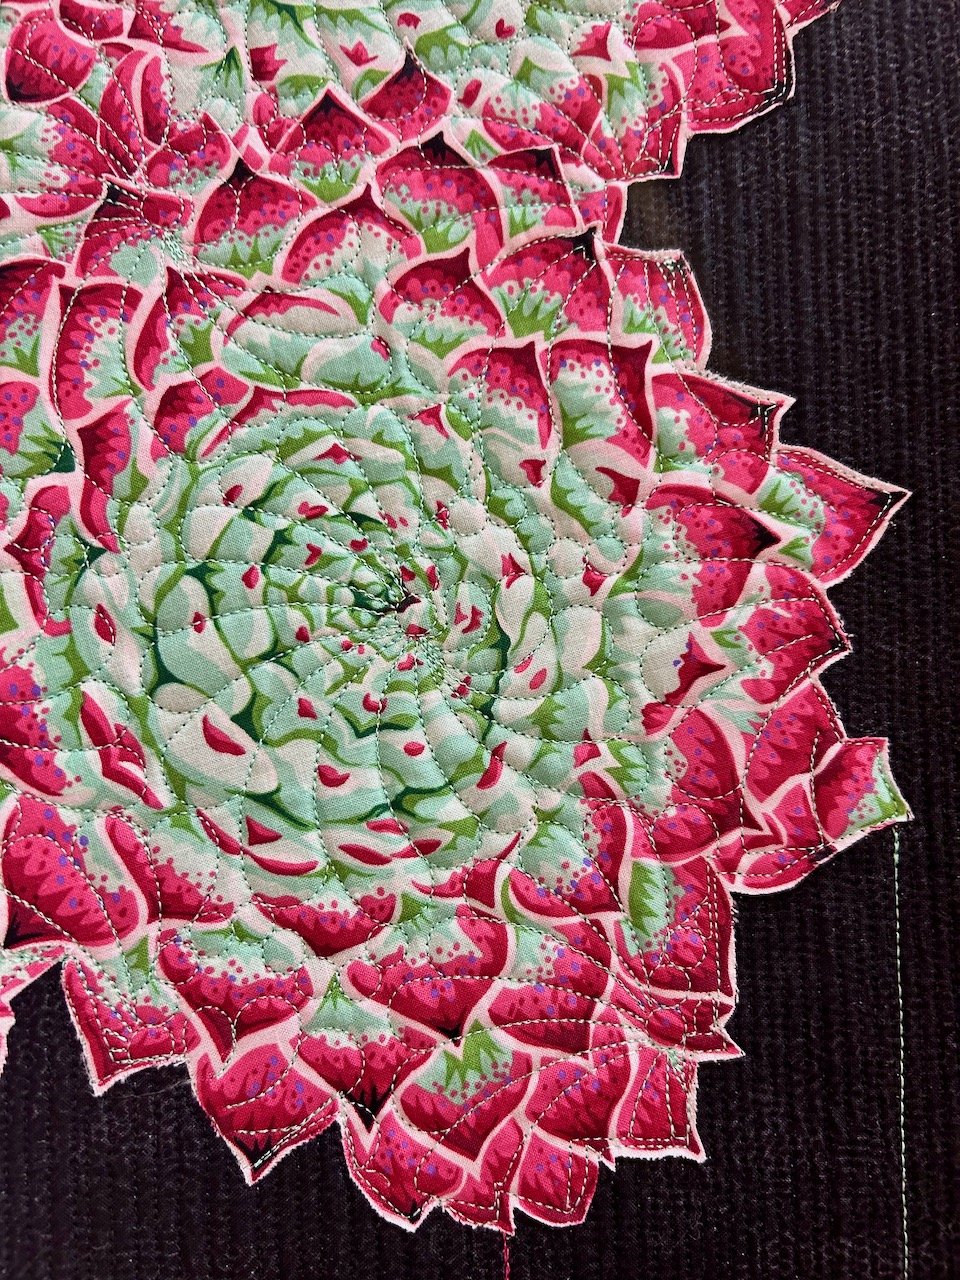
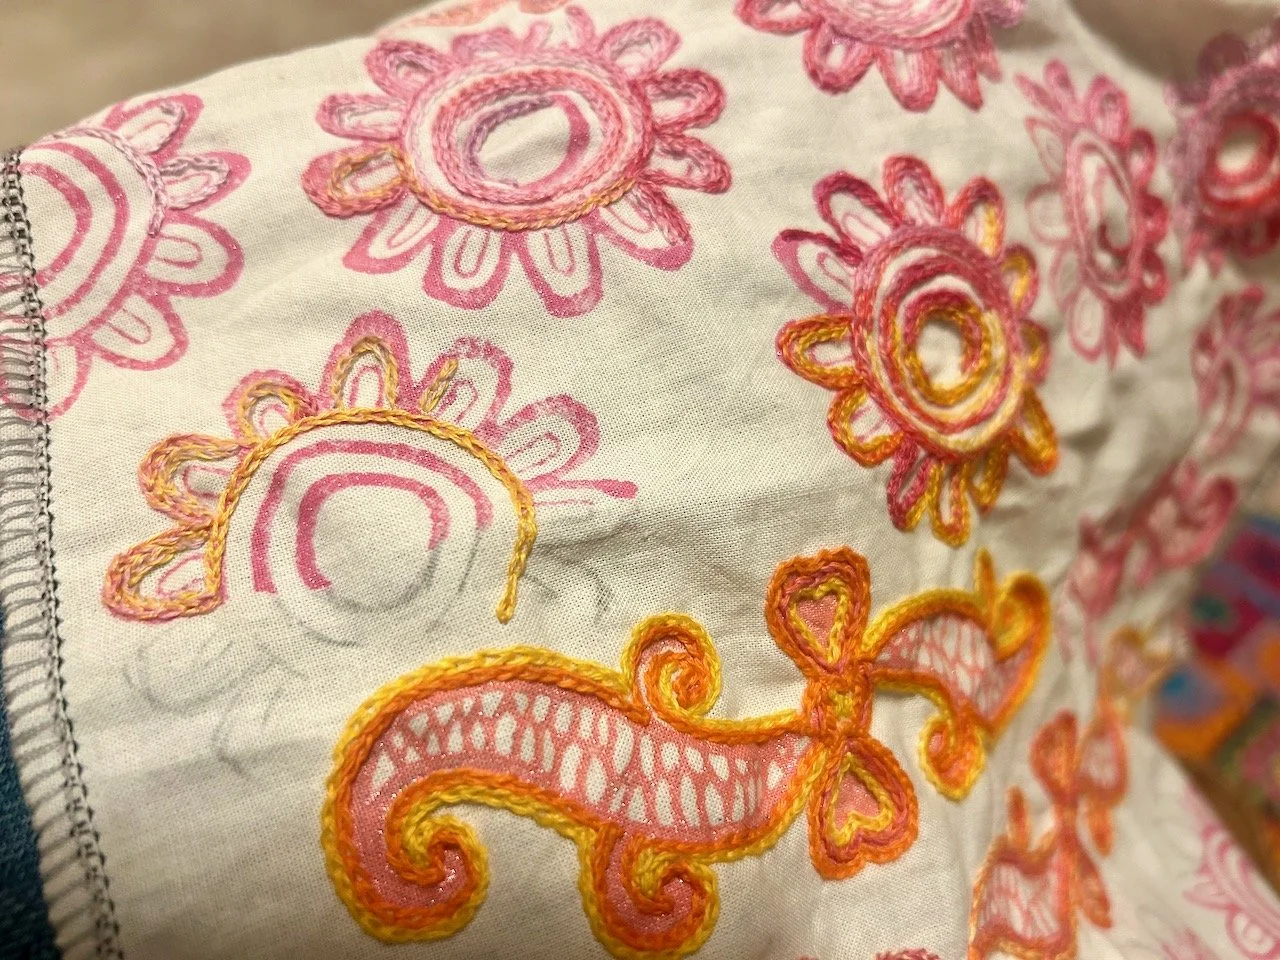
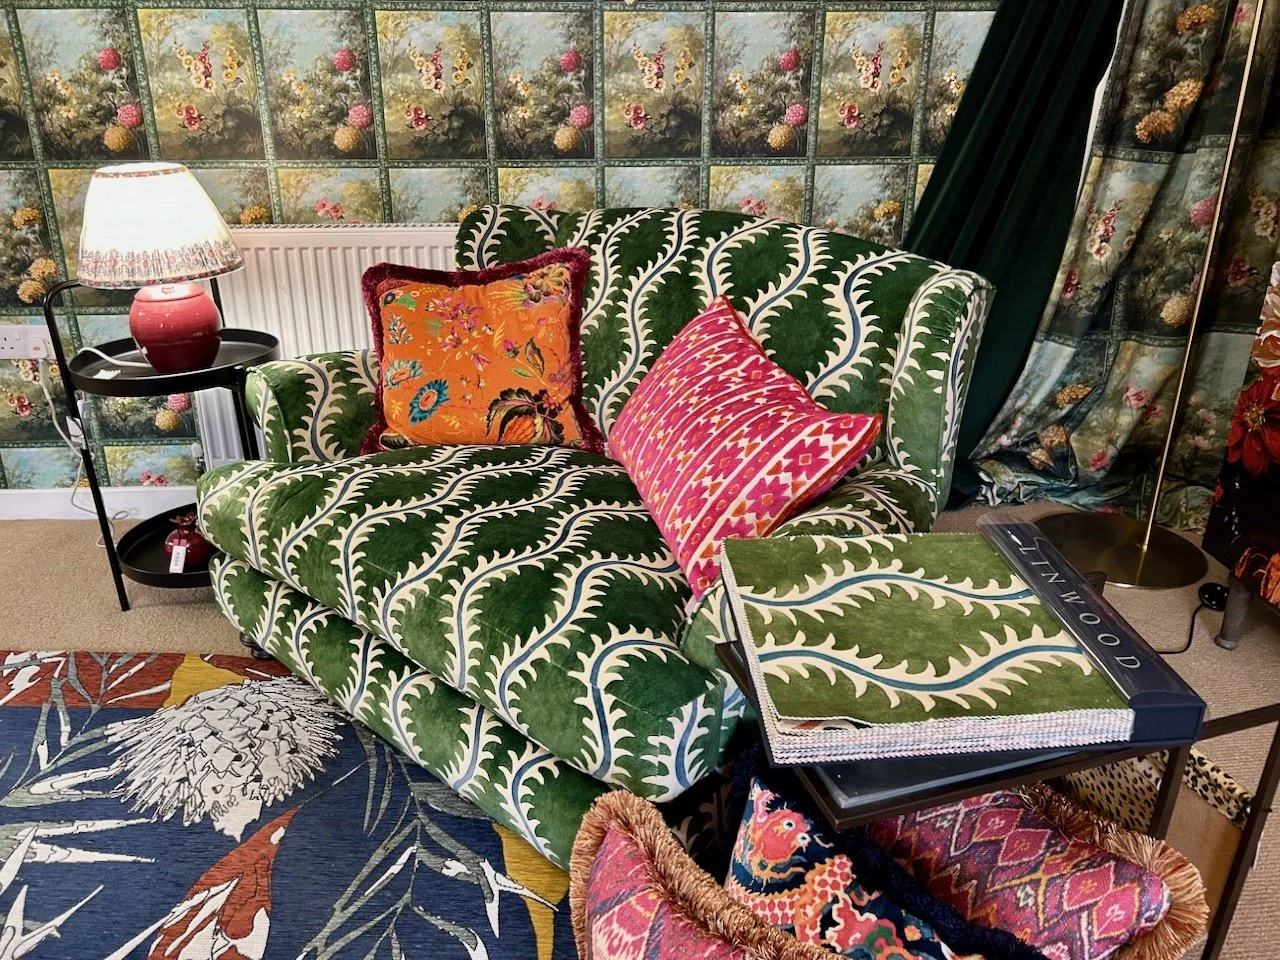
But let’s start at the interiors shop Interiors at Nine to Eleven who had planned a ‘yard sale’ for the weekend, but had valiantly moved that inside given the weather forecast - that’s where I found my £1 fabric sample. Around the shop there was a riot of colour and pattern, and I was smitten with the green sofa pattern, MOH less so. I’m less sure about the wallpaper but the bold prints definitely do it for me.

A boldly patterned green acanthus sofa with orange and cerise patterned cushions, on a predominantly navy rug with patterned wallpaper on the walls too - lots of pattern
A black and white jungle style print with monkeys and large cats, and flamingos

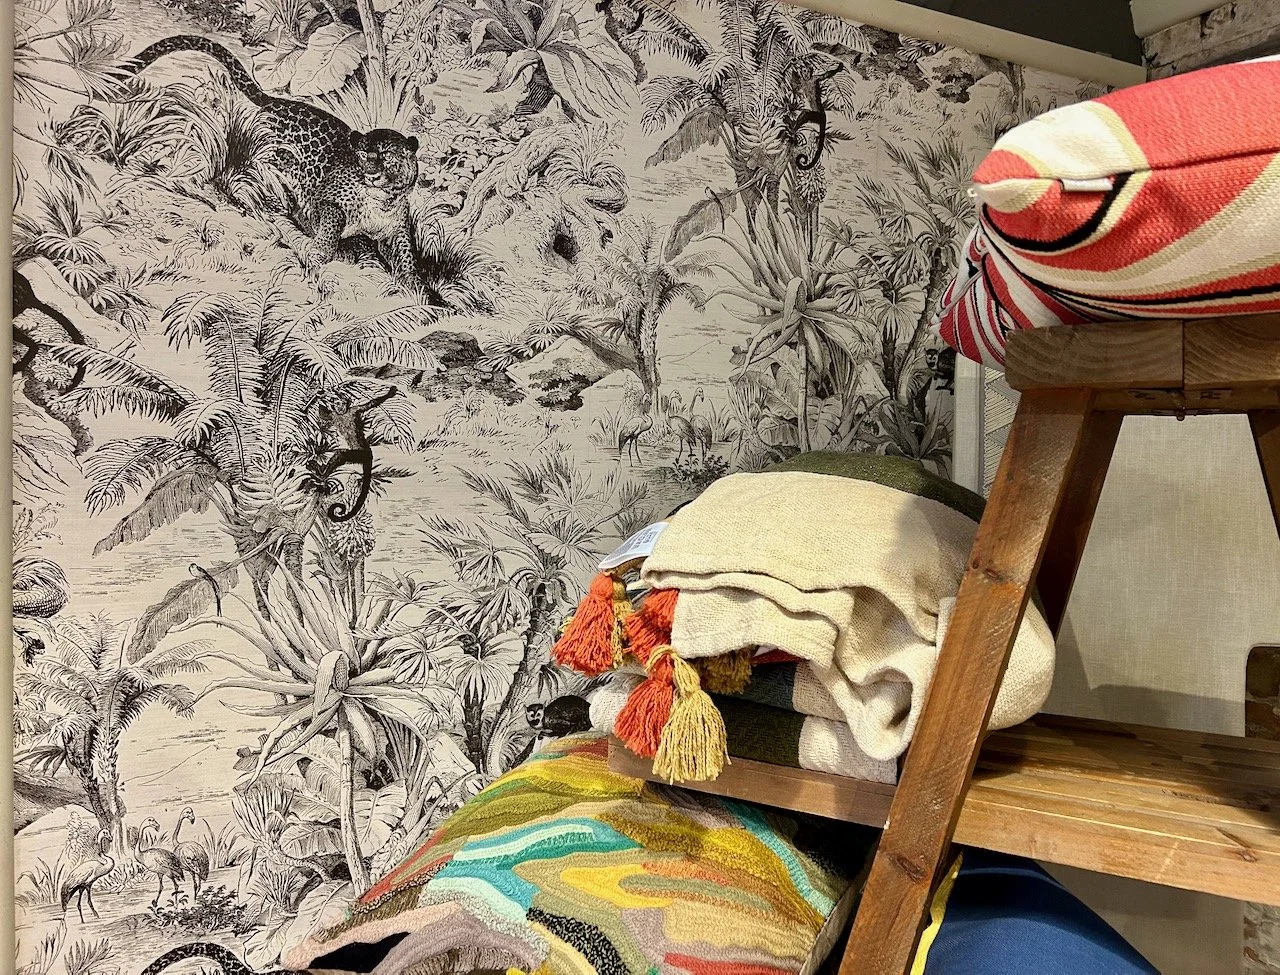
In another section of the shop it was the black and white wallpaper that caught my eye. I think it’s too ‘tame’ for what I have half an eye out for, mainly as I think this will be an even harder sell than the patterned fabric above with MOH who already thinks our house is too white!

Looking down the stairs at the carpet which is a mix of repeating patterns on each step with blues, beige and greens

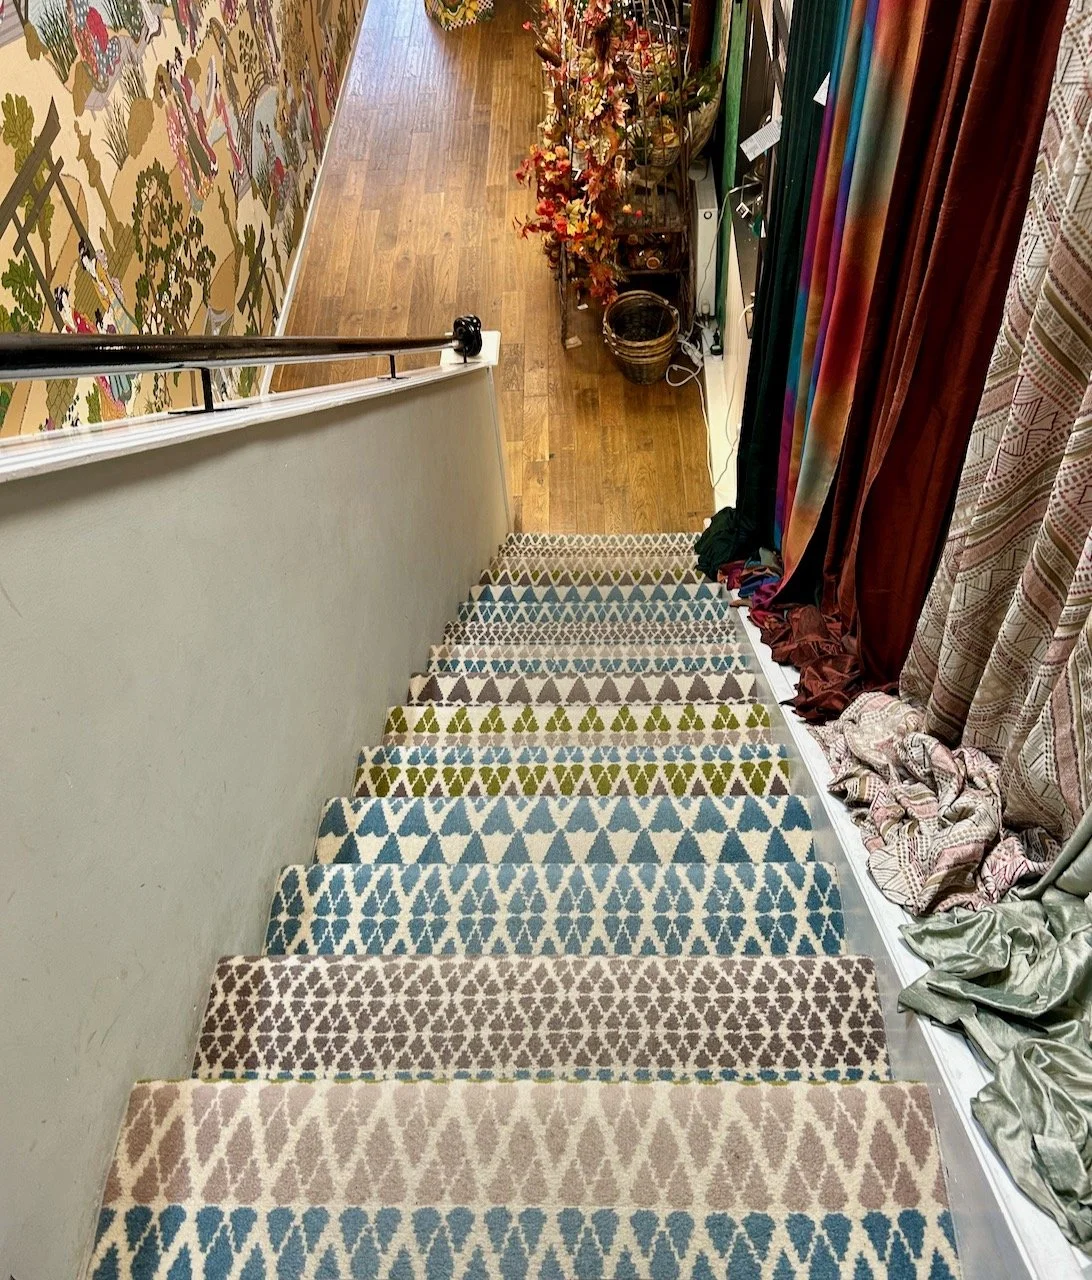
Heading back to the stairs and the main shop I did stop and admire the fun carpet, and I mean if you can’t have fun in an interiors shop trying out things to assert your style and brand, then when can’t you?

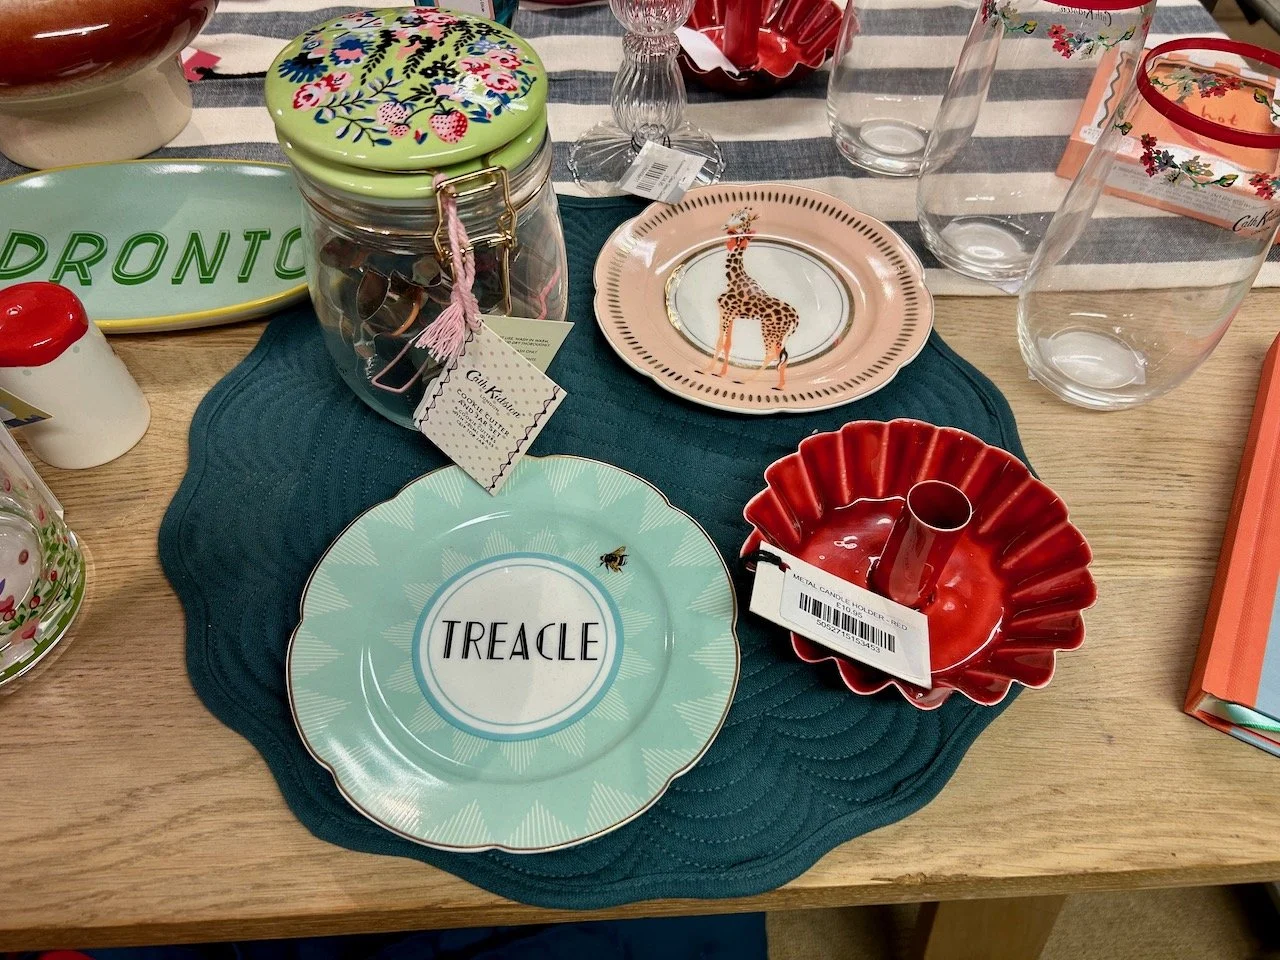
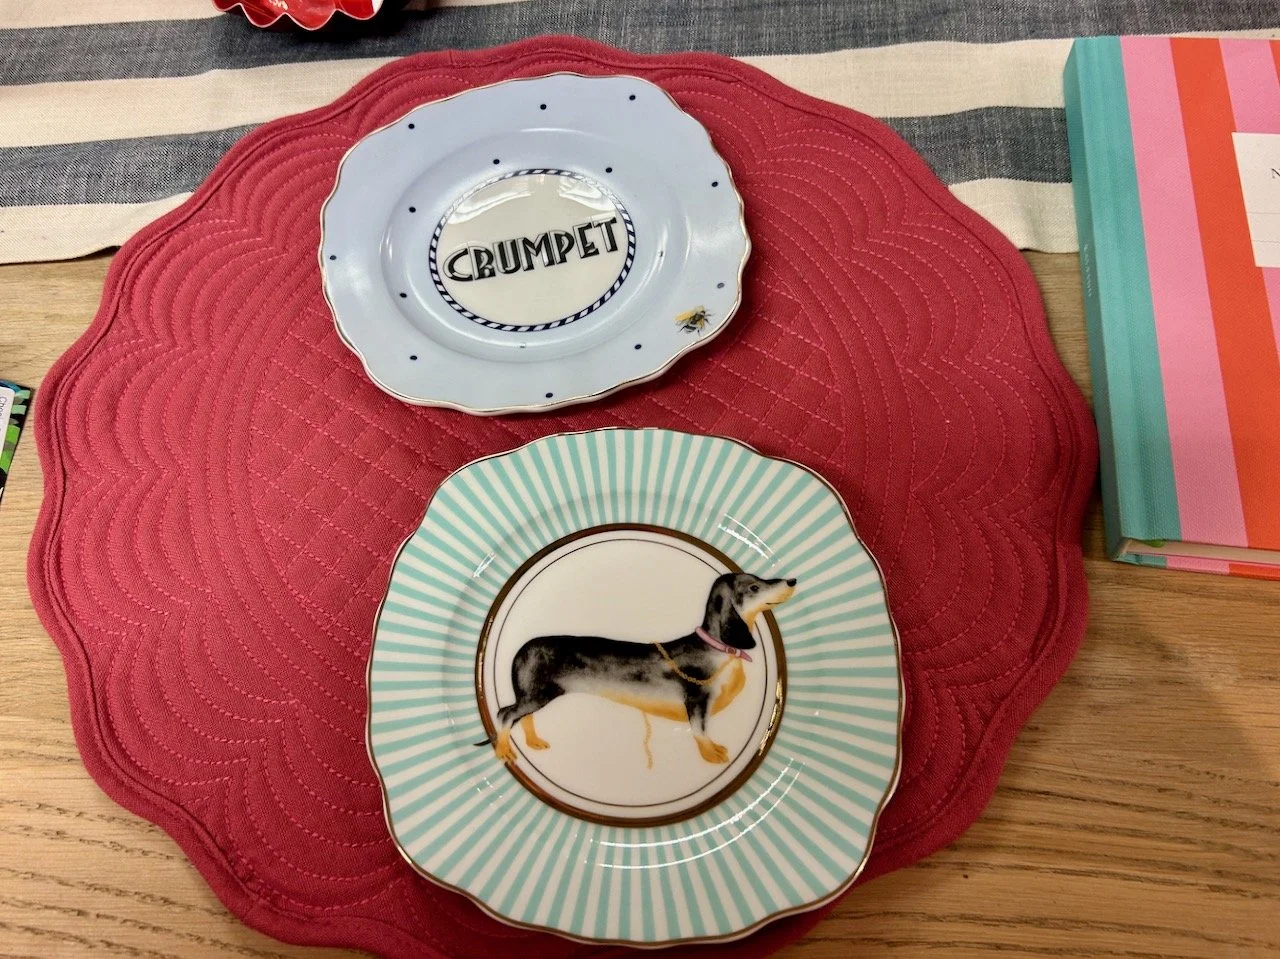
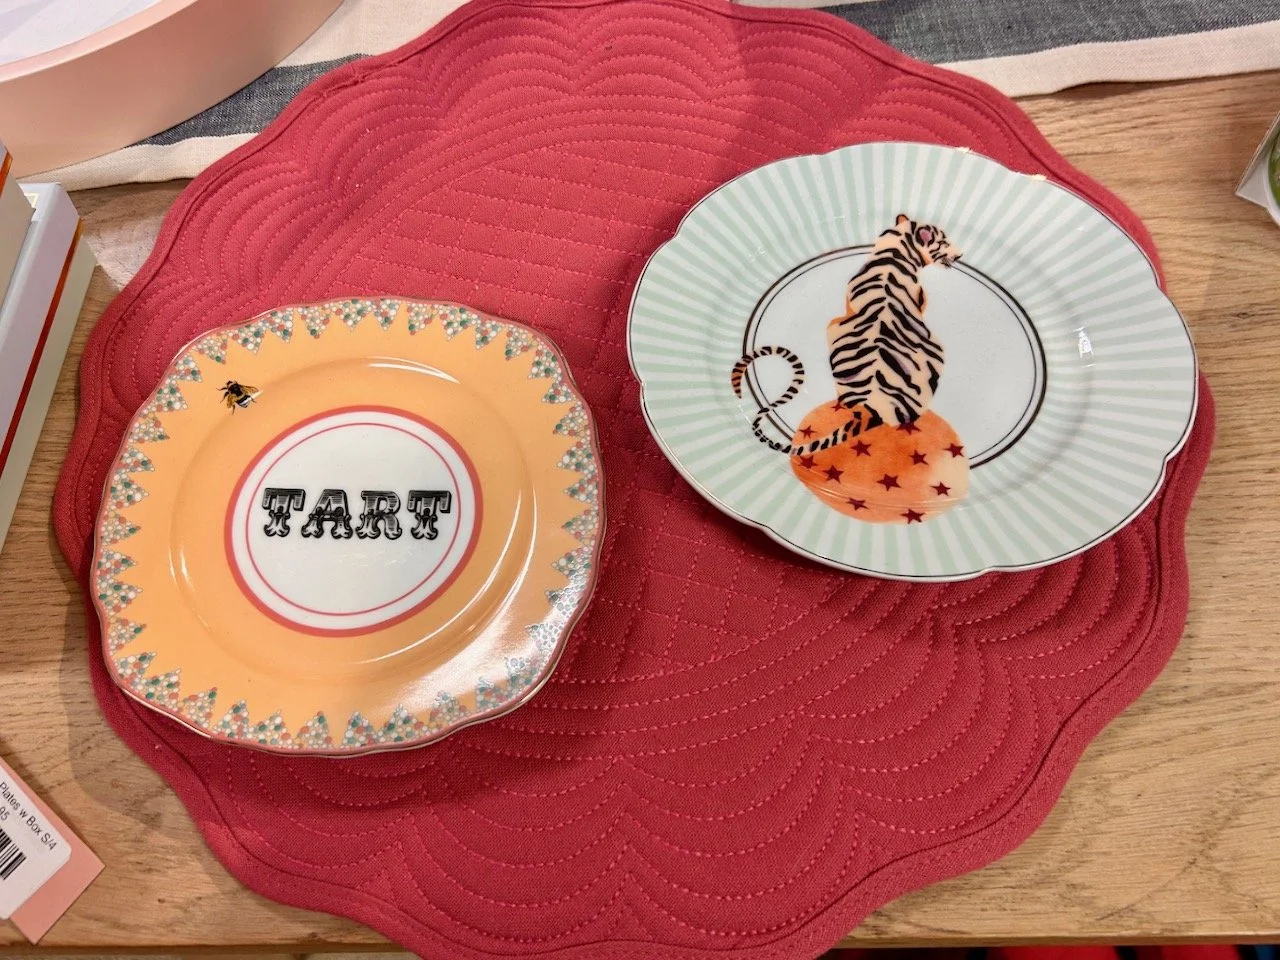
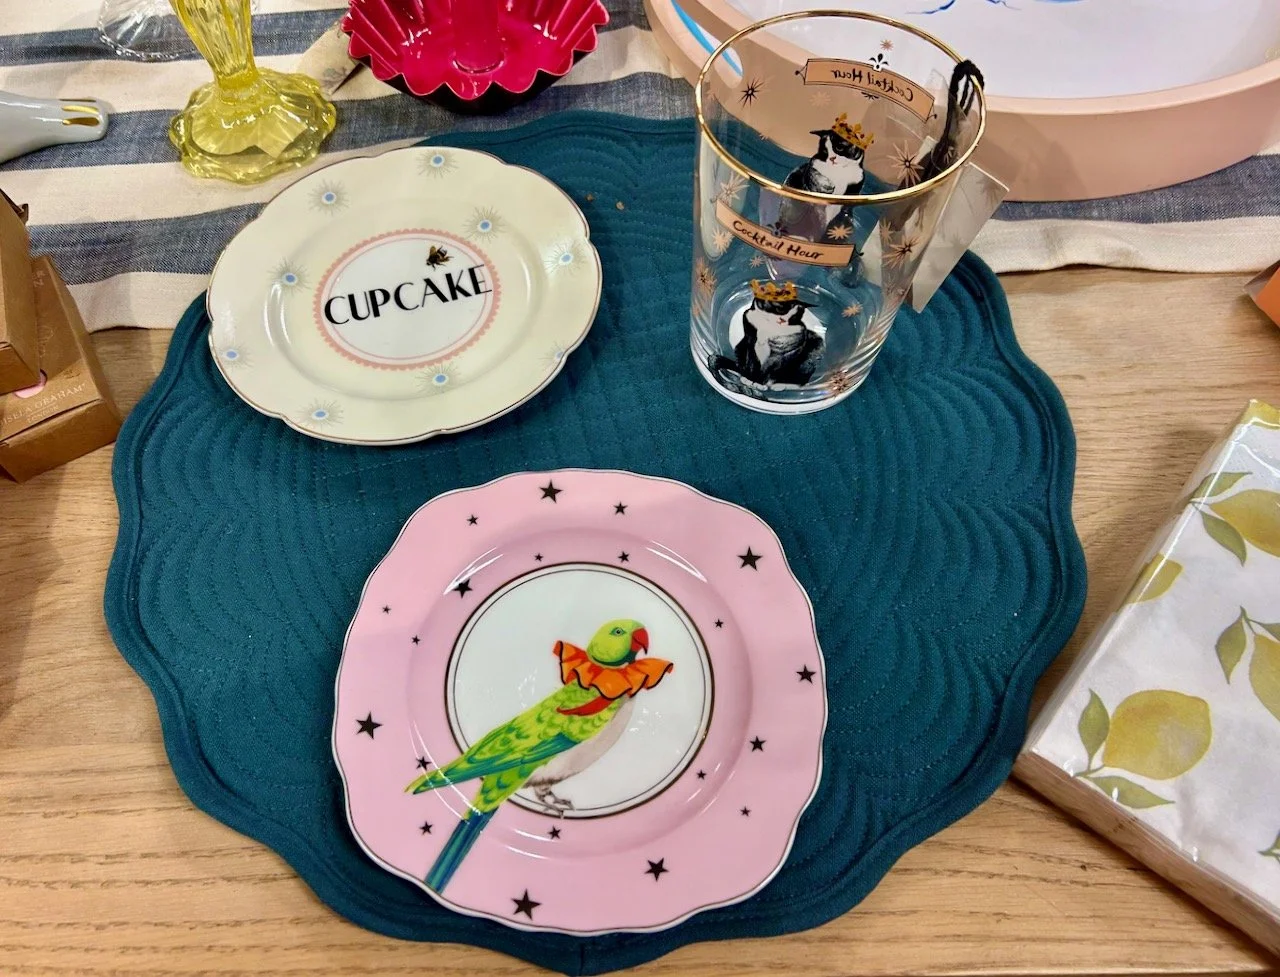
I kept coming back to these ‘cheeky’ plates by Yvonne Allen, as they just made me smile - and in fact I’ve since bought a set and am keeping up with my ‘making cake era’ just so we can use them, though I did resist the matching cake forks - mainly because they weren’t dishwasher safe and I can’t be doing with that kind of faff, and reminding MOH every time we use them.

A tablescape featuring the treacle plate
A tablescape featuring the Crumpet cheeky plate
A tablescape featuring the Tart cheeky plate
A tablescape featuring the Cupcake cheeky plate

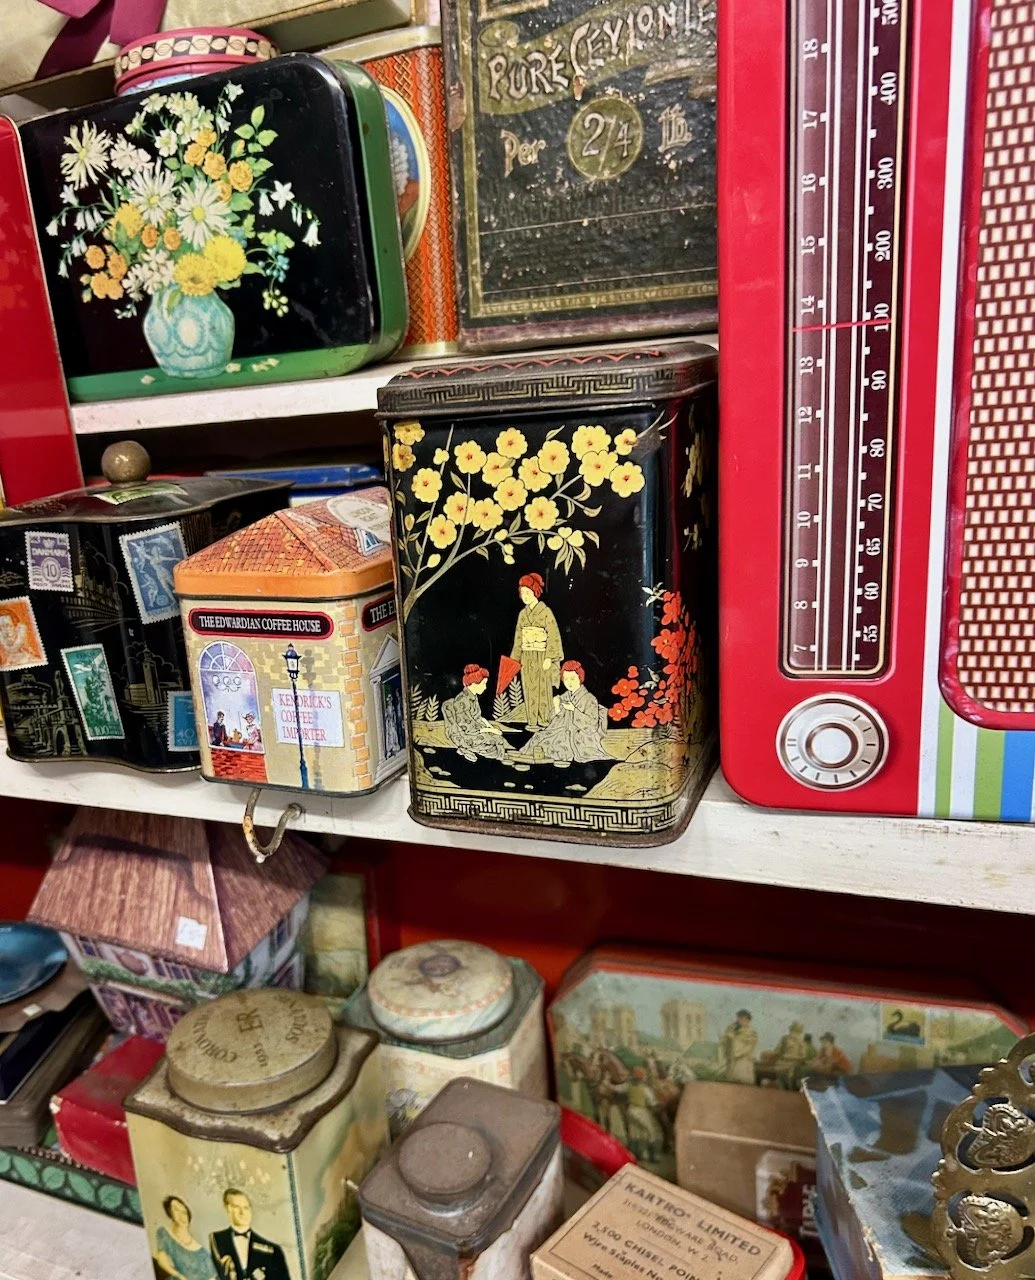
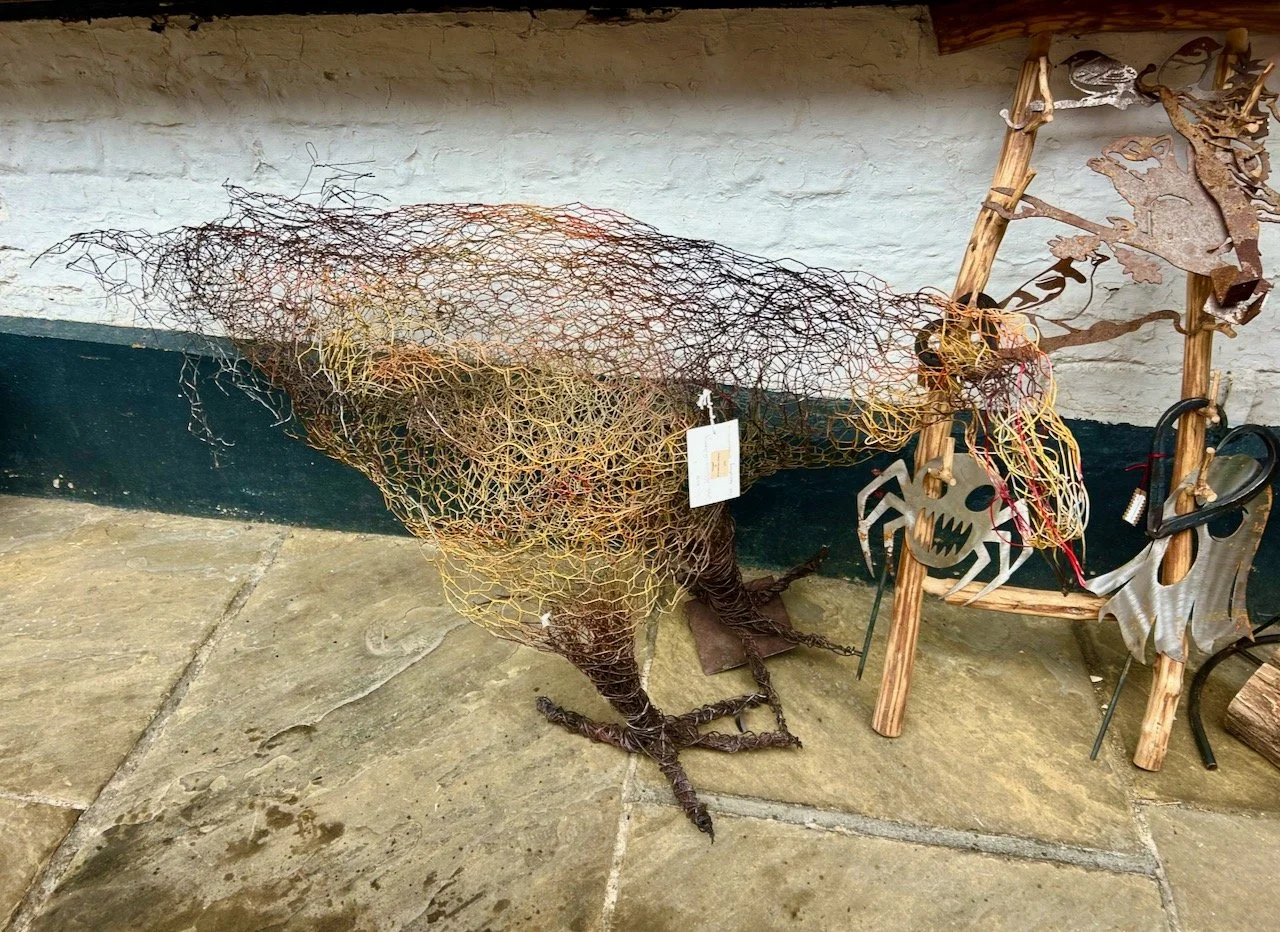
Looking around the curios shops in The Shambles we found plenty of tins, too many to make a choice (or even photograph) decanters and a gorgeous wire chicken.

Three shelves of various aged tins - in the centre is a black chinoiserie type tin, which reminded me of one I have
A chicken made of chicken wire, with colour adding interest

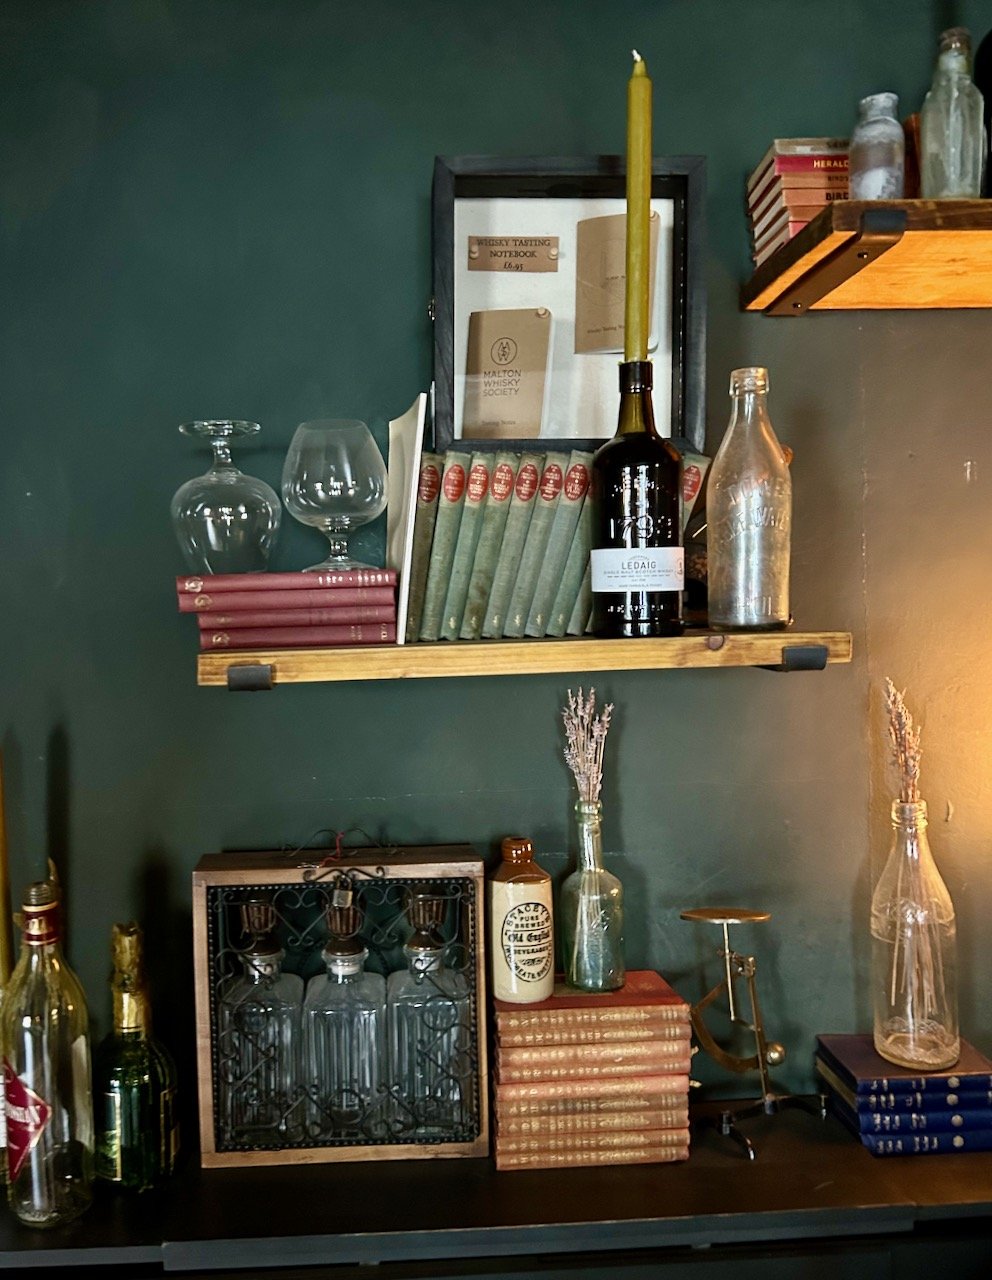
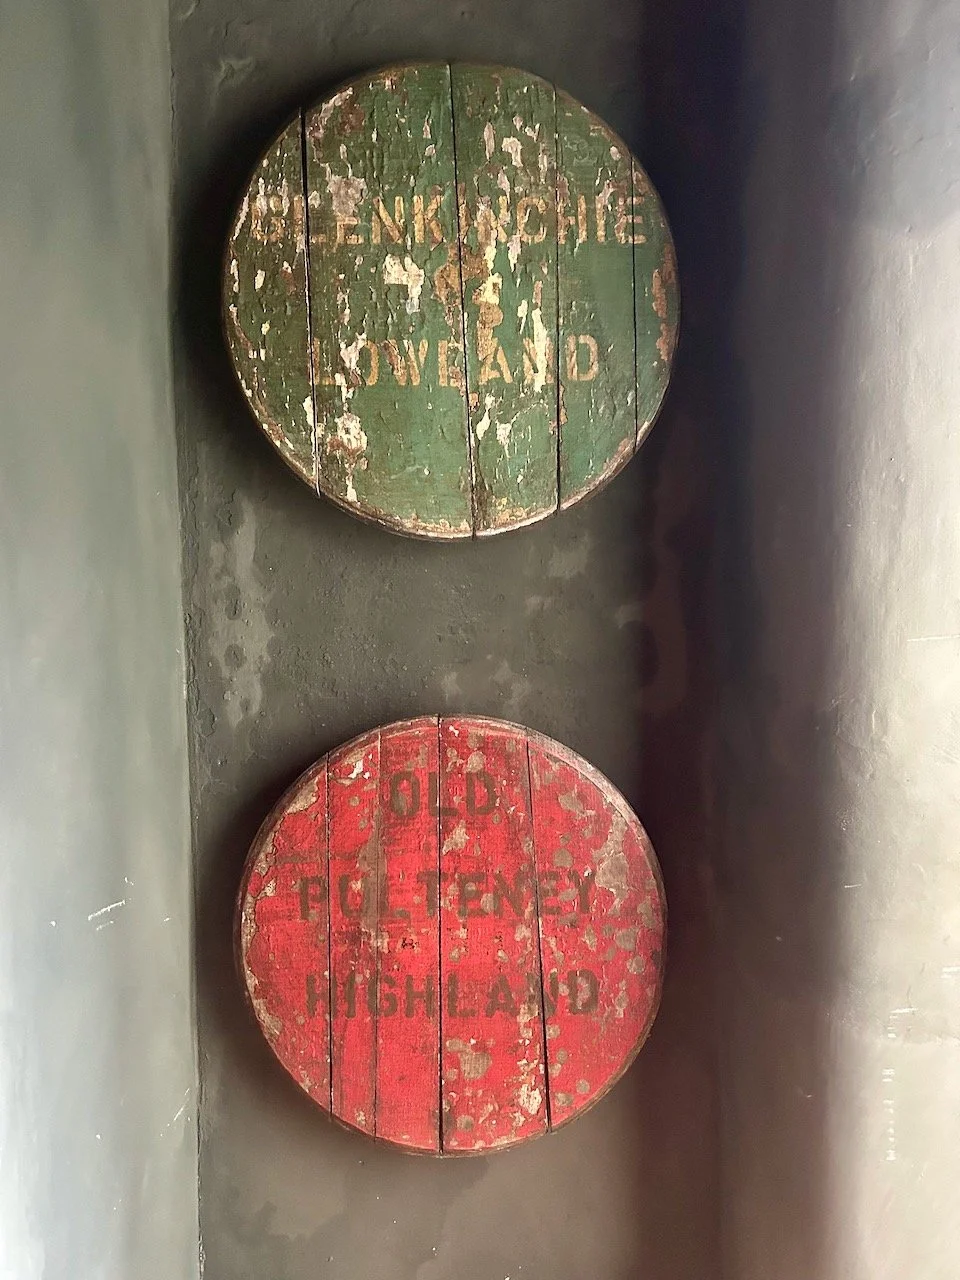
Our next stop was the secret whisky bar at McMillans, and there was plenty of good looking interiors there too, no really there was.

The focus is a wooden floating shelf with books, brandy glasses and two bottles.  Below it on the wooden unit top are more books and more decanter type vessels
Two weathered wooden what look like barrel tops - one green, one red

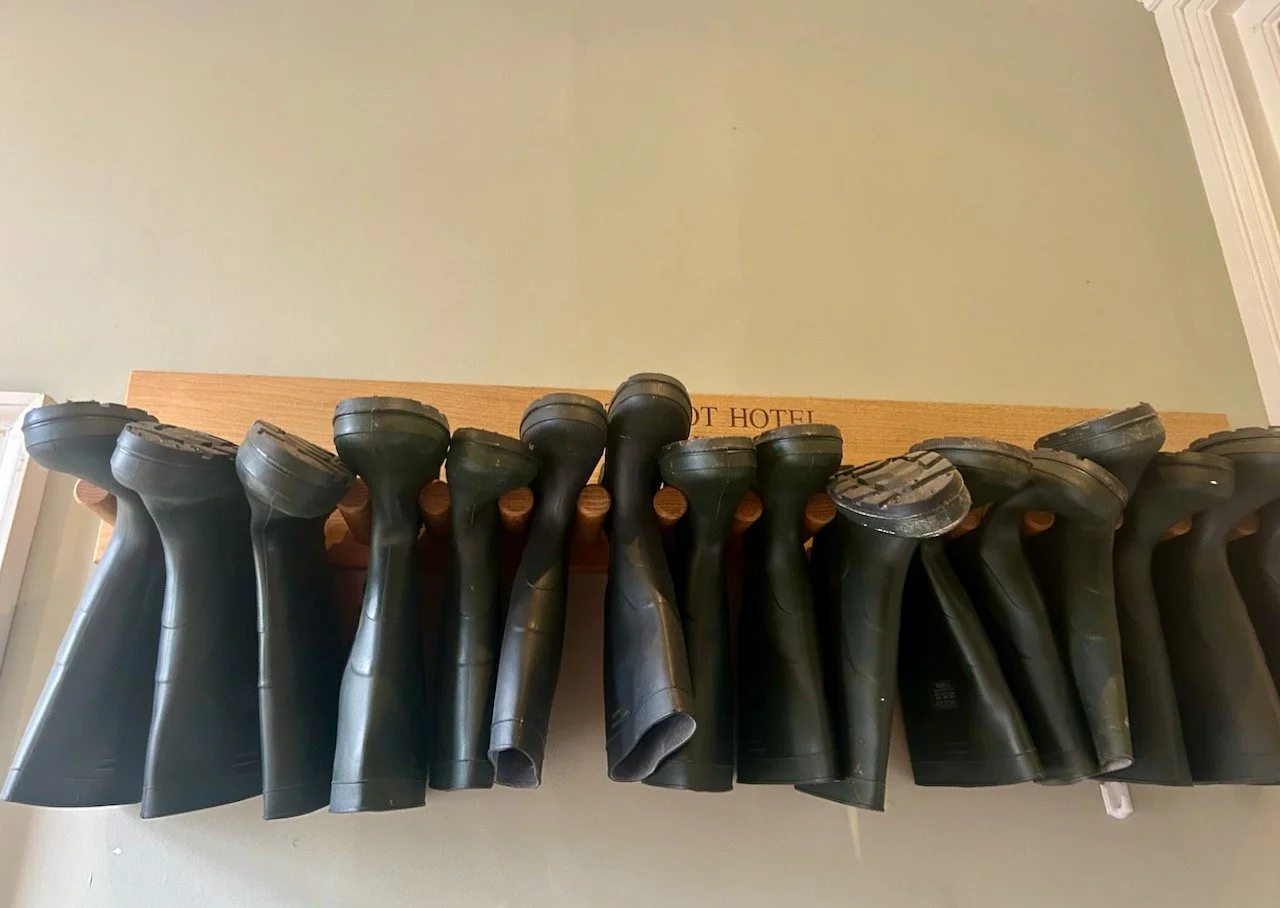
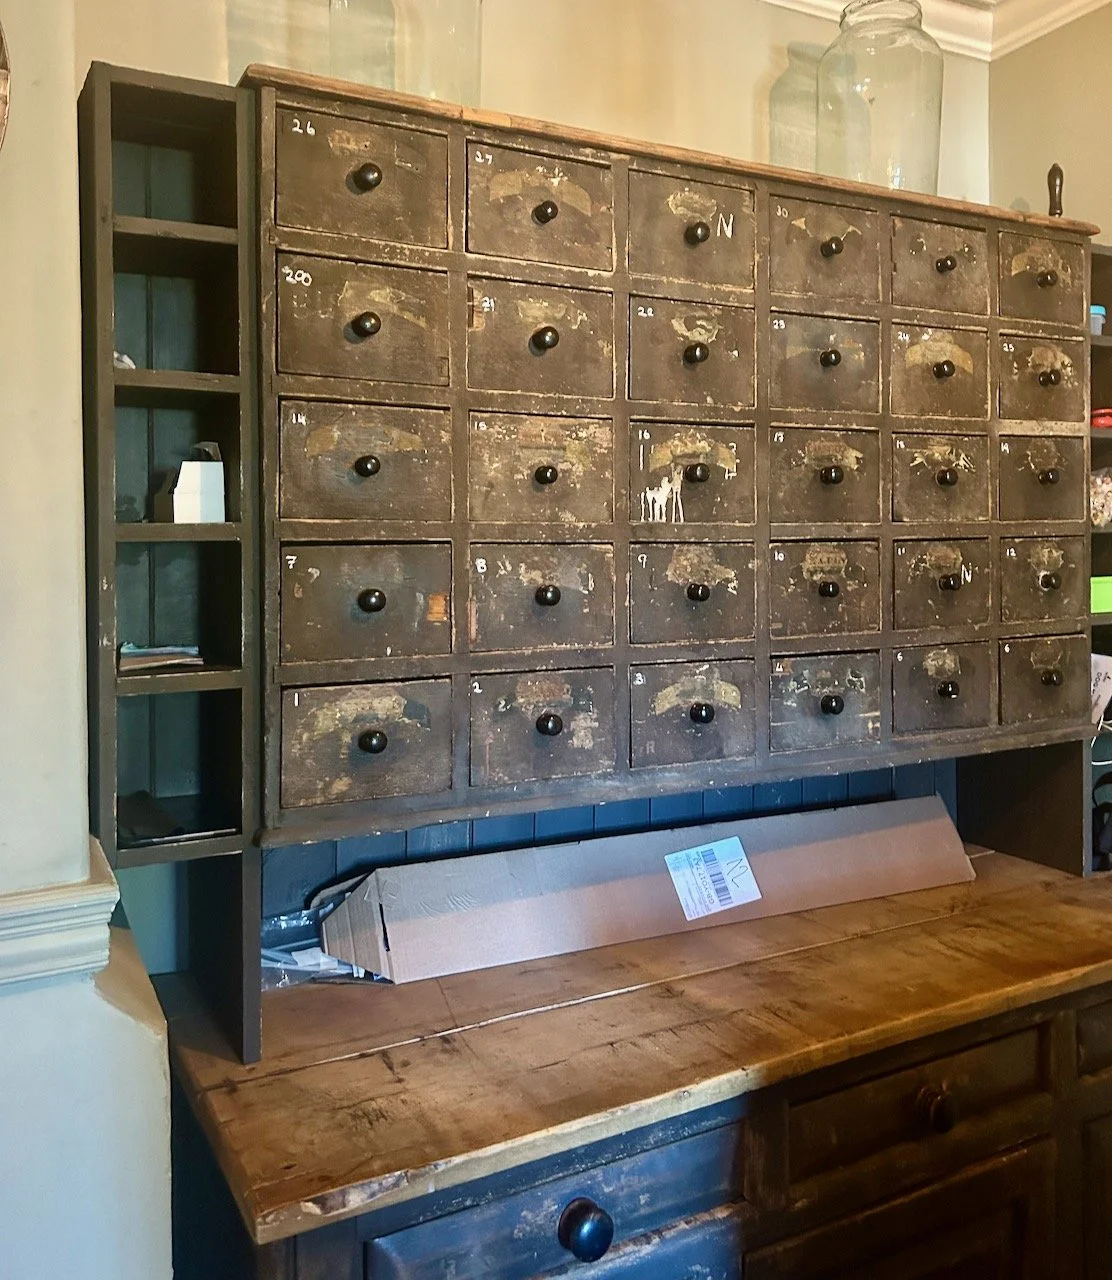
Our hotel was it seemed prepared for the weather with a selection of wellies for use in the entrance lobby, as well as chest of dreams (for me at least) which doubled up for room key storage.

Wellies hanging from wooden pegs
A vintage multi-drawer cabinet with 30 small drawers

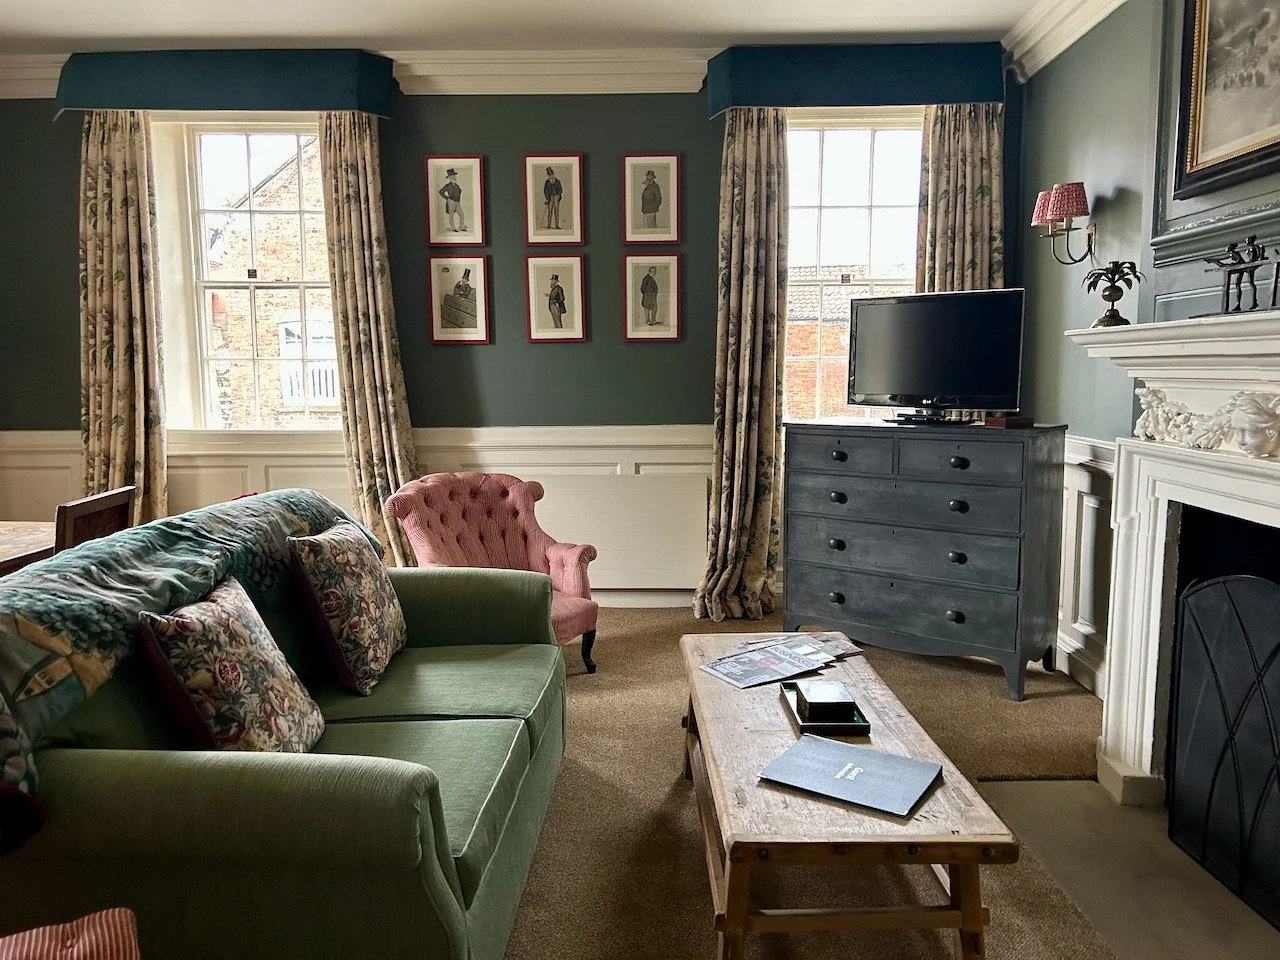
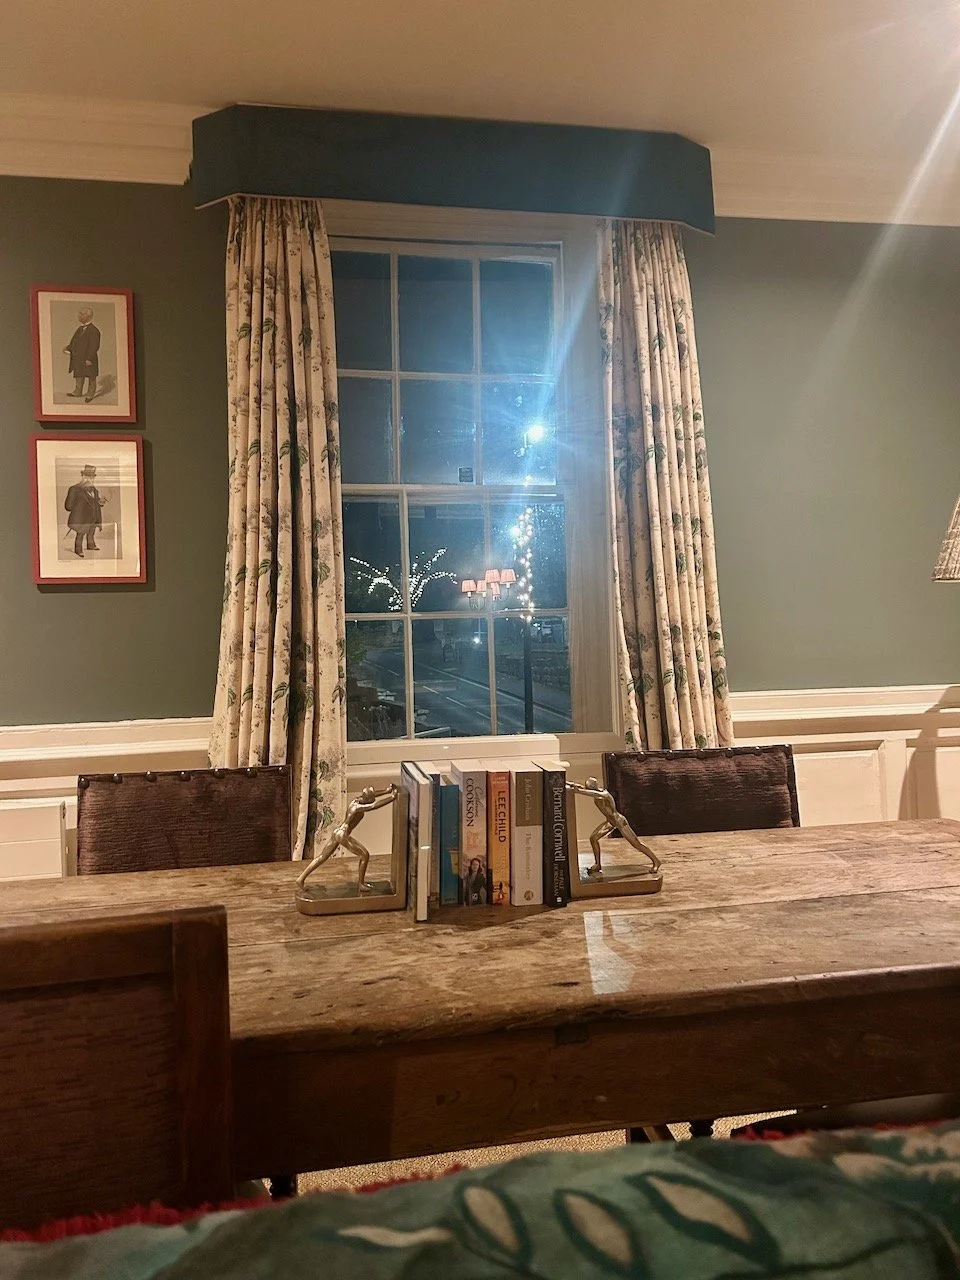
We’d struck it lucky with our hotel room which had a lounge for our use - and with the weather on Saturday, that was very welcome and very much used by us. Though we still didn’t use the TV, something about being away - we just don’t, I don’t know why.

A traditional styled room with a sofa in front of the fire, two windows traditionally dressed and a series of six portraits hanging between them
A large wooden and weathered table in the foreground with reading books and bookends, another window with the same traditional dressing and two further portraits framed on the wall

So if you’re looking for interiors inspiration and getting stuck, then think about looking in some less expected places - you never know where you’ll be inspired.

If you enjoyed this post and/or are looking to visit Malton and its surrounding area, then check out all my posts from our impromptu weekend away.

A kantha stitched landscape, and a hare too

Back at the start of August my SIL and I headed off to the Festival of Quilts at the NEC - I’ve so many photos still to edit, and posts will follow but in short so many beautiful quilts! We’d booked on a workshop, and again there were so many to choose from, so in the end I left it up to my SIL to choose which one.

And she chose well, the kantha textured mini landscape workshop by Angela Daymond. I knew little about what we’d create, but I had been to one of Angela’s workshops before at the Stitch Festival in London back in 2023. And if you go back and read that post, I’m still curious as to how the notebook will turn out as I’ve not yet ‘cooked it’ - though, I do now at least have a saucepan which I could use for this, so maybe I’ll get around to that and show the results here - but don’t hold your breath!

I was looking forward to Angela’s workshop though and was hopeful that I’d stand more chance of completing the outputs from this one, given my increased opportunities and interest in hand stitching. And I was right, but first let me show you how I got on.

A kantha stitched landscape

Unusually I didn’t take any pictures while we were in the workshop, not even of Angela’s finished piece which was a bit daft. But then again it gave me free licence to do what I wanted, and interpret the written guidance shared on the day.

This was as far as I got in the workshop.

We’d started by tracing the design using a fabric marker pen and during the workshop Angela guided the group through the different stitching methods including tips for stitching circles, and sewing with the different thickness threads, as well as how to complete the weaved effect of the whipped running stitch on the stems.

I was keen to carry on and get this finished, so the week or so after the show this became my project.

I loved how it turned out, and I’m sure that each one from the workshop will look the same but different. I decided I needed to add some glitter to mine, on the sun and in the first few circles of the sky - and then well, in for a penny, in for a pound, onto some of the red berries too.

Angela had said that to remove the blue pen you just had to go for it, if you tried to spot remove the markings then it would likely show up elsewhere in the design. So there was nothing else for it, but to plunge this into water and under the running tap.

Miraculously it disappeared. Phew!

I left it to dry on a towel, and as it was drying I began to think what I’d do with it. I decided to frame it, and as luck would have it when we were in the framing shop getting the Vogue pictures framed, I spotted some small frames made from offcuts in the sale. By now I also knew that I wanted to do another one, so I picked up two frames - and added my landscape into the pale green frame.

Designing my own version, with a hare

I’d enjoyed the kantha landscape so much I decided I would do another picture to fill the second frame I’d bought. I knew I had some ‘hare’ stamps and thought one of those might work with a similar horizon as before. In the end I flipped the background and half-traced half-drew the hare in the bottom right corner.

Then I got sewing. I used the same yellow and blue threads from the workshop - there was (and still is) plenty left. But I decided on something different for the ‘land’ and for the hare itself. I had some crochet threads from mum and thought the neutral-green-pink reel would work for the land, but also added a thin darker grey thread to this, sewing with two threads, to give it some extra texture and to keep a consistent colour throughout both ‘land’ sections.

For the hare I used another variegated thread, this time ranging from brown through to bright pink. What do you mean, you’ve never seen a bright pink hare?! Me neither, but hey, I think there may be hares out there wishing they were pink!

Once again the fabric marker pen washed out easily, and revealed the end design.

That too has been framed, this one got the gold frame - but both are now in our spare bedrooms on two of the four fabulous bedside tables, and they look great. I’ve plans for something slightly different on the two bedside tables which remain empty, but that idea yet to be started, so it may yet turn up on a ‘future stitching project’ list at some point. But in the meantime I’m going to enjoy these, and I hope our guests will too.

Blues and greens

I’ve made another quilt as part of my quilting ‘stretch’ project using the block from Sherri at A Quilting Life’s mystery block a month. As I said then I don’t know if I’ll manage to make a quilt a month, but I won’t really know unless I try…

And now I don’t want to not achieve this goal I’ve set and so on I go.

This month I’m sharing my tenth charity quilt but it’s now a pile of one as the other nine have now been donated to the Mansfield Coordinator of Project Linus UK.


My tenth charity quilt

After last month’s attempt to use all the scraps remaining from the quilts I’d made so far (and failing spectacularly if I’m honest!) I decided to take a similar approach this month, but also I wanted to some non-pink sewing for a change. Or mostly non-pink as it turned out.

These were the fabrics I pulled from my stash scraps - most have already featured in previous charity quilts, but not all. The plain blue was from a Hobbycraft fat quarter bundle - isn’t it a stunning colour? - and definitely not pink!

A selection of fabrics from my stash and from leftovers from previous quilts - mostly blues and greens this time round

I’d found some other older pieces of material together in a bag recently and so some of those offcuts, and larger pieces also made their way into this bundle. And there’s a lot less pink than I’ve sewn with recently, I just think my eyes needed a change.

This month’s block is a patchwork star, which is similar to April’s block - the difference is the centre square comprises four squares rather than a single larger square. I realised that I needed a plain for the background, and that’s where the blue came in.

Piles of squares and oblongs cut ready to sew into the patchwork star block

The patchwork stars came together pretty quickly, and were a favourite to sew despite the many options for misplaced seams, thankfully most of mine were pretty well behaved. There’s a lot of small triangles that go to waste with this block though, and I can’t help but think there must be a use for them…

All four central blocks are on the left (partially obscured) of the wool mat, and a pile of small triangle cuttings are on the right hand side

Adding the borders

As I was using scraps from previous quilts I didn’t have enough of each for all the borders to be the same, so I took a different approach to random this time. I split my border fabrics into two piles, and laid out the strips to see how they might work, but keeping them in their respective ‘half’ of the border.

The four blocks are laid out in a square - they have two of their three borders already attached

I’m much happier with this more controlled random approach - and I used up a fair bit of the already cut fabrics too. And yes, that green really is quite vivid - it was an old summer top of mine, and I loved to wear that vibrant colour.

Deciding on a layout

This month was trickier than I expected it to be. I had the white and grey zig zags in the middle at one point, I tried a stepped approach across the quilt with the dark paisley print, but in the end I kept coming back to this layout.

The finished four blocks laid out with the darker paisley print forming a cross pattern

Which meant I could add the blue as a border, which helps bring this one together I think.

A blue border is added to the assembled four blocks

I’ve returned to straight line quilting for this one, but in a shocking turn of events have done this freehand (completely) for the first time. No sticky tape to help with the lines this time round, and no ill effects either. In fact I think this was one of the most enjoyable quilting sessions I’ve had, and quickest too as I managed to complete this in just two one hour sesions.

A quilting action shot - the quilt being quilted

It looks ok doesn’t it?

Now quilted the wadding and backing are added - the wadding shows beyond the blue border

I’ve still a little bit to finish on this one before I can say it’s complete. The binding is attached on the front and just needs handsewing to the back, which I plan to finish this weekend. But that small detail isn’t going to stop me sharing it here (and I’ll most likely add a final completed photo once I’m done).

And it’s done

The finished quilt - complete with the binding handsewn onto the back

So that’s the tenth quilt done, and I’m back on track with my relaxed timetable for the block of the months - I’m actually a little ahead as I’ve already started the centre blocks for the September quilt, but that is most definitely for next month’s post!

You can see my other quilts which I’ve made to donate to Project Linus - a charity whose mission is to provide love, a sense of security, warmth and comfort to children, who are sick, disabled, disadvantaged or distressed through the donation of new, homemade, washable quilts and blankets, including those that are part of this ‘stretch’ project in earlier posts. I’m aiming to publish an update on my progress in the last week of each month for the remainder of 2025.