

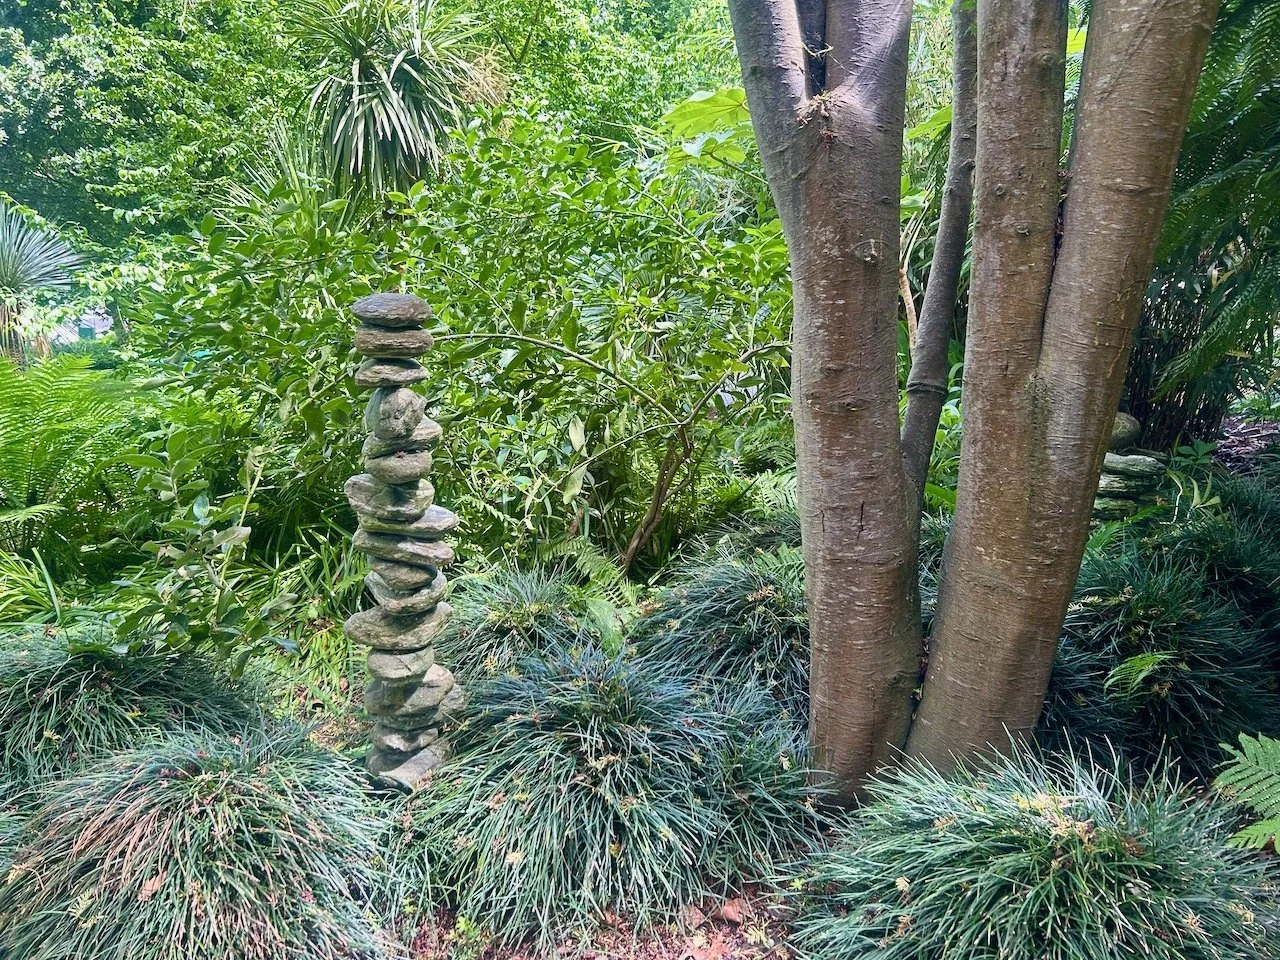
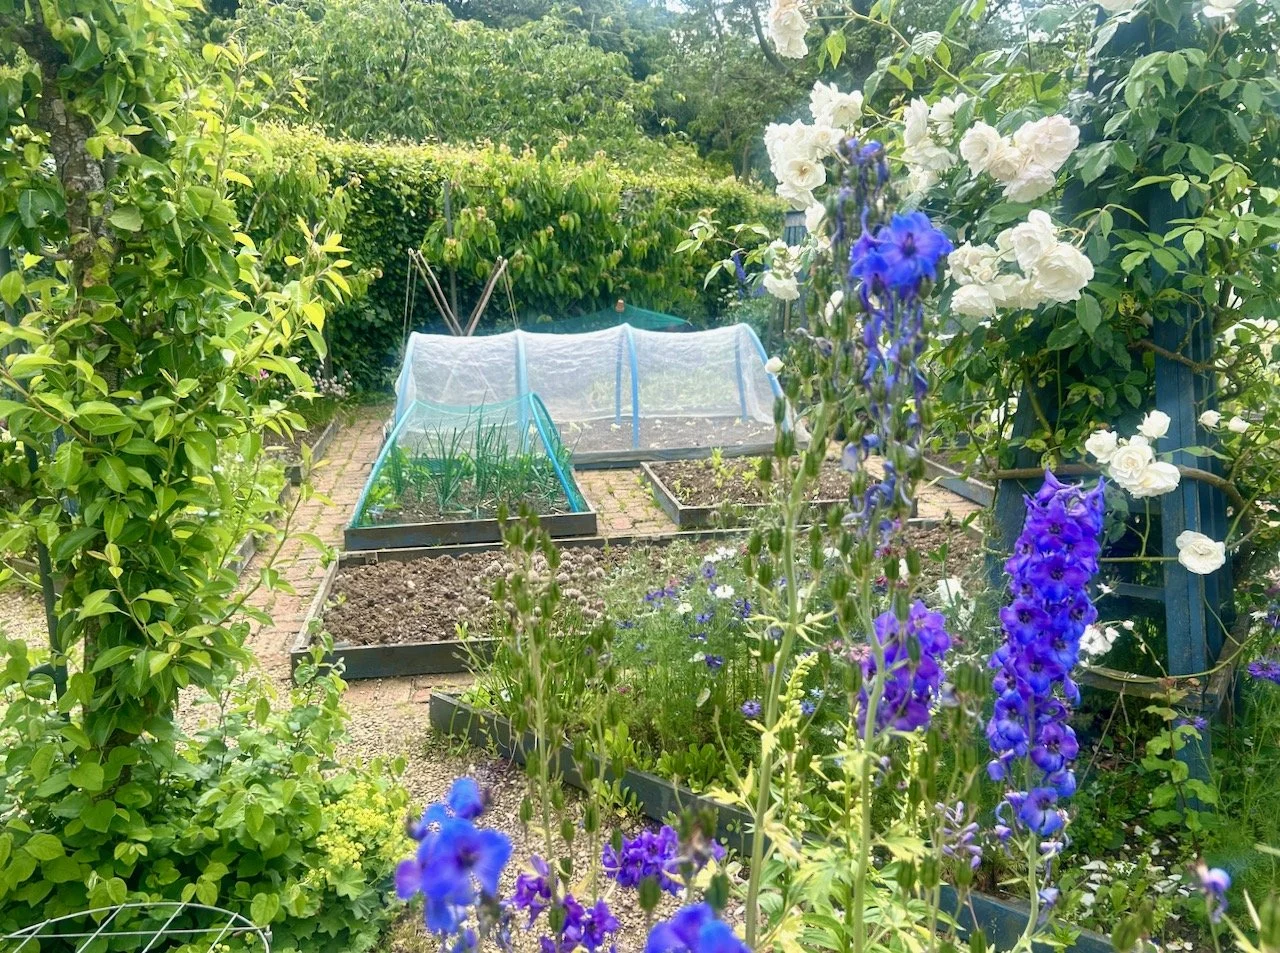
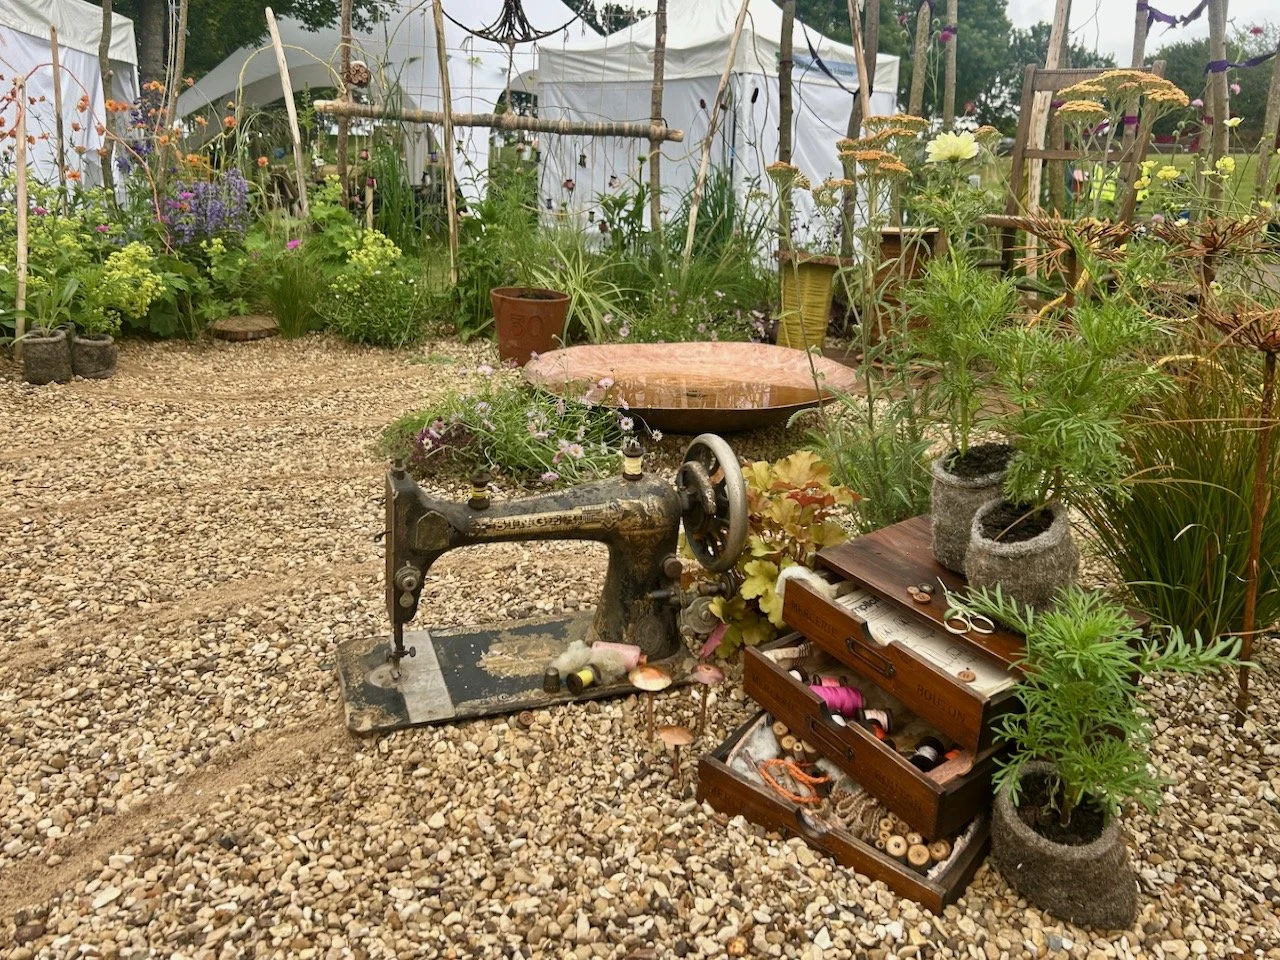
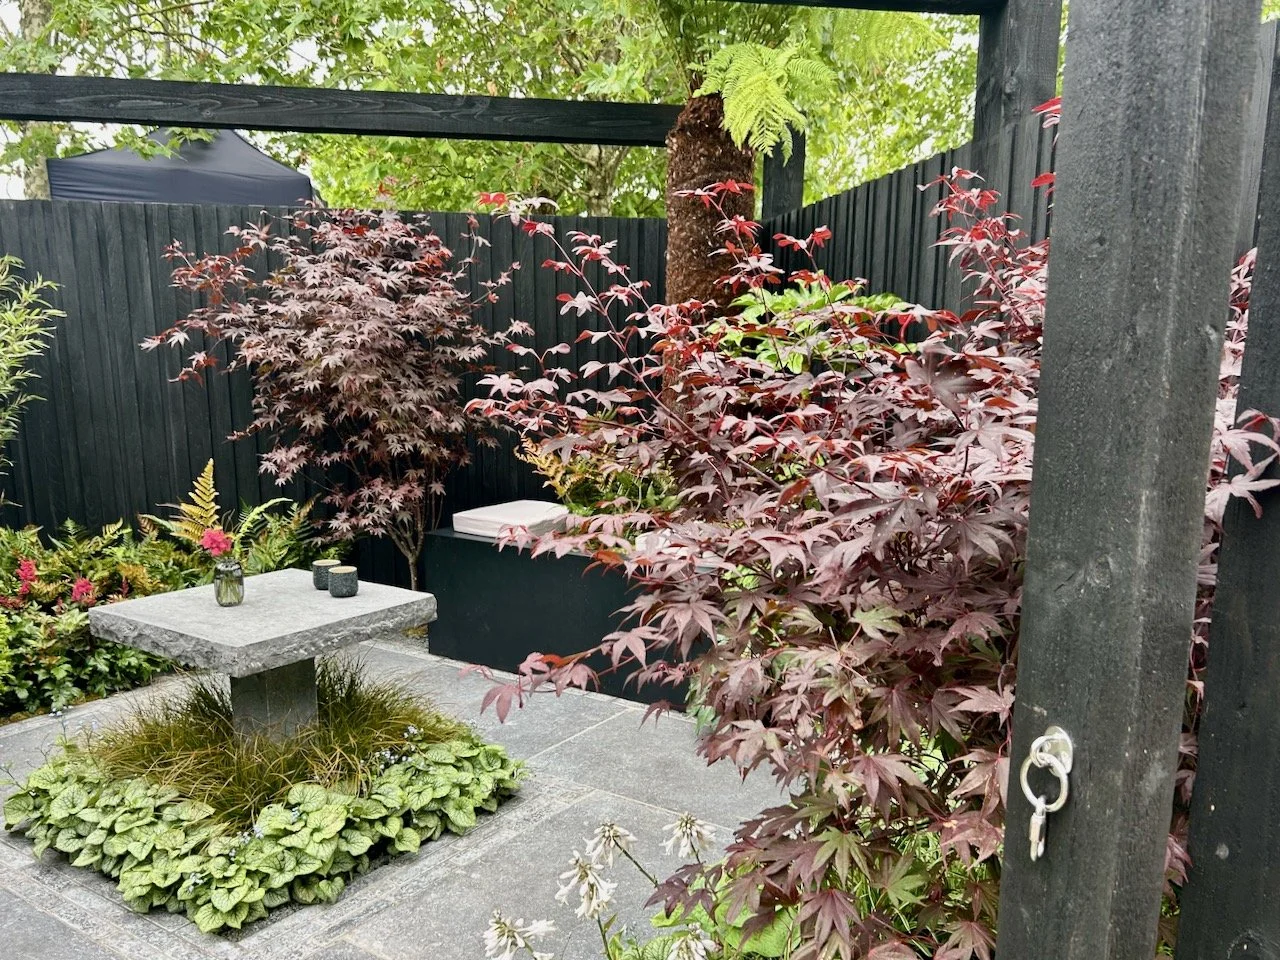
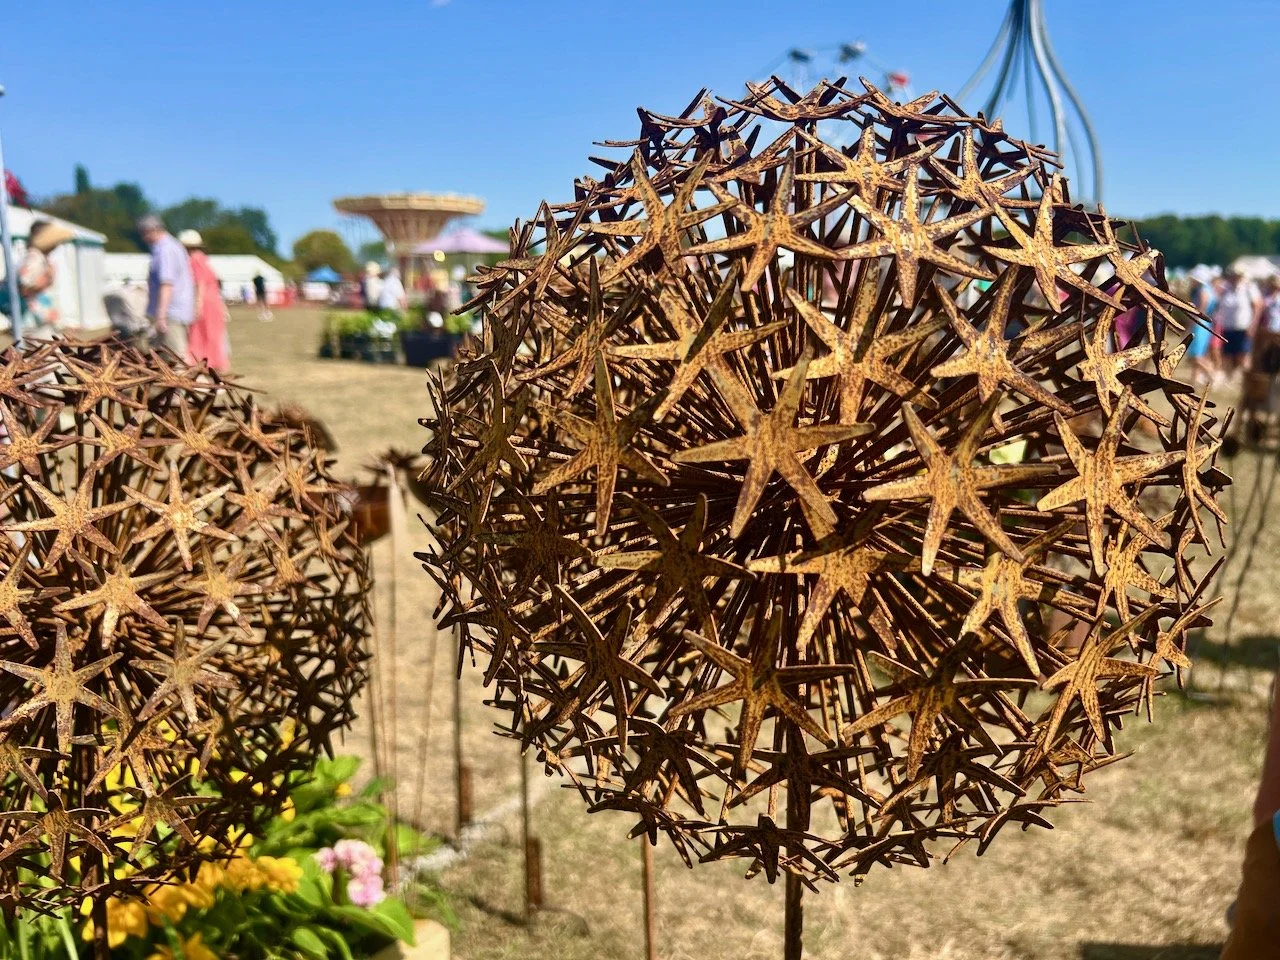
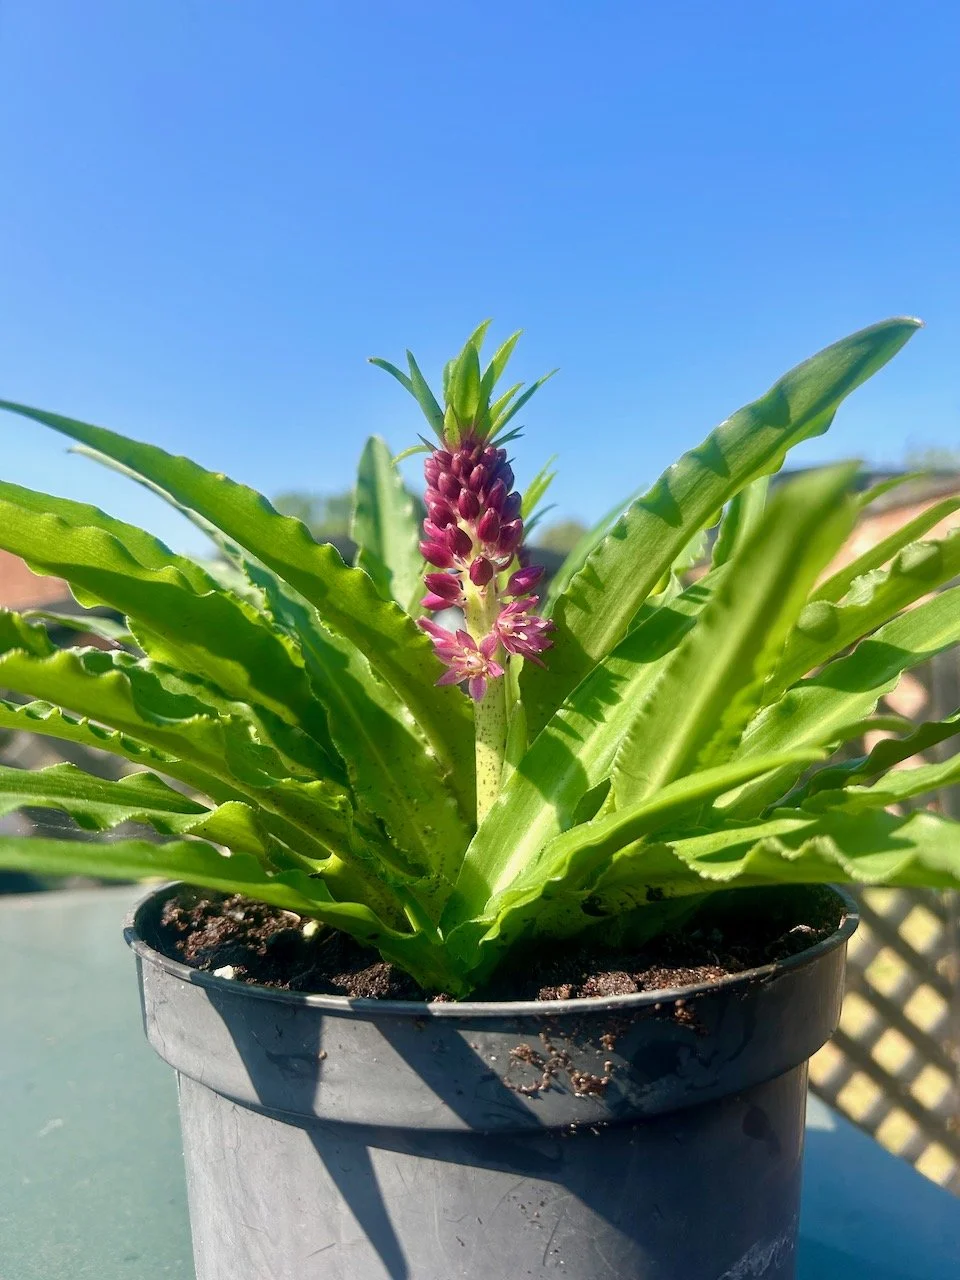
Flowers everywhere you look at Barnsdale Gardens

* I was invited to a press visit at Barnsdale Gardens earlier in the summer, so my posts from that visit will be marked as 'Ad’ though as usual my views and opinions are very much my own.

In the first post in this series I admired the veg plots at Barnsdale, and when I say plots I mean multiples. It’s the same for the flower gardens, though there are many, many more so compressing what I saw into a single post has been a challenge, to say the least!

Though it has been glorious to look back at my photos of the summer flowers, yes peonies and roses galore - what’s not to like?
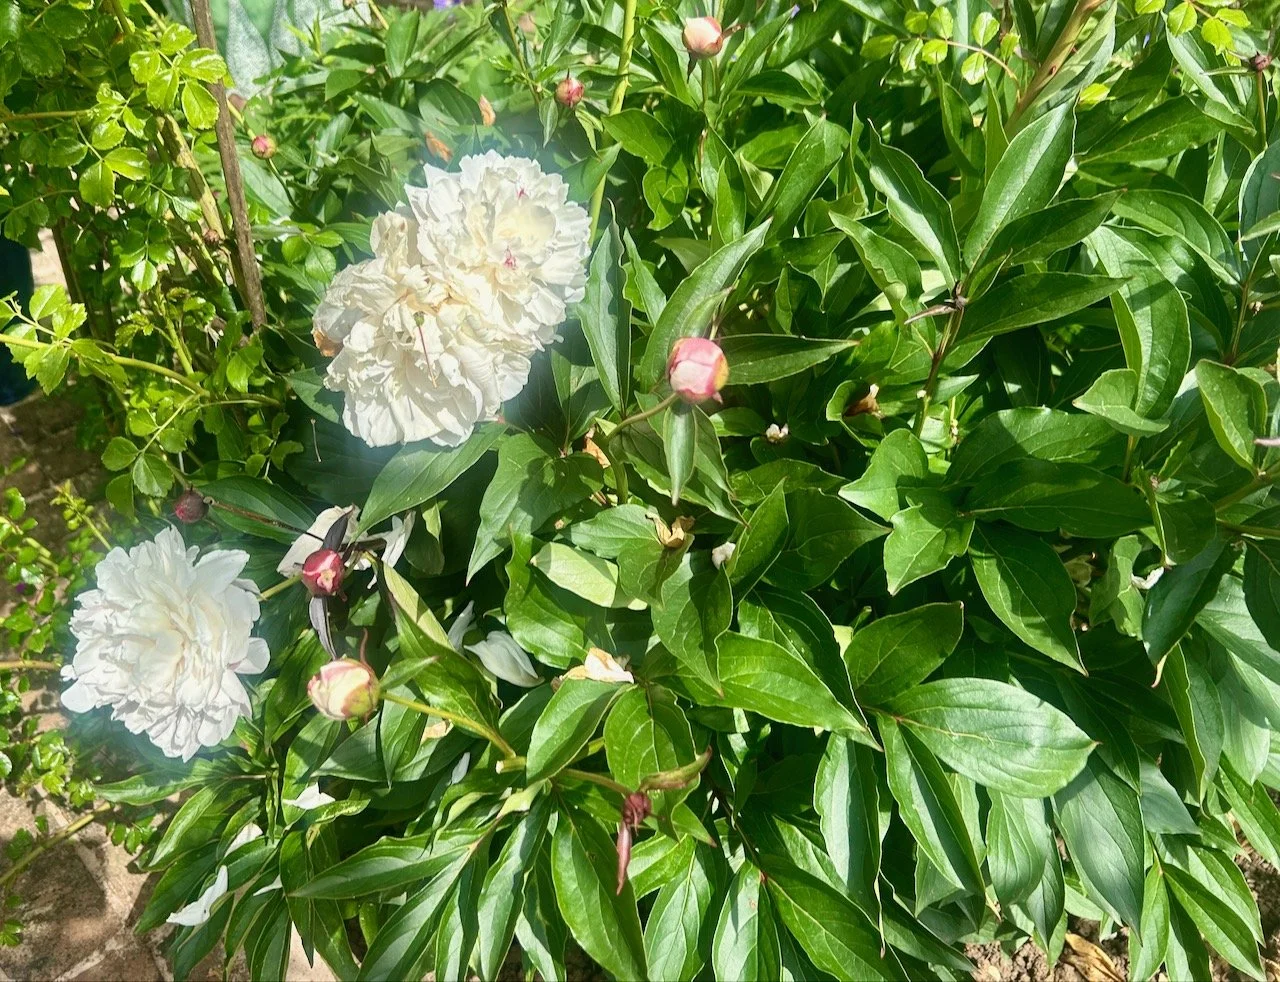
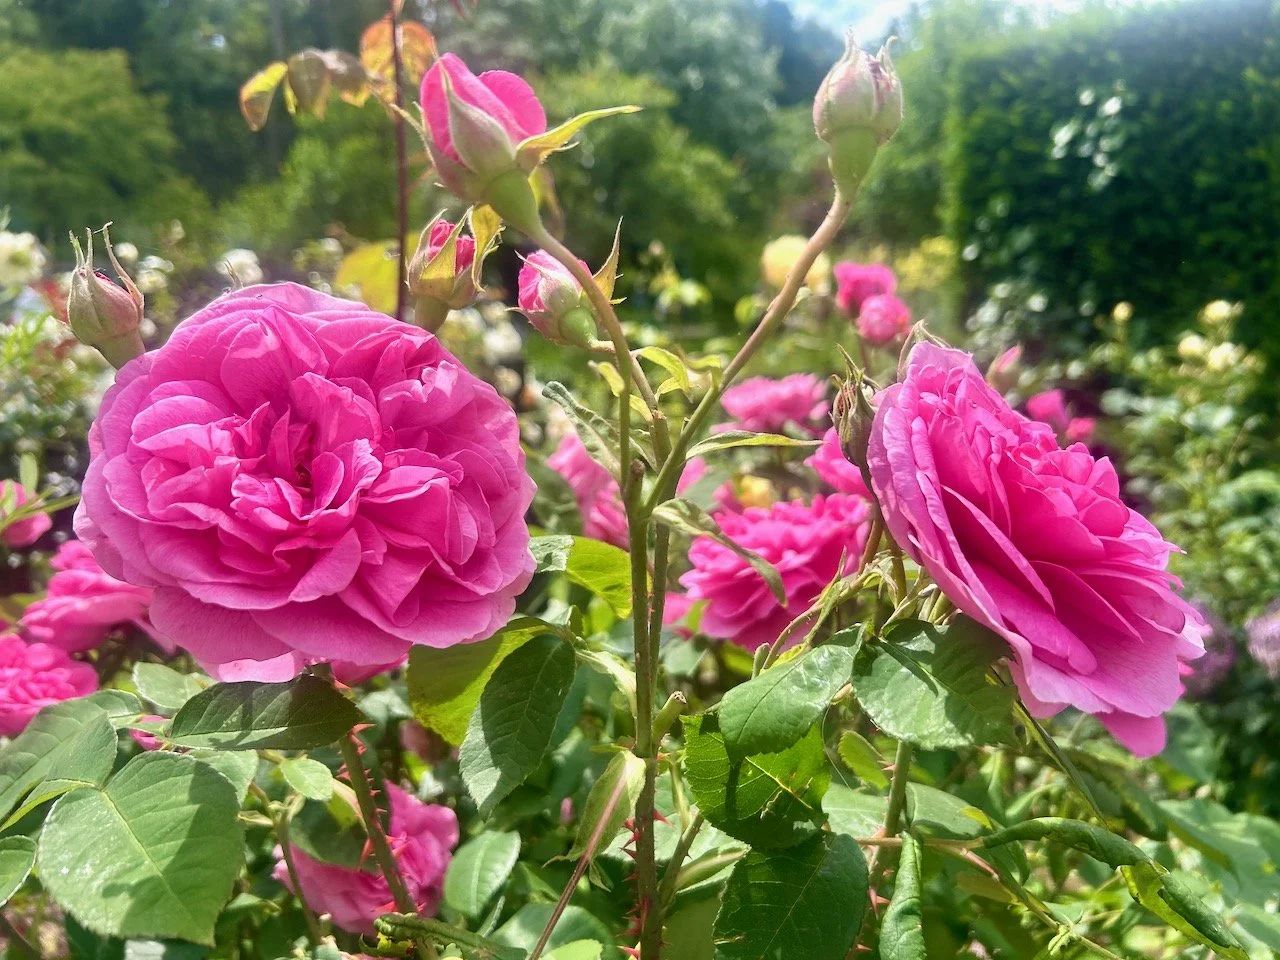
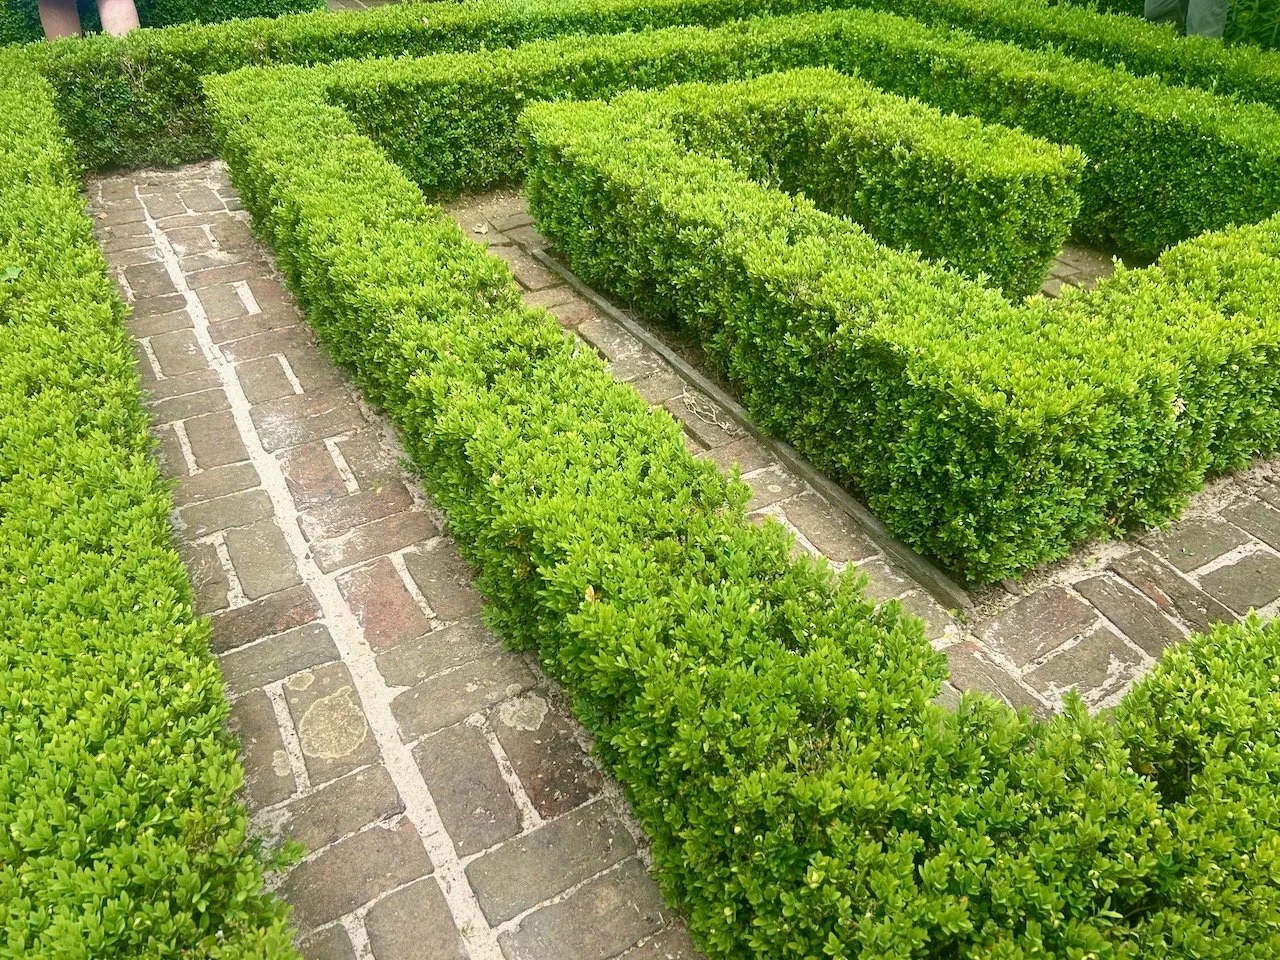
Both of these were in the Summer Cottage Garden (No 28) along with this low level box edged path - and while it’s not a flower, it’s too good to exclude.
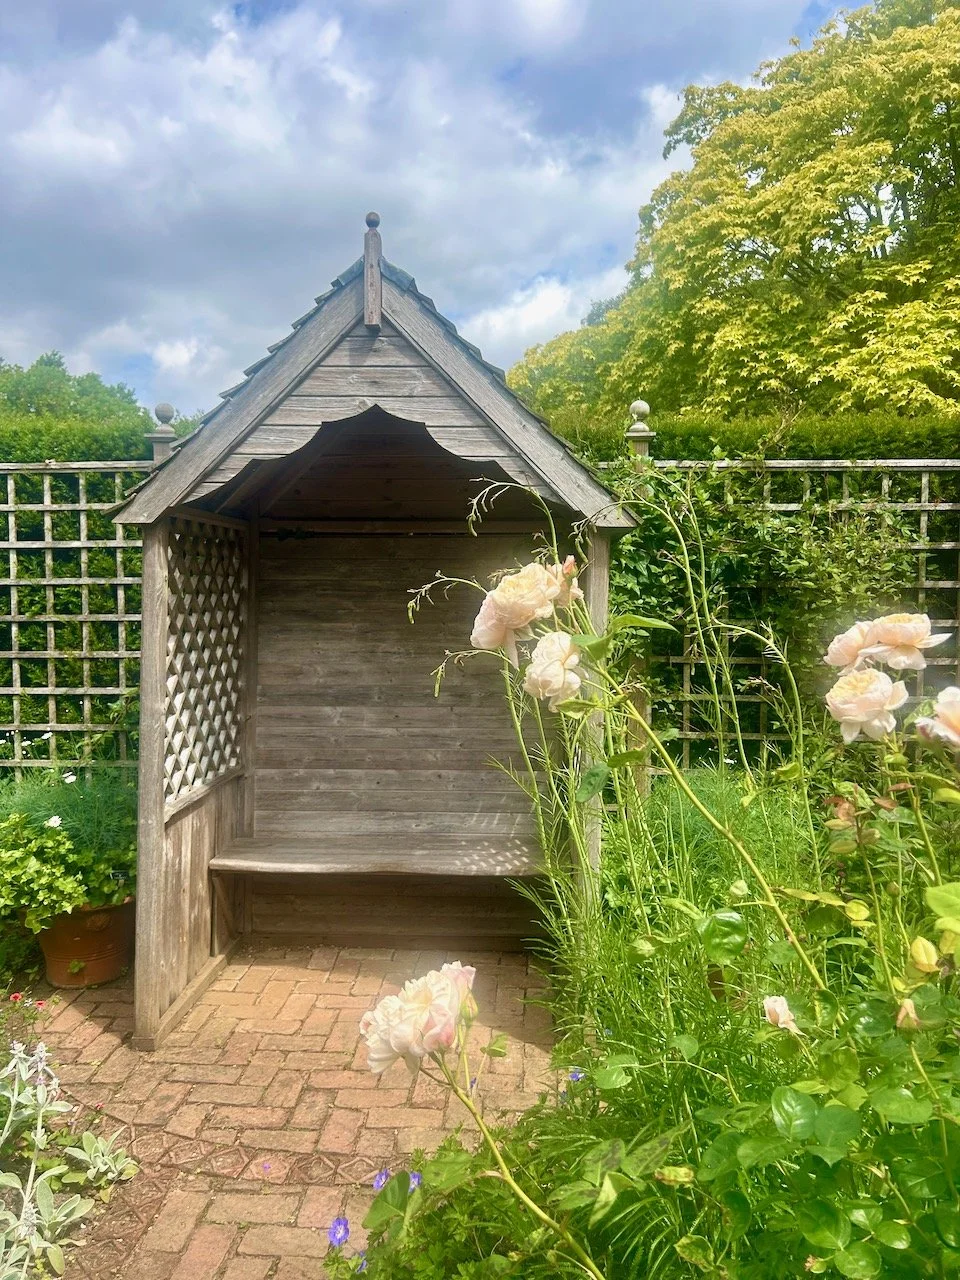
These next photos are taken in the Gentleman’s Cottage Garden (No 4) and the first shows the benefits of having somewhere to sit in all weathers. We learnt this in our previous garden as you don’t always want to drag out the garden furniture, in that garden the raised sleeper beds provided the ideal place to perch with a cuppa.
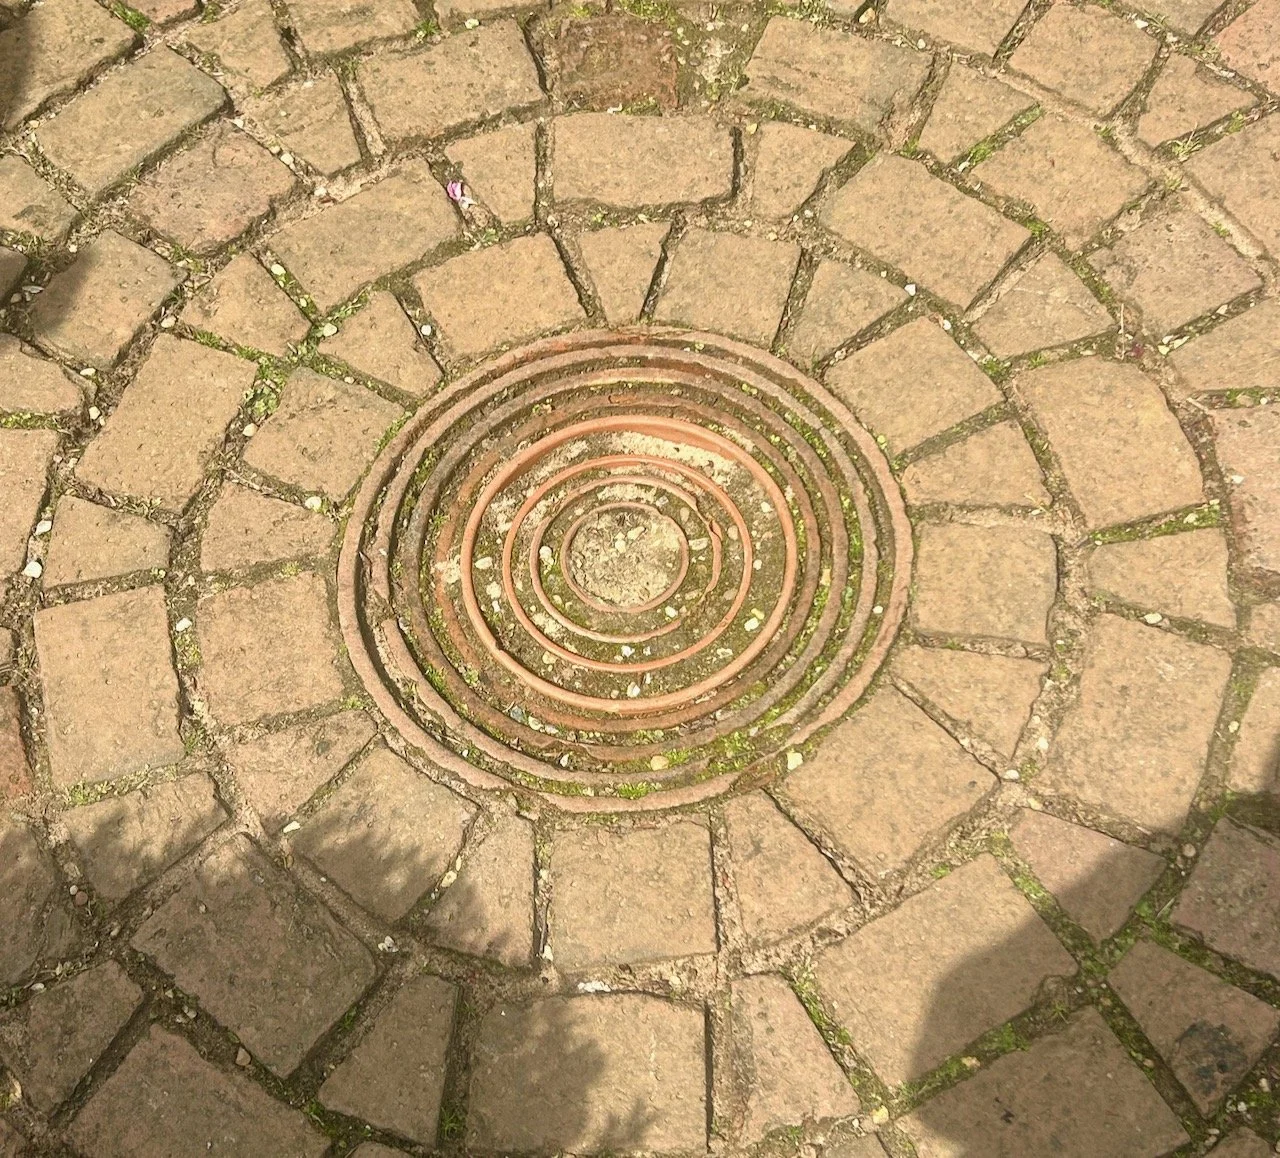
The central point of the garden was this buried stack of terracotta pots - another effective idea which could easily be replicated in our own gardens.
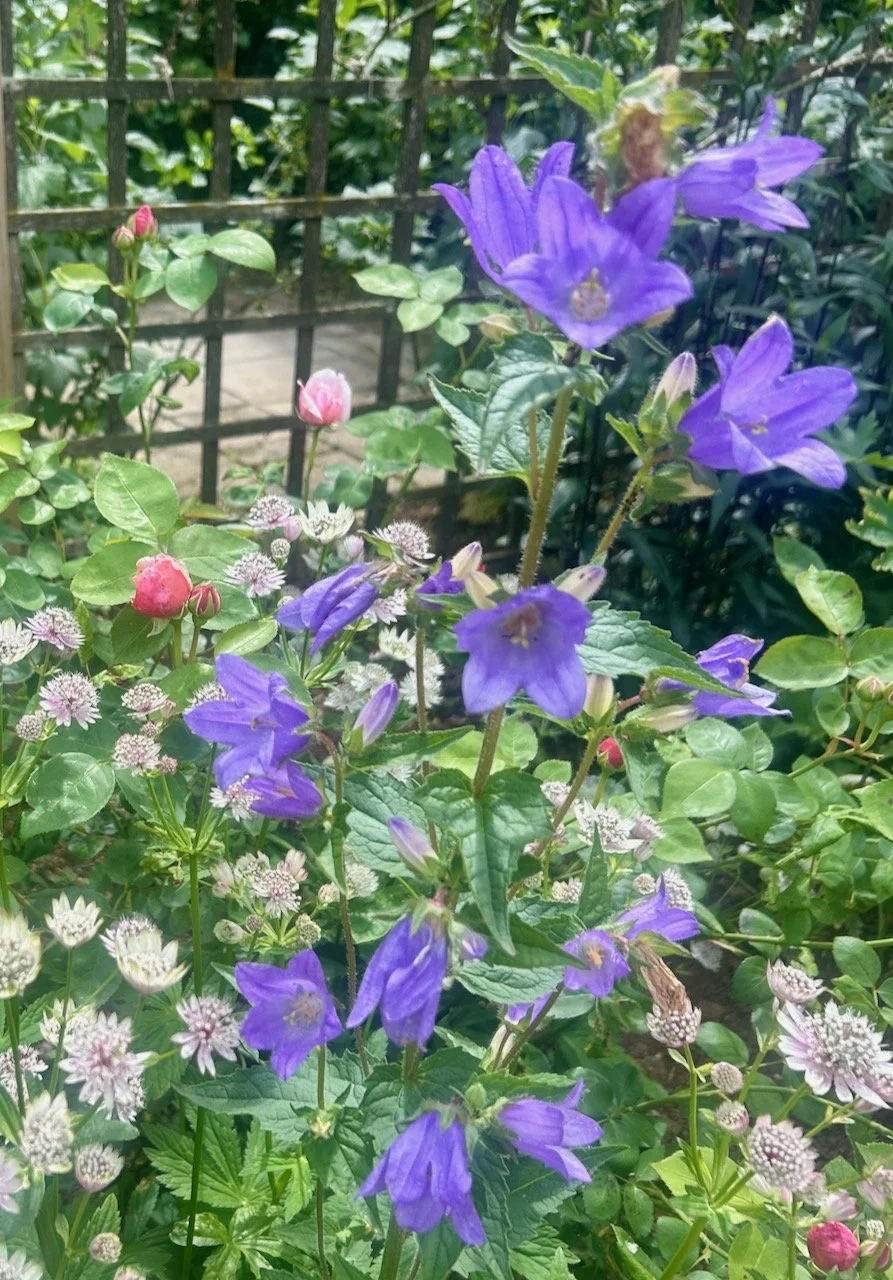
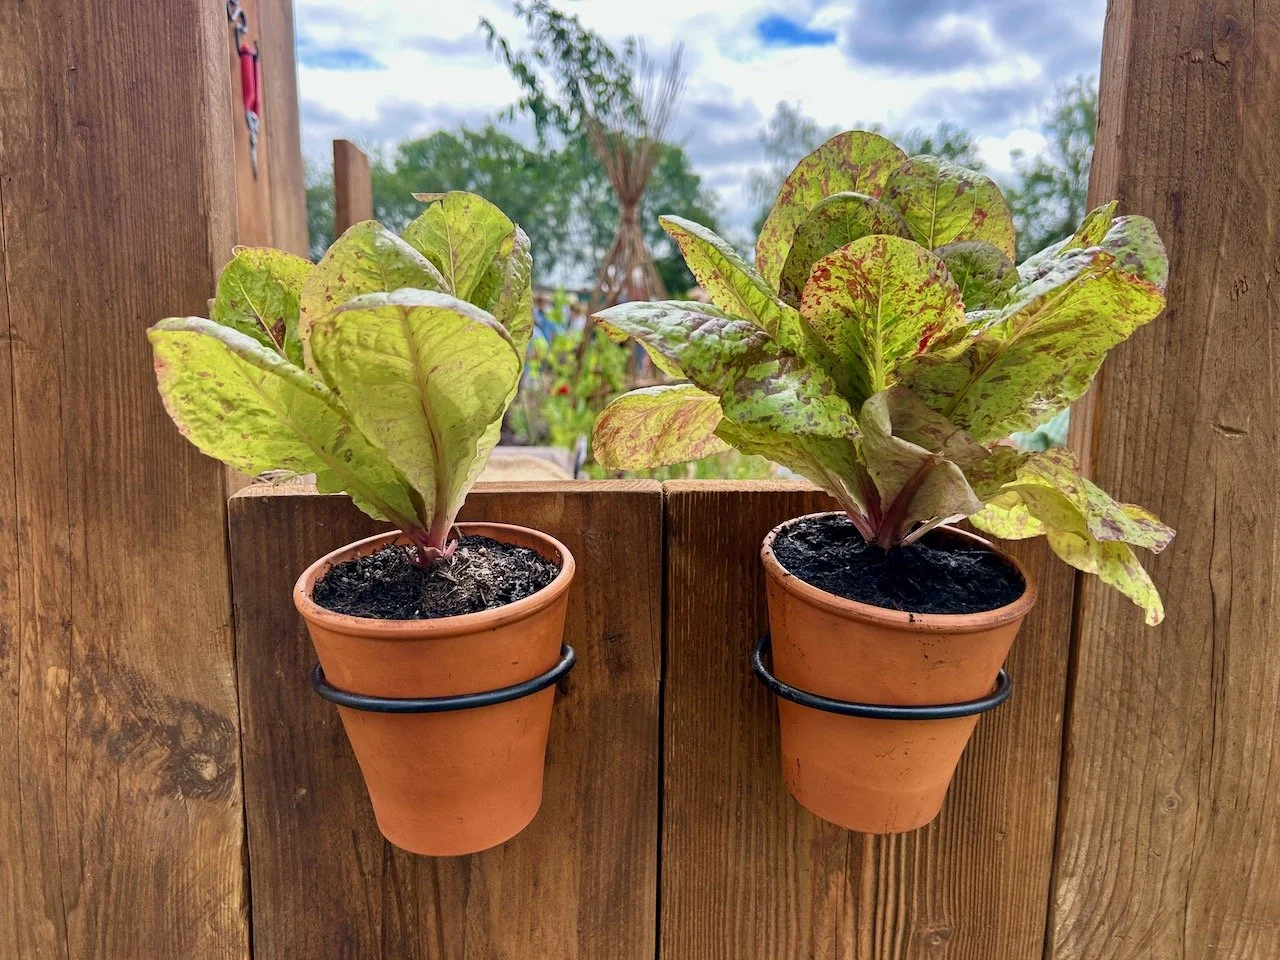
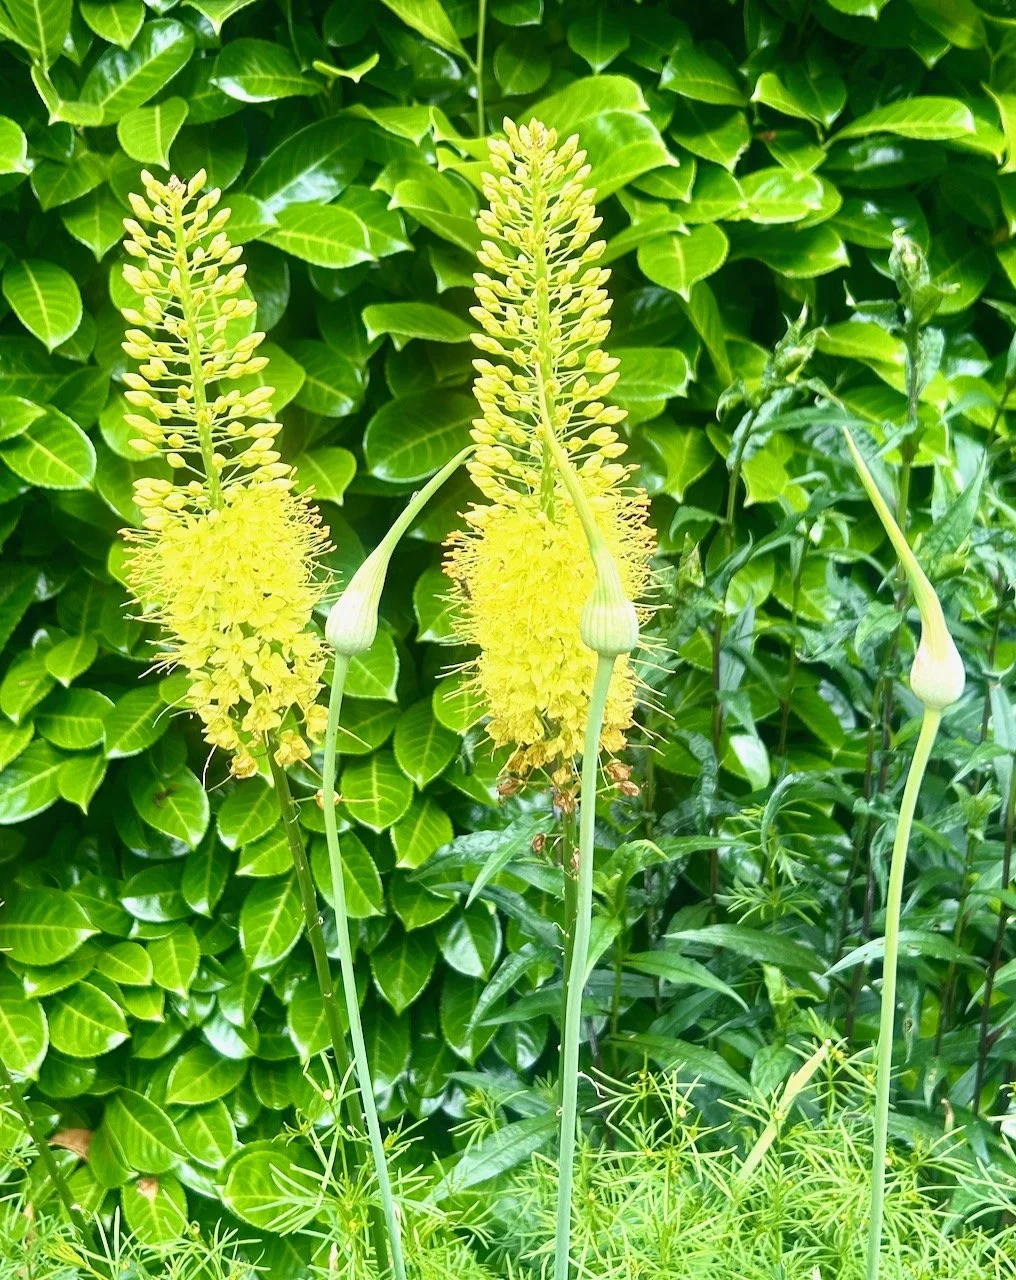
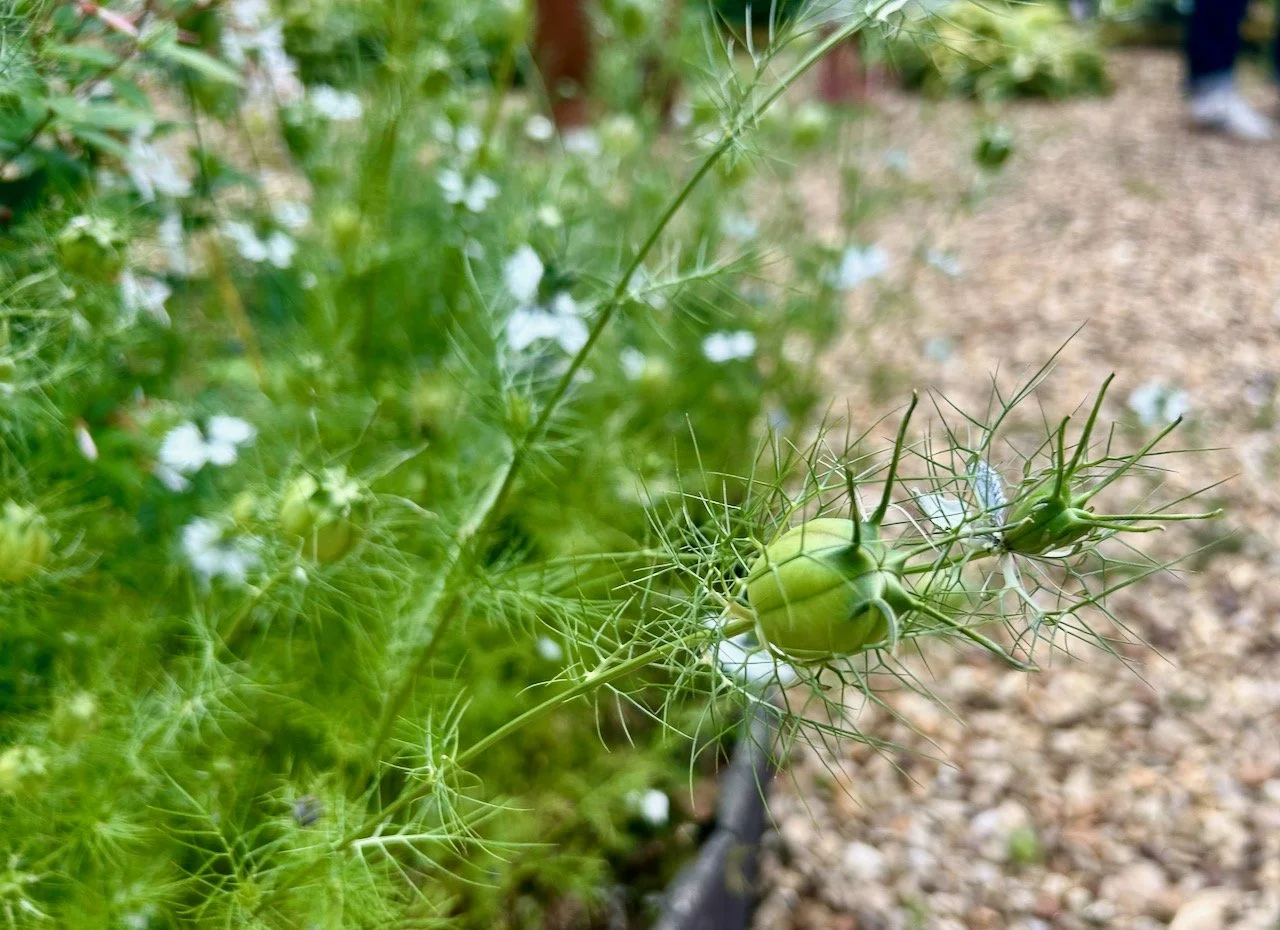
As you’d expect the Cutting Garden (No 12) was full of flowers, but these tall flowering stems with the almost onion like seed heads were my favourite from this garden. The free flowing love in a mist reminded me that I have some seeds from my FIL’s garden which I should probably plant, though it turned out that the heatwaves this year scuppered my seed sowing efforts. I’d started with lettuce, which were a bit hit and miss so decided to pause any greater plans for this year, which turned out to be a wise decision.
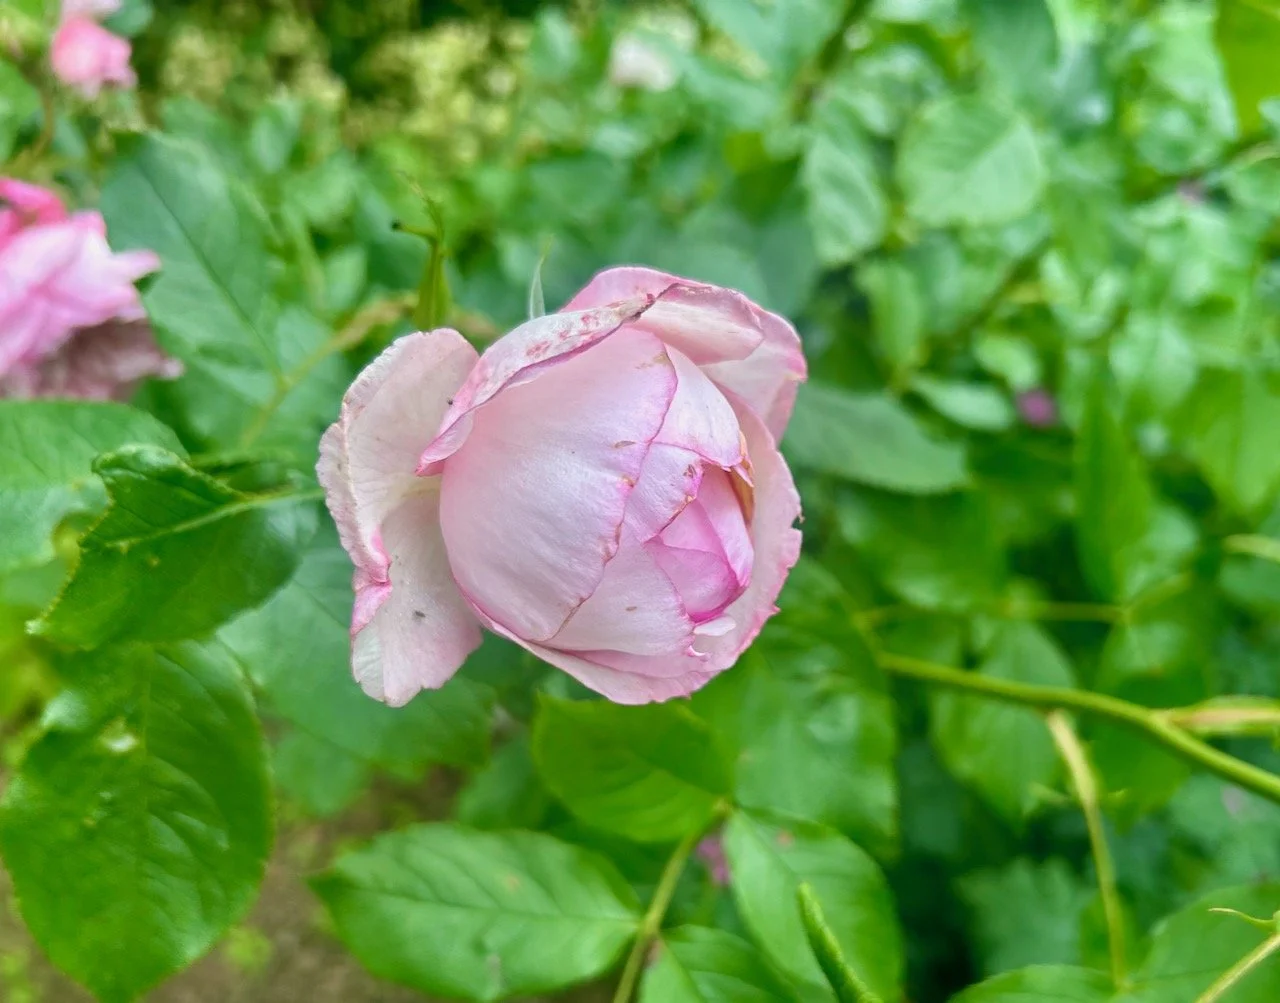
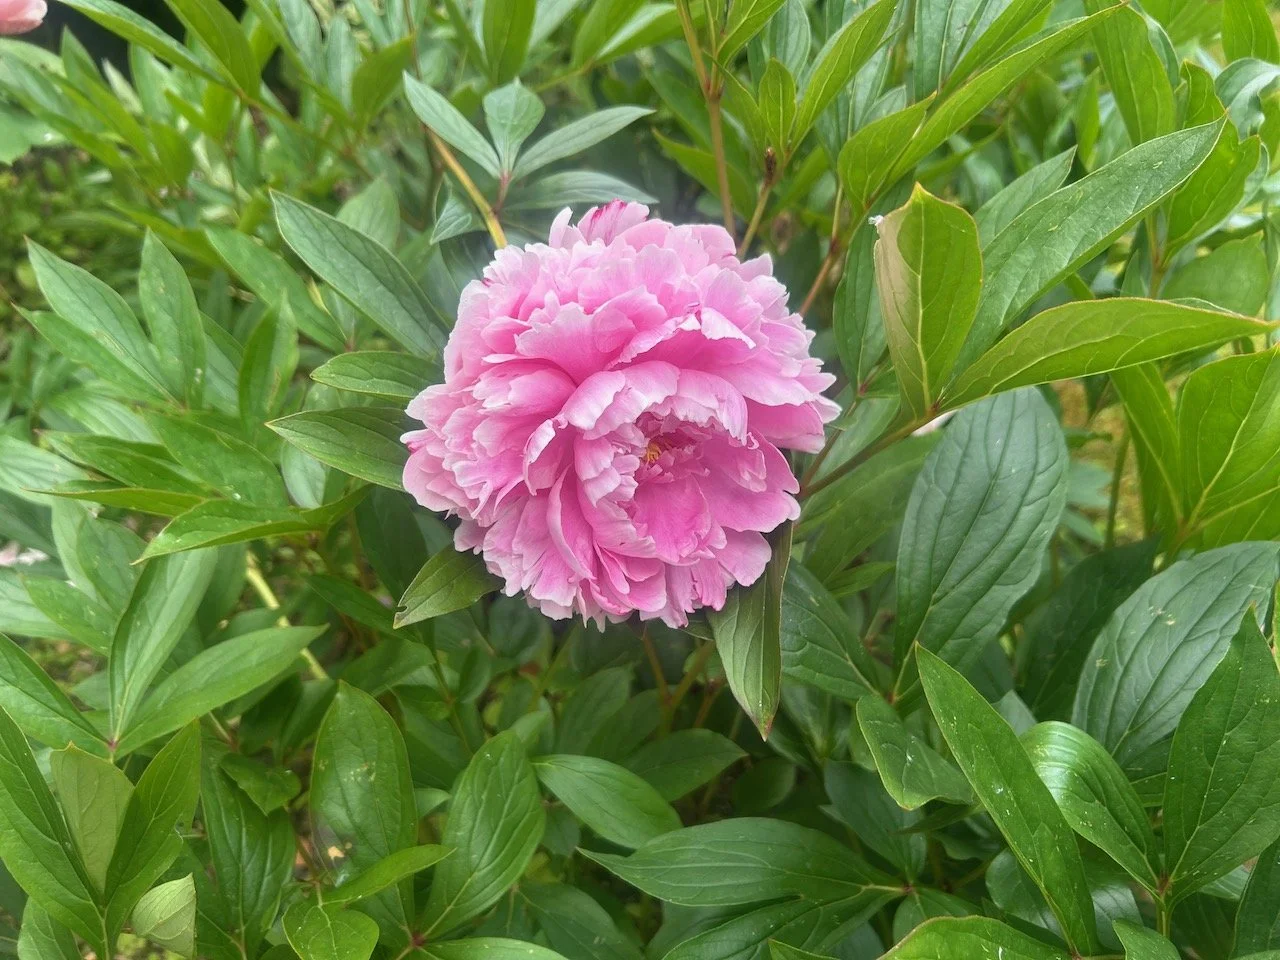
I snapped this delicate looking rose in the Versailles Summer border (No 16) while the peony is from the Country Paradise Summer Garden (No 36), which also has the sign to beware of the hidden pond, which I wrote about after my first visit to the gardens.
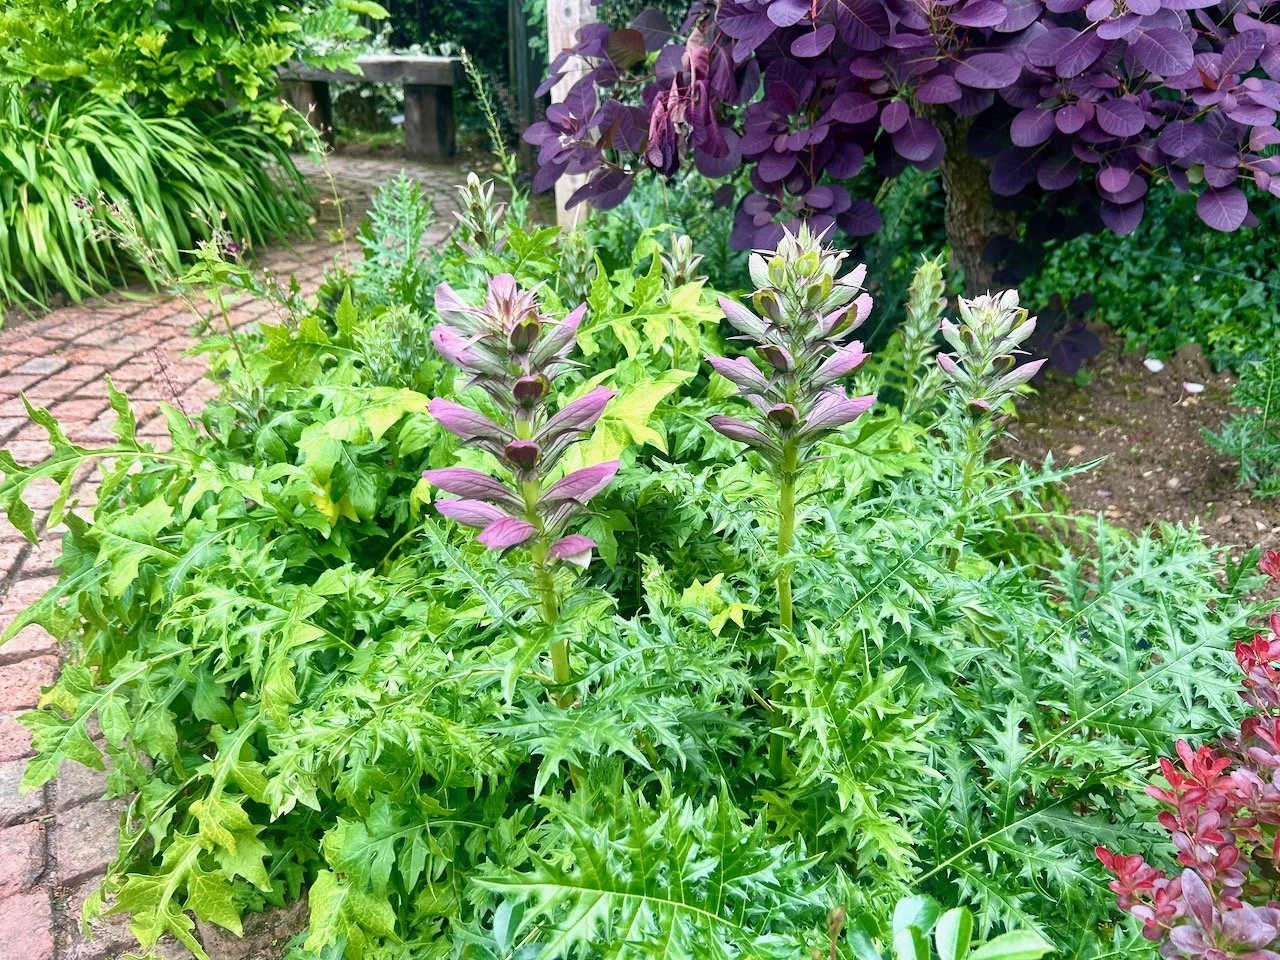
It was no surprise to me that I fell in love with the layout and contents of the Plantsman’s Garden (No 27) and it was a good reminder to put this acanthus on my plant wish list.
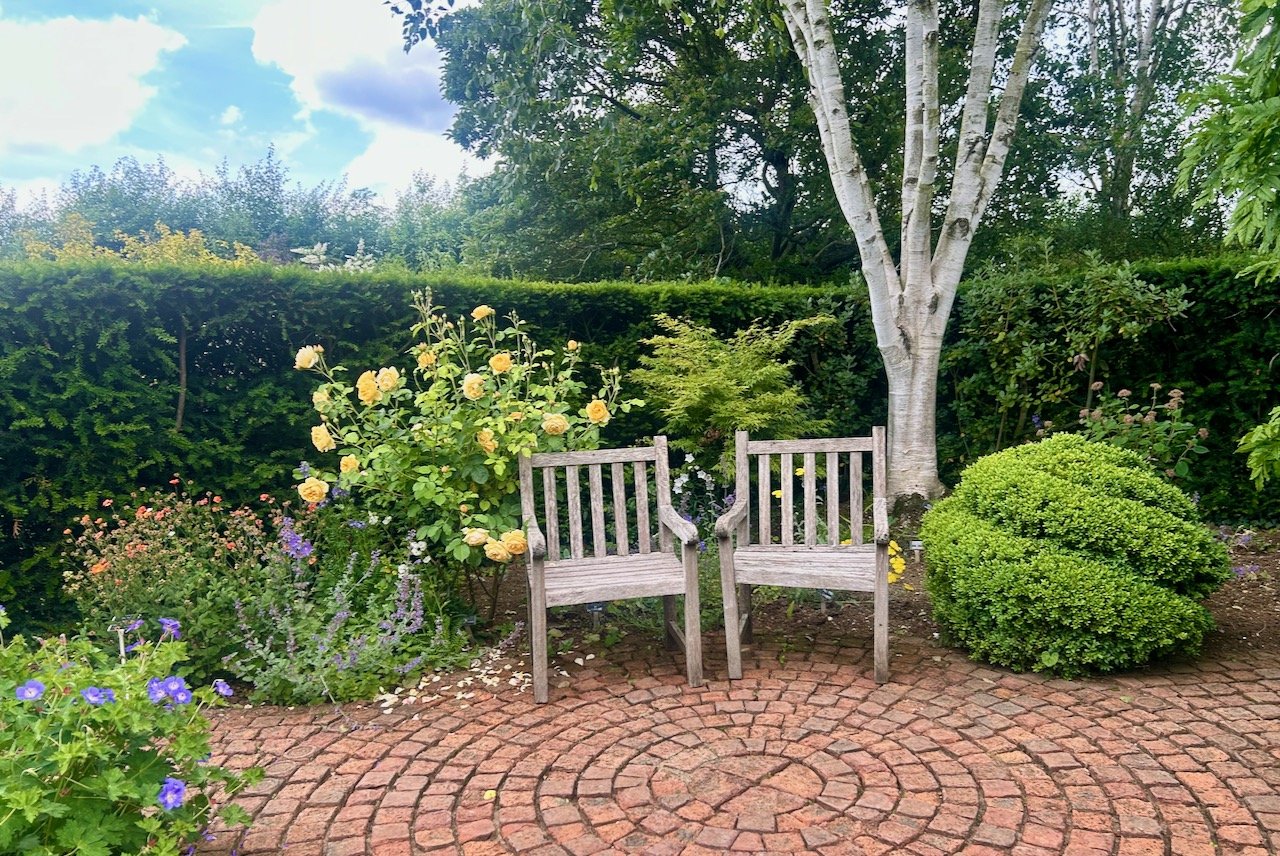
And look, I’ve managed to sneak in another topiary into this post - oops! But what a shape!
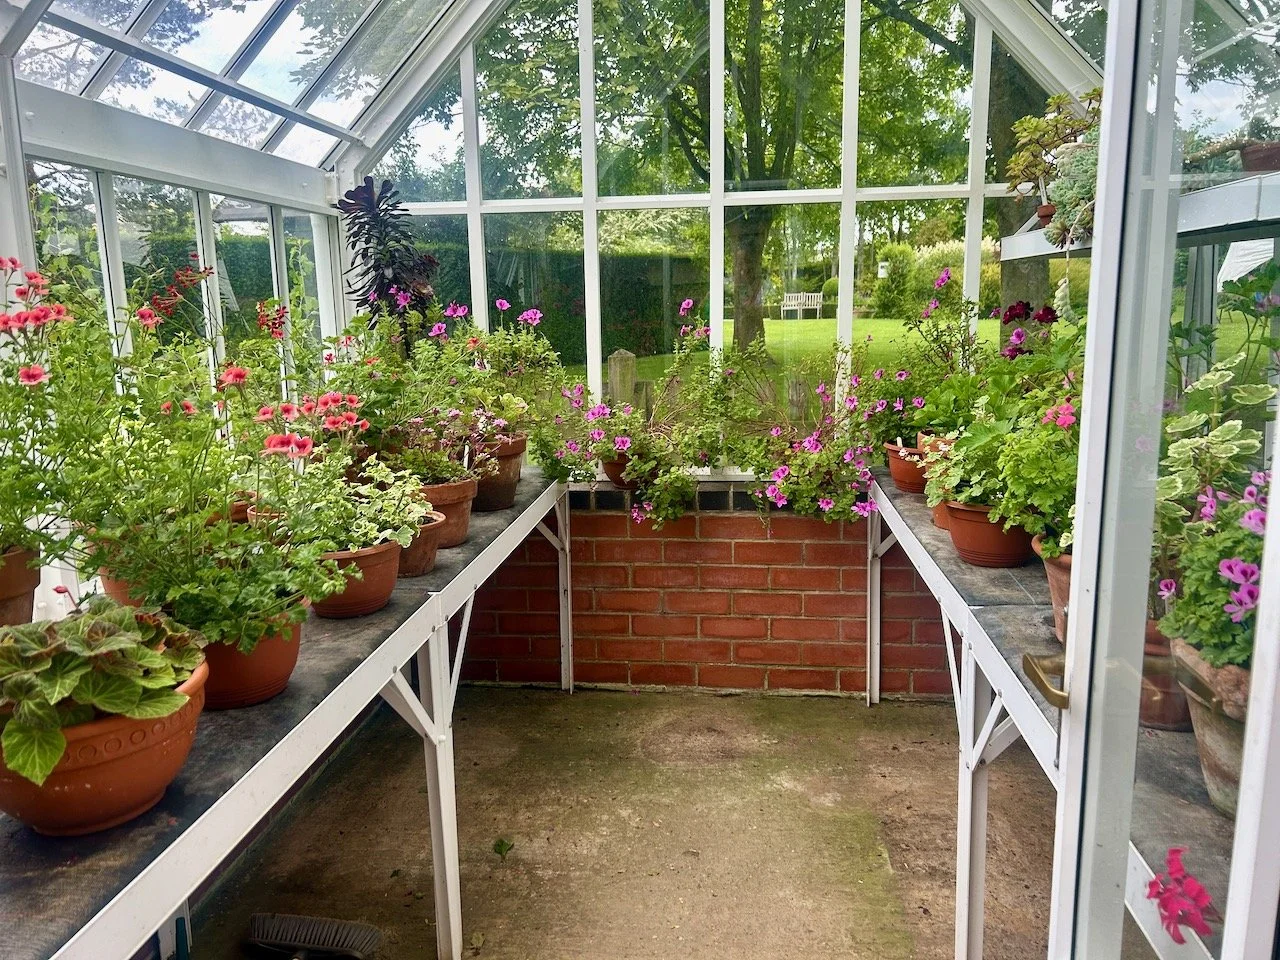
The greenhouses throughout the gardens are fantastic, and what’s better is that you can mostly get right inside them, and this one looked dreamy from inside and even more so from the outside with these roses clambering up posts nearby.
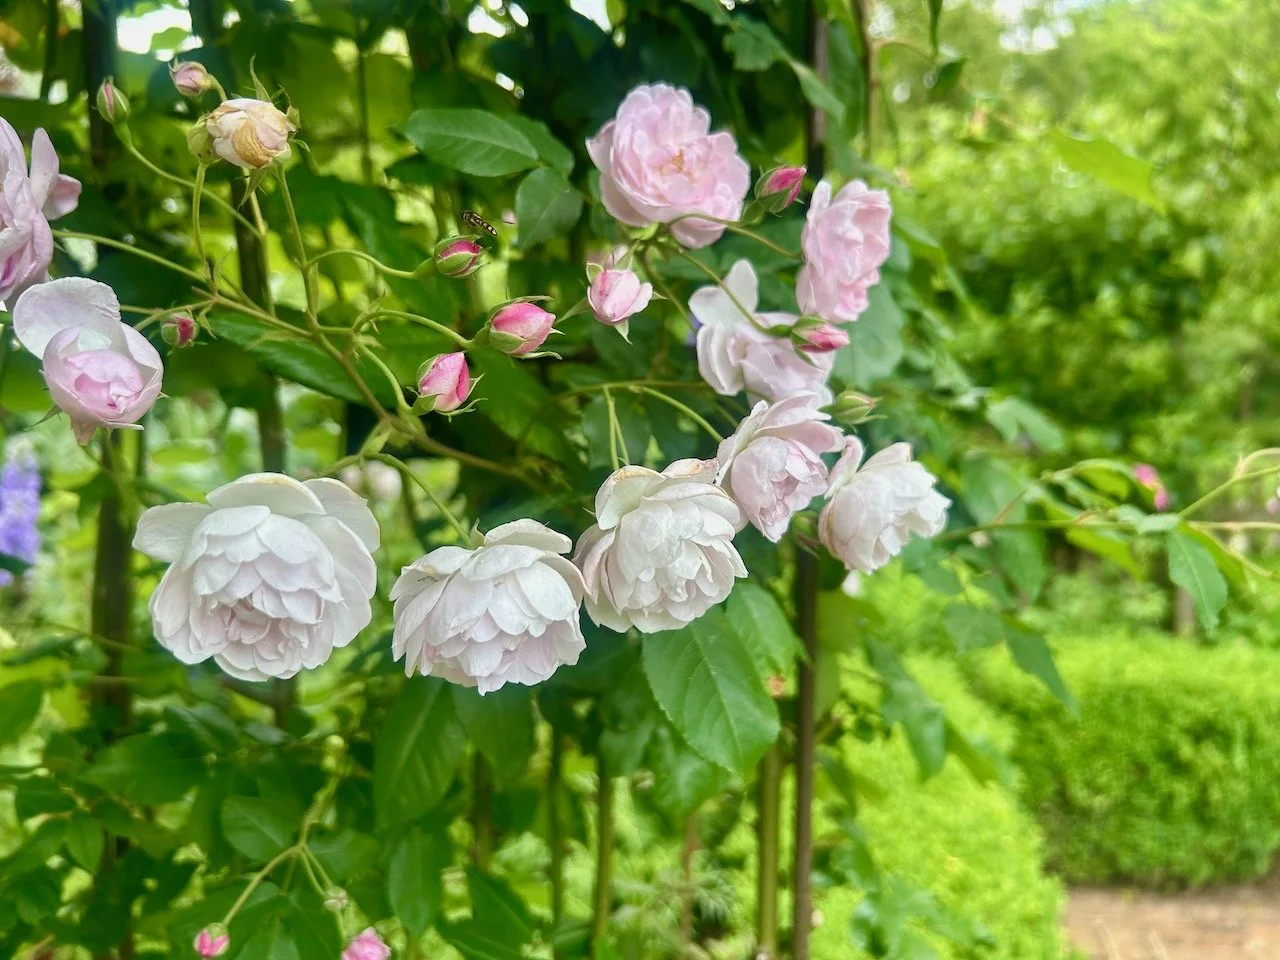
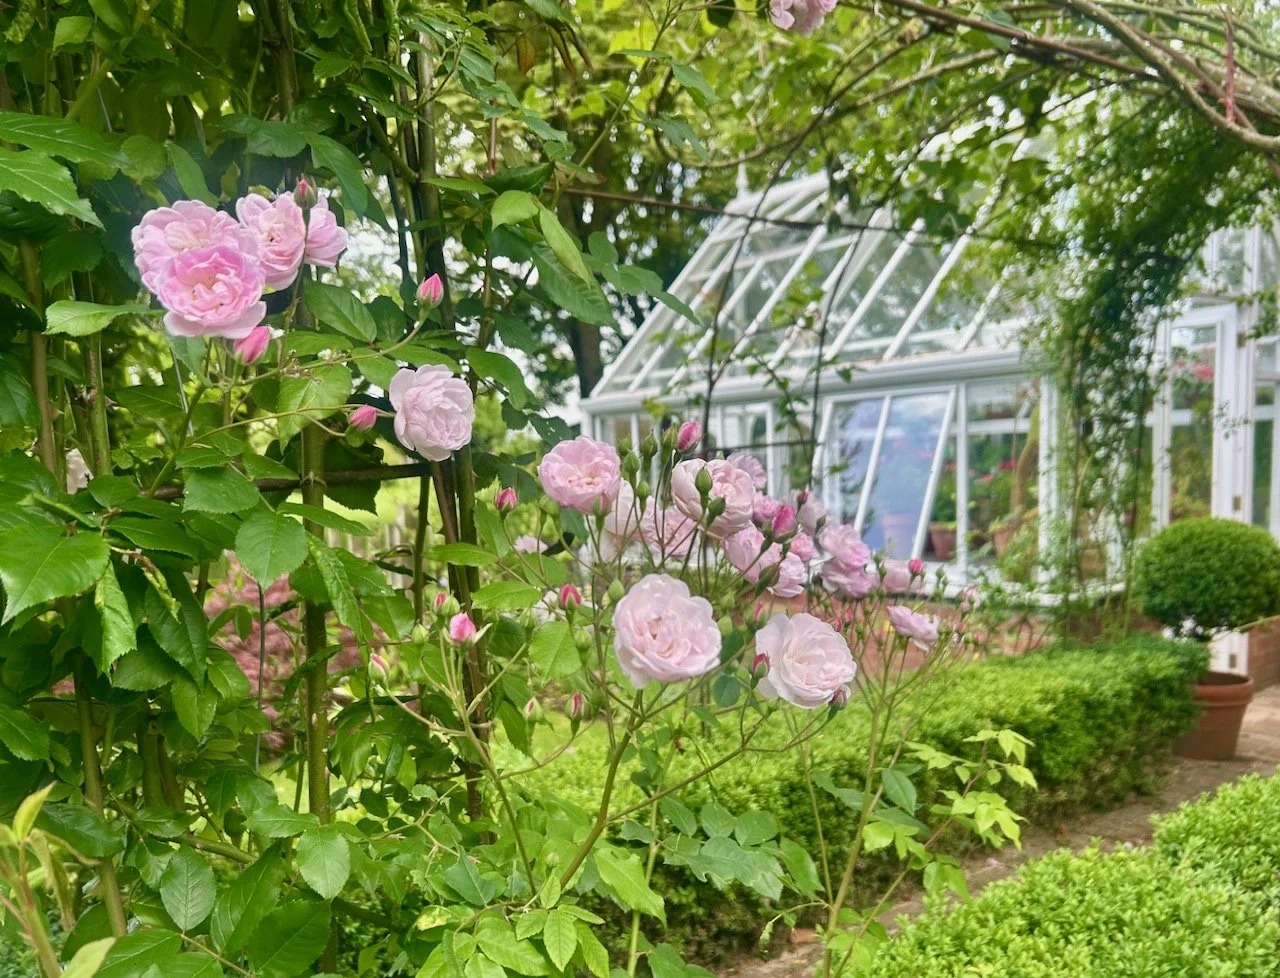
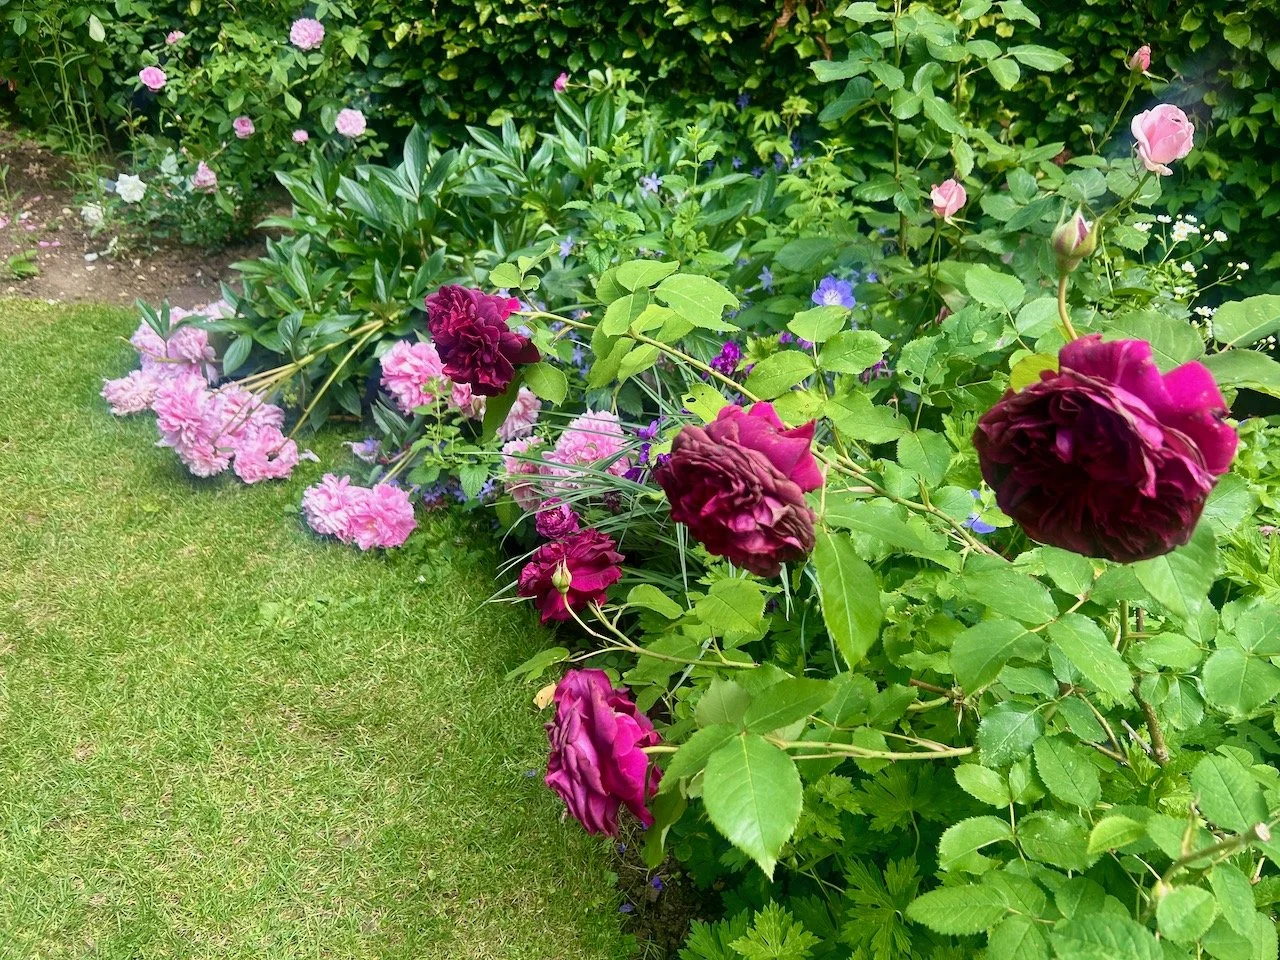
In the Rose Garden (No 17) I had much sympathy with the drooping peonies, and loved them mixed with the deep coloured roses, that’s another design feature to remember for my own garden!
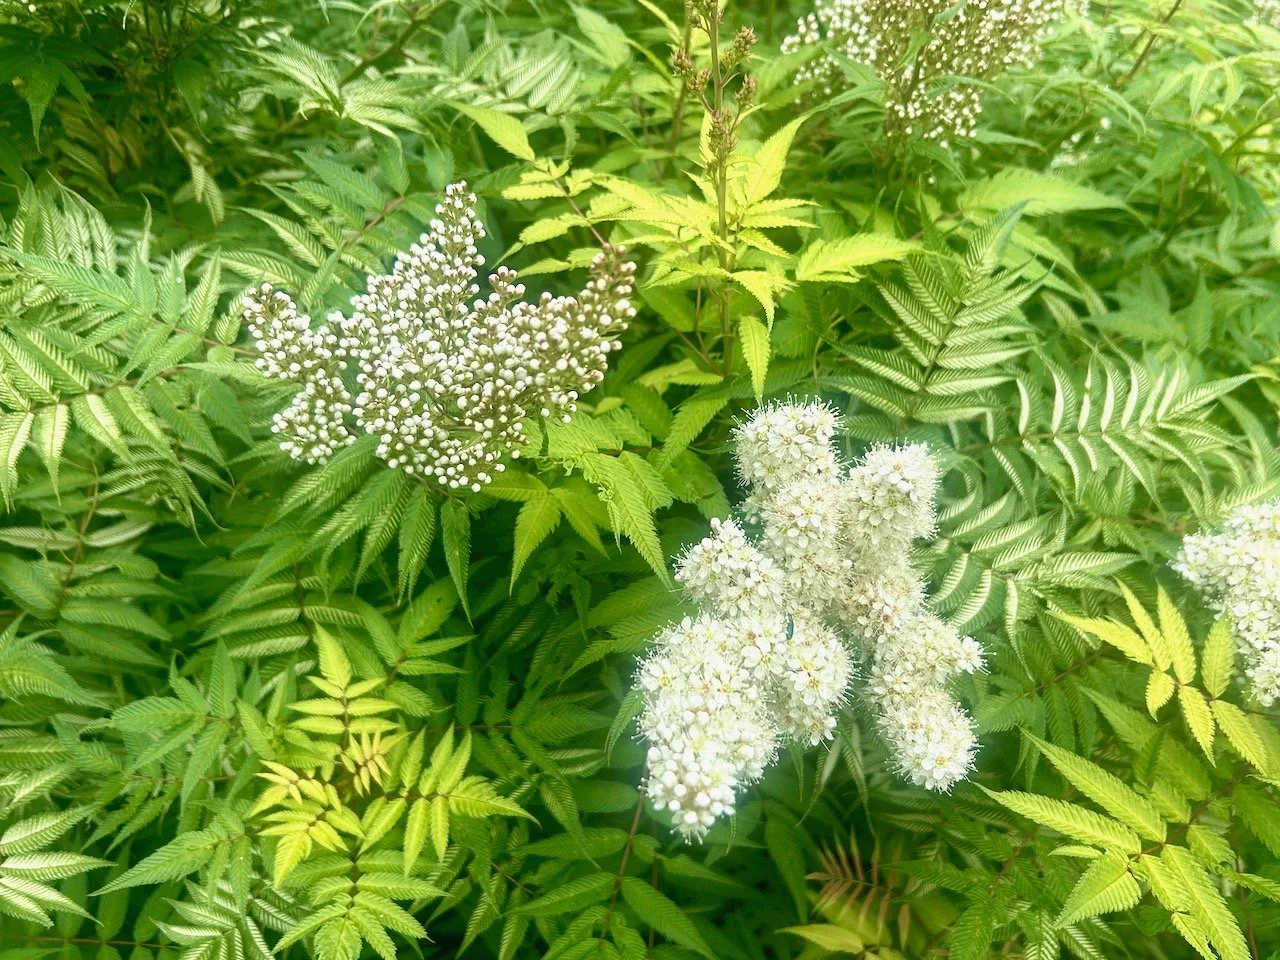
I also loved the textures in the photo below, which is in the Geoff Hamilton Winter Border (No 10) and a reminder that we need to plant our gardens for the whole year, not just spring, or summer when the flowers are the brightest.
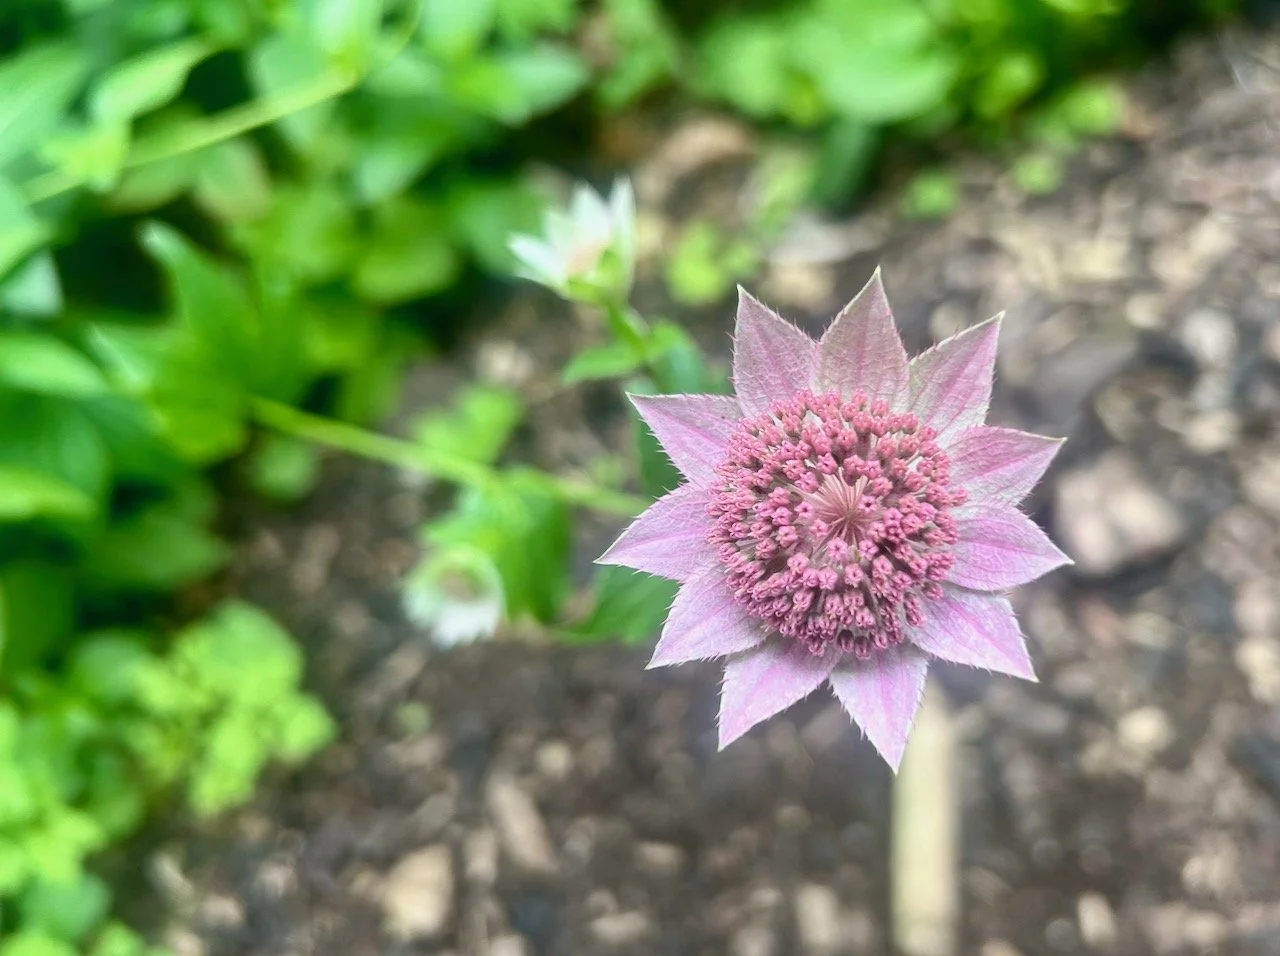
I’m leaving you with this single astrantia, while the petals may well have fallen off there’s still so much detail. I have one of these plants, currently in a pot, and I’m hoping that when it gets into the ground it will do its best to self seed wherever it can - a girl can hope, right?

* With thanks to Barnsdale Gardens for inviting me to the gardens, and to Nick Hamilton for leading a tour through a selection of the gardens available. It’s a great space and I’m pretty sure I’ll be back to visit again.
A quilty update - September 2026

Earlier in the year I set out my quilt plans for 2026, and to be honest it seems like yesterday since my update in June, but another three months have gone by and so here I am checking in with my next quilty update.

So how am I doing?

1. The teal flying geese

I have news. I have started this one, finally.

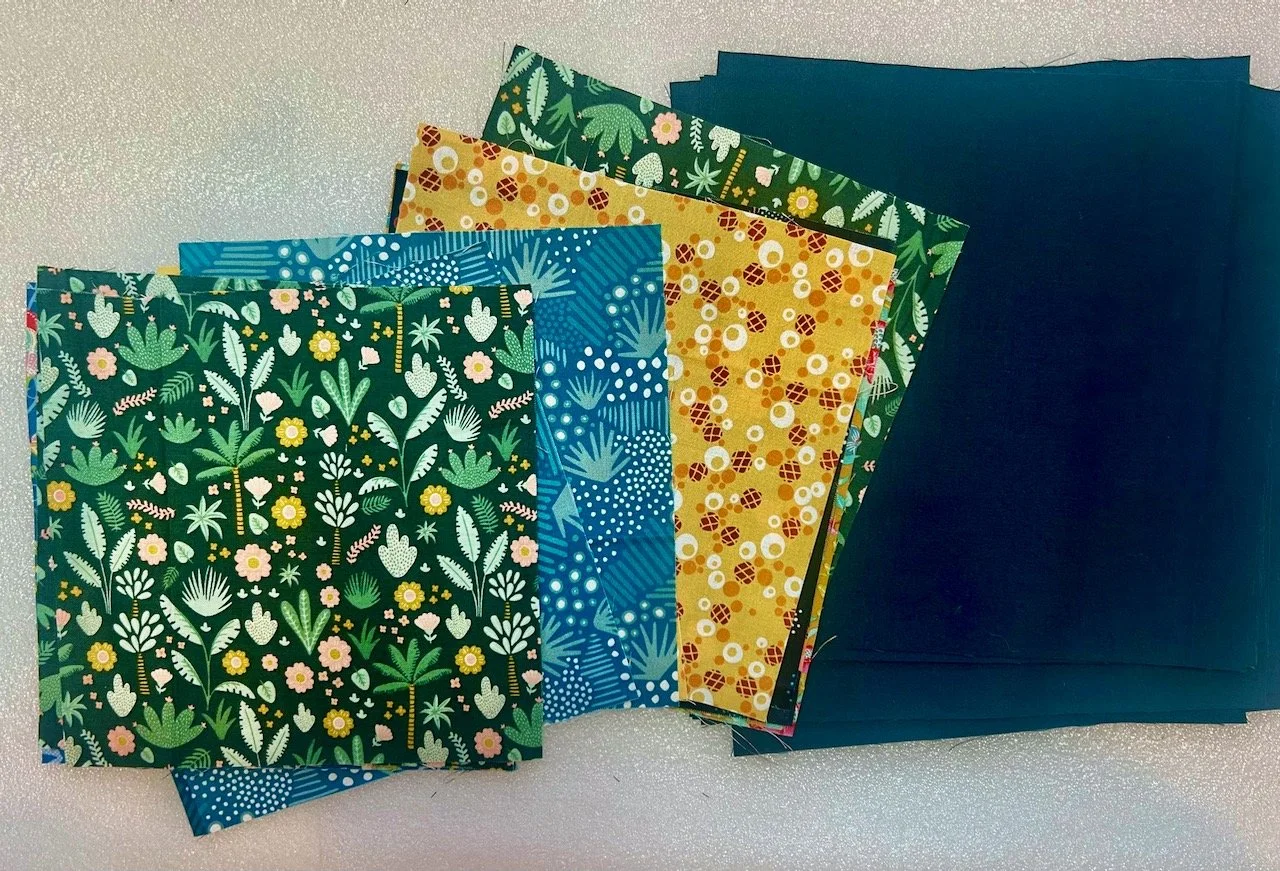
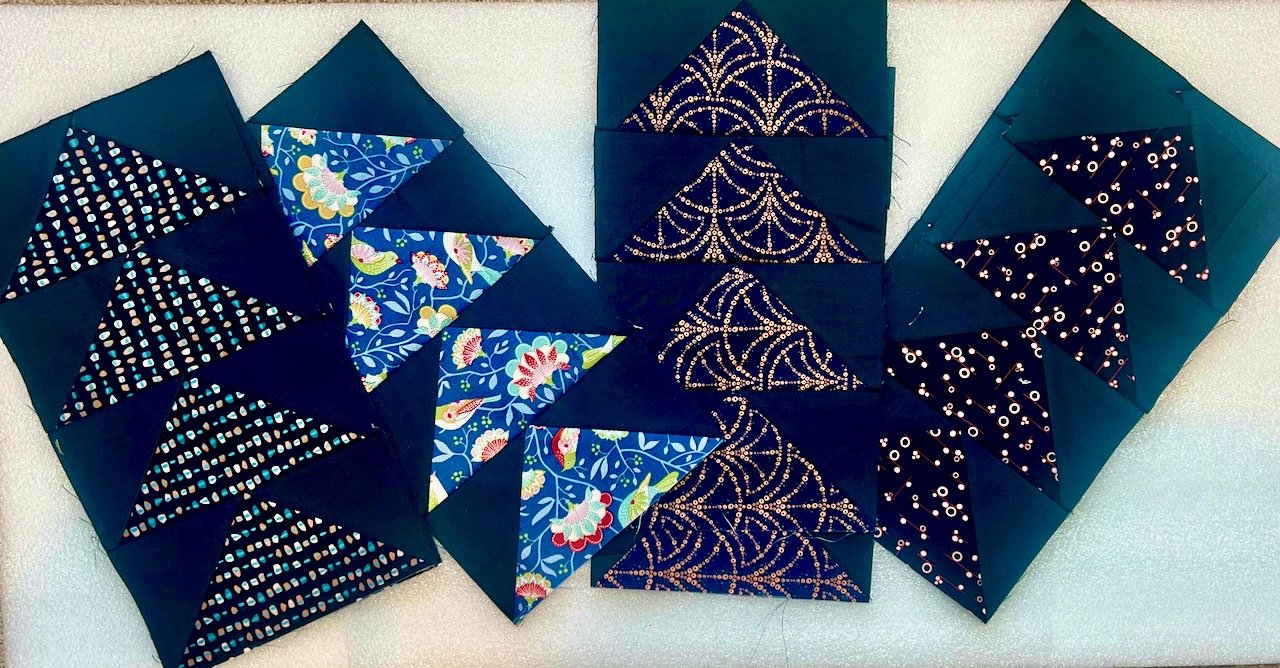
As this will be for a king size bed I decided to go with the larger size of flying geese, as I thought that too many small geese might send me seriously quackers. The fabrics are great, and although I had a minor cutting hiccup for the first few blocks, I’ve got around that with an extra seam which I’m ok with. The second cutting session went a lot more to plan and I’ve already got a steadily growing pile of blocks of four geese.

Some of the already completed blocks of Flying Geese - sewn together in fours of the same fabric

SOME OF THE ALREADY COMPLETED FLYING GEESE BLOCKS

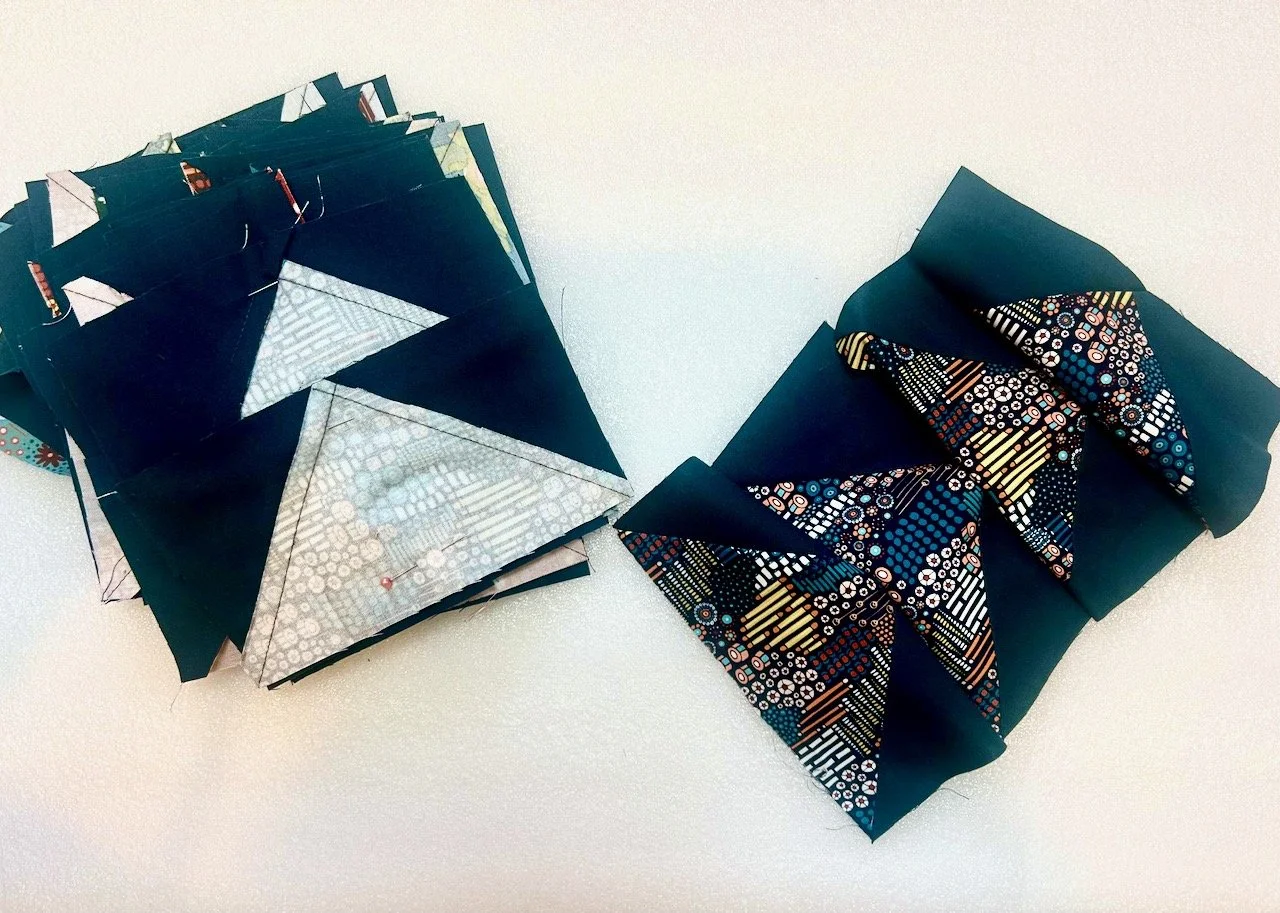
This pile of geese are pinned together ready for sewing

THERE’S MORE IN PROGRESS, WAITING TO BE SEWN TOGETHER

These squares will become geese

AND MORE ALREADY CUT OUT, SO I REALLY HAVE NO EXCUSE!

I know I will need a fair few more - I haven’t counted exactly how many yet - but this project is go (maybe not go, go, go just yet - but go is good!)

2. The jeans and pyjamas

3. My floral fancy

The update for these two is there is no update, their time will come I’m sure.

4. My English Paper Piecing (EPP) blue diamonds

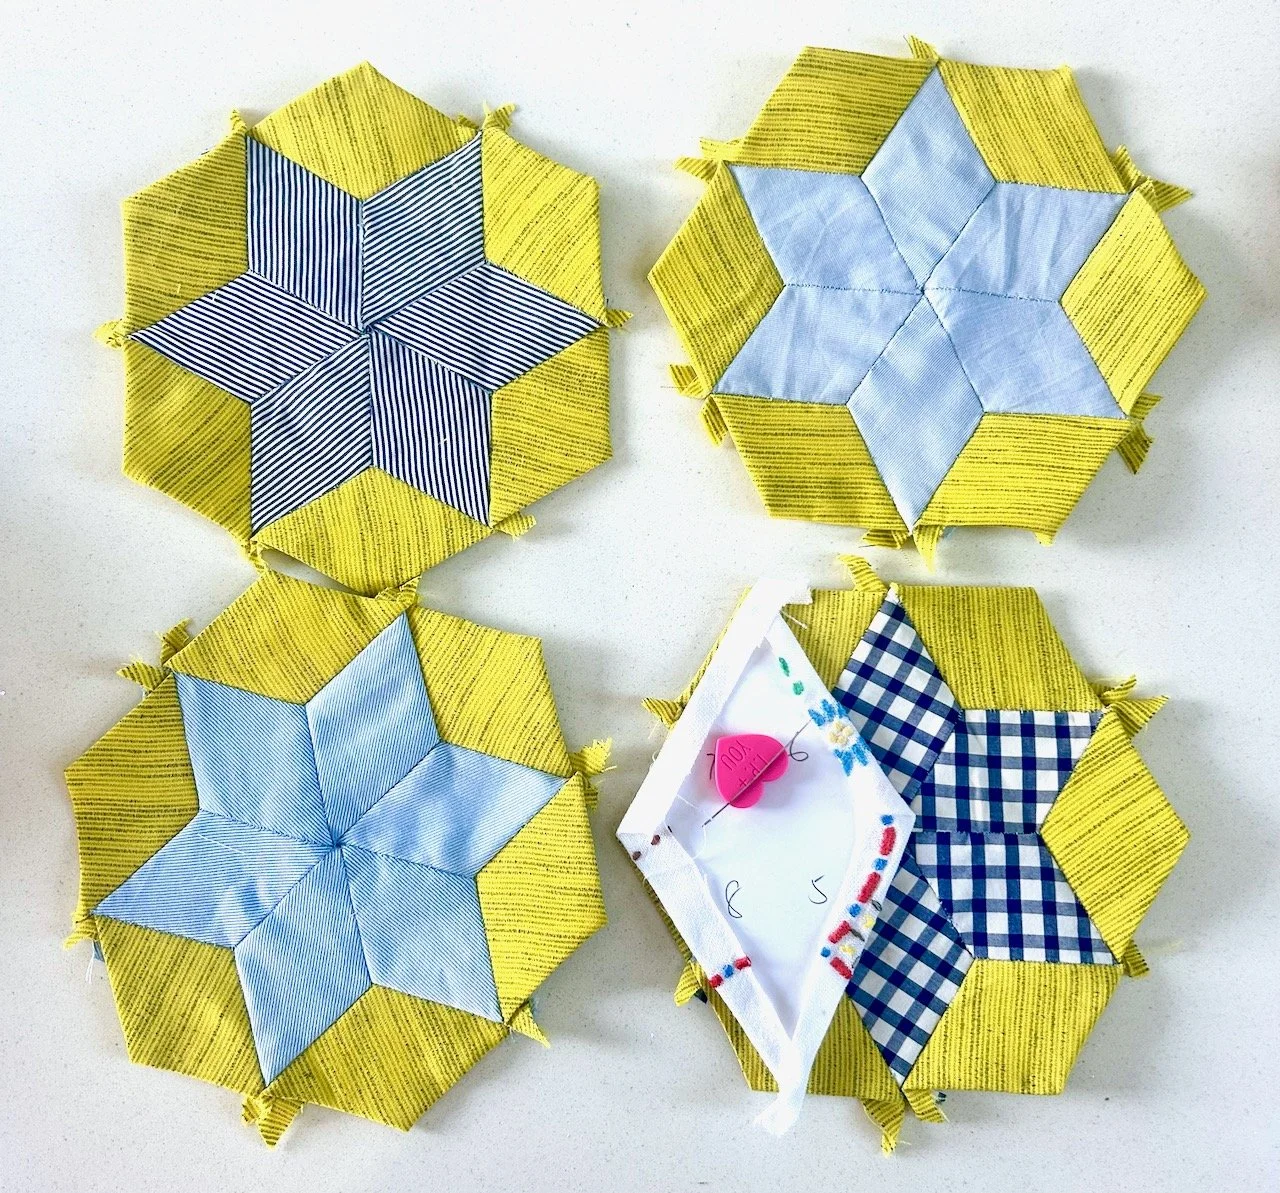
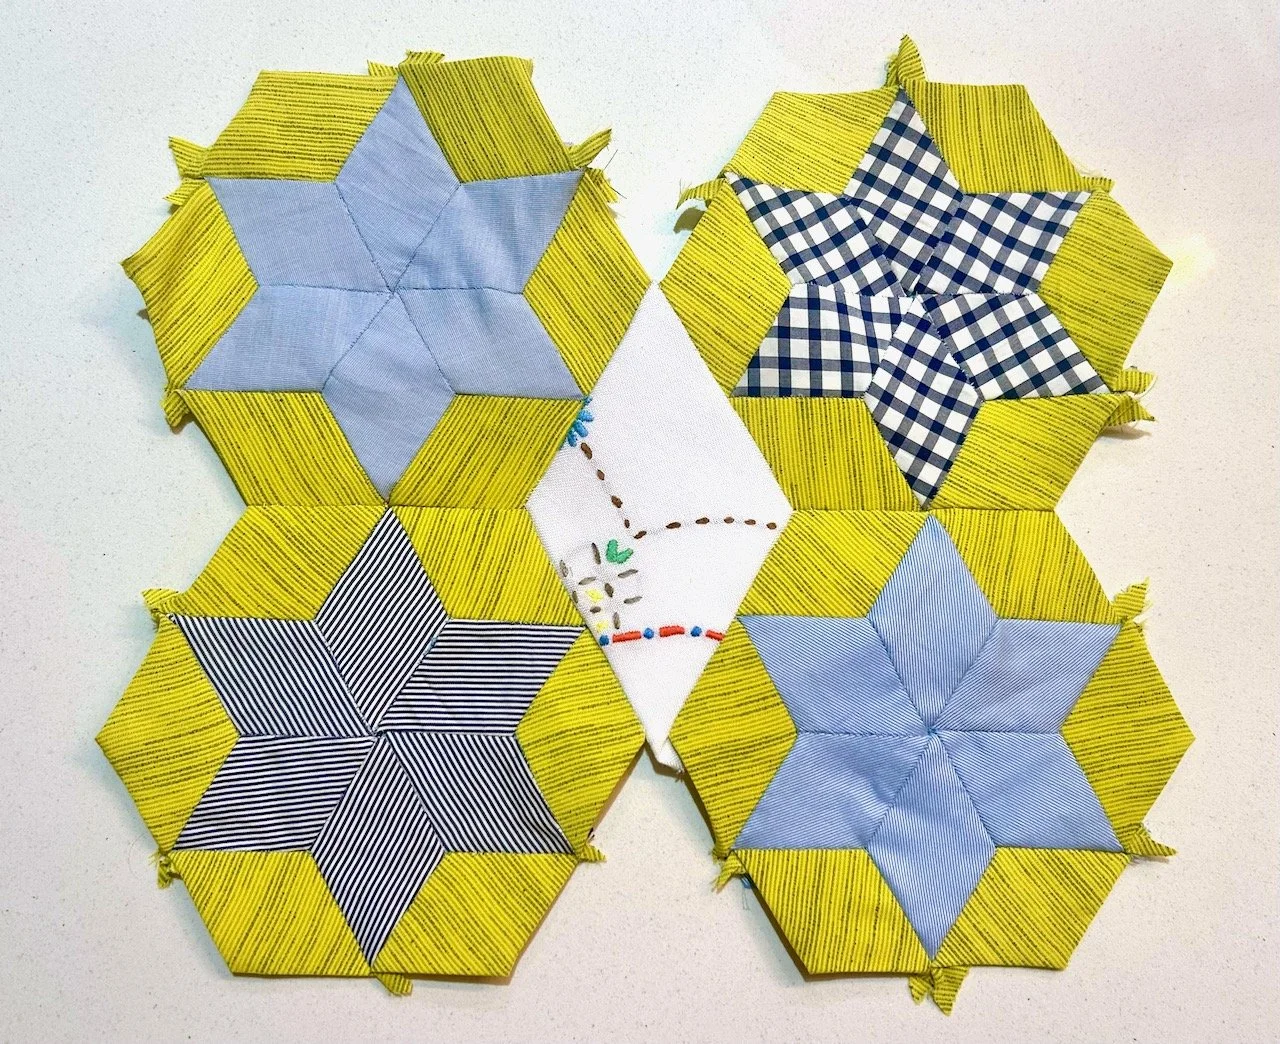
The small, slow-burn progress continues. I’ve started to move beyond the already constructed blue and green shapes and have started to build larger blocks around the vintage tablecloth diamonds. It’s going to look great, but it is still a project that you mustn’t hold your breath for!

Four of the blue and green diamonds sewn together - with a larger diamond being sewn in the centre

ATTACHING FOUR OF THE BLOCKS WITH A VINTAGE TABLECLOTH DIAMOND

The 'tablecloth' diamond is in the centre of the four blue and green blocks

THE FIRST OF THE LARGER BLOCK CONSTRUCTS

5. Scrappy houses charity quilts

More news here, with villages 2 & 3 also now complete. Each of these quilts is different, which is amazing really as there are many common fabrics between them. They continue to be a joy to sew - as it’s a great way to experiment with patterns and colours, and I don’t think I’ve put together a house which I completely dislike yet.

The most recently completed village quilts

VILLAGE QUILTS 2 & 3

6. Wonderland meets Moda

7. Word Star

Again, there is no update on these.

A bonus quilty update

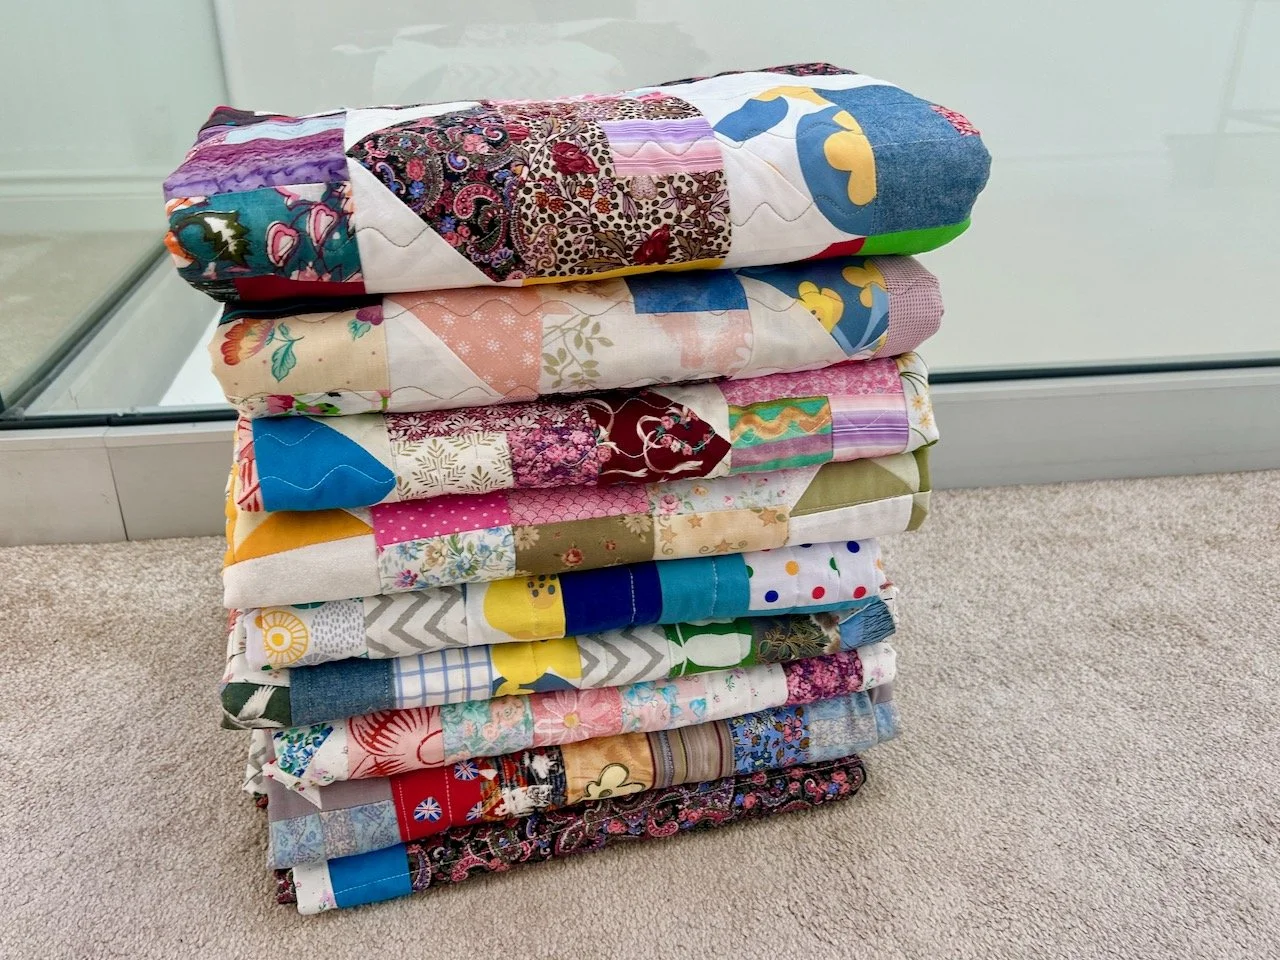
While I missed the annual Project Linus sewing day that my patchwork group hold, I was able to donate the pile of nine quilts that have been amassing in the corner of my craft room, including all of the village quilts I’ve made so far, and the quilt that mum made which I shared in my last update.

They were very pleased to receive this stack of nine quilts, and it’s great to see that corner of my craft room again, even if it is only for a short time until more charity quilts fill that space!

The nine quilts donated to charity - stacked in a neat pile

So there has been quilty progress against my long list, and none of it has been a chore - I just need to work out how to do more with my sewing time, and to make time for more sewing time, though with the winter months approaching I think that that will become easier.

Village quilts 2 & 3

It’s been a few months since I shared my first village charity quilt, and back in May I wasn’t as on track as I’d wanted to be to meet my ‘one a quarter’ plan, but it’s amazing what a difference a couple of months can make, as here I am with the second and third of this style of quilts - and I still love making them so I think there will be plenty more.

But 2 & 3…

Mum came along to the July Saturday sewing group meeting with me and at that meeting I seemed to steam through topping up my house pile to make another top. I know I need 30 houses for each quilt top, so when I think I’m close and then find out I’m not as close as I thought, I put my foot down.

Anyway at that sewing group meeting I completed the top for the second quilt - and as you’ll notice one of the houses on the second row has a more modern take on the roof shape. It’s an oops, but an acceptable oops in this style of quilt, as well, not all houses look the same anyway do they?

Village 2 quilt top

VILLAGE 2 QUILT TOP

I enjoyed piecing this so much that over the next few days I completed the top for my third village quilt.

Village 3 quilt top

VILLAGE 3 QUILT TOP

I love how they look so different, but are so clearly the same design. Some fabrics are used in both quilt tops, and some will continue to feature for a quilt or two more I’m sure, while I’ve probably used the last of some in these quilts.

I decided it would be sensible to choose two different backings for these quilts, as it made sense to batch the remaining tasks. This led me to another ‘design decision’. I was keen to use the bluey/grey and white dot fabric with the yellow flowers as a backing for the final time, but if I added two borders I wouldn’t have quite enough. I guestimated that with a single border I could use it as backing, and even better I could use that material on the front too as a border, though I wasn’t quite sure how it would work as previously I’d used the cream border.

There was only one way to find out

So both quilts were basted and quilted, then trimmed ready for binding.

Village 2 quilted and trimmed, ready for binding

VILLAGE 2 QUILTED

Village 3 quilted and trimmed, ready for binding

VILLAGE 3 QUILTED

The patterned border makes them look quite different again, doesn’t it?

Both quilts ready for the binding and finishing

I like it though, and it’s persuaded me to be bolder with some of these quilts in the future. But discipline meant that I needed to finish these quilts before I’d let myself play with any future colour schemes, and I wanted to include both of these in my donation early in September.

The completed village 2 quilt hanging on my bannister

VILLAGE 2 FINISHED

The completed village 3 quilt hanging on my bannister

VILLAGE 3 FINISHED

I’m pleased with both of them and love how they’re both the same but also so different - and I hope that they’ll provide a hug to someone that needs one soon.

You can see my other quilts I’ve made to donate to Project Linus - a charity whose mission is to provide love, a sense of security, warmth and comfort to children, who are sick, disabled, disadvantaged or distressed through the donation of new, homemade, washable quilts and blankets.