Celebrating flora in the Gargano Peninsula

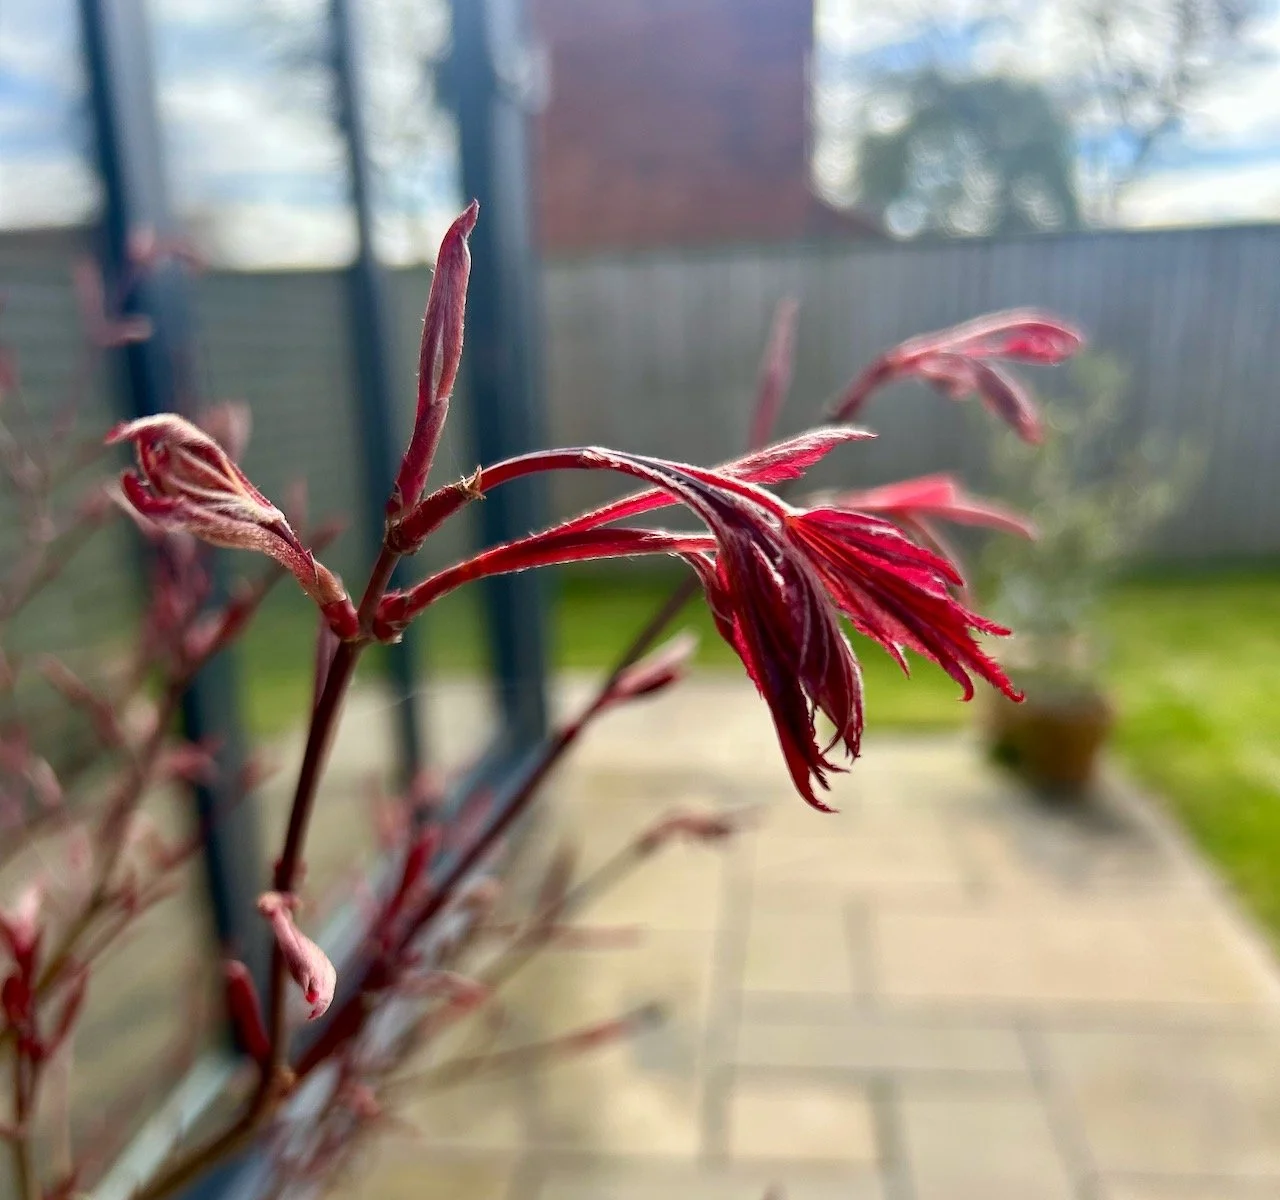
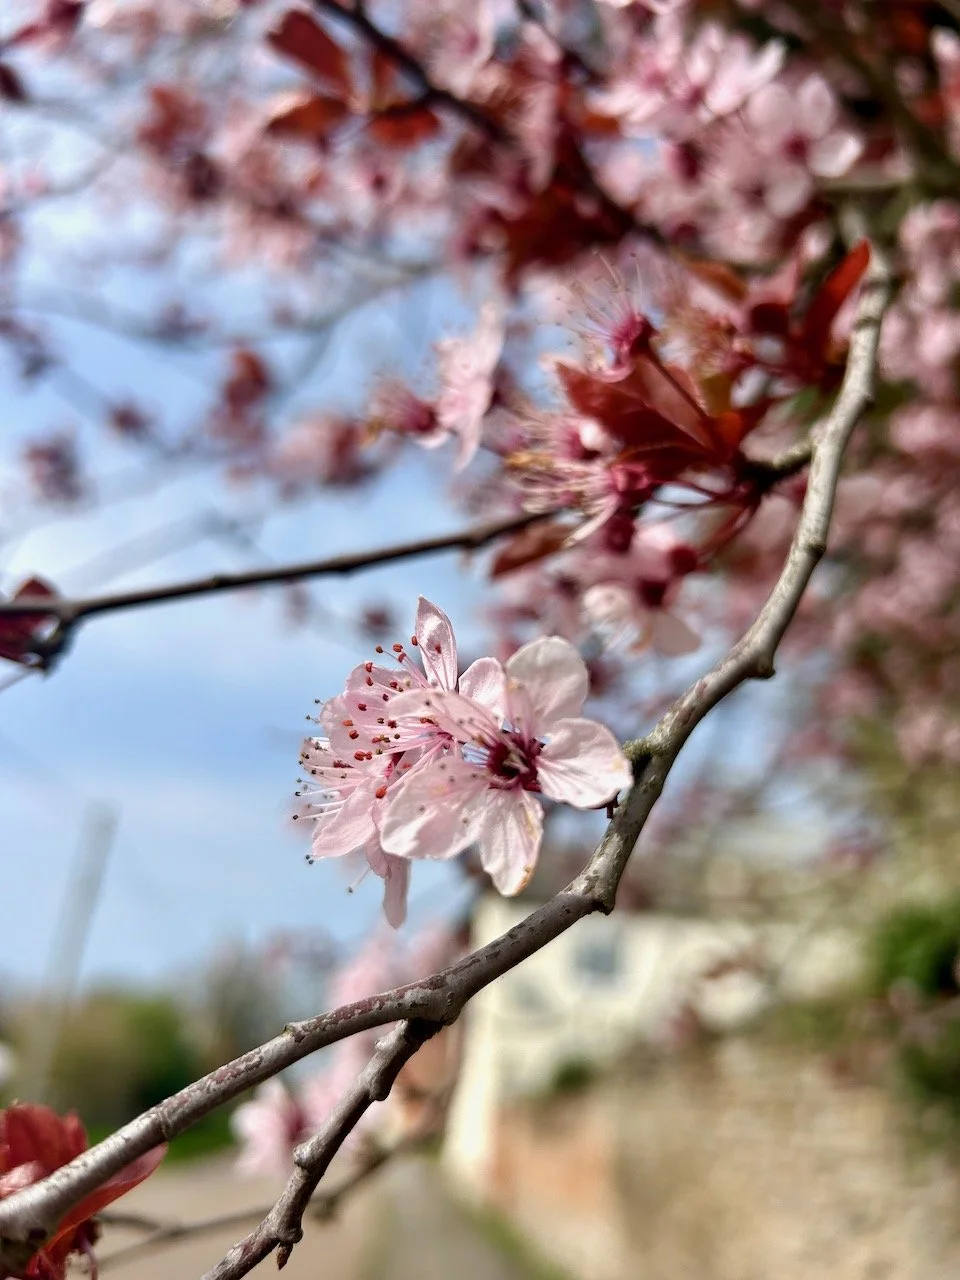
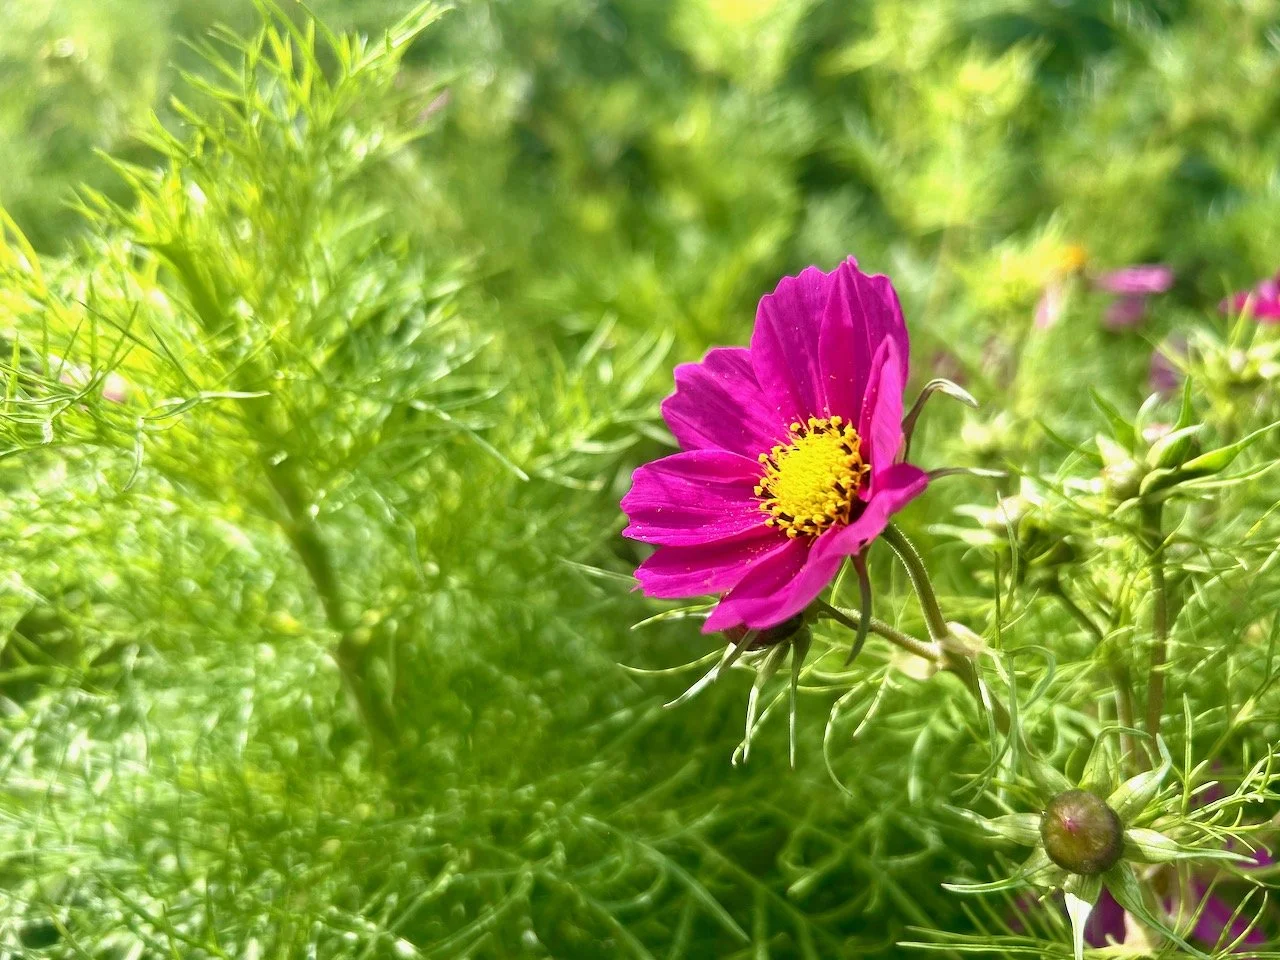
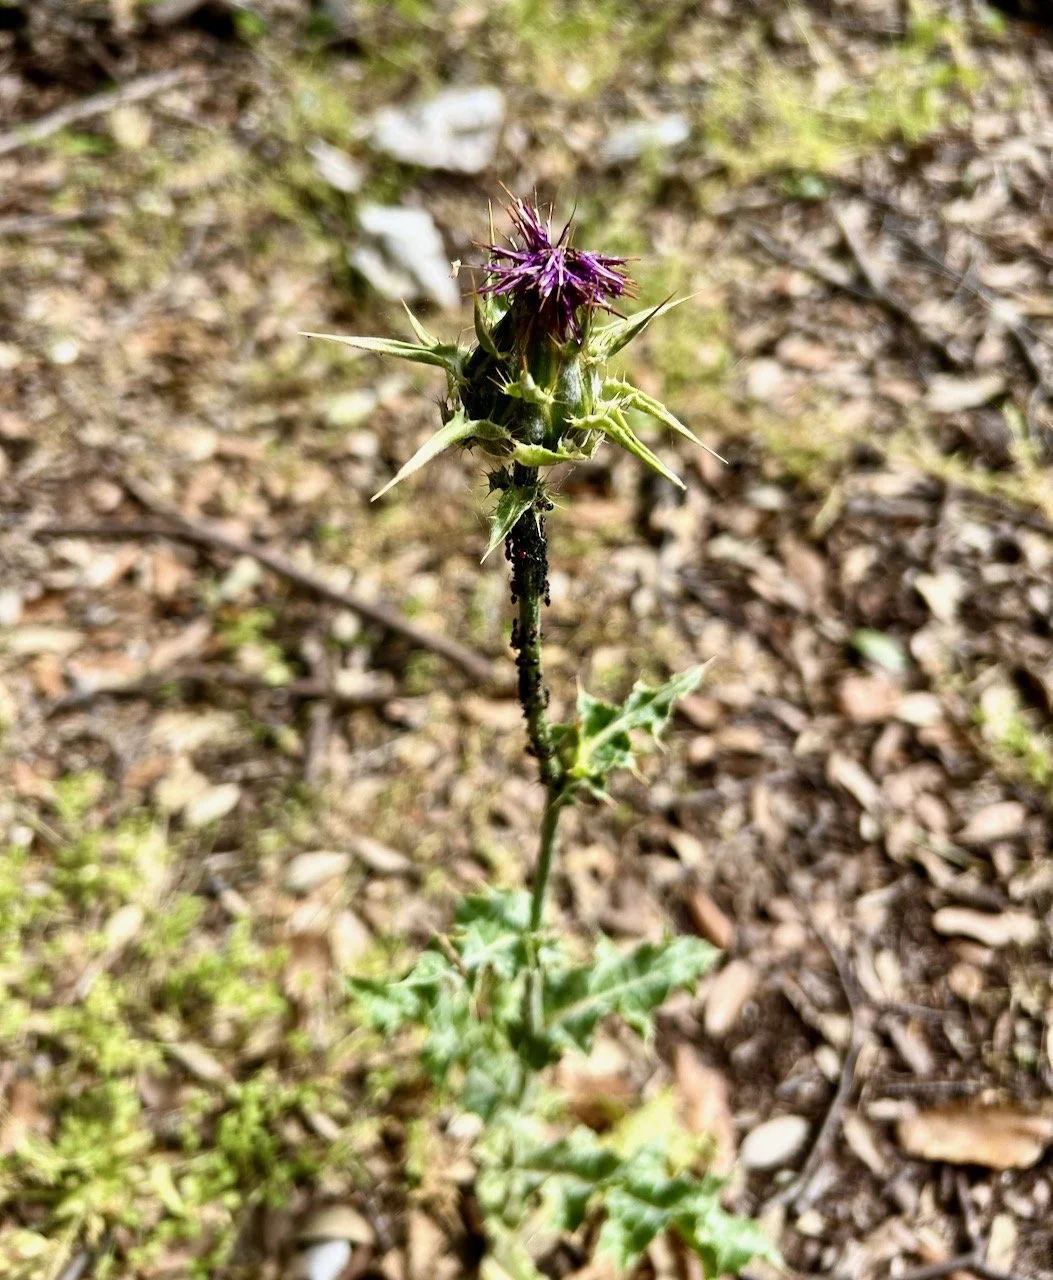
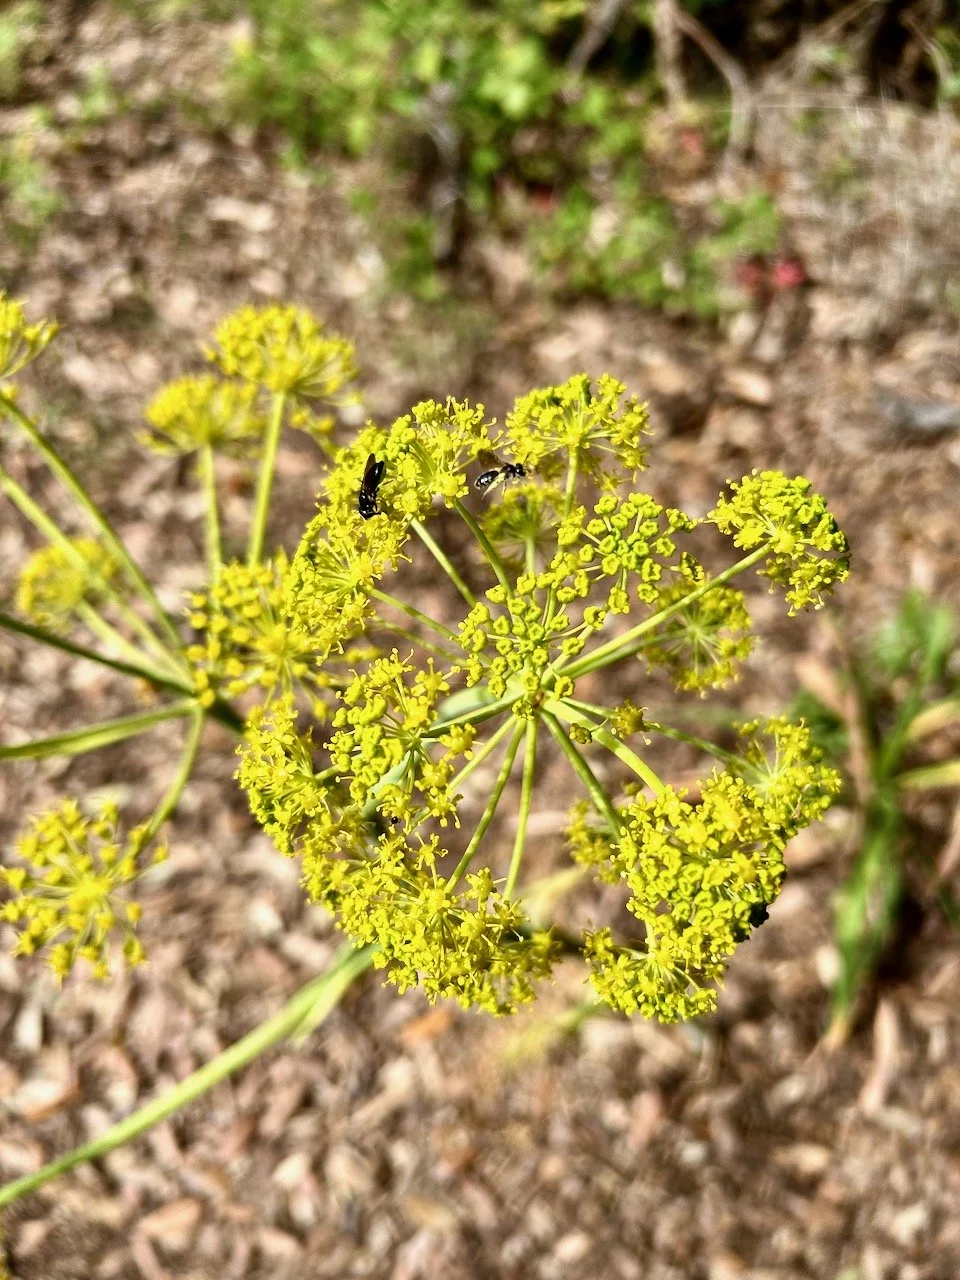
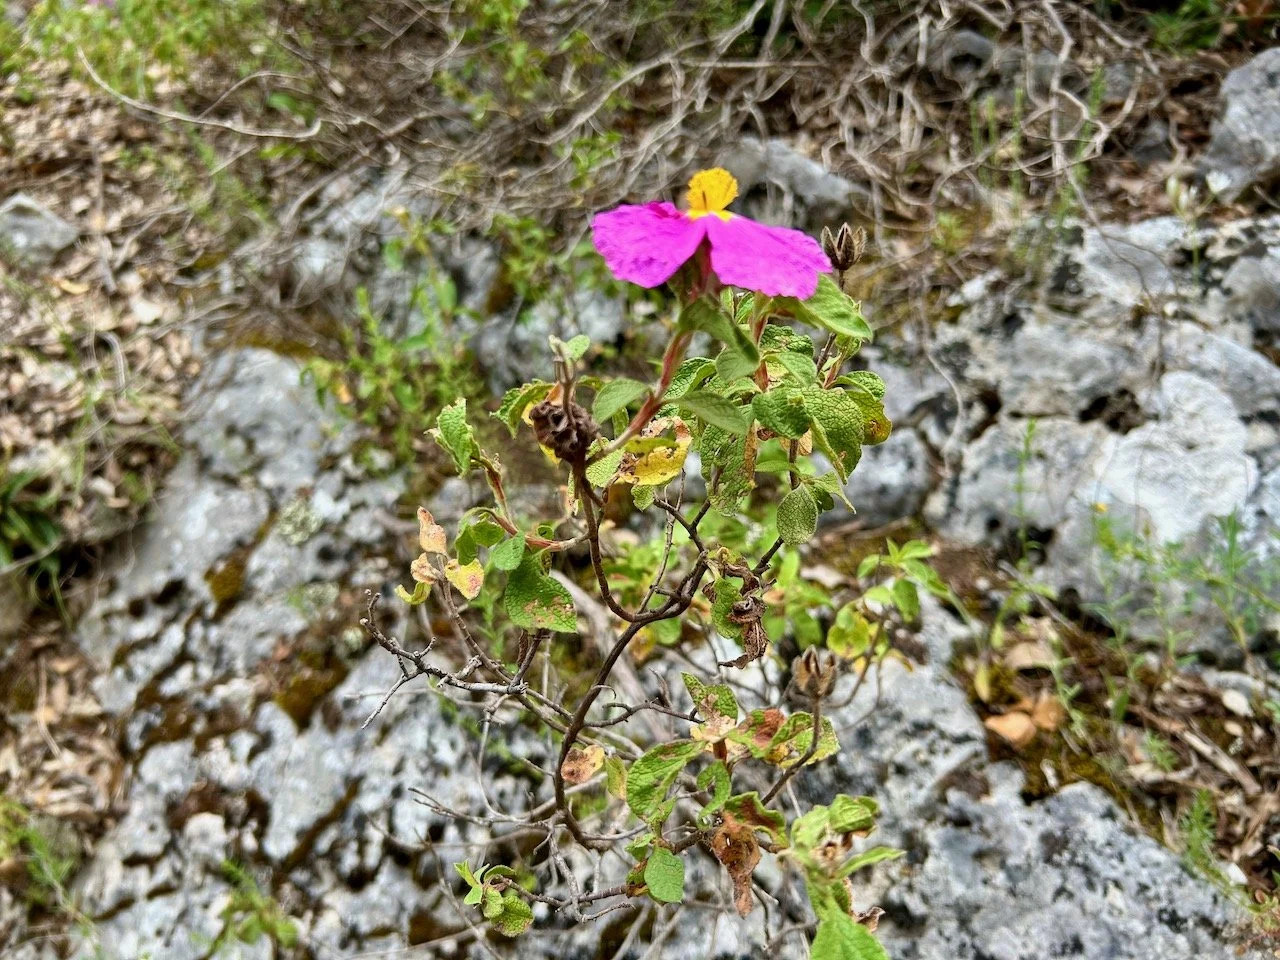
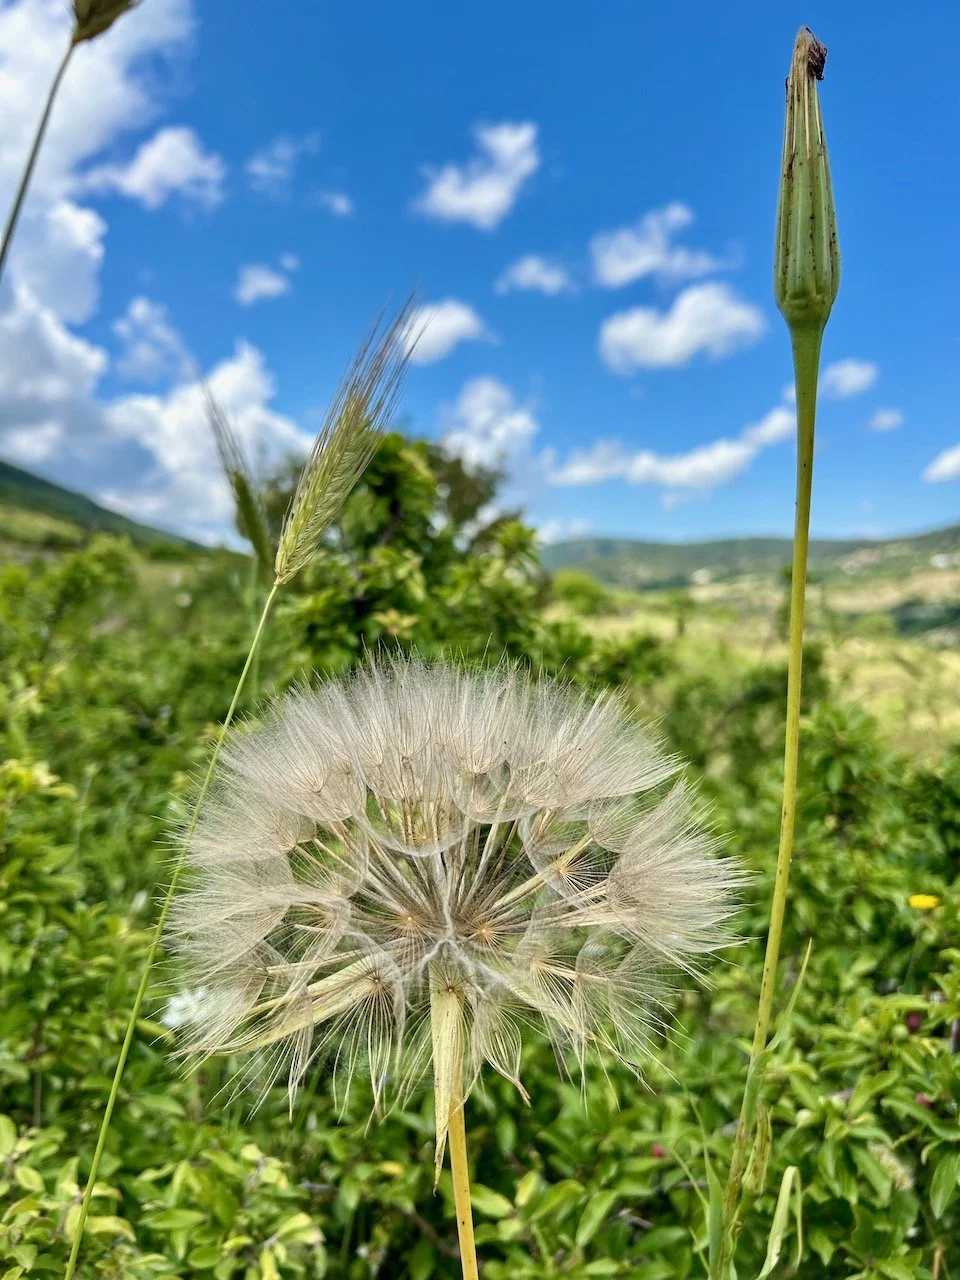
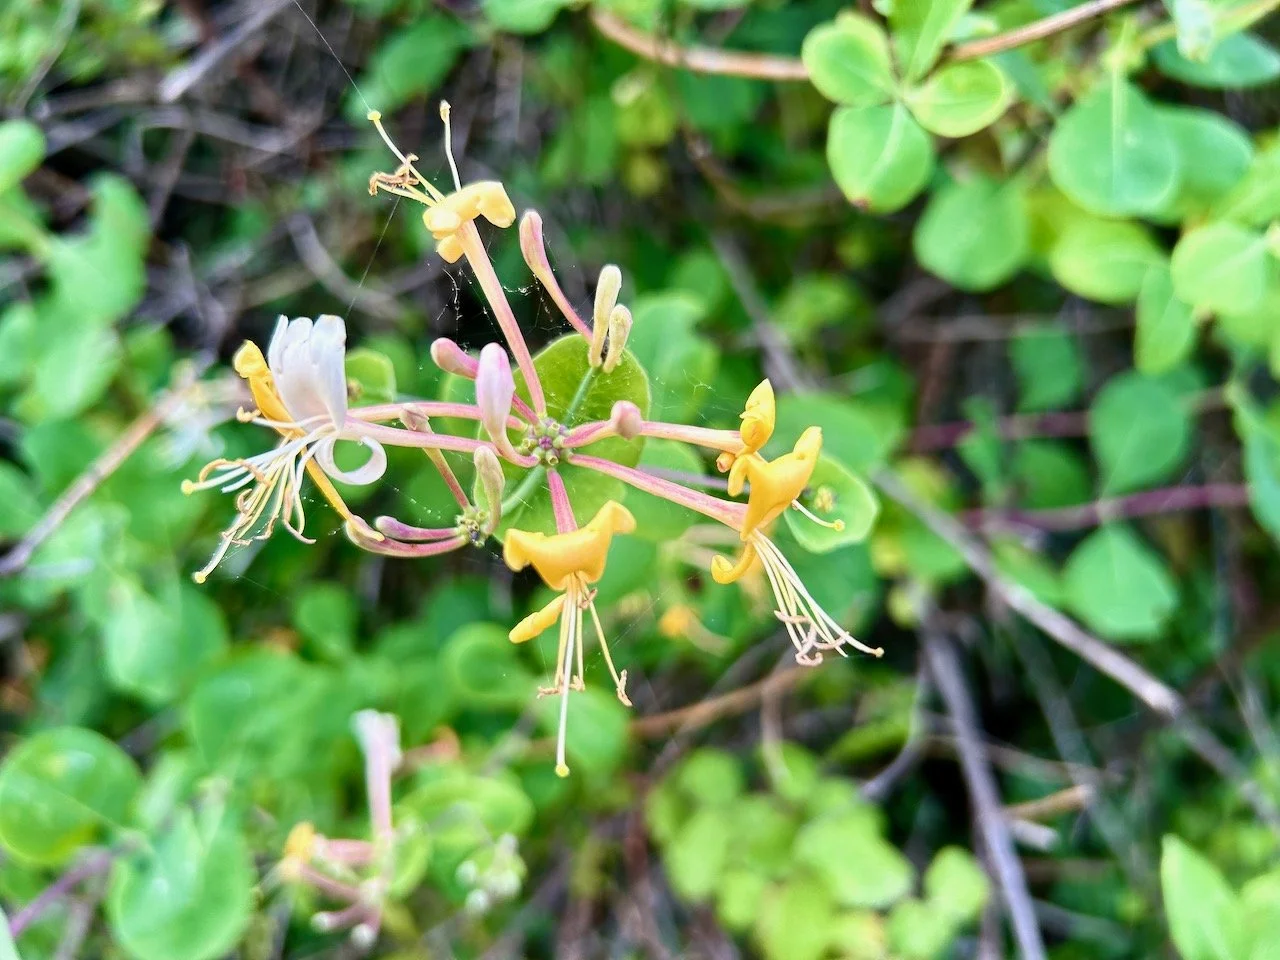
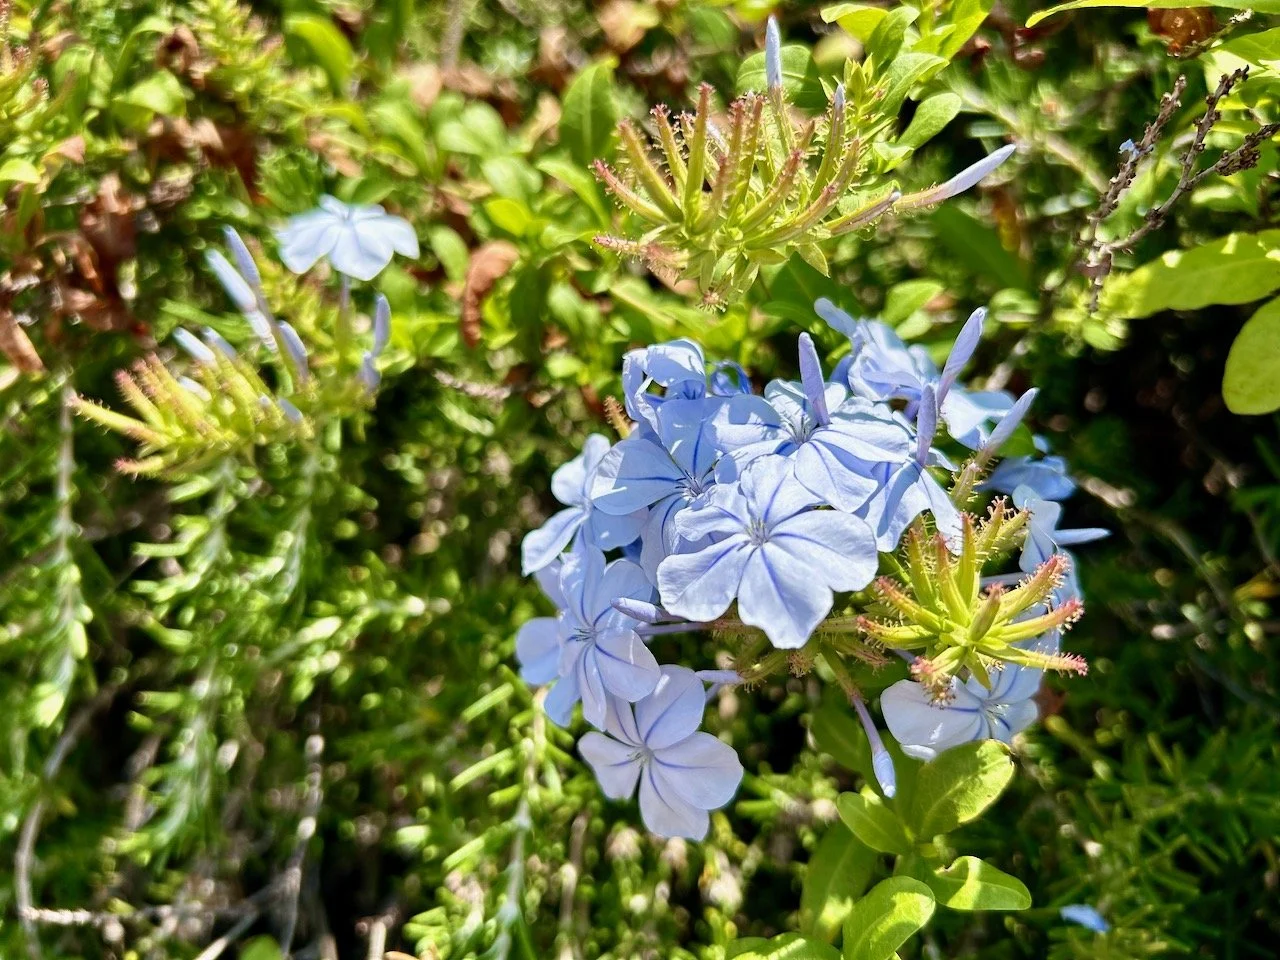
One of the features and highlights across all of our walks exploring (a very small part of) the Gargano Peninsula was the flora we encountered along the way. In my posts from each walk I’ve shared some of that, but I’ve so much more to share and that’s what I’m going to touch on today. I’ve picked my absolute favourite photos from many, many more and while I don’t necessarily know what every plant is, I know they are all beautiful, sometimes quite different ways.

You’ll not be surprised to learn that the majority of my photos, and those in this post, come from the most challenging walk of the holiday - the one where we went down, up and up some more! But as hard as I found the walk, especially the last of the ups and I absolutely wouldn’t want to do it again, it was also amazing and I’m glad we did it. I’m even more glad we completed it before the rain came!

A sharp spiky thistle with purple flower you wouldn't want to mess with
possibly fennel seedheads - lime green and complete with a bug or two
The hardy Cistus growing amongst rocks, but still flowering (just one mind!)
Two pine cones among the bare branches, all greyed with the weather and silver lichen
A great big puff ball of a plant - think at least 3 times the size of a dandelion
Honeysuck with its delicate dancing trendils

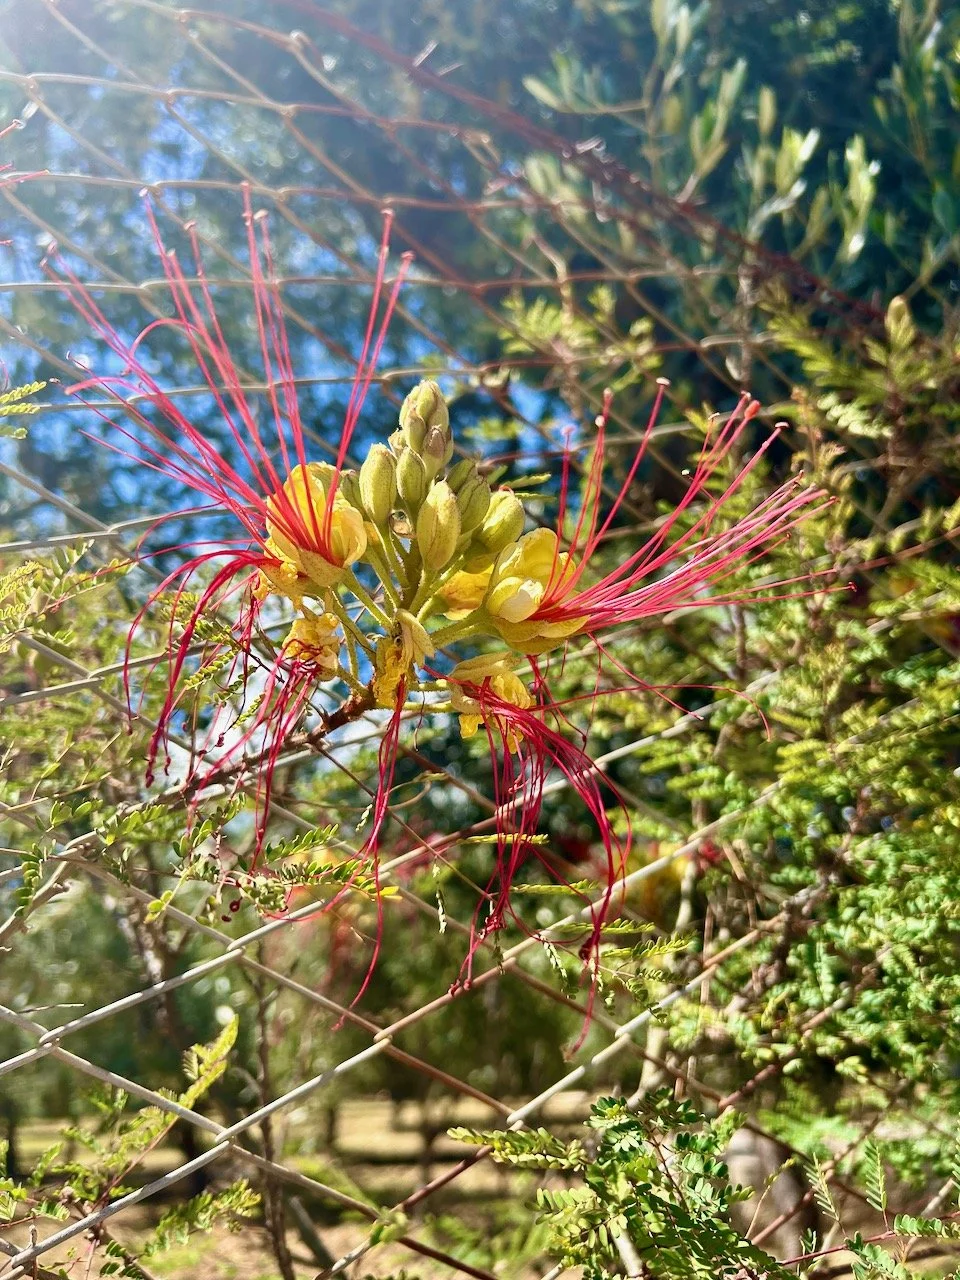
But it wasn’t just that walk, as we walked back down to the coast the next day these lilies growing alongside the roadside were stunning, as were the hibiscus growing through another wire mesh fence much later in the day.

A mass of white lilies behind a mesh fence, not sure if that's for their safety or mine!
Another mesh fence, this time with a possibly hibiscus flowering through it - yellow flowers and long scarlet tendrils

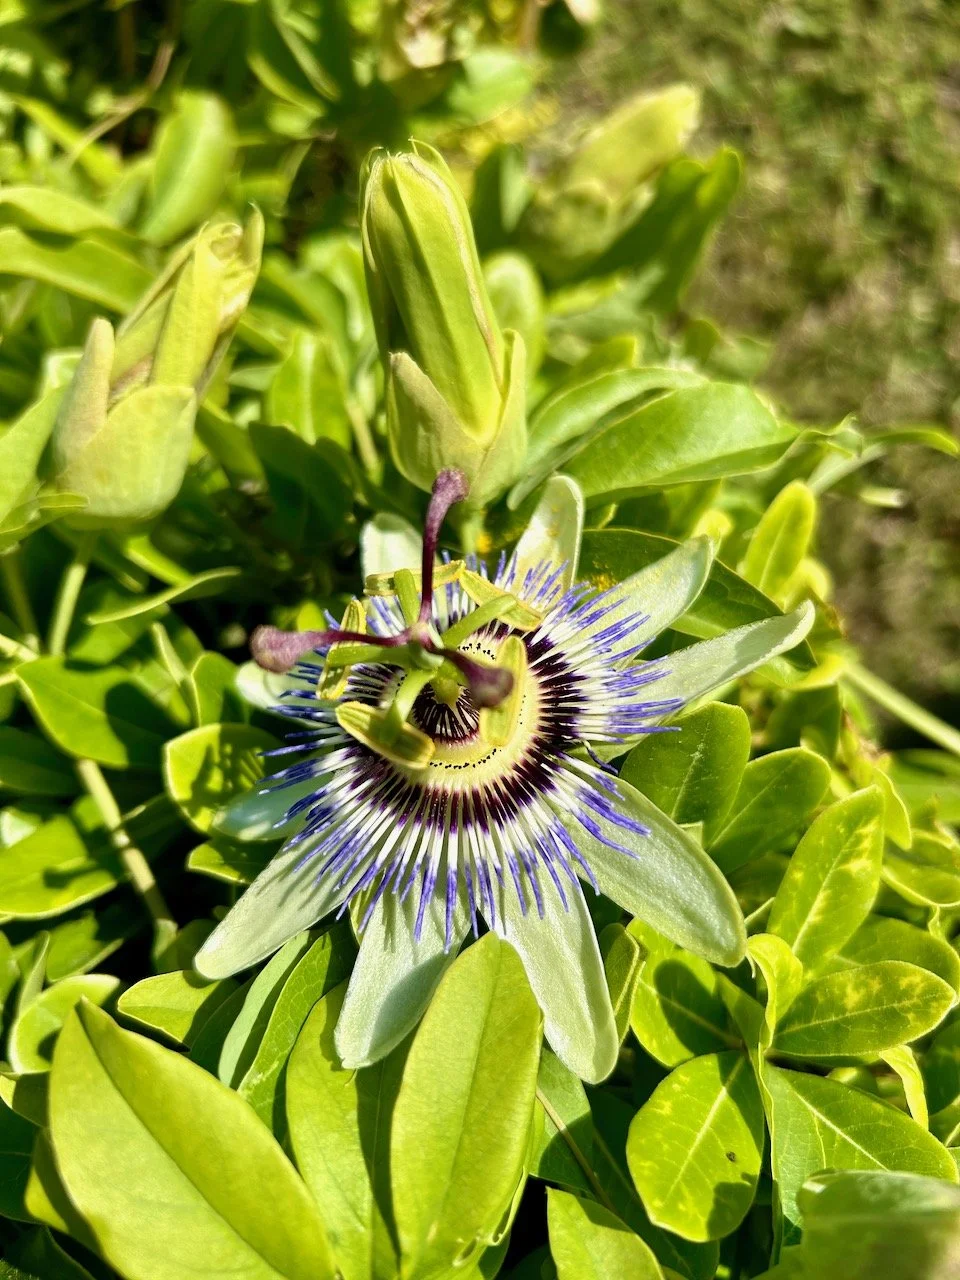
Our last hotel also had impressive grounds, and glorious plants including long time favourites of mine, the passion flower and red hot pokers.

A single passion fruit flower
five stems of red hot poker flowers with a spikier than usual looking base
A pale blue head of a flower, not a hydrangea but that kind of shape

The scent too as we left the main complex and walked back to our room was absolutely divine. It’s true that many things make a great holiday, and this had everything we could have wanted, so if you get the chance to explore for yourself then most definitely go.

Making my Mystery Block of the Month: September 2025

You’ll have seen that I plan to complete Sherri’s mystery block a month quilt and in my last post I shared the test blocks which I made into my eleventh charity quilt, today I’m sharing the centre block I made for my own quilt.

Despite being relatively ahead of my relaxed schedule for this month’s quilt and central blocks, as always seems to be the case I found that somehow, all of a sudden, the block for my actual quilt still needed to be done almost at the last minute. Isn’t that always the way, the trick of having too much time on your hands, suddenly becomes no time at all.

Anyway, my block is done, but somehow with no photographs until it was assembled.

Showing the 'basket' at the centre of the block - the basket uses green/gold patterned material, but the basket's contents is blue

I’d chosen the materials I’d use way back in time too, if you look back they’re included in September’s Quilty Update, and I’m pleased with how the colours turned out. It’s the first time using both of these colour ways, and while the basket’s contents is blue so perhaps not too realistic, the basket definitely has a touch of realism about it with those colours.

It’s also the first block for a long time that I had to do some unpicking - I mixed up my green order. I contemplated living with it, but as it was only one piece, I decided to head for the seam ripper and add the green fabrics in the same order as before.

The blocks from this month and the previous two months laid out side by side as a preview for a row in the finished quilt

I couldn’t help but have a peek at how the completed row would look, although I’m sure there will be extra sashing to add to assemble the quilt - but you can get an idea of what it will look like when finished.

This month's quilt block is now hanging on a skirt hanger with the other blocks on my bookcase

So September’s block done, and the basket that I wasn’t sure I liked when I started turned out to be way easier than I ever imagined. Who knew.

Join me next month to see how I get on with the next mystery block, and check out my previous posts for my mystery block quilt or the charity quilts made from the test blocks.

Marmalade hearts

I’ve made another quilt as part of my quilting ‘stretch’ project using the block from Sherri at A Quilting Life’s mystery block a month. As I said then I don’t know if I’ll manage to make a quilt a month, but I won’t really know unless I try…

And now I don’t want to not achieve this goal I’ve set and so on I go.

This month I’m sharing my eleventh charity quilt and my new pile is now growing, since the first nine have now been donated to the Mansfield Coordinator of Project Linus UK.

My eleventh charity quilt

I looked at this month’s block and thought to myself ‘oh boy, how many small pieces in that basket’ and I seriously considered my sanity and why a hobby might get you cutting up bits of fabric, only to sew them back together. Oh boy for sure.

Once again, and like last month’s quilt my plan was to avoid pinks if I could. I’ve had some red material which I wanted to use for a while and it just hadn’t happened, so this month I tried harder and found myself drawn to matching it with some blues, but mostly oranges - hence the marmalade part in its name. The hearts are on the red material and there’s also smaller red hearts on a white background used in some of the ‘baskets’ so the quilt once again named itself.

A selection of red/orange and blue/purple toning fabrics pulled from my stash for the quilt's borders

The fabrics I’ve used in this quilt are from a mix of fat quarters I’ve had for a while (the red hearts, the cats, and the purple and blue flowered pieces), a shirt of MOH’s (the multi-colour striped fabric), some old curtains (the patchwork orange material) and two pieces of fabric I’m sure I used when I was quilting back in the 90s (the large flowered piece and the blue striped smaller piece). So it definitely fits in with using my stash, and sustainable sewing.

I’d made the four central blocks relatively early in the month, and almost without issue. Actually that’s not true, for the first time I had to completely restart a block which I’ll share more about in my next ‘craft room additions’ post as I think it will fit better there.

Laying out the borders

Learning from my ‘half the scraps’ quilt where I learnt it’s hard to do random, and that my eyes prefer balance I decided to lay out the borders and plan this more than I usually would as I knew I’d have to add in some toning materials as I was sure I didn’t have enough not to do this.

Laying out the four basket/centre blocks and laying two of the border fabrics alongside checking placement and layout

And it came together pretty easily - I was keen to have the baskets of the central blocks radiating out from the centre of the quilt, so laying it out like this helped me get that right too.

the four blocks, all with three borders each

With the final, and lighter border added to each central block I realised it needed more to retain the balance my eye craves.

4 blocks with three borders, now with the blocks all sewn together

And so with a quick dig through my stash I found a batik in a colour way that was pleasing to my eye.

With the addition of an L shaped border on the top and right hand side in a fabric similar in tone to the border on the opposite side

It looks so much better doesn’t it? And the eye is tricked into thinking there’s the same number of borders around the blocks, but when you look more closely, you’l see there isn’t.

I added a final border using the old curtains which I loved but have no use for now, and set about quilting this latest quilt top, reverting to my preferred straight line quilting and getting much braver with this opting not to use the tape markers again.

Quilting finished, with the batting still not trimmed

With the scrappy binding added, it was done - and its name of Marmalade Love feels right, and works on many levels for me.

The top of the finished quilt, complete with scrappy fabric binding
The right hand side of the quilt is folded over on itself to show the backing fabric, which matches the final border around the whole quilt on the front

Even on the back!

So that’s the eleventh quilt done, and I’ve already made the central blocks for the next one - but more on that next month, though pop back tomorrow to see how I got on with making my own block for my Mystery Block of the Month Quilt.

You can see my other quilts which I’ve made to donate to Project Linus - a charity whose mission is to provide love, a sense of security, warmth and comfort to children, who are sick, disabled, disadvantaged or distressed through the donation of new, homemade, washable quilts and blankets, including those that are part of this ‘stretch’ project in earlier posts. I’m aiming to publish an update on my progress in the last week of each month for the remainder of 2025.