Essex Linen kisses, a colour wash picnic rug

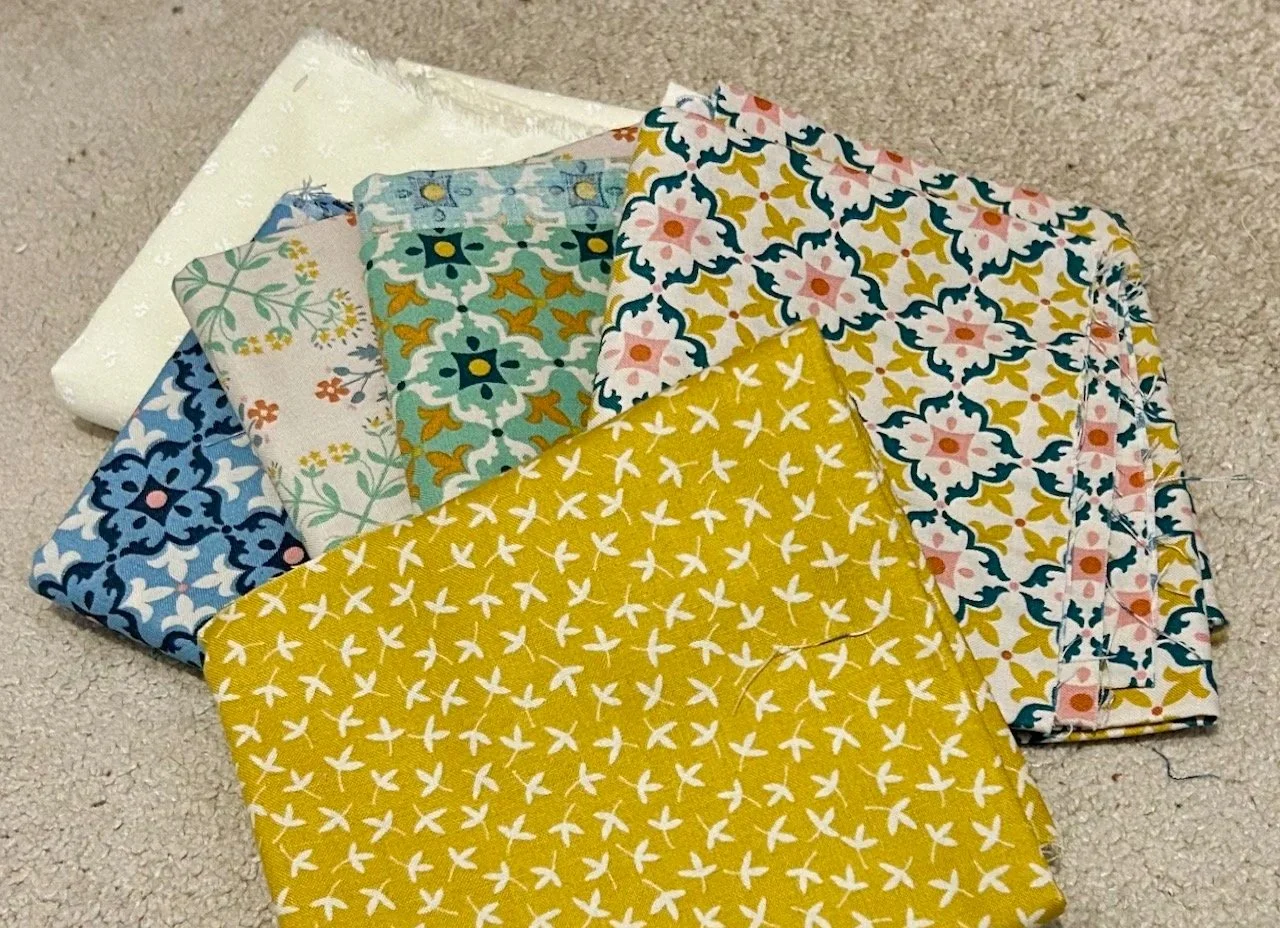
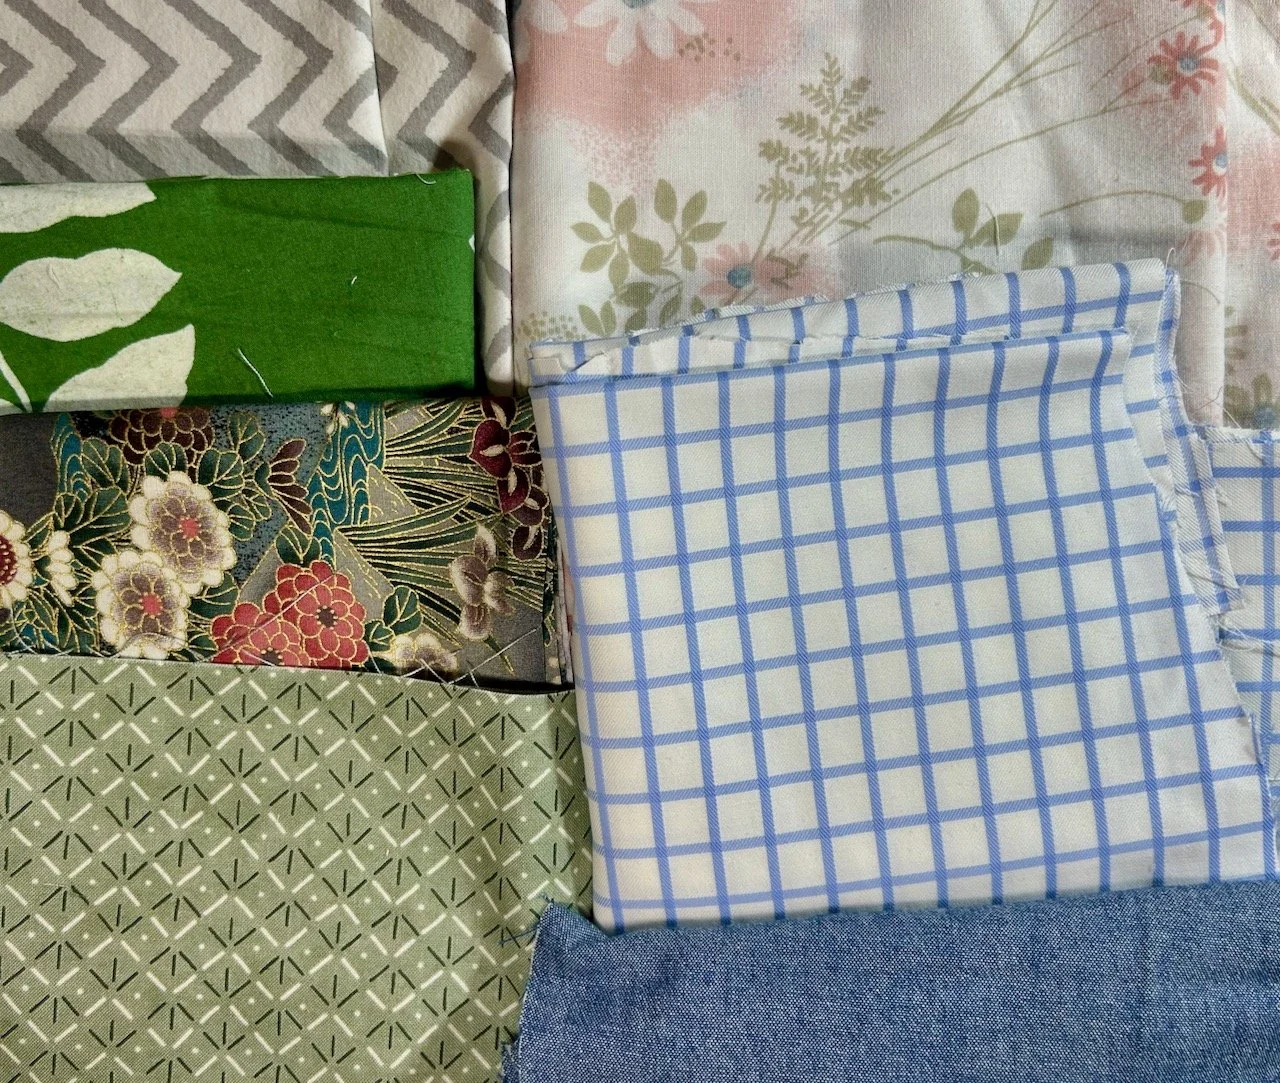
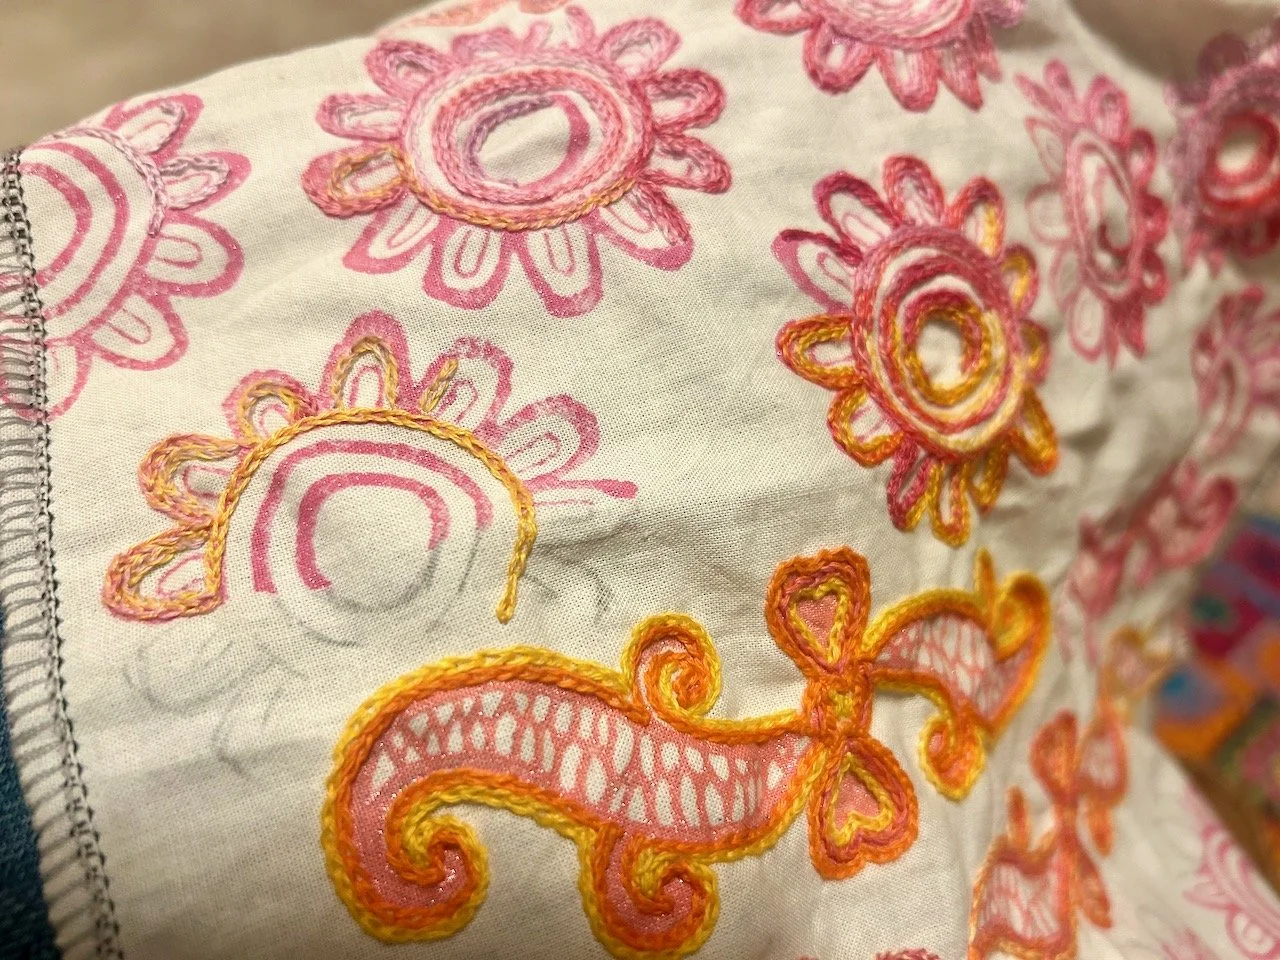
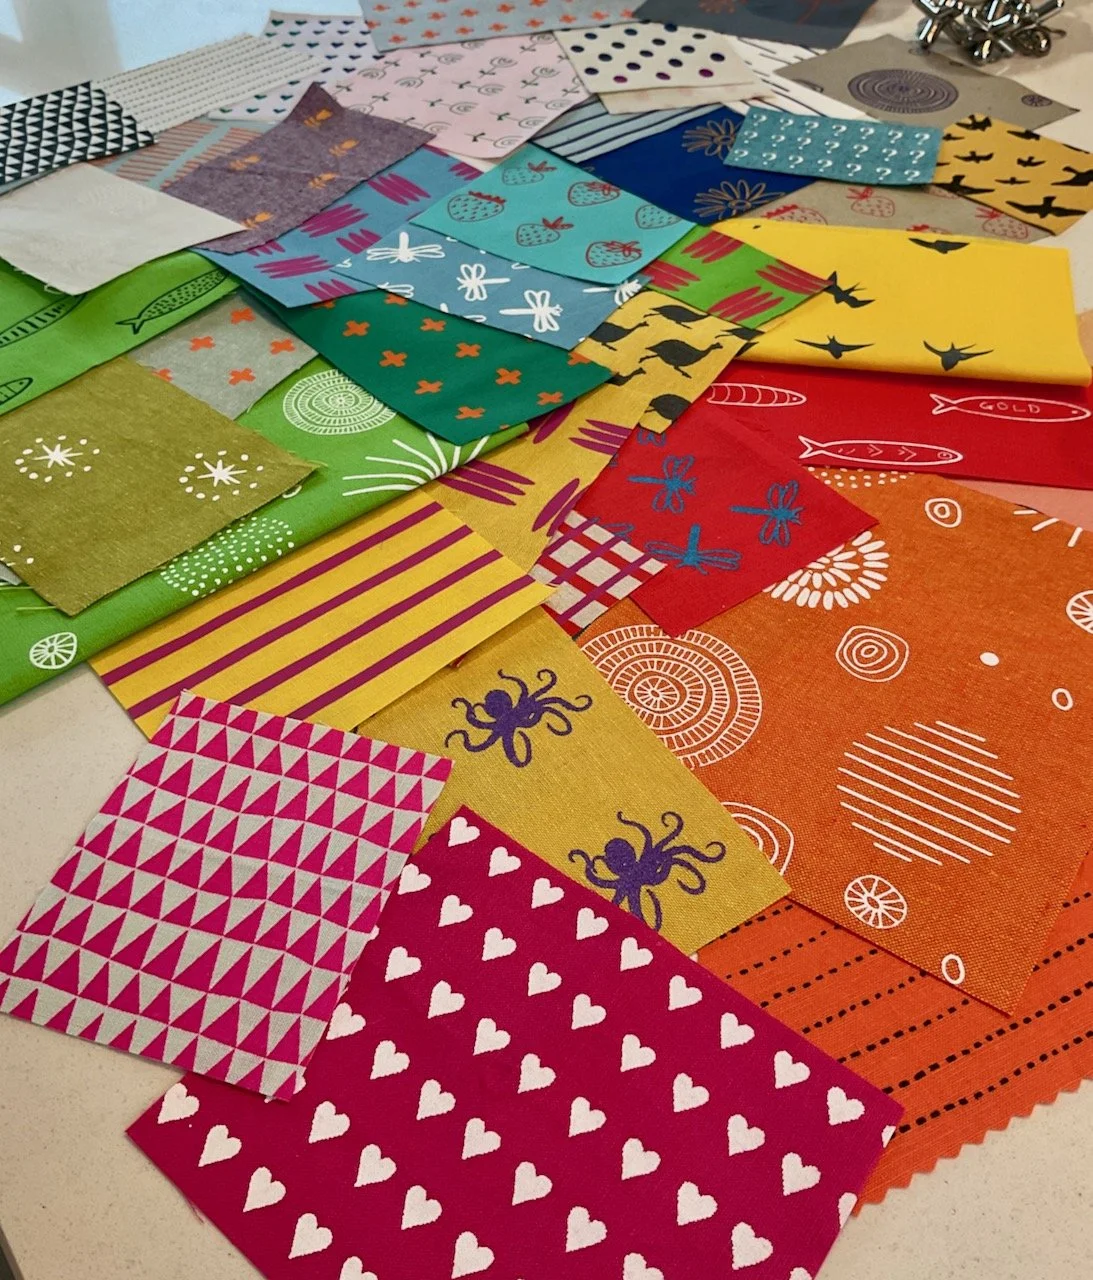
When I shared my quilt plans for 2025 I said a quilt that wasn’t supposed to be there had crept onto my list, and it was these scraps in a random scrap box from Helen Steele that made their case very well!

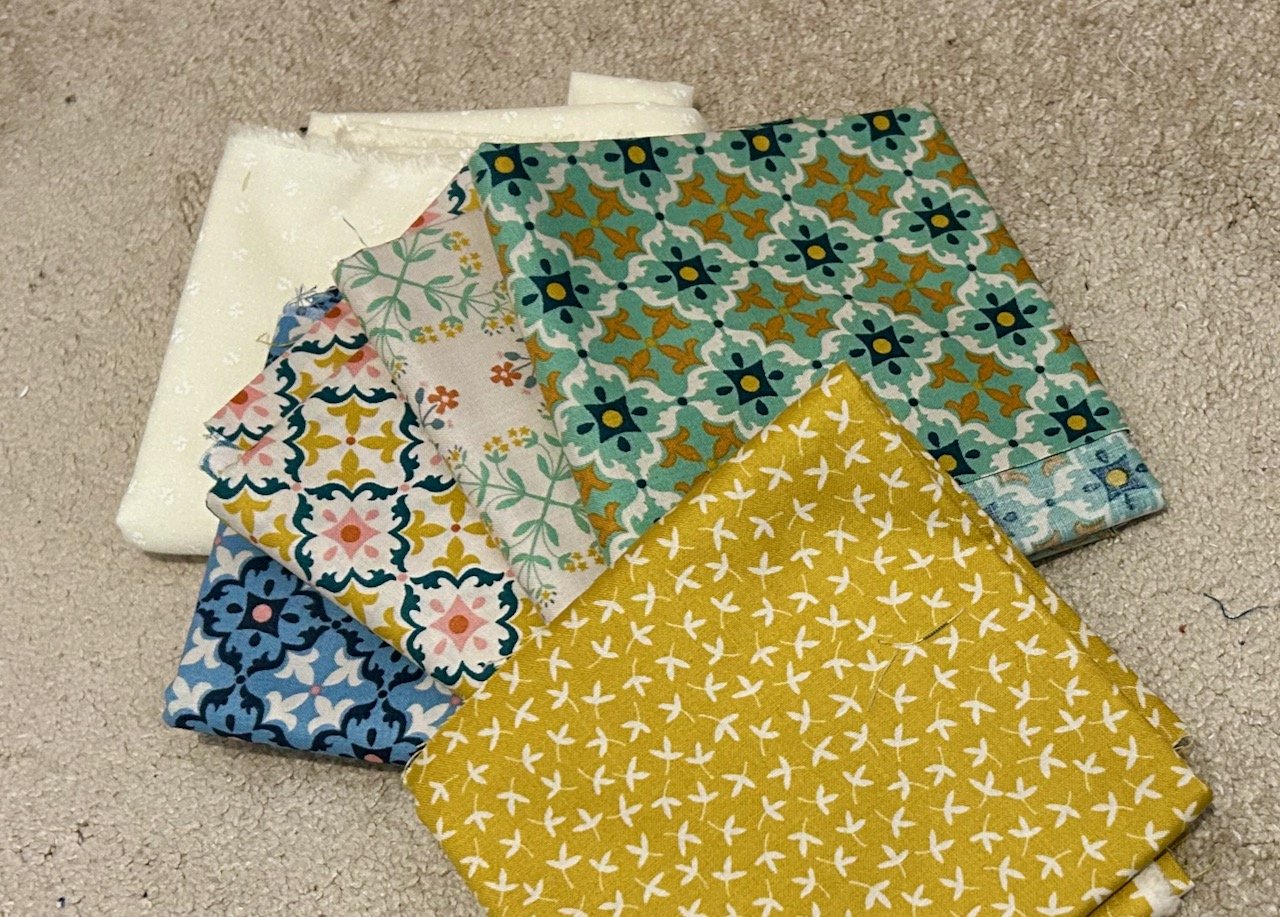
When I ordered the scrap box I wasn’t sure what would arrive, or how much - I knew the weight of the pack but in real terms I was unsure of how much fabric that actually was. When it arrived I fell in love with the bright colours and quickly made a plan for using them, working out that if I cut them into 3 inch squares I’d make the most of what I had.

The scraps from the random scrap packet by Helen Steele

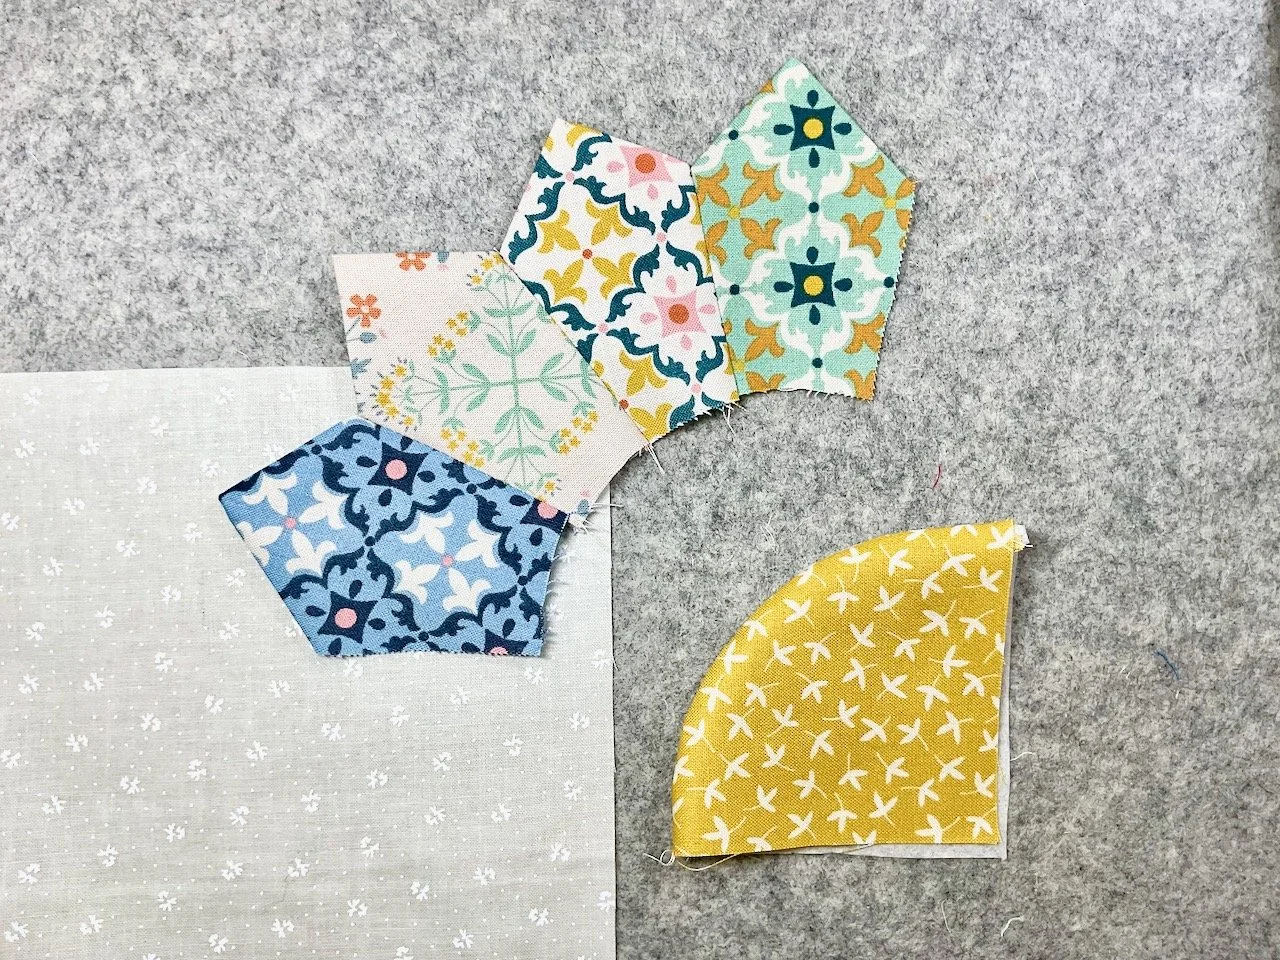
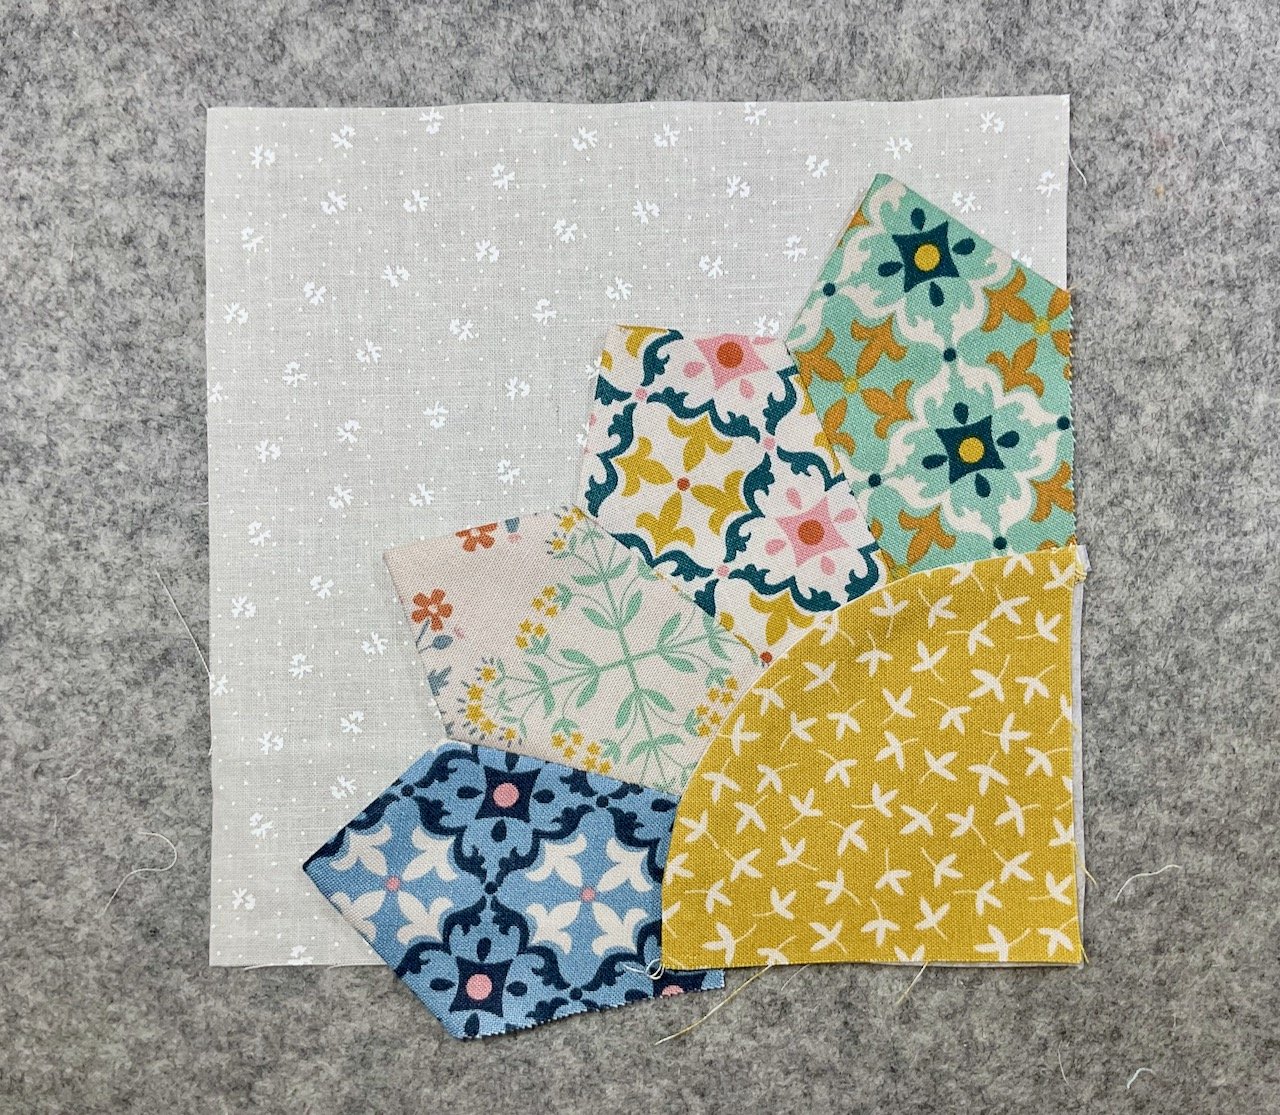
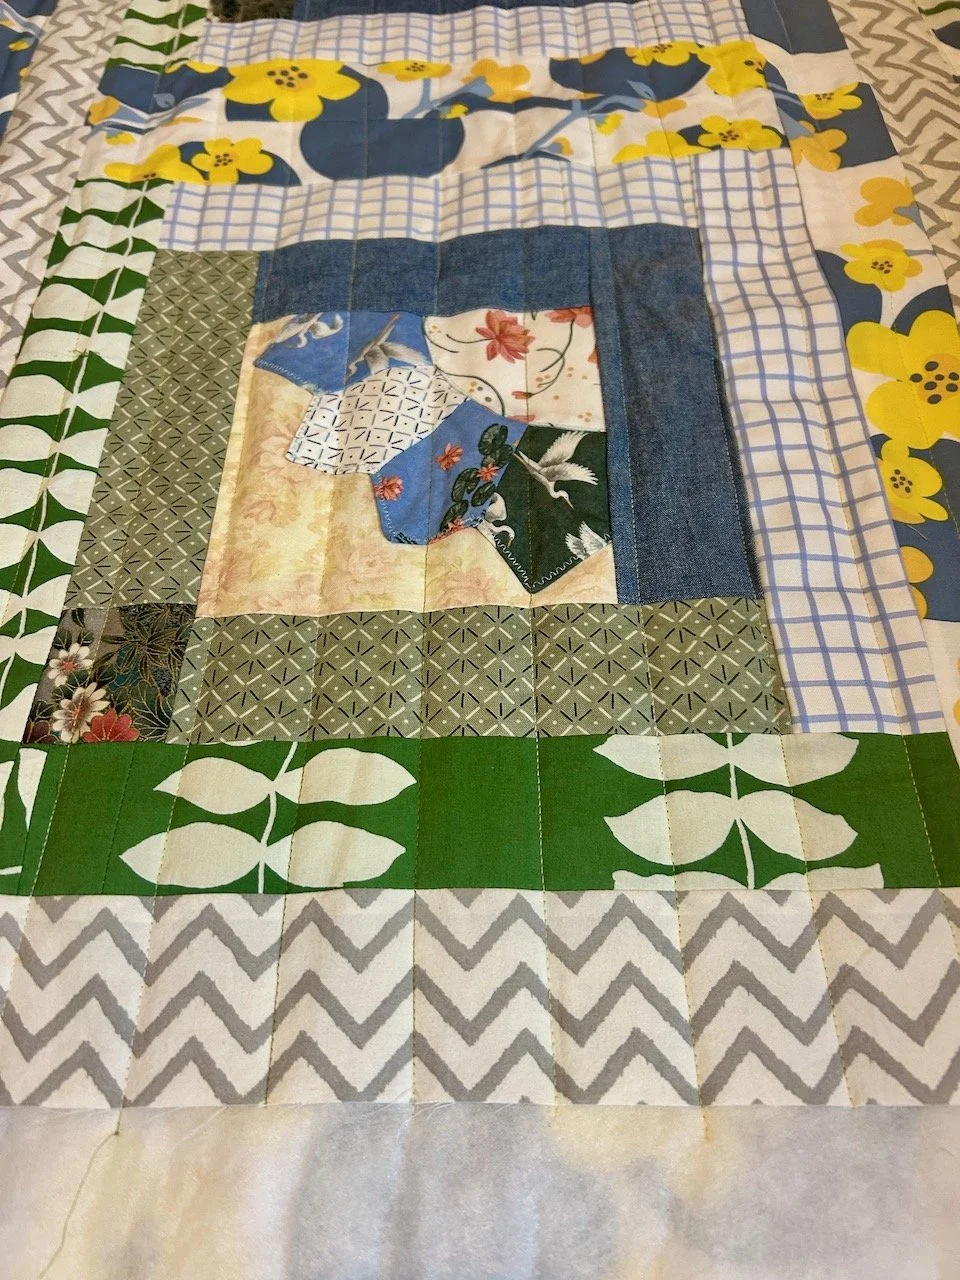
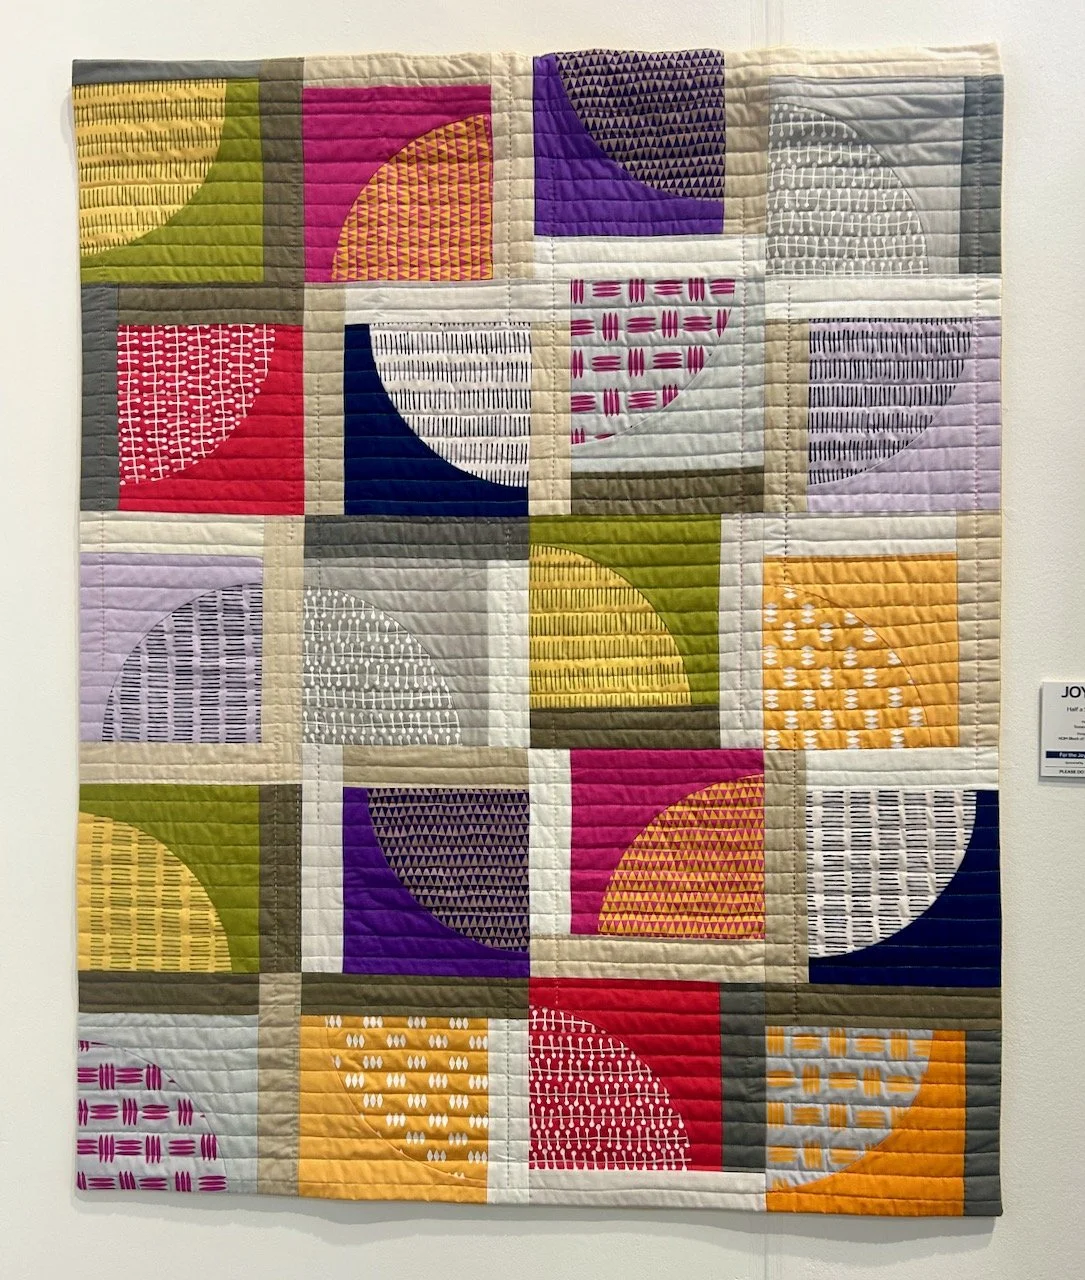
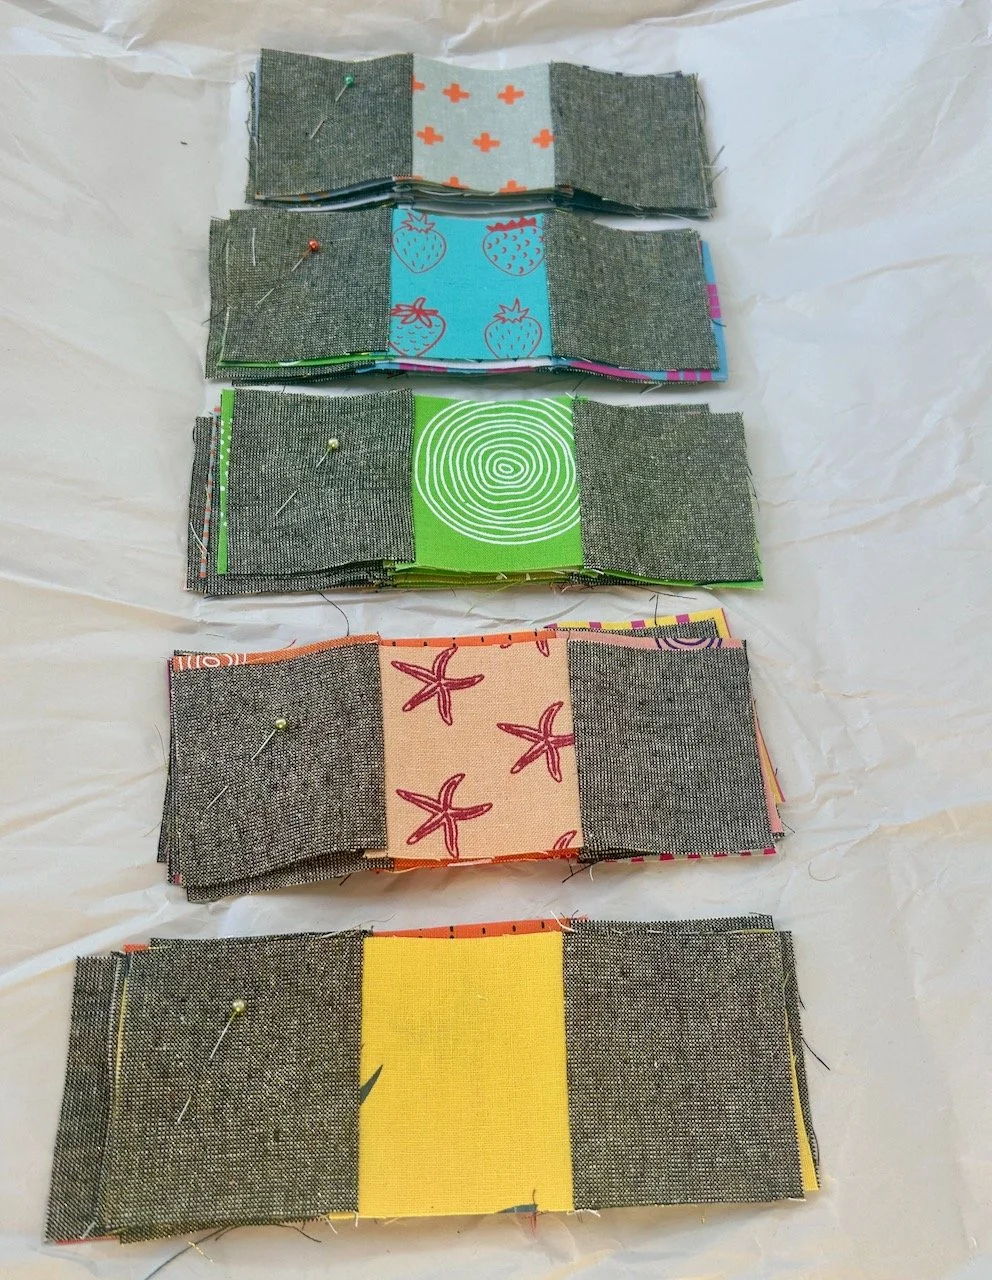
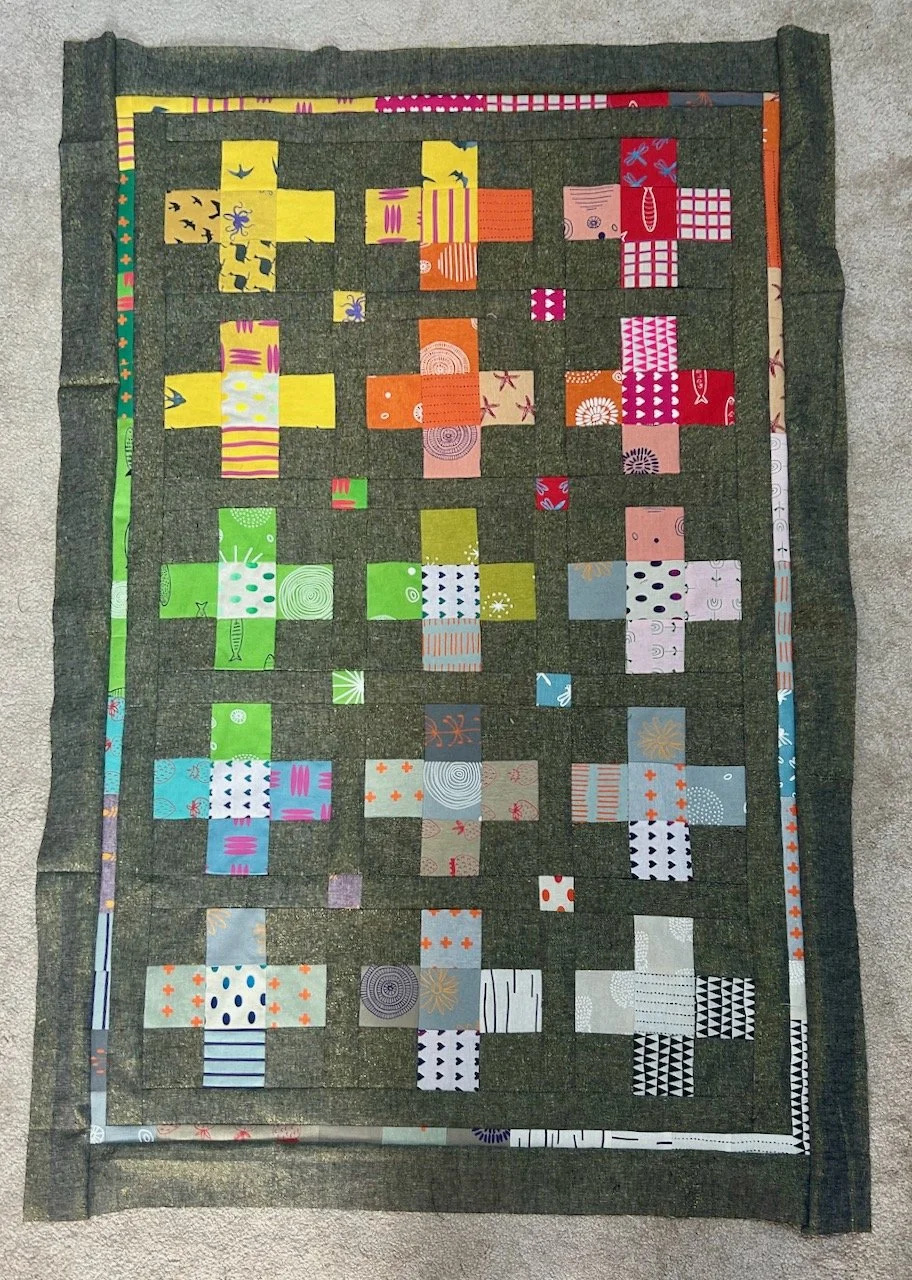
It wasn’t until June though that an idea started to form, and along with the gold specked charcoal Essex Linen that I’d ummed and ahhed about I started to lay out the crosses, or kisses as I prefer to call them.

Liking what I saw I started to sew my blocks, which are inspired by Quilty Love’s Plus Squared quilt, and I needed to do this while the design was fresh, or else who knows what I’d have sewn to what!

Piles of blocks part sewn together to ensure the sewing matches the thinking

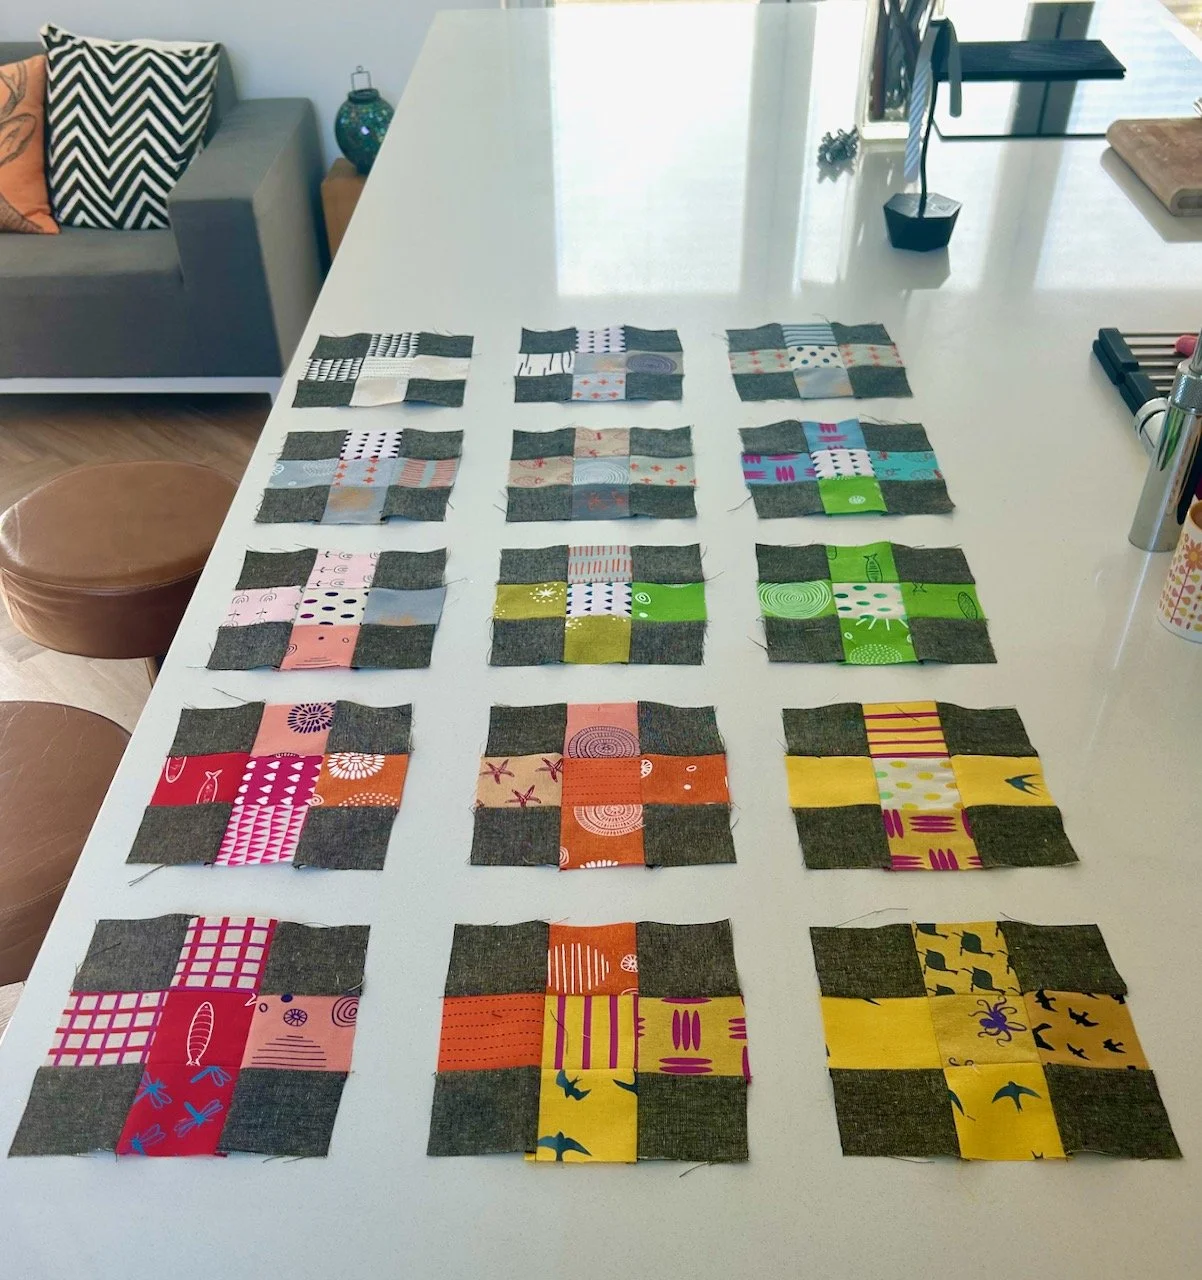
It wasn’t long before I had a series of blocks made from nine smaller squares, and that’s when I got a real idea of the size of the quilt - and it was smaller than I’d imagined.

blocks sewn as planned and laid out in formation

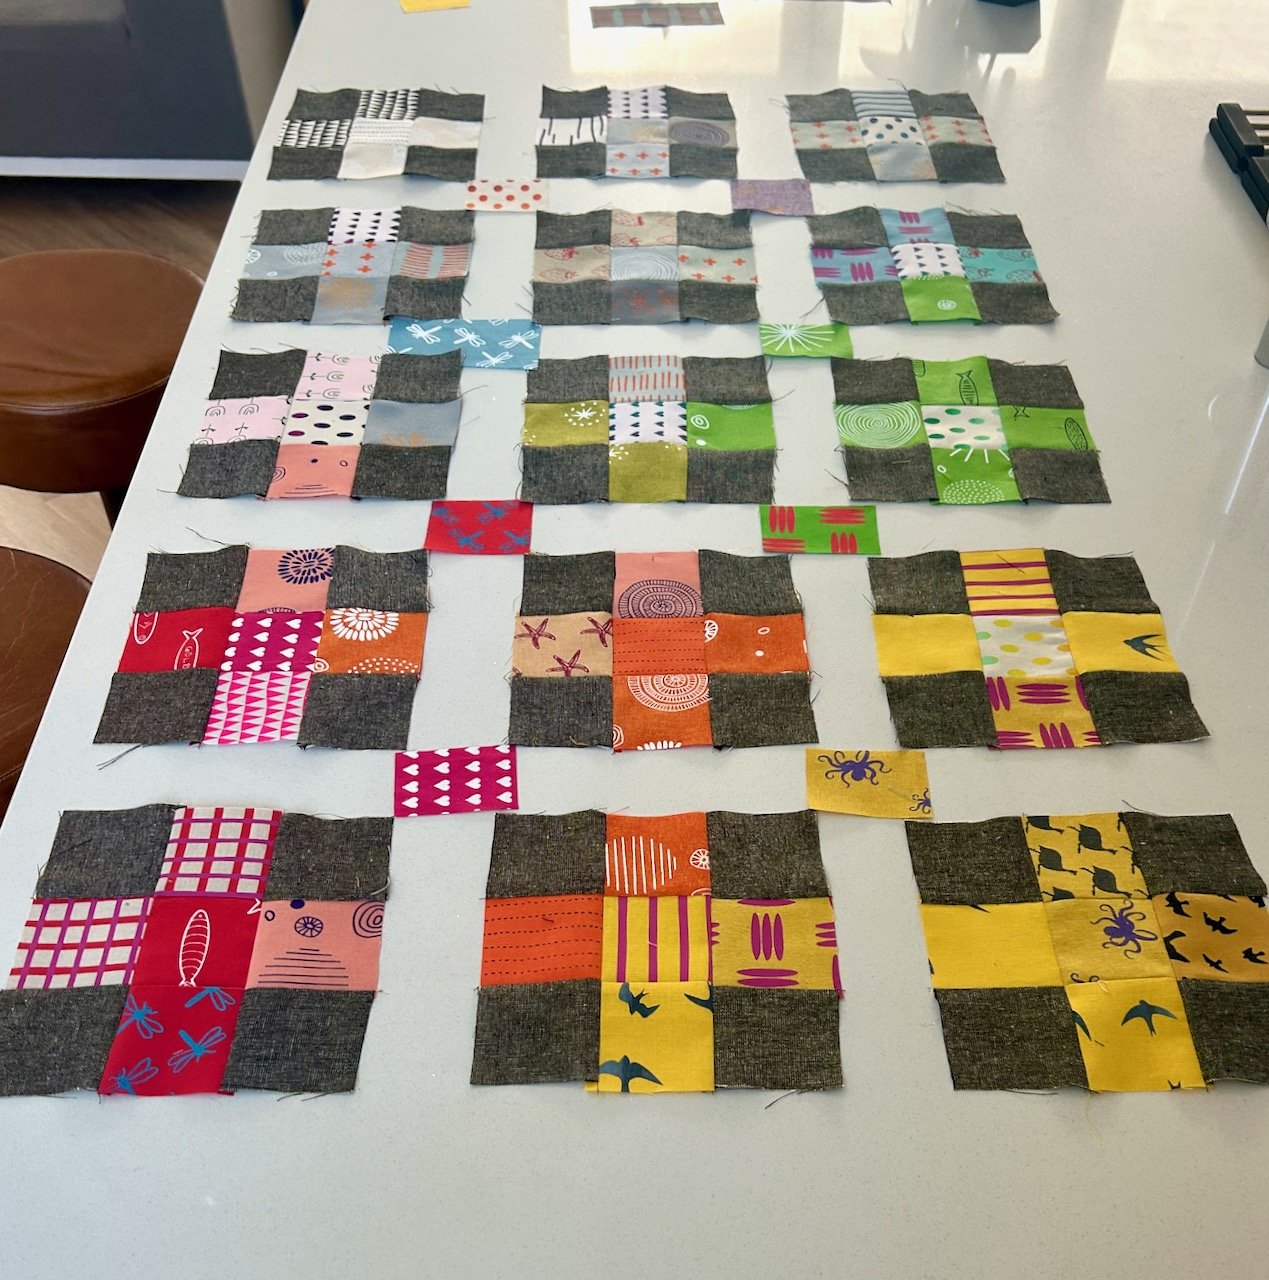
But I knew with some sashing and borders I could extend that, a bit - but I didn’t want to lose too much colour, so I decided to break up the sashing between the blocks with a pop of colour, and it’s amazing how much difference this made even though I was still only visualising this part in my head.

Testing pops of colour in the corners of each block

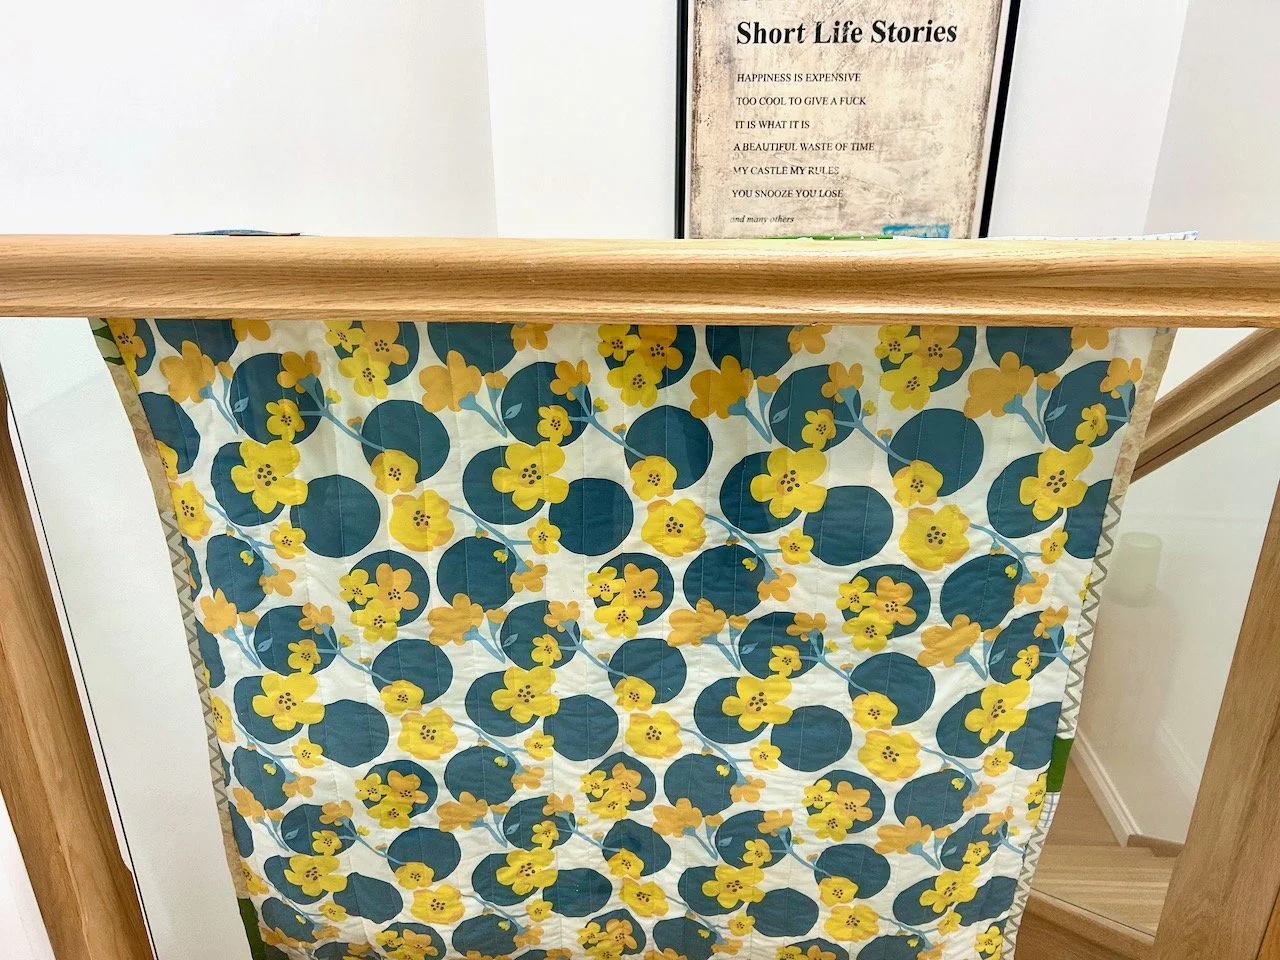
By September, and with a narrow colour wash border which echoes the colours of the kisses closest to the edge now also added, the quilt top was completed.

The finished quilt top, with borders added - including a narrow colour wash border

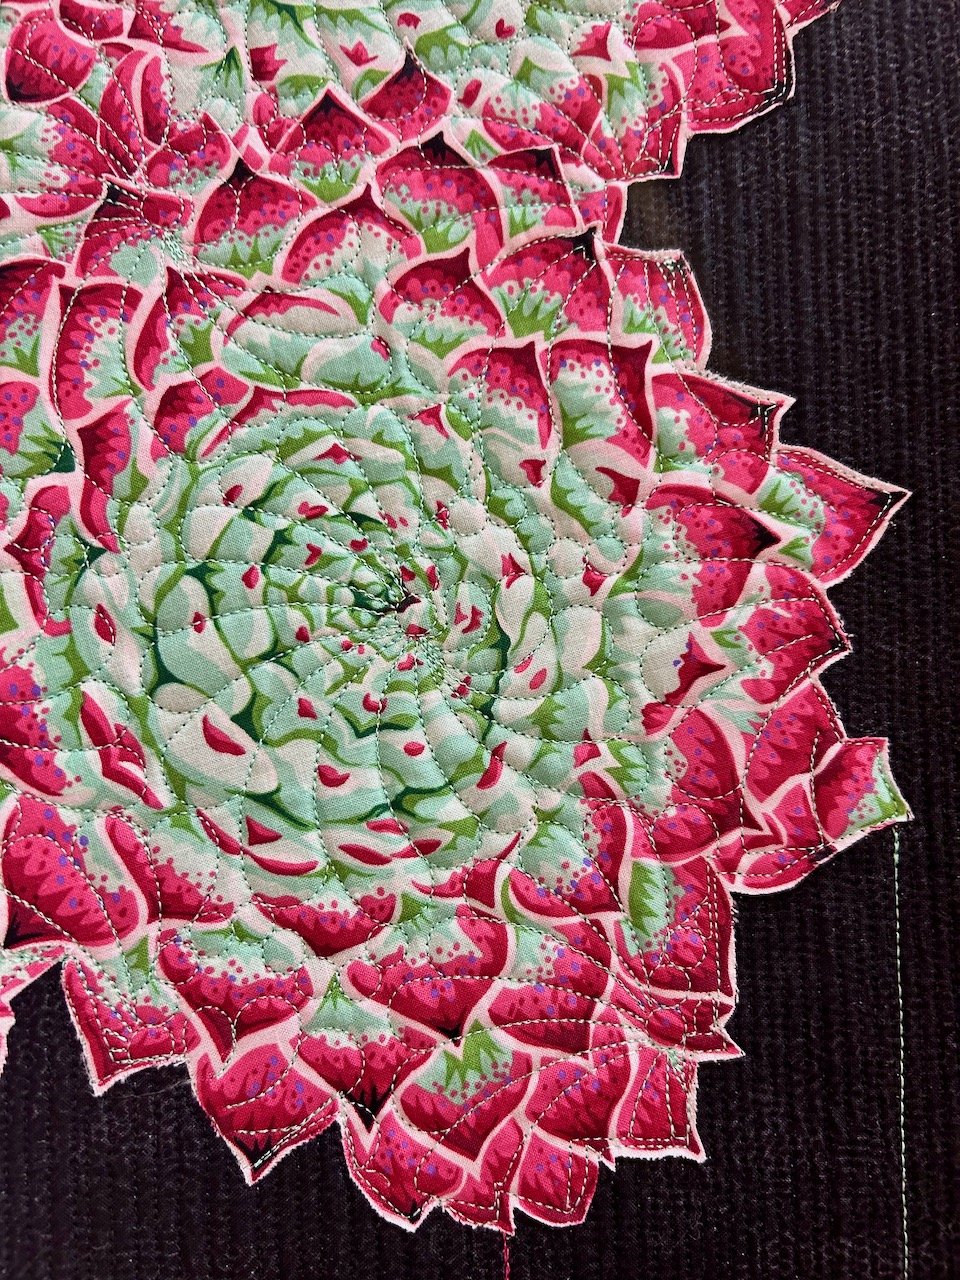
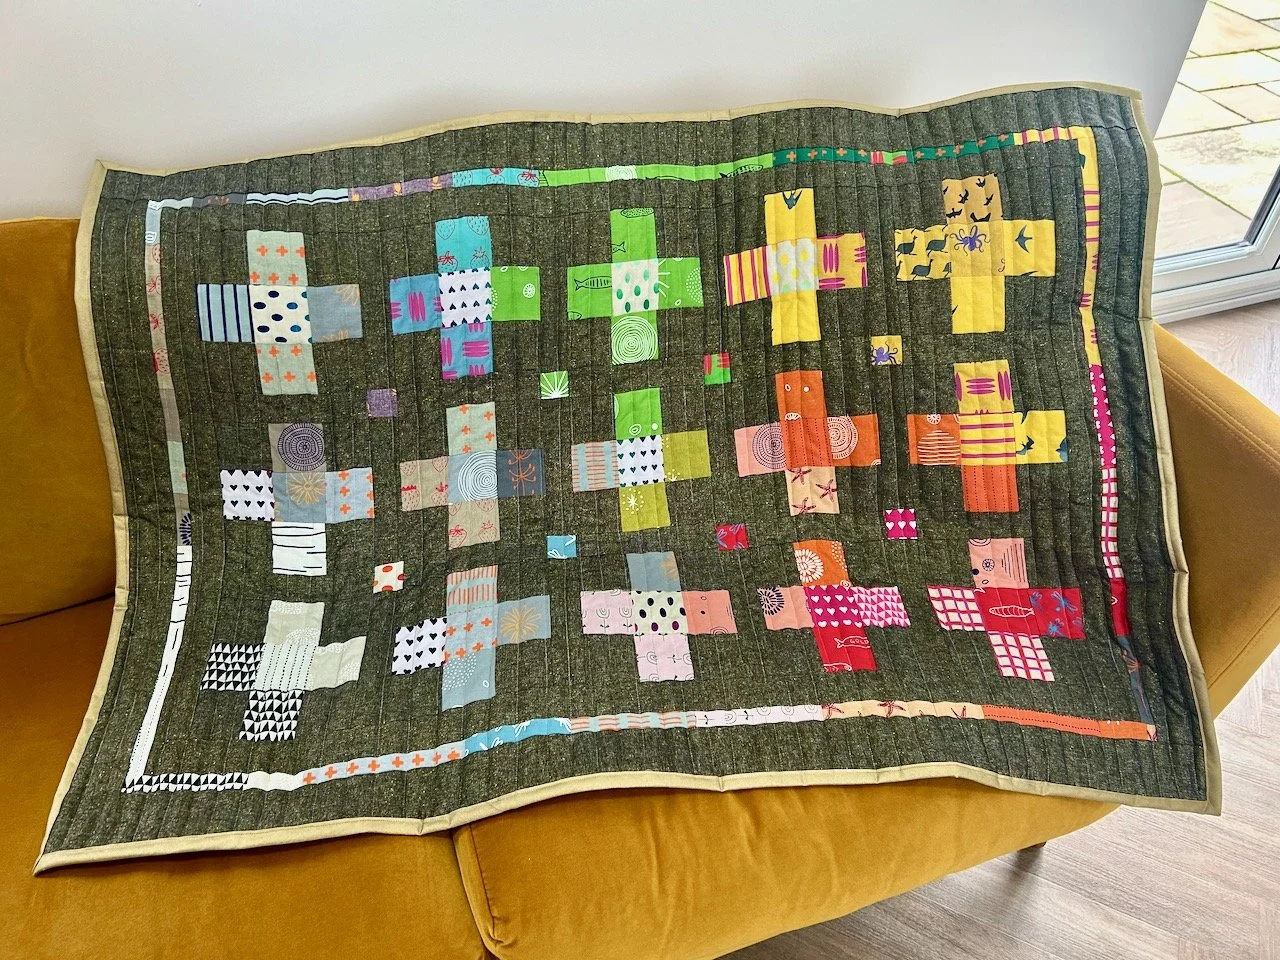
And that’s how it stayed for a good few months. Having got it this far, and already falling in love with it the truth is, I didn’t want to mess it up. I knew that I wanted to straight line quilt this, but I wanted to practice my straight lines - in fact it wasn’t until January this year when I practiced using the adjustable guide on my Dresden Buttercup charity quilt, that I felt it was time to finish my picnic rug.

In the interim I’d deliberated about the colour of the backing, I’d bought some plain ochre cotton but that didn’t work even though I loved the colour. Feeling that it needed a brighter colour on the back I ordered some orange and apple green cotton, again I loved them both but chose to use the green, and for nothing more that it perfectly matched the greens on the top of the quilt, and also because I was hoping that any grass stains would show less! Well, you’ve got to be practical haven’t you?

Now when’s the picnic?

Using the guide, and having practiced using it, meant my quilting lines were straighter than they’ve ever been. I used a variegated Aurifil thread called Spring Prairie which matched perfectly, although at some points so much so that I couldn’t quite see where I’d sewn, but now that it’s done it was definitely the right way to go.

Finishing the gold binding with a variegated Aurifil thread

The metallic gold binding is from Frumble Fabrics and as soon as I saw it I knew it would be the perfect match and the perfect way to finish this quilt which will be our picnic rug.

The finished quilt (or picnic rug) draped over my mustard kitchen sofa

I can’t wait for the weather to improve and give this its picnic debut!

Making my Mystery Block of the Month: November 2025

You’ll have seen that I plan to complete Sherri’s mystery block a month quilt and in my last post I shared the test blocks which I made into my thirteenth charity quilt, today - a little later than normal - I’m sharing the centre block I made for my own quilt.

Despite being pleased with how I’d previously conquered this block for my charity quilt, it wasn’t until yesterday that I cut out and made my own block. And then I quickly remembered that it wasn’t anywhere near as daunting as my mind would have me believe!

I’d been playing with the colour options for my blocks but in the end settled on these, though I did intentionally switch the placement at the last minute when I realised the cream fabric would look better framed with the darker fabric.

I was even more pleased to discover that previous me had already cut the interfacing for the quarter circle - that saved me some time, and once I got started the quarter Dresden block came together quickly.

For my test blocks, and subsequent charity quilt, I’d tested out various stitches to attach the petals to the backing square. And while these worked well, in the end I decided to stick with a plain stitch, but opted to stitch as close to the edge as I could. That turned out to be pretty close in the end with the sewing machine going oh so slowly!

I’m really pleased with how it turned out, though as I started to add the borders I remembered to check and decide which way I wanted the quadrant to face, and typically it wasn’t the way I’d set up in the photo above.

It’s been a while since I’ve used the original green fabrics for the borders so there was lots of checking and double checking to make sure I was adding them in the same way as before to avoid any unecessary unpicking.

Before I knew it the eleventh block of my mystery block quilt was completed, so there’s just one more block to go - and that final charity quilt of this series. I’ve not started it yet, but it is another star. After that there’ll be more decisions on how to finish the quilt - I’m looking forward to seeing it all laid out together, it’s been a long time coming!

Join me hopefully soon to see how I get on with the next mystery block, and check out my previous posts for my mystery block quilt or the charity quilts made from the test blocks.

My Dresden buttercup

I’ve made another quilt as part of my quilting ‘stretch’ project using the block from Sherri at A Quilting Life’s mystery block a month. As I said then I don’t know if I’ll manage to make a quilt a month, but I won’t really know unless I try…

This one was challenging, but mostly because as I said before December was a lot.

This is my thirteenth charity quilt and the pile continues to grow, since the first nine have were donated to the Mansfield Coordinator of Project Linus UK.

Number thirteen

Well I guess that explains a lot, but it is finished and I think it’s one of the favourite ones I’ve made. As usual I started by pulling fabrics from my stash - and I think all of these have featured before, whether in quilts or other makes. It seems once a piece of fabric has my attention it stays there until it’s mostly used up.

For the centre blocks I used some leftover fabric from the first charity quilt I made, which I’d discovered when I was sorting and rearranging my craft room the other month, and luckily there was just enough for the Dresden part of the blocks.

This was the bit that was doing its best to intimidate me, but actually it was easier than I expected and the instructions I was following were really clear.

It wasn’t long before I had the four centre blocks, looking good hey?

It wasn’t until after I started to add the borders that I decided that I wanted to keep the layout above, and typically one of the blocks had the blue fabric in the opposite corner, but I decided to continue and work with it - whatever it was to be.

Then I had a wobble for the last border on the blue side. The pinker flowery material just didn’t work for me.

I’d remembered that I had the blue dots and buttercup material and I already planned to use that on the back, and it seemed a much better fit. So for a few days I stared at this layout on my craft room floor, before finally deciding it was the way forward. And wasn’t it just as well I did, otherwise this quilt wouldn’t have had a name!

And then December became a lot, shortly followed by Christmas so it wasn’t until the end of the year that I picked this up again.

Before basting this one I added another ‘half’ border in the buttercup material so that there was some balance for my eyes. And that block that had the blue the wrong way round was still the odd one out, but I was happy with where it was.

Once again the quilting was the straight line type - and this time I think they’re pretty straight thanks to the adjustable guide I bought. Not only were they straighter than ever before, they’re also more evenly spaced - and even better it whizzed through my machine. I was (and am) very happy.

So with the binding added it was time to remember one of my lessons from my Quilts of 2025 post and take a more pleasing on the eye photo.

This spot struck me as idea as I was walking downstairs, and even though this quilt would look great on the mustard kitchen sofa I couldn’t wait to try it out. It also gives me a real easy way to photograph the back too!

And if you’re wondering how I got it to stay perfectly balanced on the bannister, there was three very small pieces of parcel tape doing all the work. I even impressed myself with that!

I’ve still to cut out, let alone make my own block for my block of the month quilt so that will follow - and I’ve one more quilt to make as part of this ‘stretch’ project, which I’ve not even started yet either. It’s taken until the November block for me to slow down on this project and monthly block quilt, which isn’t bad going - but there’s still a lot more to do to put together my quilt, but the end is almost in sight!

You can see my other quilts I’ve made to donate to Project Linus - a charity whose mission is to provide love, a sense of security, warmth and comfort to children, who are sick, disabled, disadvantaged or distressed through the donation of new, homemade, washable quilts and blankets, including those that are part of this ‘stretch’ project in earlier posts.