Birthday bunting, a year on

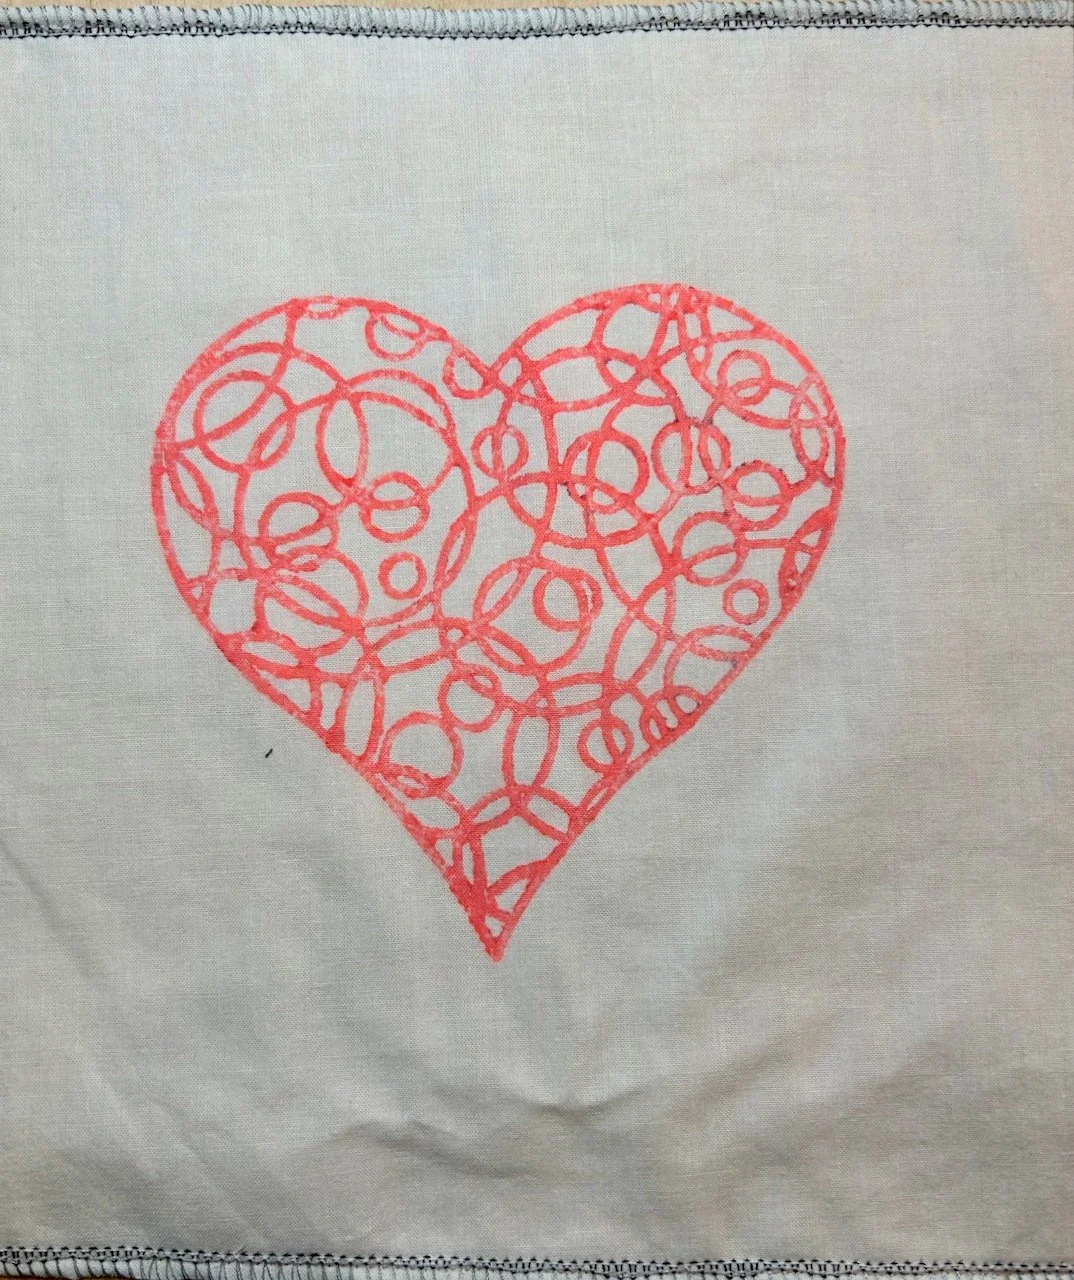
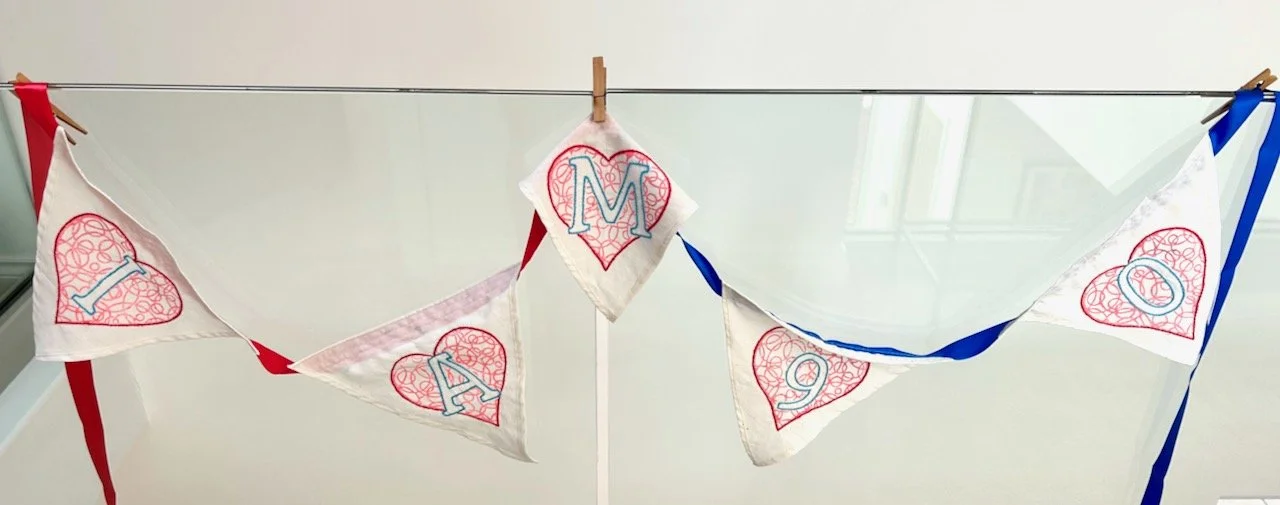
Last summer we celebrated my dad’s 90th birthday and to mark the occasion I made some bunting. I’d printed the individual flags much earlier in the year at the Indian Block Printing course at our local library. Even then I was clear that a traditional ‘happy birthday’ banner was a lot of work - and would need a fair amount of space to hang, and I wanted something smaller.

In the end I settled on five flags, spelling I am 90 - and both the embroidery and assembly were finished way ahead of our family celebration, which was a relief - and almost felt like it was planned.

A pile of printed and embroidered bunting - on top and I in a heart

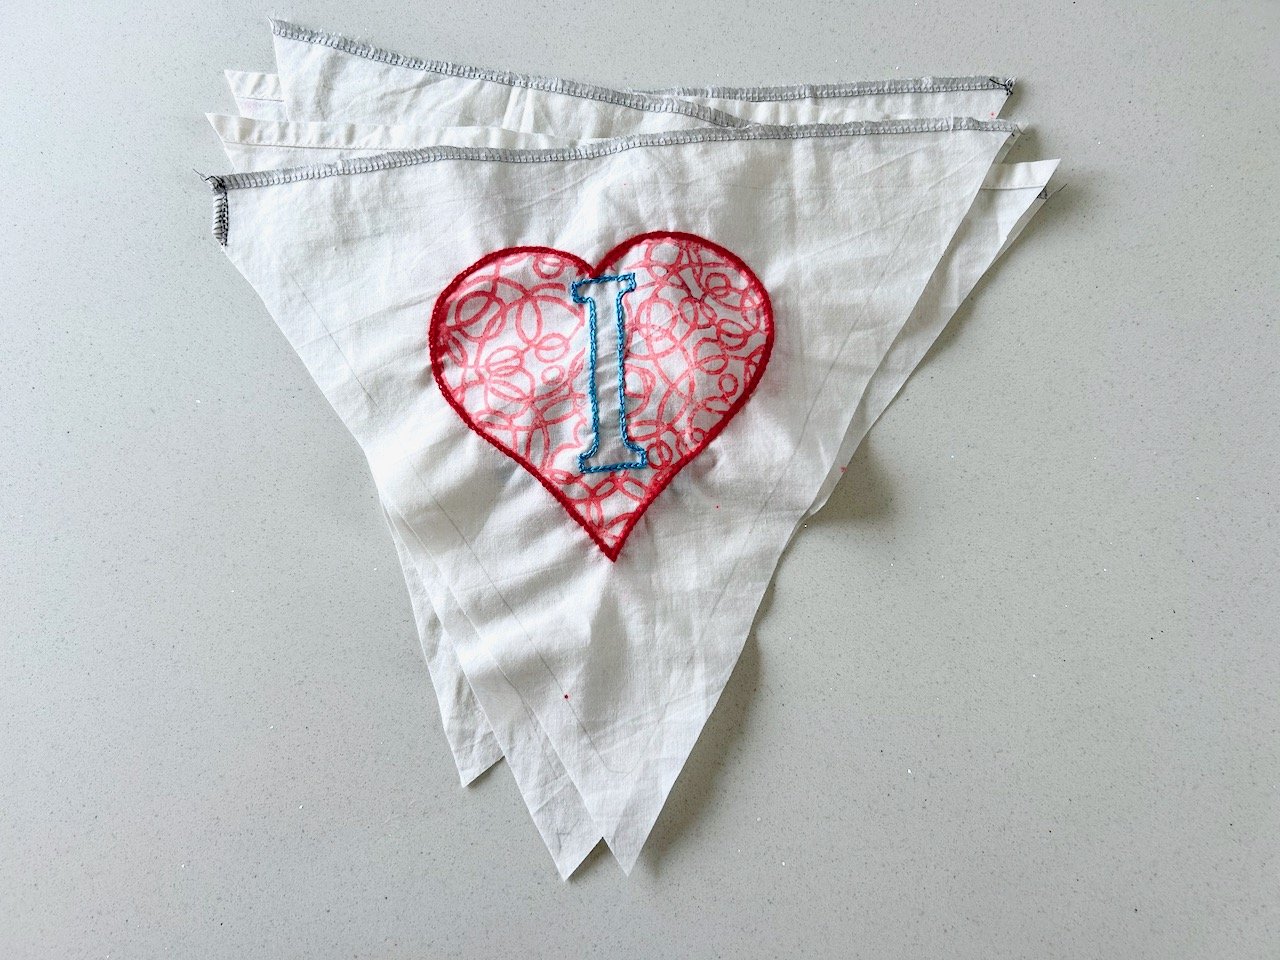
Which of course it was, but isn’t it great when a plan comes together?

The I am 90 bunting hanging in my house

Earlier this summer dad had another birthday, and so I thought I better provide an update, but without access to the same Indian blocks it would have to be different, so I decided to make it very different.

I’d picked up a large bag of buttons at my Sewing Group’s stash sale (along with the Vogue pictures, which are currently being framed) and more amazingly was able to remember where I put them and so lay my hands on them easily.

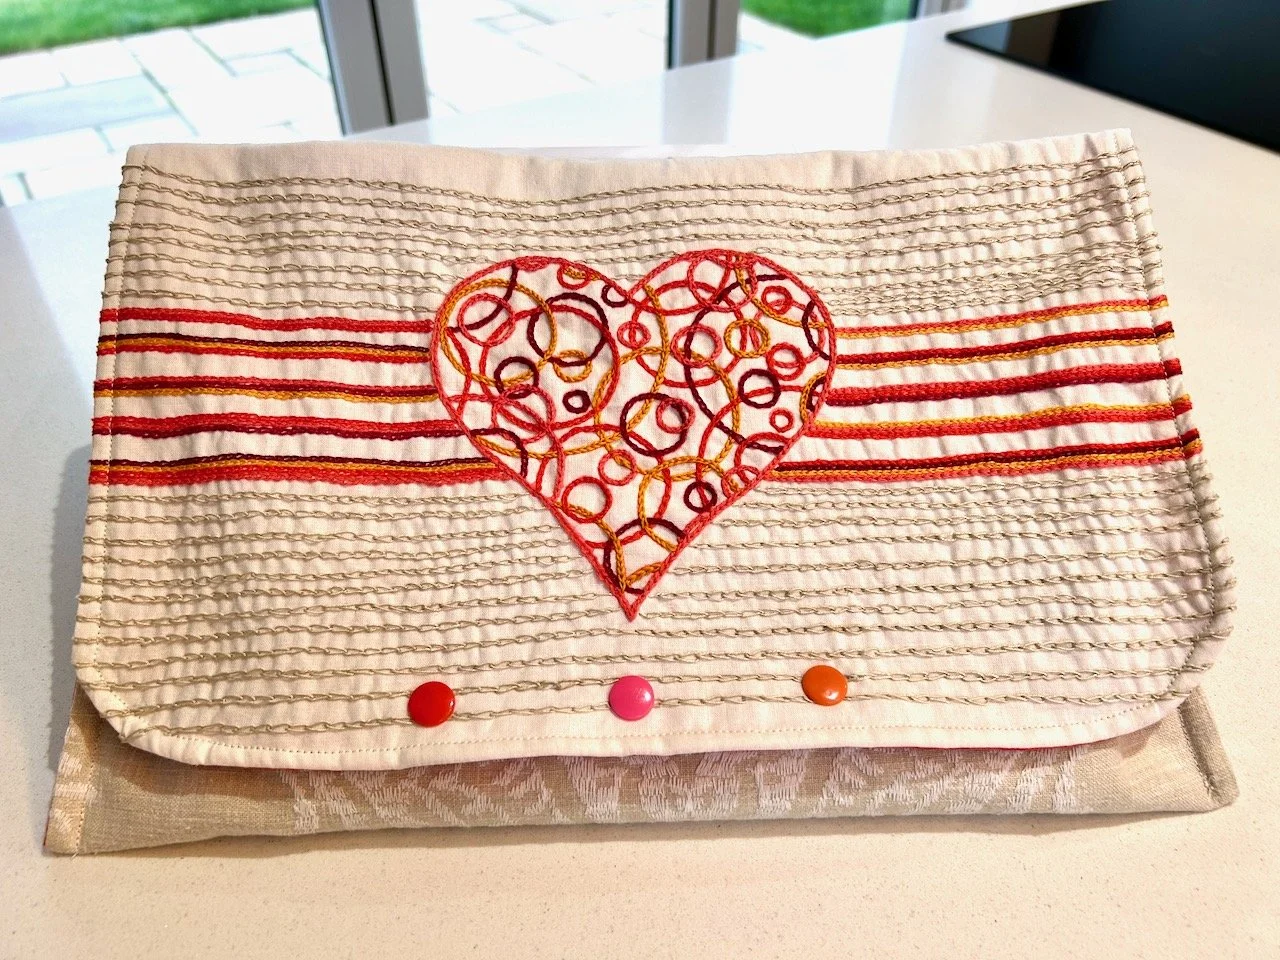
I’d drawn a 1 on a plain piece of fabric, and marked out the edges of the triangle which would form the bunting, and then played around with how the buttons would fit into the figure.

Trying out buttons to fill the pencilled 1 shape

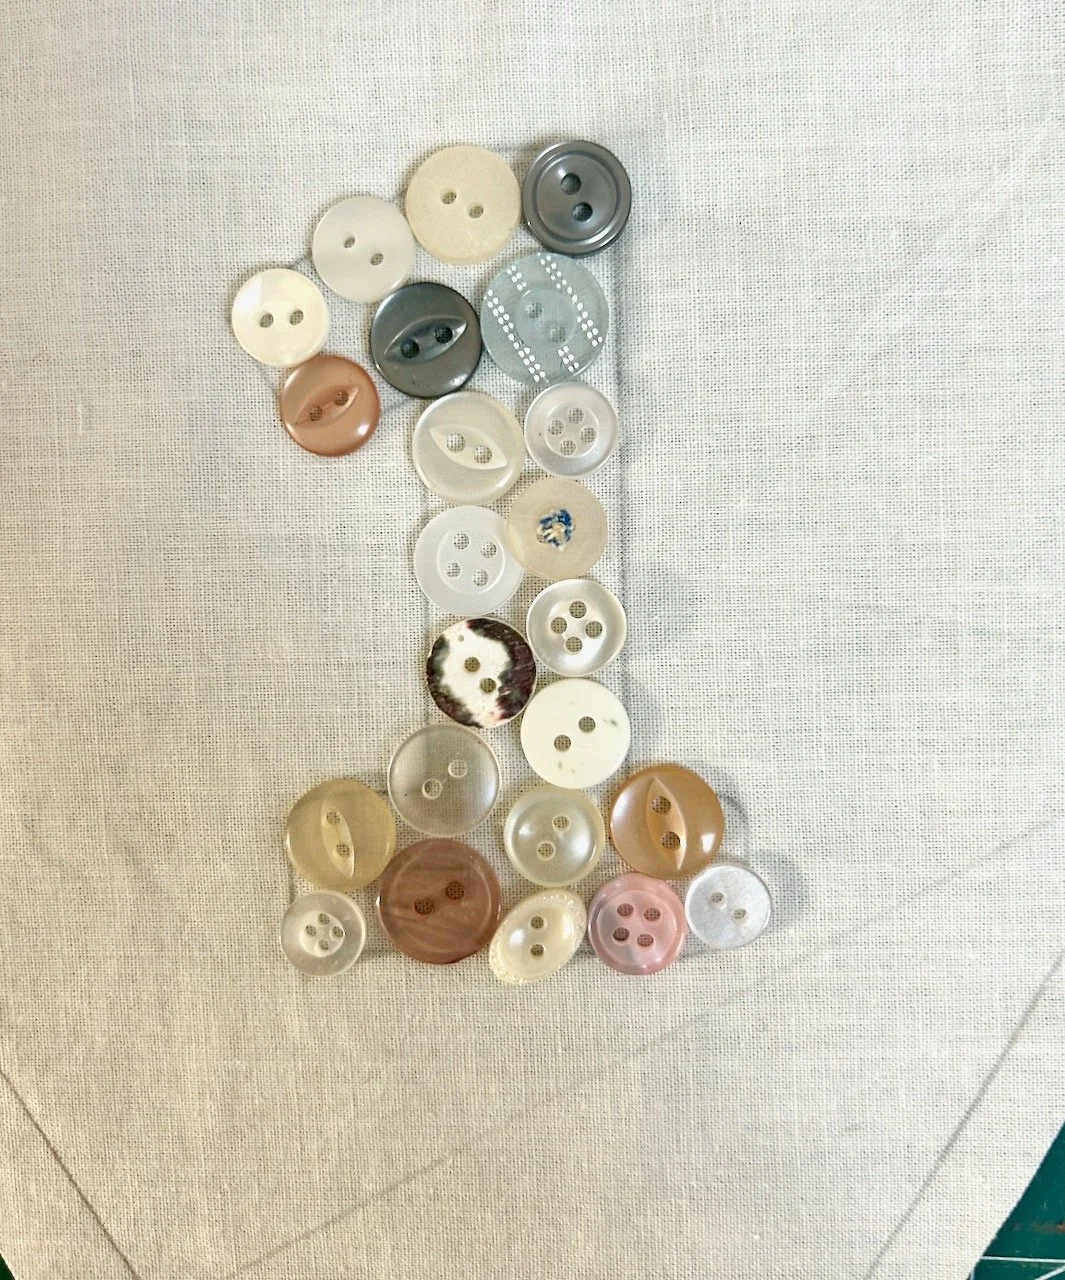
And once I was happy with that, I took a picture to remind myself of what I’d settled on, and set about sewing them on pretty much in the same position. It wasn’t exactly the same, but it was very close.

The last button - the tiny white one at the bottom right - didn’t seem to fit where I’d had it, as no doubt other buttons had moved slightly, and I toyed with the idea of leaving it off altogether. But in the end I added it close to where it should have been in my plan.

A 1 flag made from buttons sewn onto a triangle, which is edged with fancy stitching from my sewing machine

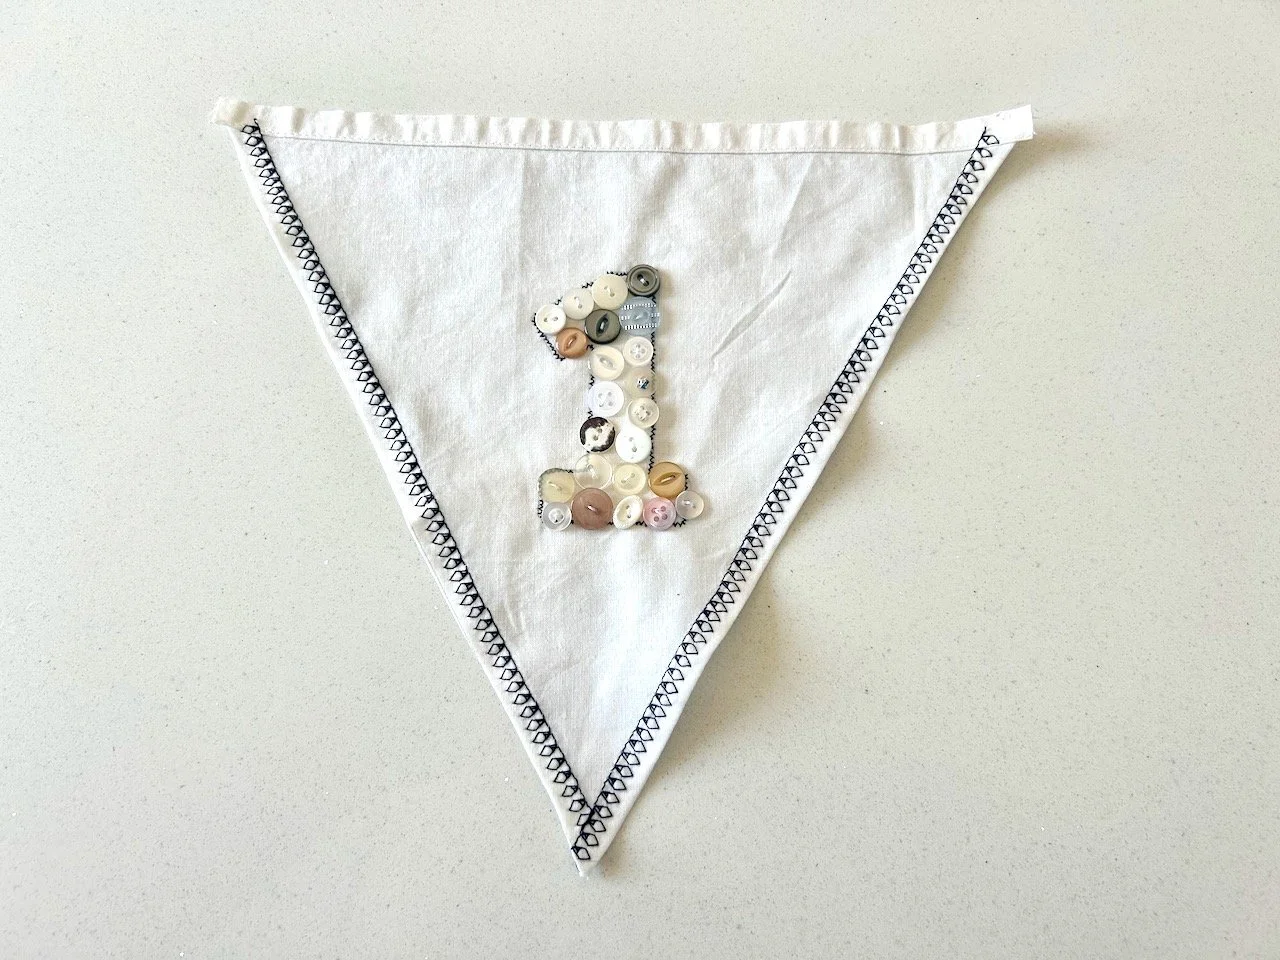
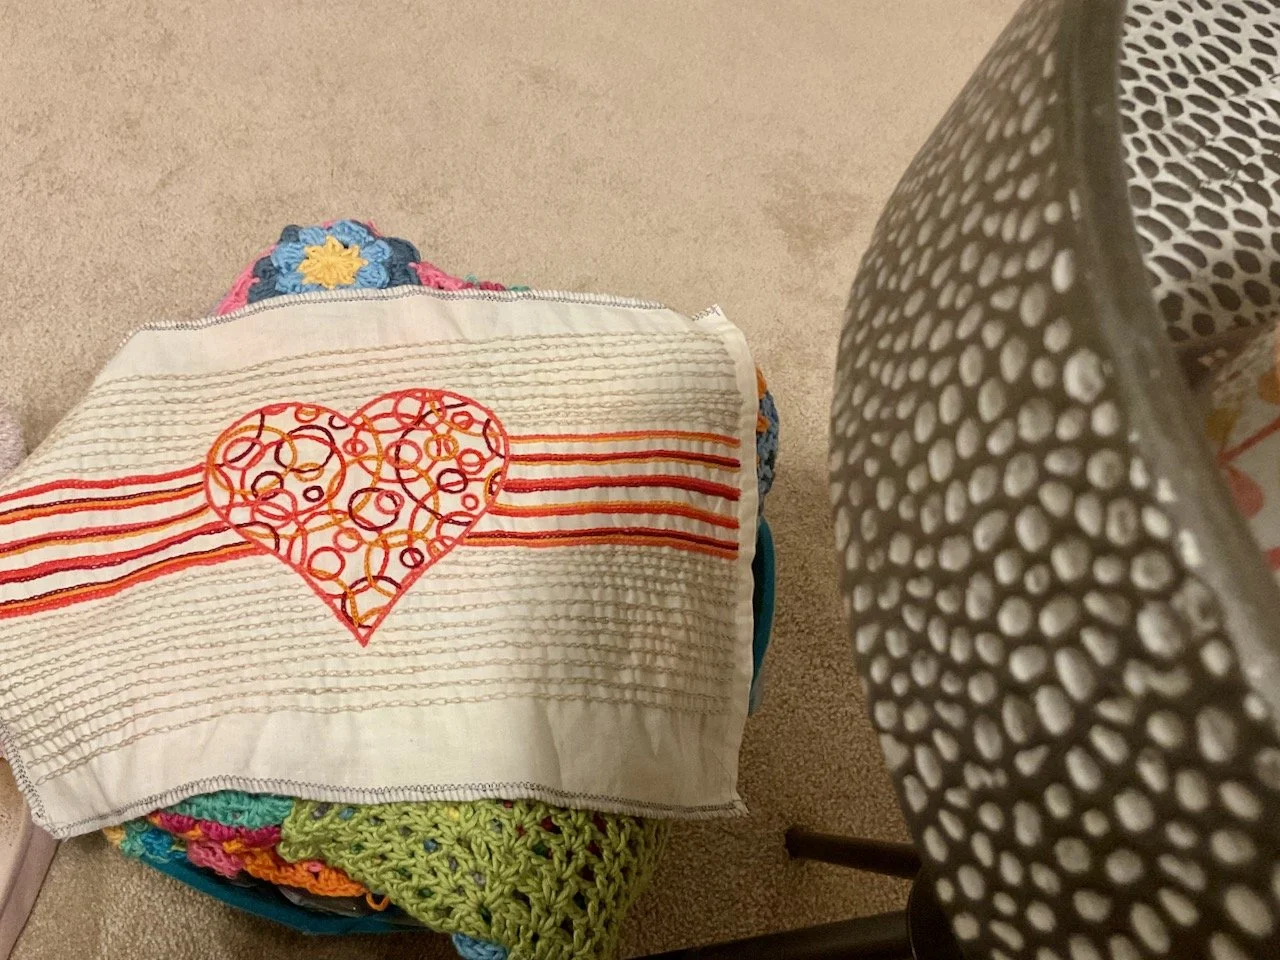
To hem and finish off the bunting I used a navy thread with a fancy stitch on my sewing machine - they look like Christmas lights to me, or ice creams in cones if you look at them the other way up.

Anyway, job done.

And that odd little button, well - it seems it was supposed to be there. Dad, who was half expecting an update to his birthday banner asked if I’d included that number of buttons on purpose. I hadn’t, but it turns out the number of buttons I’d used was the same number as dad’s birth date. I almost wish I’d thought of doing that myself, but seems that fate managed that all by itself.

How fortuitously weird, huh?

An embroidered heart

There was only one pouch in my pouch love series to share on Valentines Day wasn’t there? And from a simple printed heart it’s blossomed into a large and very beautiful pouch.

It’s hard to believe that this is how it started - a test print for some bunting I made to celebrate my dad’s 90th birthday last year. The bunting was simply embroidered but I wanted to explore the interlocking circles this time round.

Unusually I don’t have any photos of it ‘in progress’ and I’m not really sure why - it definitely came with me on our trip to Glasgow last September and has been on the train to London too. After outlining the heart and before exploring the inner circles, I added several coloured stripes across the fabric, which reminded me of a 1970s/80s tracksuit.

And then I braved the circles trying not to have two of the same colours next to each other, which just about works. Embroidering the circles with my beloved chain stitch was incredibly mindful and relaxing. Once the main emblem and its stripes were complete, I still felt that it needed more, and at the back of my mind I remembered a cream/beige embellished fabric which I picked up at a WI stash sale, which might work with this.

I knew I wanted to make this one into a pouch, and so finding the fabric to go alongside this in my stash was a complete win. That fabric I had in mind absolutely worked, and also encouraged me to add several rows of cream chain stitch stripes above and below the heart to tie it all together.

And this is how it ended:

What’s even better is the lining was also in my stash - and while dark orange skulls on an orange background might not have been the natural choice on paper, once I saw the colours together there was no other choice for me. To finish it off, of course I needed poppers, and as the fold over flap was relatively large, it needed more than one - and so unable to choose between pink, orange and red, I had one of each!

If my embroidered heart pouch reminded you of one I’d already made - you’re not wrong, it’s a much larger version of the baroque lady version which was the first one I made at the bag making sewing course.

I’m loving them both, and I’m pretty sure there’s plenty more pouches to come!

Sharing the pouch love!

I promised more pouches, and more pouches there will be - though this is just a few of them, there’s plenty more to come. In this post though I’m sharing the pouch love and all of these were gifted to relatives over the last month or so.

Let’s start with the smallest ones

This year we decided that cash would probably be the most welcome present for our nieces and their partners, but I also wanted to do more than pop it into a card. Many years ago I wrapped some cash up with some chocolate, and they were obviously much younger but the cash was discarded in favour of the chocolate (you can tell we’re related!) and so I was keen to avoid that, especially as there’s more of us now which means there’s a lot more wrapping paper to sort through!

Anyway I thought the pouches with the vinyl fronts would work, but smaller. And so I made one half the size of the smallest one I’d previously made - opting for the easy maths every time - but it was a bit too small. So I went midway between the two measurements and ended up with two pouches that size, alongside the smaller one.

I was happy, and so were the recipients though I think they were most happy with the cash inside. My 4 year old great niece was probably ambivalent about receiving the smallest one (even with a £1 coin in) as let’s face it at that age there’s much more interesting things going on.

Repurposing an old shirt

Even MOH didn’t escape, though I took a different approach here as I knew he’d say he didn’t want/need one - but as you know that’s never the right answer to the pouch question. I decided that by using one of his old shirts (which he’d already discarded and I’d claimed as ‘potentially being useful at some point in the future’ I should add) he couldn’t argue that it wasn’t his thing.

I can be canny like that.

He’d said that he tends to keep his coat on while on the train even though it can be too warm as he hasn’t got anywhere to put his phone or wallet… I told you the answer to these types of questions is “you need a pouch for that!”

And so I made him a pouch for that, whether or not he’ll use it is another matter but I know it’s been with him on his recent London trip. So that’s at least part of the battle.

For this one I cut one side of his old Superdry shirts, using the breast patch pocket and the buttoned placket, which I sewed closed before assembling the pouch. I left the pocket functioning as a pocket, thinking that it would add interest and may actually also be useful. Along with the same material for the back, and a toning zip I followed the same process as for the vinyl fronted pouches, now fully confident about the size changes. I’ve worked out the back needs to be about 1.5 inches bigger than the front to allow for it to wrap around to the front.

For this one I used an old denim chambray shirt (also MOH’s) for the lining - again not taking any chances on the material choice, and you never know it may even get used.

A flamboyance of flamingos

That’s actually the proper name for a group of flamingos, isn’t that great? Almost as great as this set of pouches I made for mum who has made, and continues to make, me many pouches which I’ll never complain about. Mum was quite taken with the flamingo pouch in the original stack of pouches, and so I thought with my newfound size knowledge I could go flamingo mad (or plamingo mad as they’re sometimes known in our family).

And so I did.

With four more pouches! Each fits inside the other - and so it was a tropical flamingo pass the parcel for one - what’s not to like?