Noughts and Crosses - another quilt completed

Around the same time I shared my Flying Geese quilt I saw another quilt which I fell in love with, this time the Happenstance quilt by Sarah Hibbert - isn’t it beautiful, and well, curvy!

Immediately my mind was making all sorts of plans, and that’s before I even knew if I could sew a curved block. The plans went on hold (briefly) and I thought I’d better try it out as I was sure I had an orange peel template hanging on my craft room pegboard - I remember having fun balancing them across two hooks.

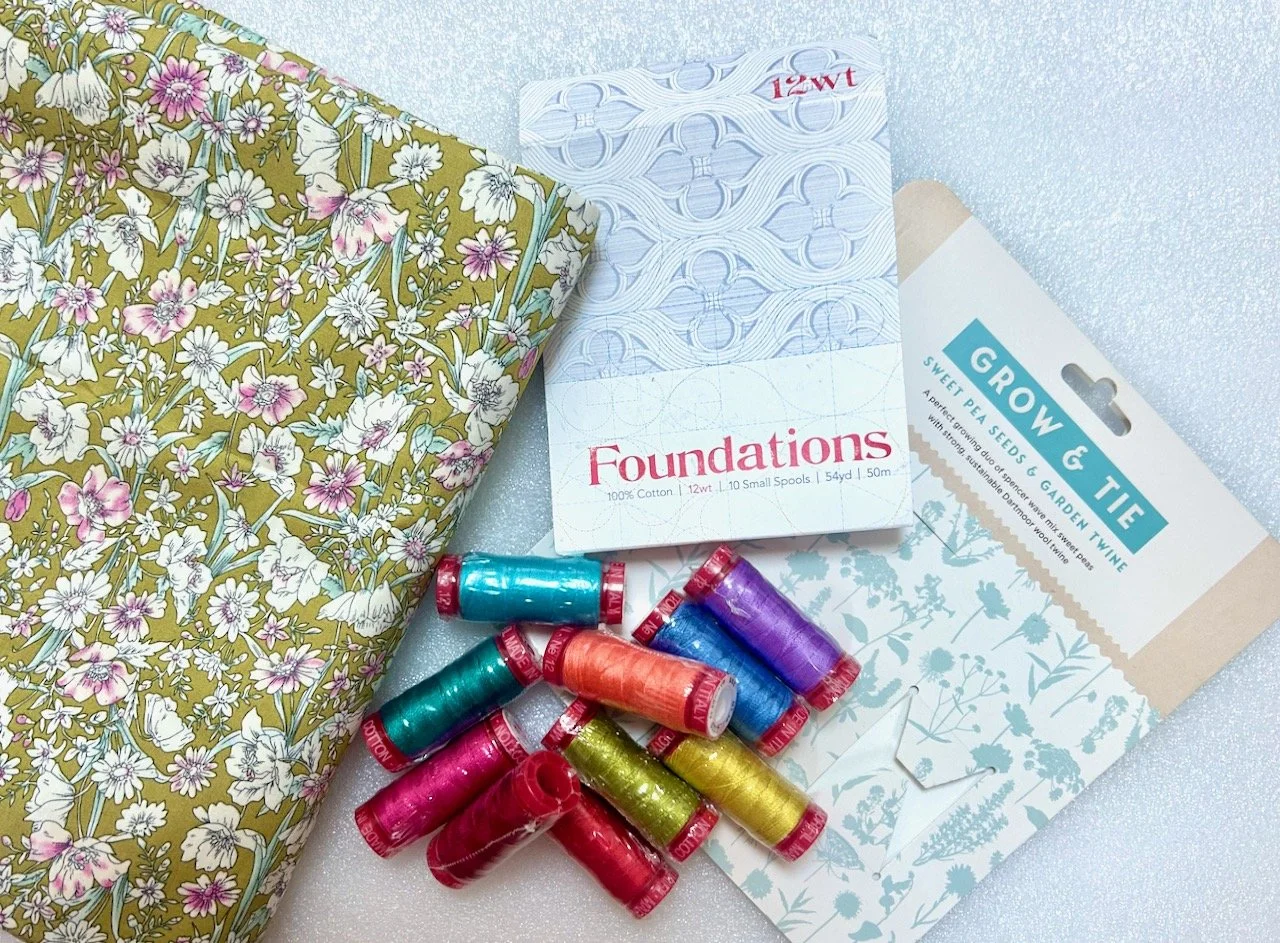
And sure enough I did, so I dug out some flowery material from my stash and tried to work out if I could sew a curved block.

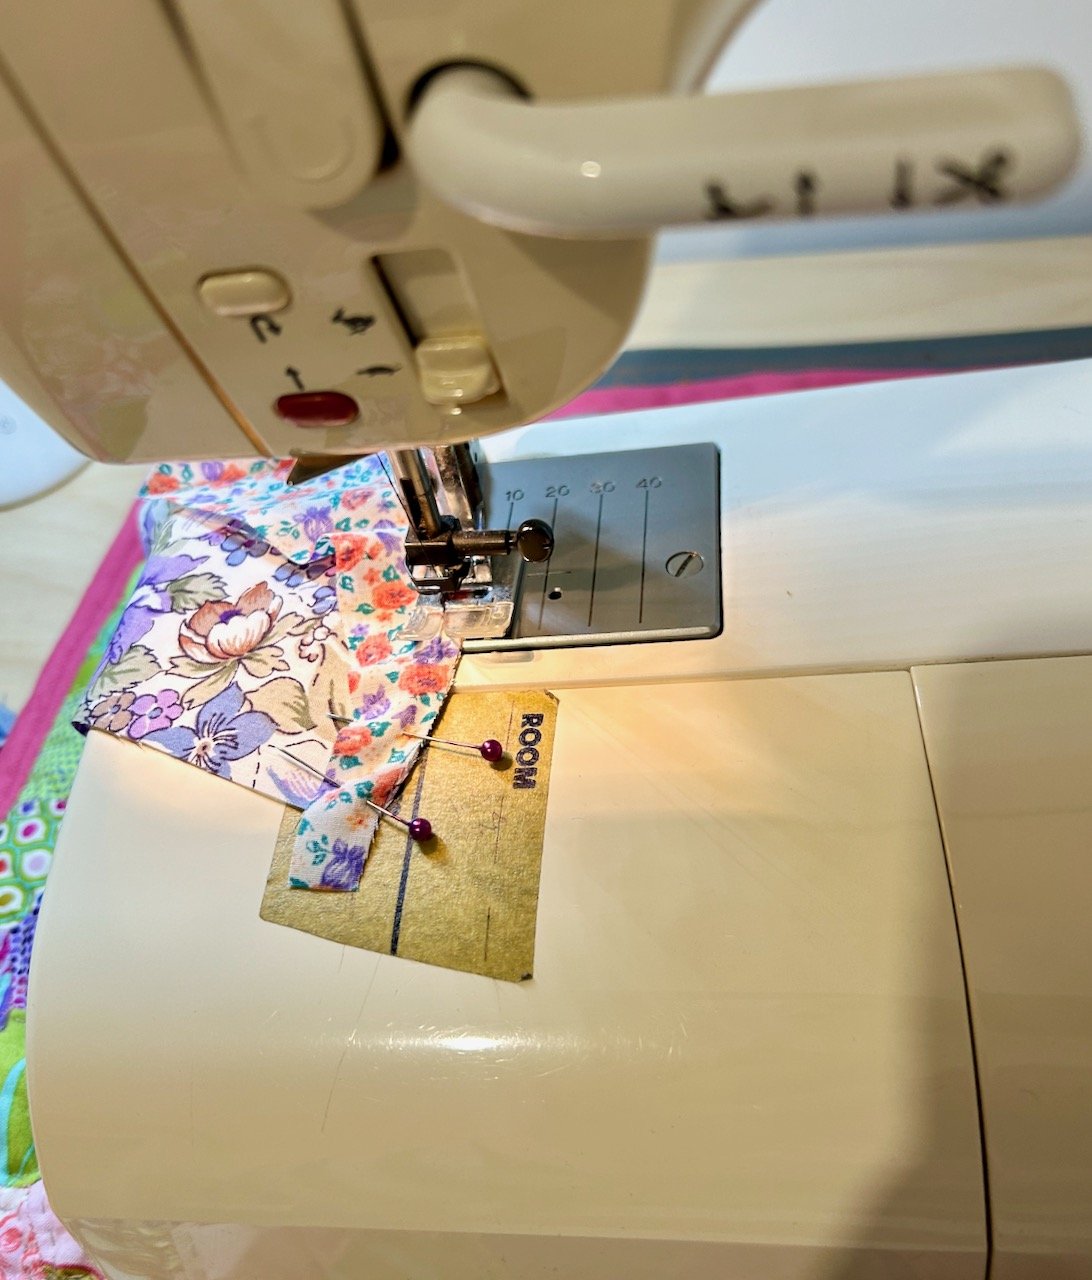
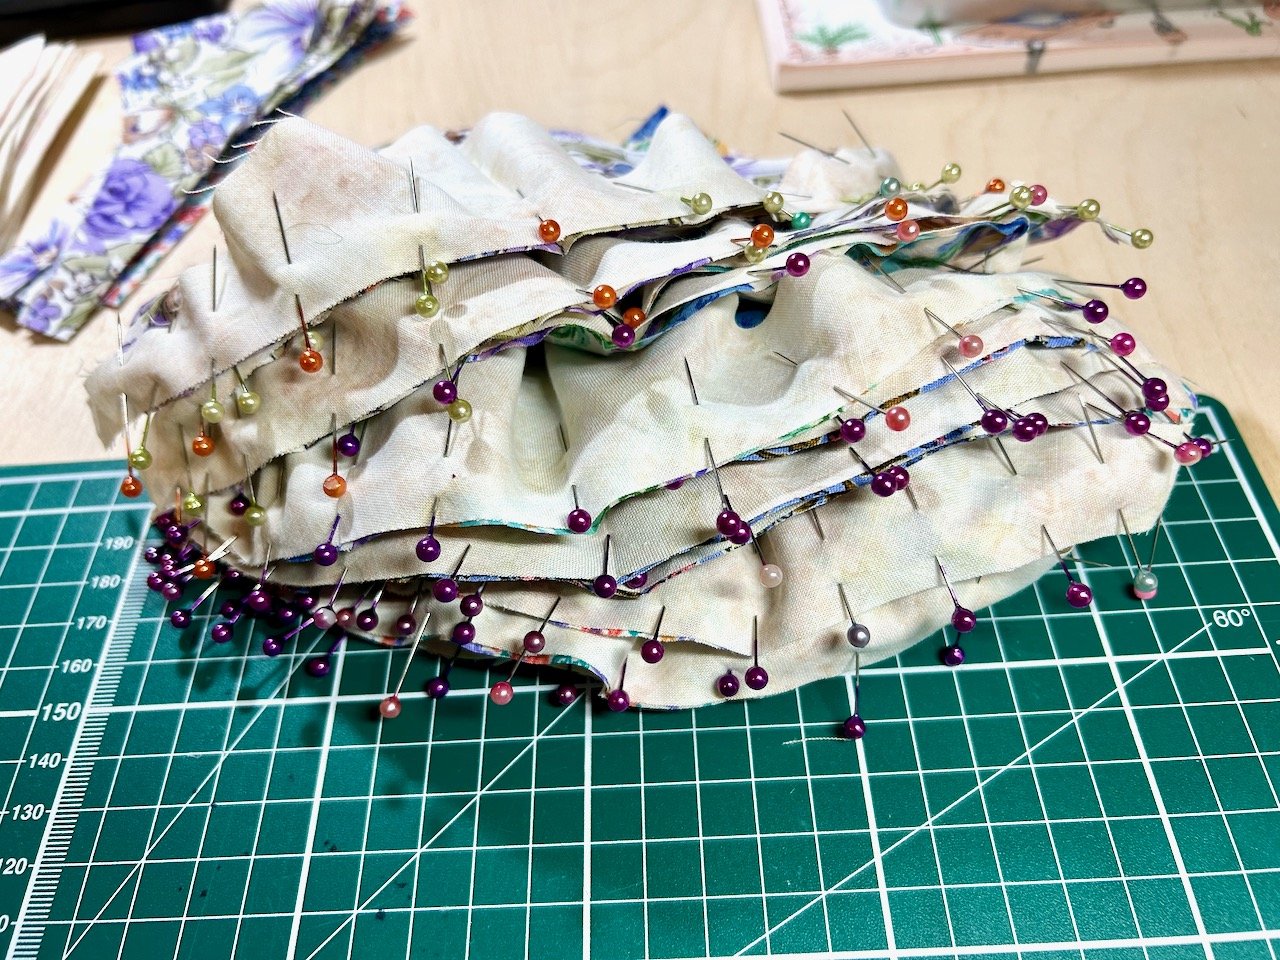
I started small, although I had a plan to go large (well medium) and so my test block was all the patterns. And it worked, and wasn’t too onerous at all - even with all the pins. I think the key to this curved sewing, was to take it slowly - and to be honest, all the pins meant you couldn’t go fast anyway, as sewing over pins isn’t recommended.

With a few successful curves under my belt, the larger more medium plans were well underway.

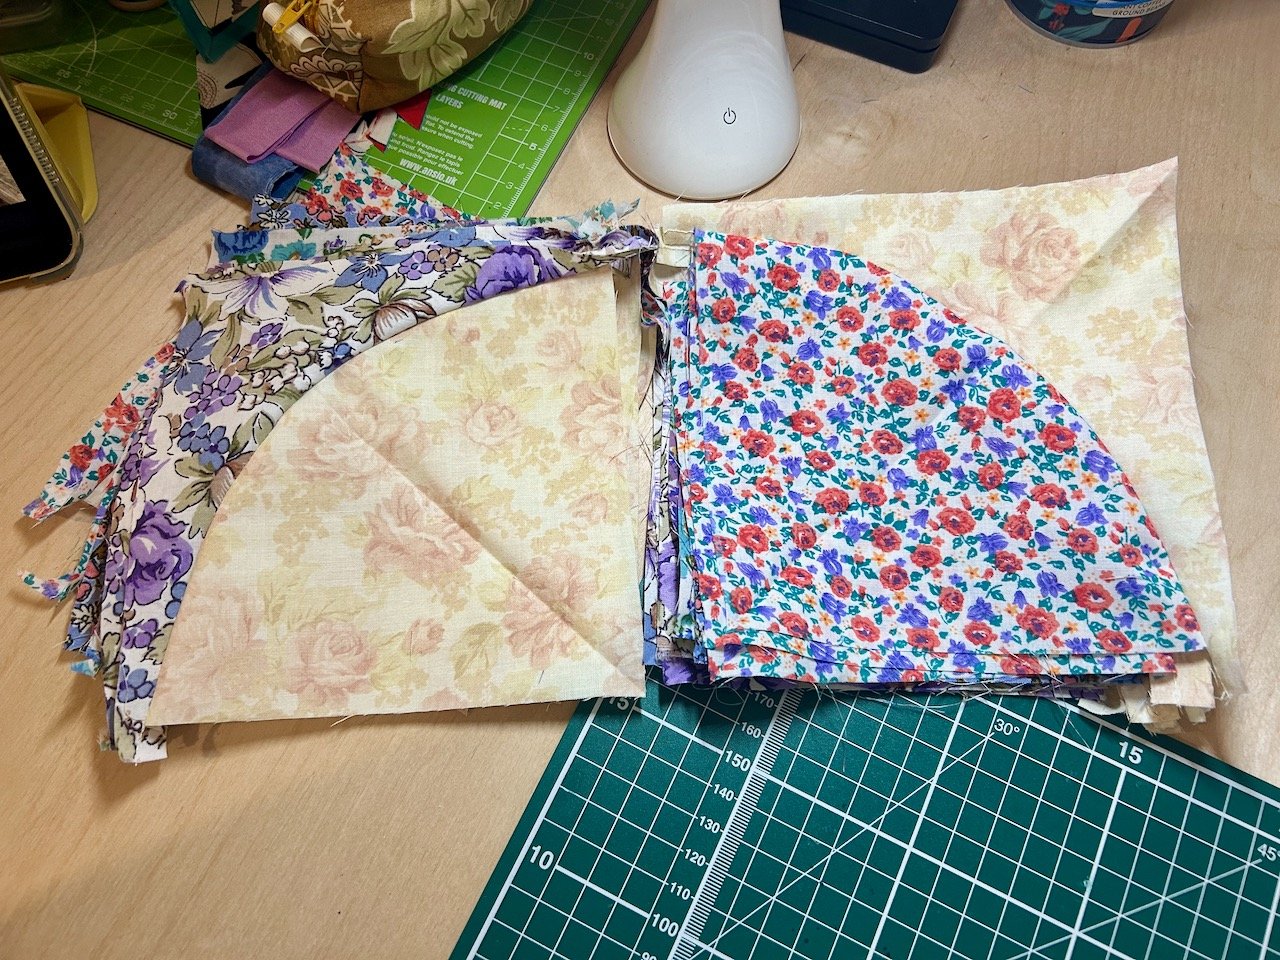
This time though along with all the patterns there was also a plainer fabric - for some blocks this would form the outer square, and for others the inner circle - that meant I could use all of the material I’d cut, so a great way for me to use up some materials I’ve had in my stash for quite a while.

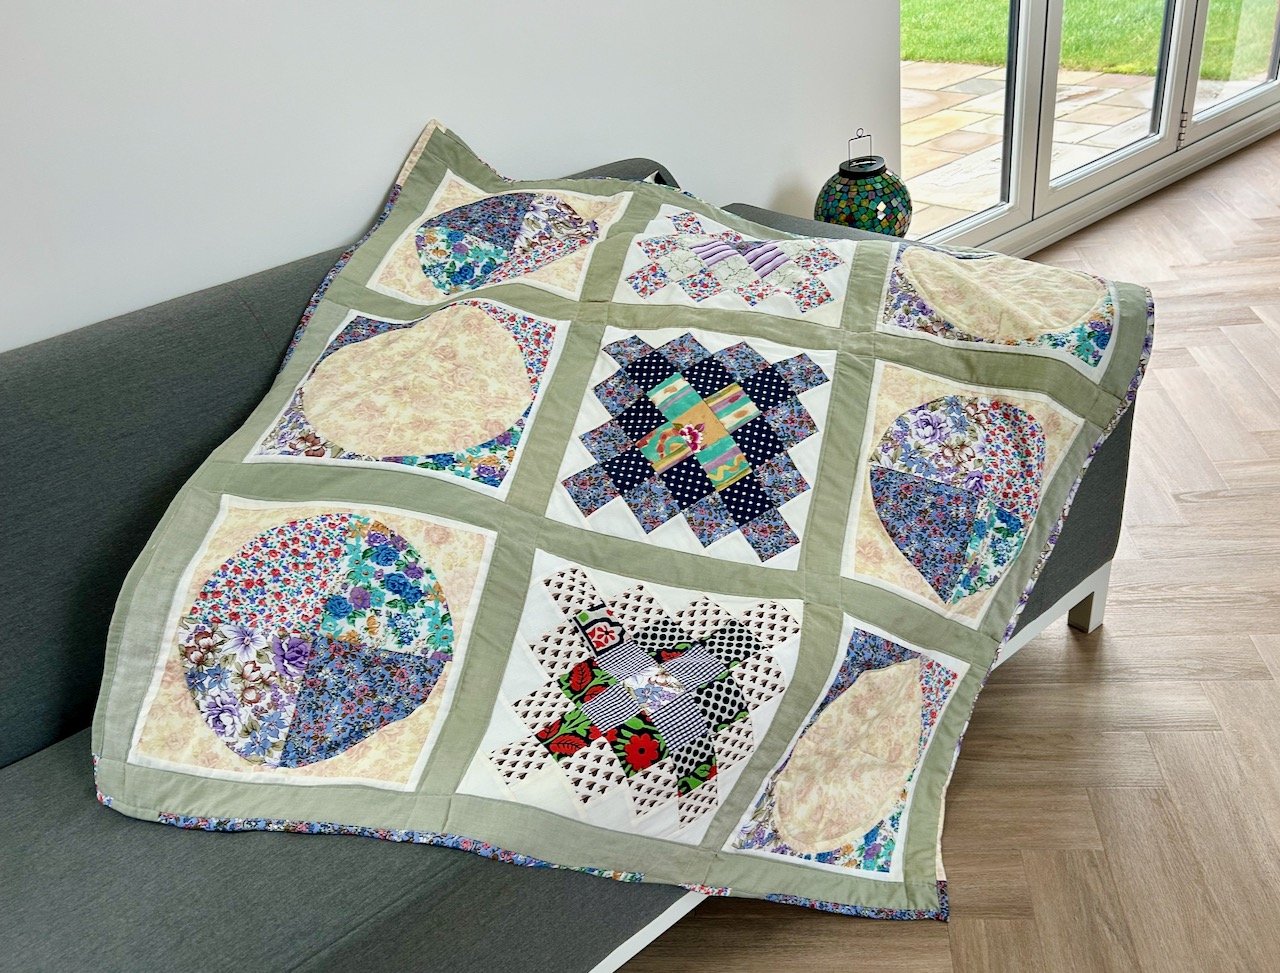
With the curved blocks sewn, it was time to work out a layout. I knew that I had some blocks left from my Great Granny Square quilt and once I’d played around with the placement for a bit I had a plan, and it wasn’t the one I first thought of, but this does remind me of Noughts and Crosses hence the quilt’s name.

Initially I thought I’d have the square - or crosses blocks - diagonally across the quilt, with the curved blocks in a triangle shape either side, but what worked in my head didn’t work so well in real life - and this was the layout that I was most happy with.

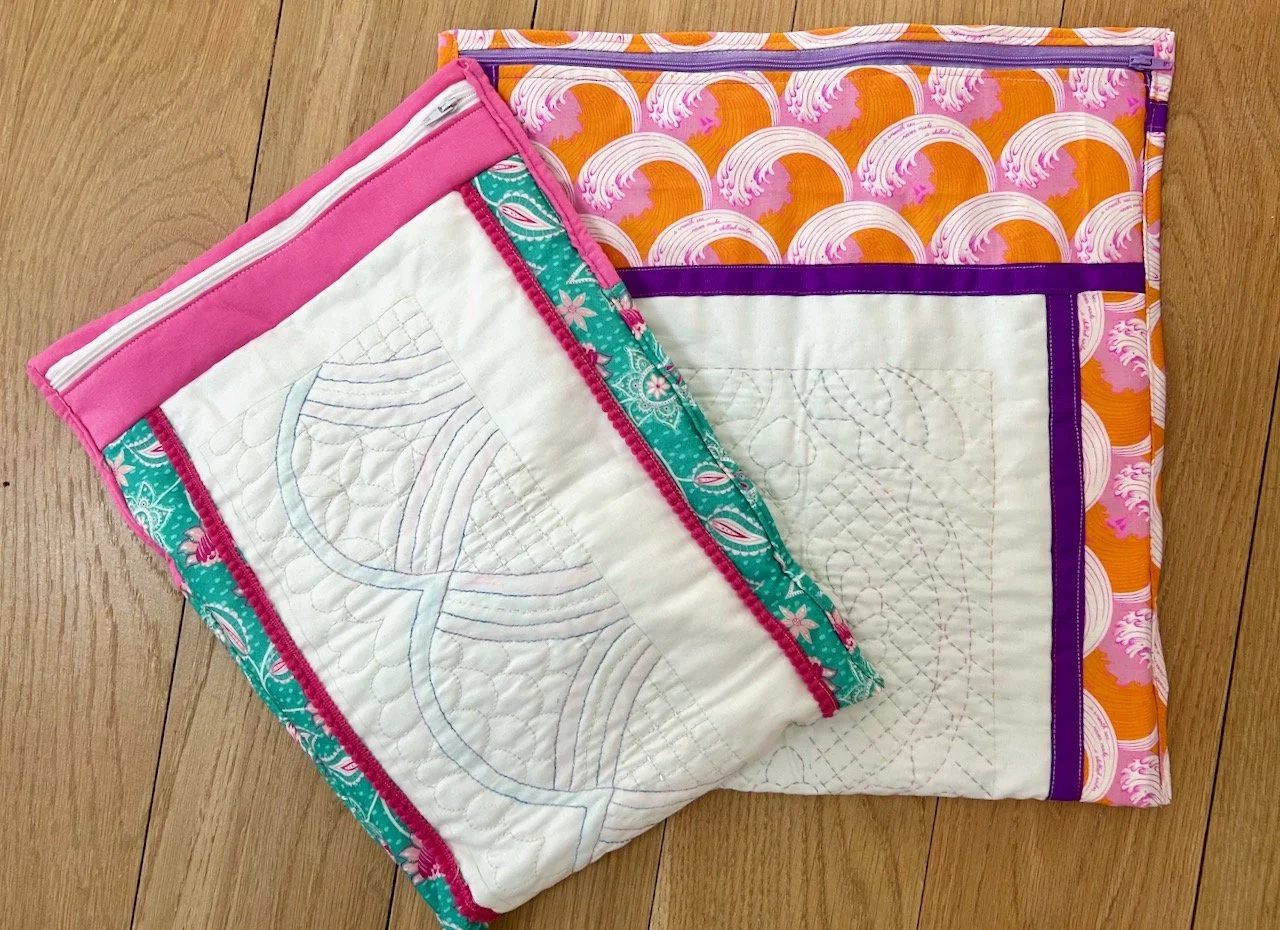
And that’s how this quilt stayed for most of December and a fair bit of January, and I’m not sure why as it was mostly done. This week I’ve completed the scrappy binding and managed to photograph it in pretty much the same position as the Flying Geese quilt!

Like that quilt, my plan is to donate this quilt to Project Linus UK, a charity whose mission is to provide love, a sense of security, warmth and comfort to children, who are sick, disabled, disadvantaged or distressed through the donation of new, homemade, washable quilts and blankets. 

Again it isn’t perfect, but it is done and perfectly acceptable - plus it’s formed another slightly larger plan (more on that soon) and made me realise that the Happenstance quilt is also perfectly do-able. Of course I have a plan for that too, I just need to work out when, and how - as ever!

PostCommentLove

A mandala pouch for my poppers

Since I shared the stack of vinyl pouches with you, pouches seem to have overtaken my life, which is a little dramatic I know. But I seriously have a bad case of Pouch Love!

This isn’t new to me, I’ve known I’ve had it for a long time - but what is new is that now I’m creating my own, and my answer really is ‘oh I need a pouch for that’ whatever the question. I’ve a few ready to share with you so will start to do that over the next few weeks, and don’t say I didn’t warn you.

This one though is both practical - it’s already in use - and had made use of two of the Adult Learning courses I did last year. This combines a print from the Indian Block Printing & Stitch course, along with the skills I picked up in the Bag Making course - most notably zips.

Though for all of the pouches I’ve made so far, I’ve still not switched to a zipper foot, so I think I probably should add that to my ‘to conquer’ list for this year, but back to this pouch.

It started off as a neon pink printed mandala on the cut up frill of an old valance sheet. Seriously.

Quite humble beginnings. At this point not even the edges had been finished on my overlocker - I guess I was keen to carry on printing during the class, and had underestimated just how many squares I’d need so printed and cut as I went!

As for many of the prints that I did in the class I had no real plans for what I’d do with the outputs, I was just enjoying the creative process and exploring the patterns and colours available. After the class finished I made more of a plan as to how I would embellish the prints, or at least chose a colour scheme.

The colour scheme chose me

This was was always going to have an element of teal, and I don’t know why. It’s not a colour I usually go for, though I have since bought clothes that are a similar colour, and I think it goes well with the pink. I was also keen for some of the printing to remain on show, and not to cover it all with embroidery, other than that I had no real plans when I started out.

After embellishing some of the printed area I knew I wanted more teal, and so it seemed natural to enclose it with a circle. And I thought I might turn it into an eye, but as I continued to embroider I decided against that. I didn’t do the outer circles - or at least two of them - freehand, I used a glass vase and then a plate to draw around to stop it all going skewif.

Nor did I use an embroidery hoop, and on reflection I probably should have for this one, as I ended up with more material than necessary in the centre. Thankfully though I came up with a plan for dealing with that - to use wadding to fill the hole, and so creating an almost raised central area. This in turn reminded me of the poppers I’d used on the first pouches I’d made, which the all important tools for were functionally, but not prettily stored in the metallic plastic bag it arrived in.

Now I really had a plan

With that I realised the answer was ‘I needed a pouch for that’ and what better than one with a big circle on the front. It was meant to be! But did I have any material that would match my teal scheme, probably - and as it turns out I did.

I’d bought the Liberty silk remnant during lockdown, along with some other prints which I’d used for some fancy masks, but I hadn’t used this one at all. Now was its time - I even found a complementary zip from the large stash I bought from eBay. The lining is the pale pink t-shirt remnant which I’d saved from a recently retired camisole top. Perfect.

I used the same approach as for the vinyl fronted pouches, but obviously without the vinyl part - and a whole lot bigger. Having made that stack of pouches really helped me out, as knowing how they were assembled meant I could made the adaptations I needed.

And it turned our really well.

Not only does it hold the tools for attaching the poppers - and the spare bits that came with it, it also holds the plastic container full of poppers.

So now when I want to add a popper I just need to go to my mandala pouch for my poppers - which may not always be easy to say, but it sure is easy to find!

PostCommentLove

Shelves in the pantry

I dubbed 2024 the year of the shelves, and while we didn’t get to all the shelves I’d hoped we would there were still plenty of shelves (and don’t worry more to come for MOH this year!). We were off to a good start with the really useful shelves in the bathroom cupboard, which I’d broached with MOH after a significant period of swear-free DIY tasks following the more troublesome to put together open shelving in the pantry and utility room.

True to my word the next shelving project was also in the pantry, though I didn’t expect it to be many months later until we started this - but hey ho, that’s what happened. It’s taken me a few more months to share it here, but while these shelves might be small, they are mighty!

They have completed the storage in this area and it’s so much better to see things on a shelf rather than a basket on the floor. Even MOH agrees, as he could never find any of our herbs and spices before - and didn’t help matters by putting them back into random spots, which made cooking “fun”.

But anyway, they are up - and are in use - and everything is still in the same place, (I hesitated to write that as i) I didn’t want to tempt fate and ii) I don’t want MOH to see it as some kind of challenge. Hmmn) and it’s the perfect use for a not very big, but potentially useful space behind the door.

I was pleased that the Proof of Concept passed muster…

A single bottle testing the proof of concept shelf

Though I admit in my mind’s eye I had something a little more permanent and sturdy in mind…

Two bottles on a narrow pine shelf, balancing a second narrow pine shelf on their top

I needn’t have worried, that was also a test, apparently, and after that the shelves flew up.

Six shelves in the narrow alcove - the top shelves are adorned with DIY equipment and part of a SMOL box, used as a measure for the distance between shelves

You might be wondering if the part-SMOL box is significant - it is. That was the very practical ‘spacer’ ensuring that the shelves (all bar the bottom one) were the same distance apart. It’s advantage was it was freestanding, thus freeing up MOH’s hands and avoiding the need for me to be there holding it, no doubt in the wrong place.

Don’t they look great?

The finished shelves - bare of work tools and random bottles!

What you can’t see here though is the detail on the front edge. Clearly growing back into his shelf game MOH routed the edges so they matched the edges on the open shelving which are (as you look) on the right of these. A small touch, but one that really elevates them, or I think so, he’s a clever wood worker isn’t he?

Then it was over to me to load them up - actually a more daunting task than you’d think.

I’ve grouped similar types of spices together, for example on the bottom shelf there’s all the spicier spices - which as luck would have it all turned out to be in similar coloured jars. The ‘shop’ tin on that shelf is just the right size for some stock cubes, and the one two shelves above is home to our home grown, home dried bay leaves - much prettier than an old take away box!

The top shelf, which I can reach without steps - another requirement! - holds those which are used less often. And while there’s spaces I think I’ve got all that I need and even threw out a few more jars in the process. But if there’s a new addition, then there’s plenty of space for that too.

The pantry isn’t the biggest space - but it’s plenty big enough - so it’s hard to get all of the new shelves in one shot. The final, and larger spaced shelf, has more stock cubes and more basics like salt and pepper refills. If needed, it can also hold bottles (as we know from the Proof of Concept) but I can’t see that we’ll need it for that anytime soon.

Below the bottom two shelves is a space for my pop up table, the handy step and some cans of drink

Living in the space (the house, not the pantry) really did help shape how we shelved this space. My first instinct was to have shelves top to bottom and be in shelf heaven. But I rethought that after hosting our first Christmas here in 2023 and adding some extra and much needed space with the fold-up table, previously my sewing machine table. It was so useful that since it moved here it’s never left, even though I’ve only used it a couple of times since.

And it’s found itself the perfect home, hasn’t it?

PostCommentLove