This September...

I’m trying to work out as I write this if this month was a normal month, or if that was last month - or what even is a normal month. I’m not sure I know, but I think that’s ok as I’ve a suspicion that not many of us do, so phew.

But I know that despite the sun still making appearances - by the way it’s very welcome, the hint of autumn that started the month has made itself very much at home. I like autumn, and I like September, and I especially like the food and meals that this time of year brings. I’m not liking that by the end of the month there’s so many mentions of the C-word and as for the radio station even thinking about playing Christmas songs, well, if they do so early, I’m out and swapping stations.

We’re still sorting out the garage, and it’s become a bit of a jenga style puzzle with moving everything around while MOH seals the floor to make it less dusty. Yes it would make more sense to move things out, and to do that when the weather’s agreeable, but that never seems to work with everything else we have planned, or it’s too warm, too wet - you know what I mean.

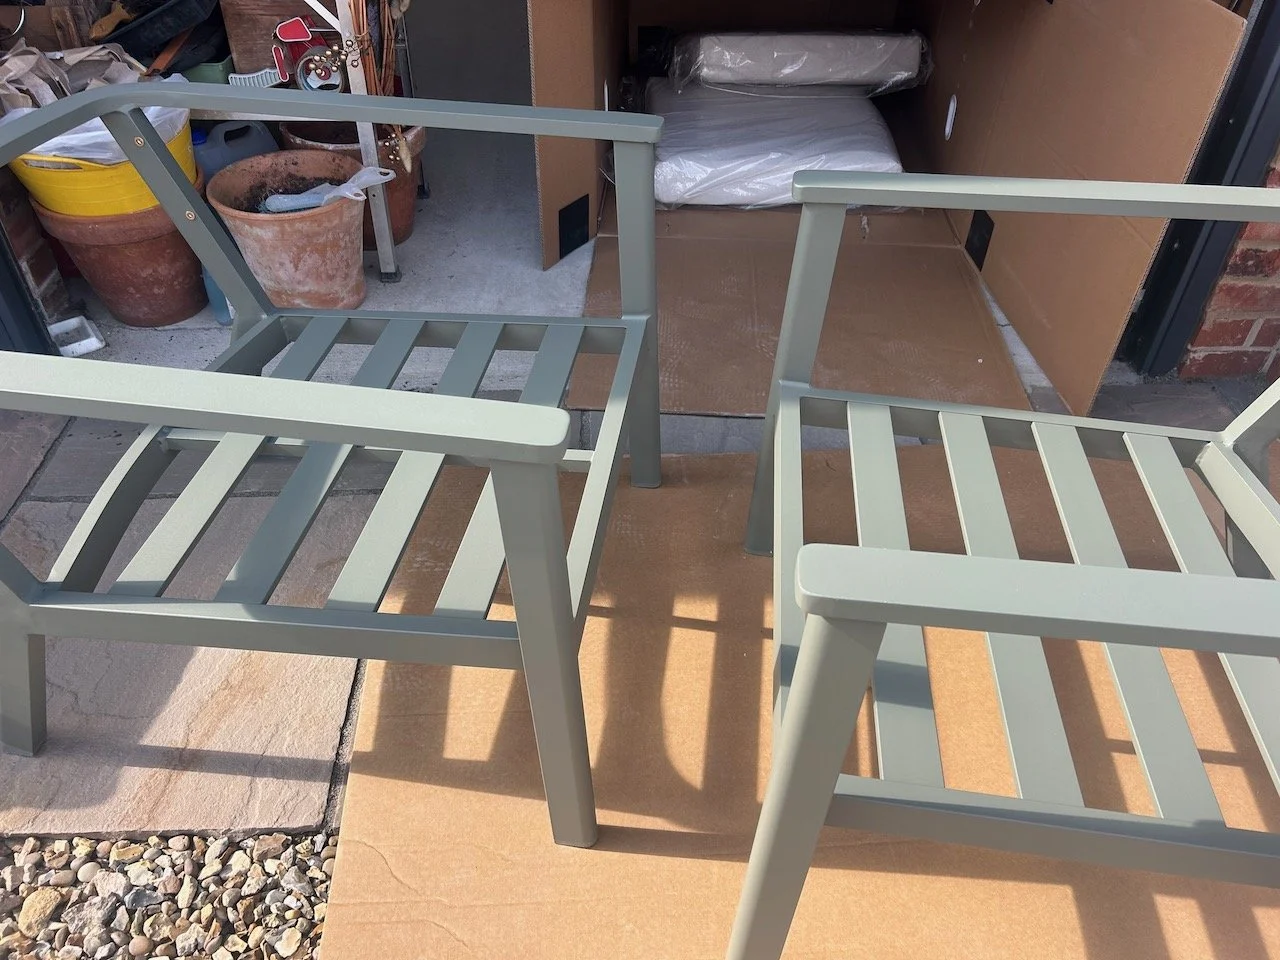
It isn’t helped though as at the start of the month I had some new garden furniture delivered, which is also being stored in the garage. We’ve not used it yet, and realistically we probably won’t use it until next year now, but it was such a bargain with 30% off, that it would have been rude not to buy it. We saw it at Grand Designs Live in London in May, tried it out, loved it but didn’t buy it - then at the end of August I spotted that it had been reduced.

The two arm chairs, two footstools, all their cushions and a glass topped little table all arrived in one very large box, which we couldn’t have moved ourselves. Thankfully the delivery guys were very amenable and delivered it straight into the garage. Getting it out of the box was another challenge as much of it was cable tied together. At times it really did feel like we were ‘birthing’ this furniture!

Unpacking the new garden furniture

We’ve also had to move the garden table and chairs into the garage too, as there were predicted high winds and I really wanted to get ahead of that and get them into the garage in preparation - rather than wait til the winds were blowing things around the garden and then frantically dash out there (again) to move the furniture! It did get pretty windy, but windy enough to blow the table over, who knows?

The garden sofa is still outside and that didn’t blow away, thankfully. Though it is now much more ‘weathered’ than it was before, by that I mean it’s experienced weather for the first time - and if we get the garage straighter, then my plan will be to bring it in for the winter. I’m not sure it’s hardy enough, after its indoor life, for an outside winter!

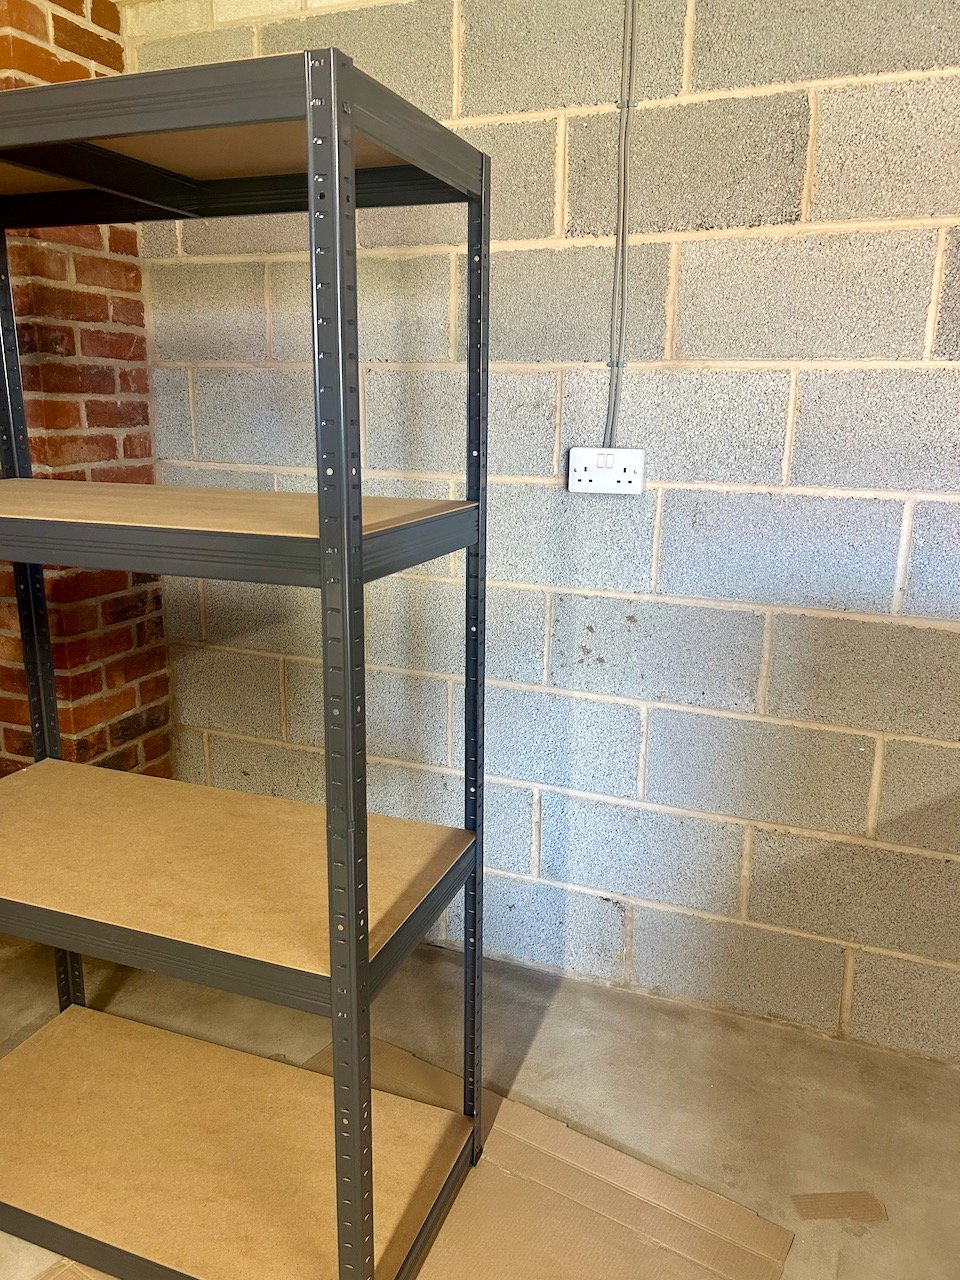
That plan involves getting all of the new storage racks built and in place, and placing stuff on them in ways that make sense, rather than just any old how. It may even (make that should) mean that we can finally empty the last of the boxes from when we moved two years ago. I won’t miss searching through the still packed shed and greenhouse boxes when we realise we need something.

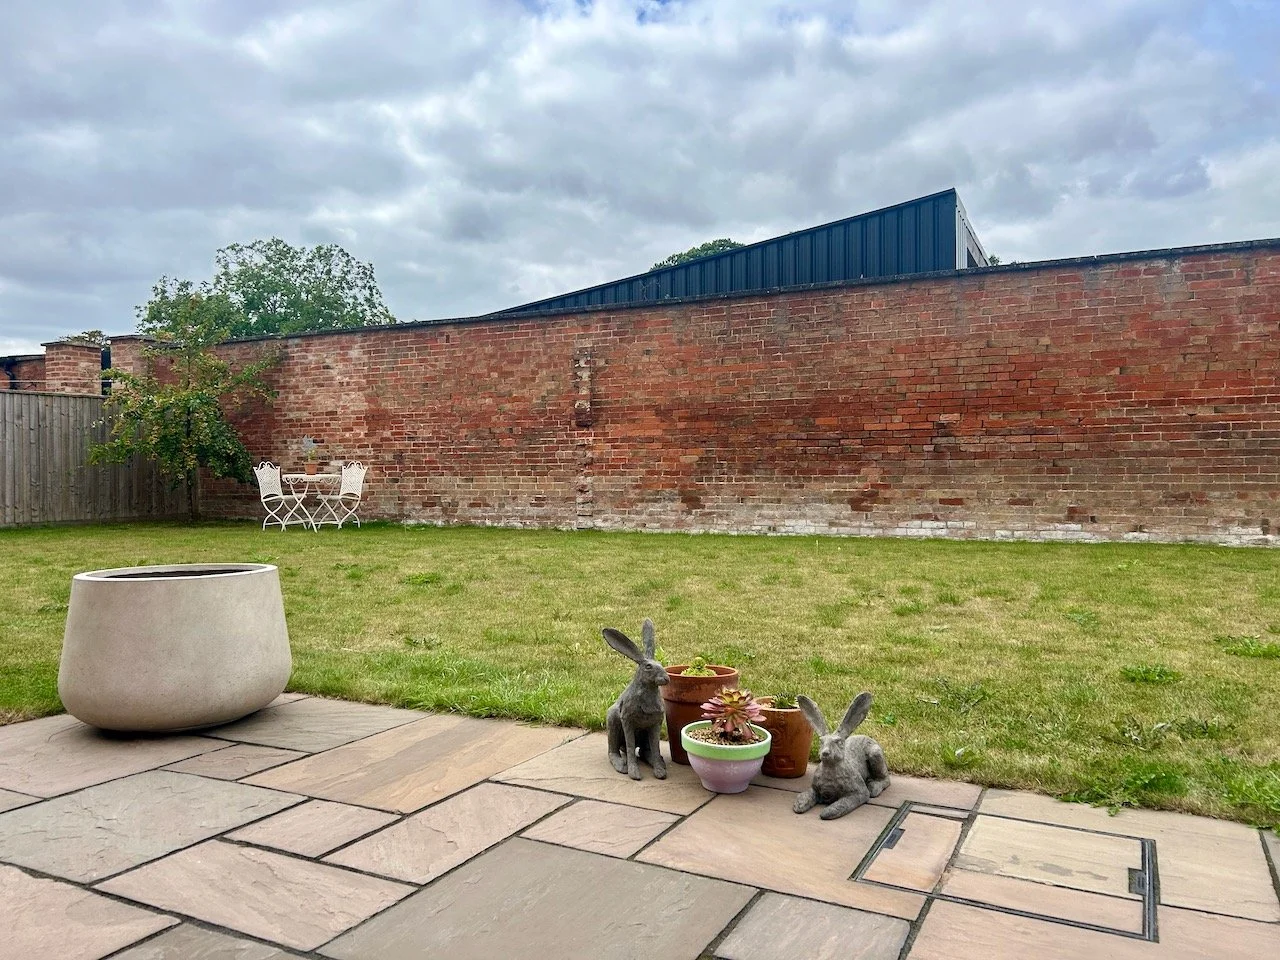
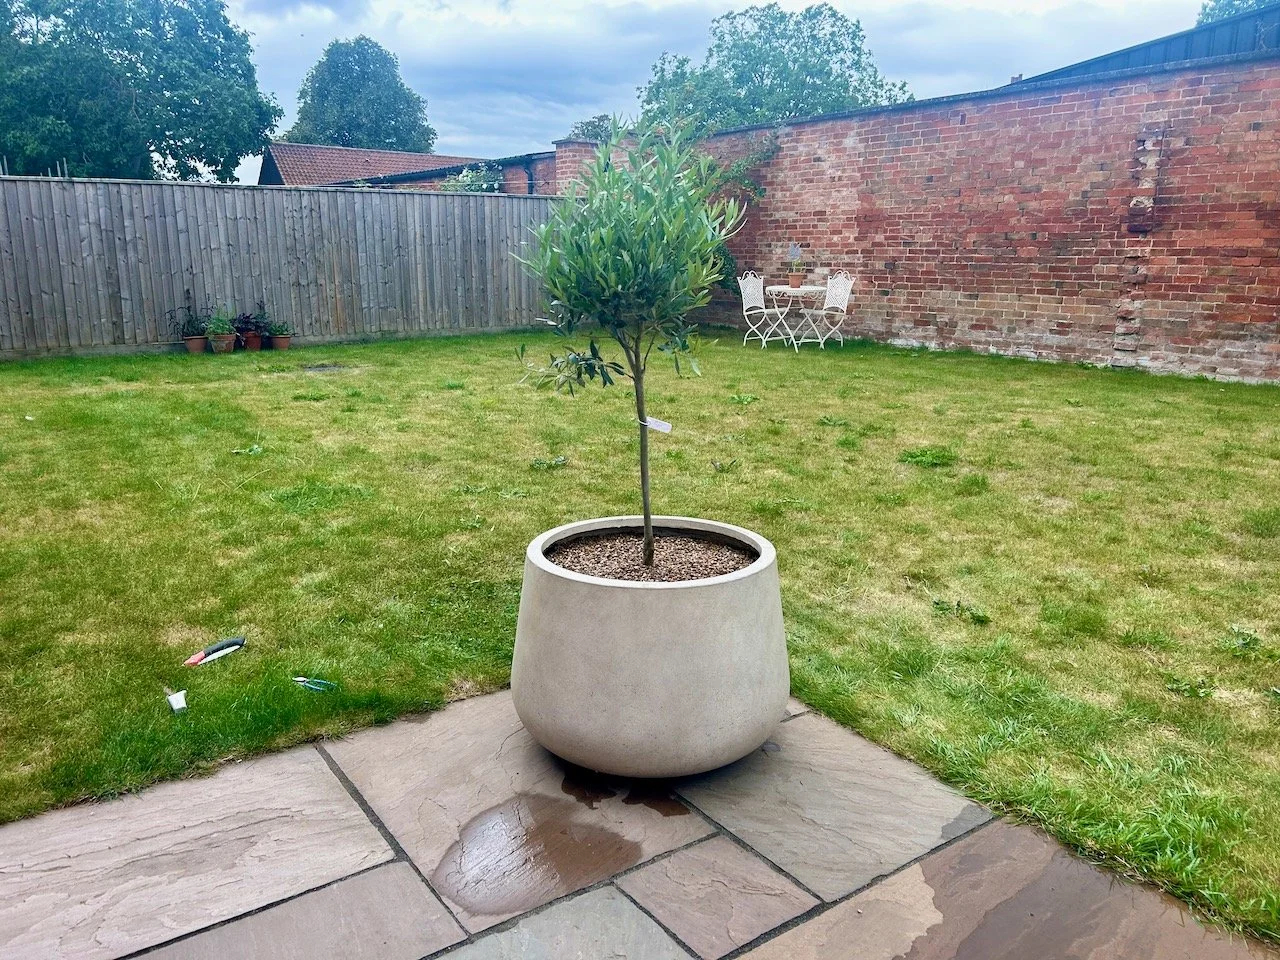
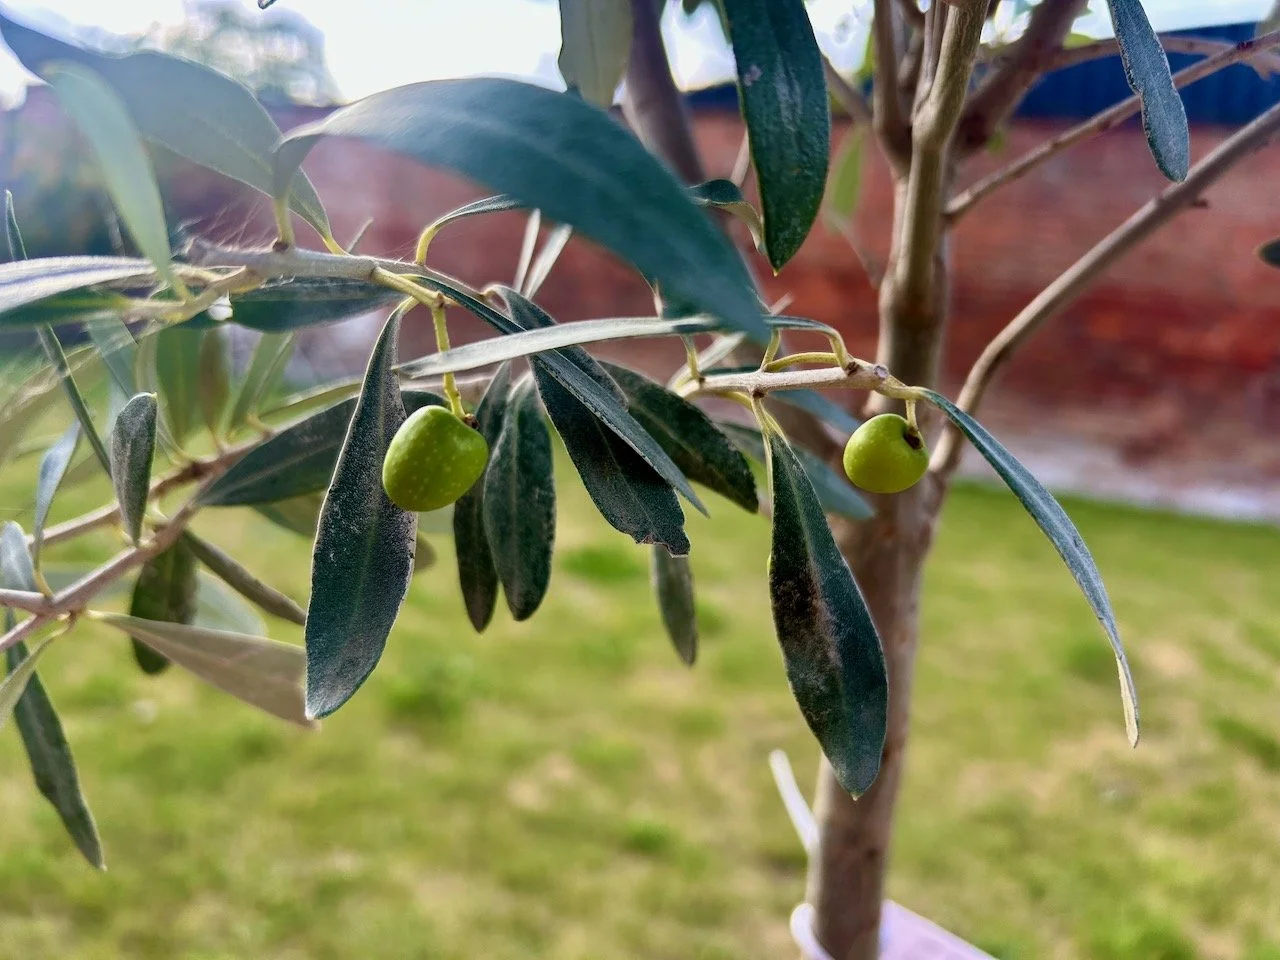
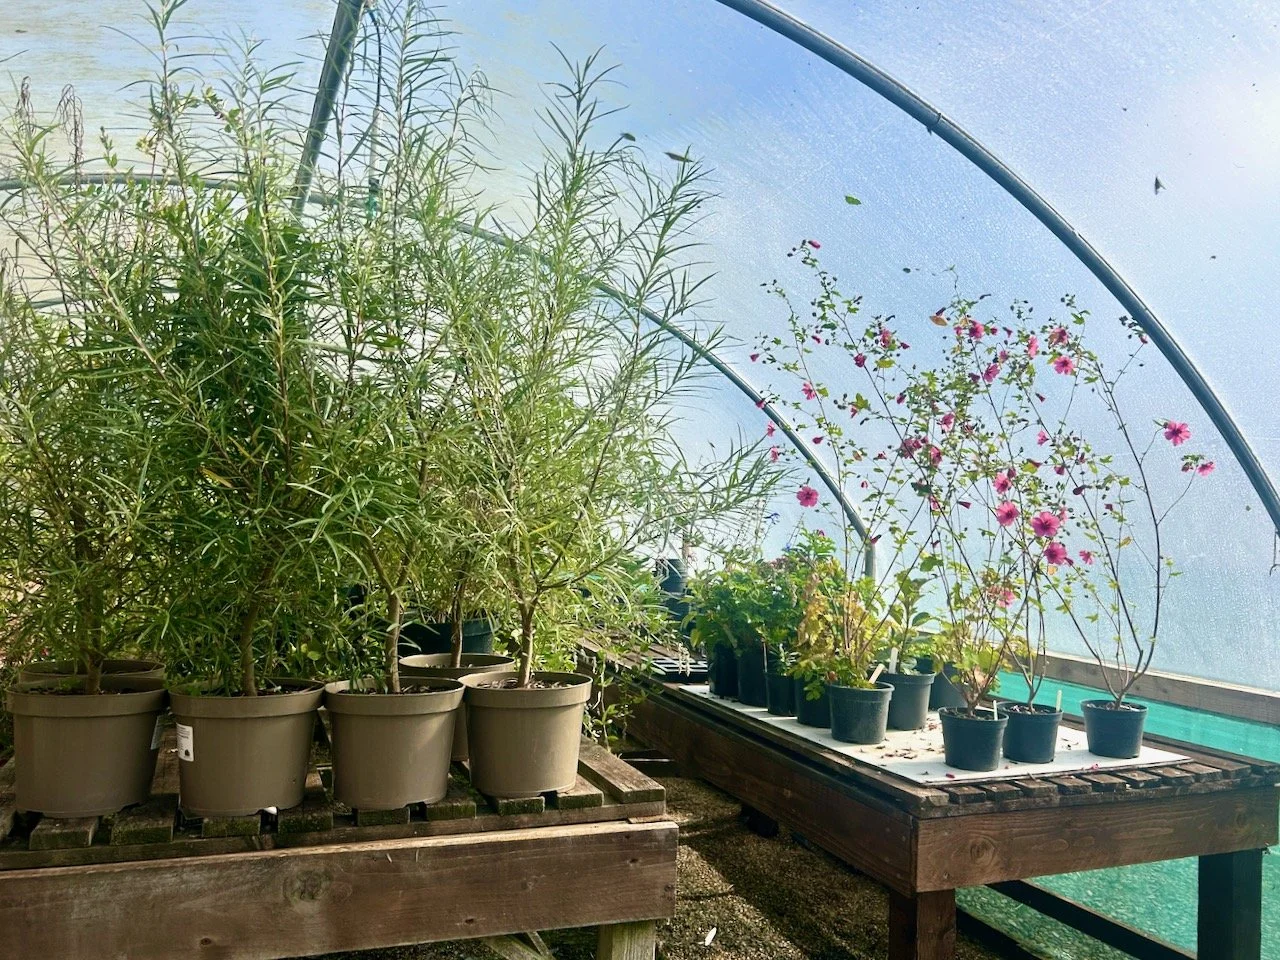
In the garden my bargain pepper plant now has a further twelve peppers on, they’re small and I’m not sure they’ll ripen to be as red as the others, but if we’re lucky they may at least get a rosy tinge. The other main job for us in September is always the lavender - we have eight lavender bushes so it becomes a bit of a mammoth task, and one I’m glad that MOH now helps with.

One of the lavender bushes isn’t looking too well, so I’m not sure it’ll survive the winter - but it had self seeded and there was a healthy looking plant growing in the pavement alongside it. We’ve yanked that up and planted that in the flower bed, so fingers crossed for both of these. We may end up with nine plants, or eight, or worse case, seven. We’ll see.

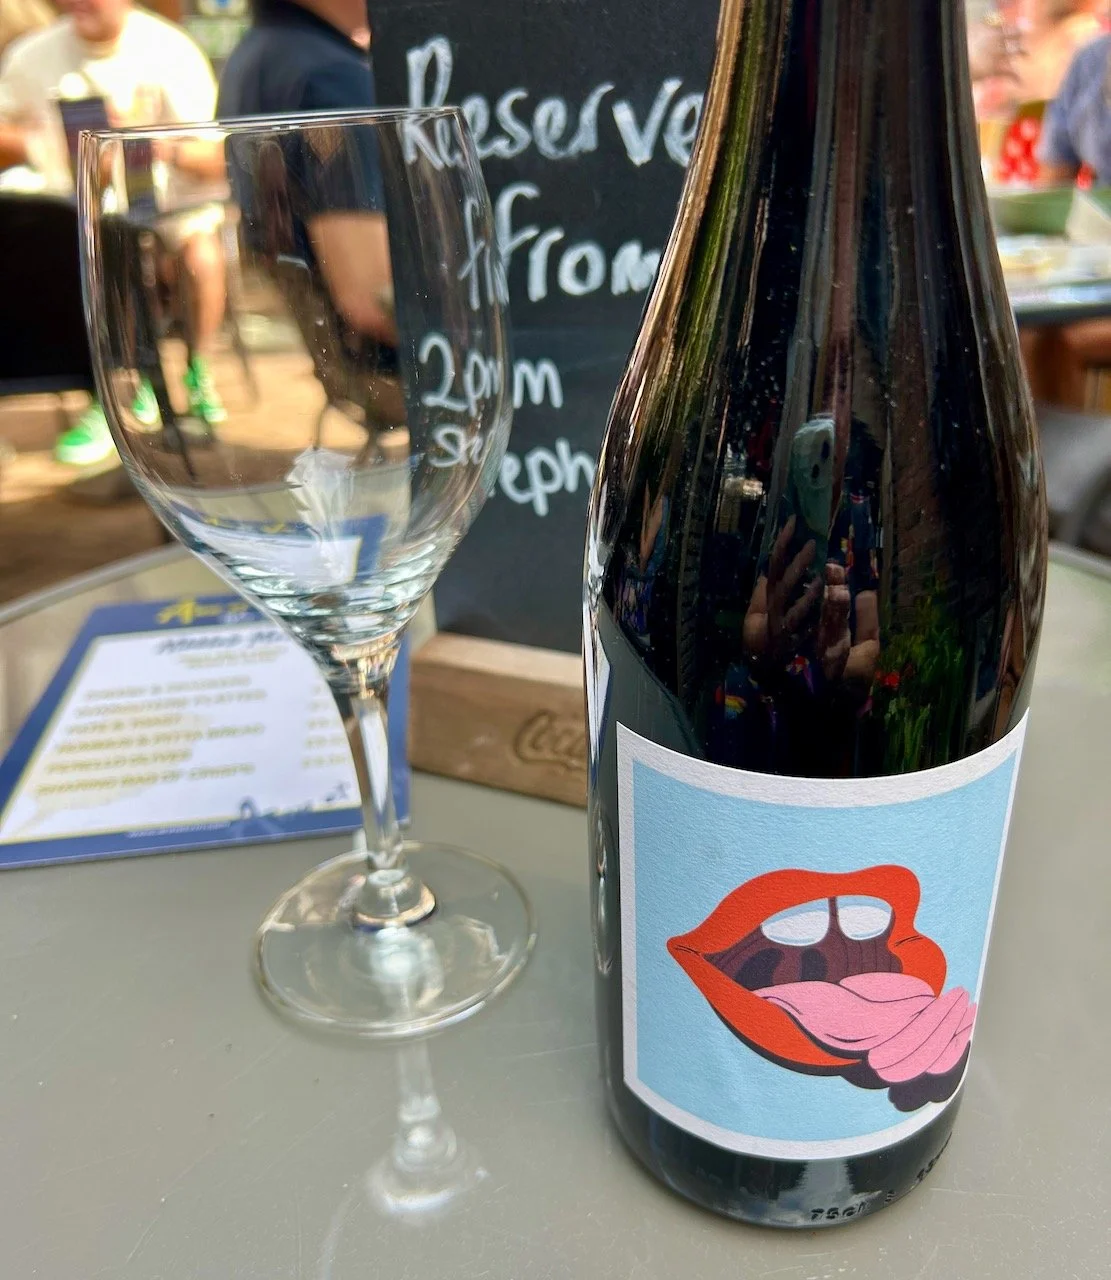
It hasn’t been all work and no play though. We’ve had an afternoon out at our local wine shop at one of their ‘Vinyl Saturday’s’ where there were many familiar tunes to listen too, along with some very decent wine to drink. For me it was made all the better with the discovery that Google could tell me the name of the tunes, and the artist from the sound.

Absolutely brilliant, and perfect for me who’s always asking “who sings this?” annoying everyone I’m sure!

Feeling proud

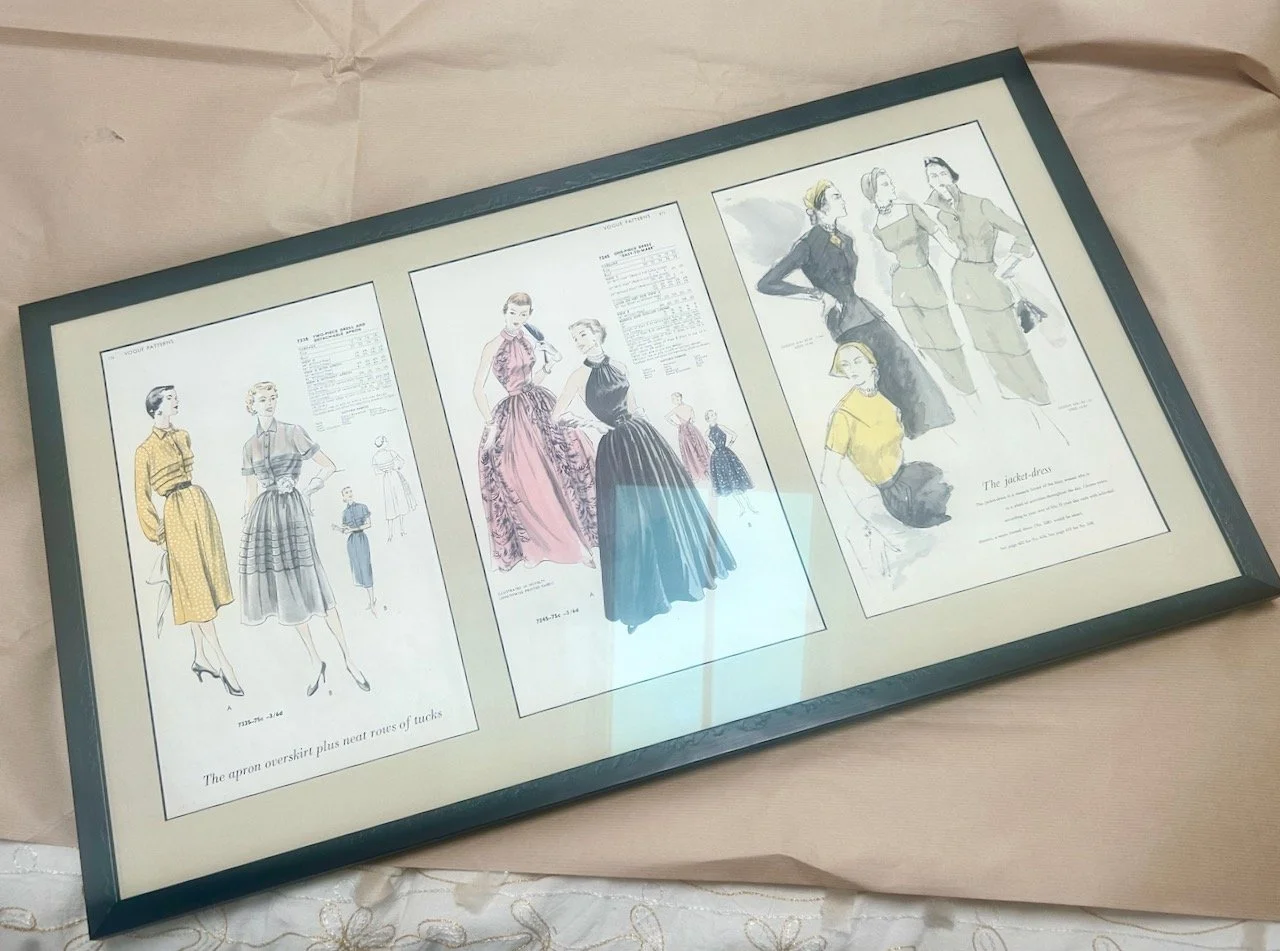
I picked up my newly framed Vogue pictures this month and they’ve done a stunning job framing them. I know where I want them on the wall, and currently still have the template up pinned to the wall. The picture’s not hung yet, as it seems every time I get into my sewing MOH appears and suggests hanging the picture. We’ll get there.

newly framed vogue pattern book pages

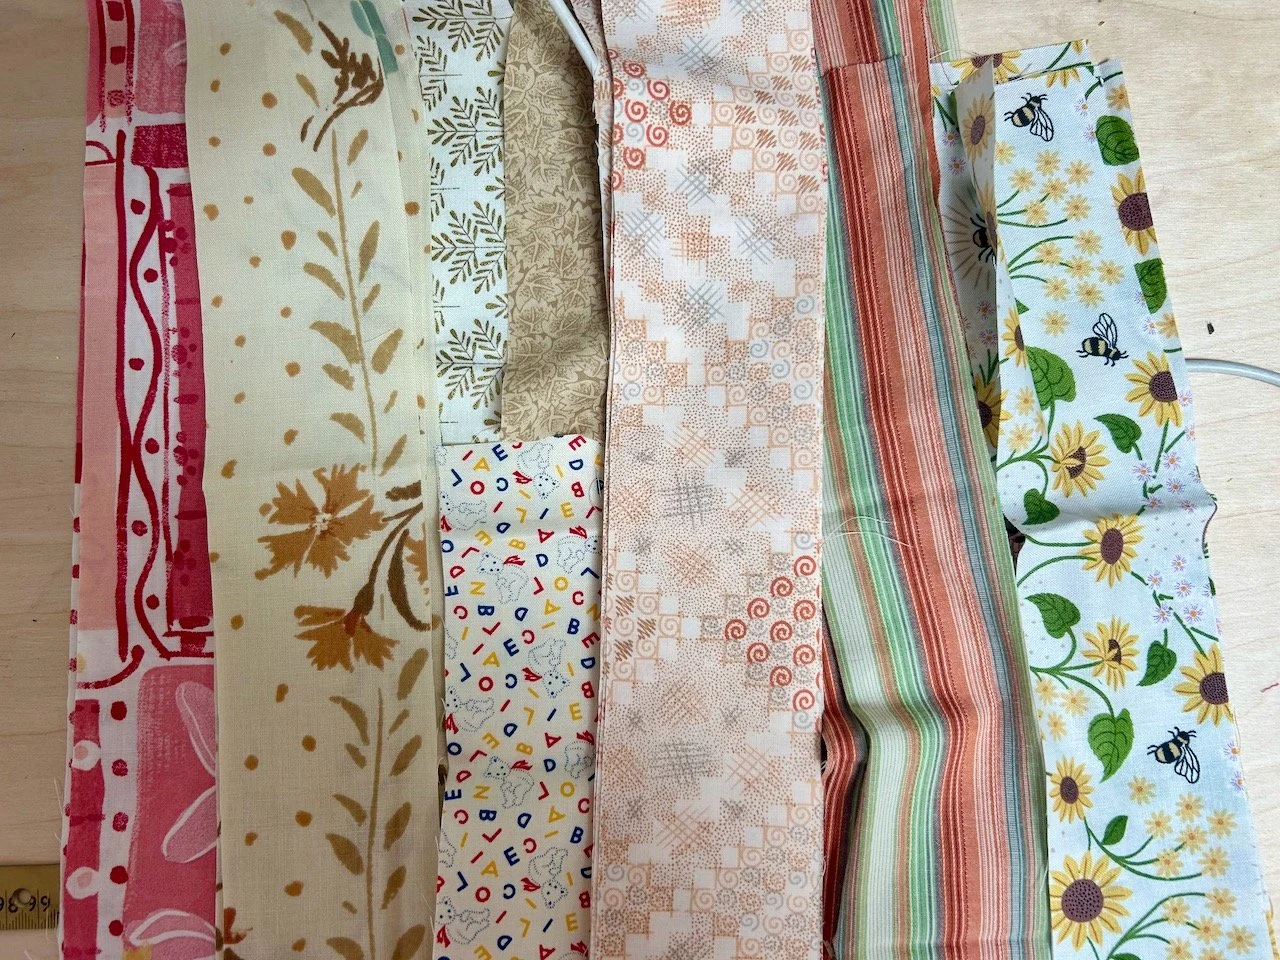
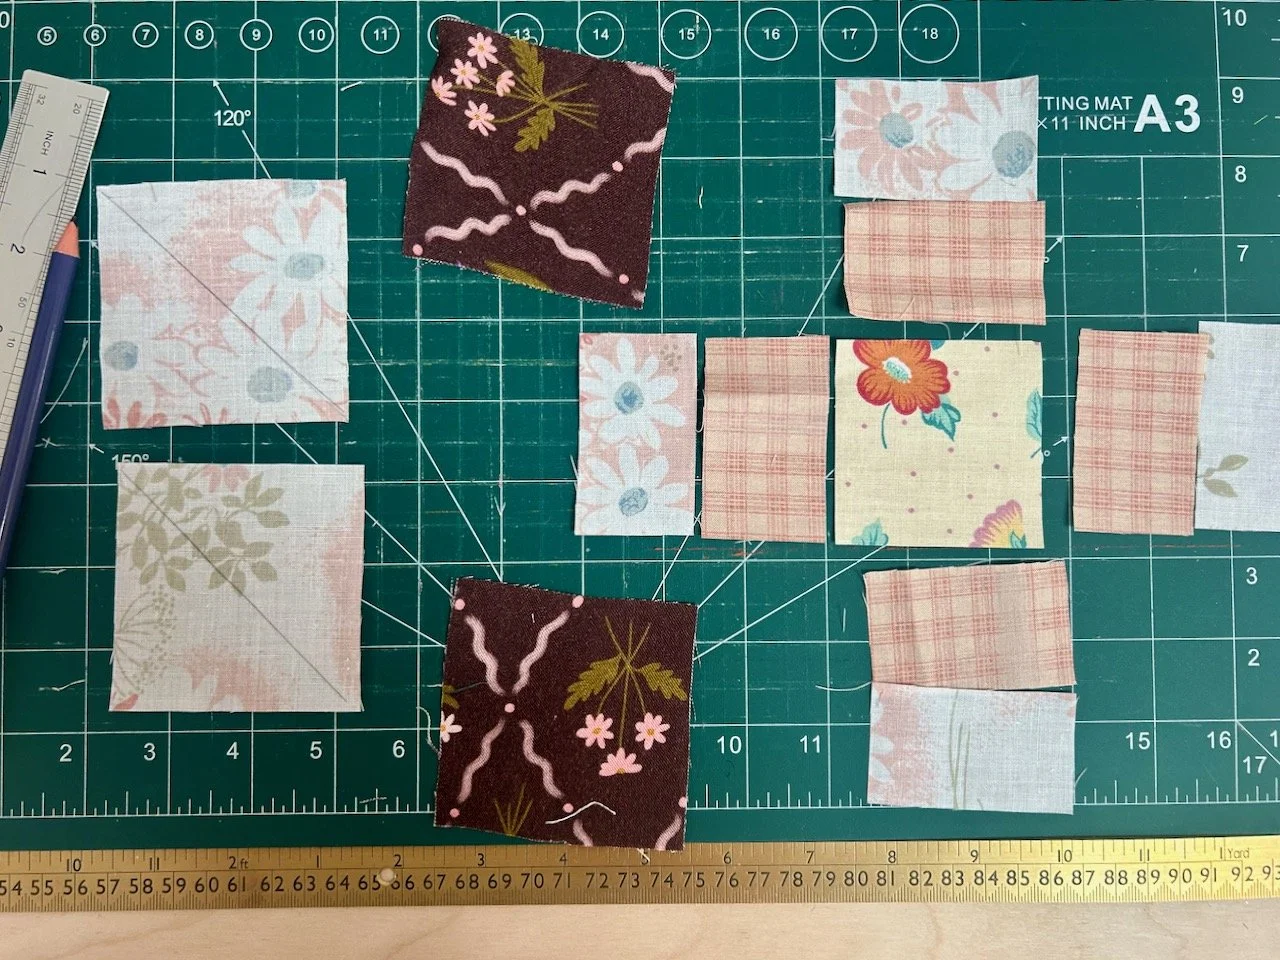
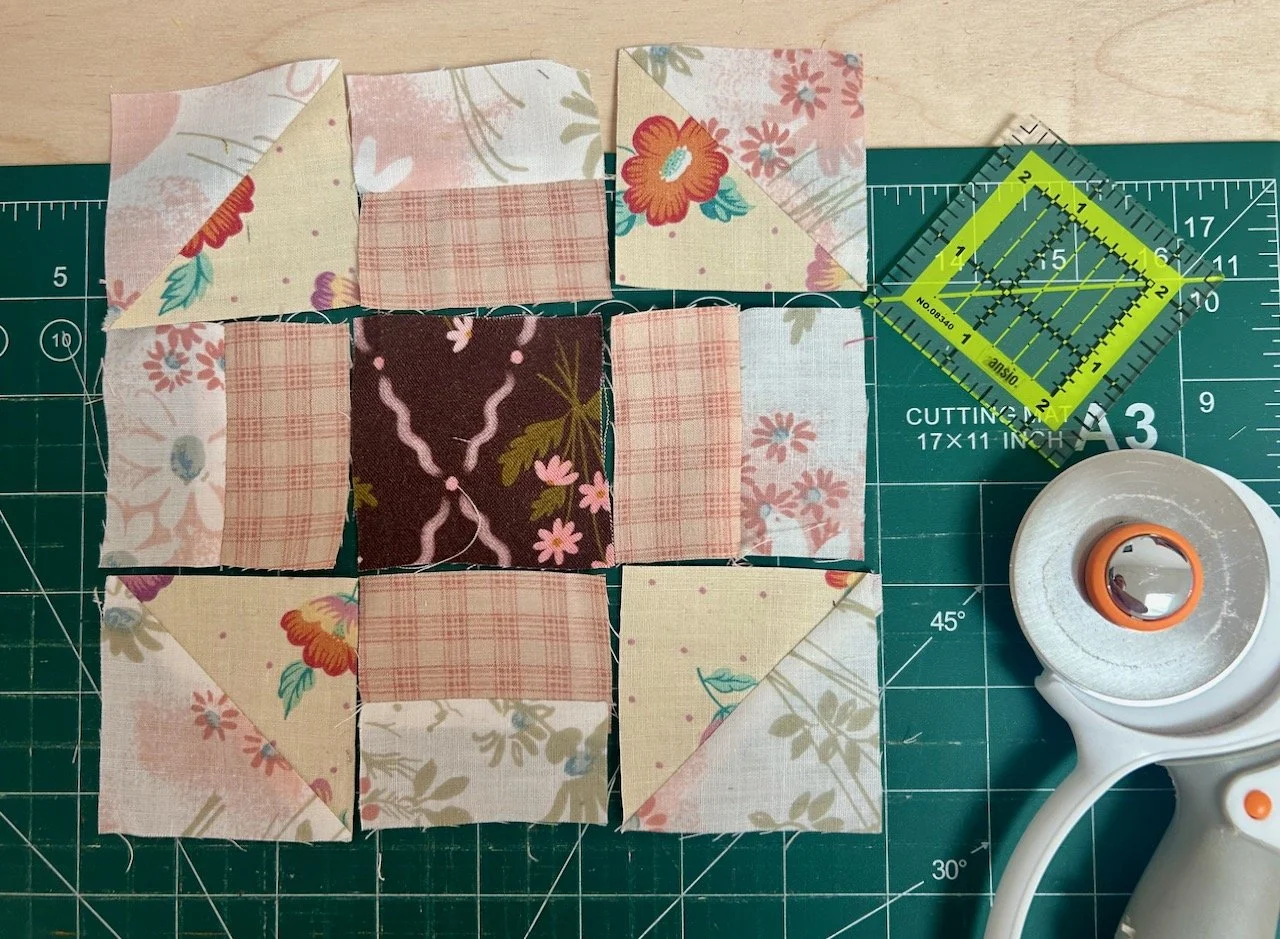
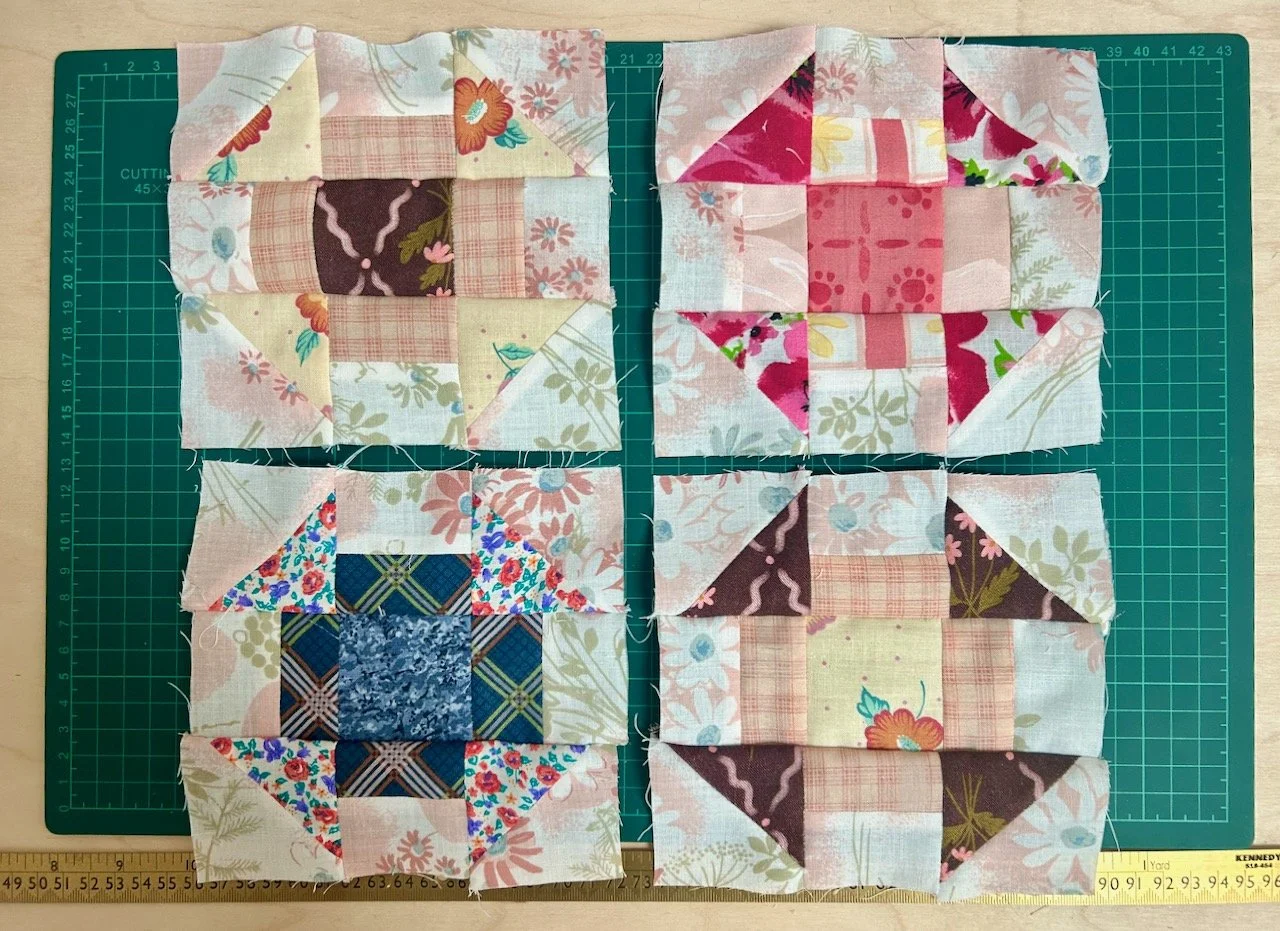
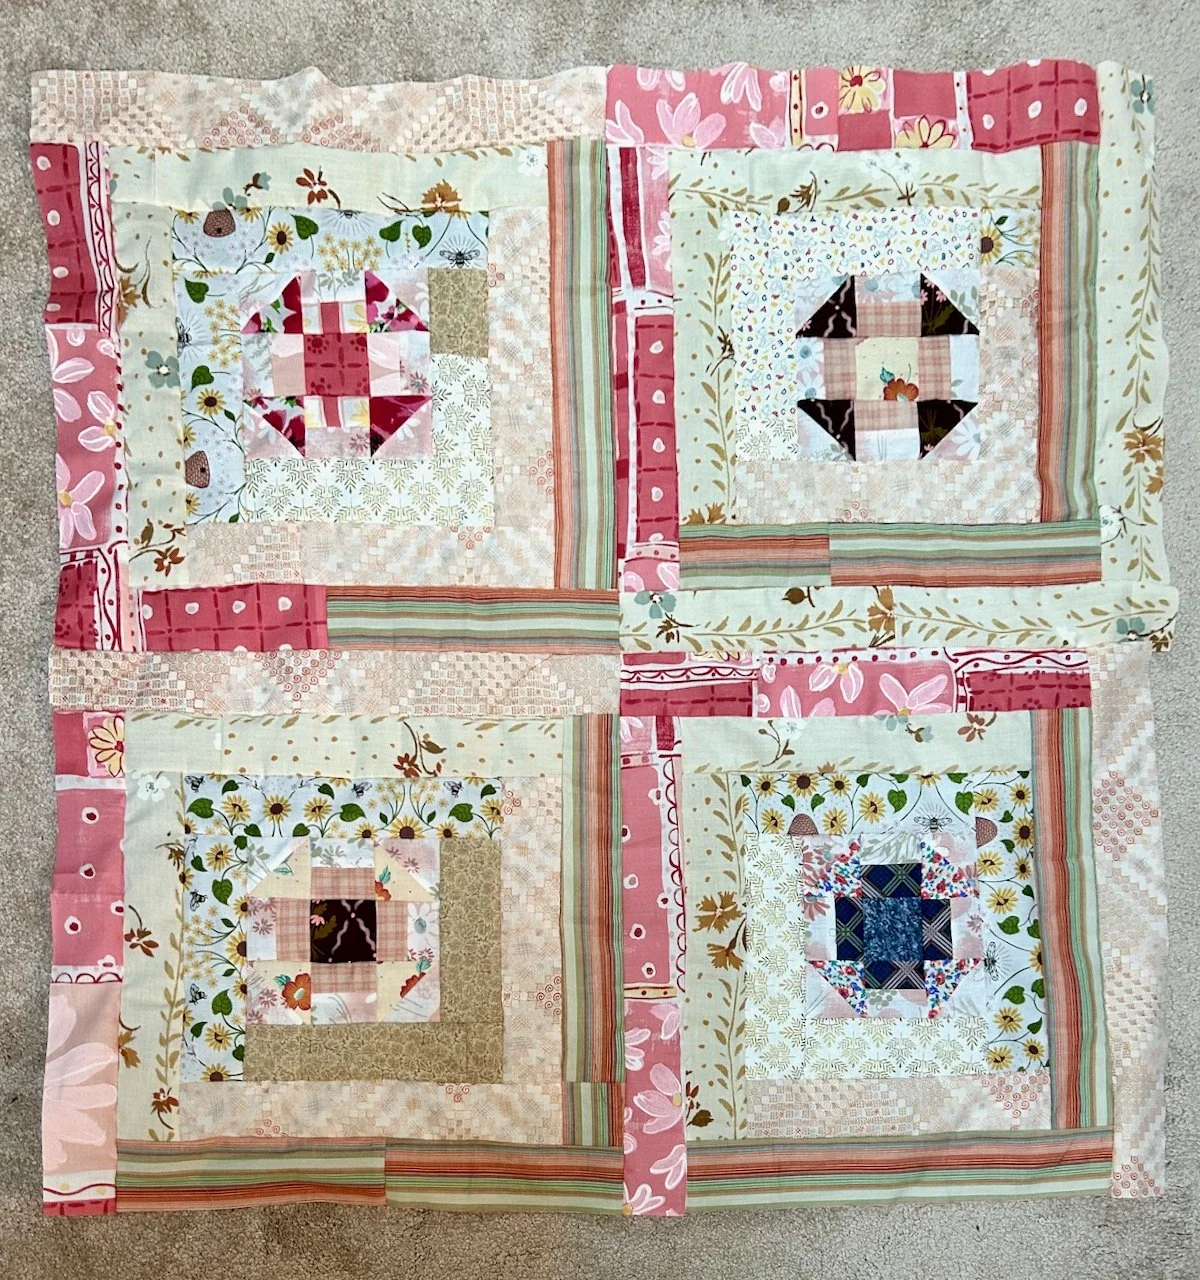
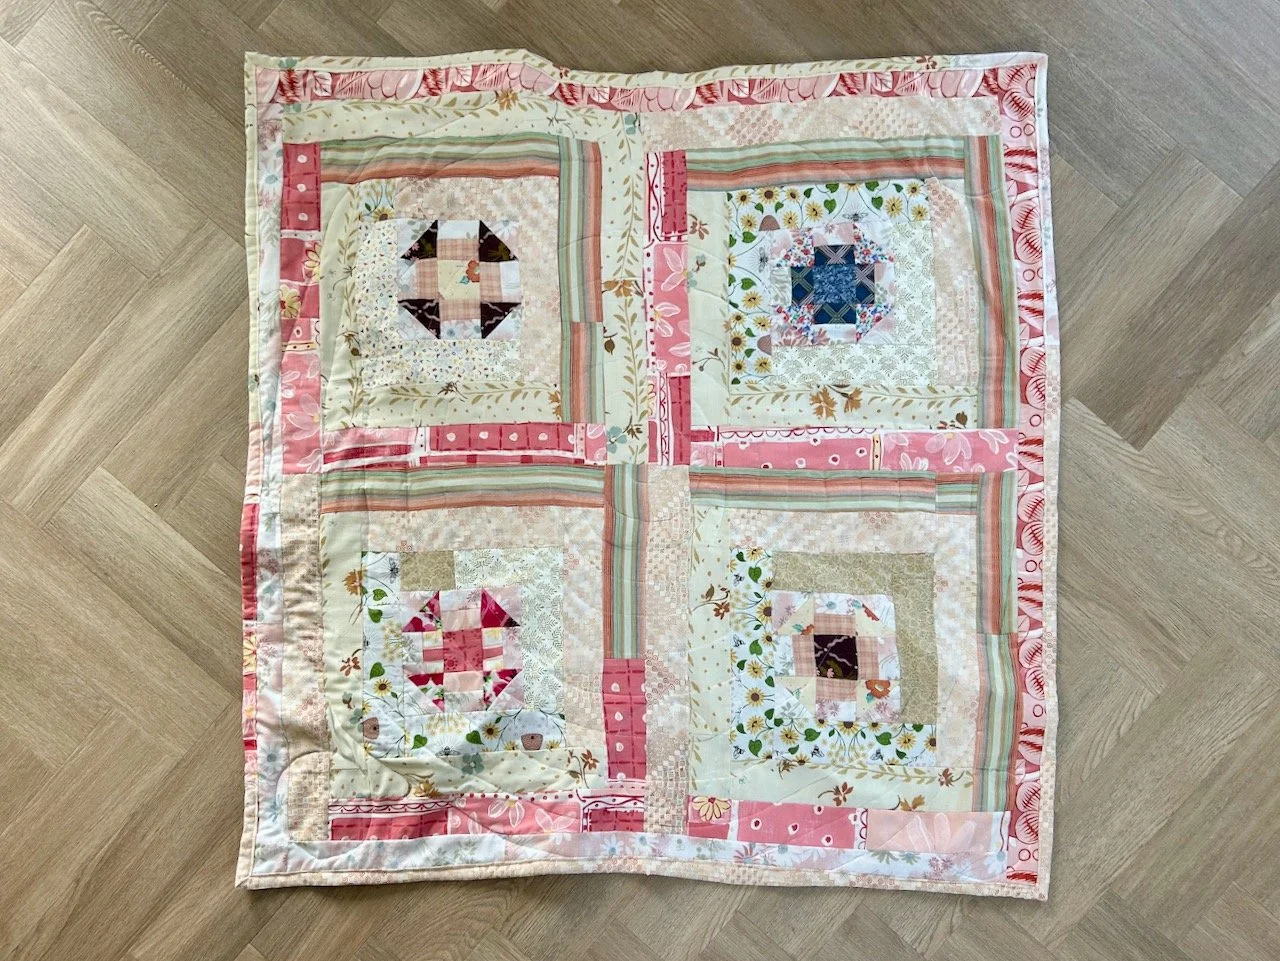
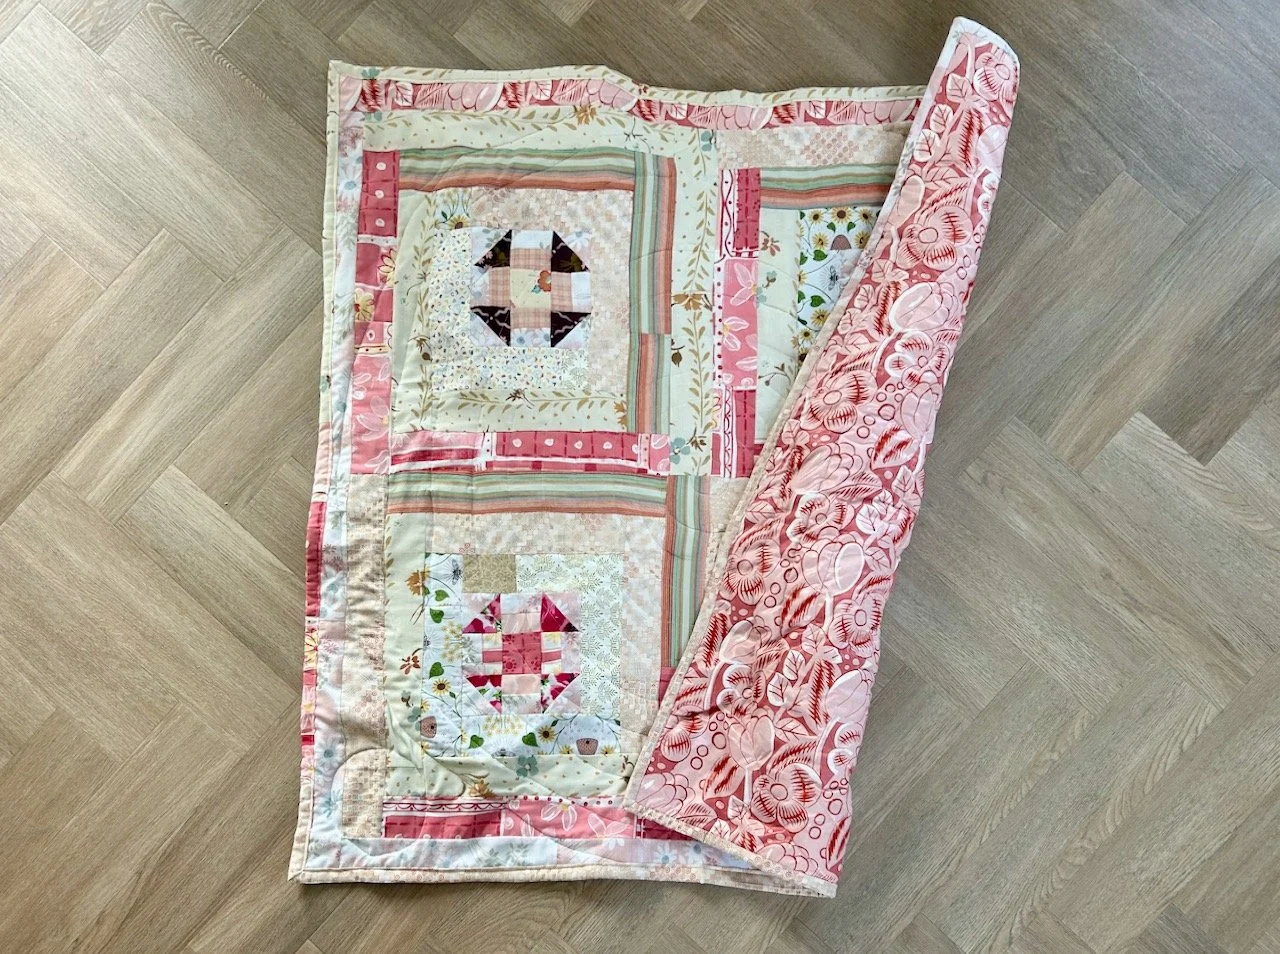
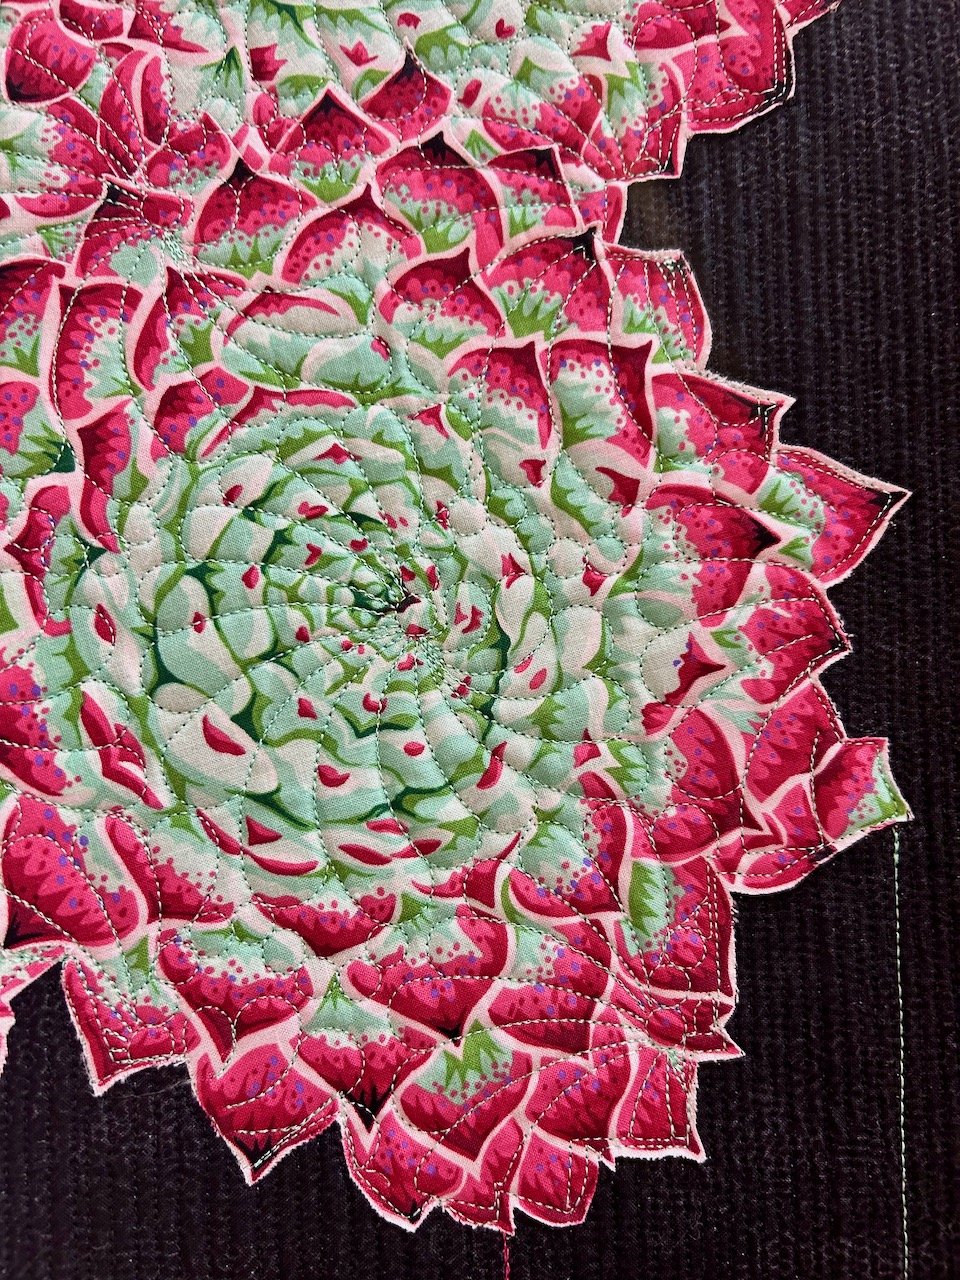
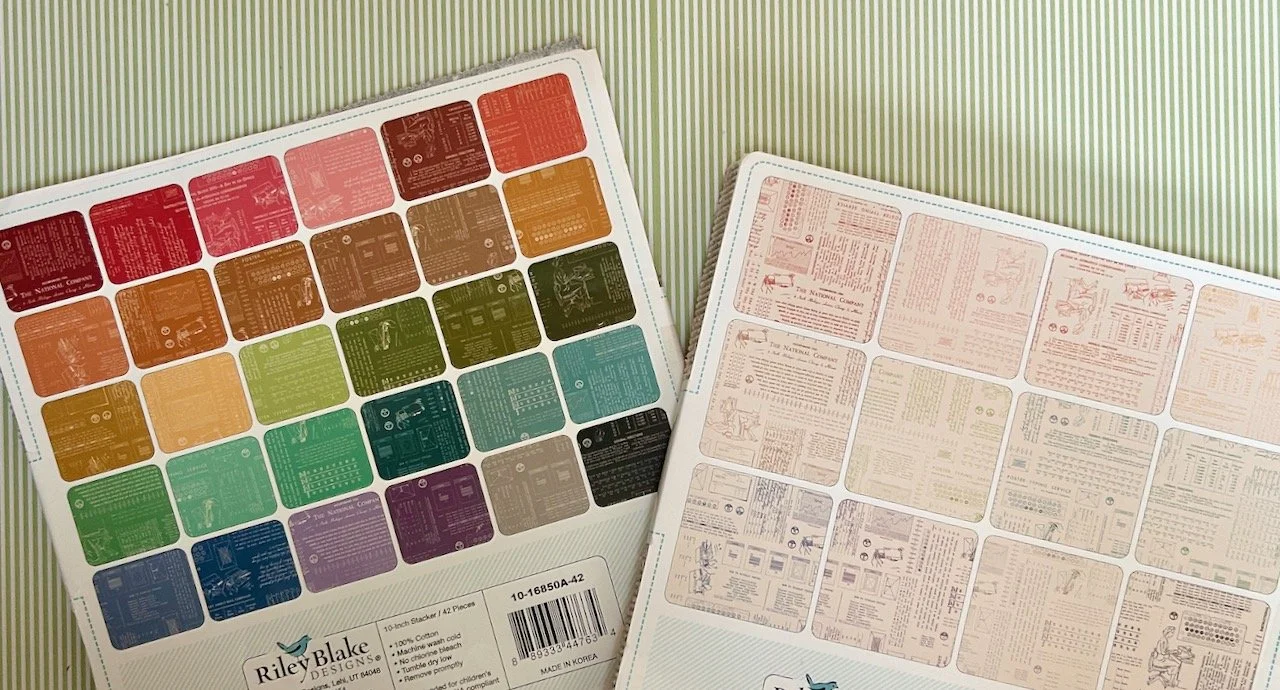
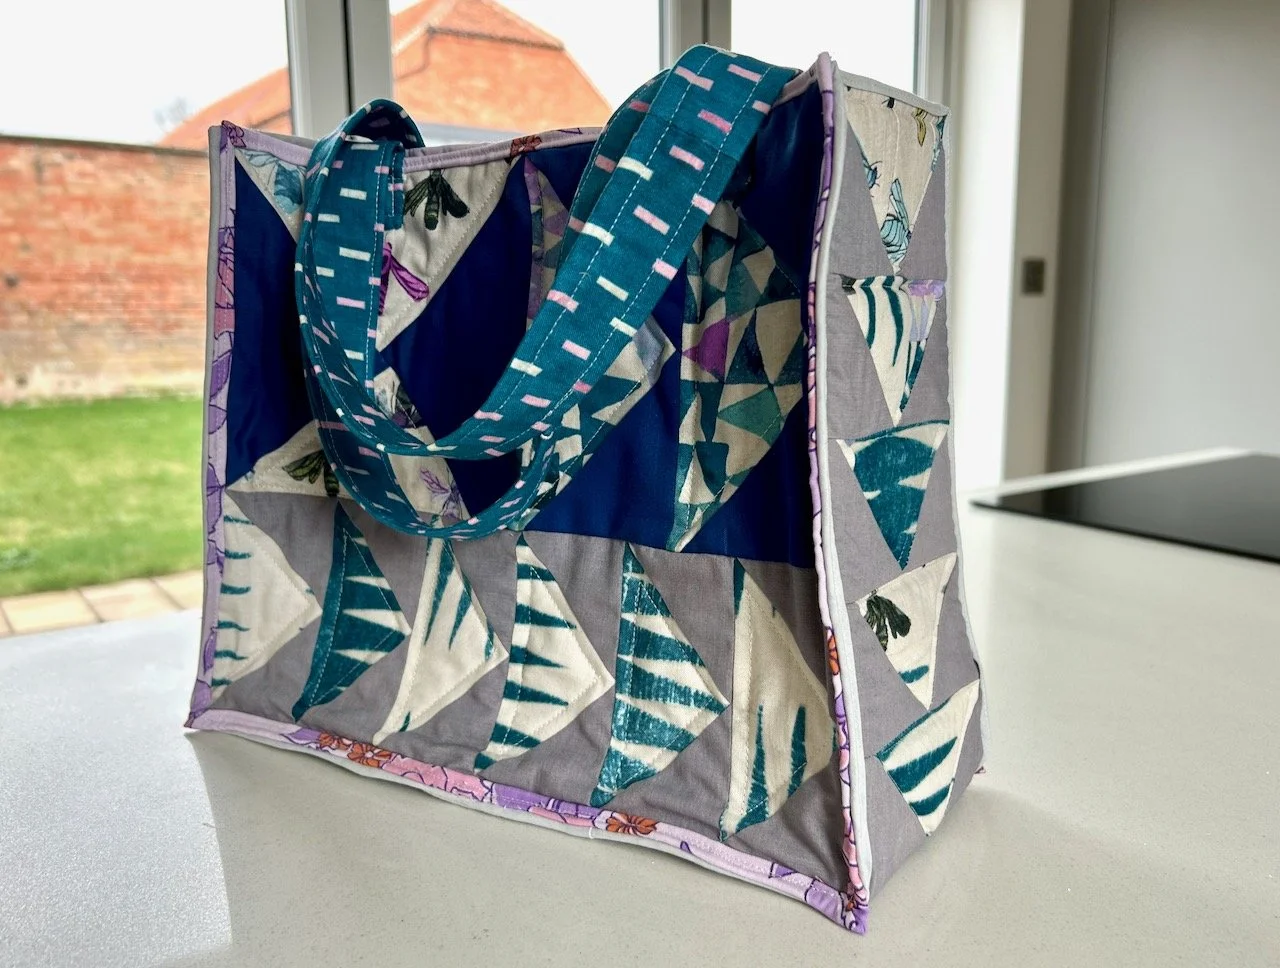
This month I had a proud sewing moment, and donated nine of the quilts I’ve made for Project Linus UK. So a double proud moment actually. I went along to a new-to-me patchwork sewing group for the charity day, and have since been back for one of their Friday afternoon meetings. I’m planning to head back for the Tuesday evening meeting too - which will mean four outings a month for my new ‘take to’ machine, which definitely makes it worth buying.

Remembering how ‘to weekend’

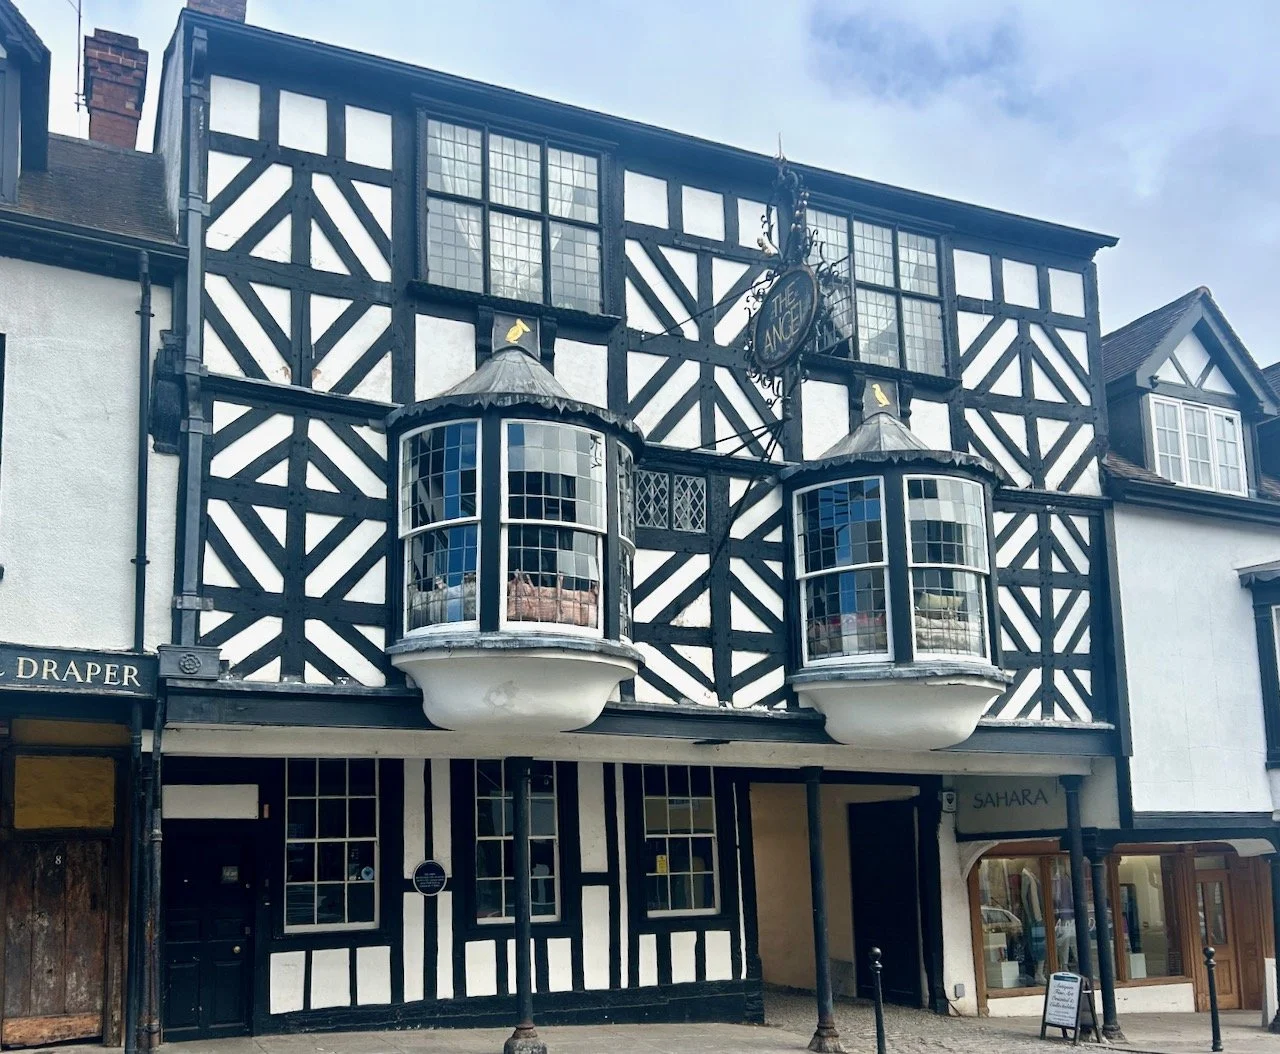
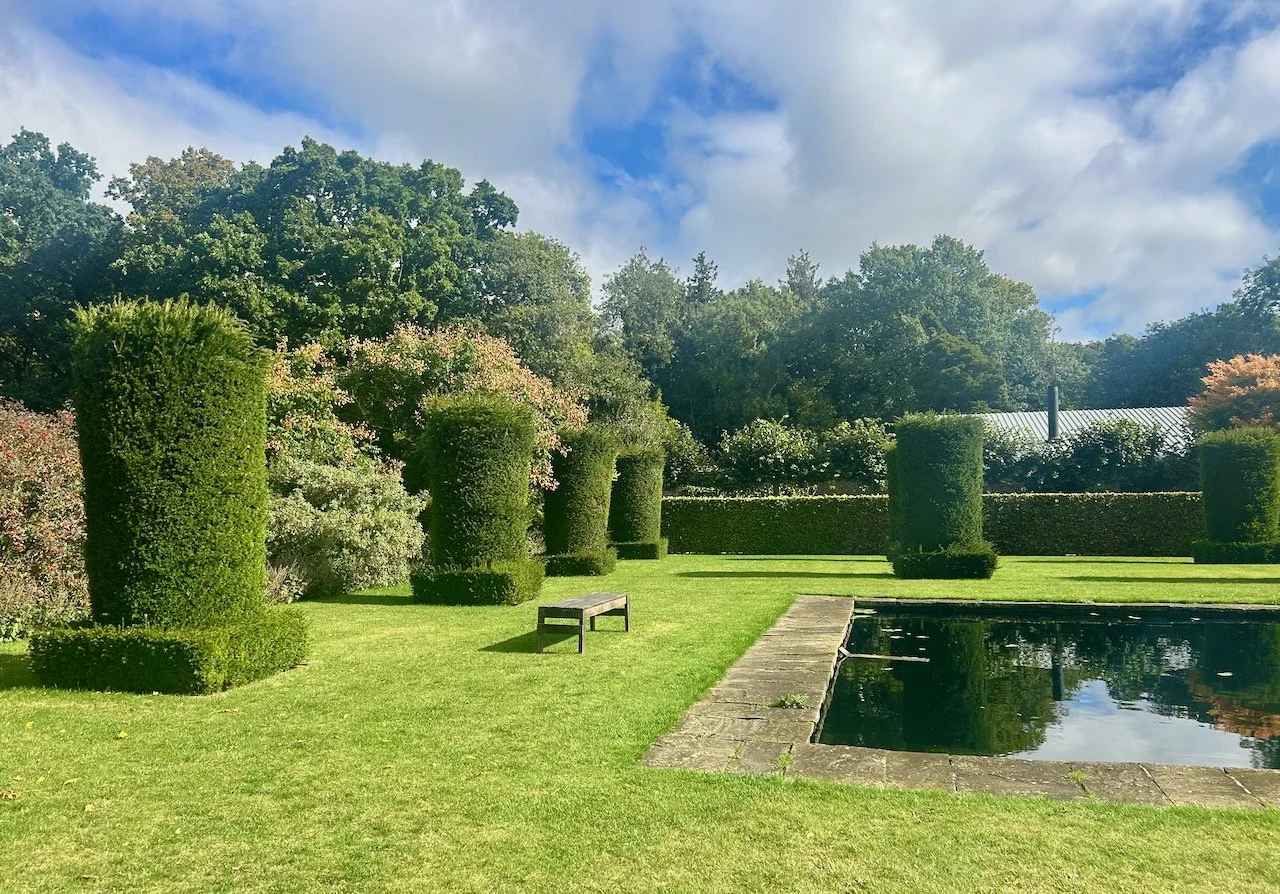
This month we’ve had a last minute and impromptu weekend away, and it was glorious. I shared more in my post last week about being reminded how ‘to weekend’ and it really has made such a difference. We’d originally planned to head further afield but that didn’t quite work out, though we’re still working on that, but North Yorkshire was a good alternative.

It’s funny how that by going away you discover the joy of doing something different, albeit for a short time, and how that reignites the travel bug. My list of ‘go to’ places is growing, and Malton’s definitely on my ‘go back to’ list.

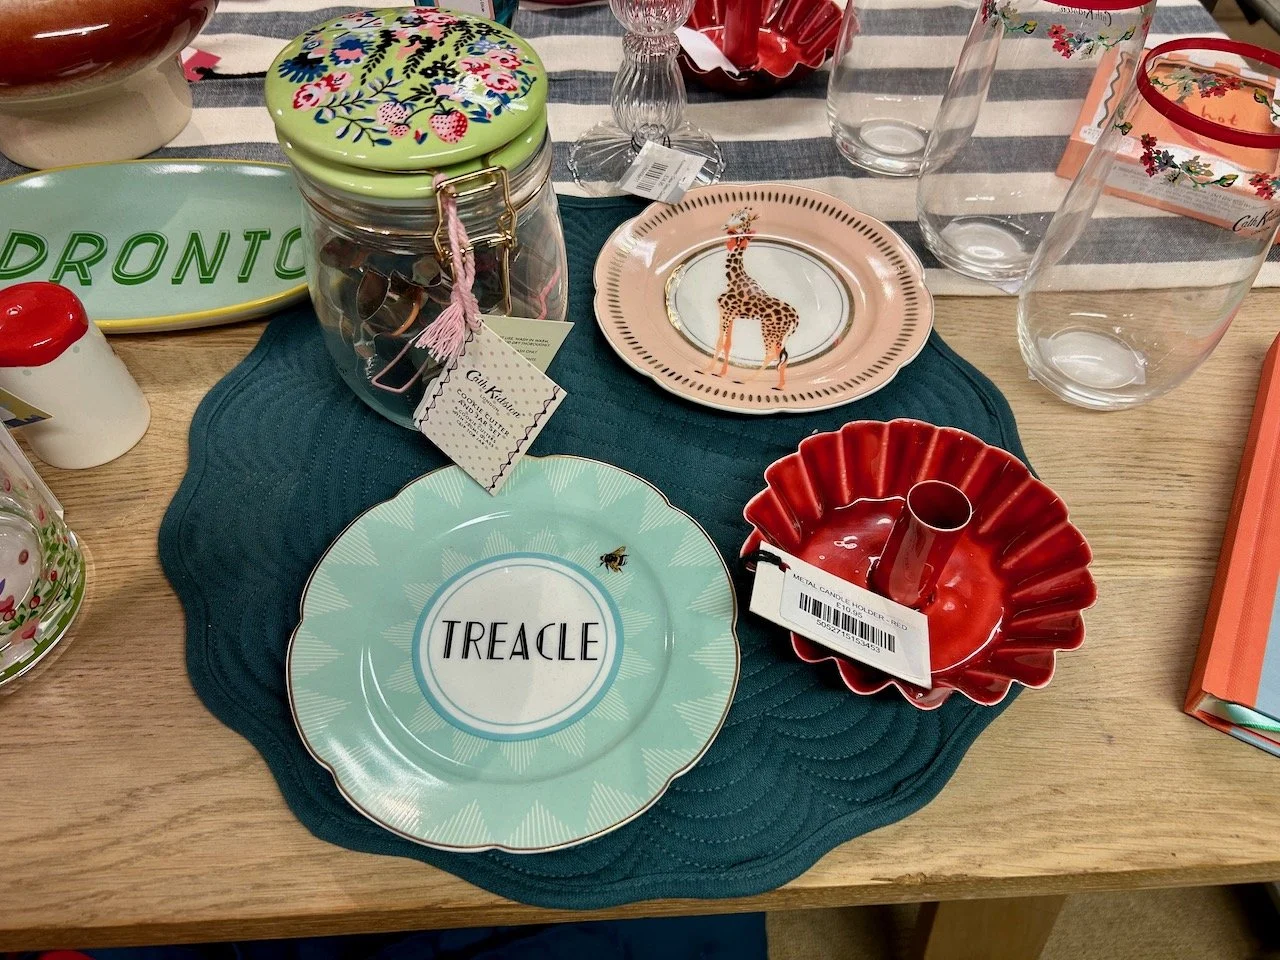
In one of the fabulous independent shops I spotted a series of ‘cheeky’ cake plates, I didn’t buy them at the time but found them online where they were cheaper so ordered them. Now I’m having to make cake just so we can get good use out of our treacle, tart, cupcake and crumpet plates - well, that’s my excuse and I’m sticking to it!

If you want to read my previous monthly updates in my ‘This is’ series you’re very welcome.

Planting my new olive tree

I shared the start and end of this in my August garden update, but as you’d imagine there was a bit more to it than just filling the pot and popping in the plant.

We’d seen the pot when we were at Grand Designs back in May. We weren’t looking for a pot, but there was something about it, as well as the show price and free delivery, that had us hooked. I always knew that if we bought the new large pot, then it would be going on the far corner of our patio and I just needed to convince MOH it would look fine there.

Lots of pots and pots on display at Grand Designs Live at Excel

Pot delivered, now for the tree

When it arrived and we’d stripped its wrapping off, the first thing we did was to see it in situ. Thankfully it worked just as well as I hoped it was, and MOH was convinced. The second thing we did was carry the pot back to the garage where it stayed for a while, while we sourced the right sized, right shaped and as importantly right priced olive tree.

I didn’t want something so small it was lost in the pot, but equally I didn’t want something that was too large - a real goldilocks tale! So we had a tour of a few garden centres near us to check out the olive trees, and they had a lot. Again we hadn’t intended to buy one straight away as we knew we were going to some garden shows, and well, there’s always a deal to be done at a garden show isn’t there?

But we found the right sized tree for the right price at the second garden centre we visited. And £32 later and yet more convincing MOH it would work we were back home with our new tree. Which of course we left in its garden centre pot for a good couple of months…

The chosen olive tree's position alongside our garage

Sourcing the soil

It’s a large pot to fill, and just as I’m running out of pots I also don’t have much spare soil in this garden. I didn’t want to use all new compost as I wanted the pot to have even just the smallest part of our local eco-system. I asked in our village Facebook group if anyone had any soil they wanted to get rid of, but no joy.

I knew I’d need to add drainage to the pot, and plenty of it but I didn’t want to add rocks and weight to the pot. I’ve used polystyrene seed trays before in pots, so I thought using larger blocks would work here. I was kicking myself though as we hadn’t that long ago had a purge of the polystyrene that we had, but never mind. So I also asked in the group if anyone had any of those chunky polystyrene blocks, but I didn’t get much joy from that request either.

However while out walking around the villages lanes I did find a large chunk of polystyrene blowing along so I brought that home and stored that for a while. In the end though over the summer we had some more deliveries which included enough hefty chunks of polystyrene that we could use.

But we were no further forward on the soil.

Or not much anyway. With my tomatoes finishing relatively early this year I had two pots of soil that I was sure would have a relatively active eco-system, and so they were earmarked for the big pot - but I would need more.

In the end we bought some compost for trees and large shrubs and some bags of topsoil, and used a mixture of these along with the tomato pot soil and a very large helping of horticultural grit, again to help drainage. It makes sense that olive trees don’t like soggy roots doesn’t it, when you think about the countries they grow.

Actually planting the thing!

There might have been more than one or two suggestions from MOH about when the thing would actually get planted, and get that large pot out of the garage. So with a morning free and time to potter about, it was time.

But before anything went in the pot I wanted to get some pot feet stuck on the bottom. I’ve used these round silicone feet (from Amazon) wedged under our other pots and they’ve done well. As this pot won’t be moved that often, and will be heavy, I didn’t want to have to faff about getting the pot feet in the right place if we do move it. I used PVA glue to stick these in place, and before long we were good to turn the pot the right way up.

The new large pot upside down with four black pot feet stuck on

I had help adding the polystyrene blocks for drainage - we found sawing them into smaller chunks was the most efficient way to break them down.

MOH sawing blocks of polystyrene into the large pot for drainage

And then before any soil was added, it was time for a quick position check.

Looking across the patio to the large pot in its corner - checking the position is right

Yeap, all good so in went the soil from the tomato pots, two bags of tree/shrub compost and a bag of horticultural grit, which I forked through the soil using my original ‘ladies’ gardening fork. This was my first (and only as it’s still going strong) garden fork from Homebase, which I bought along with a small spade when I got my first house (and garden) back in 1992.

The large pot partly filled with compost and horticultural grit - with a garden fork stuck in the contents

After firming the soil down, I gave the pot a good water and left the soil to settle for a day or too. it didn’t change the level much at all, but that itself was good to know.

It really was finally time

While giving the olive tree a good soak in a trug of water, we added a couple of bags of topsoil and more horticultural grit to the large pot, making an hole for the tree in its centre by standing the olive tree in its pot, in the new pot at the level we wanted to plant it. I’ve seen this done before by Monty Don and co, but have never really done it myself.

Placing the olive in its pot in the large pot to get the level correct

It worked well, as removing the potted olive tree left the right sized hole. So all that was left to do was to get the olive tree out of its pot, and pot it in the ready made hole.

The olive pot sized hole once the plant was removed

And then, after checking it was straight enough from all angles and adding some decorative grit on the top to deter weeds, we could sit back and admire our new olive tree in the large pot.

Looking back across the patio to the pot now complete with olive tree

I think it works well. And with a couple of olives on it already this month, I think it’s happy in its new home too.

A couple of tiny green olives on the lower branches of our tree

We’ll need to give it some protection over winter, but I have some garden fleece in the garage I can use for that. I’ll probably also add some bubble wrap to the pot, as while it’s frost proof, olives don’t like their roots frozen which is fair enough really, I wouldn’t either.

Caring for olive trees in pots

I’ve found the following pages useful, and if you’re thinking about adding an olive tree to your garden, or if you have one already, then you may too:

I’ve yet to get some seaweed feed for my olive, but it’s on my list for my next visit to the garden centre. I’m loving this new addition to our patio, and along with the garden sofa and the pots I’ve started to place around the garden it’s really feeling like we’re starting to ‘own’ our garden.

I’m sure there’s much more to come though, but that’s all for another day.

Half the Scraps

I’ve made another quilt as part of my quilting ‘stretch’ project using the block from Sherri at A Quilting Life’s mystery block a month. As I said then I don’t know if I’ll manage to make a quilt a month, but I won’t really know unless I try…

What I’ve learnt generally from this ‘stretch’ project is that while I’m using lots of fabric from my stash, I’ve also got a fair bit which remains from these projects which is already cut to the widths I’m generally using. So my plan for this quilt was to use up ‘all the scraps’ and to be ok with random fabric and pattern piecing.

My ninth charity quilt

So while my plan was to use ‘all the scraps’ in reality that didn’t work - not only was there more than I could use in my latest four block quilt, some of the colours jarred. So hence this quilt’s name of Half the Scraps!

Strips of pinks and neutral fabrics leftover from earlier charity quilts

I’m sure you’ll recognise at least some of the fabrics I settled on - in fact, they’ve all been used in previous quilts. Some as recently as last month, and at least one from way back at the start of the year.

The block itself was a churn dash, which I wasn’t sure about at all when I first saw it. I’ve not sewn one before, but actually now with five under my belt I can see the attraction.

Laying out the smaller pieces to make the churn dash central block
Another of the churn dash blocks assembled and ready to be sewn together

Making the test blocks helps me understand how they go together, but also it helps show which colour placements are most successful, or which I like the most in any case. And this month it was the lower right block that worked best for me with it’s darker triangular corners, so that’s something I noted for my own Mystery Block quilt - come back tomorrow to see how that one went!

The four churn dash blocks on my cutting mat

Adding the borders

As my aim was to use up the material strips I had left from earlier quilts, my plan was to embrace random log cabin borders - but within reason. I decided to still split the fabrics into two groups and try to keep them in the same half of the borders. I managed it pretty well for the green and peach striped fabric (an old summer shirt of MOH’s), but with less of some of the other patterns it was definitely more random.

The four central blocks complete with log cabin borders and joined together

I needed to twirl some of the blocks around to get a layout that worked for my eye, and so that the dominant pink ‘patchwork’ material (an old duvet cover) was more evenly spread.

But still I felt it wasn’t quite right.

I had no idea what colour final border to add. But then I remembered I was doing random, and so the final border could also comprise more than one fabric. And that helped a lot. On the pinker edges I used a paler fabric, and on the paler edges I used a new multicoloured pink fabric which came from mum’s stash.

The front of the finished quilt - using 'half the scraps'

It’s also the fabric that I’ve used on the reverse of the quilt, so it fits in with this month’s ethos of using what I had cut. More so actually as the strips leftover from the backing piece haven ‘t even made it into the scrap stash pile!

The quilt is partially flipped over on itself showing the patterned reverser

Now that it’s finished I’m much happier with it, but during its construction I was less sure. I also tried a different way of quilting this one - and well, I learnt why most quilts aren’t quilted in circles! It’s hard and the material on the back wants to pucker up more than normal. It’s not something I’ll be trying again for a long while, that’s for sure!

You can see my other quilts which I’ve made to donate to Project Linus - a charity whose mission is to provide love, a sense of security, warmth and comfort to children, who are sick, disabled, disadvantaged or distressed through the donation of new, homemade, washable quilts and blankets, including those that are part of this ‘stretch’ project in earlier posts. I’m aiming to publish an update on my progress in the last week of each month for the remainder of 2025.