


I shared the start and end of this in my August garden update, but as you’d imagine there was a bit more to it than just filling the pot and popping in the plant.
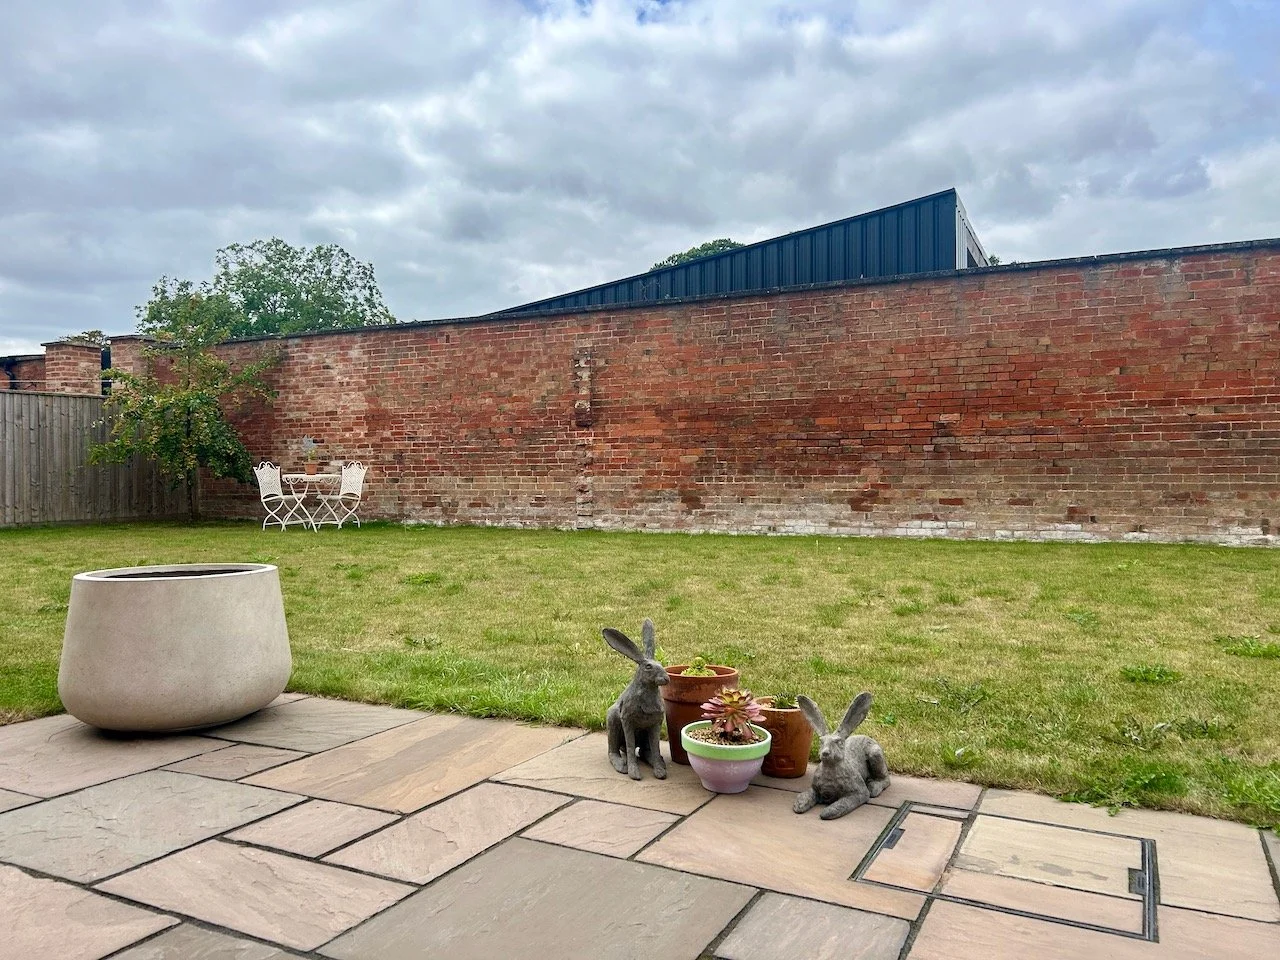
We’d seen the pot when we were at Grand Designs back in May. We weren’t looking for a pot, but there was something about it, as well as the show price and free delivery, that had us hooked. I always knew that if we bought the new large pot, then it would be going on the far corner of our patio and I just needed to convince MOH it would look fine there.
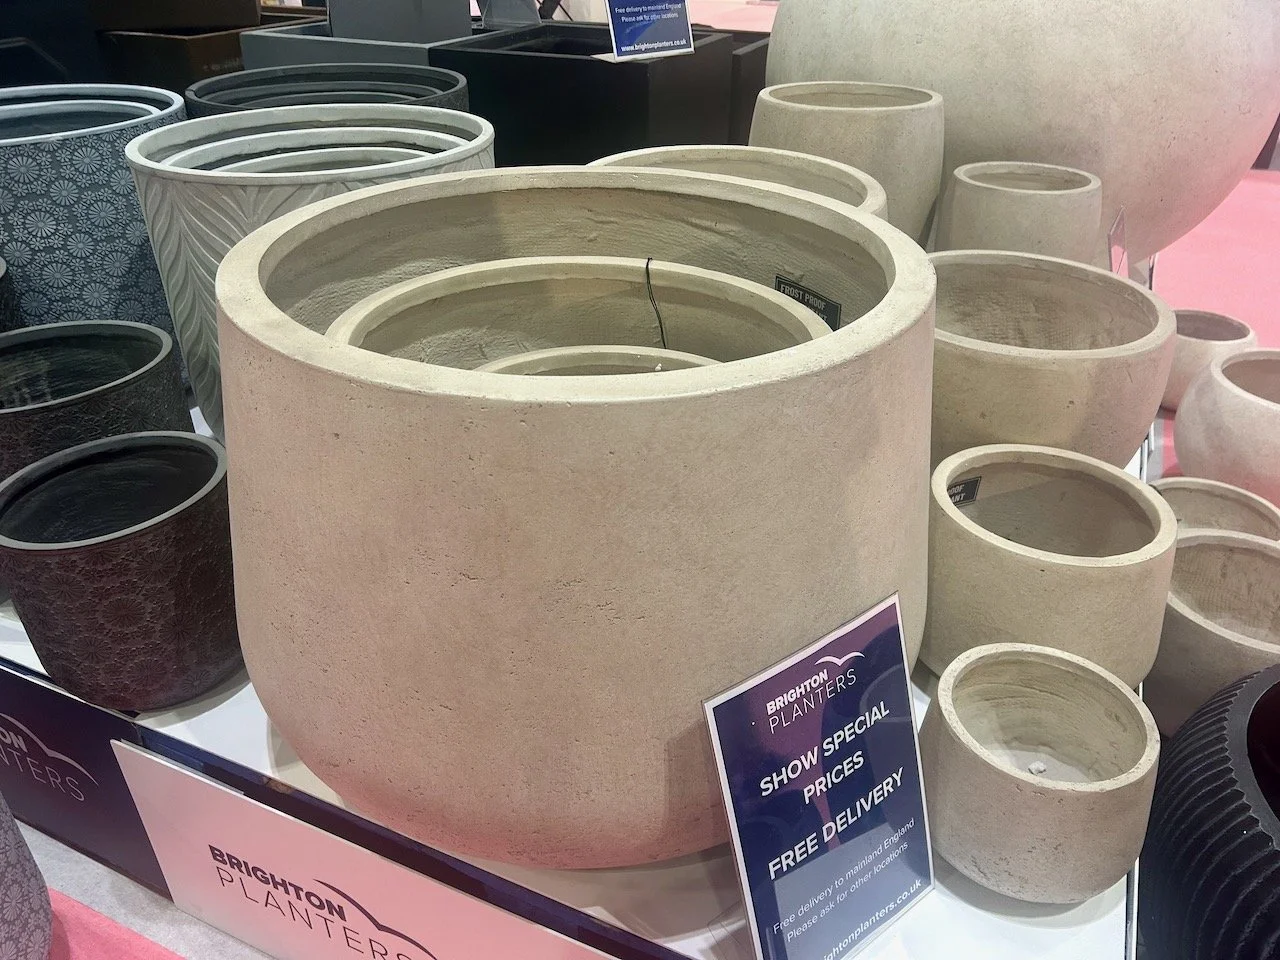
Pot delivered, now for the tree
When it arrived and we’d stripped its wrapping off, the first thing we did was to see it in situ. Thankfully it worked just as well as I hoped it was, and MOH was convinced. The second thing we did was carry the pot back to the garage where it stayed for a while, while we sourced the right sized, right shaped and as importantly right priced olive tree.
I didn’t want something so small it was lost in the pot, but equally I didn’t want something that was too large - a real goldilocks tale! So we had a tour of a few garden centres near us to check out the olive trees, and they had a lot. Again we hadn’t intended to buy one straight away as we knew we were going to some garden shows, and well, there’s always a deal to be done at a garden show isn’t there?
But we found the right sized tree for the right price at the second garden centre we visited. And £32 later and yet more convincing MOH it would work we were back home with our new tree. Which of course we left in its garden centre pot for a good couple of months…
Sourcing the soil
It’s a large pot to fill, and just as I’m running out of pots I also don’t have much spare soil in this garden. I didn’t want to use all new compost as I wanted the pot to have even just the smallest part of our local eco-system. I asked in our village Facebook group if anyone had any soil they wanted to get rid of, but no joy.
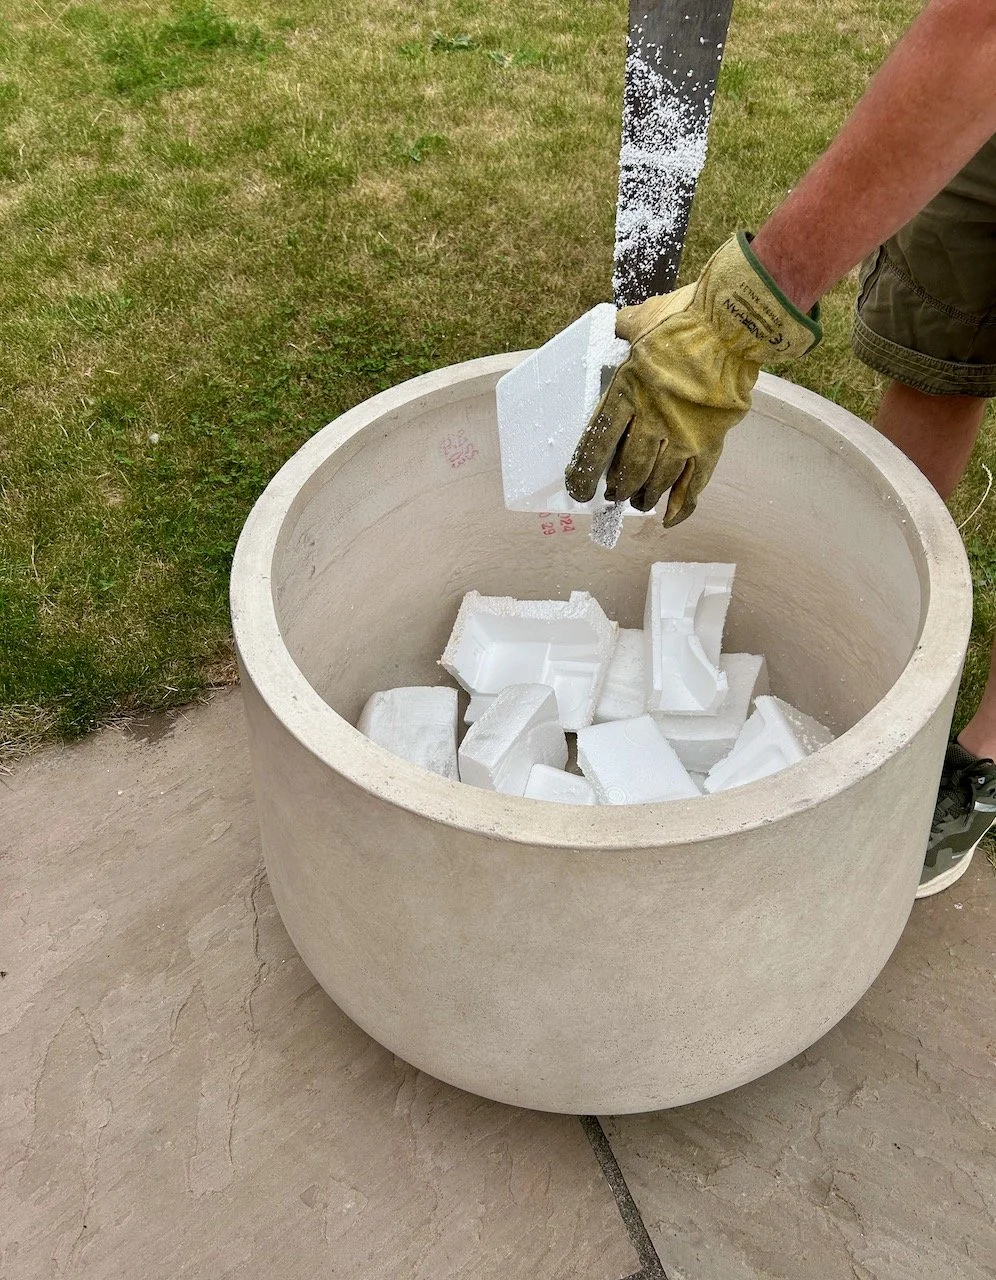
I knew I’d need to add drainage to the pot, and plenty of it but I didn’t want to add rocks and weight to the pot. I’ve used polystyrene seed trays before in pots, so I thought using larger blocks would work here. I was kicking myself though as we hadn’t that long ago had a purge of the polystyrene that we had, but never mind. So I also asked in the group if anyone had any of those chunky polystyrene blocks, but I didn’t get much joy from that request either.
However while out walking around the villages lanes I did find a large chunk of polystyrene blowing along so I brought that home and stored that for a while. In the end though over the summer we had some more deliveries which included enough hefty chunks of polystyrene that we could use.
But we were no further forward on the soil.
Or not much anyway. With my tomatoes finishing relatively early this year I had two pots of soil that I was sure would have a relatively active eco-system, and so they were earmarked for the big pot - but I would need more.
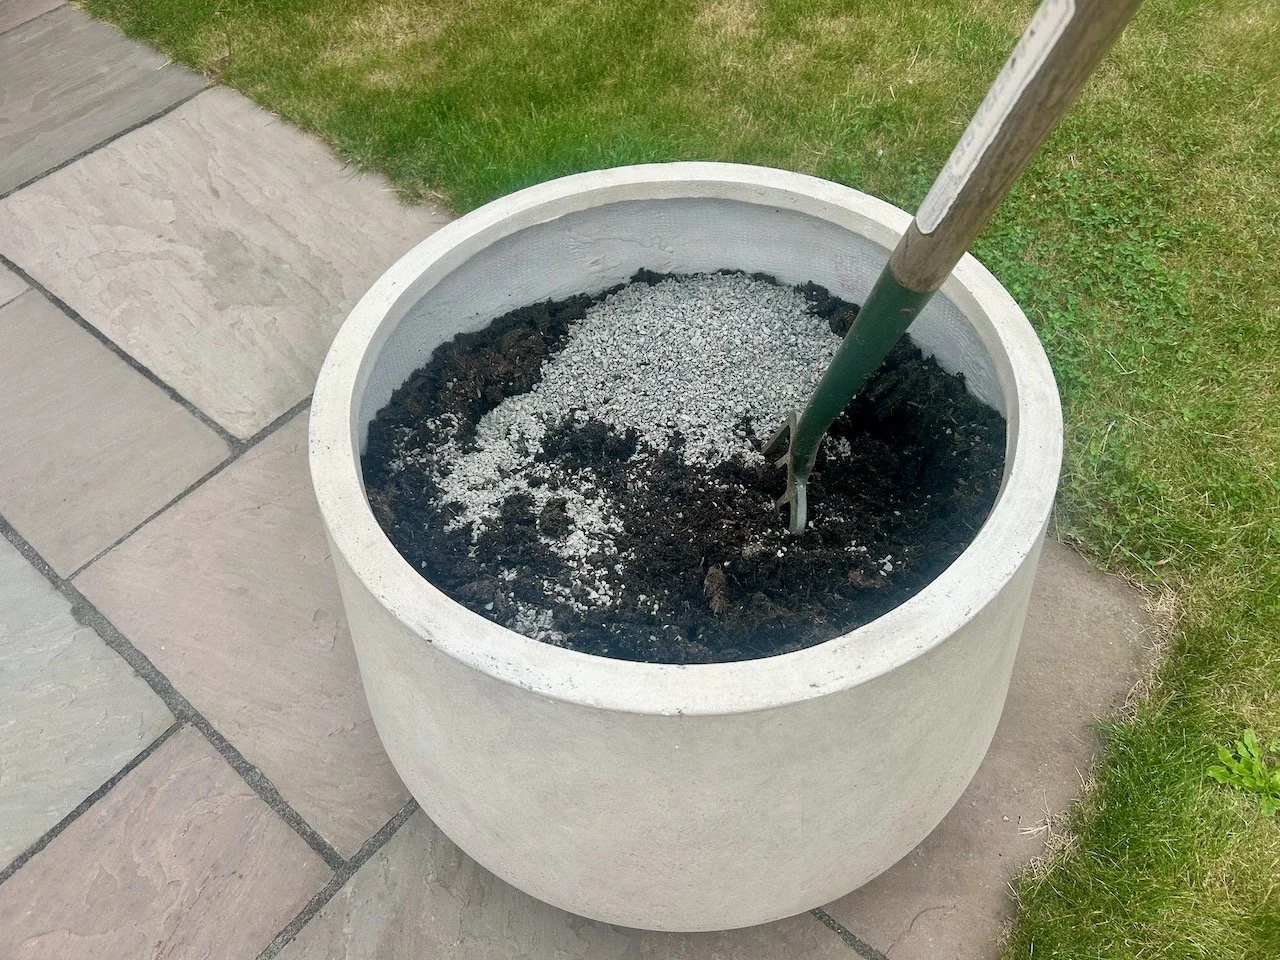
In the end we bought some compost for trees and large shrubs and some bags of topsoil, and used a mixture of these along with the tomato pot soil and a very large helping of horticultural grit, again to help drainage. It makes sense that olive trees don’t like soggy roots doesn’t it, when you think about the countries they grow.
Actually planting the thing!
There might have been more than one or two suggestions from MOH about when the thing would actually get planted, and get that large pot out of the garage. So with a morning free and time to potter about, it was time.
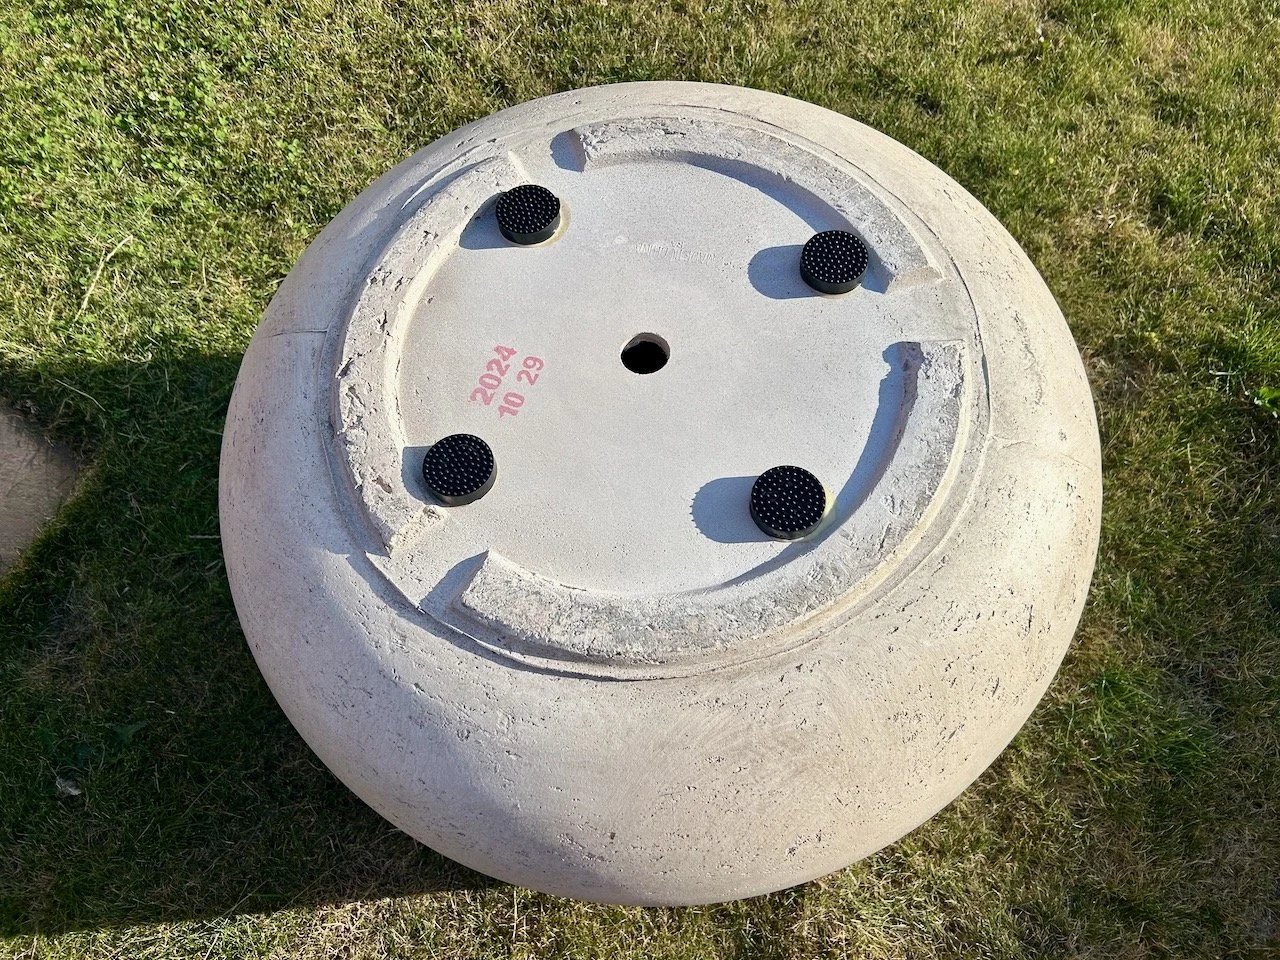
But before anything went in the pot I wanted to get some pot feet stuck on the bottom. I’ve used these round silicone feet (from Amazon) wedged under our other pots and they’ve done well. As this pot won’t be moved that often, and will be heavy, I didn’t want to have to faff about getting the pot feet in the right place if we do move it. I used PVA glue to stick these in place, and before long we were good to turn the pot the right way up.
I had help adding the polystyrene blocks for drainage - we found sawing them into smaller chunks was the most efficient way to break them down.
And then before any soil was added, it was time for a quick position check.
Yeap, all good so in went the soil from the tomato pots, two bags of tree/shrub compost and a bag of horticultural grit, which I forked through the soil using my original ‘ladies’ gardening fork. This was my first (and only as it’s still going strong) garden fork from Homebase, which I bought along with a small spade when I got my first house (and garden) back in 1992.
After firming the soil down, I gave the pot a good water and left the soil to settle for a day or too. it didn’t change the level much at all, but that itself was good to know.
It really was finally time
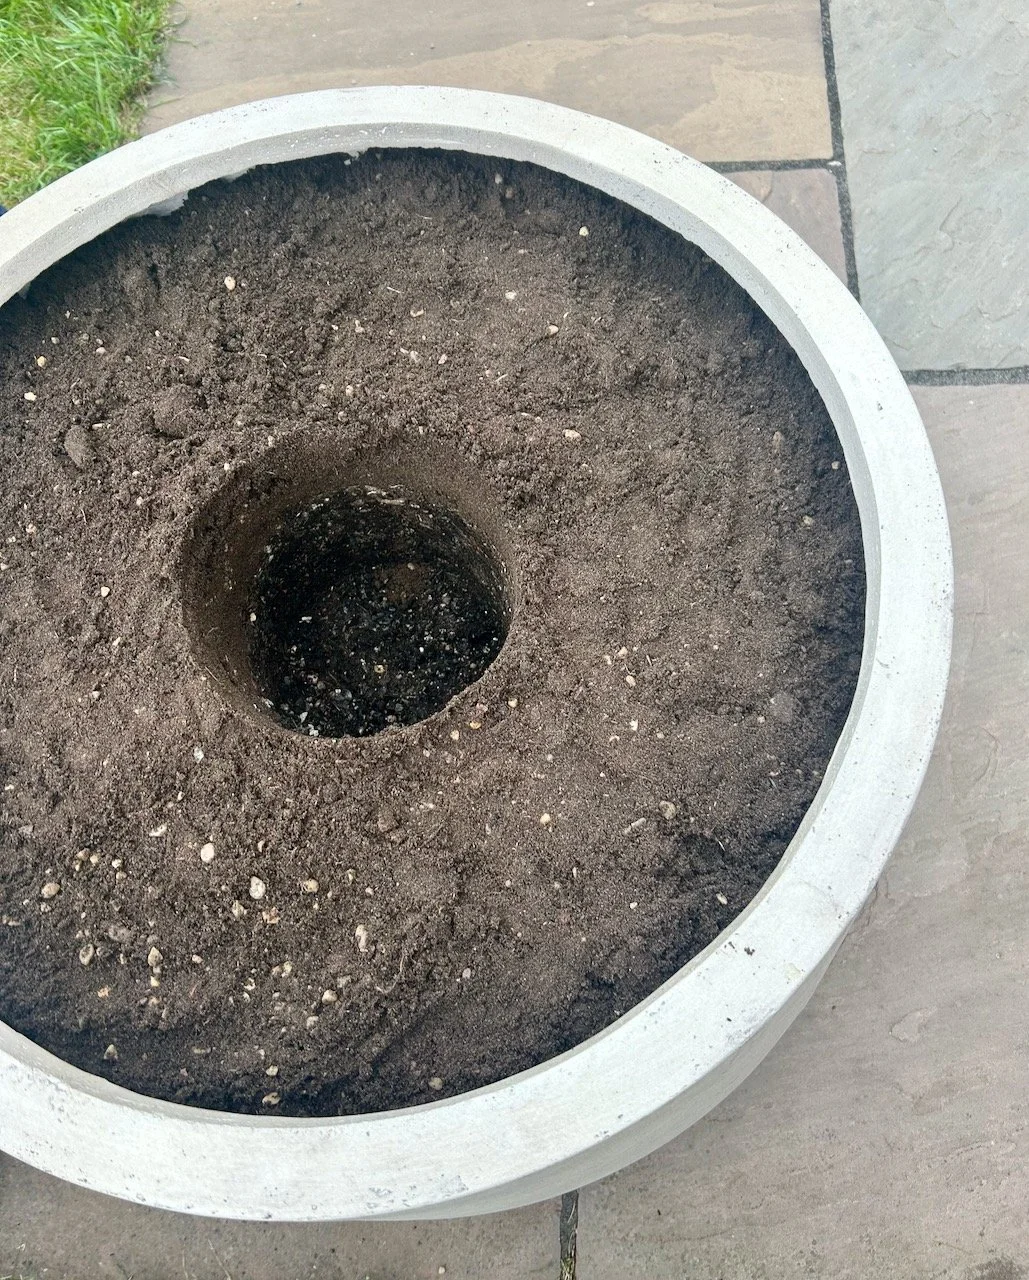
While giving the olive tree a good soak in a trug of water, we added a couple of bags of topsoil and more horticultural grit to the large pot, making an hole for the tree in its centre by standing the olive tree in its pot, in the new pot at the level we wanted to plant it. I’ve seen this done before by Monty Don and co, but have never really done it myself.
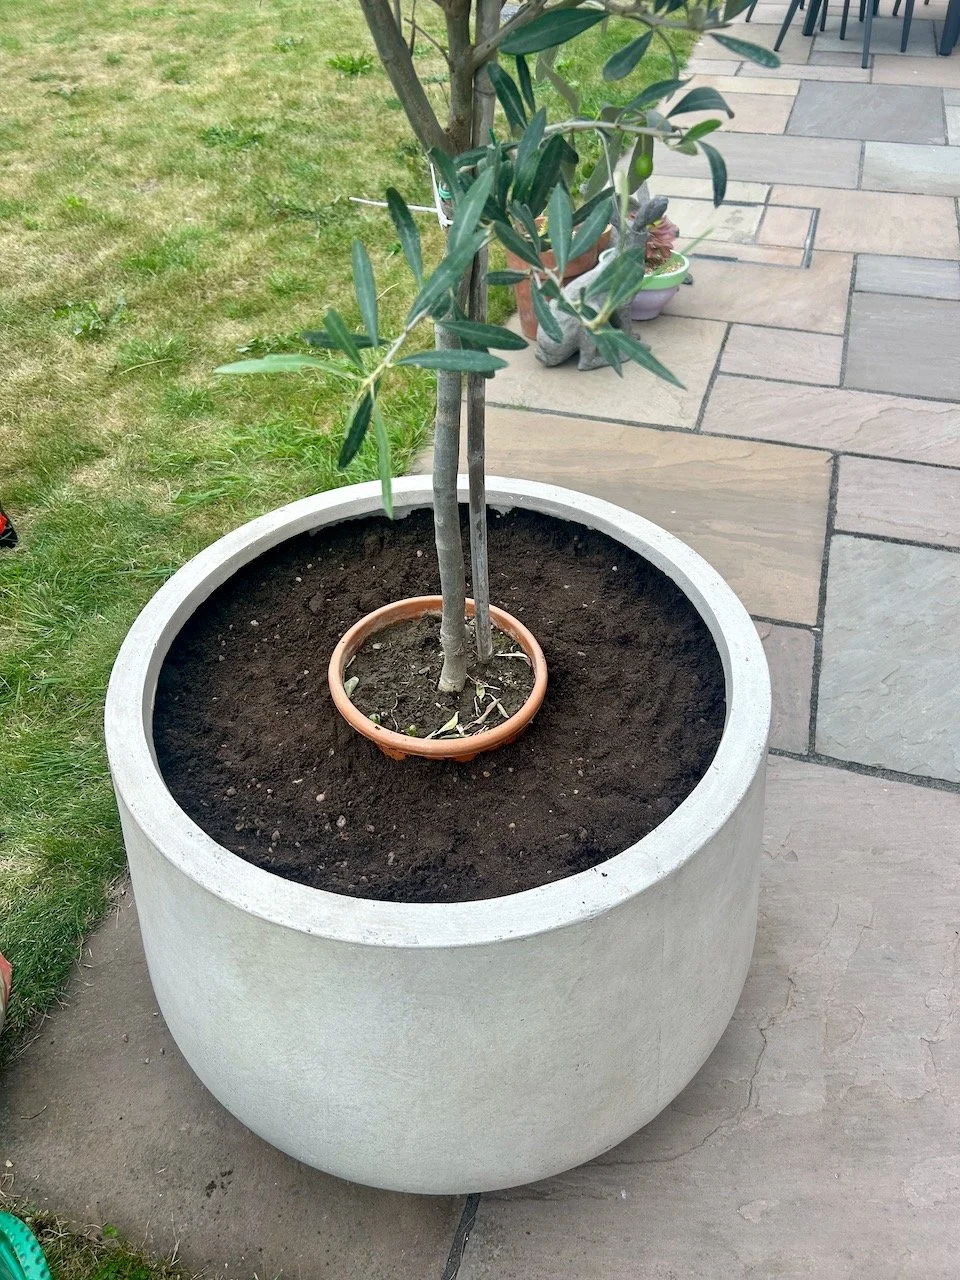
It worked well, as removing the potted olive tree left the right sized hole. So all that was left to do was to get the olive tree out of its pot, and pot it in the ready made hole.
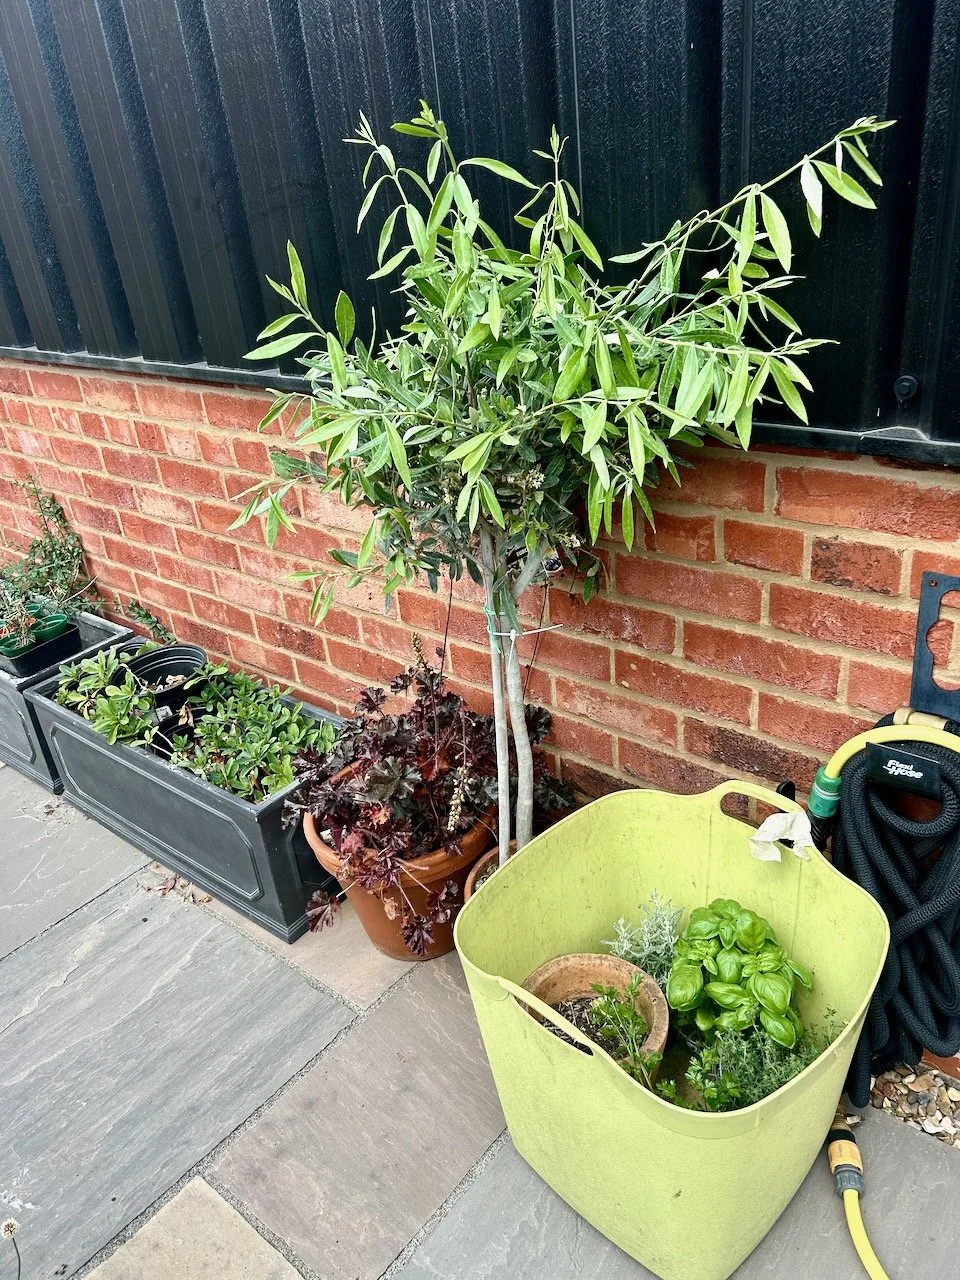
And then, after checking it was straight enough from all angles and adding some decorative grit on the top to deter weeds, we could sit back and admire our new olive tree in the large pot.
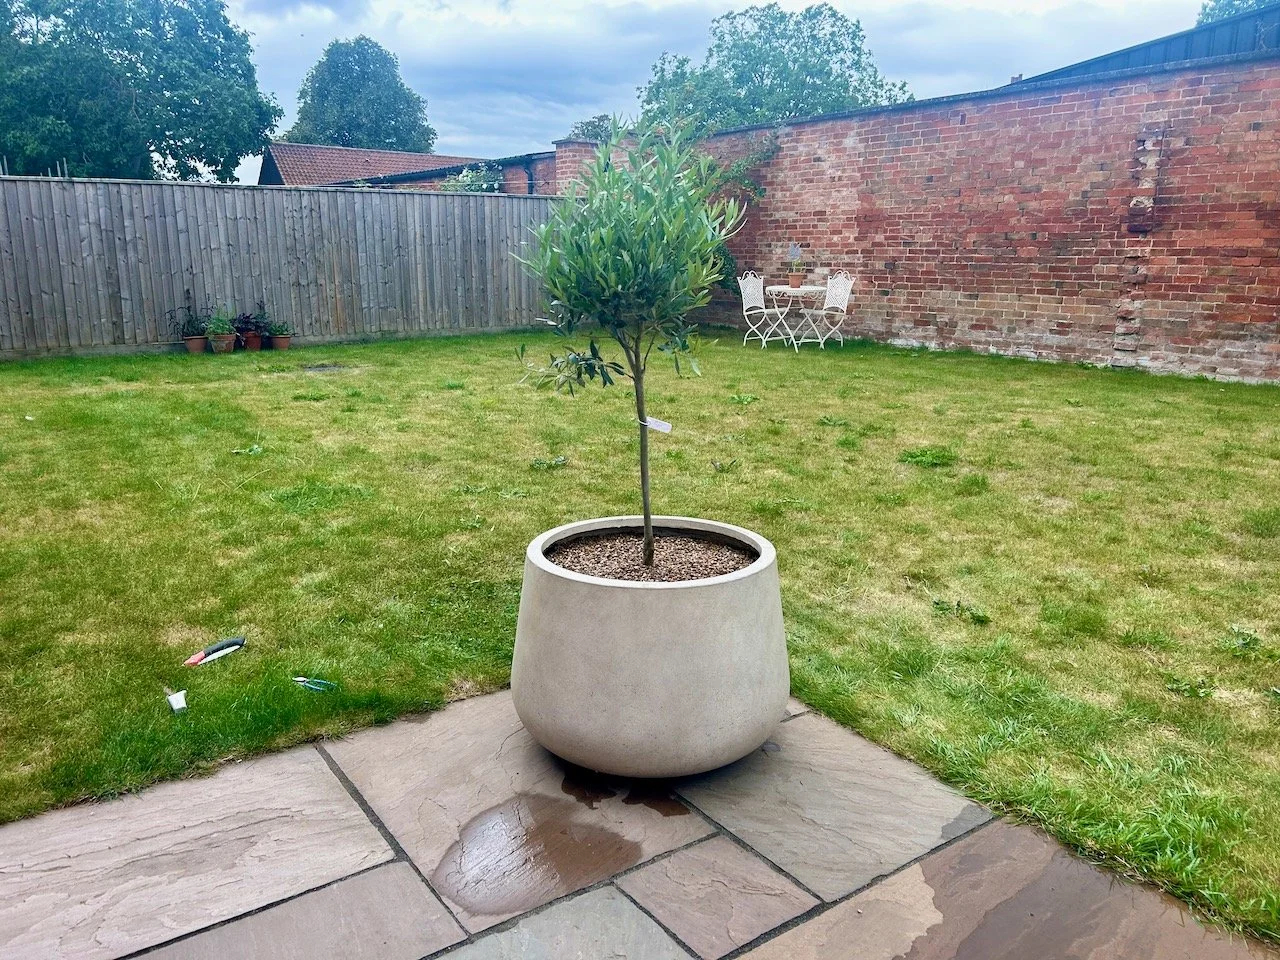
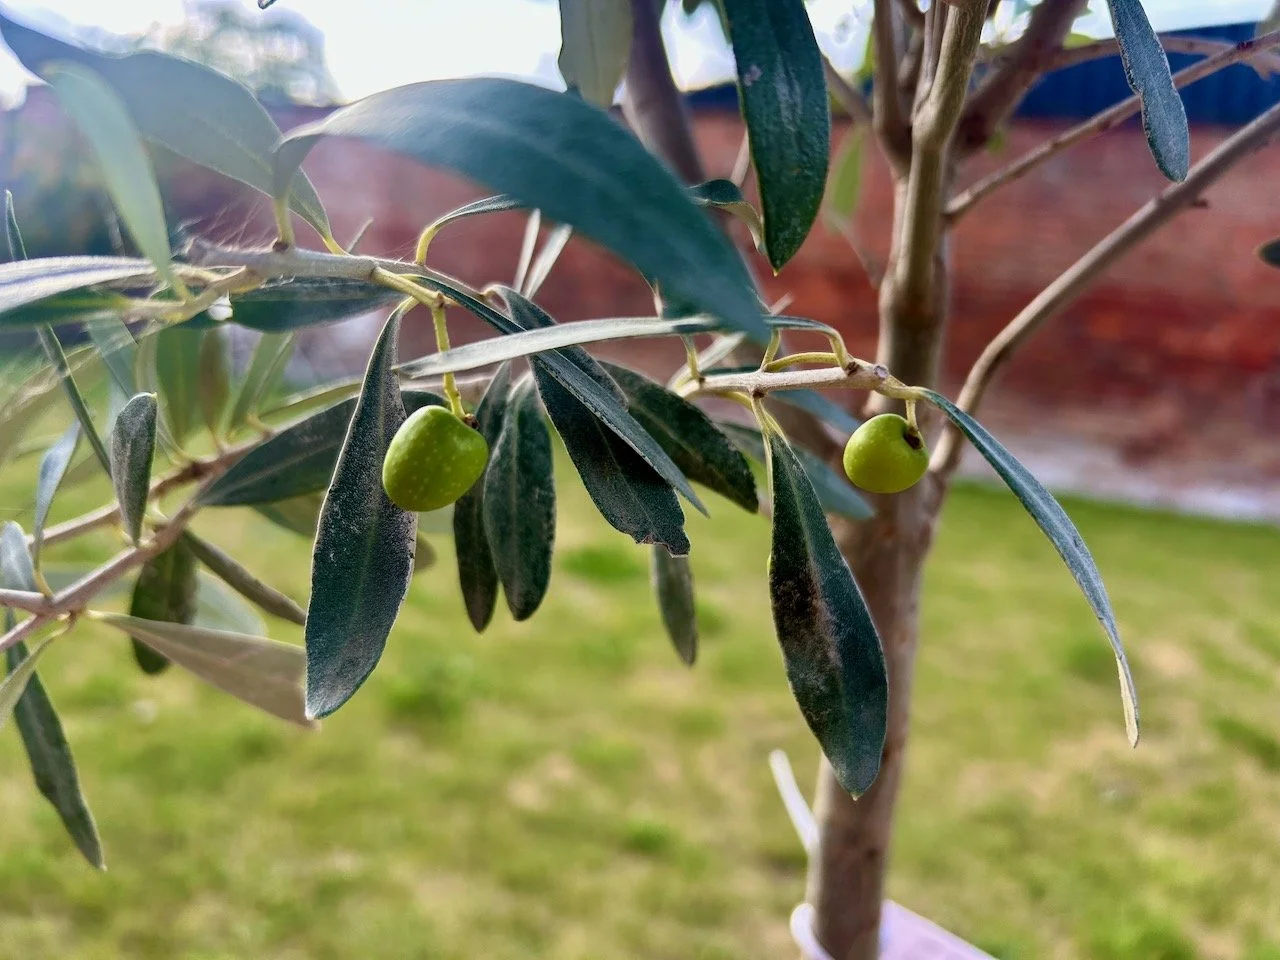
I think it works well. And with a couple of olives on it already this month, I think it’s happy in its new home too.
We’ll need to give it some protection over winter, but I have some garden fleece in the garage I can use for that. I’ll probably also add some bubble wrap to the pot, as while it’s frost proof, olives don’t like their roots frozen which is fair enough really, I wouldn’t either.
Caring for olive trees in pots
I’ve found the following pages useful, and if you’re thinking about adding an olive tree to your garden, or if you have one already, then you may too:
How to Grow Olive Trees, BBC Gardeners’ World
How to grow Olives, RHS
Olive tree care sheet, The Norfolk Olive Tree Company
Feeding Olive trees, Plantura Magazine
Pruning your Olive Tree, The Norfolk Olive Tree Company.
I’ve yet to get some seaweed feed for my olive, but it’s on my list for my next visit to the garden centre. I’m loving this new addition to our patio, and along with the garden sofa and the pots I’ve started to place around the garden it’s really feeling like we’re starting to ‘own’ our garden.
I’m sure there’s much more to come though, but that’s all for another day.