Recycling Christmas cards into gift tags

And without pinking shears in sight! Though gift tags made with pinking shears do of course have their own charm, but for the past few years I’ve been recycling my Christmas cards using my die cutting machine and a “luggage tag” type label shape.

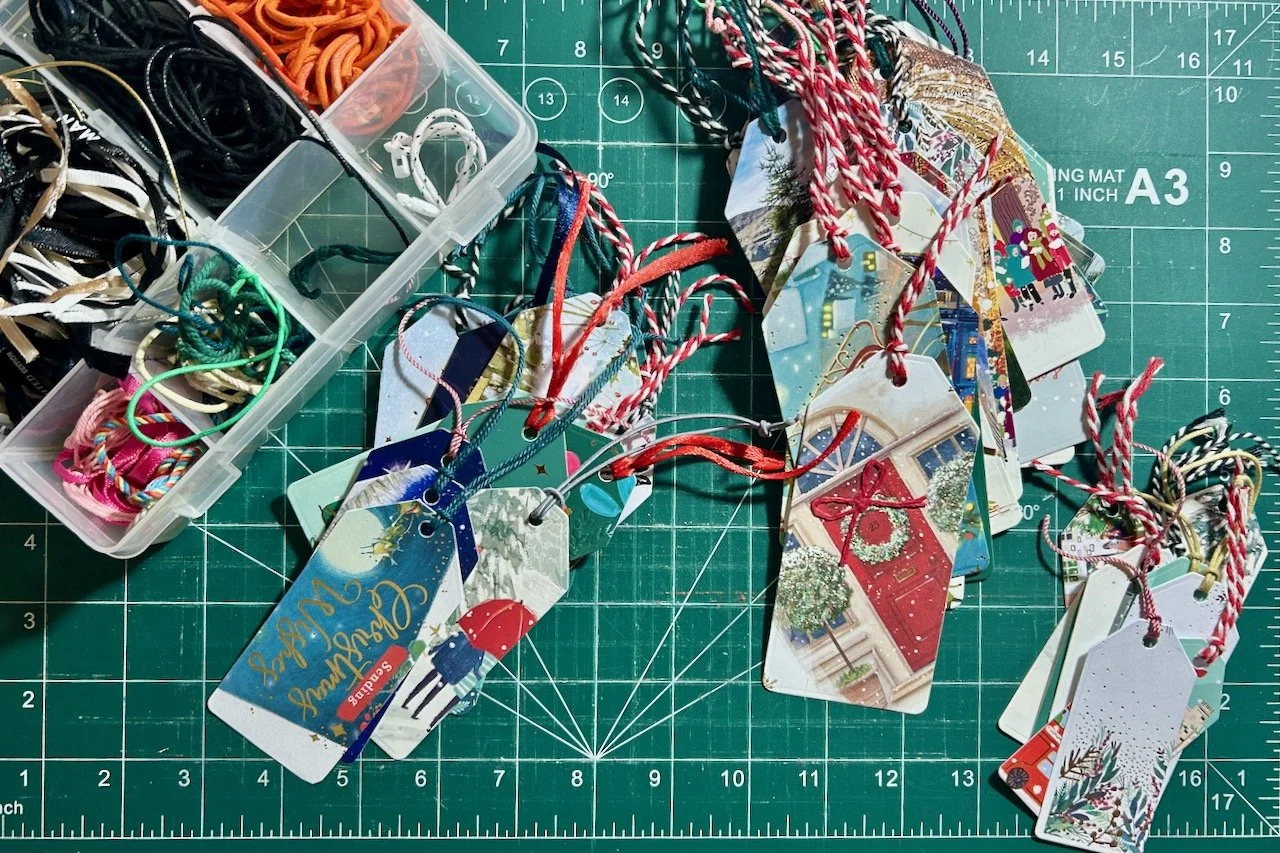
I find it’s an afternoon well spent doing a task which is both mindful and productive - plus I get to use many of the cords and ribbons I’ve saved throughout the year too.

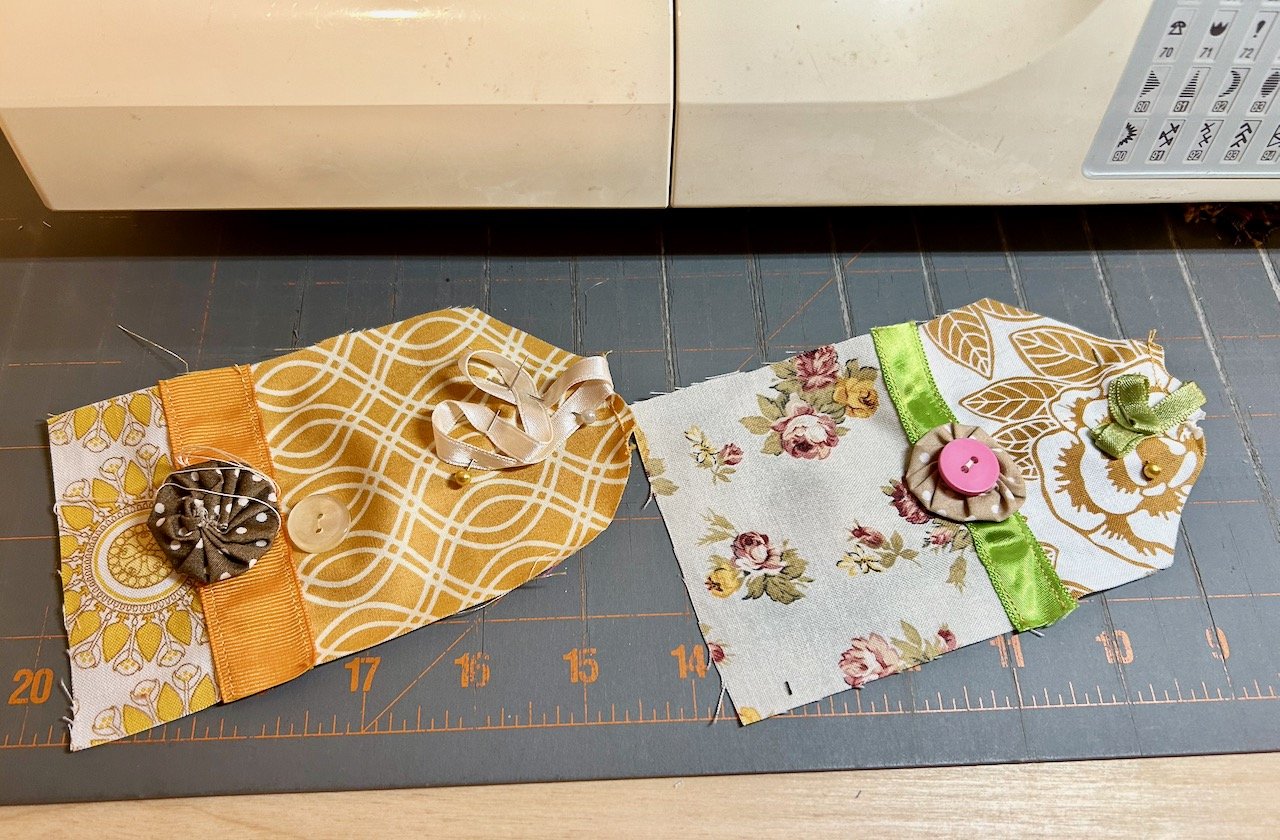
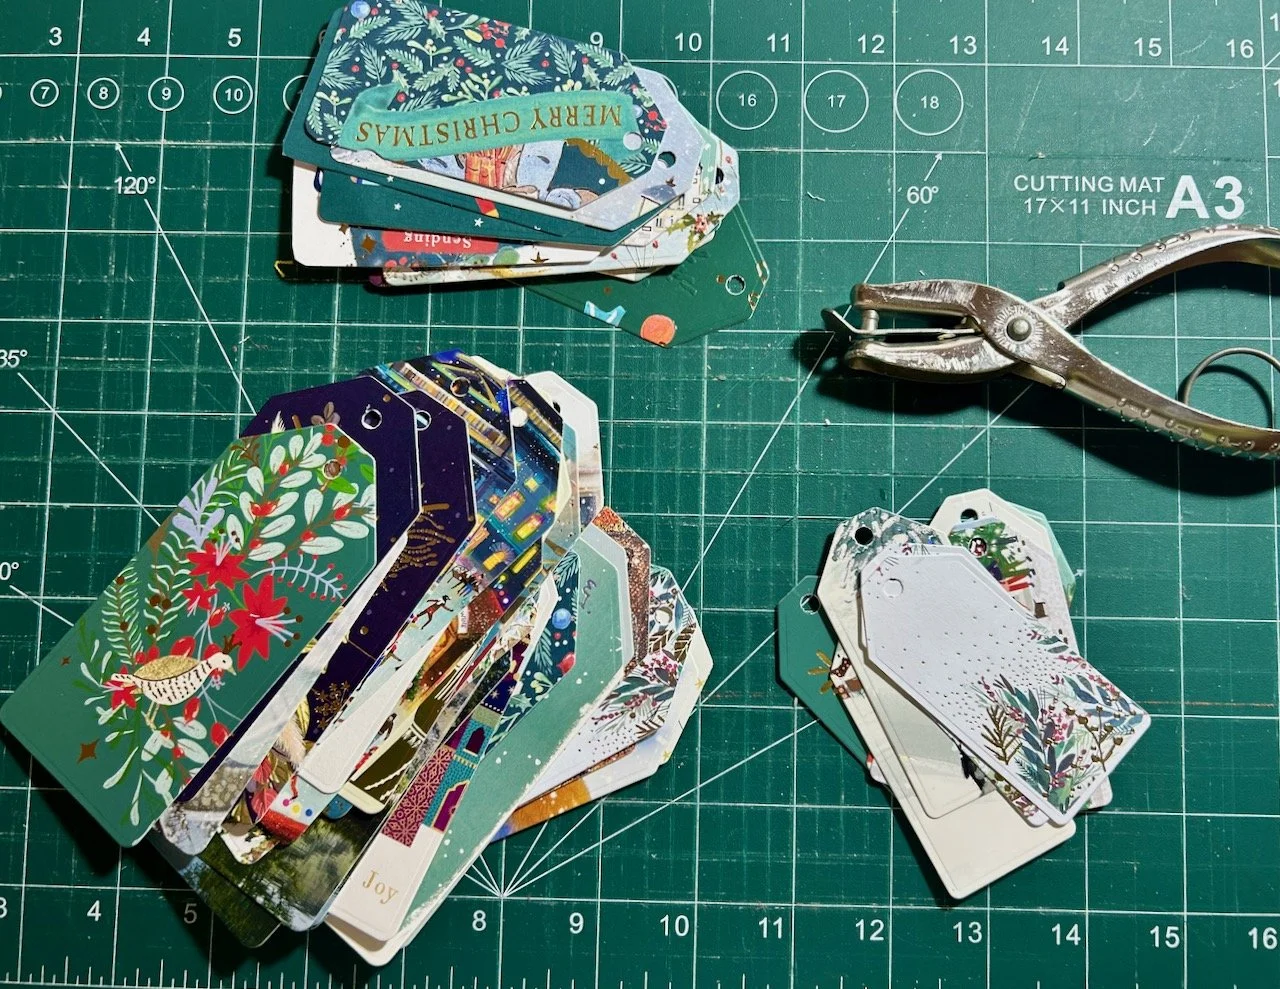
I find that often there’s more than one part of the card that can be reused, and the die cutters are a great way to test that.

Using the die cutters to pick which parts of the card to use

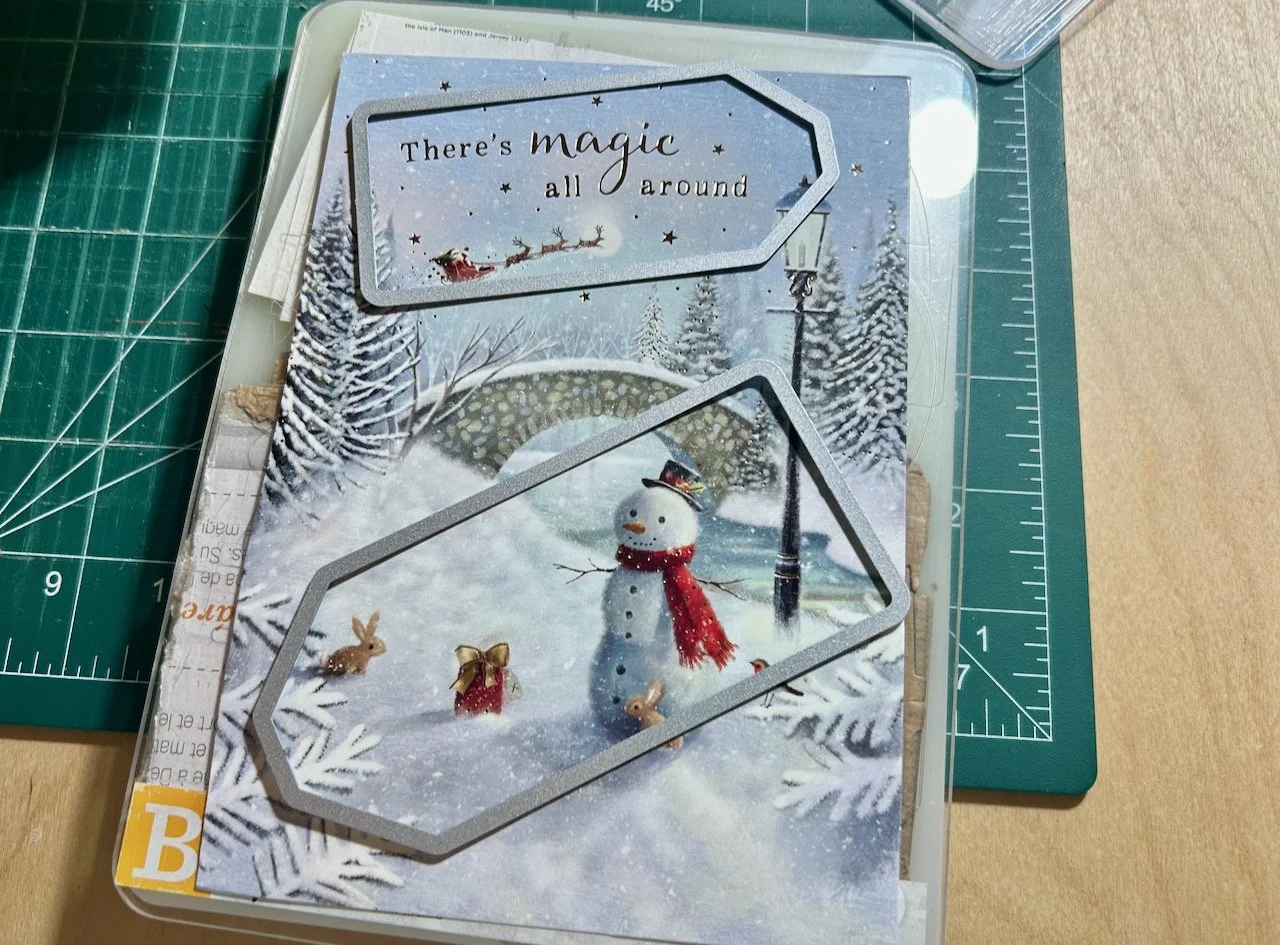
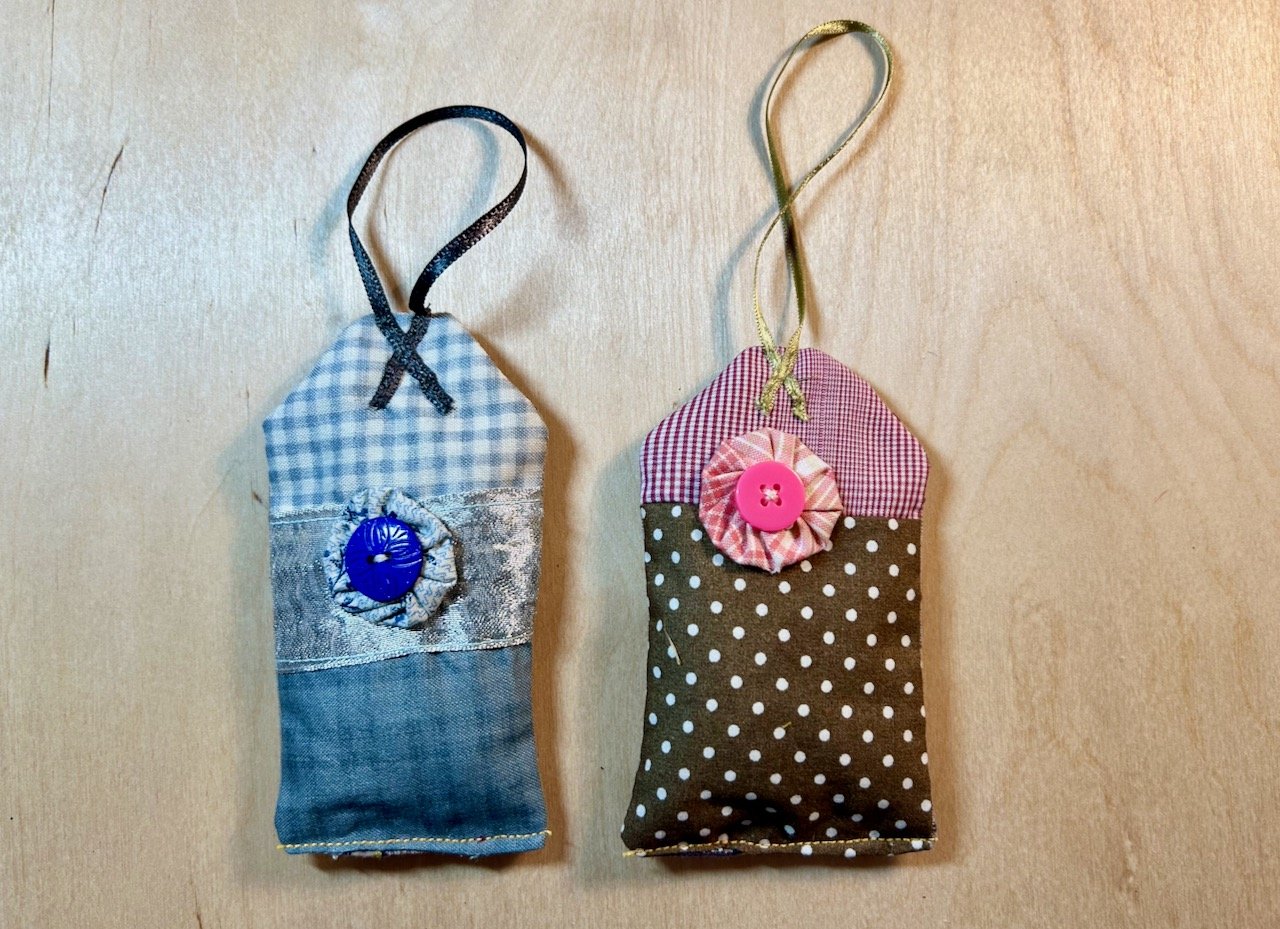
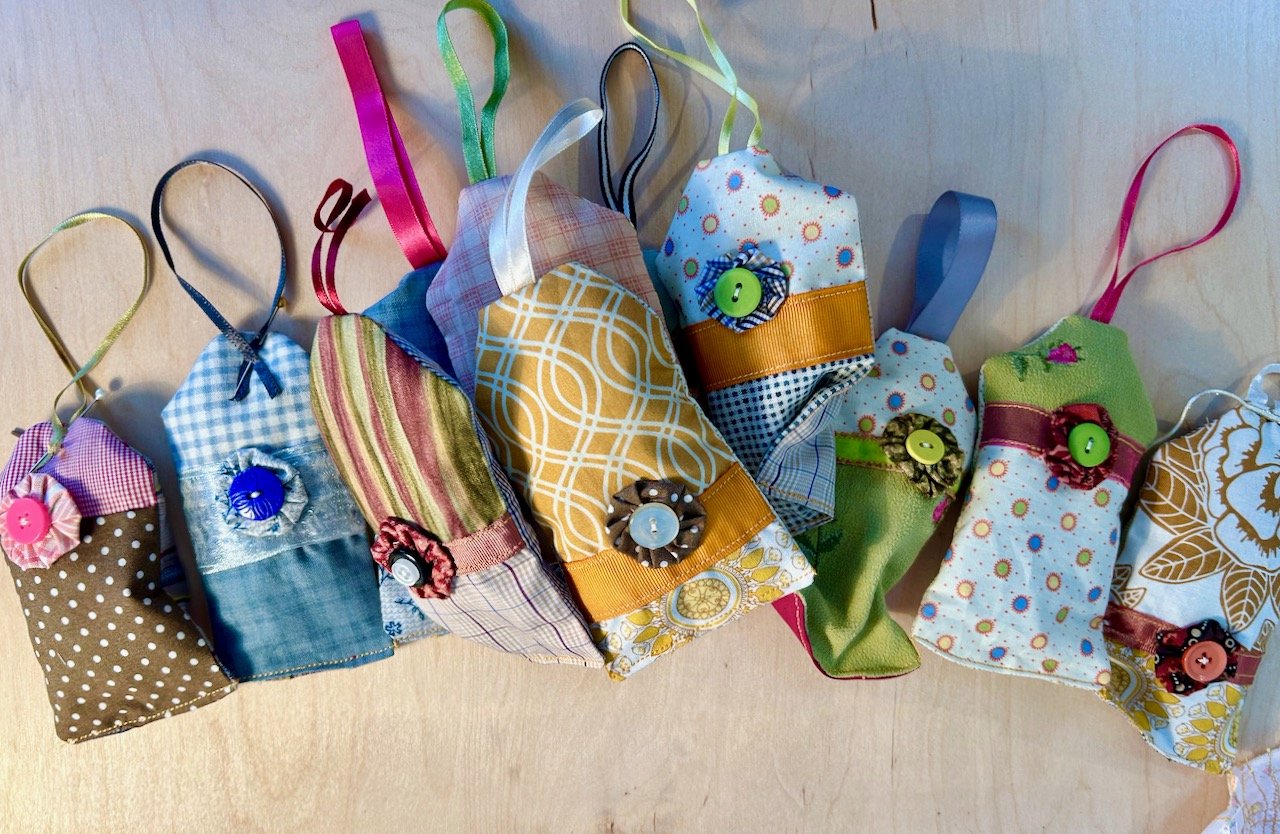
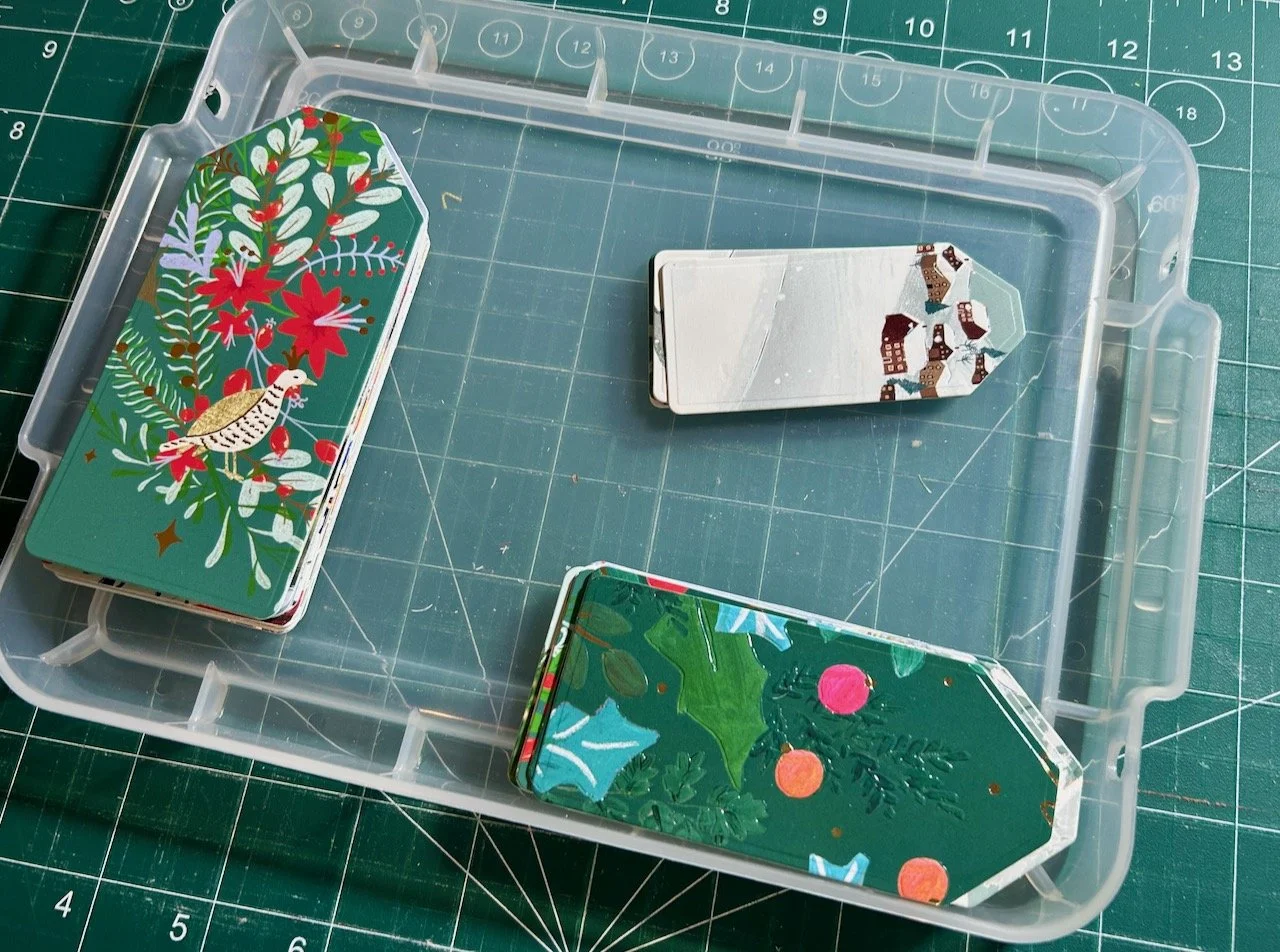
This year to make the most out of the cards I used three different sized ‘label’ dies, the smaller ones will be especially useful on those smaller presents, which this year were engulfed by the larger tags! But I love the larger tags too, as they’re much easier for me to scrawl Christmas wishes on, as my handwriting gets messier the more I write, as like many of us writing is something that I seldom do much of.

A stack of three different sized tags ready for the next stage

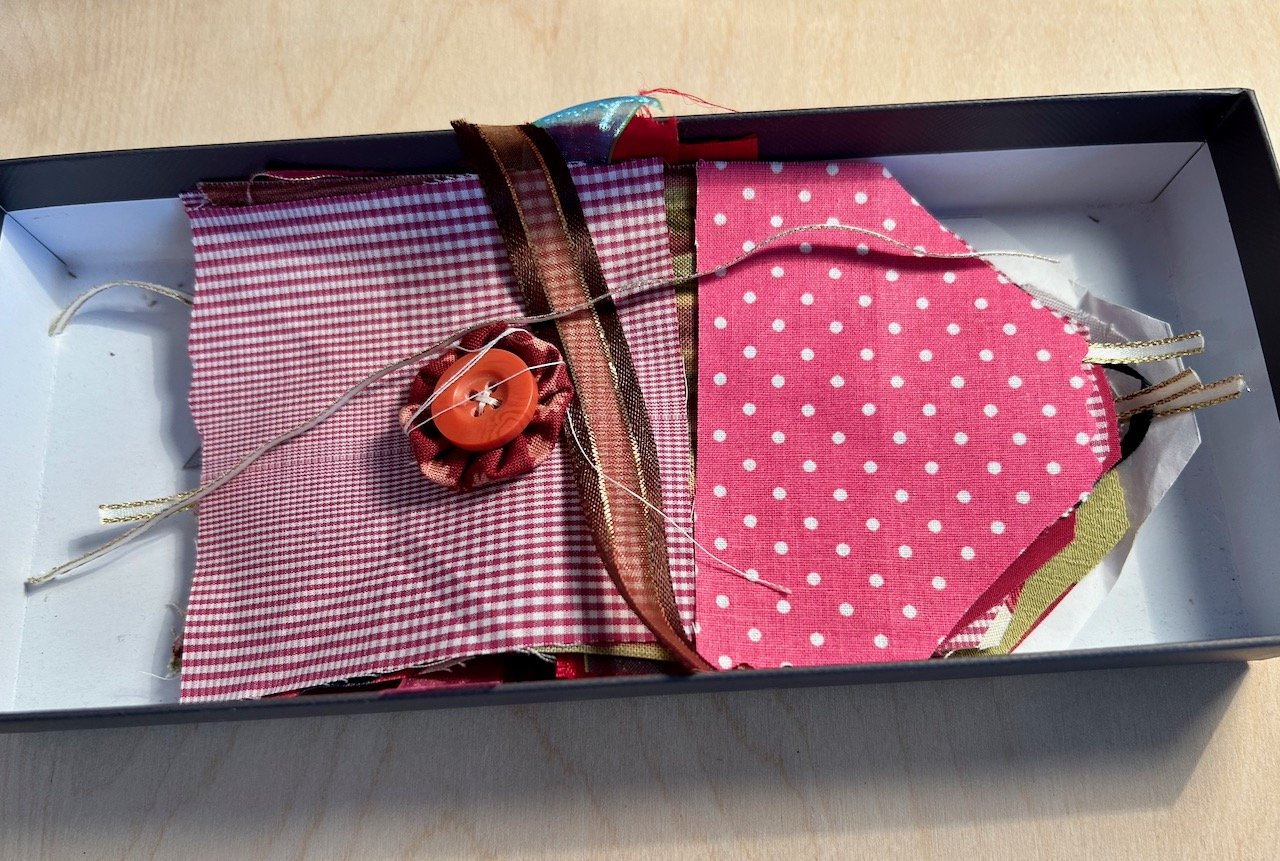
With my labels cut, it’s time for the holes. A more typical hole punch would do just the same job, but I love to use the vintage ticket clipper I bought from eBay a few years ago.

Those same tags with holes punched, and my vintage ticket clipper is shown top right

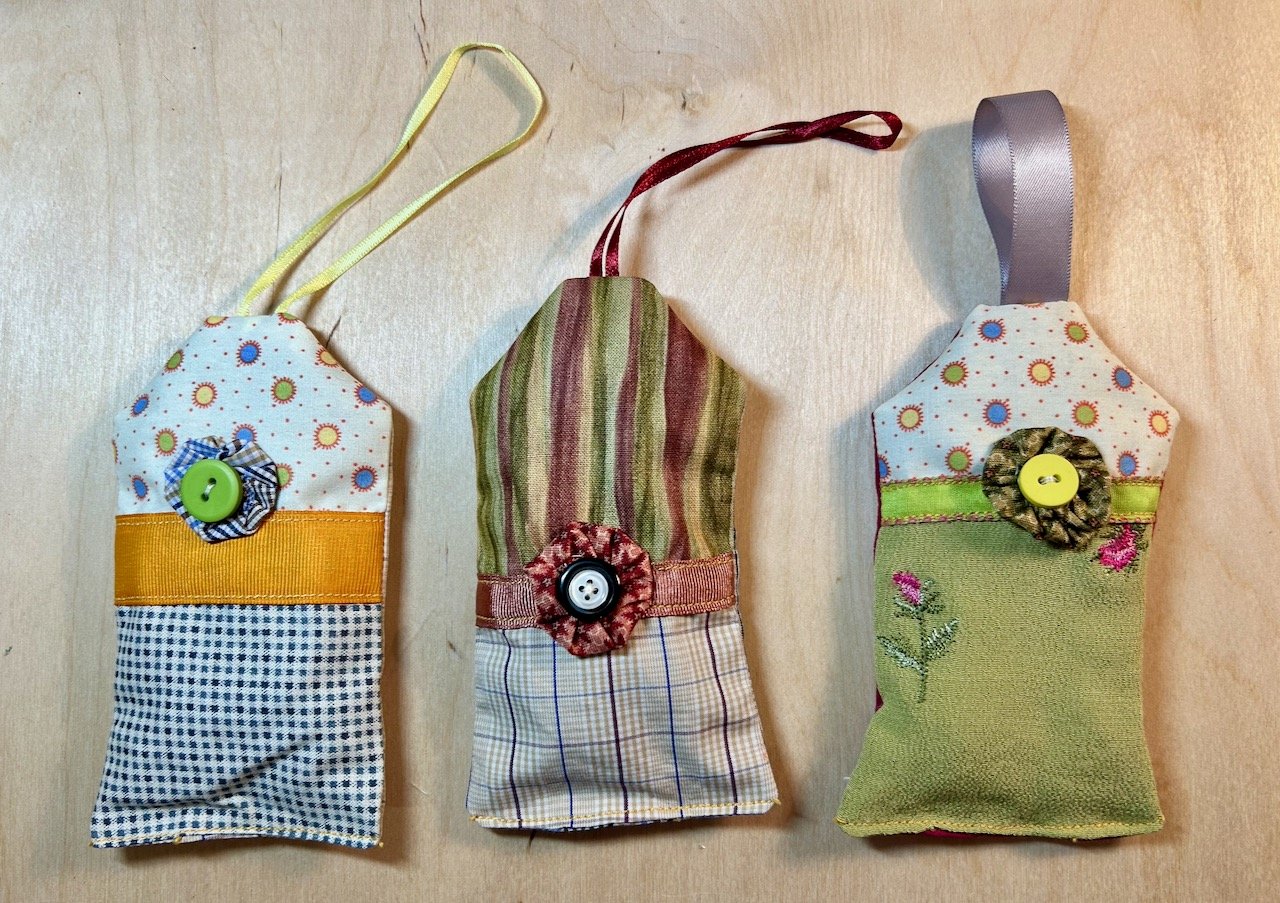
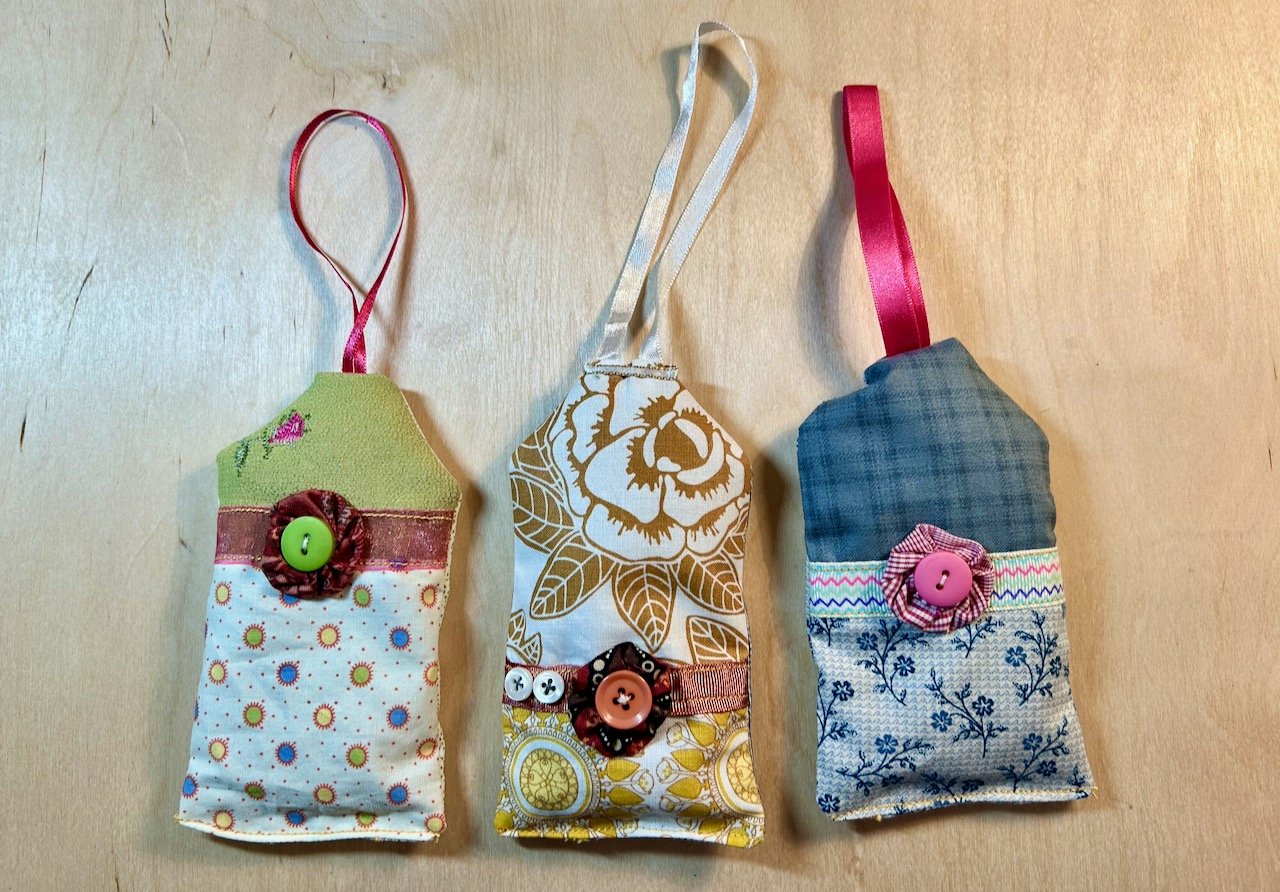
Now I have the holes in place, it’s time for the strings. I only add short strings as we tape the labels in place. I’ve used a selection of ribbons and cords that I’ve kept from purchases or present wrappings, but I really love how they look together.

A melee of tags and ribbons - and an open container of cords and ribbons top left

I’m not much of one for a coordinated Christmas look, and if you are then this approach is most probably not for you - but I love how these have turned out, and how my Christmas cards get another year of life.

The completed tags stored in a plastic bag - which is also being reused!

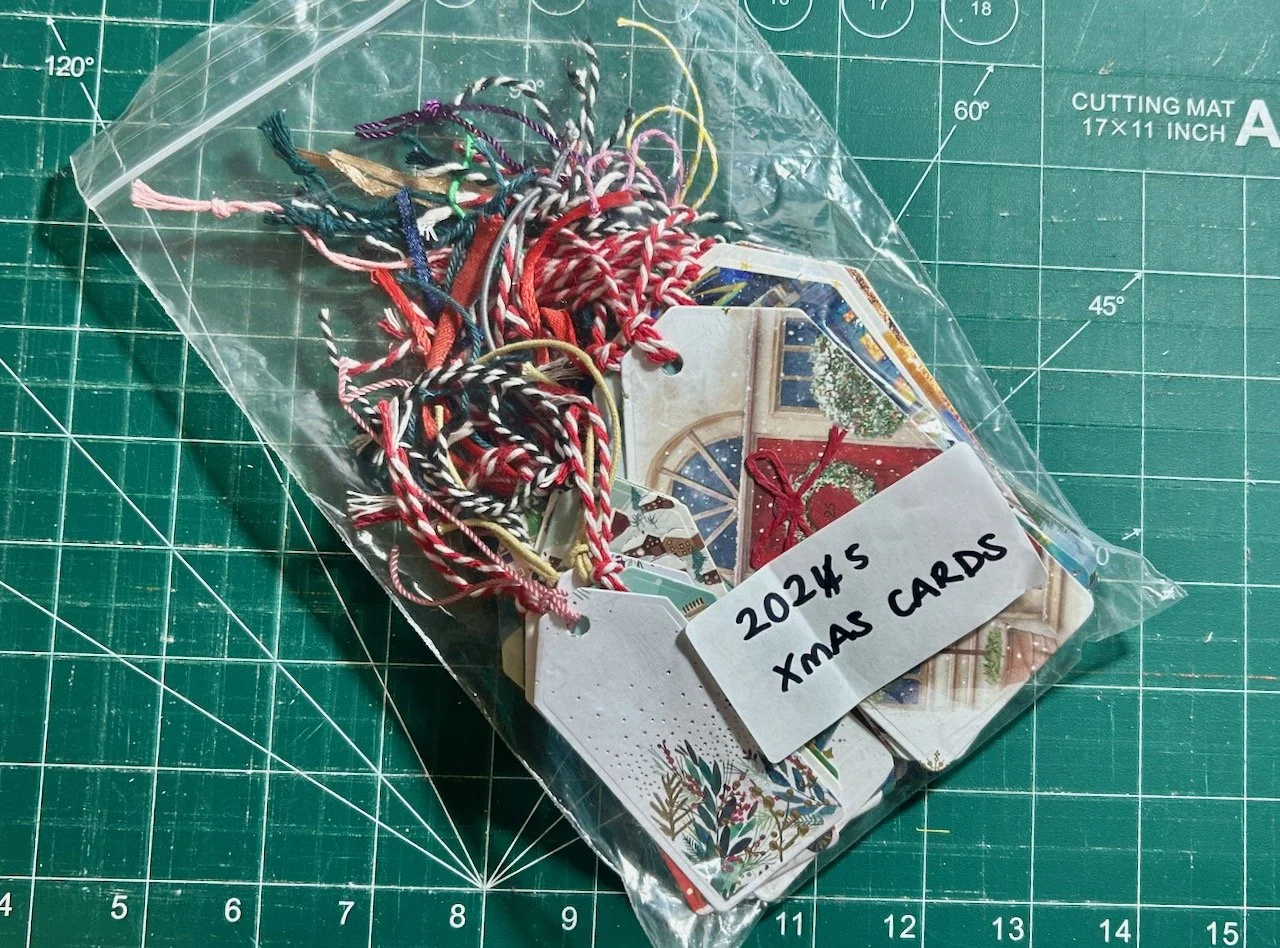
With that task done, the remaining cards in the recycling bin and my gift tags all ready for use later this year, safely stored with the wrapping paper I had left over, I’m the most ready I can be for Christmas, even though it’s almost the end of January!

What do you do with your Christmas cards?

Pockets, a pouch and reusing old curtains

It’s been a while since I updated you on my most recent Adult Learning class where I immersed myself in making bags - in the loosest sense for me, as my aim was always to make pouches rather than bags. I missed the final week of the course for our trip to the Gargano Peninsular, but left with really clear guidance on how to finish my piece.

Of course life happened, and what with one thing and another, and one of those being that in my mind it was way more complicated than I’d imagined, my unfinished pouch kept get putting to one side (spoiler: it wasn’t as hard as I thought, who knew?!)

But the unfinished pouch has been nagging me, and so I finally made time to finish it off.

A tall rectangular pouch in burgundy fabric decorated with russian doll motifs

And didn’t it turn out well?

I’m so pleased with how it turned out, but also at how ‘put together’ the materials and notions look. They all came from my stash, but what impressed me was that I’d pulled material from it randomly, and so was pleased to discover that these two pieces complemented each other, and I think the contrasting zip is a genius touch - even if I do say so myself!

I’m not sure what I’ll use it for yet, but I’m pretty sure it’ll come in handy before I know it - and I bet it won’t be long before I make more!

But there was more. I did make a bag, the rest of the class chose to make more of a handbag, but instead I opted for a bucket bag - and I used some old curtains for it. They came from my house before our previous house (if you follow) - a house I bought back in the early 90s which needed a lot of work, and more than a lick of paint - oh if I’d have been blogging then!

But I loved these curtains, and there was a lot of them. There was a large square bay window in this old Edwardian house, which meant a lot of curtains, lovingly made by mum (though I’m not sure she has the same memory of them!).

Clearly I’d kept the curtains for many years, I think I’d used them in our previous house as a stop-gap solution in our bedroom when we first moved in in 2002, but they’d been safely stored since then, making the move with us last summer. They probably could be classed as vintage, or close to anyway.

Though now part of them is a bag!

mid-way through bag making with my old curtains in the 'classroom'

It looks like it’ll be a useful sized bag too, ably held up here by MOH. Taking a picture and holding this one just wasn’t going to happen. I also particularly like the leopard print webbing I bought for the handles, they’re a nod to my inner Bet Lynch but also to some of the large sofa cushions I had in the same room (and which I also still have and use!)

The finished bucket bag made from orange and mustard material (old curtains), the leopard print webbing handles held up by MOH

One of the things I was keen to get more practice and know-how for was zips, which I’d successfully avoided for many years. But no more, I’ve learnt they are way easier to insert with a zipper foot (yeah, obvious hey?!) and not as scary as you’d imagine.

At the course I practiced making some pockets for inside bags - or pouches - that’s why the surround material (and future lining) is large, they’re ready for when I need them. Whenever that might be.

This blue criss cross pocket (remember that from my sunglasses case?) was my first attempt, but without realising it I’d put in the zip facing the wrong way - doh!

Blue criss cross fabric with a red zip forming a pocket on mint green lining

The blue criss cross material was supposed to be the lining for the pocket, but after a bit of head scratching (in the intervening week, not at the class) I realised that if I added some lining to be the pocket back, I’d have a very pretty pocket indeed.

Peeking inside the blue criss cross pocket to the tweaked fix and plain linings

Pocket solved!

Not wanting to be beaten though I decided to have another go - giving myself homework!

The grey christmas fabric with a beige zip and pocket inserted

Out came the Christmas pincushion fabric again, this time for a bigger starring role - and an inserted blue criss cross pocket.

Peeking at the inside of the pocket - to see more of the blue criss cross fabric
Looking at the reverse side with the pocket 'bag' on show

I did need to make another tweak though as I was running short of the blue criss cross fabric, so added a strip of the Christmas fabric for an added touch of resourcefulness - and a two toned pocket.

New skills most definitely unlocked!

PostCommentLove

Making some hanging lavender sachets, finally

Way back in 2014 I shared a link and a tutorial to some gorgeous hanging lavender sachets I’d seen and fallen in love with, and clearly had intentions to make some for myself. Well fast forward to our house move and I rediscovered the pieces of material I’d cut in preparation and two sachets which I’d mostly sewn.

THE TWO THAT WERE MOSTLY SEWN, NOW FINISHED

Thankfully I’d left myself enough clues about my original plans, and so with my ever increasing supply of ‘magpied’ ribbons (from clothes, Christmas crackers, chocolates and no doubt many more places) I went through and laid out items to decorate each of the sachets.

They were a great way to get back to being familiar with my sewing machine, after a longer than intended break. They were small, creative enough but not overly challenging, as the majority of sewing was in straight lines. I realised though after completing the two above that adding the hanging ribbon afterwards could be time consuming, and therefore likely to not happen - so I made a change, and pinned the hanging ribbon so it could be part of the seam at the top of the sachet.

And then I motored through them, until it came to finishing them off.

I’d filled them with lavender and pinned the gaps at the bottom closed and they were ready to be hand sewn, and hung. But it was always the job I never quite got to, putting it off - you know the sort. Until I realised that I could sew the gaps closed across the bottom by machine, and then at least they’d be done and no one would be none the wiser (that is until I just told you!)

And so my mini production line was off again.

It was simple really, and I don’t think look any worse for the adjustments I’ve made. Though I’d had my fill of sewing lavender sachets (for the time being anyway) and so I packed the remaining future sachets back into the box, but I know my future self will be pleased that I’ve added yoyos, buttons and ribbons for decorating and hanging so when I’m in need of a simple sewing project, I have one that’s ready made.

I’m really pleased with how the lavender sachets turned out, and have found plenty of wardrobes and cupboards here to hang them in, in fact you may have spotted one of them hanging in the bathroom cupboard with the new shelves.

The final set of three hanging lavender sachets, one blue, one gold, one cream floral

I love that how each of them are different, and how they all use remnants of material either from old clothes that I’ve cut up, or from previous projects alongside the ribbon and buttons I’ve also saved. Plus they smell lovely, and thankfully not too overpowering!

And had you spotted that there are eleven finished sachets? Well it’s totally a coincidence that I finished these in the week leading up to my blog’s eleventh birthday, I picked up this project towards the end of January and while I’d like to say I plan ahead, well that would be a total fabrication! Spooky though hey?

PostCommentLove