


When I bought my new sewing machine back in January I knew that Bernina offered a day’s training at their London HQ, and while I was keen to go along to this I wanted to take some time to get to know it at my own speed first. And since that post I’ve done quite a few projects and felt I was ready to learn more.
So at the start of this month I headed down to London for the day, prepared to take on more information. I wasn’t sure quite what, but I’d a short list of things I hoped to find out - and the day covered those and a lot more besides.
On the day
There were six of us attending with each of us using the same machine we had at home, which made a lot of sense and made it easier to transfer what we learnt to our own sewing rooms. The ability levels and familiarity with our Bernina machines were varied across the room, and I’m glad I had a good knowledge of using my machine before I went.
We started with practical stitches and needle positions, as well as learning some tips about automatic stitch sequences before moving onto embroidery stitches - including how to program the pattern end to avoid finishing mid emblem, as well as how to mirror those emblems - look at the bunnies in the image below!
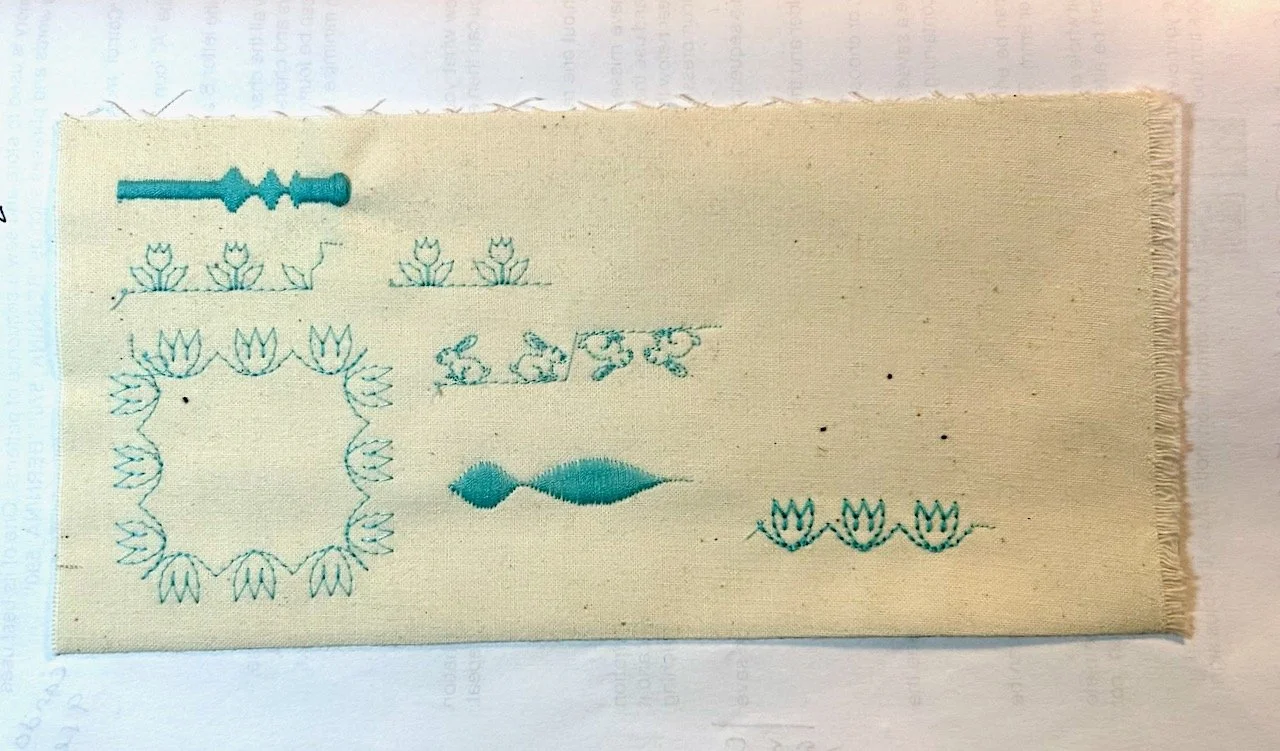
The workbook also worked for me as not only were all the materials provided there was also space in the notes to stick in the sample for that section - and a stick of glue to secure it too.
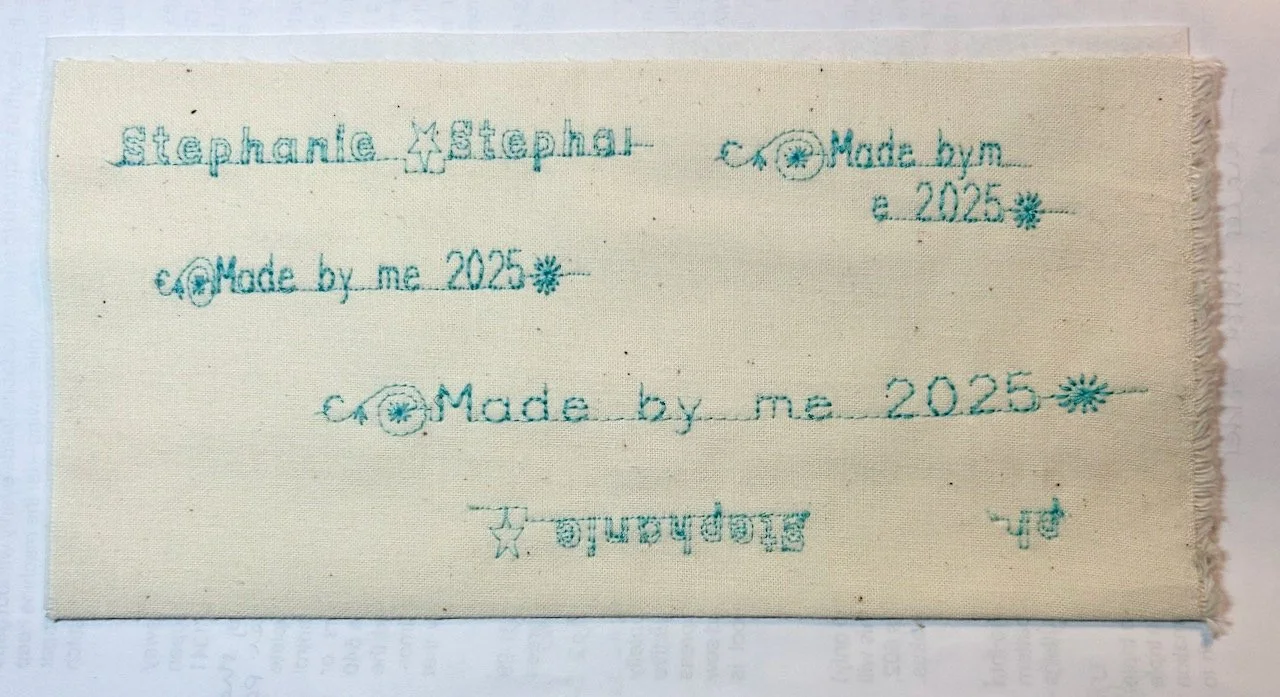
We learnt how to program stitches into the memory, and to adjust the spacing in those. This has potential for lots of uses, especially for quilt labels so I think I’ll be playing, or rather testing, this out some more.
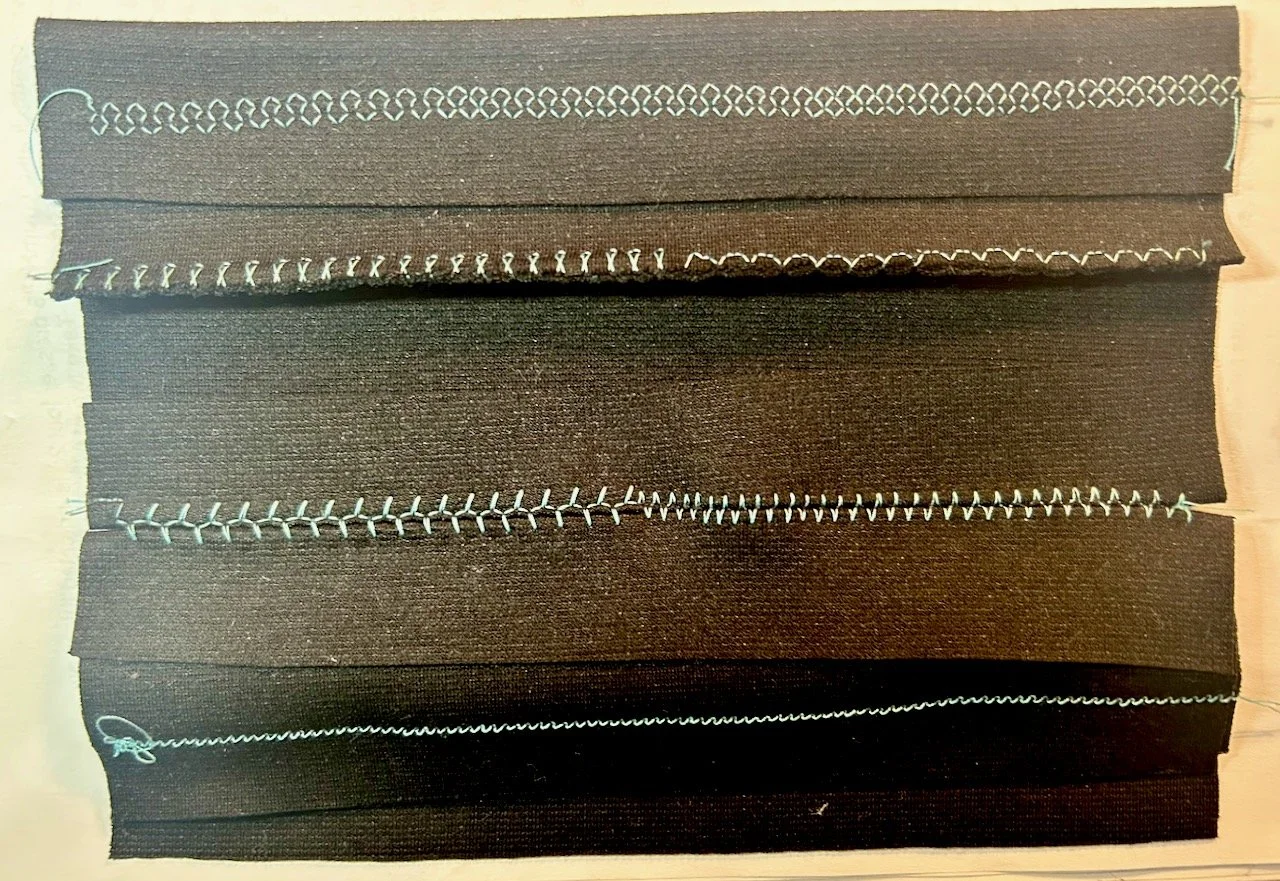
There was a section on stretch stitches, and this was timely as one of my planned makes is using material which is stretchier than I’ve used before.
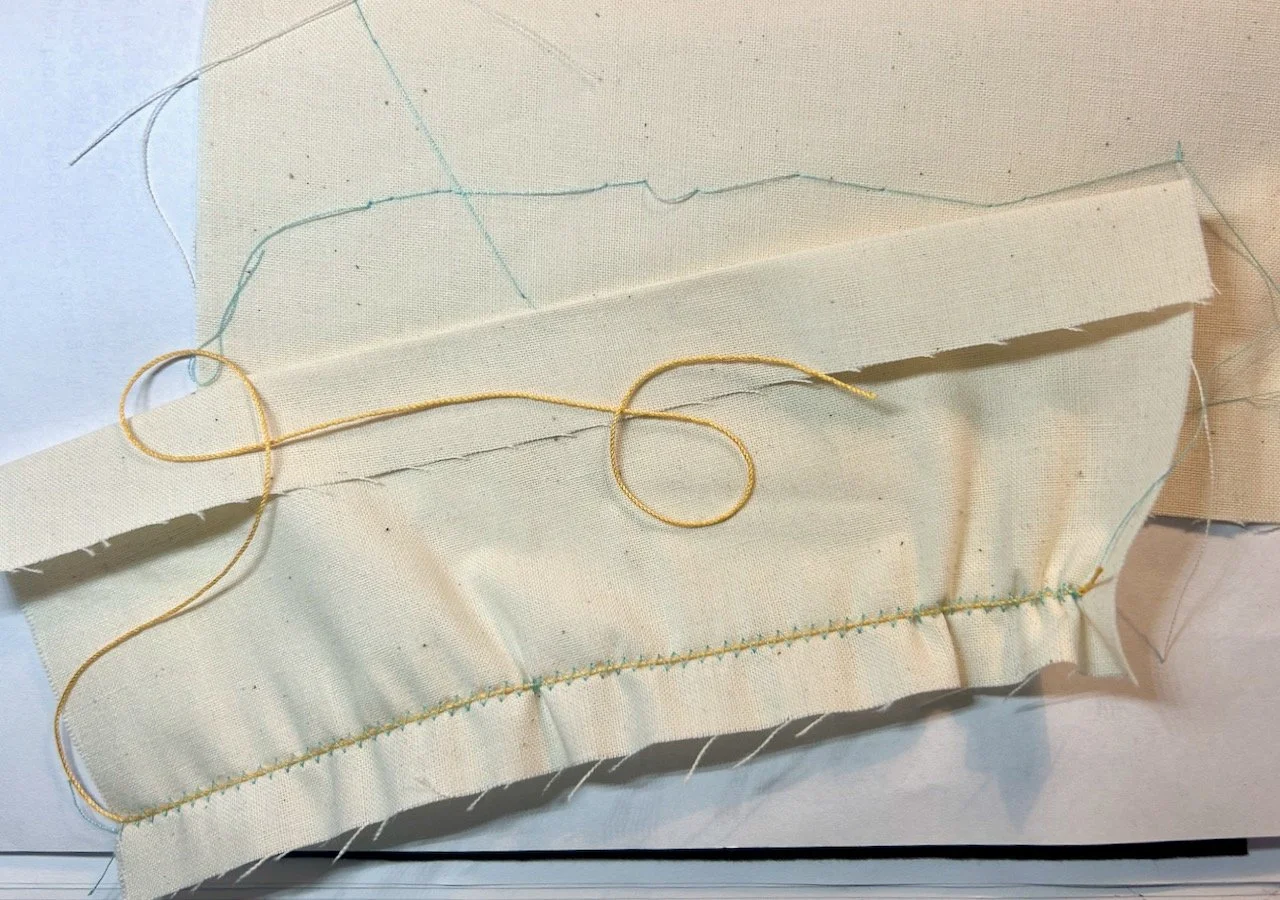
We had a go at gathering using a cord, which was interesting and also basting, the latter I found least useful (it’s the sample at the back in the photo below). I’d tried it previously as I thought it might be useful, I’d ruled it out then and my views haven’t changed.
Then we got onto buttonholes. And sewing on buttons, with the machine. I’ve not tried either of these before and I managed to complete my first buttonhole successfully, the next few were a little more problematic but I did manage another one without a knot of stitches, so I know it can be done.
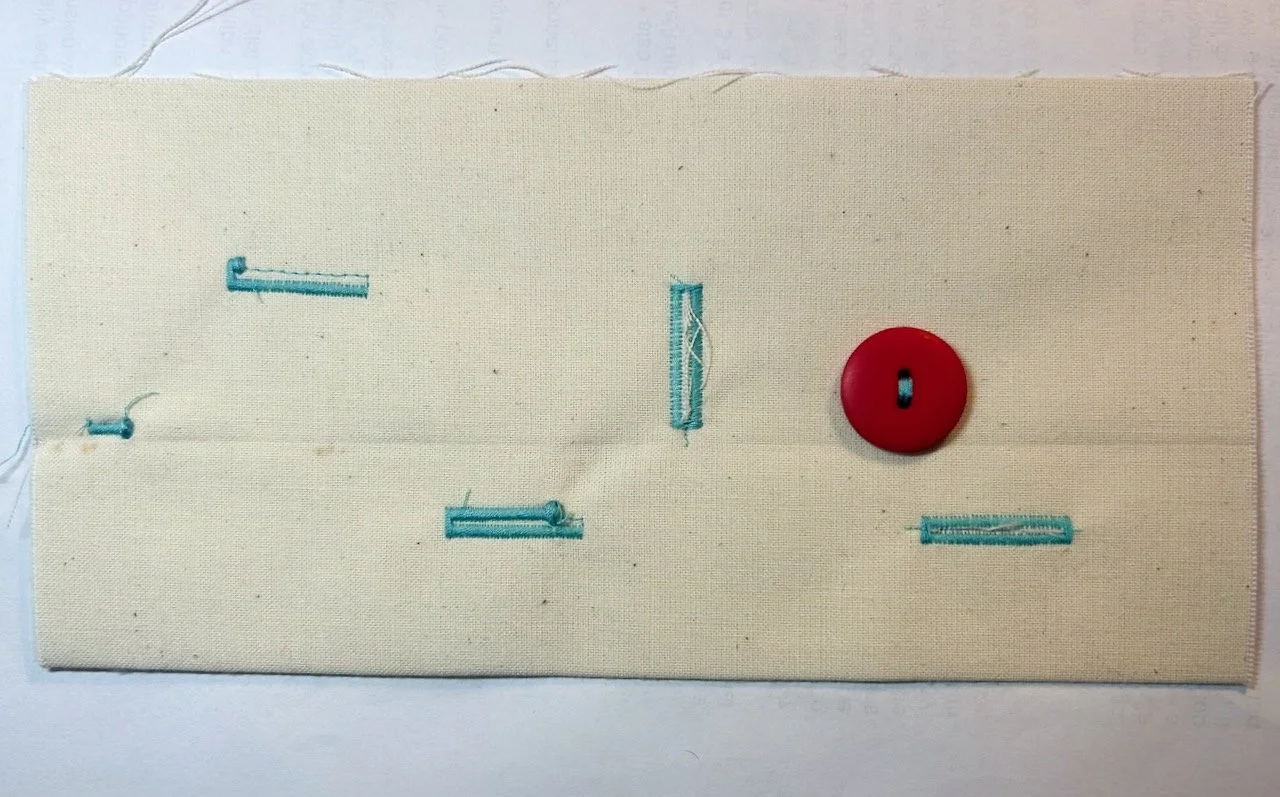
They’re still scary obviously, but like zips they’re something that can be done. I also learnt that the blade on a seam ripper can be used effectively to create the hole for the buttons - who knew?
Buttonholes were on my list, so it was good to get this one ticked off. The other thing on my list was to find out more about the BSR or Bernina Stitch Regulator. People rave about it, and it was one of the selling points to have this included rather than purchasing this separately afterwards, but I didn’t really know why I needed it.
I found out though, and it’s already been out of the box since I’ve been home. On the day we tried it to do some free motion embroidery, but it will also be useful for quilting and the other thing it does is to keep the stitches the same length whichever way you move it.
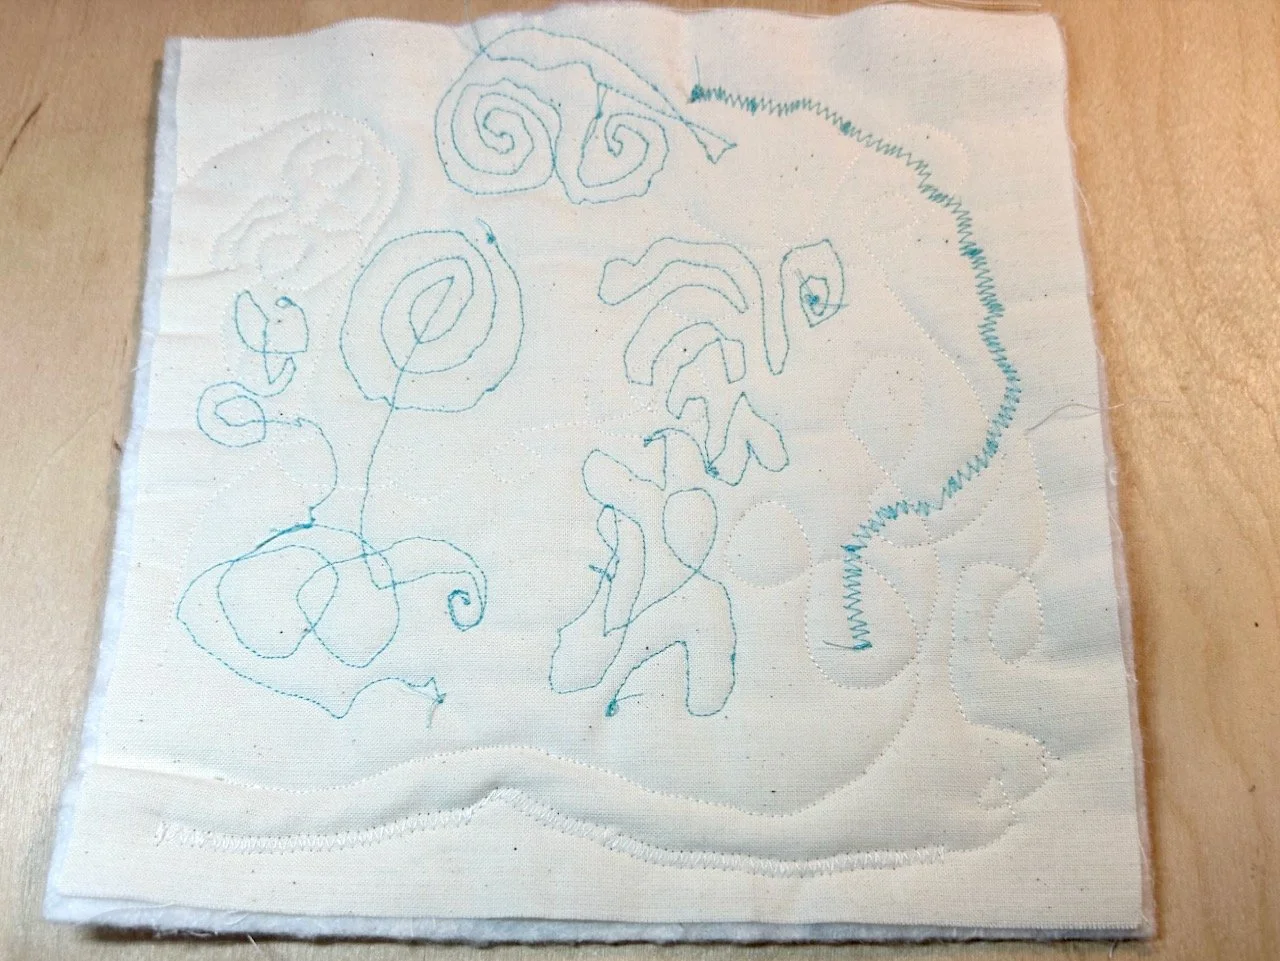
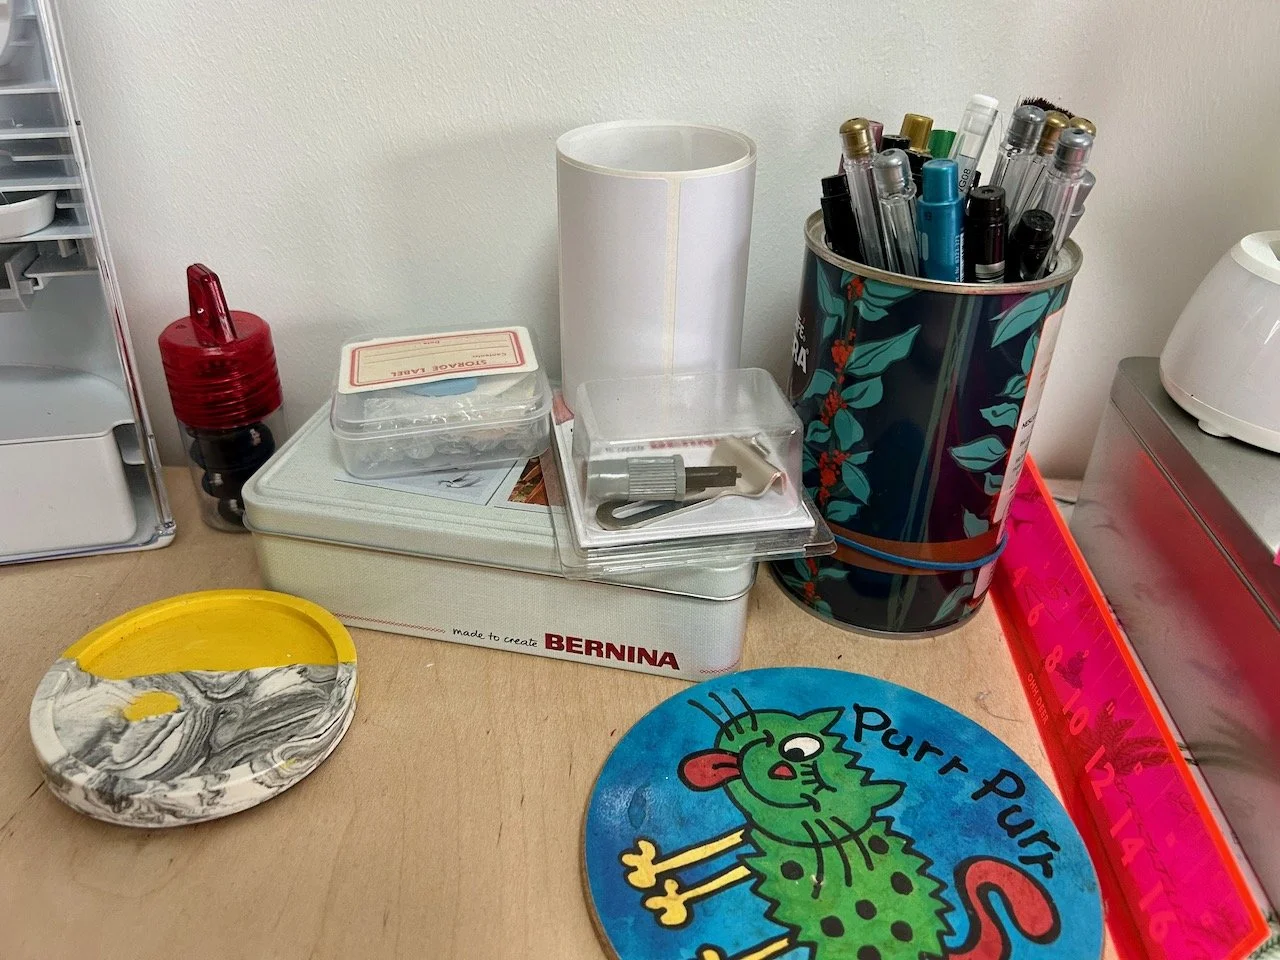
I said in my September Quilty Update that I was hoping to gleam some knowledge on my Bernina Day which I could use for my Floral Fancy and result of results, I did - the answer is to use my BSR. Since I’ve been home I added the white stitching to the sample above, having first dug the BSR (it’s in the tin) out from the arrangement on my desk!
Since the day
It’s not just the BSR which I’ve used since the training day, I’ve also taken a look under the stitch plate - a complete no go area for me beforehand. I was surprised to find quite so much fluff there - oops.
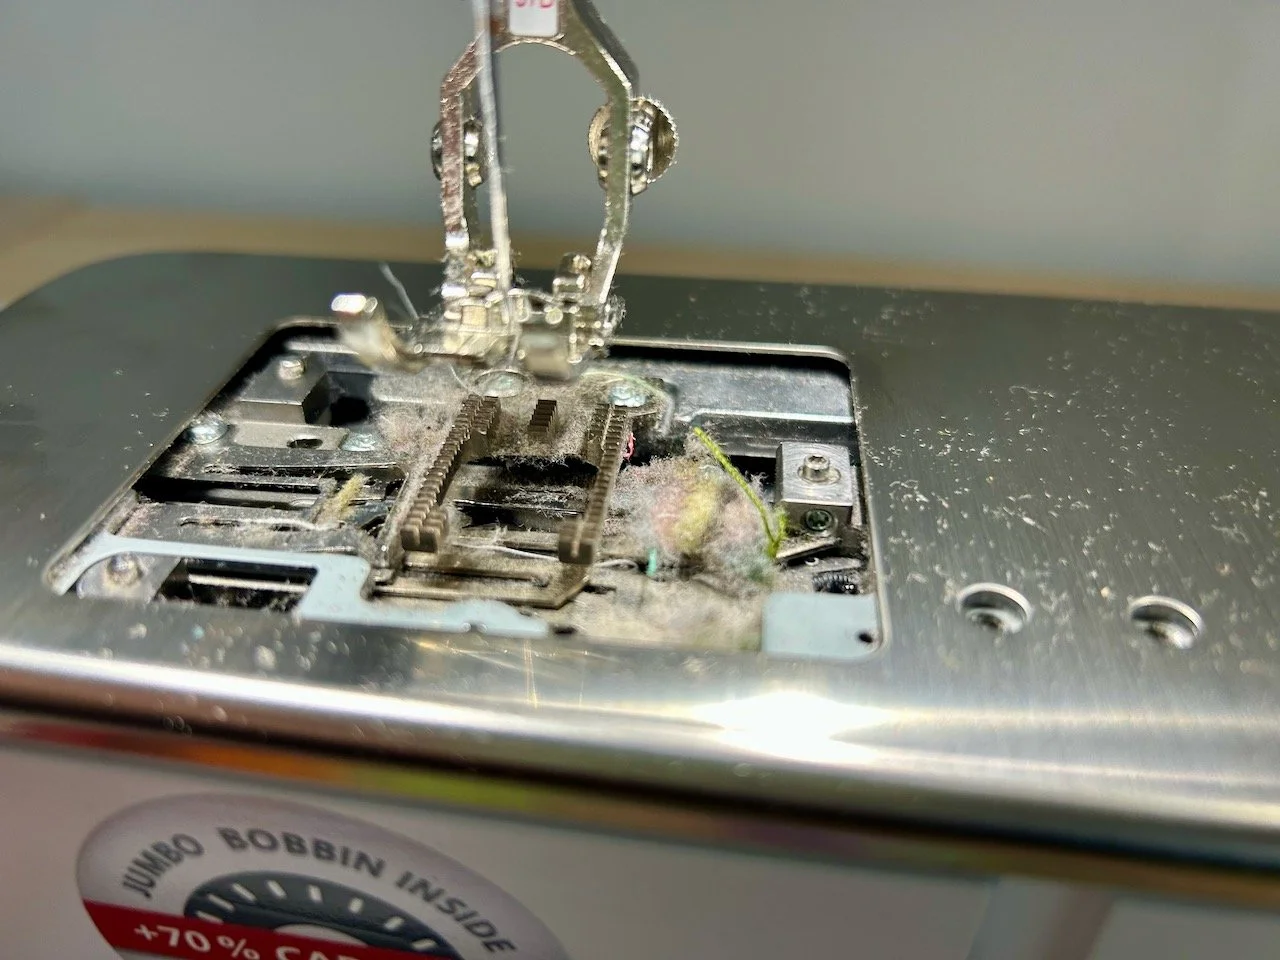
And by cleaning the automatic cutter I also reset the number of cut cycles - which had racked up to 718, and I don’t use it every time as I often chain sew, especially when patchworking. I also found out my total number of stitches, which was a little over 361,000 - it’ll be interesting to see how that increases.
I’ve also tested out using the knee lever to lift the need, which I think may also come in useful for my Floral Fancy. I’ve changed how the foot behaves when I stop sewing - it now hovers, rather than lifts, which means I can reposition my sewing more easily.
I’ve also remembered that I can just press the foot pedal, or the go button to start sewing without needing to put the needle down manually, again something I knew but rarely used. And I’ve started to use the back area of the foot pedal to stop, knot and cut sewing which is another great time saver.
I’m sure there’s still more to learn and discover, but a day learning from a Bernina expert using the same model machine as my own was absolutely priceless.