Post Comment Love 14 - 16 November

Hello there, and welcome to this week’s #PoCoLo - a relaxed, friendly linky which I co-host with Suzanne, where you can link any blog post published in the last week. We know you’ll find some great posts to read, and maybe some new-to-you blogs too, so do pop over and visit some of the posts linked, comment and share some of that love.

Please don’t link up posts which are older as they will be removed, and if you see older posts are linked then please don’t feel that it’s necessary to comment on those. If you were here last week it was great to have you along, if you’re new here we’re pleased you’ve joined us.

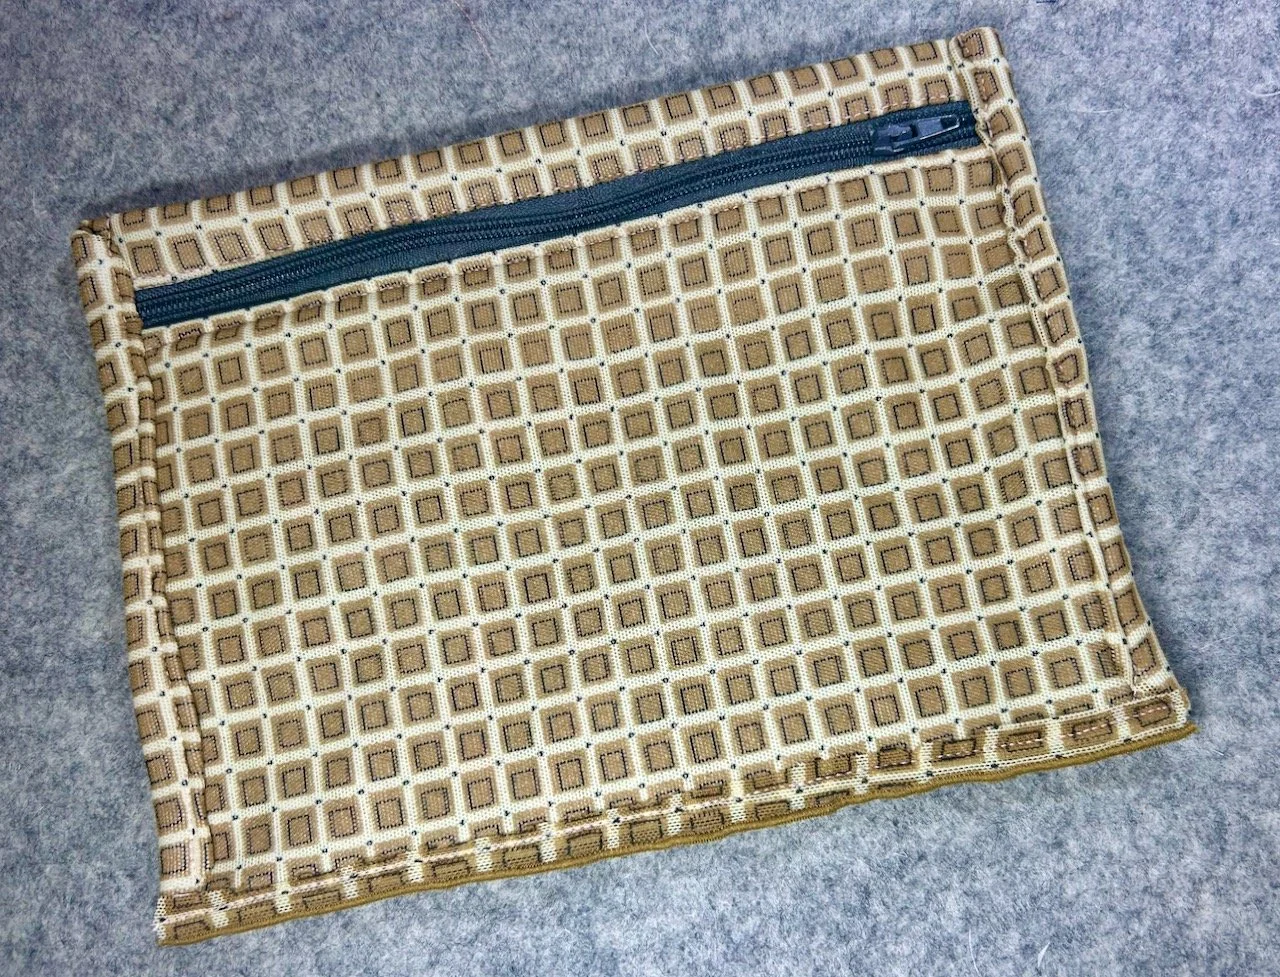
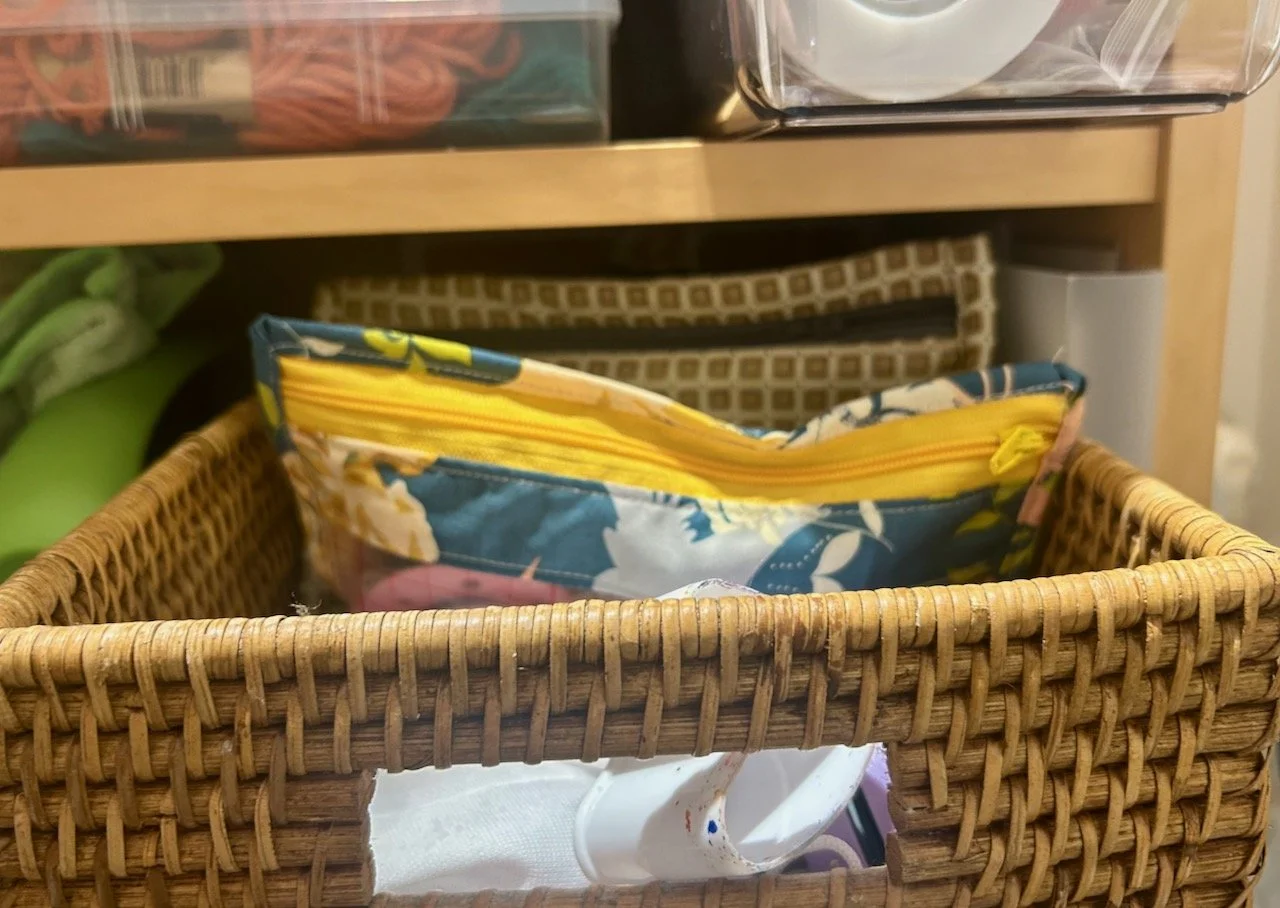
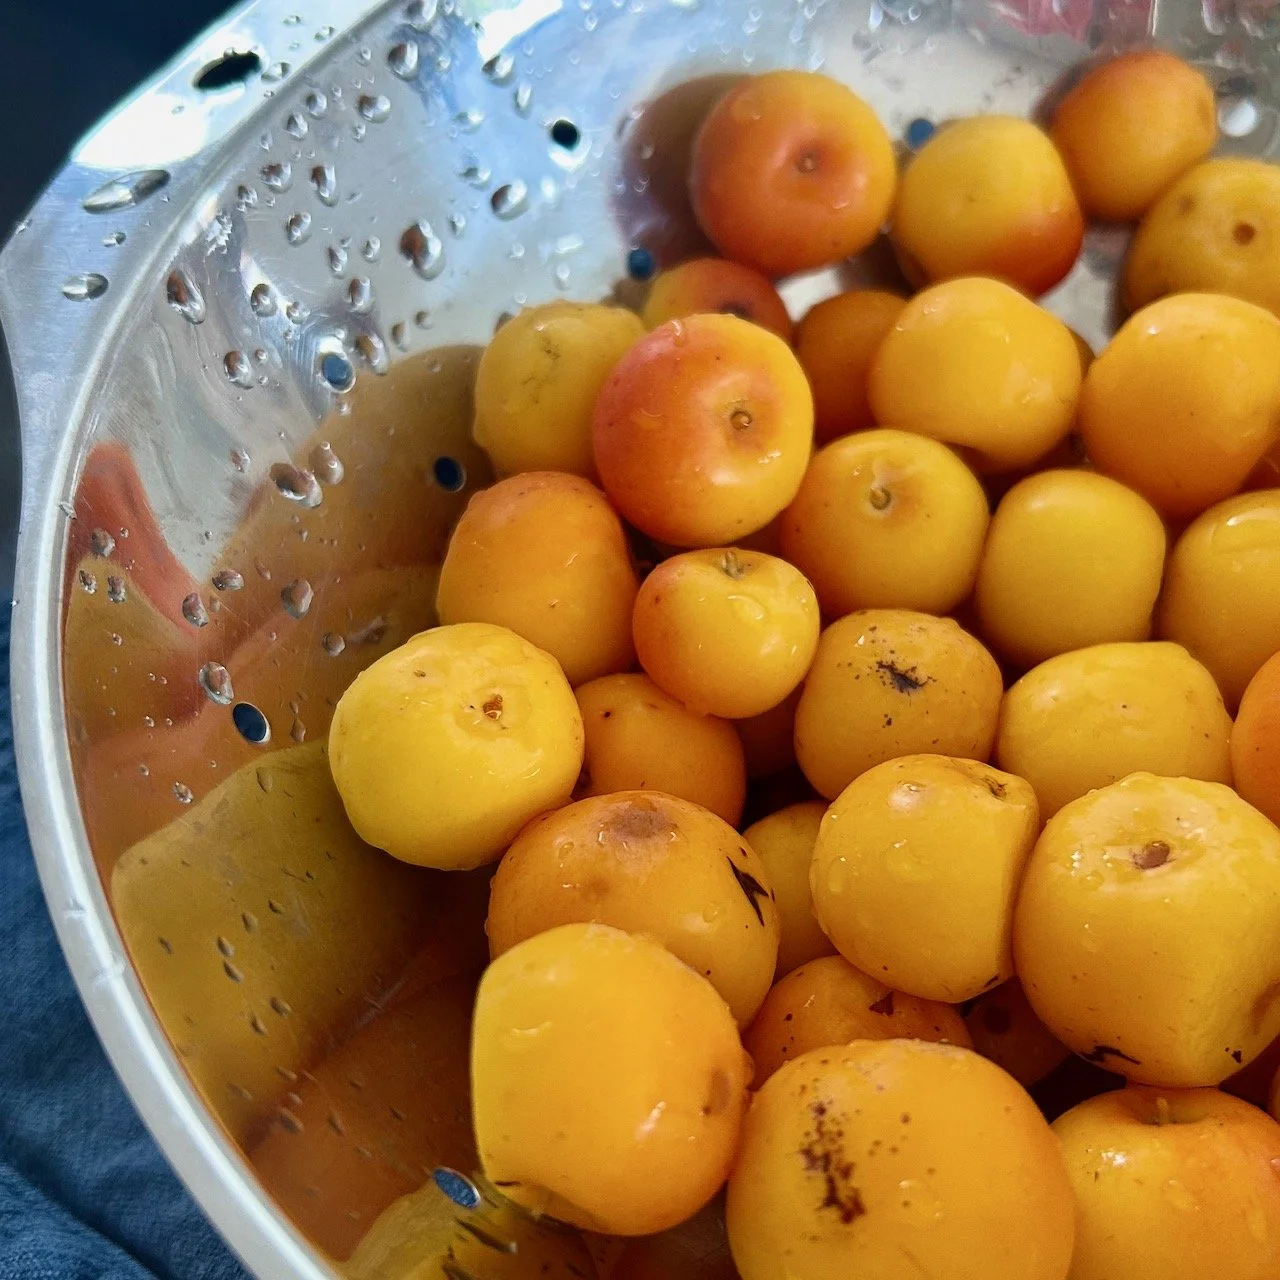
This week I’m mostly feeling accomplished - not only are my bay trees (pictured - with raindrops obviously!) recovering better than I could have hoped for from their yellow-ness earlier in the summer, MOH has put some shelves up in the cupboard my craft room and I’ve unwittingly rearranged the whole room (more on that next week) discovering many things I’d forgotten I had in the process.

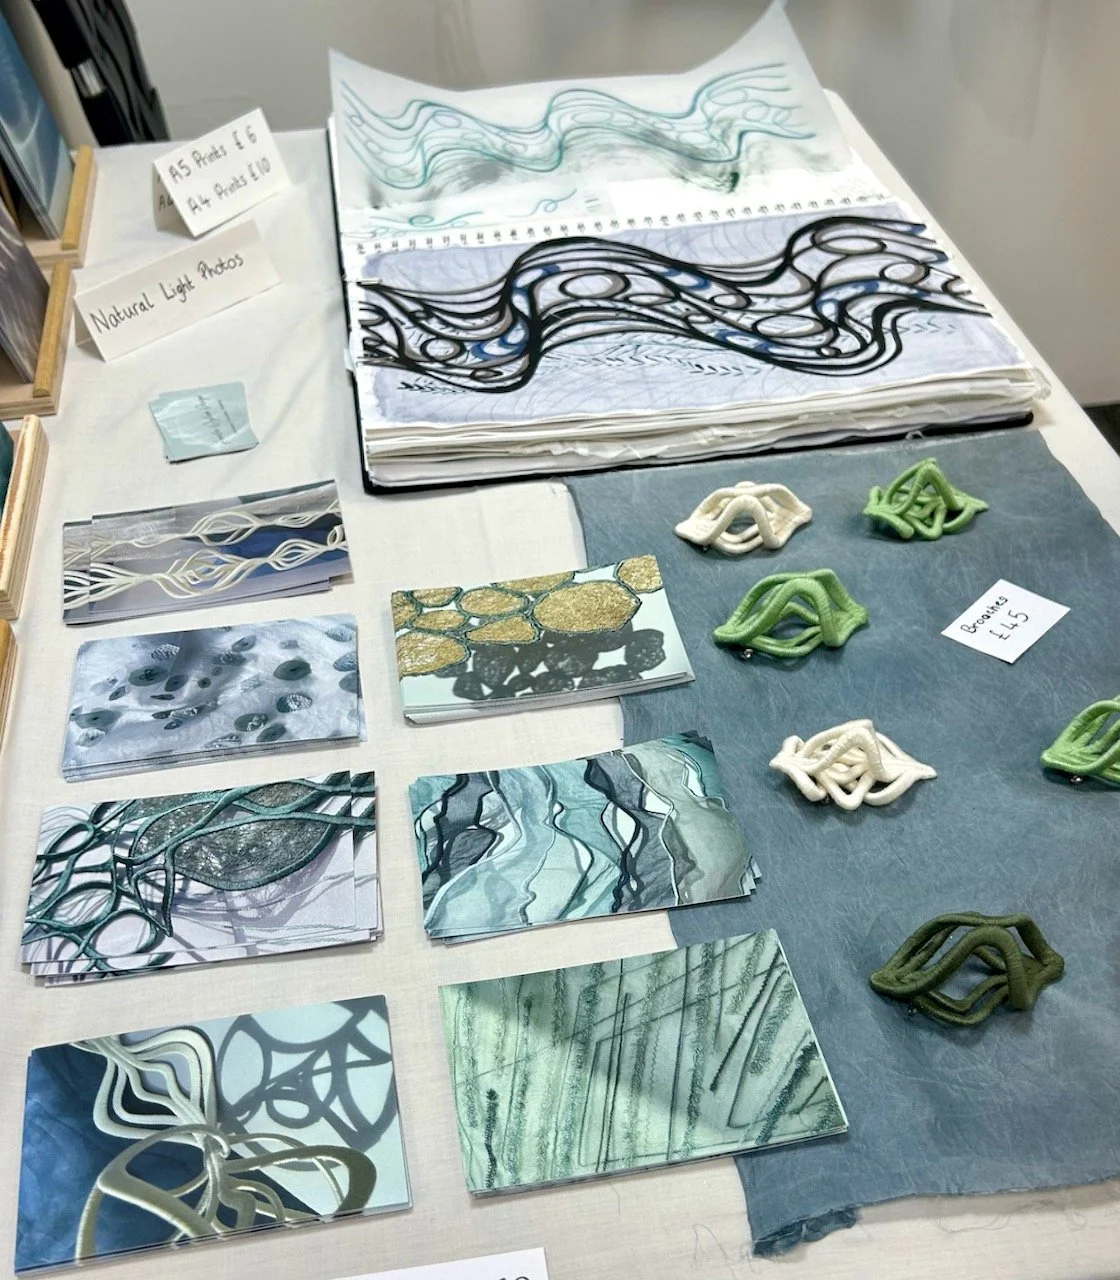
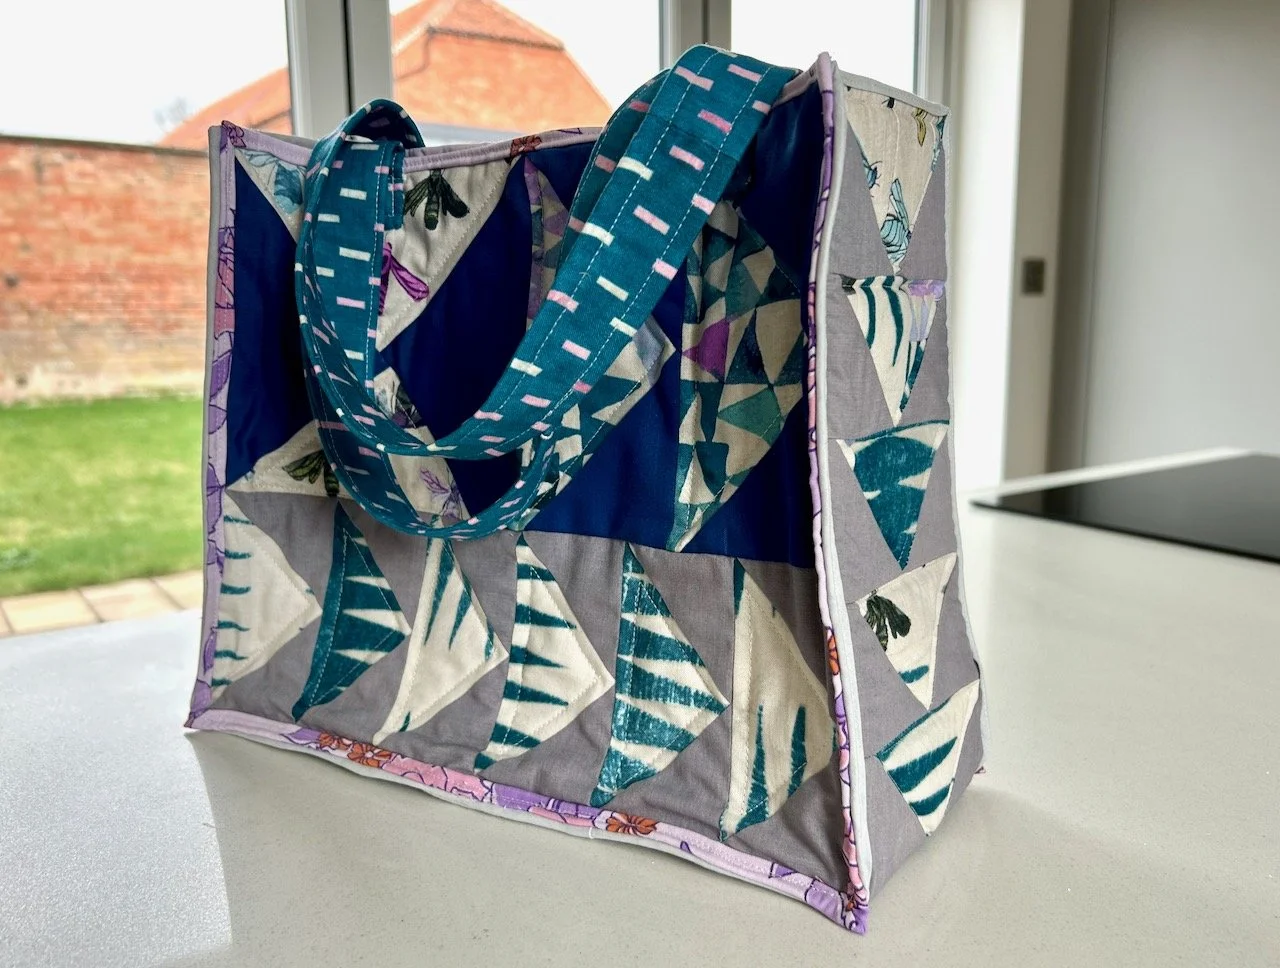
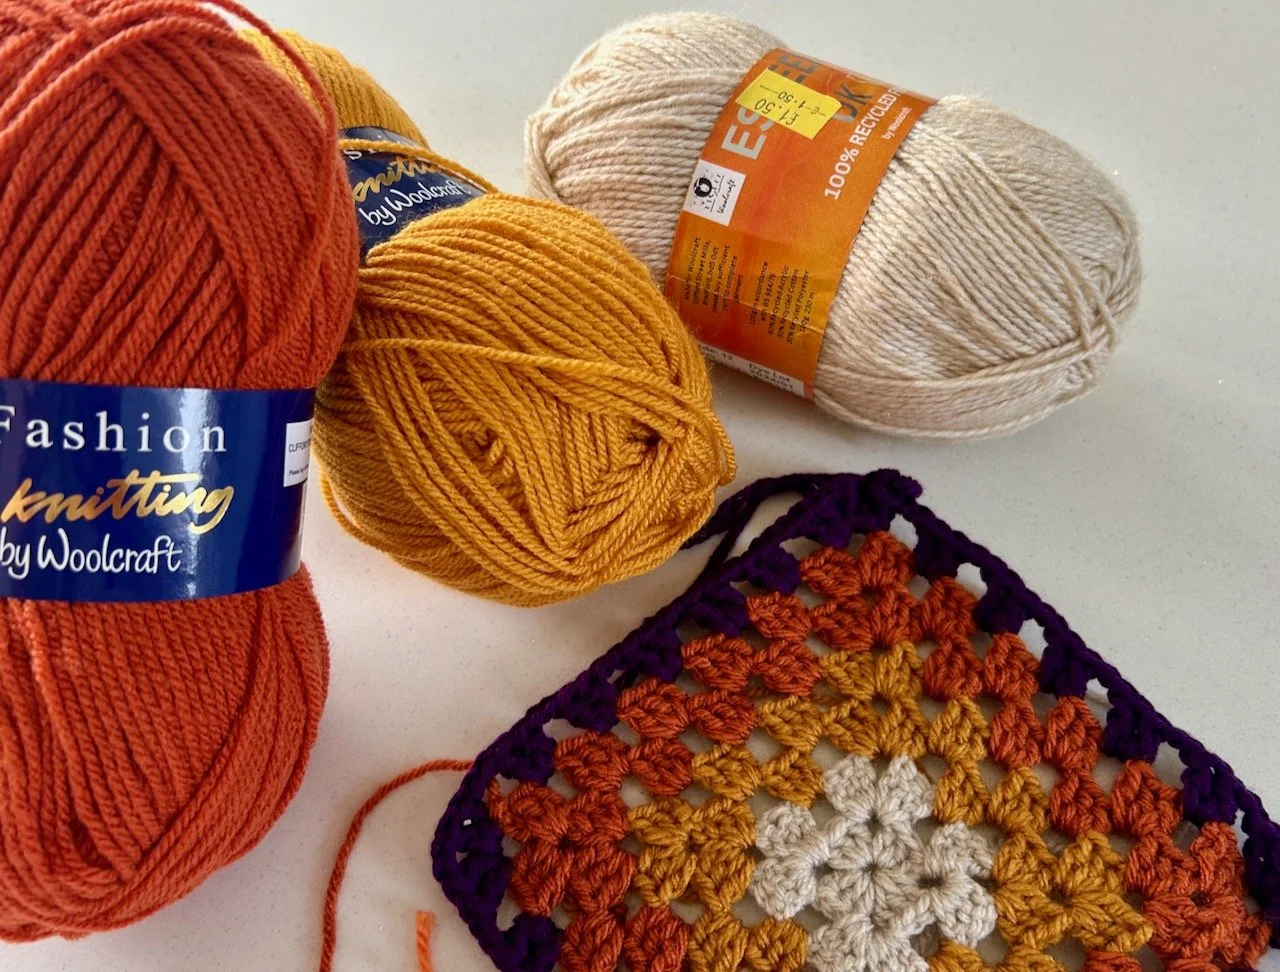
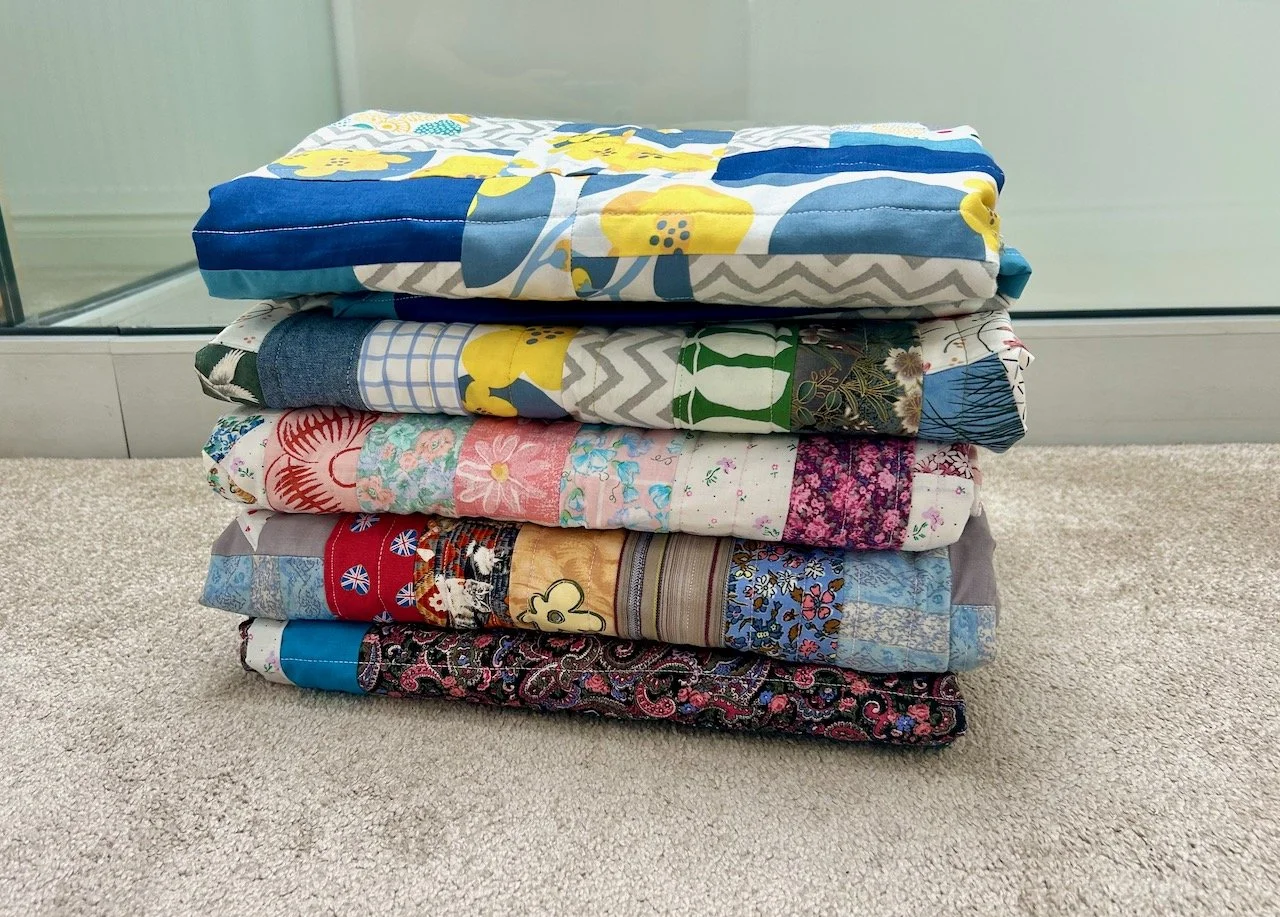
I haven’t done as much sewing as I would have liked to, but that’s on my list for next week as well as a visit to the Knit & Stitch Show in Harrogate with friends from my sewing group.

Have a great week.

much healthier, much greener bay tree leaves - covered in raindrops

You are invited to the Inlinkz link party!

Click here to enter

Repurposing old clothes as pouches

You know I like a pouch or two, and you’ve probably worked out that I don’t really like to throw things away if they still have another use in them. Today I’m sharing a couple of recent makes which combines both of those, and I’m very happy with the outcomes, and hopefully you’ll be persuaded to try projects with clothes you have loved too.

T-shirt to project bag

I really loved this Joules t-shirt and was happy to rediscover it in my wardrobe this summer, but really it was long past its best to wear - even for gardening, and so it was retired briefly. But I kept seeing it in the corner of my craft room, and I knew that if I didn’t cut it up soon then it might very well make its way back into my wardrobe.

So I had a look through the rest of my scraps, and in particular the old clothes that I’d already cut up before we moved and found the remnants of an old brightly coloured Phase 8 tunic which made the perfect pairing. Once again I loosely followed the instructions for the vinyl fronted pouches, but without the vinyl front and supersized.

I wanted to keep the embroidered Joules logo, and so cut the front of my new project bag from the back of the t-shirt. As I was sewing I realised that I also wanted to see snippets of the fabric I’d chosen for the lining, which if I’m honest looks better as this pouch rather than with the brown trousers I regularly used to pair it with for the office!

That meant I needed to add a strip of the lining fabric to the back section of the project bag to be, so that when I turned the surplus fabric over to encapsulate the rough edges it would be on display. Mission accomplished, and a few decorative splashes of zigzag additions to bolster some of the seams and I was done.

I told you the lining was bright, didn’t I? I’ve immediately put this project bag to use and its currently storing a selection of fabrics for a future make I’m contemplating - in fact it came with me to my patchwork group like this, and after lots of playing around testing out the placements of fabric it came home looking pretty much the same, but with the added ideas and advice from more experienced quilters than me.

I’ve a feeling this will be a small make for the new year unless I have a burst of inspiration, time and inclination!

Geometrical yo-yo storage

The second pouch is one that I’ve made this week to solve a specific problem (not really a problem, but it’s definitely solved). The material I’ve used was once a vest top, and unusually for me is more coordinating than contrasting, well on the outside anyway.

I wasn’t sure how this fabric would sew as it’s quite stretchy, so instead of using another t-shirt I had in mind I opted for this contrasting batik fabric which I’m sure I bought back at one of the larger shows I went to in London and was well due a sewing outing.

The problem it needed to solve was to provide a home for my giant yo-yo maker (well it’s the biggest one I have), which as you can see was struggling to fit into one of the pouches from the recent batch I’d made.

And it does - phew. The maths had me doubting myself at one or more points, but my reasoning for adjusting the original pattern instructions worked out ok.

I even added some of the rolled hem detailing to the bottom of the pouch as a reminder of its previous purpose. And I smiled to myself as I put the completed pouch back in its new home, wondering if my choices has been influenced at all by the wicker basket this time round…

But what’s even better is that I’ve still some of this fabric left, and I have the trimmings which are now very happily wound together and sitting in my waste weaving pile, no doubt they’ll show up in another project one day!

Making chilli jelly

With lots of ripening crab apples on our little crab apple tree this year I was keen that they didn’t all go to waste. One sunny afternoon in October I picked just over two kilograms of crab apples, and still the tree looked fully laden.

My crab apple tree - still fully loaded despite me having picked 2kg of fruit

Then I read the recipe properly - I mostly followed Sarah Raven’s Chilli Jelly Recipe - and realised that straining the jelly through muslin was essential for it to be clear and jewel-like. I had muslin, but I wasn’t sure that I could rig anything up that would be secure enough to hold the 2kg of fruity mush. And if I did, then I didn’t want to have a collapsing accident part way through and need to clear up the mess it made.

A rethink was needed, and that was the Lakeland jelly strainer, which I now highly recommend, but of course it was out of stock with more stock expected soon - so I got my order in quick, and waited for it to arrive. Thankfully that was only a week, but it was a long wait for my little apples.

Now armed with all the kit I needed I set about prepping my apples. Sorting through those that I’d stored while waiting for the jelly strainer to arrive, giving them a good wash and then weighing and chopping them before chucking them my big preserving pan.

Washing some of the crab apples in a metal colander
some of the apples, chopped (skin, pips and all) in the preserving pan

Thankfully the majority of the crab apples were as patient as me, and it turned out I’d overpicked a little - but even so I did need to nip out to the garden and pick about ten more apples to make up the numbers. Which wasn’t bad really.

Adding water to cover the apples - the contents is up to the 4.0l mark

I brought the apples and water up to the boil, then added the cider vinegar and boiled until it was at the jam setting temperature on my jam thermometer (another piece of kit that makes preserving so much easier, and takes the guess work out of is it set or not, and without a cold saucer in sight).

Onto the straining

I’d read that I must avoid the urge to squeeze the bag if I wanted to have a clear jelly, so I did and MOH was under strict instructions not to dabble with it either. And we did good, but the set-up was much taller than I’d expected so there was no way that I’d be lifting the large preserving pan and pouring the hot apple mixture into my strainer.

The jelly strainer full of apple mixture straining into a bowl below

Well some creative thinking was needed, and out came the kitchen steps, the ladle and a jug. And it worked. Phew.

Then I realised that my large bowl was already filling up and I’d not even added all the apple mixture yet.

eek - the first bowl under the jelly strainer is almost full!

I’m so glad that I’d put some table mats under the jelly strainer as this helped me switch out the almost full bowl for its replacement, while the liquid happily continued to drip (well stream) through.

Phew - a new bowl under the strainer with the full bowl in the background

And so I left it to strain overnight, fairly confident that this bowl wouldn’t fill or overflow - and thankfully it didn’t. The jelly strainer didn’t collapse either, so that was double good news the next morning.

Adding chilli flakes

I’d originally bought fresh chillies but in the wait for the jelly strainer we’d used those but I’d seen in other recipes some used chilli flakes so that became my plan. The apples were supposed to yield about a litre of liquid, but I had double that - so then my dilemma was how much chilli flakes to add.

The strained liquid with sugar and chilli flakes added - back on the hob

In the end I added a couple of tablespoons along with the sugar and hoped for the best taste-wise.

The pulp

I was curious to see what was left from the overnight straining - and it was a soft but shape holding mush of apples. I’m sure this could be composted, but mine went into the green bin (which is actually brown).

The remaining apple pulp after straining

Jewelled jars

My next decision was to gauge how many jars I’d need, and given that I had more liquid I realised I’d need more than I first thought. So I got what I thought I’d need and a couple extra - in the end I used all nine jars (of various sizes) filling them with the jewelled hot and sticky jelly.

jars of red jewelled chilli jelly

Doesn’t it look fab?

As a fair few chilli flakes were left behind or removed when I skimmed off the froth I decided to add a whole dried chilli into the jars. This wasn’t as successful as I hoped as it floated to the top and isn’t visible from the outside - but it will be a surprise for the recipients, and will hopefully build a depth of flavour as the jelly stores.

It tastes pretty good too, as well as the nine jars I had enough for a small plastic tub which is in the fridge and very much in the 'eat now’ category. We’ve had it with cheese, cold meats and in sandwiches - but I think you could use it alongside sausages, and anywhere you’d use condiments such as redcurrant jelly, and I’m looking forward to adding some to gravy too.

We had enough crab apples to make even more, but my jar situation so far is severely lacking and in that time our apples have gone over - the tree has shed its leaves, and the apples are riper than I’d want to use. But there’s still a chance I may make a slightly different variant using some local Bramleys instead - watch this space…