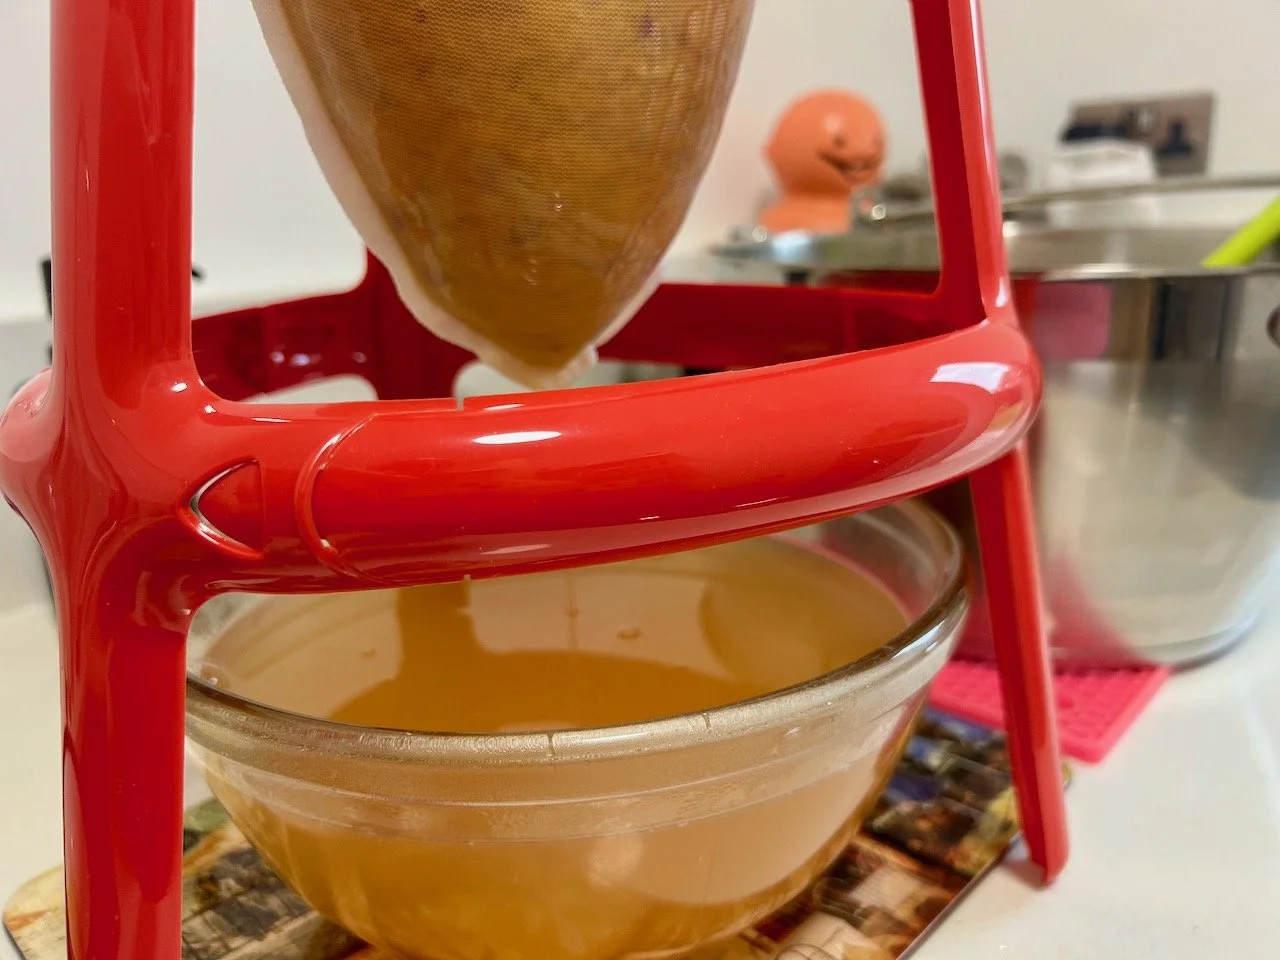
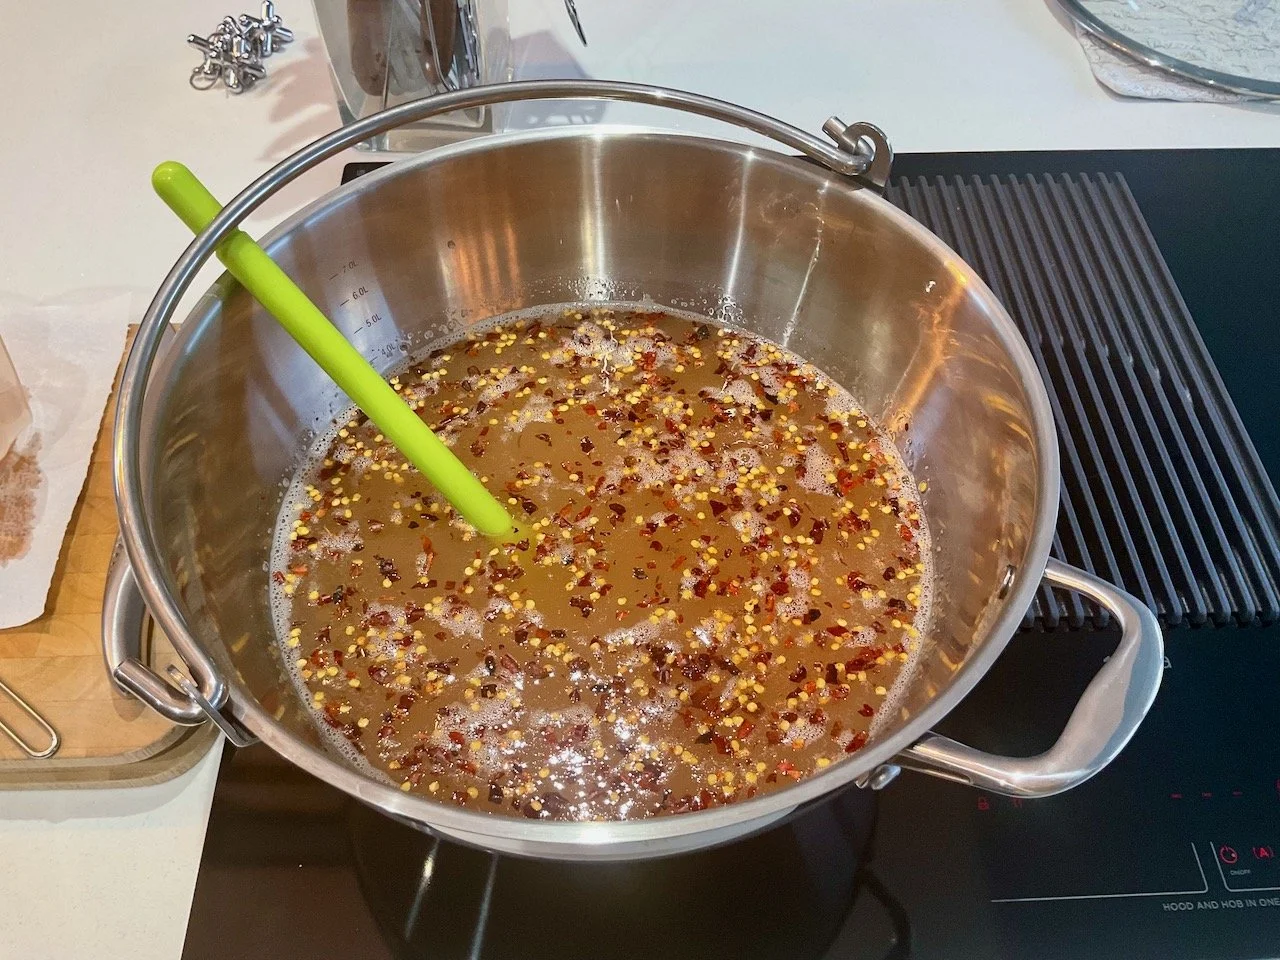
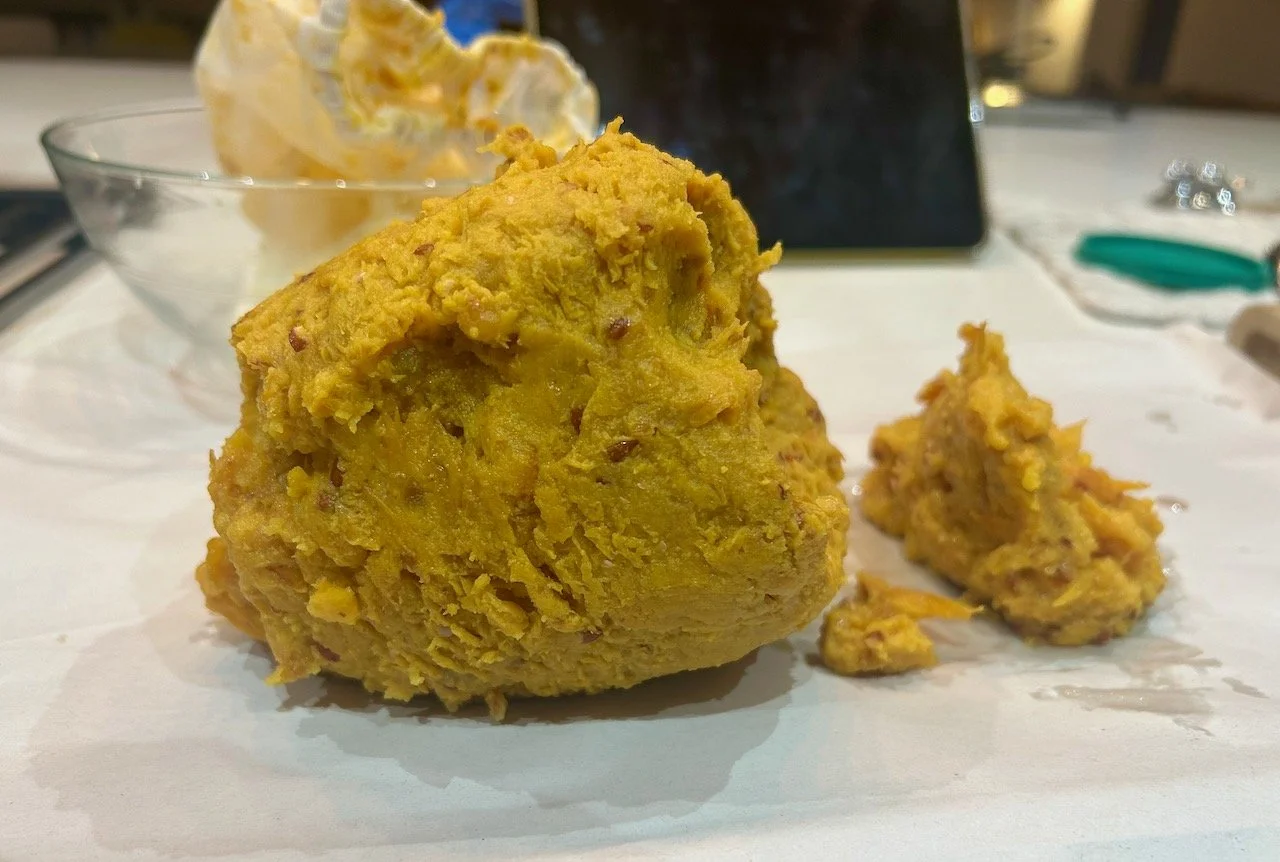
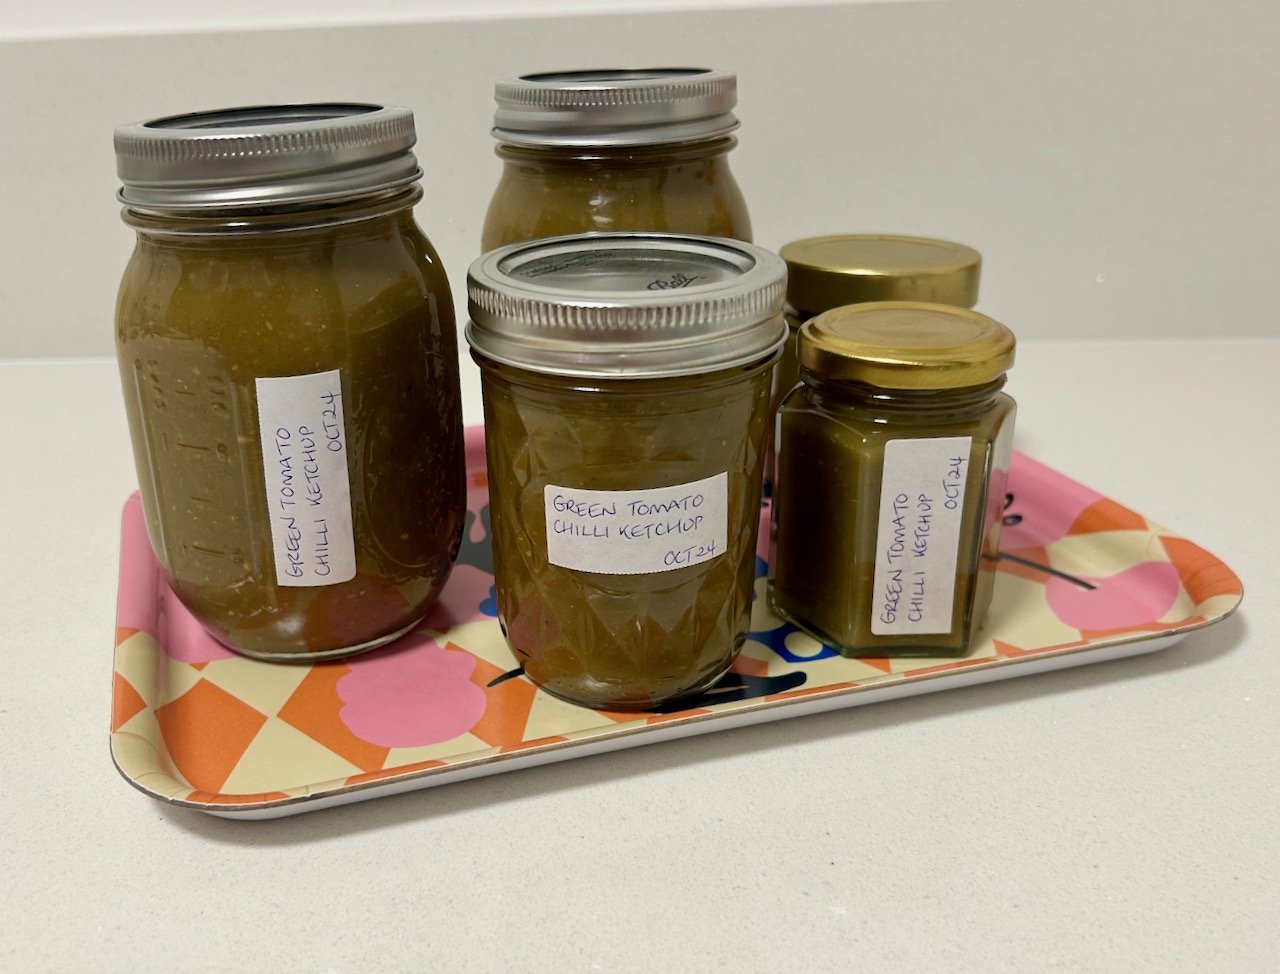
Making green tomato chilli ketchup

Years ago I made the best green tomato chilli ketchup but somehow lost the printed copy of the recipe and I’ve been kicking myself ever since, especially as the recipe was removed from the website I’d found it on. Sigh. This year when dad said did I want any green tomatoes I searched harder online for something similar to the previous recipe - and found this Green Tomato Recipe on the From The Larder website, and it gets a huge thumbs up from me.

And of course with anything made with green tomatoes - fresh bright green tomatoes go in, and ends up as something more brown - but don’t let that put you off.

No really don’t.

This has a great taste and is so useful. I love it alongside roasted squash and rice and even in sandwiches.

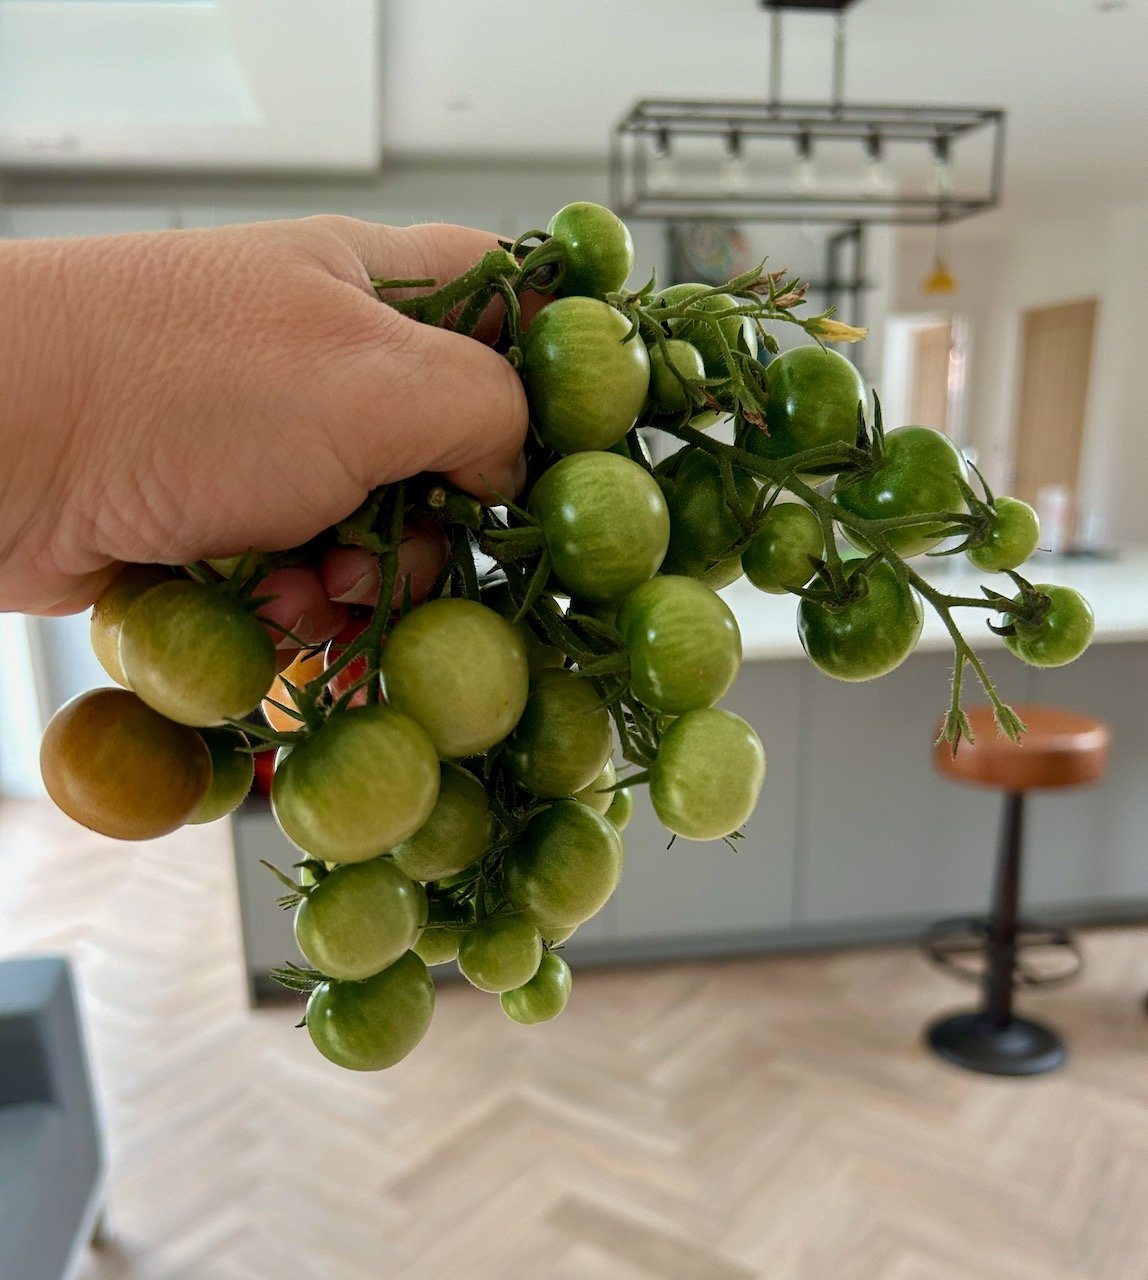
The recipe calls for 1kg of green tomatoes, and while I had a lot from dad (and I mean a lot) some had ripened as they sat alongside the already red ones and so had made their way into roasted tomato pasta sauce and subsequently the freezer, I was still a few short. And this handful topped me up to the full kilo - a quick last picking from my own tomato plants and I was good to go.

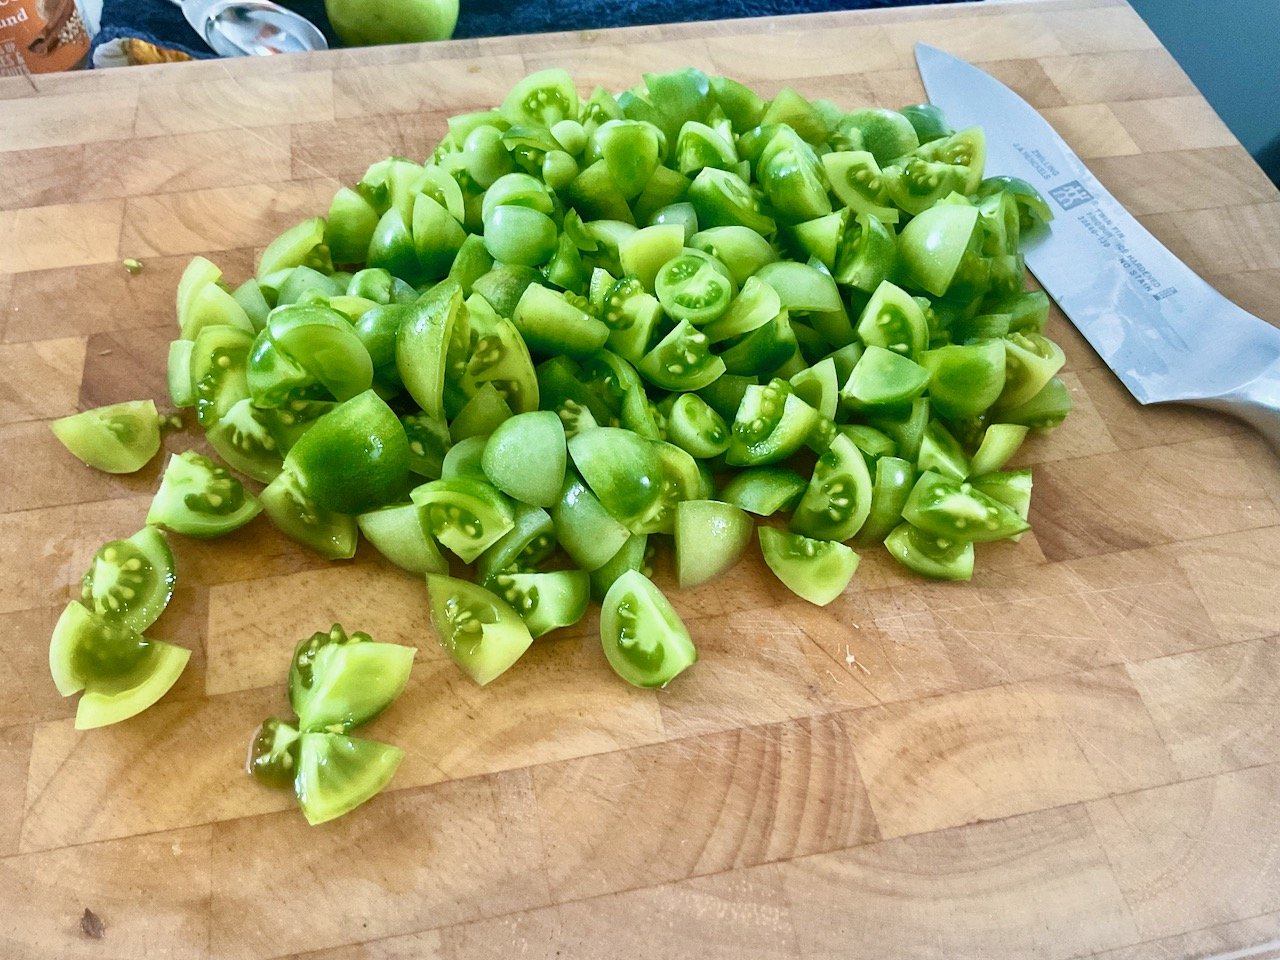
There’s a bit of chopping involved as you’d expect, but nothing too onerous. And don’t they look so fresh and vibrant?

Young, fresh green tomatoes quartered on a wooden chopping board

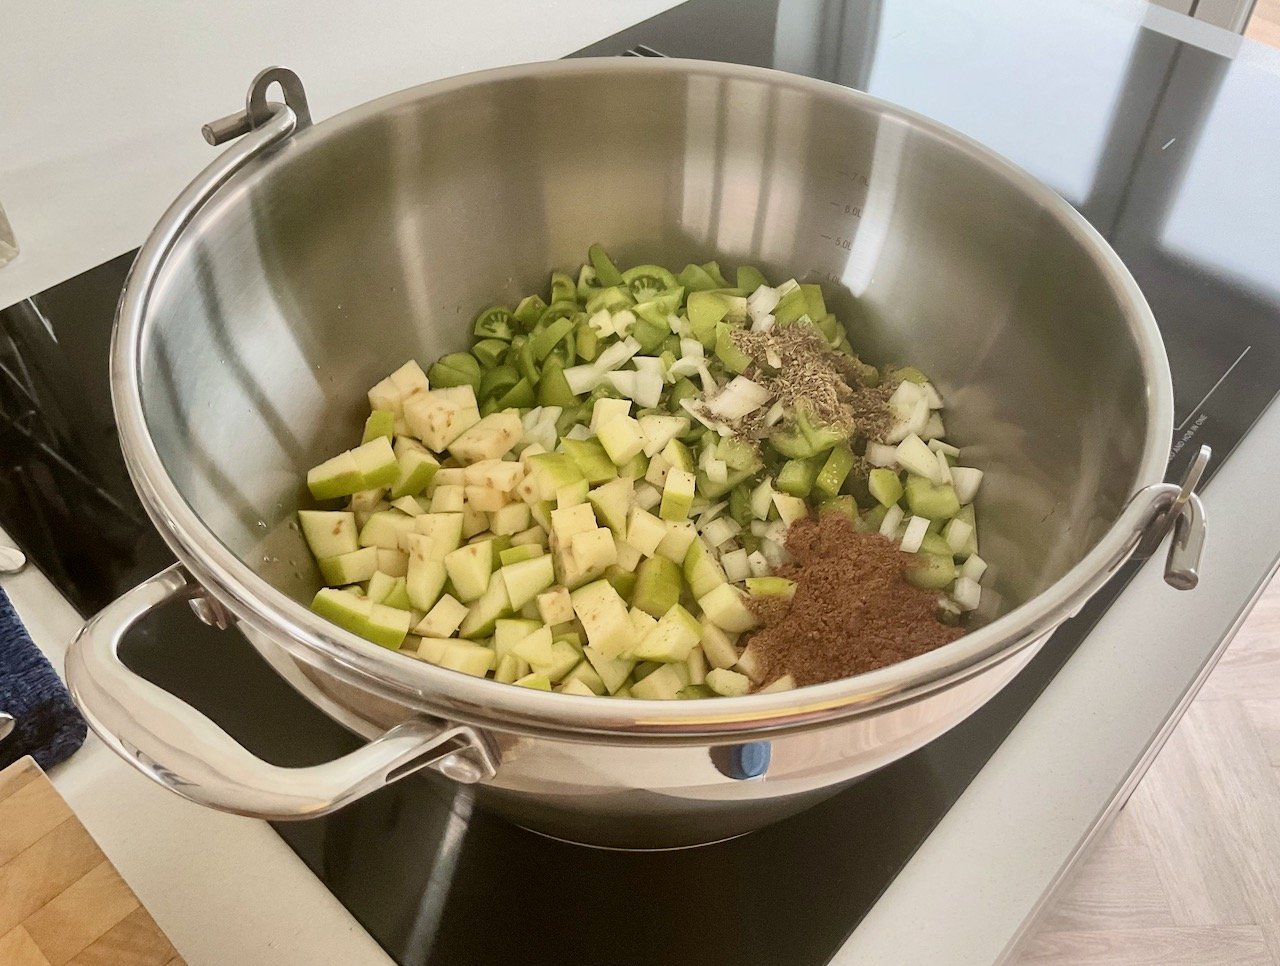
I debated (with myself, in my head!) about if I should use my preserving pan or not. And in the end the logical answer of ‘you’re preserving so why the heck not’ won out, and I’m so glad I did.

It is a large pan, and even though the amount of ketchup I was making was relatively small using this pan meant I was confident it would all fit in and there’d be no risk of anything bubbling over.

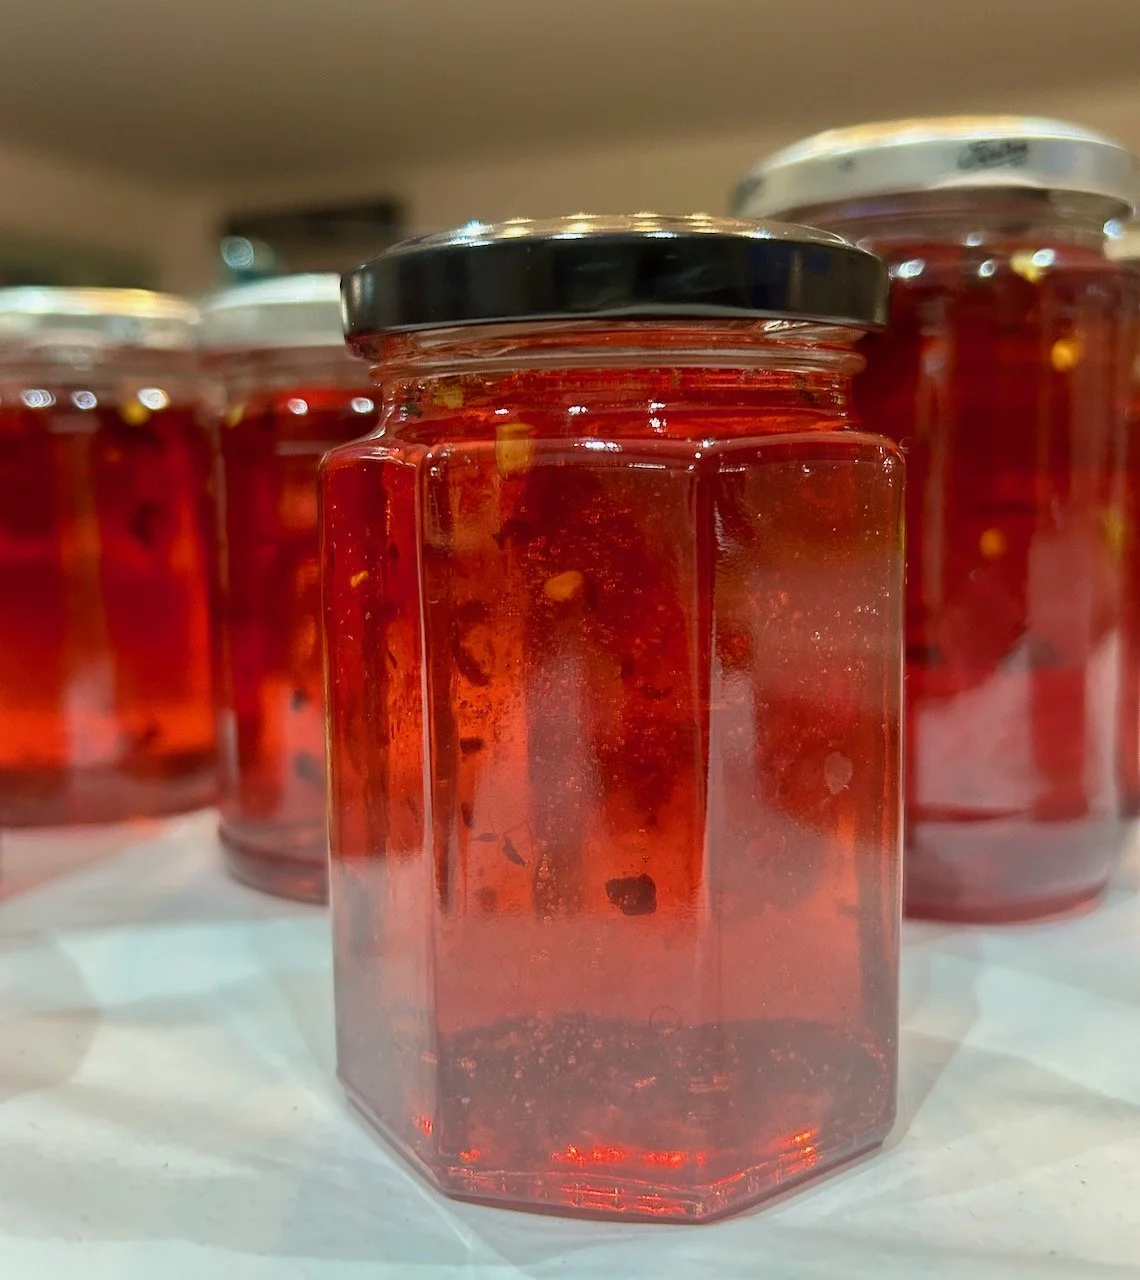
In preparation I’d even saved one of those almost 700g passata jars, but I didn’t use that in the end instead opting for smaller jars. I mean, it often takes me more than one attempt to use all the passata and I knew I’d be using the ketchup in smaller amounts, so it made sense to fill smaller jars.

This is very much like the recipe I remembered and I’m so pleased to have found it, and to have had the green tomatoes. I think next time I’d probably add more than one green chilli, and would consider adding some grated ginger too for an extra bit of zing, but that’s for next time when no doubt I’ll have lost the recipe again.

We’re already almost through one of the smallest jars, with the others safely stored on the top shelf of my pantry. And I couldn’t be happier!

PostCommentLove

Blackberry & Lime jam with Ball Preserving

Earlier this month I was invited to the Good Housekeeping Institute to see and use the Ball Preserving Starter Kit which has just launched in the UK and is available at Lakeland. I do love a jam or two (remember this Spiced Blackberry jam from last year?) and now that we've got our allotment, I knew it would be a handy session.

I wasn't wrong.

In the starter kit there's lots of green loveliness. A basket - or preserving rack - which fits inside your saucepan and easily holds four jars, a funnel to make filling the jars easier and much safer, a measuring notch which makes it easy to see when the jar is filled to the correct level, four jars and a jar-lifting tool, again a safer way to handle hot jars.

BALL PRESERVING STARTER KIT

BALL PRESERVING STARTER KIT

BallPreserving.jpg

We used all of that making the Blackberry and Lime jam. There were of course also blackberries, lime zest, sugar and pectin (also part of the Ball range and available from Lakeland)

The pectin fascinated me as I'd not made jam with this before. I'd used added-pectin sugar, jam sugar but not pectin in a powdered form. It was easy to use though and saved the need to test for the setting point either with a saucer in the freezer or a thermometer. In fact it was so easy to use I've since bought some and have made some more Blackberry & Lime jam here.

IMG_0709.jpg
STERILISING THE JARS

STERILISING THE JARS

The jars can be sterilised in boiling water in the basket, there's handy markers in the design to ensure the jars don't slip about. The jars themselves are pretty, and when you're not using them for jam would look lovely storing almost anything else. The jars pictured below are the smallest size (and are about half the size of a normal jam jar) but the kit contains four 240ml jars, not these smaller ones.

The lids come in two parts; the top part of the lid (with the orange edge) can only be used once. The orange bit is the clever bit that forms the seal, and means your jams will have that pop when you open them just like the ones from the supermarket (but they'll taste nicer of course!) The silver part of the lid (on the left in the photo) can be reused along with replacement lids - if you're looking for them on Lakeland they're called "mouth lids". All of the Ball Preserving Jars are the same size at the neck, so one lid fits all jar sizes. That's a bonus, isn't it?

BALL PRESERVING JAR

BALL PRESERVING JAR

Back to the jam. To the mashed blackberries we added the lime and then stirred in the pectin in a couple of batches. Once this was absorbed, in went the sugar and the jam was brought to a hard boil for a minute. Then it was time to jar it.

It was that simple. And was much quicker than I remember from my jam making session last year.

The funnel fits the jars as well - clever hey? And it's a much safer way to transfer the hot jam into jars - it also means it's hard to get jam on the outside of your jar and on the inside of the rim. You just need to be careful not to overfill the funnel otherwise you'll have a jam overflow problem!

The notched measure is an easy way to check the jam is at the right level. To use it you simply nestle the notch over the rim of the jar, so when you see recipes that say leave a 5mm gap you'll be able to do this easily now.

Once the jars are filled, the lids added to fingertip tight they go back into the basket covered with water so that the clever orange seal can do its stuff.

BLACKBERRY & LIME JAM

BLACKBERRY & LIME JAM

And that's it, the jam is done. The trickiest bit is likely to be making sure you've got enough jam to see you through until next year. I tasted this on some scones along with some clotted cream, it's lovely and there's a very real danger the batch I made with berries foraged from the Thames Path won't hang about for very long.

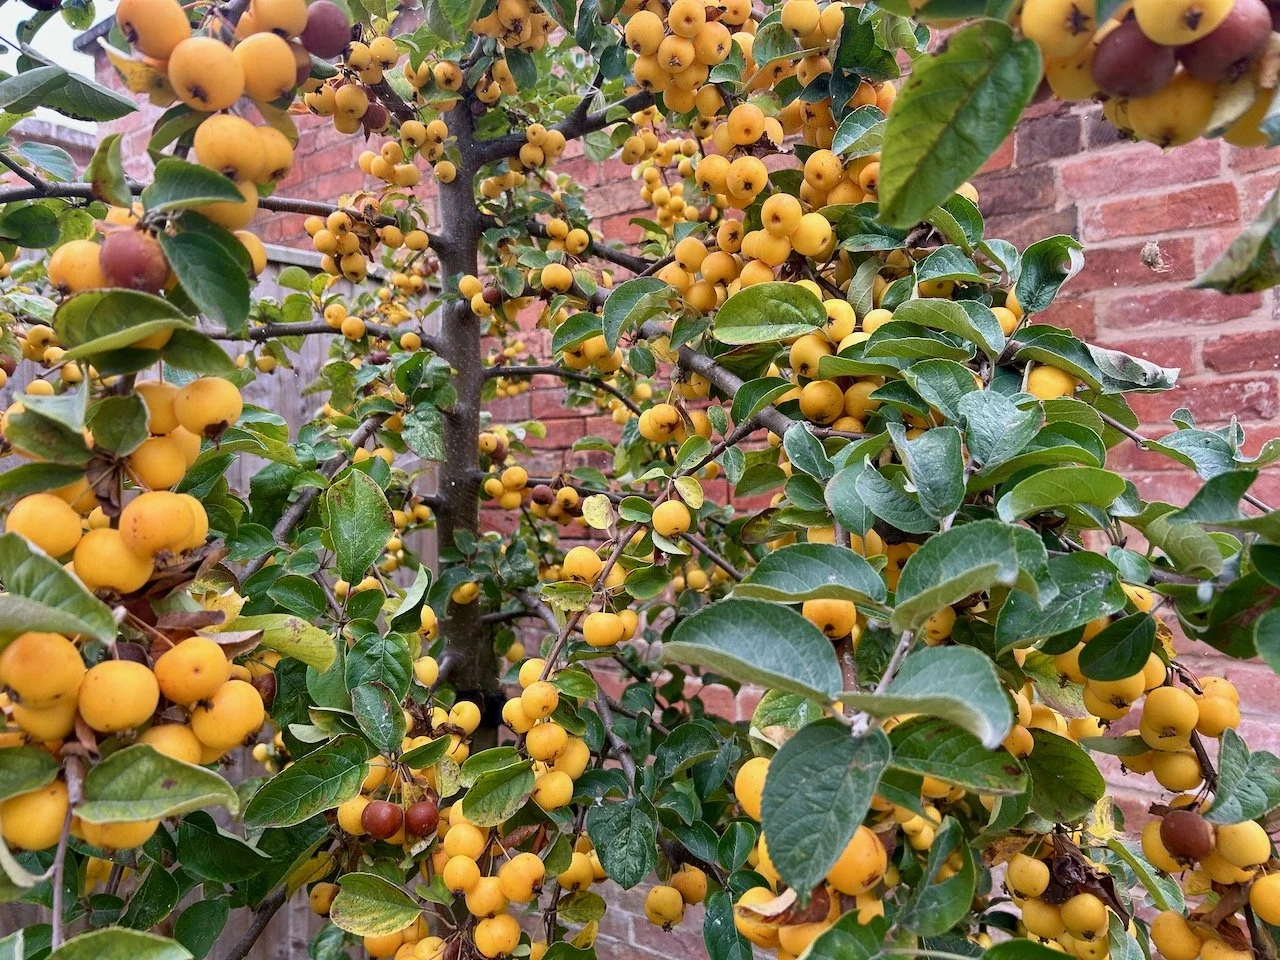
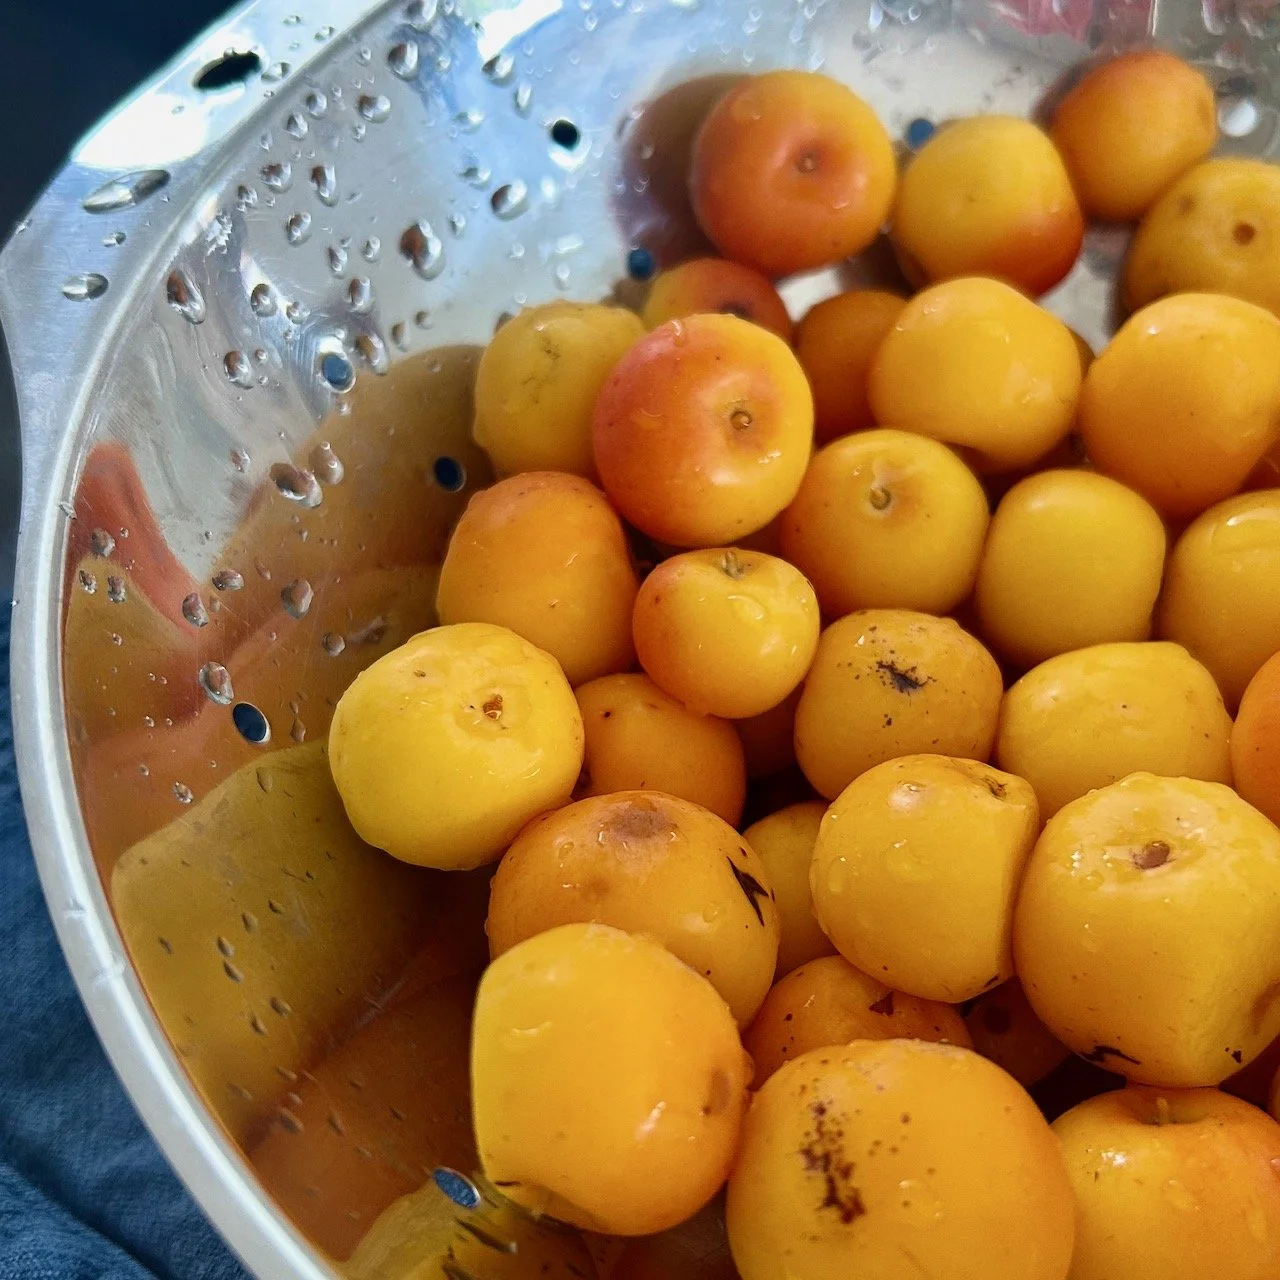
I also made some Crab Apple jelly with the crab apples from the allotmentAs crab apples are naturally high in pectin I didn't need the powdered stuff.

Crab Apple Jelly

multiples of:
1kg Crab Apples
250ml water
180g sugar

Method

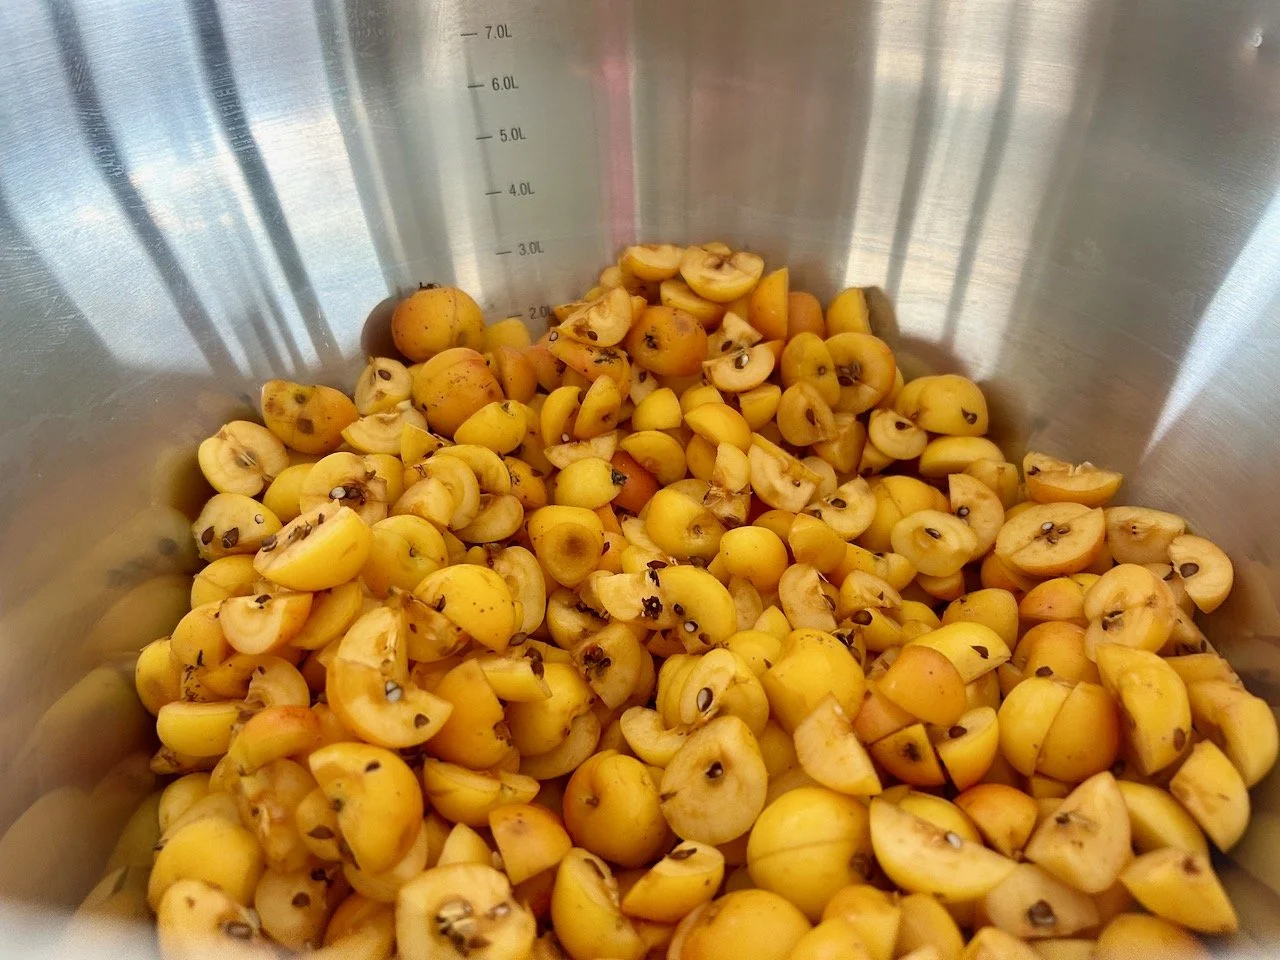
1. Remove the stalks and blossom ends from the crab apples and quarter them. You don't need to peel or core them as that's the bits that are high in pectin.

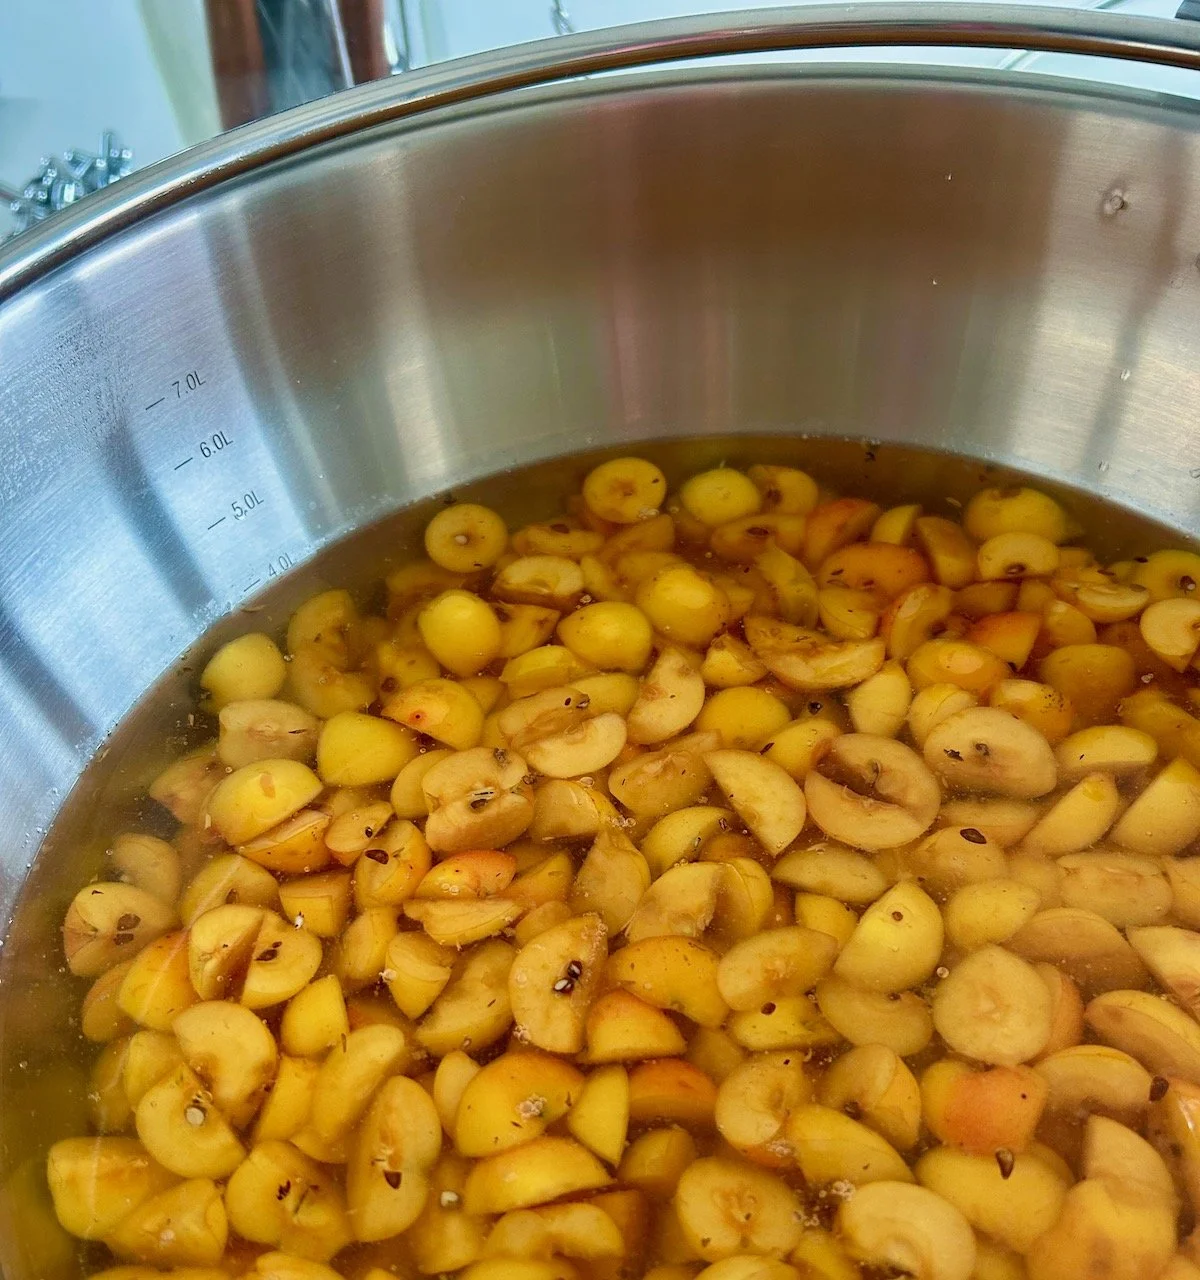
2. Add to a saucepan with 250ml of water per 1kg of quartered crab apples and cook them for around 30minutes until the apples are soft.

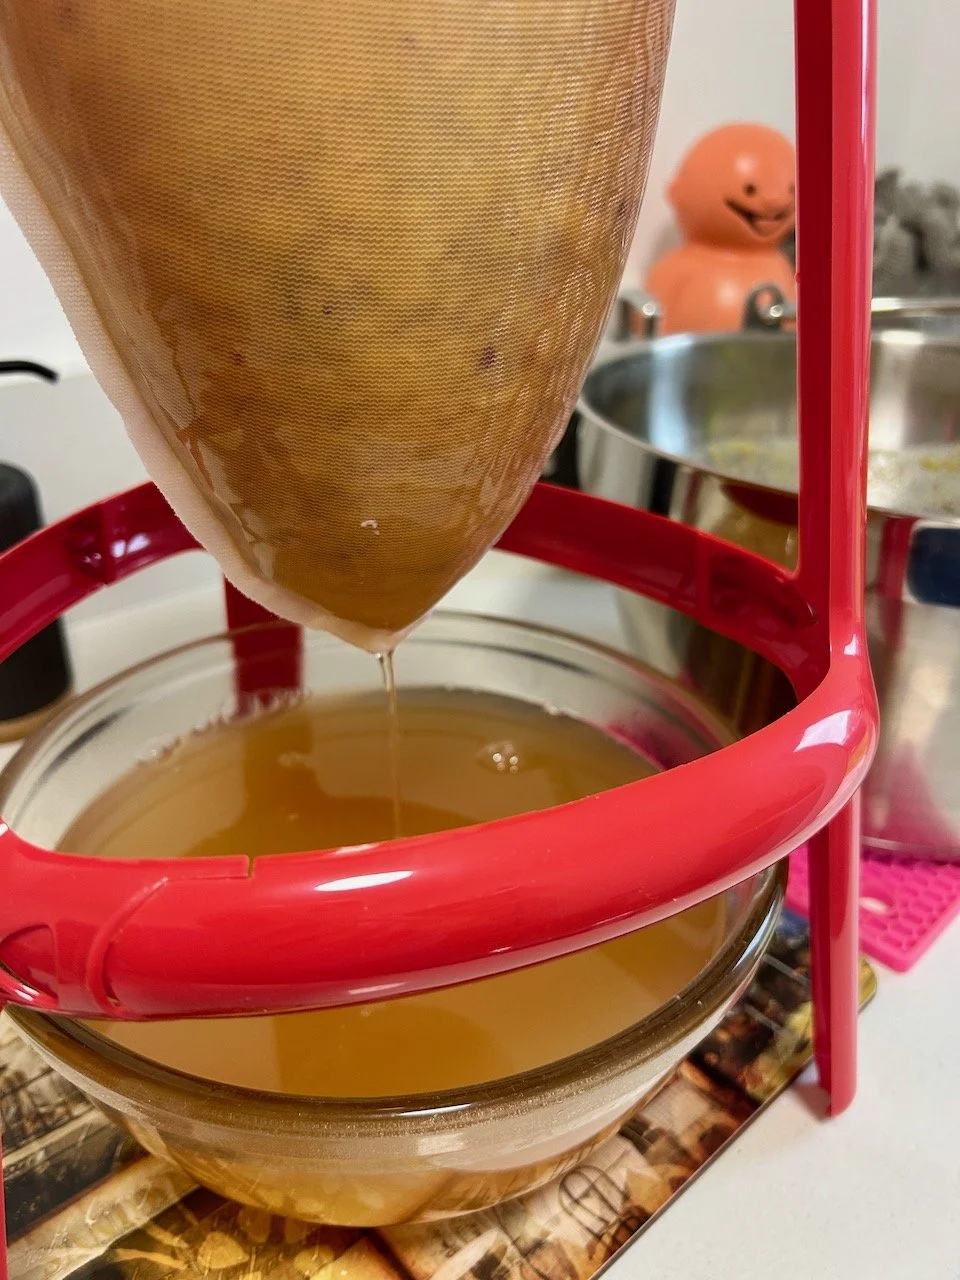
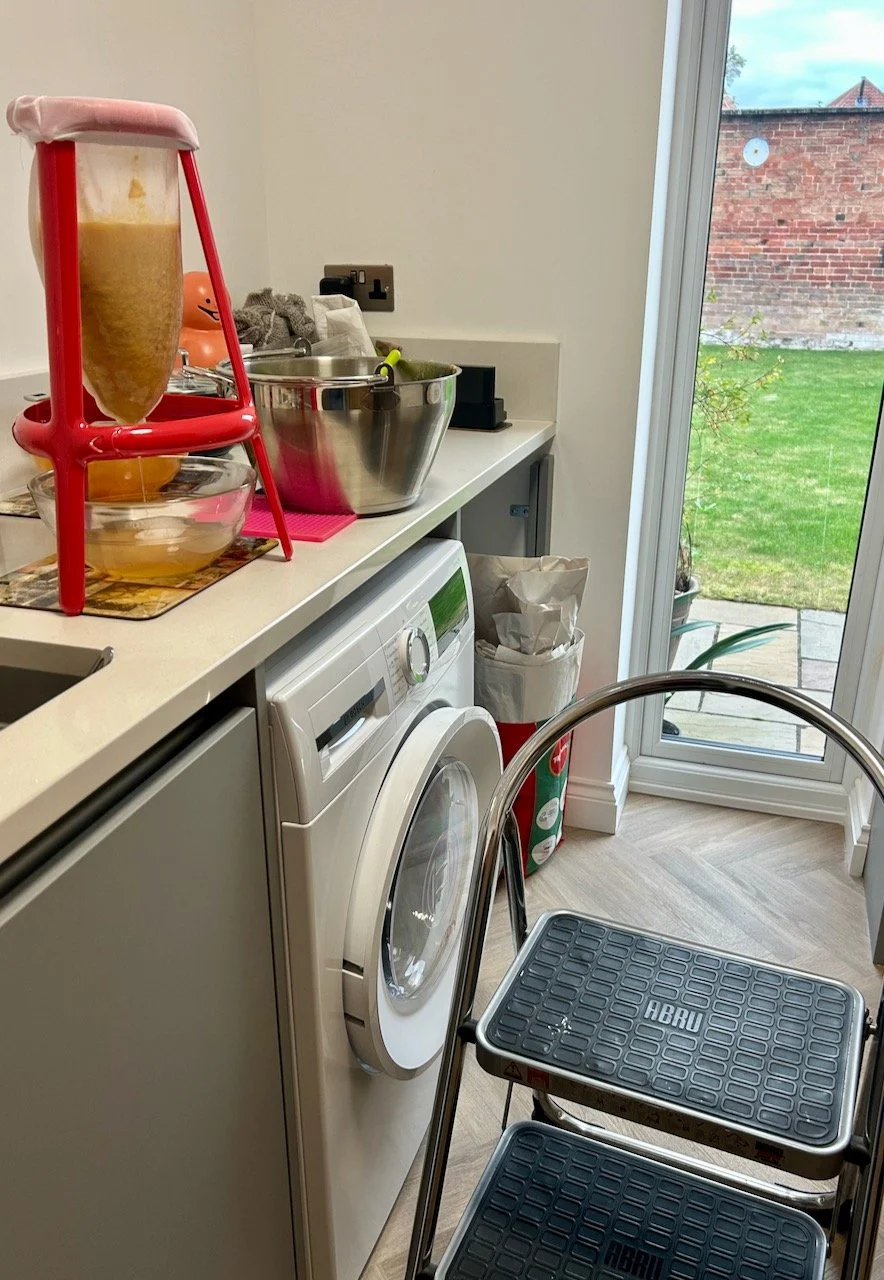
3. Leave the apples to drain. Pour off the liquid collected regularly to ensure the apples don't sit in the juice. To get a clear jelly you want the best possible juice...

4. In a clean saucepan add the pink crab apple juice, and for each 250ml of juice add 180g of sugar.

5. Stir until the sugar is dissolved and then bring the liquid to a boil.

6. Continue to boil the liquid until it reaches 105 degrees - the setting point for jam. I used my jam thermometer for this.

7. Transfer the jam to sterilised jars and immerse the sealed jars in boiling water and process for ten minutes before removing and leaving to stand for 5 minutes.

8. Once the jars are cool, label them.  

I used the Ball Preserving Dissolvable labels which I bought along with the pectin I used in the batch of Blackberry & Lime jam I made here. They're pretty and I'm assured they really do dissolve in water.


MAKINGCRABAPPLEJELLY.JPG

I've no idea what crab apple jelly tastes like, it's not something I would usually buy and it's the first time I've made it. But with the abundance of crab apples on our plot it was something I was keen to try. I'm looking forward to trying it alongside roast meats and perhaps sausages.

I'm keen to know what else does it go with, so if you're a crab apple jelly person please let me know in the comments.  Thanks.

CRAB APPLE JELLY

CRAB APPLE JELLY


* I was provided a Ball Preserving Starter Kit at the preserving session I attended. All words and opinions are my own and I have since purchased the labels, pectin and replacement lids myself.

CookBlogShare

www.mrscraftyb.co.uk

Dissolvable Labels

I'll admit this is a bit of a stretch for #SundayStationery but as they're pretty and paper I'm going with it. I've used them for the first time this week, in fact I'd never heard of them before, have you?

They're part of the Ball Preserving range which is new to Lakeland, so I thought if Lakeland are stocking them they must be good. I heard about them at the preserving event I went to at the Good Housekeeping Institute (more on that tomorrow) and soon enough they were delivered as part of my most recent online order.  There's 60 labels for £2.99 and the website says they're simple to remove in water. I haven't tried that yet, but I guess the proof will be in the pudding, or rather in the washing.

DissolvableLabels.jpg

They have a simple and inoffensive design, and even better, if you're using the Ball preserving jars there's a smooth section on the jar just the right size for the label. How clever - someone's clearly thought about this!

This week I've used them to label the Crab Apple Jelly made from crab apples from the allotment, and the Blackberry and Lime Jam from our foraged blackberries. I do like a bit of free food!