Making chilli jelly

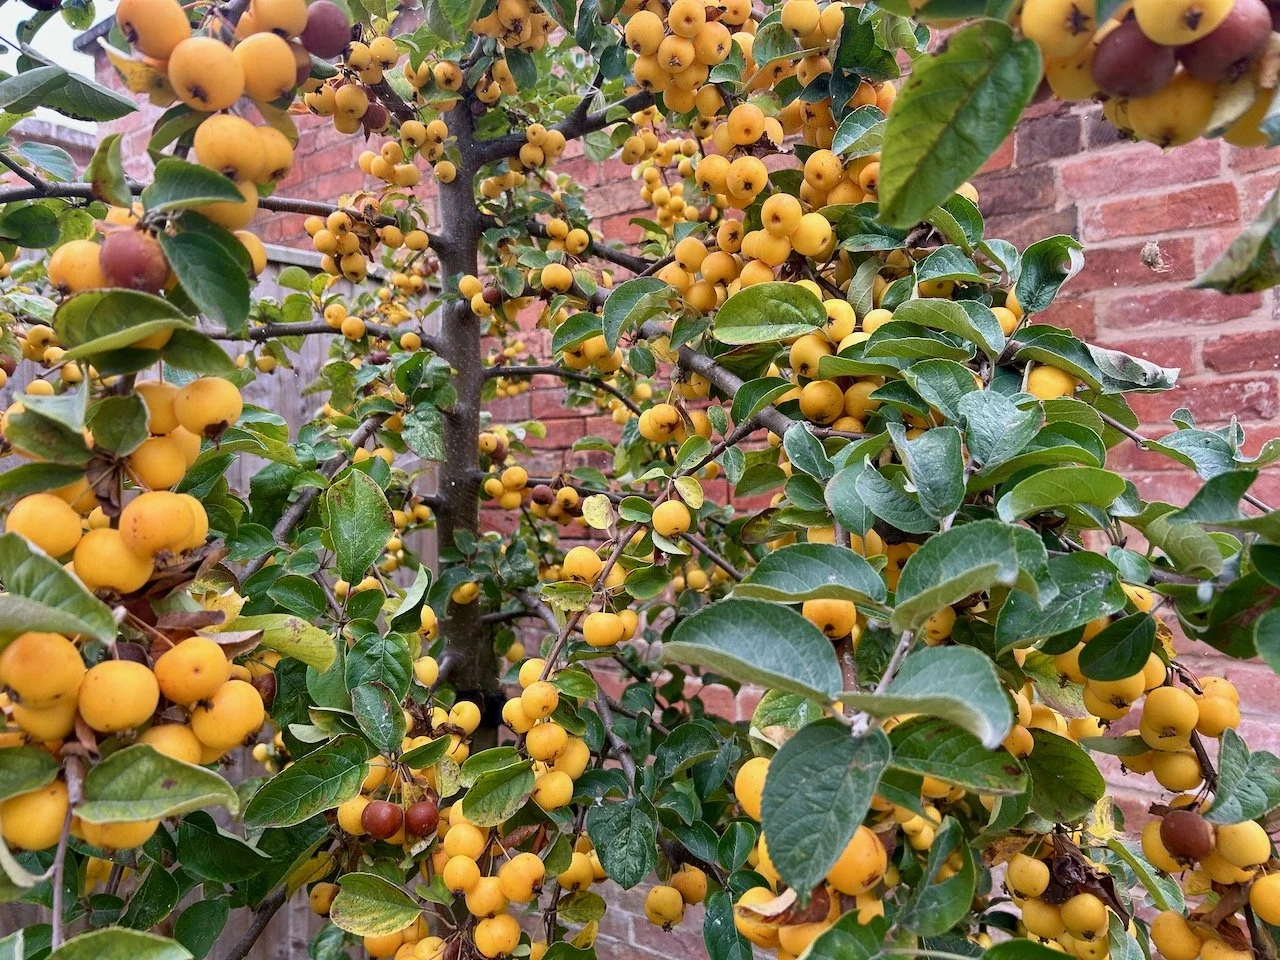
With lots of ripening crab apples on our little crab apple tree this year I was keen that they didn’t all go to waste. One sunny afternoon in October I picked just over two kilograms of crab apples, and still the tree looked fully laden.

My crab apple tree - still fully loaded despite me having picked 2kg of fruit

Then I read the recipe properly - I mostly followed Sarah Raven’s Chilli Jelly Recipe - and realised that straining the jelly through muslin was essential for it to be clear and jewel-like. I had muslin, but I wasn’t sure that I could rig anything up that would be secure enough to hold the 2kg of fruity mush. And if I did, then I didn’t want to have a collapsing accident part way through and need to clear up the mess it made.

A rethink was needed, and that was the Lakeland jelly strainer, which I now highly recommend, but of course it was out of stock with more stock expected soon - so I got my order in quick, and waited for it to arrive. Thankfully that was only a week, but it was a long wait for my little apples.

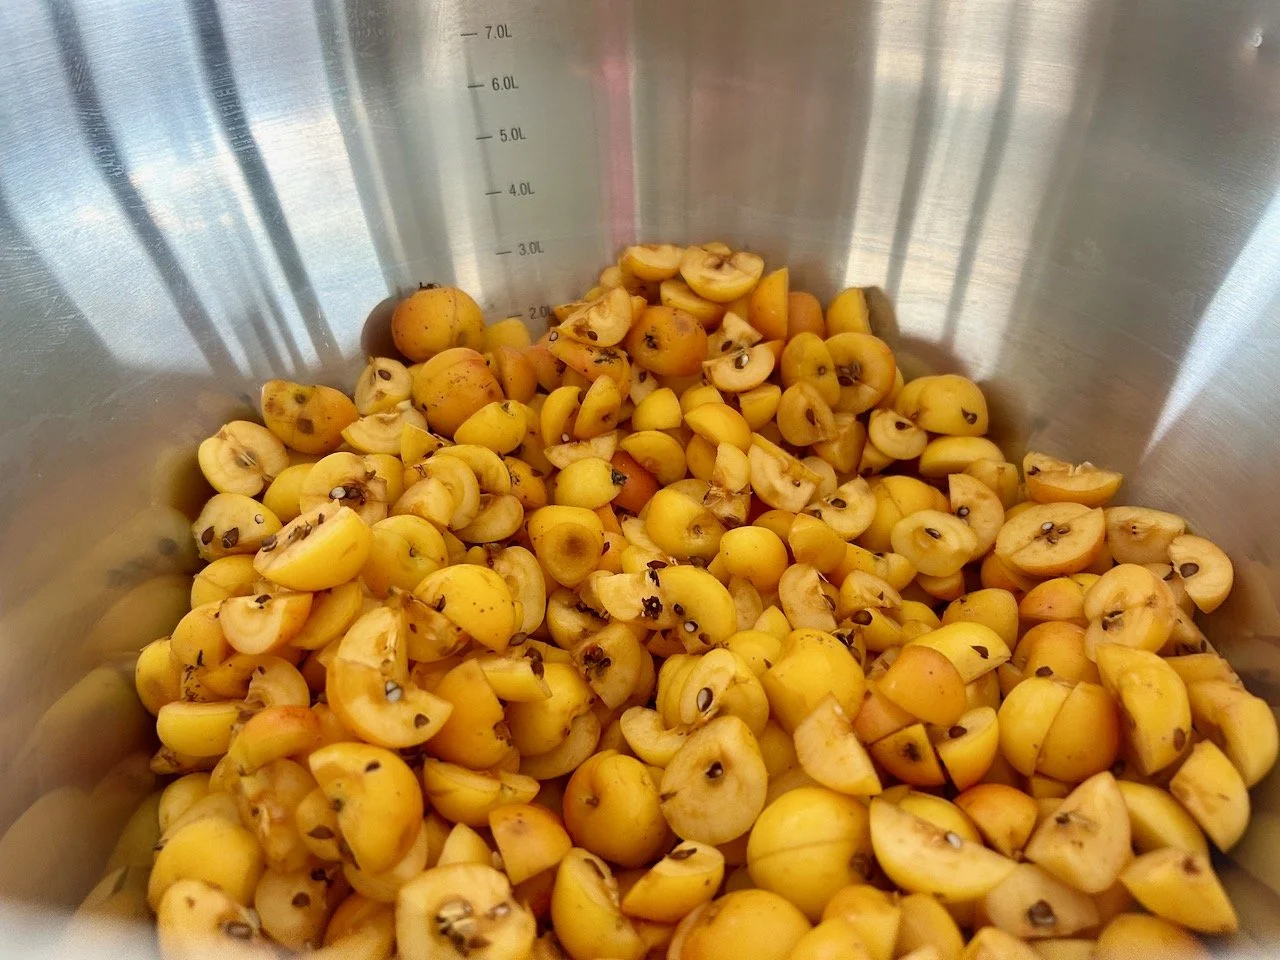
Now armed with all the kit I needed I set about prepping my apples. Sorting through those that I’d stored while waiting for the jelly strainer to arrive, giving them a good wash and then weighing and chopping them before chucking them my big preserving pan.

Washing some of the crab apples in a metal colander
some of the apples, chopped (skin, pips and all) in the preserving pan

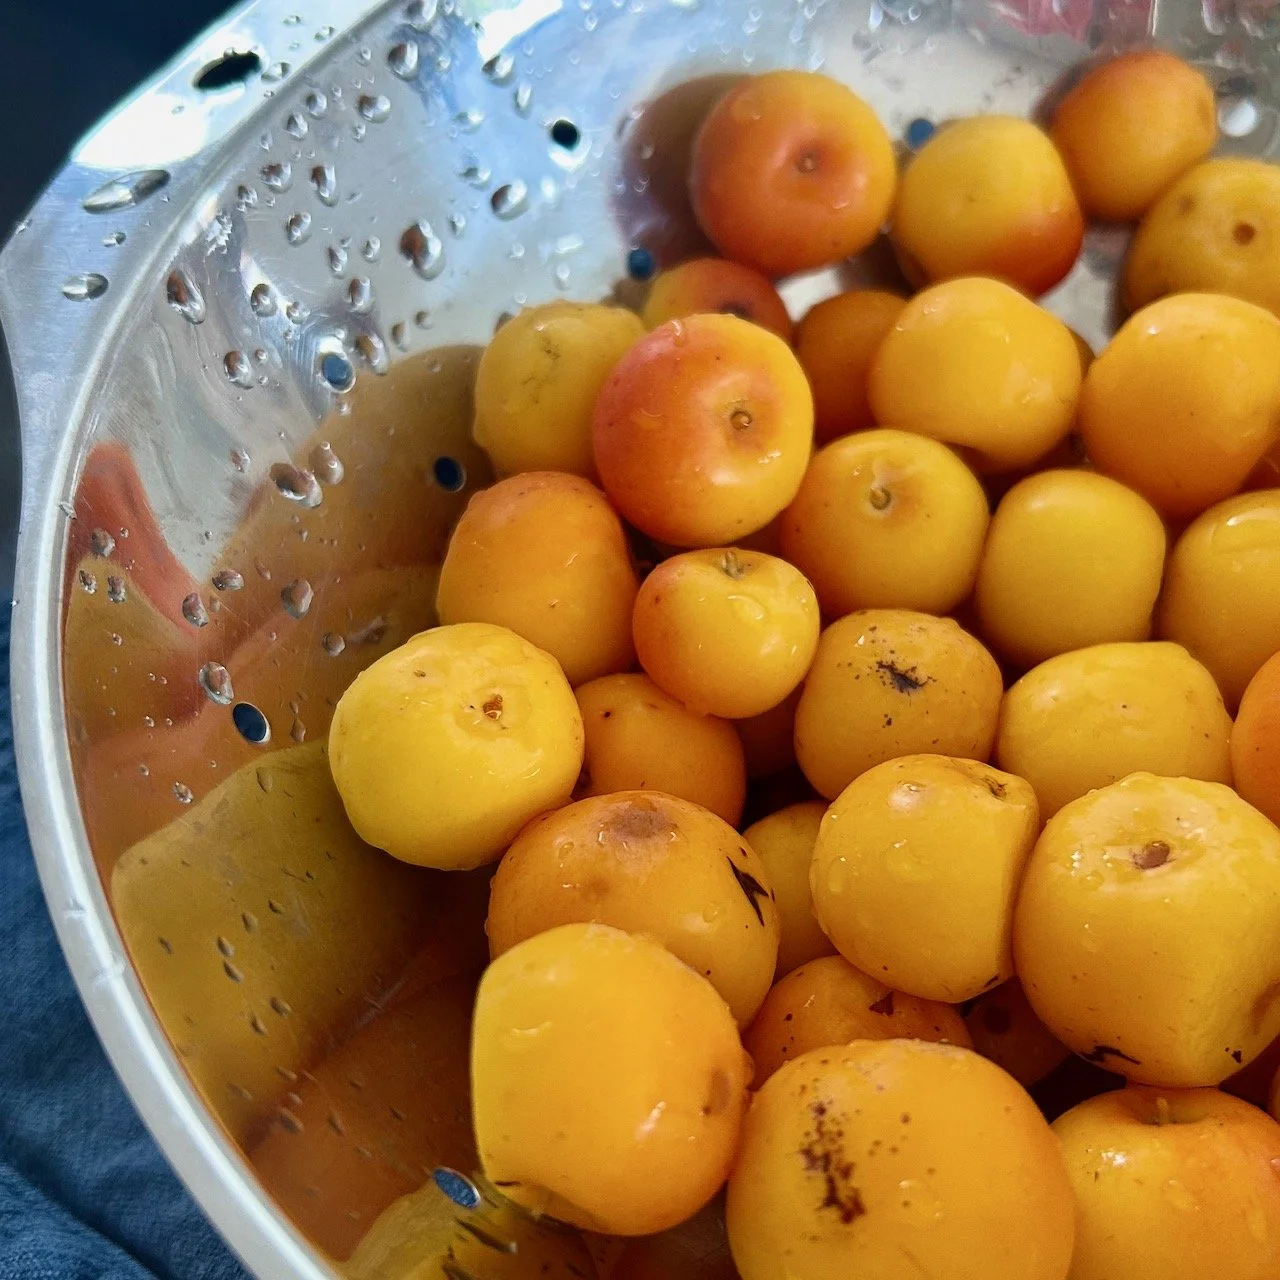
Thankfully the majority of the crab apples were as patient as me, and it turned out I’d overpicked a little - but even so I did need to nip out to the garden and pick about ten more apples to make up the numbers. Which wasn’t bad really.

Adding water to cover the apples - the contents is up to the 4.0l mark

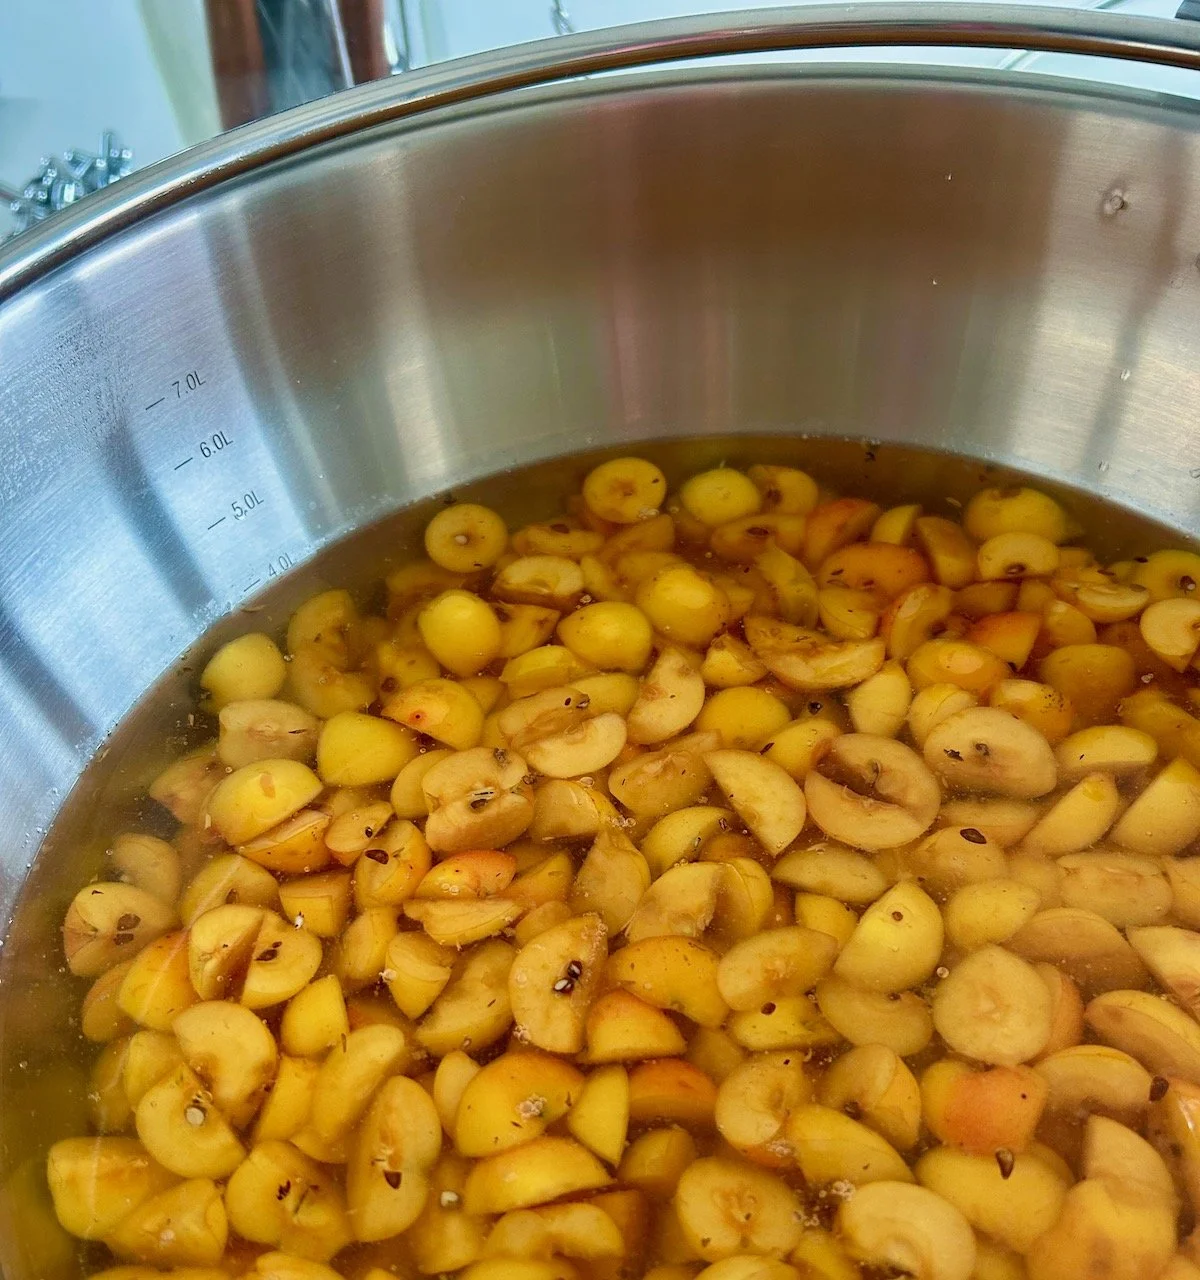
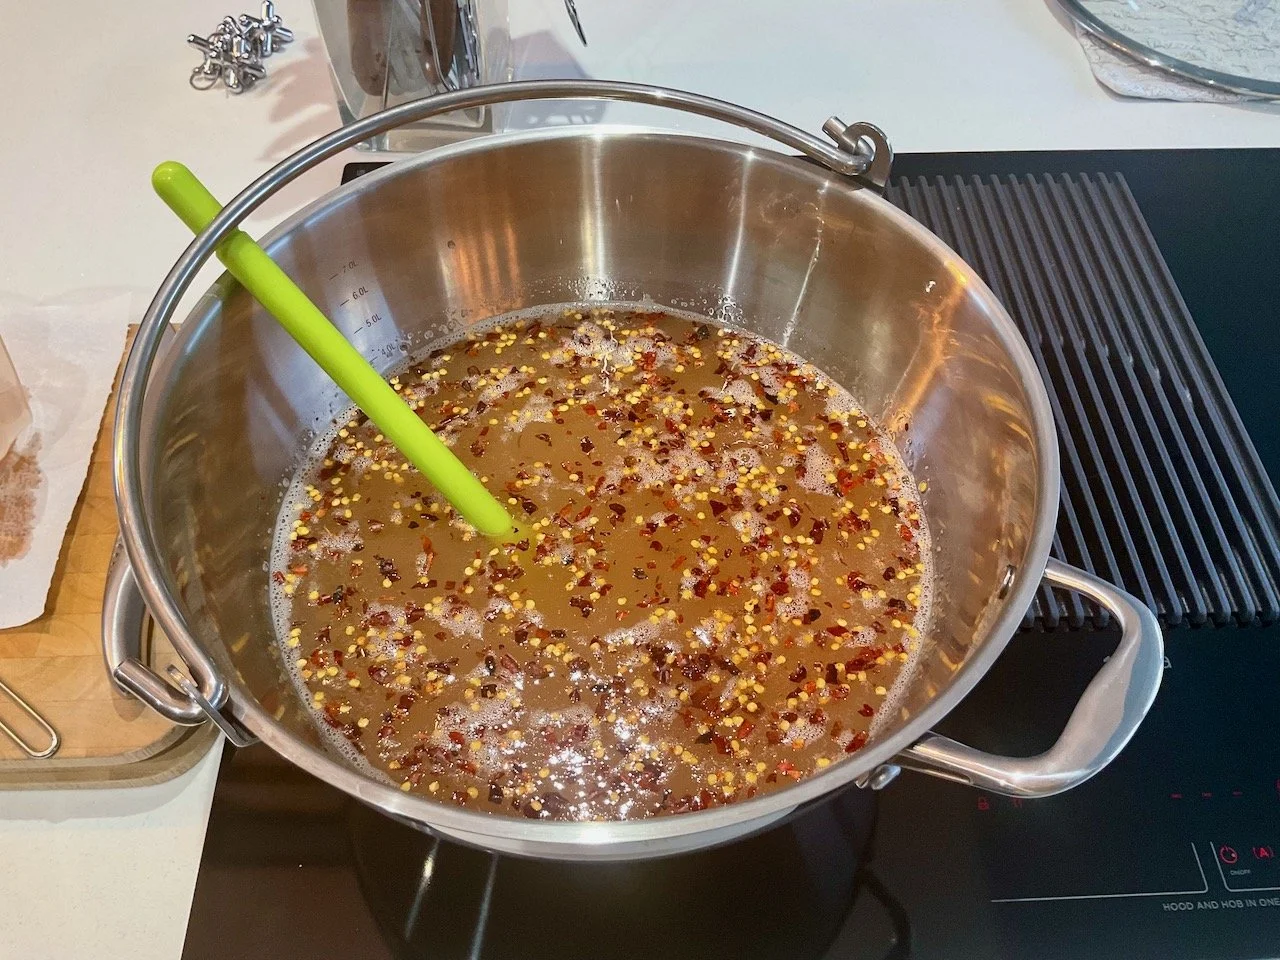
I brought the apples and water up to the boil, then added the cider vinegar and boiled until it was at the jam setting temperature on my jam thermometer (another piece of kit that makes preserving so much easier, and takes the guess work out of is it set or not, and without a cold saucer in sight).

Onto the straining

I’d read that I must avoid the urge to squeeze the bag if I wanted to have a clear jelly, so I did and MOH was under strict instructions not to dabble with it either. And we did good, but the set-up was much taller than I’d expected so there was no way that I’d be lifting the large preserving pan and pouring the hot apple mixture into my strainer.

The jelly strainer full of apple mixture straining into a bowl below

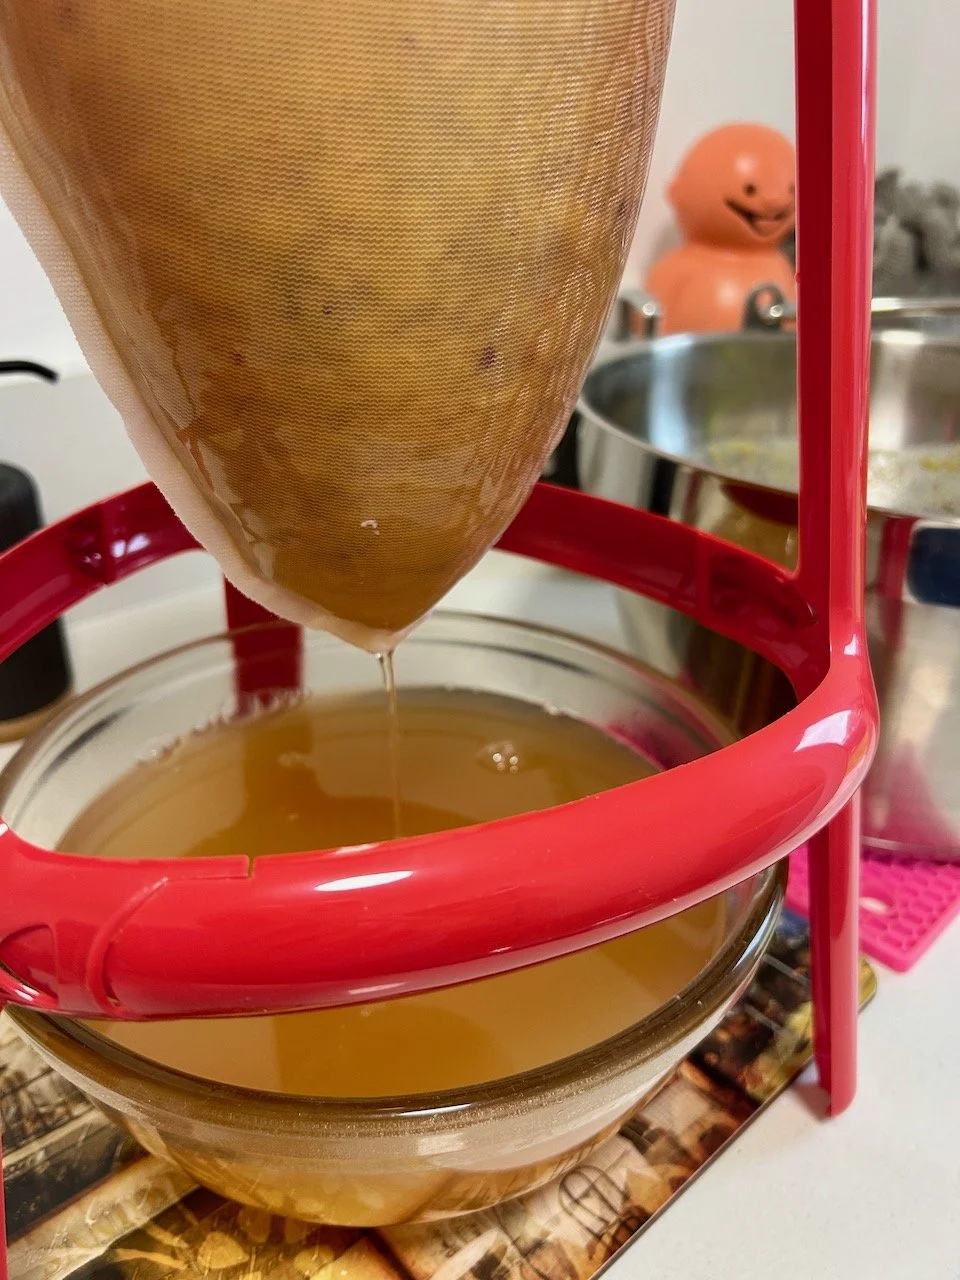
Well some creative thinking was needed, and out came the kitchen steps, the ladle and a jug. And it worked. Phew.

Then I realised that my large bowl was already filling up and I’d not even added all the apple mixture yet.

eek - the first bowl under the jelly strainer is almost full!

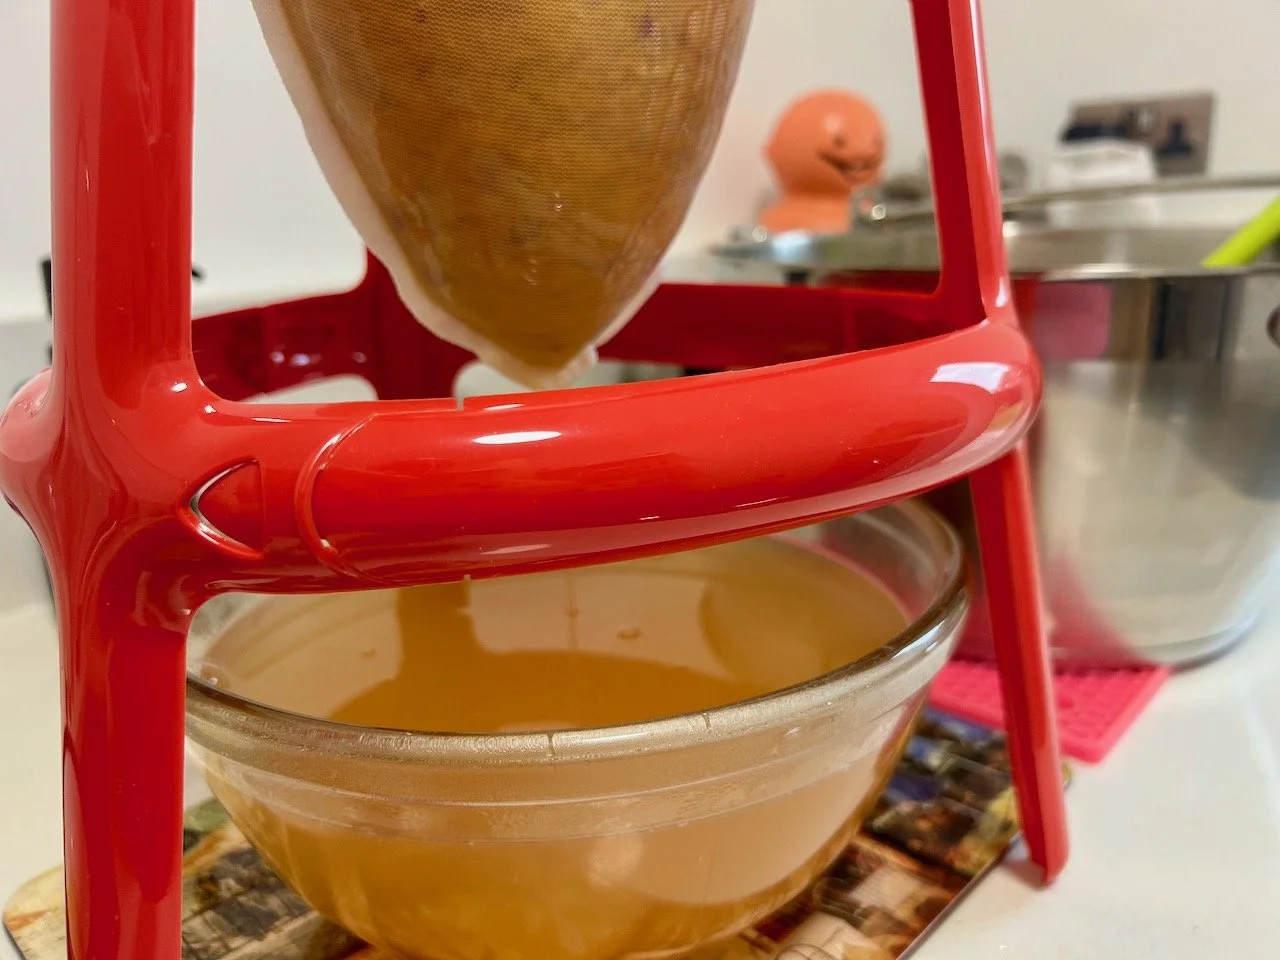
I’m so glad that I’d put some table mats under the jelly strainer as this helped me switch out the almost full bowl for its replacement, while the liquid happily continued to drip (well stream) through.

Phew - a new bowl under the strainer with the full bowl in the background

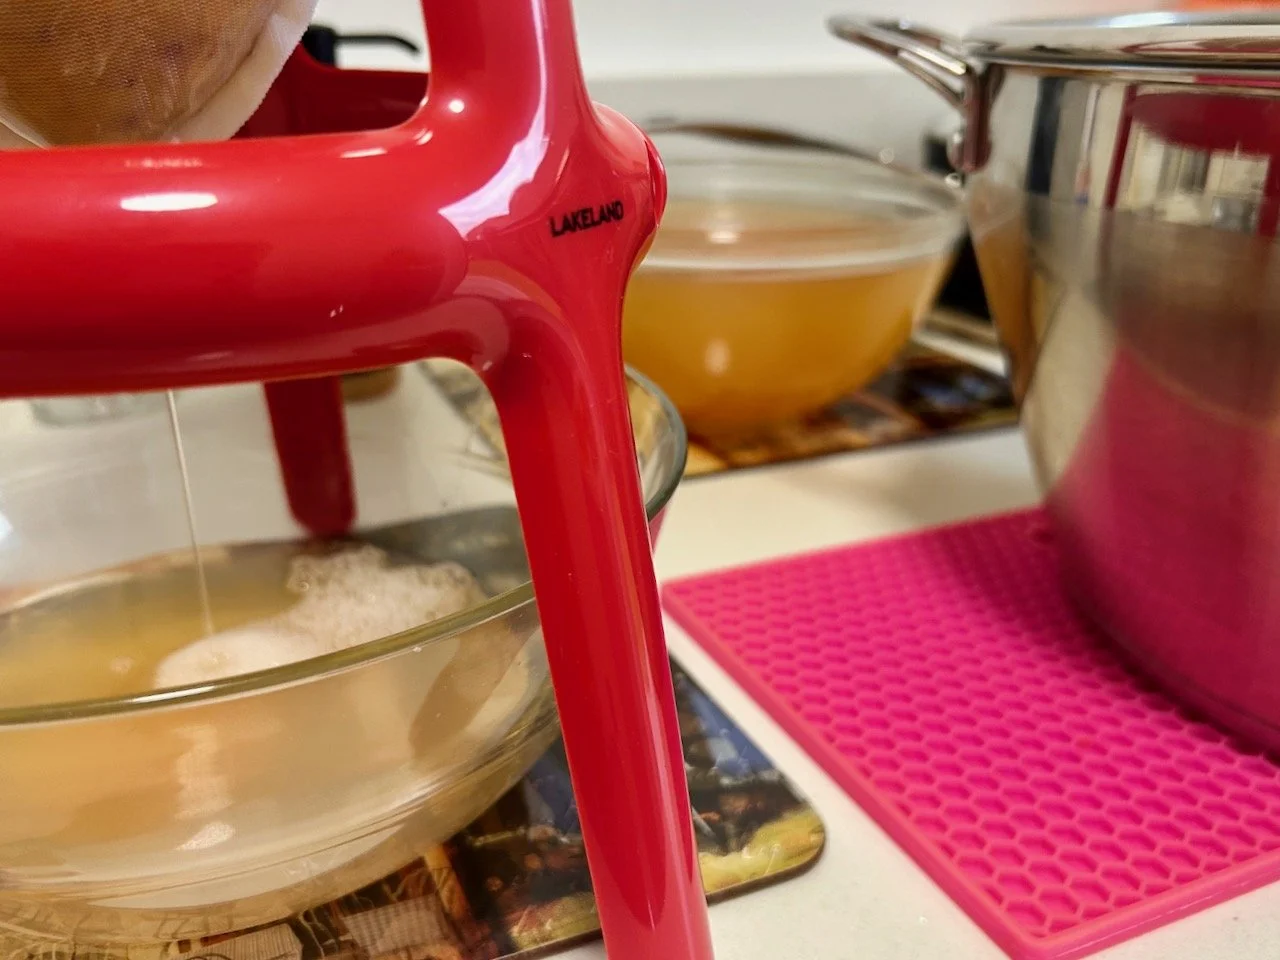
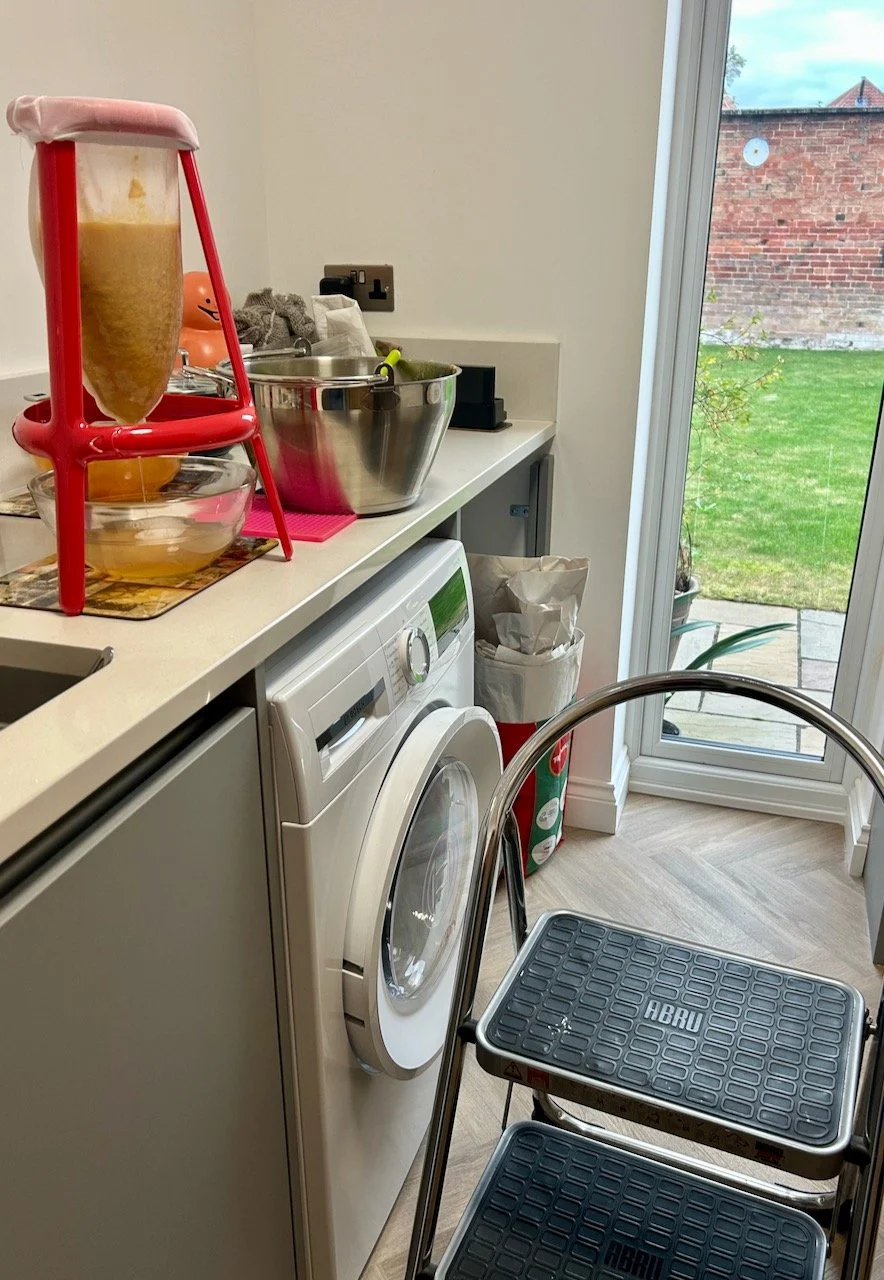
And so I left it to strain overnight, fairly confident that this bowl wouldn’t fill or overflow - and thankfully it didn’t. The jelly strainer didn’t collapse either, so that was double good news the next morning.

Adding chilli flakes

I’d originally bought fresh chillies but in the wait for the jelly strainer we’d used those but I’d seen in other recipes some used chilli flakes so that became my plan. The apples were supposed to yield about a litre of liquid, but I had double that - so then my dilemma was how much chilli flakes to add.

The strained liquid with sugar and chilli flakes added - back on the hob

In the end I added a couple of tablespoons along with the sugar and hoped for the best taste-wise.
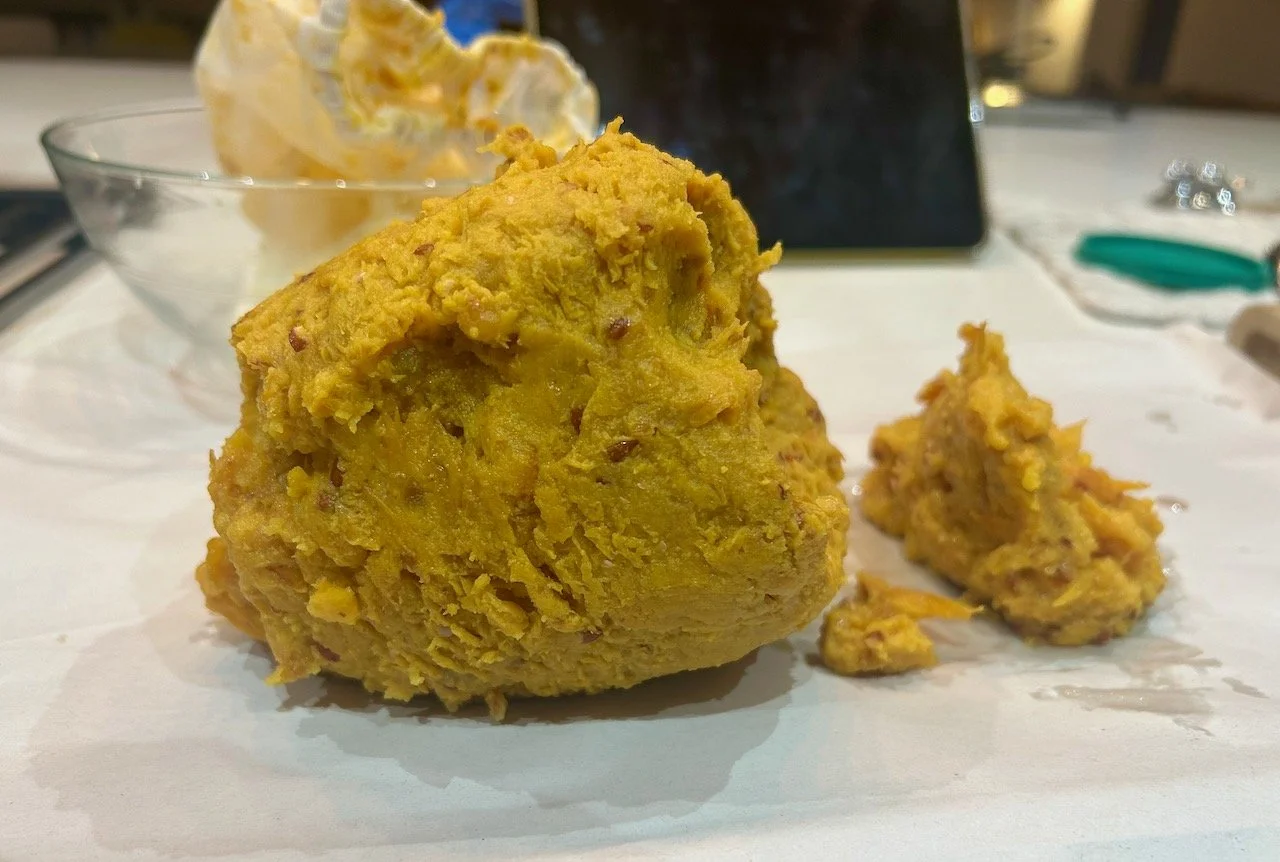
The pulp

I was curious to see what was left from the overnight straining - and it was a soft but shape holding mush of apples. I’m sure this could be composted, but mine went into the green bin (which is actually brown).

The remaining apple pulp after straining

Jewelled jars

My next decision was to gauge how many jars I’d need, and given that I had more liquid I realised I’d need more than I first thought. So I got what I thought I’d need and a couple extra - in the end I used all nine jars (of various sizes) filling them with the jewelled hot and sticky jelly.

jars of red jewelled chilli jelly

Doesn’t it look fab?

As a fair few chilli flakes were left behind or removed when I skimmed off the froth I decided to add a whole dried chilli into the jars. This wasn’t as successful as I hoped as it floated to the top and isn’t visible from the outside - but it will be a surprise for the recipients, and will hopefully build a depth of flavour as the jelly stores.

It tastes pretty good too, as well as the nine jars I had enough for a small plastic tub which is in the fridge and very much in the 'eat now’ category. We’ve had it with cheese, cold meats and in sandwiches - but I think you could use it alongside sausages, and anywhere you’d use condiments such as redcurrant jelly, and I’m looking forward to adding some to gravy too.

We had enough crab apples to make even more, but my jar situation so far is severely lacking and in that time our apples have gone over - the tree has shed its leaves, and the apples are riper than I’d want to use. But there’s still a chance I may make a slightly different variant using some local Bramleys instead - watch this space…

Bagels, cream cheese & jam

Back in the day when MOH and I got together, and when we were ‘commuting’ between our respective houses one of MOH’s specialities was a bagel, cream cheese and blueberry jam. Something I’d not had before, but it was quite a hit. Initially this became a staple weekend breakfast, but over the years somehow it’s fallen off our radar, and I’m not really sure why.

Sometimes though life reminds you of these things, and circumstances even align. That’s exactly happened last week and resulted in a throwback breakfast, and very tasty it was too.

MOH had a planned trip to London, and as he would when we lived in Greenwich he stopped off at Brick Lane for some bagels. They really are the best, and I’ve an inkling that it was when we tasted these bagels (or beigels) that the shop bought bagels fell out of favour - there really is no comparison, trust me.

While MOH was in town I tested out my new preserving pan with the blackberries we picked from the local hedgerow following a recipe I’d tried before. I’m quite partial to a blackberry jam it seems, and had written about two on here before. This time I opted for the blackberry and lime jam, which simply adds lime zest to the jam mixture.

We picked about half a kilo of blackberries and that turned into two jars of jam - as you can see one’s a little larger than a usual sized jam jar, and there was also enough to fill a ramekin which we’d keep in the fridge and use immediately.

Two jars of homemade 'East Stoke Blackberry & Lime Jam' in my kitchen displayed on a patchwork home sewn reusable kitchen towel

MY HOMEMADE BLACKBERRY & LIME JAM PICTURED ON ONE OF MY NEWEST SUSTAINABLE ‘KITCHEN TOWELS’ MADE FROM MY WONKIEST PATCHWORK BLOCKS AND OLD TOWELS SEWN TOGETHER. PRETTY AND PRETTY USEFUL TOO!

Surplus homemade jam in a ramekin for immediate use, and a jam covered teaspoon on the breadboard

So with MOH bringing home the bagels, and my afternoon jam making - all I needed was some cream cheese, which fortuitously I had in the fridge. (It’s a great fridge standby and as well as on bagels, it’s also good for pasta and to make a quick cheese sauce for cauliflower cheese or lasagne - and it usually has a long ‘use by’ date too).

A bagel cut in half with each half topped with cream cheese and homemade blackberry & lime jam - yum!

So Brick Lane bagels, cream cheese and homemade blackberry and lime jam (not the blueberry jam we used to have, but close enough) and what a breakfast it was. The jam even solicited unprompted praise from MOH, so a result!

Isn’t it great when circumstances align?

PostCommentLove

Drying bay leaves

It seems funny to be writing a post sharing drying bay leaves on the day when we have finally got some proper rain here, but it’s a good as time as any. And by proper rain, I mean that is actually collecting in the trugs and watering cans I’ve left out specifically to catch the drops. Up until today, we’ve had some drizzle and light showers, but nothing that even covers the bottom of the smallest garden trug. Like many areas, the rain is much needed so hearing it about 3am this morning it was good to know that the forecast had finally come true. One spell of rain won’t fix the current issues, or the drought, but it is a most welcome start. Ironically, our hosepipe ban came into place yesterday…

But anyway on a much sunnier day last month I took my pruning shears to our two bay trees. They used to be in a similar spot in the garden, but somehow had got split up with one finding itself under more tree cover than the other. As a result this one was much leggier, and the leaves less dense - and it was in need of a good trim.

A pile of bay leaf prunings on a garden table

And there were too many leaves to just compost. The less-nibbled and better leaves were saved and washed so they could be dried, and with a needle and some offcuts of embroidery thread I had a mindful morning threading leaves into the very simplest of garlands ready for drying.

A takeaway tub of washed bay leaves, sewing notions and the start of a string of bay leaves on a garden table

Previously when I’ve done this the weather has been less than constant, but this year with heatwave following heatwave, I confidently hung each mini ring over the willow spokes on our fence. It was only when I stepped back that I realised together they had created a festooned effect.

strings of bayleaves drying on a willow fence, looking like a garland

And yes, that’s a lot of bay leaves. My plan is to share the small garlands with family and friends, though I need to get better at remembering to take a bunch or two with me when we go visiting!

Holding up the dried bunches of bay leaves (garden in the background)

They’ve dried really well - as you’d expect with the weather we’ve been having, but I didn’t want them to get too dry. So they’ve been brought inside and have hung briefly on the dresser before being stored in air tight containers. So now I’ll have to redouble my efforts to remember to distribute them!

The dried bayleaves hanging on the dresser handle

Uses for bay leaves

As well as using dried bay leaves in stews, sauces and stocks to add earthy flavours, I also use bay leaves:

  • when boiling or steaming vegetables or fish,

  • in bags of flour to deter mites, and

  • on the barbecue with new potatoes, alternating potatoes and bay leaves.

I’m sure there’s many other uses for this versatile plant, let me know if you have a favourite way of using bay leaves and if you dry herbs from your garden.

I was featured on Blogger Showcase