


Earlier in the year I shared my non-quilt sewing plans for the year, and in that post I said I preferred that phrase to other makes, but here I am talking about other makes again - what’s going on? Well, I’ve realised that ‘other makes’ while it isn’t great does mean I can share non-sewing makes too.
So for the time being, and until I can find a phrase I prefer, I’m sticking with other makes for these quarterly updates. They will most likely be predominantly non-quilt sewing items, but there may be crochet makes too (spoiler, there is a crochet make in this update)
So let’s see how I’m doing on the plans I set out
1 Pouches
I’m glad I put this at the top of the list as I’m pretty sure in every update I post I’ll have made a pouch (or two, or more). And I have, they continue to be something easy to make (mostly) and quick to put together (again mostly).
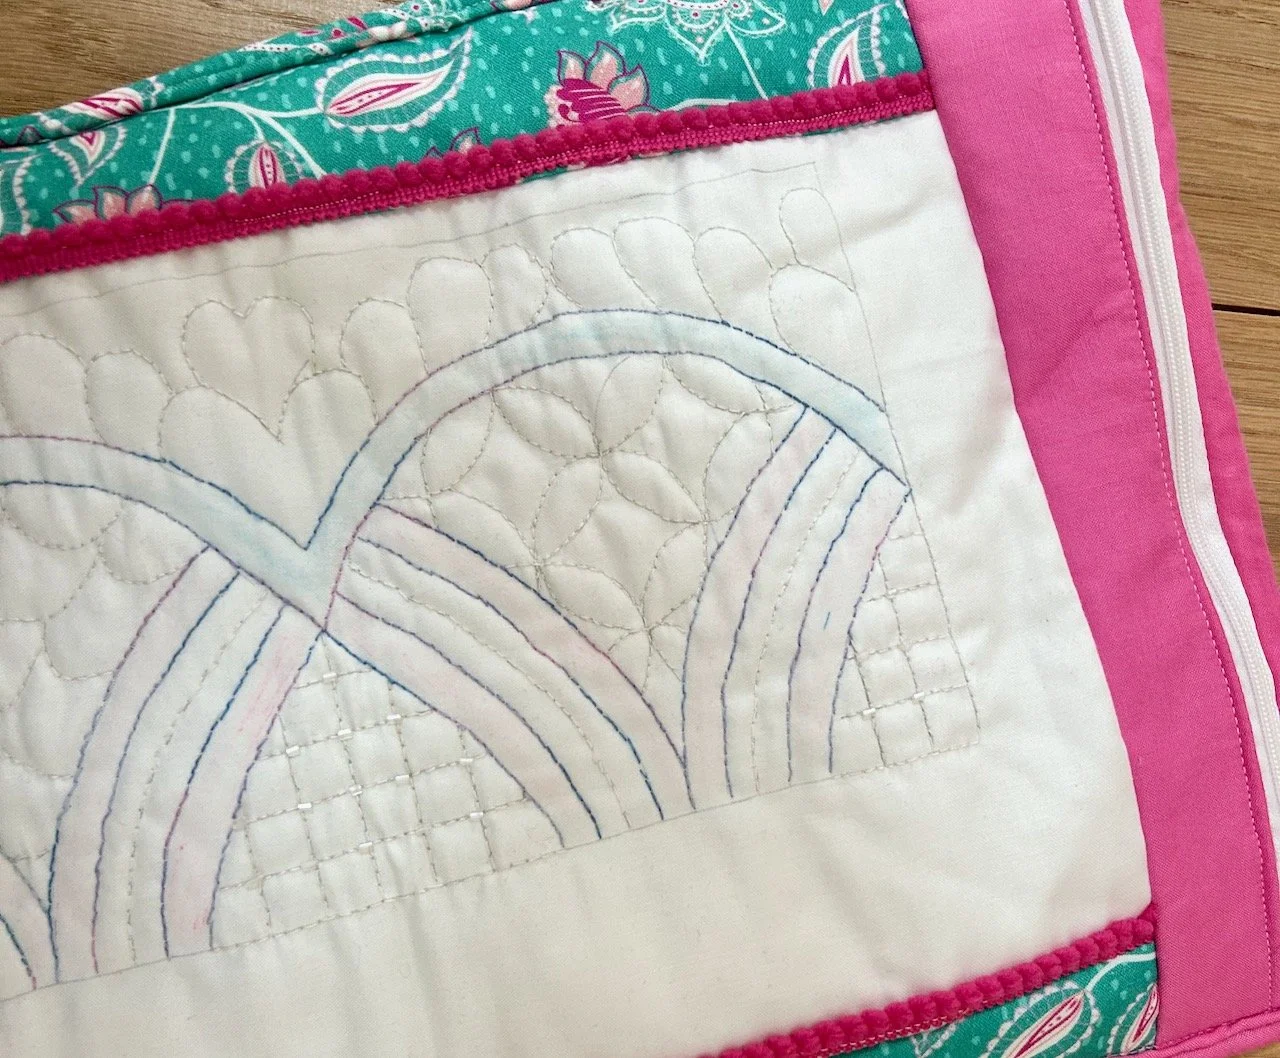
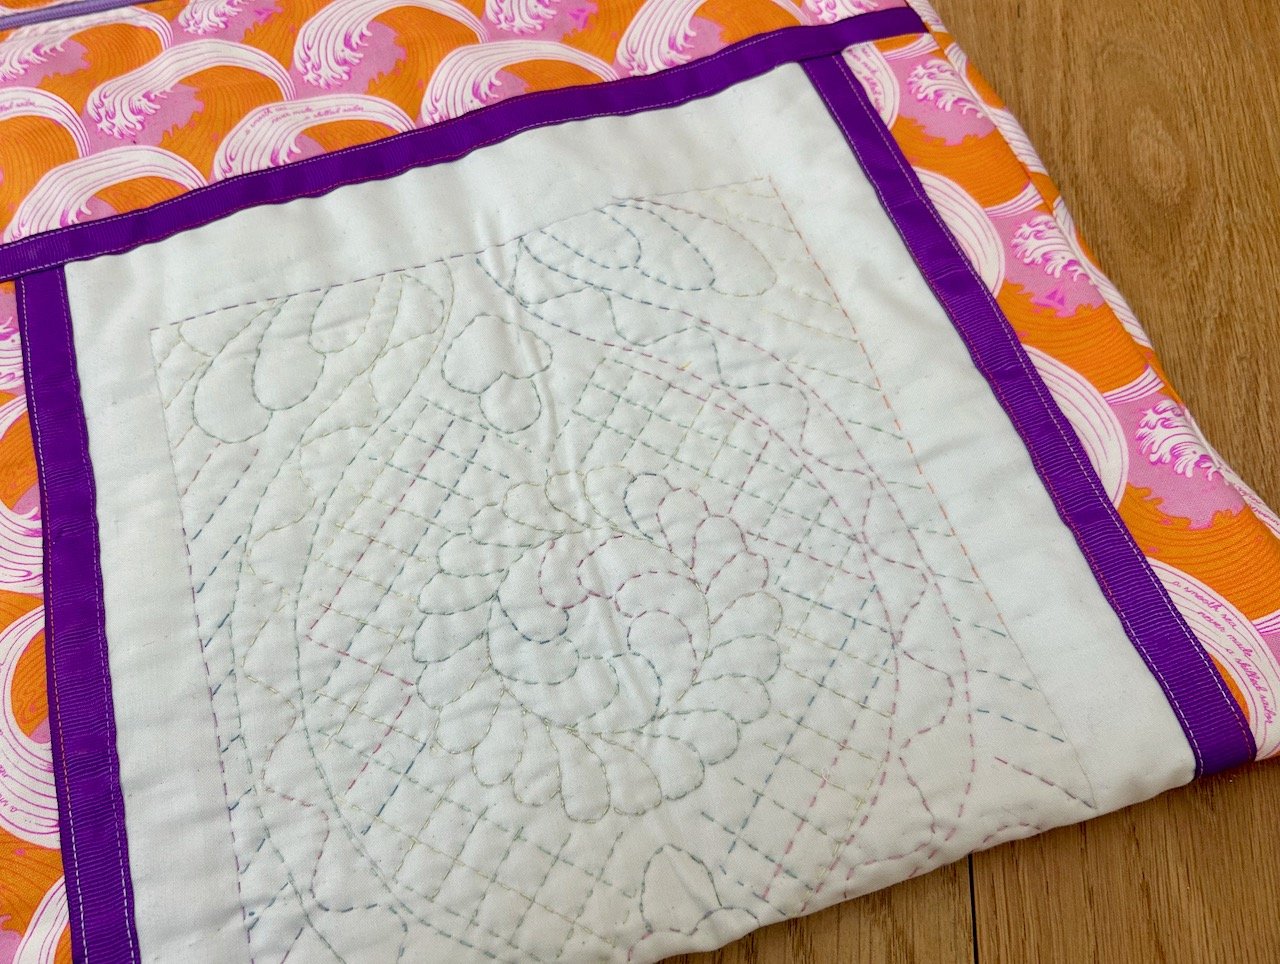
Some may take a while to get finished, especially when there’s some - or in this case - quite a lot of embroidery involved, and my tie up pink and orange pouch is one that fits into that category. It was worth the wait though, and while it hasn’t got much use yet it has been used, and it does do what I want (ie stop my hairbrush attaching itself to my clothes, and look prettier than a plastic bag).
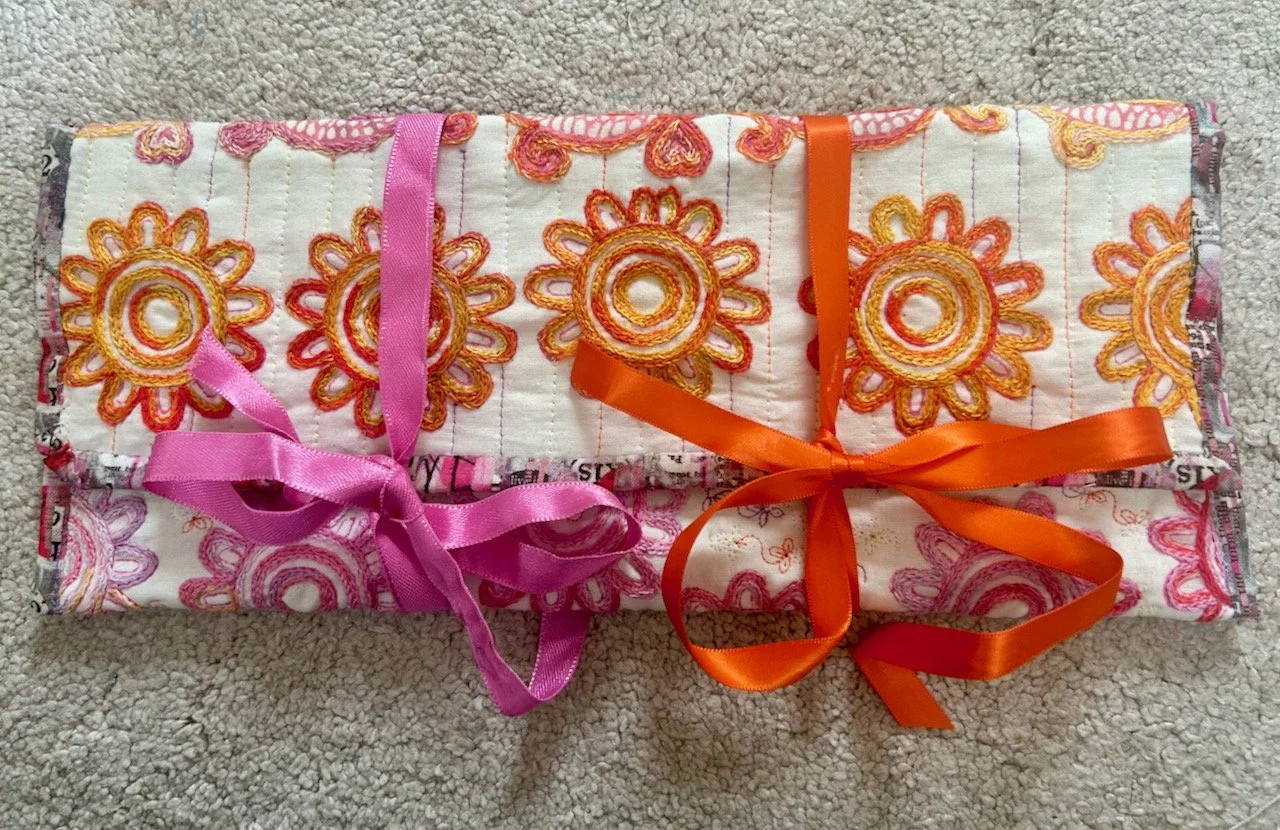
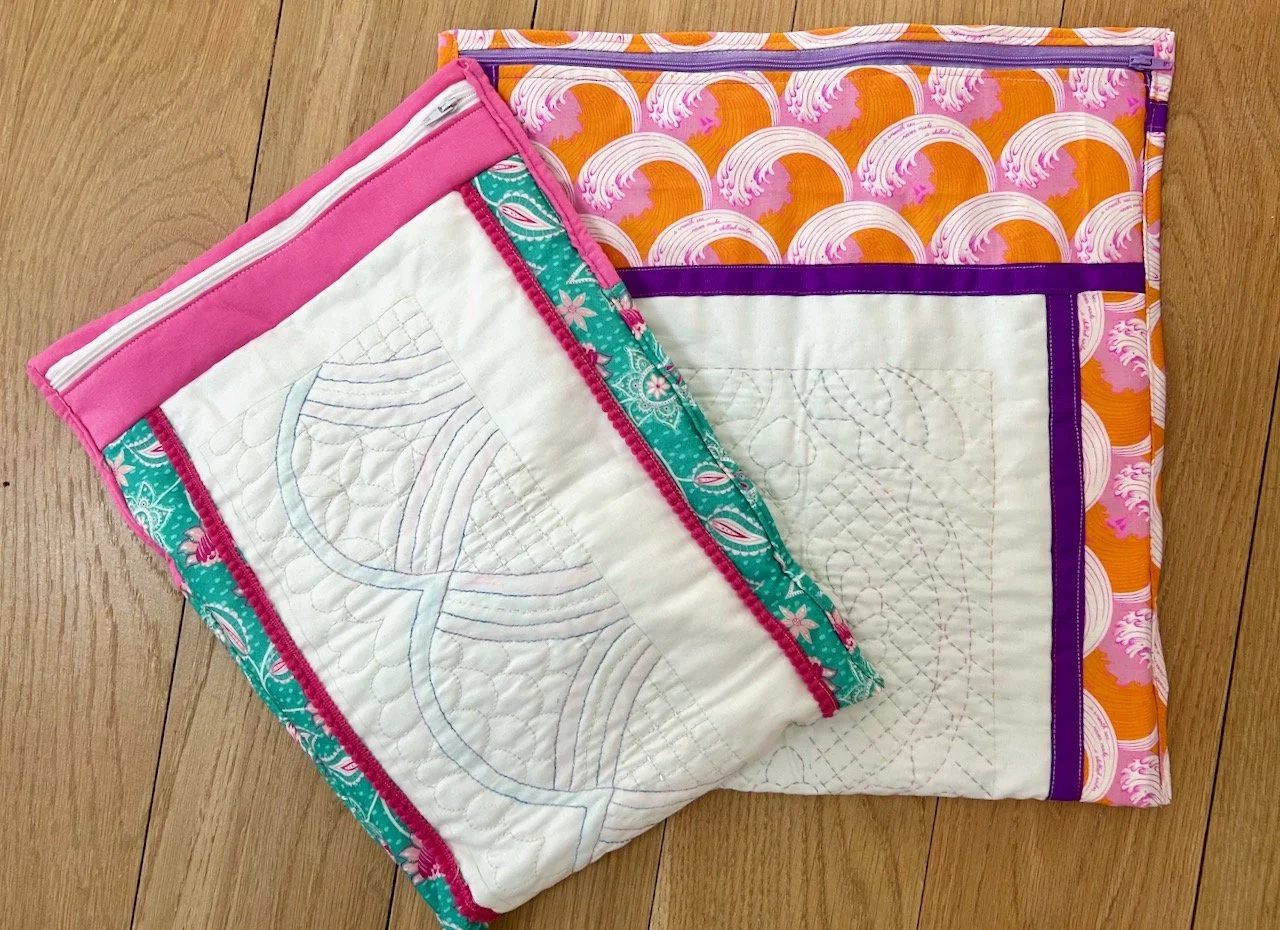
Another one (or two) that have been in the take a while to get finished category is the project bags that I made using mum’s embroidery. I only finished the larger of the two last week, but the other one is technically a 2025 make as I finished that last August. It’s weird though as I had no real reason to put off making the orange one, but when I did I had the perfect variegated thread for it, the same one I used on the pink and orange pouch above, and yet when I first thought of making these that wasn’t even on my horizon. I guess I was meant to wait!
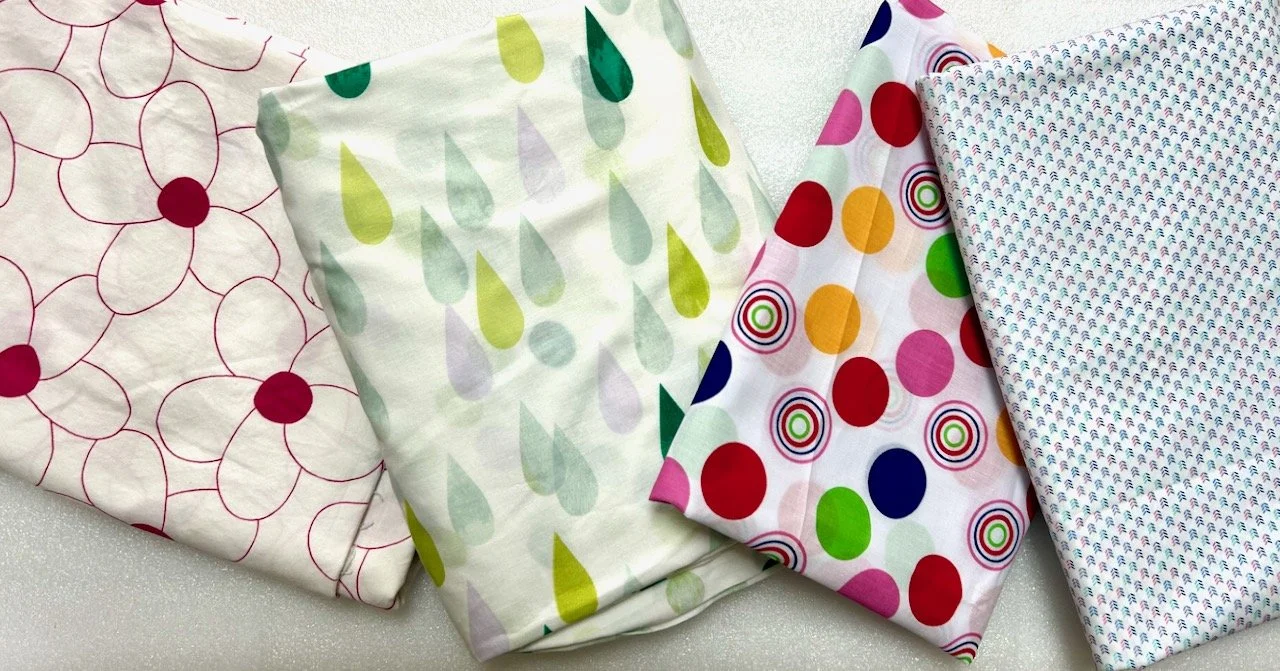
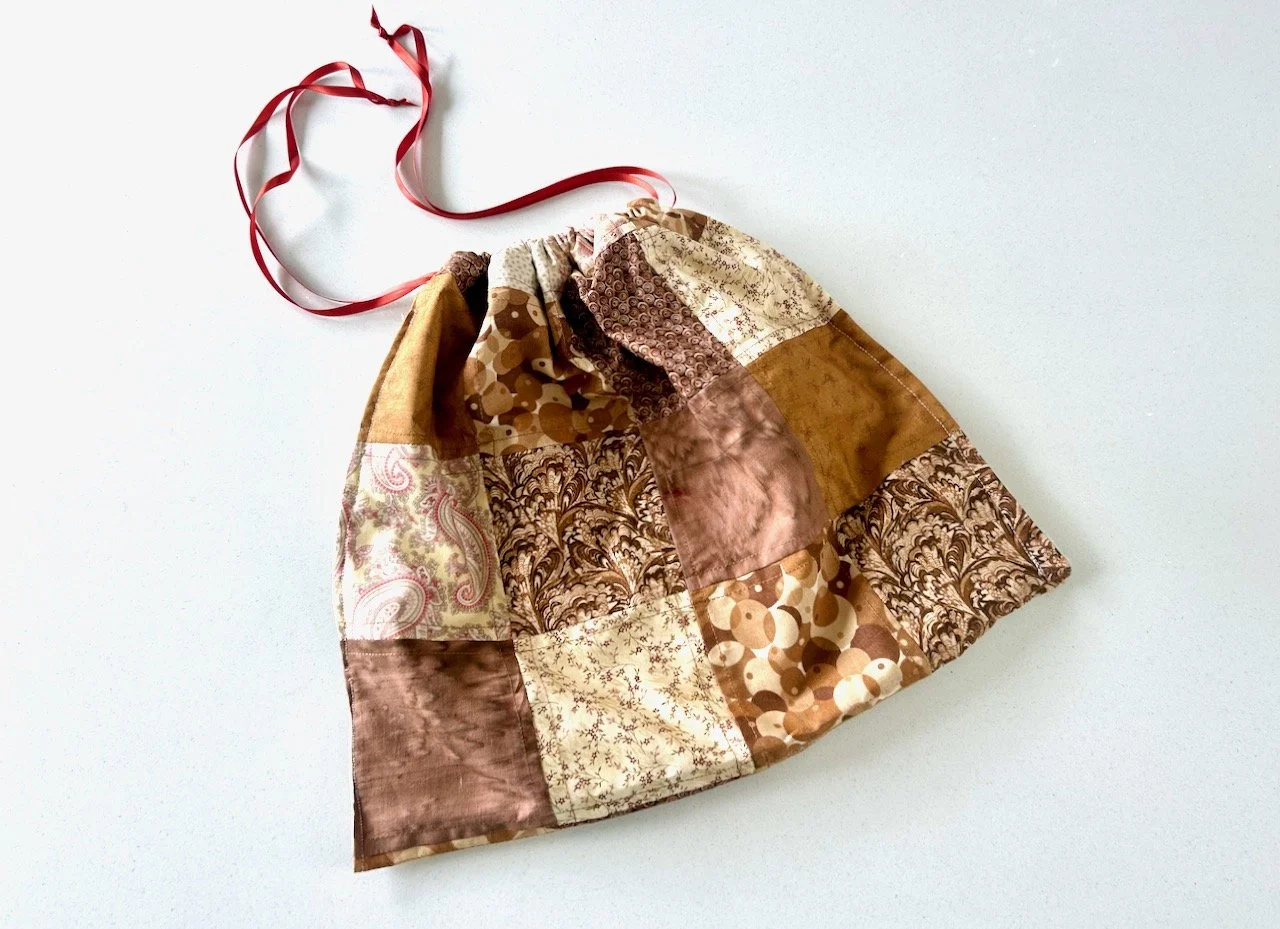
In my recap of last year’s makes I said I’d made some pouches as Christmas presents, well in a rare moment of tidying up in my craft room I found the leftover material, so rather than put it back in my stash I decided to piece it together to make myself a small pouch as I know at some point I’ll find a use for it.
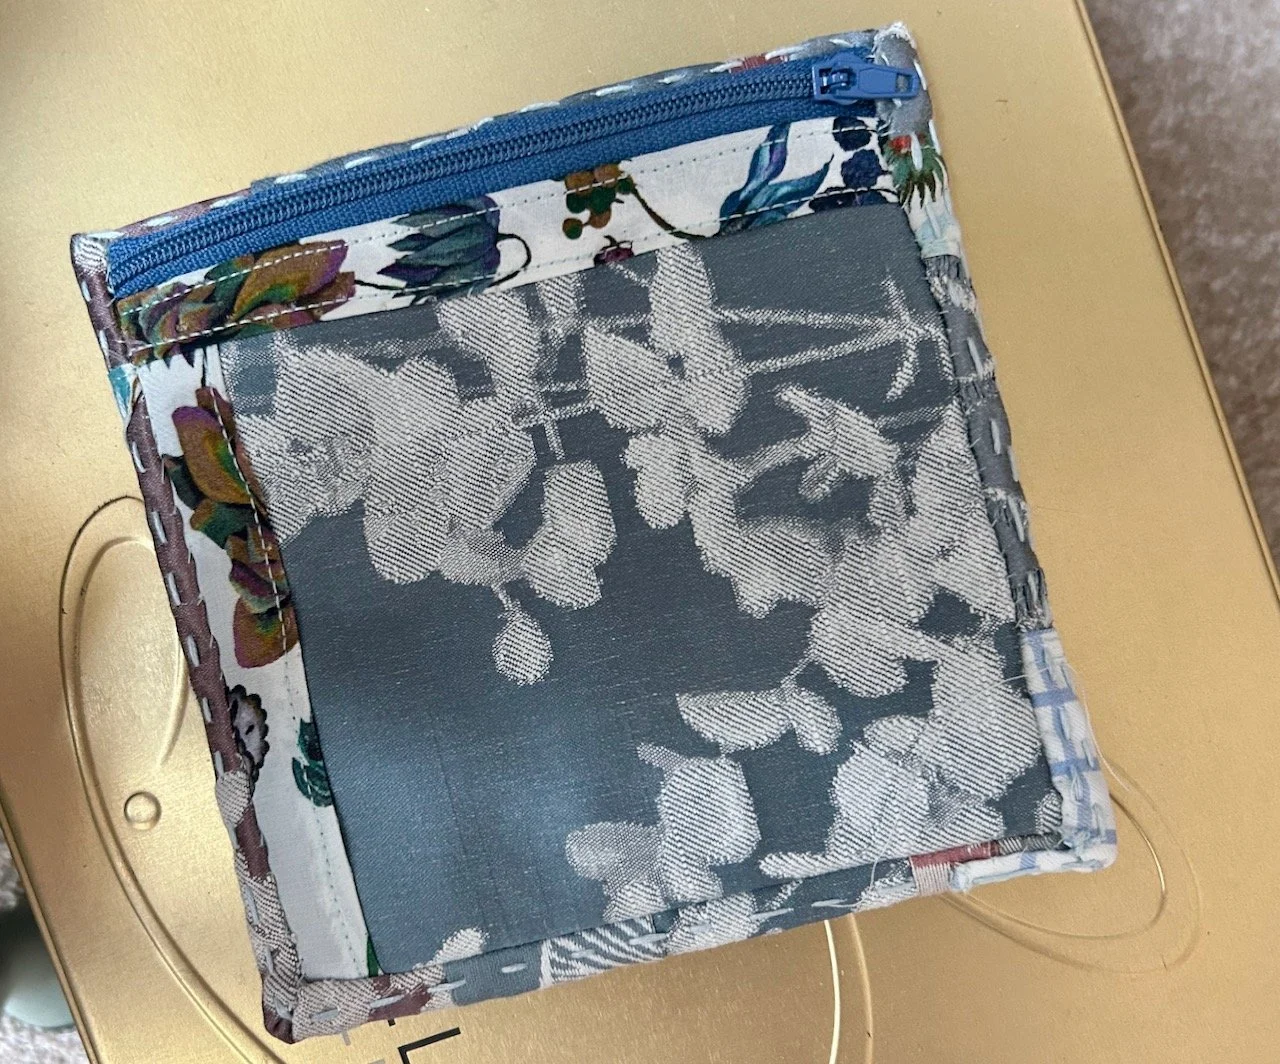
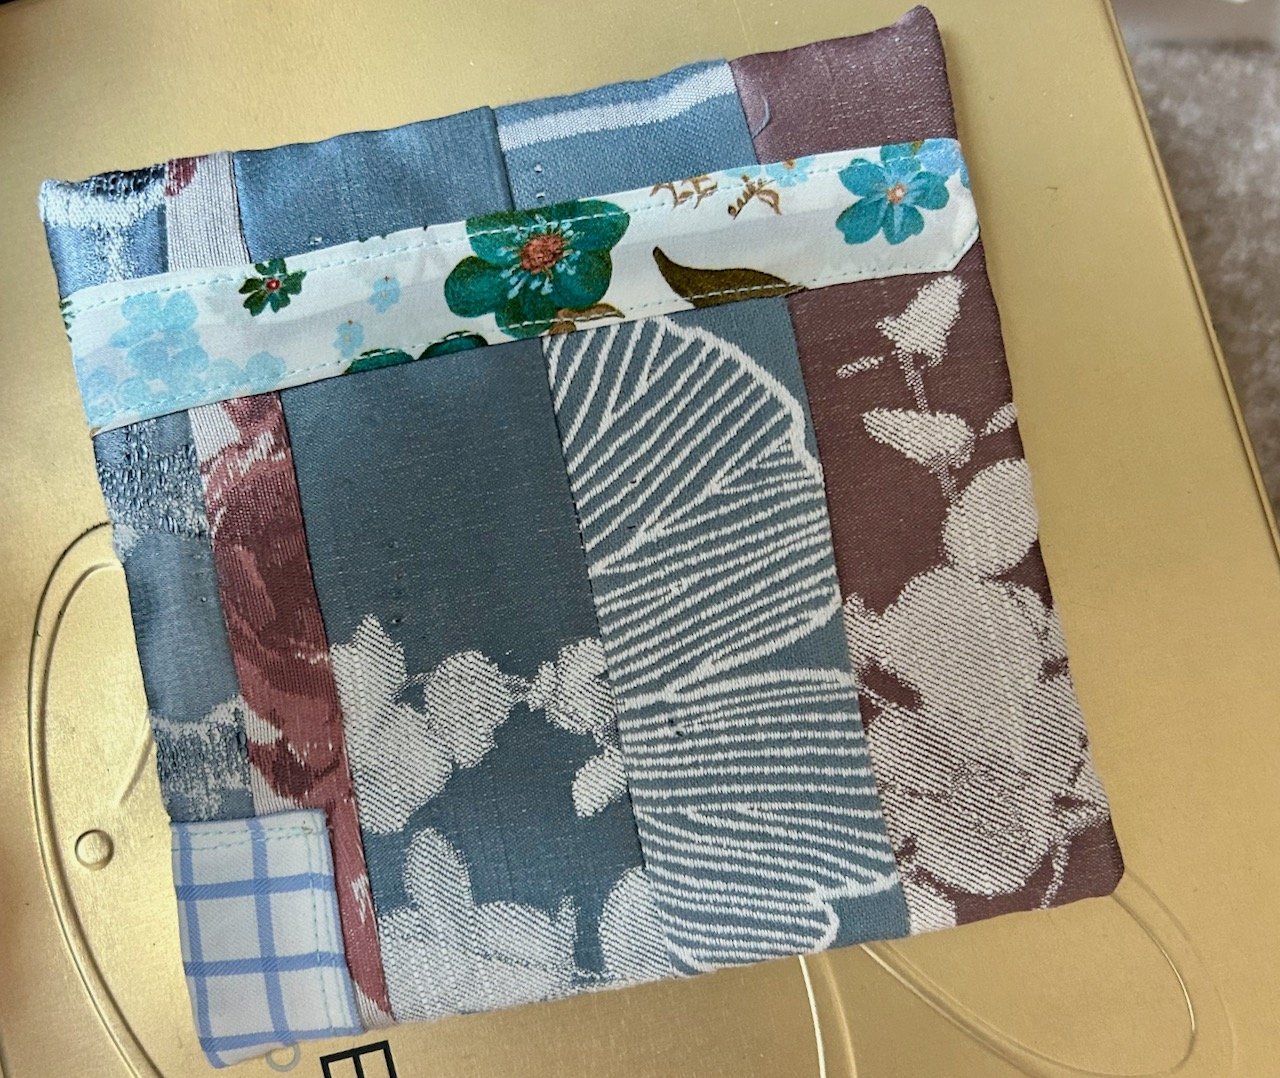
I love how the fabrics go together, and how I’ve a memory of the pouches I’ve gifted.
2 A ‘take to’ sewing case
Nothing to see here, but I’ve chosen my fabric and got the supplies. And typically, I’m planning further additions without even starting the first one yet.
3 A bag or two, or more
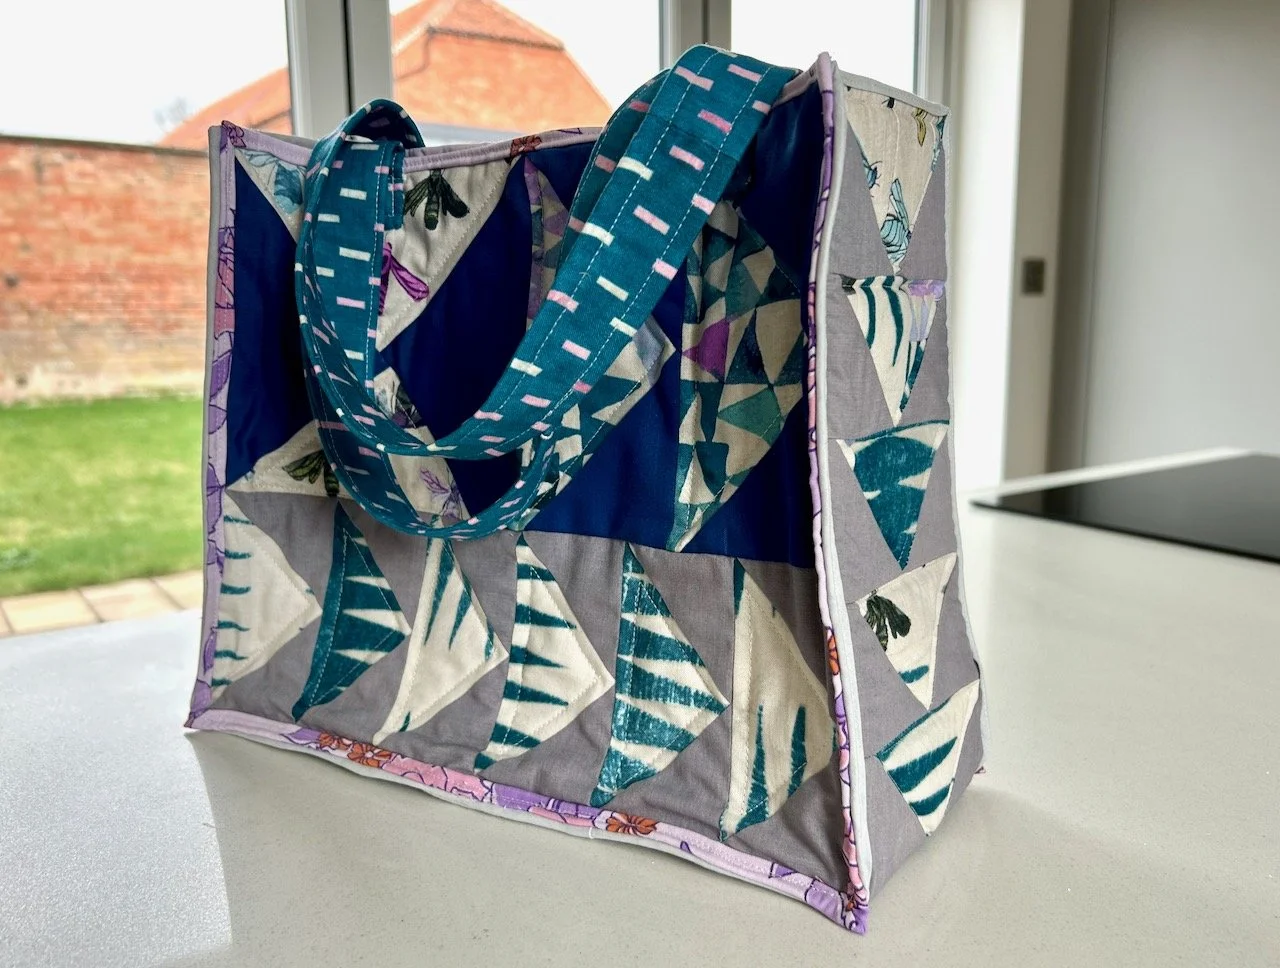
I’ve added a couple of bags to my collection, one sewn, one crocheted. I made most of this Flying Geese bag one weekend when I’d planned to be at a patchwork group meeting but for one reason or another I didn’t get there. I’ve used it and it hasn’t fallen apart, which is always a plus. In fact recently it’s been used over and above its original intentions and I’ve used it to carry craft supplies and more, including my packed lunch for a non craft group event. I think I could be making another..
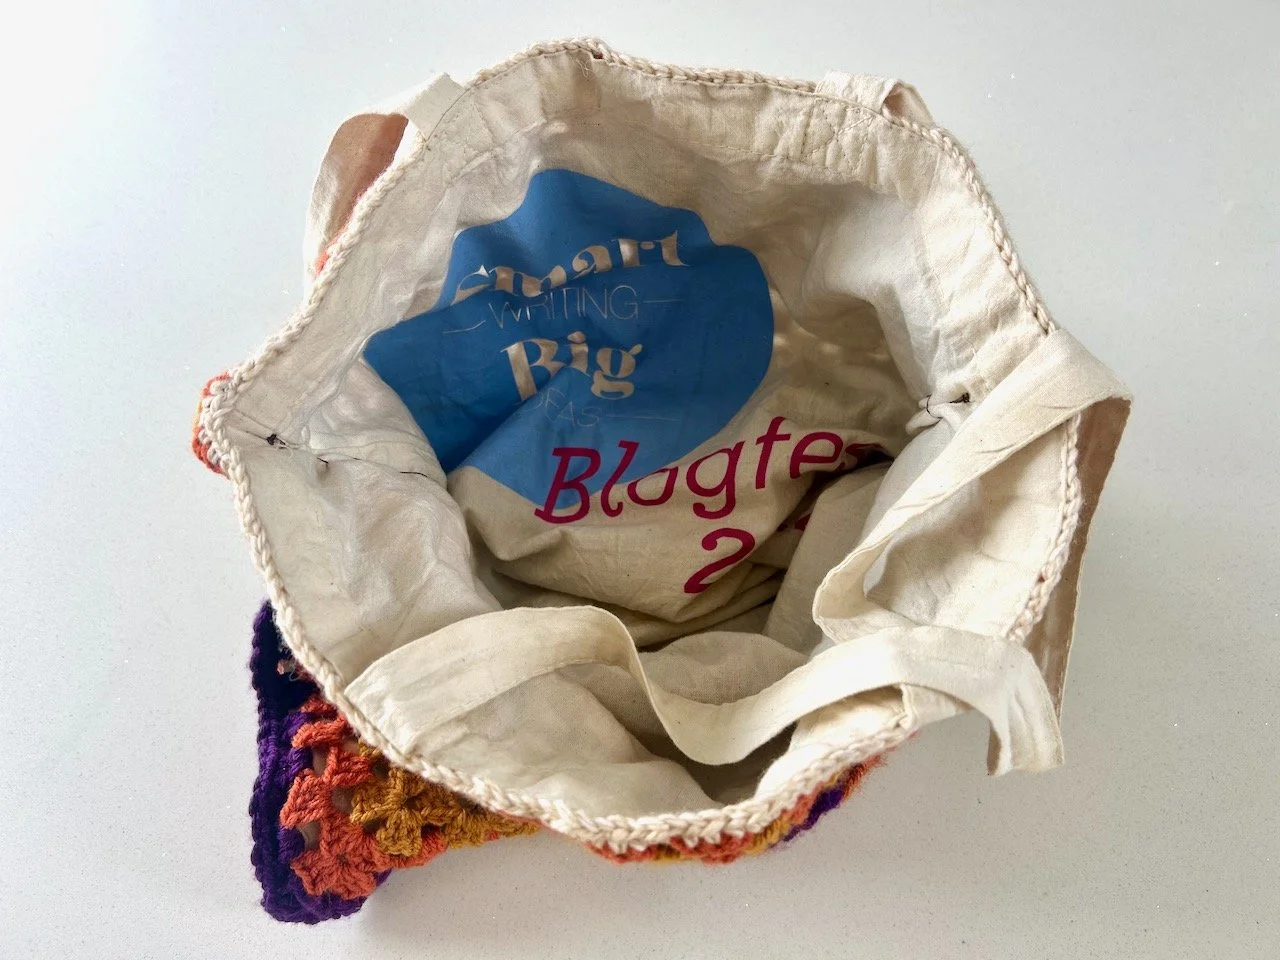
And I’ve repurposed a tote bag making my crochet bag for crochet. The downside is that I need to find myself a new crochet project to take to my crochet group!
4 Experimental and sewing for fun
The miniature makes that I shared in March were both experimental and practical. They started trying out if I could make a smaller pouch, how the bag lining would quilt and using up some square scraps from my block of the month quilt, and using those to become practical items - so these also cover number 6 below.
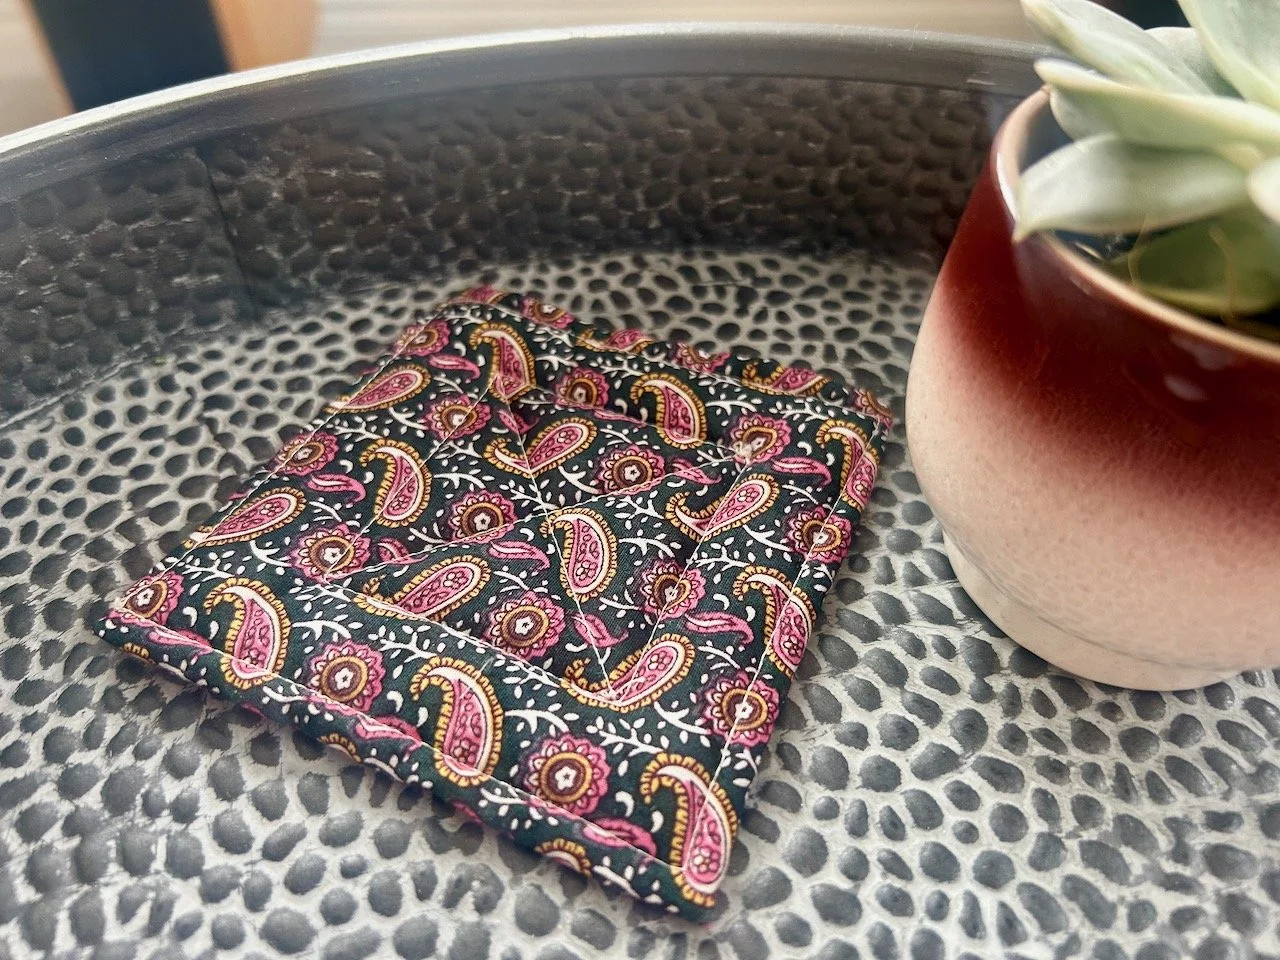
I’ve also tested out different quilting approaches, but as yet I’ve not put that into another make but I’m sure its time will come.
5 Patchwork design boards
Nothing to see here either, but they’re still on the list. I’ve learnt that cutting the foam board will dull/blunt my rotary cutter, which isn’t great news - but in better news I found my old one, which still has a blade in it (which probably needs changing) so that may be the way to go.
6 Some practical household items
See 4 above.
7 Wearables
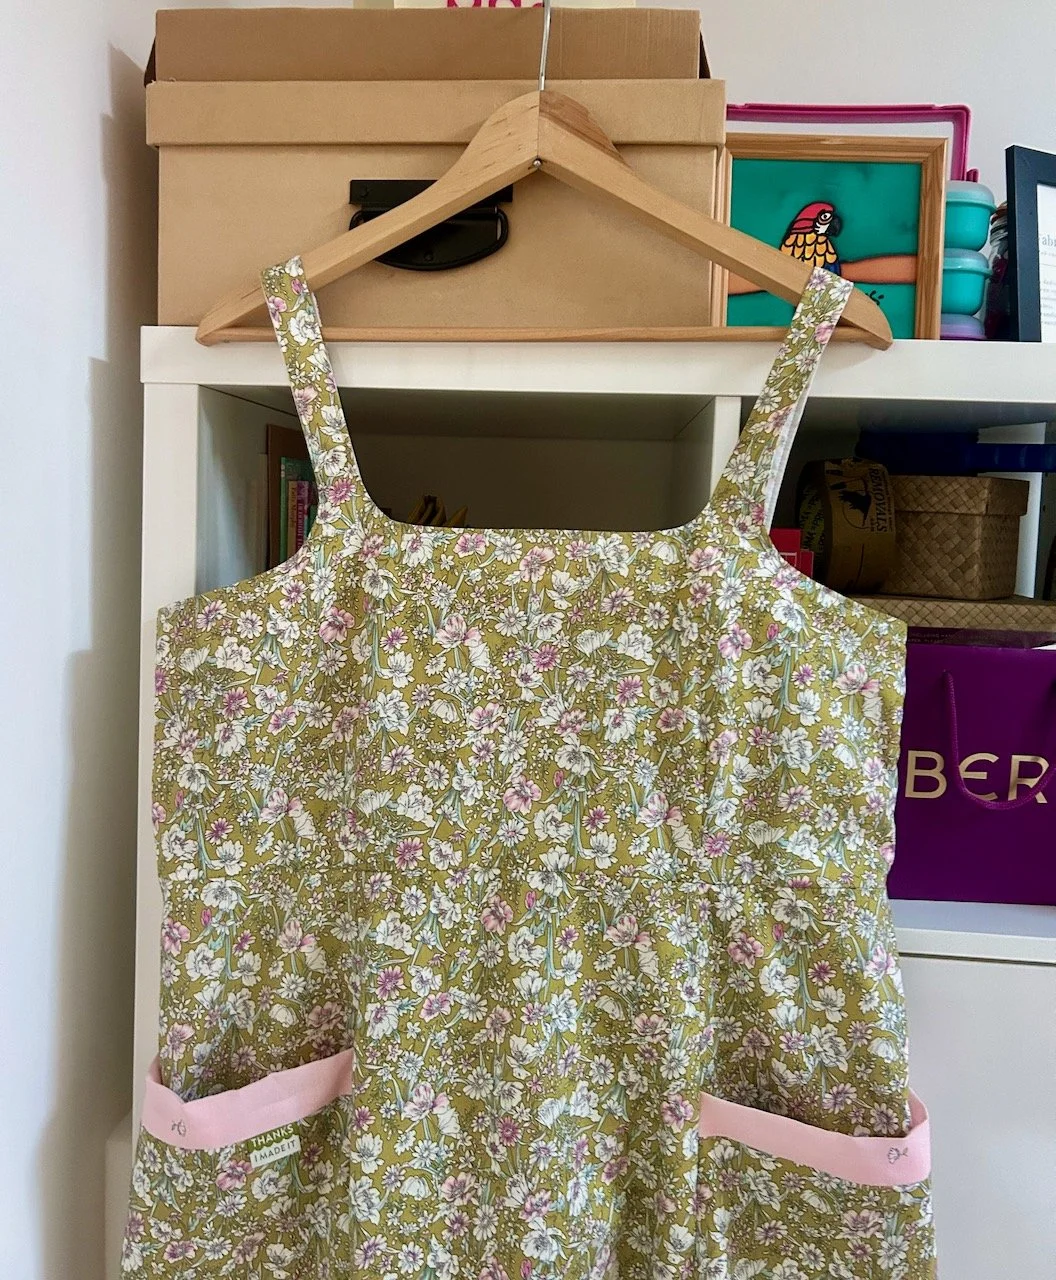
I’ve not made the progress I’d like on actually sewing my summer dressing gown, which is a shame as once again it’s that time of year when I really could do with it, maybe the weather will spur me on with that one soon. And always thinking ahead, I think I’ve settled on what I’d make next - another dress, but not the same style as before. I need to gee myself up for both of these though.
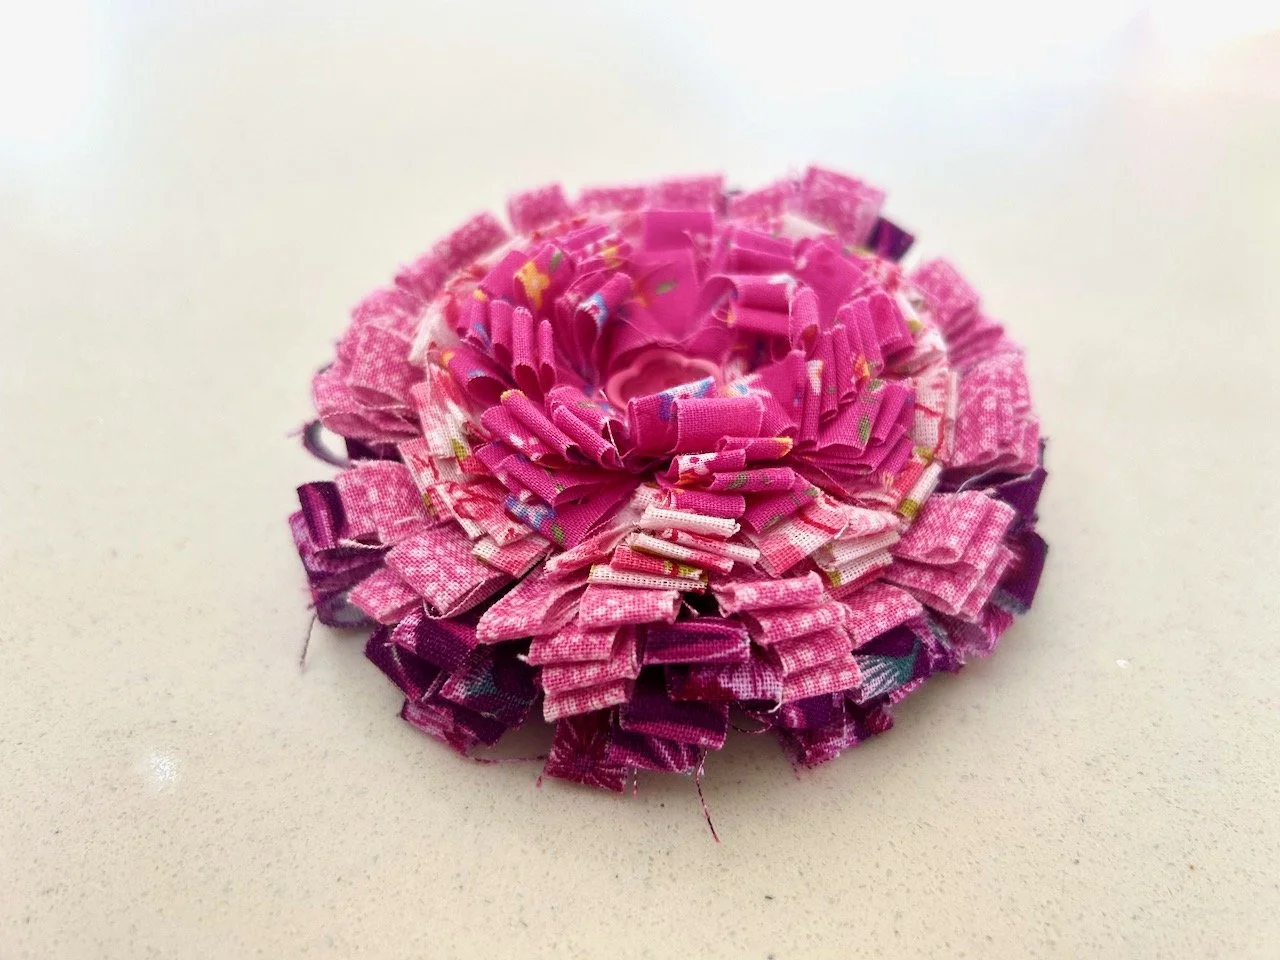
But in more positive news, this technically is a wearable as it has been worn so I’m including it here. It’s another rosette, and requested by mum, to wear at my niece’s wedding, and for my mum it was always going to be all the pinks.
So I have made things, but perhaps not as much or in as structured way as I thought - but hey, life and the distractions it brings! There will be more though, of that I’m pretty sure…