
I do like a list, and so once again I’m setting out my quilting plans for this year. After setting out my plans for 2025 I’ve learnt it’s a good way to keep me (broadly) on track, and to remind me of the things I actually want to achieve and sew throughout the year.
Last year I also learnt that sometimes my list might be a little too long and ambitious, but that once I’ve set myself a challenge (ahem stretch project I’m looking at you) then I’m loathed to quit. I also know that while I will still sew charity quilts, I won’t be doing one a month this year as there’s so much more I want to sew.
I still have a long list…
There are always ideas and projects bubbling about my head, and often my craft room, and it’s still hard to turn down a beautiful quilt, but I’m trying to keep this list as achievable as I can (for a change), though even now I think I may be adding to what I thought was my agreed in my head list. Oops.
I’m also including the quilts from last year which I didn’t get to (with updates since my quilty update in early February), and I’m ok with that as they are still quilts I want to make, so here goes…
1. The teal flying geese
It was on the list last year and it’s here again this year. I have the fabric, and still love it all, and the idea of a flying geese quilt despite patchworking friends raising their eyebrows a notch or two whenever I mention it.
While I tested making many flying geese blocks in my first charity quilt, I didn’t find the method completely foolproof. I knew I had some flying geese rulers on my pegboard which I’d never used, so I’ve recently set myself a challenge to master these - and I have (I’ll share how I got on with these in a post hopefully next week), so now I think this quilt will be an absolute starter (and hopefully finisher) this year.
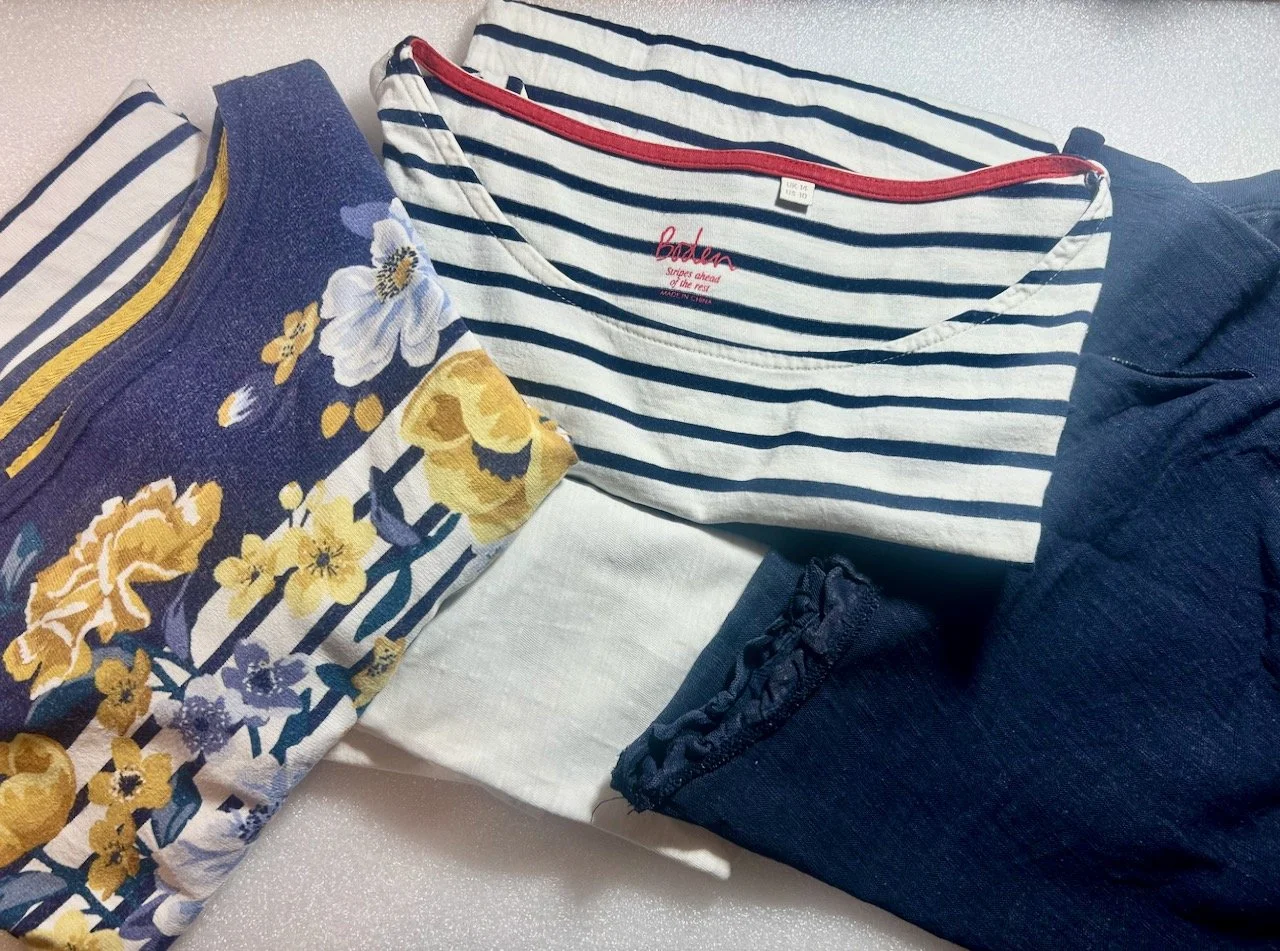
2. The jeans and pyjamas
Another one that remains from last year, and I think once it gets cut out then it’ll happen fairly quickly. I’m still planning to use old jeans and pyjamas for this, and its purpose will be to live in the back of my car. I’ve a feeling that this could be a condensed project for when I get a block of time to myself, and maybe secretly (or not so secretly now!) I’m willing that to happen.
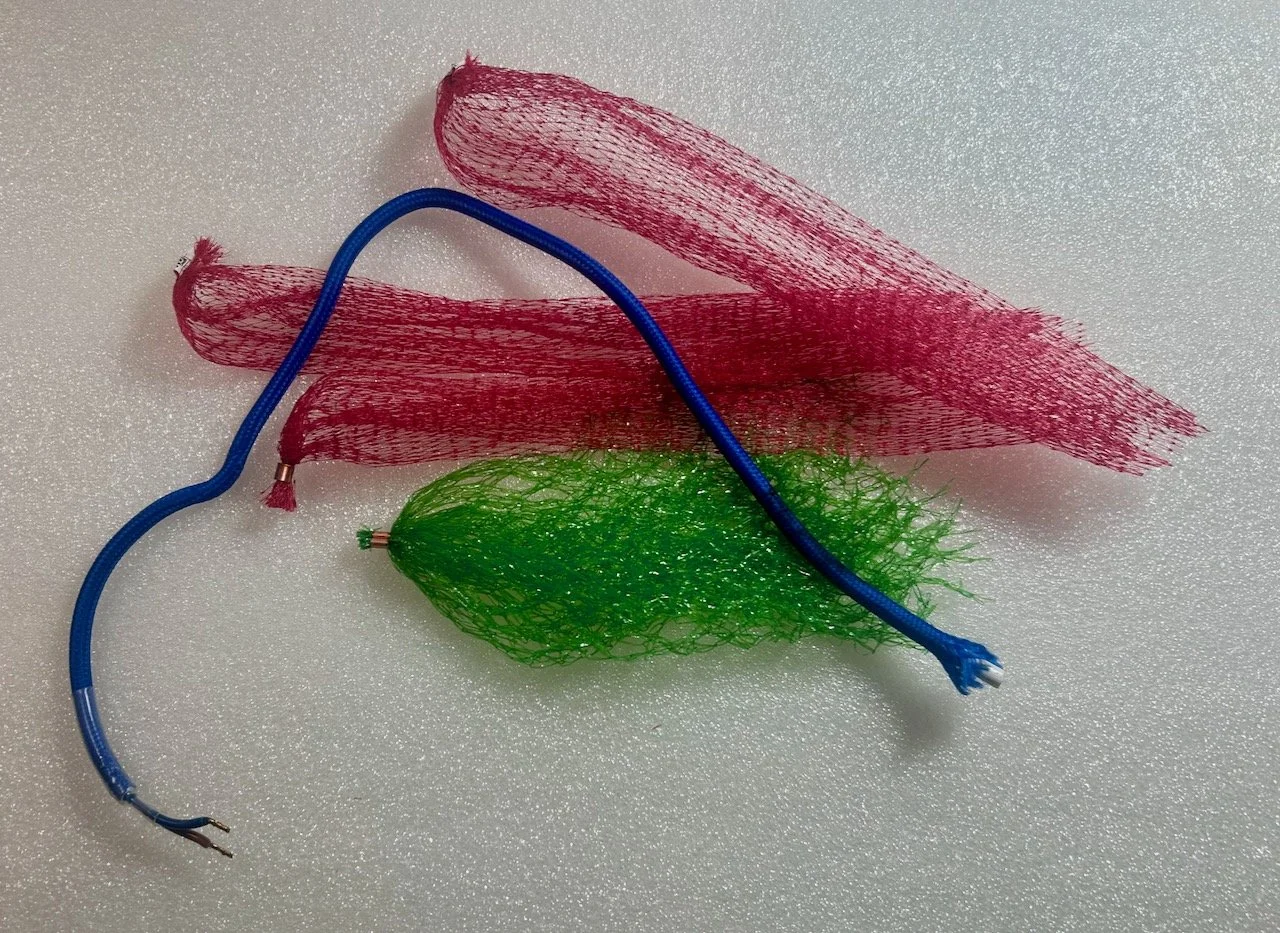
3. My floral fancy
I still need my cutting boards back, but I also need a small collection of green fabrics and some more hours in the day. If I could get this central panel appliquéd I think I’d give myself a lot more confidence for starting the surrounding blocks.
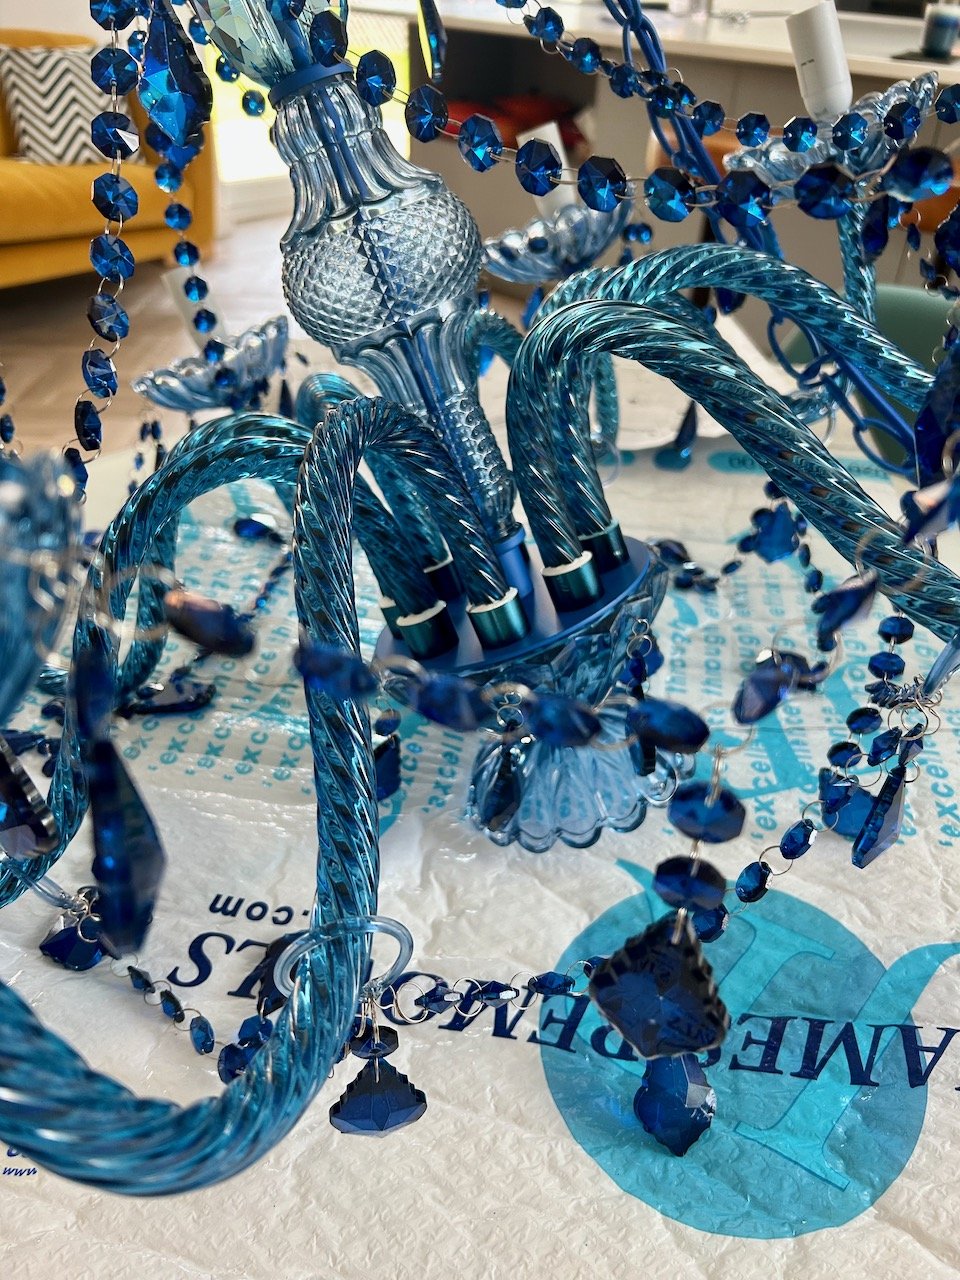
4. My English Paper Piecing (EPP) blue diamonds
This was always a long term, slow sewing project - and let’s be fair it hasn’t disappointed! It remains on the list for this year as it’s always handy to have a hand sewing patchwork project to take to my patchwork group if needed.
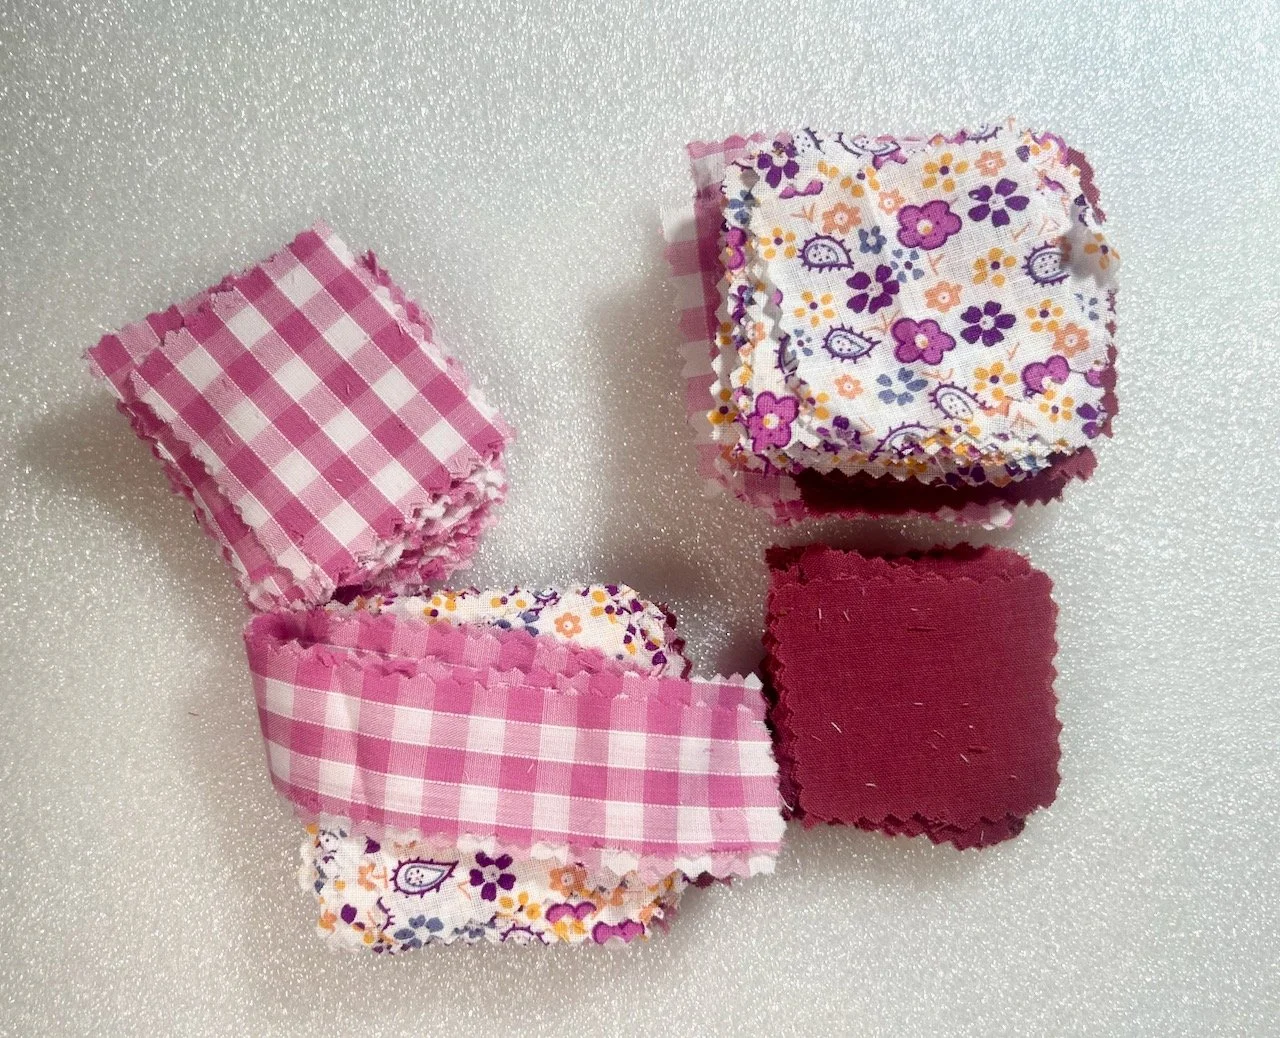
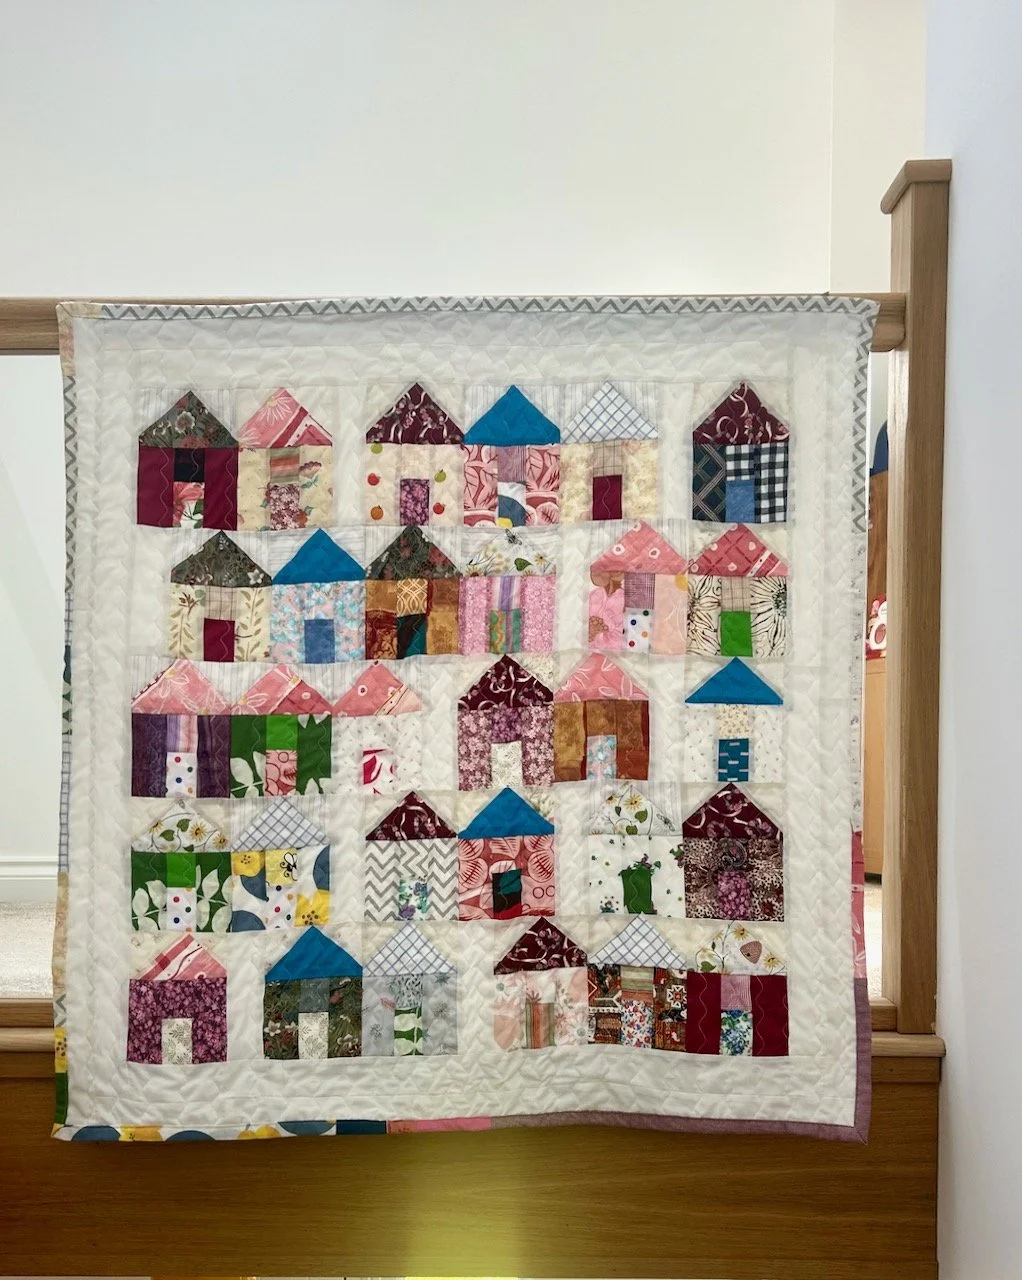
5. Scrappy houses charity quilts
For this year’s charity quilts I’ve decided to make use of the scraps of fabric I already have, and those which I will create as I continue to sew this year. I’ve found a really cute ‘village’ quilt pattern by Sherri on A Quilting Life which I will use for these quilts, and I’ve already started to assemble my houses.
My biscuit tin of scraps cut to size is working well for me, I’m finding that knowing what size to cut scraps is a great discipline - and it means I’ll always have a project to grab and go to either of my sewing or patchwork group meetings.

I haven’t yet worked out how many houses I need in my village for each charity quilt, but I don’t think I’m that far off finding out. This year I’m not setting a number for how many charity quilts I’ll make, as I discovered last year by doing that I set myself a challenge which I didn’t want to not meet.
6. Wonderland meets Moda
This one is new for this year, and as ever it’s not quite as straightforward as it might be which you may have guessed by its name.
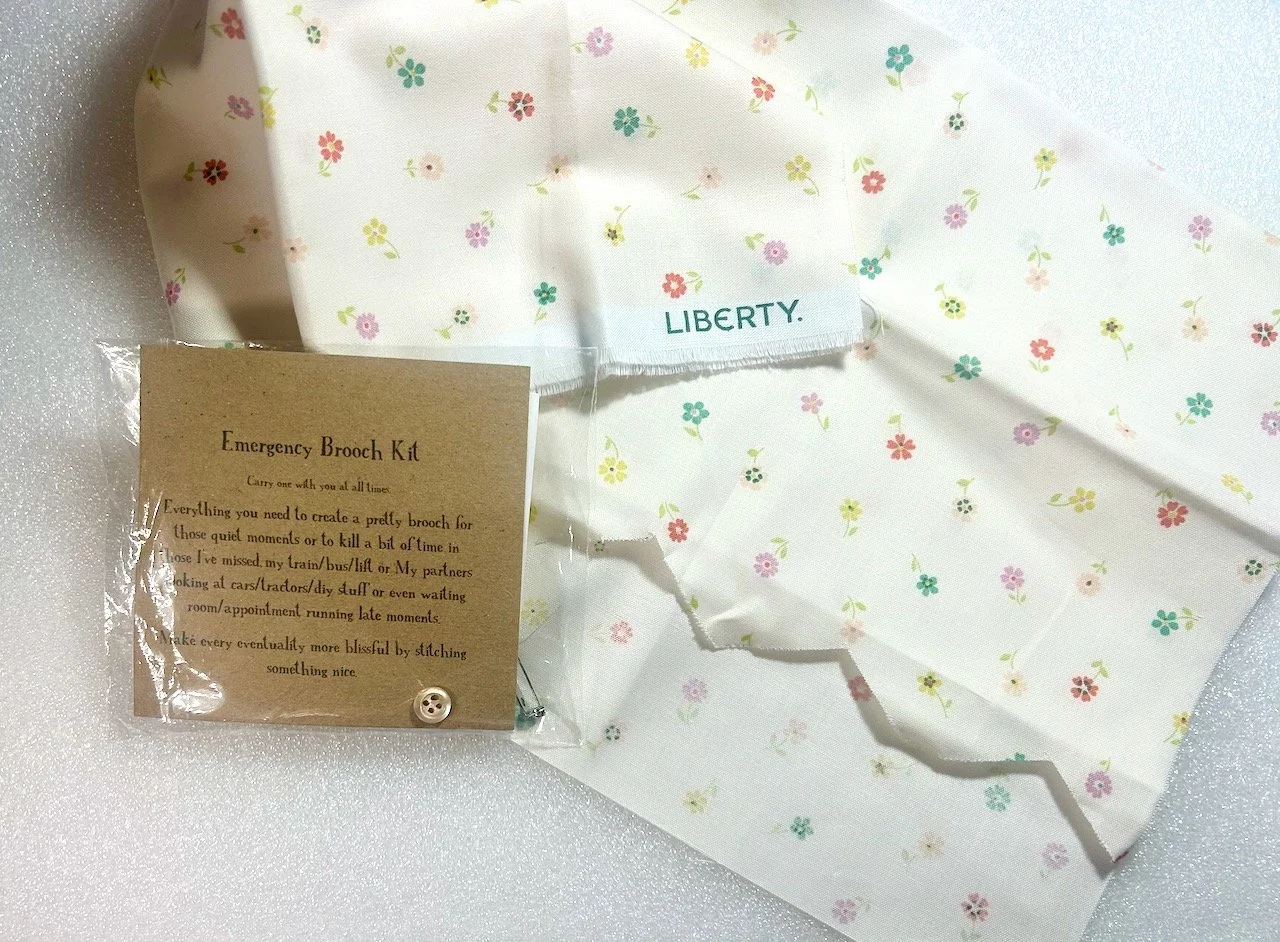
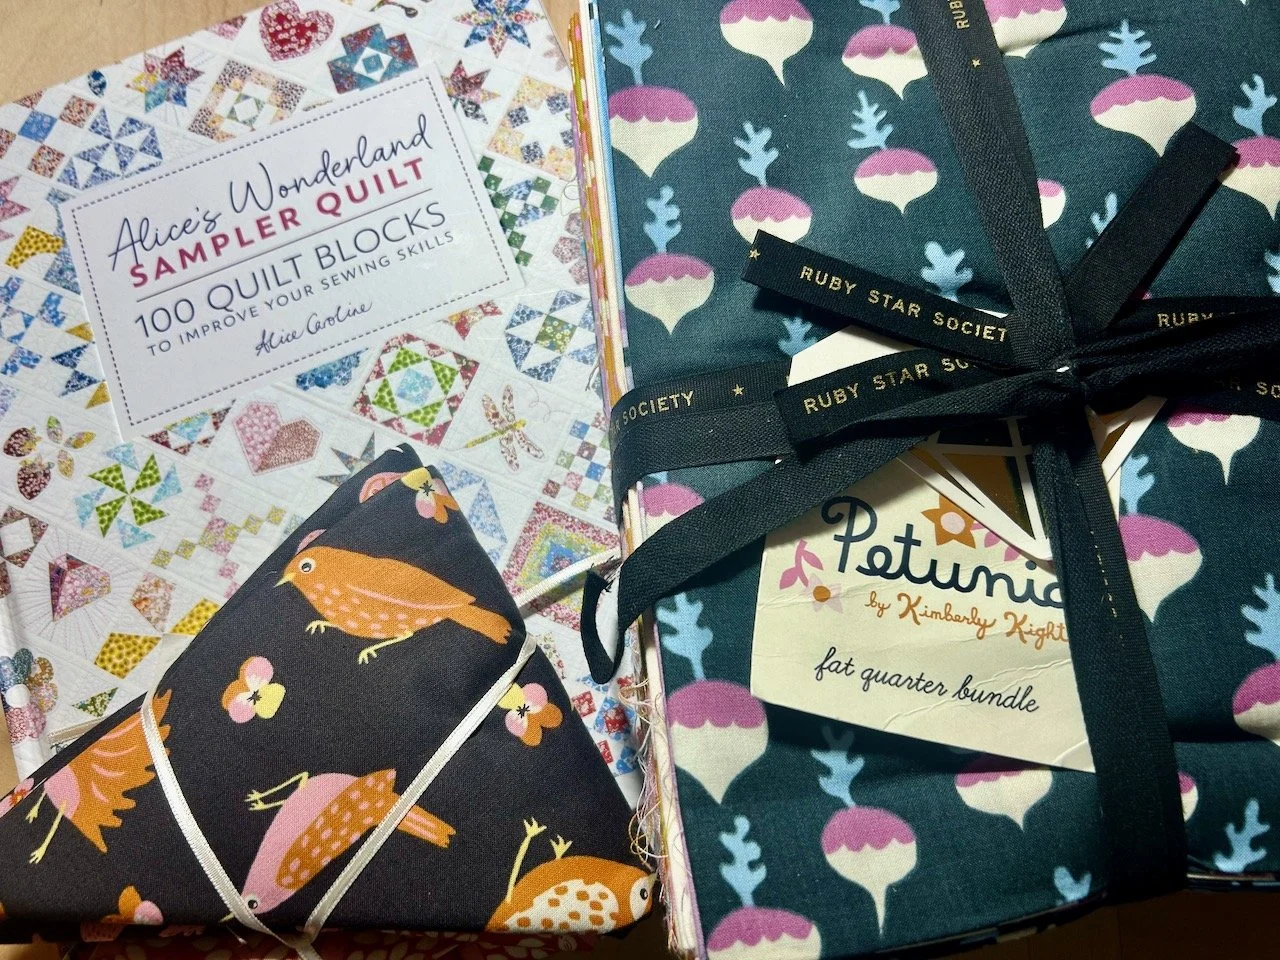
For a while now I’ve had the Alice’s Wonderland Sampler Quilt book, which contains ‘100 quilt blocks to improve your sewing skills’ and it’s a gorgeous book, which will result in a gorgeous quilt. The blocks in the book use 100 Liberty Tana Lawn fabrics, and there are kits available to make the quilt, and I know they are stunning.
However I’m not one for taking the easy route and while I like Liberty fabric, I much prefer bolder designs. At last year’s Festival of Quilts Show I picked up a ‘Petunia’ fat quarter bundle by Moda just because I liked it, and then when I got home I realised I already had a charm pack of the same range - I knewI liked it!
On holiday last year in the US I picked up a couple of fat quarter bundles which also turned out to be Moda (Pivot and Bird is the Word ranges) which also ‘fit’ quite well with the Petunia style, and so I’ve decided to use these Moda fabrics for the Alice in Wonderland sampler quilt, like you do.
I will have a reduced number of fabrics, roughly about half, so there will be more repetition than in the original design, but that’s ok. When I was initially working out if my idea for this quilt would have a chance of working I painstakingly went through all 100 blocks noting when and where the 100 fabrics were used; some are used in as many as four or five blocks, where others are used in just one so I think I can make it work. Or in other words it’s this year’s ‘you don’t know unless you try’ project!
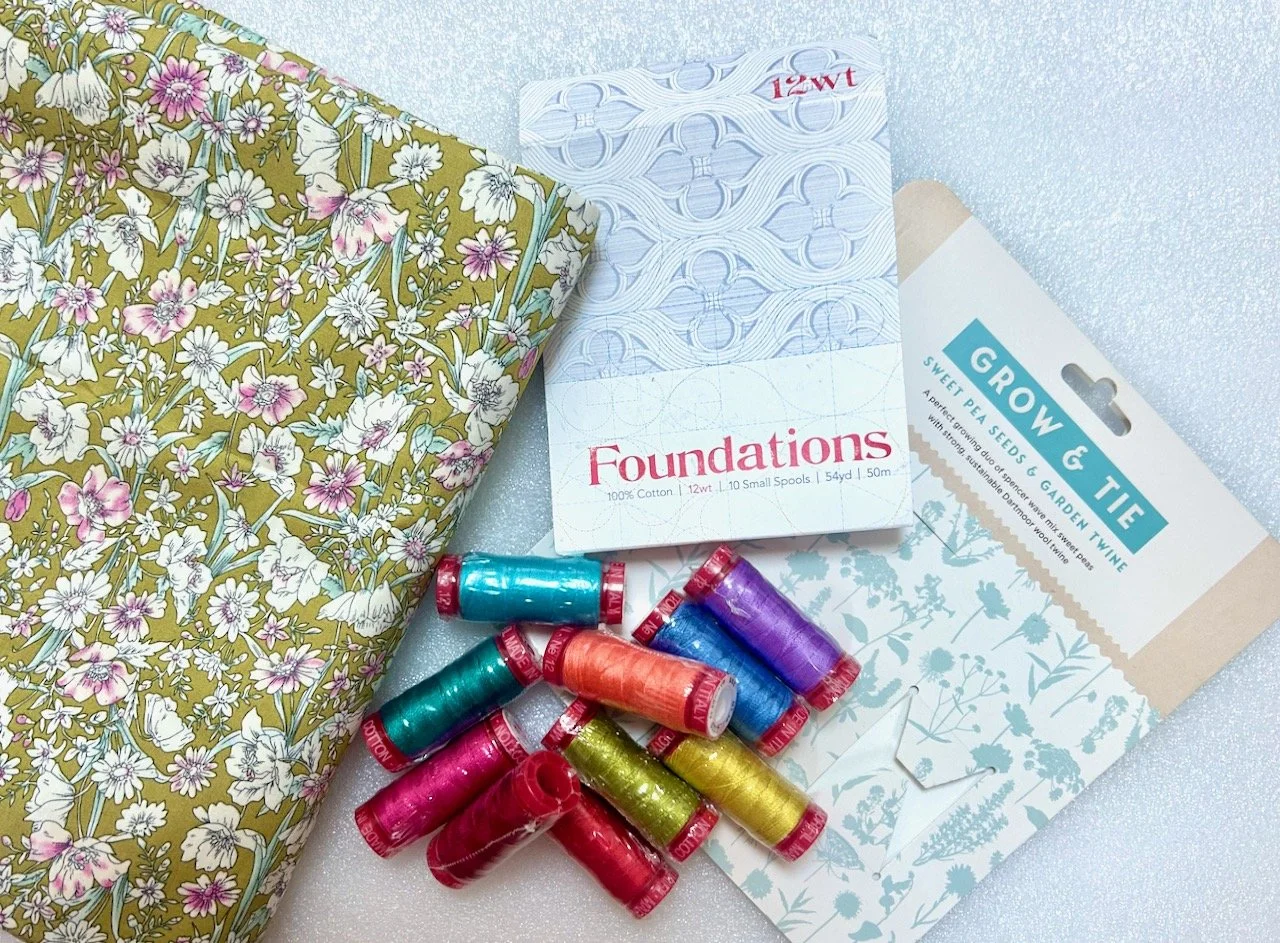
7. Word Star
This is the project that seems to have snuck onto the list at the last minute. It may not actually be sewn this year, but who knows it may be. I’ve recently been smitten by some more fabric - the Type/Ography range by Lori Holt for Riley Blake. Well the smitten bit happened a while back, but each month my to do list reminds me to buy it, or actually my reminder was to buy a charm pack. When I looked the other weekend the charm packs were sold out, which I found more disappointing than I expected, so I looked online for another supplier. All I could find were the 10 inch layer cakes, which were obviously a bit pricier than the 5 inch charm squares.
More searching online found the cheapest option, but something made me hesitate and think on it overnight. I can’t tell you what or why, but I’m so glad I did. The next morning I received an email with a 20% discount across the site from the original supplier who I’ve bought from regularly, saving £25 and postage on the cheapest option I’d found the night before. It was clearly meant to be, so the fabric was quickly ordered and even more quickly delivered.
And it’s just as good as I’d hoped.

I seem to have thing for words on fabric as not that long ago I bought a set of ‘Spread the Word’ fat quarters, which I’m hoping that at least some of will be a good fit with the rainbow of colours I have in the Type/Ography sets I’ve just bought.
I don’t have a firm plan for them yet, but on my long term ‘to make’ list is a Lone Prairie Star quilt, and if I’m lucky then my Word Star quilt may just be the thing. We’ll see.
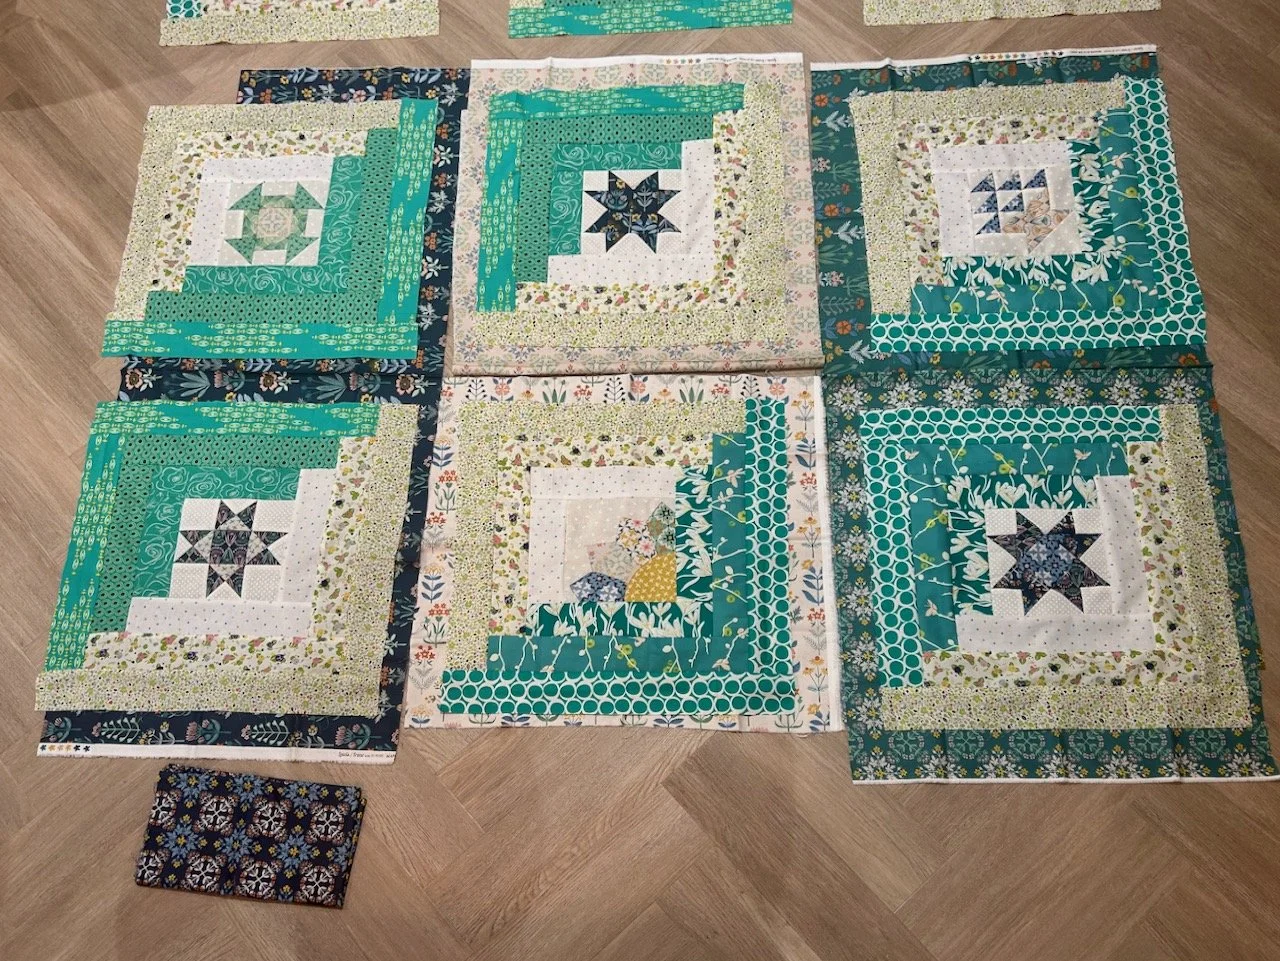
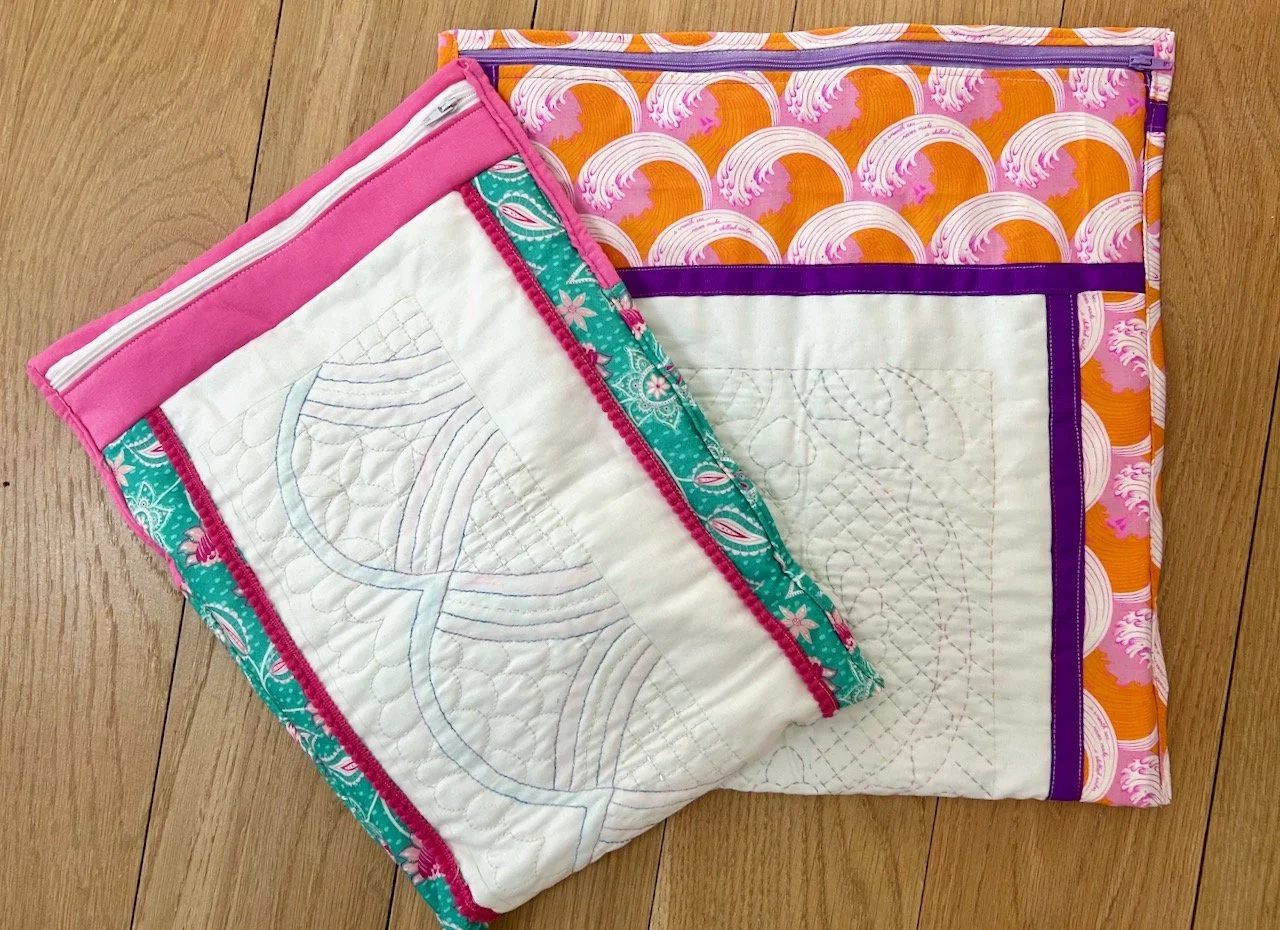
And one to finish, and more
Of course there is one more, and that’s to completely finish the Mystery Block of the Month quilt. The blocks are made, and the internal borders are cut and I have a plan for the outer borders, binding and even the backing fabric - just don’t ask about the quilting yet!
I also want to do plenty of ‘other makes’ including making myself some more dresses, I’m still thinking about what exactly that list looks like, but having a list for quilt projects for the year worked so well that I’m planning on doing something similar for everything else - watch this space!