Gardening in 2050?

* I was invited to this year’s Gardeners’ World Live and provided with a pair of tickets to the show, therefore all my posts will be marked as 'Ad’ though as usual my views and opinions are very much my own.

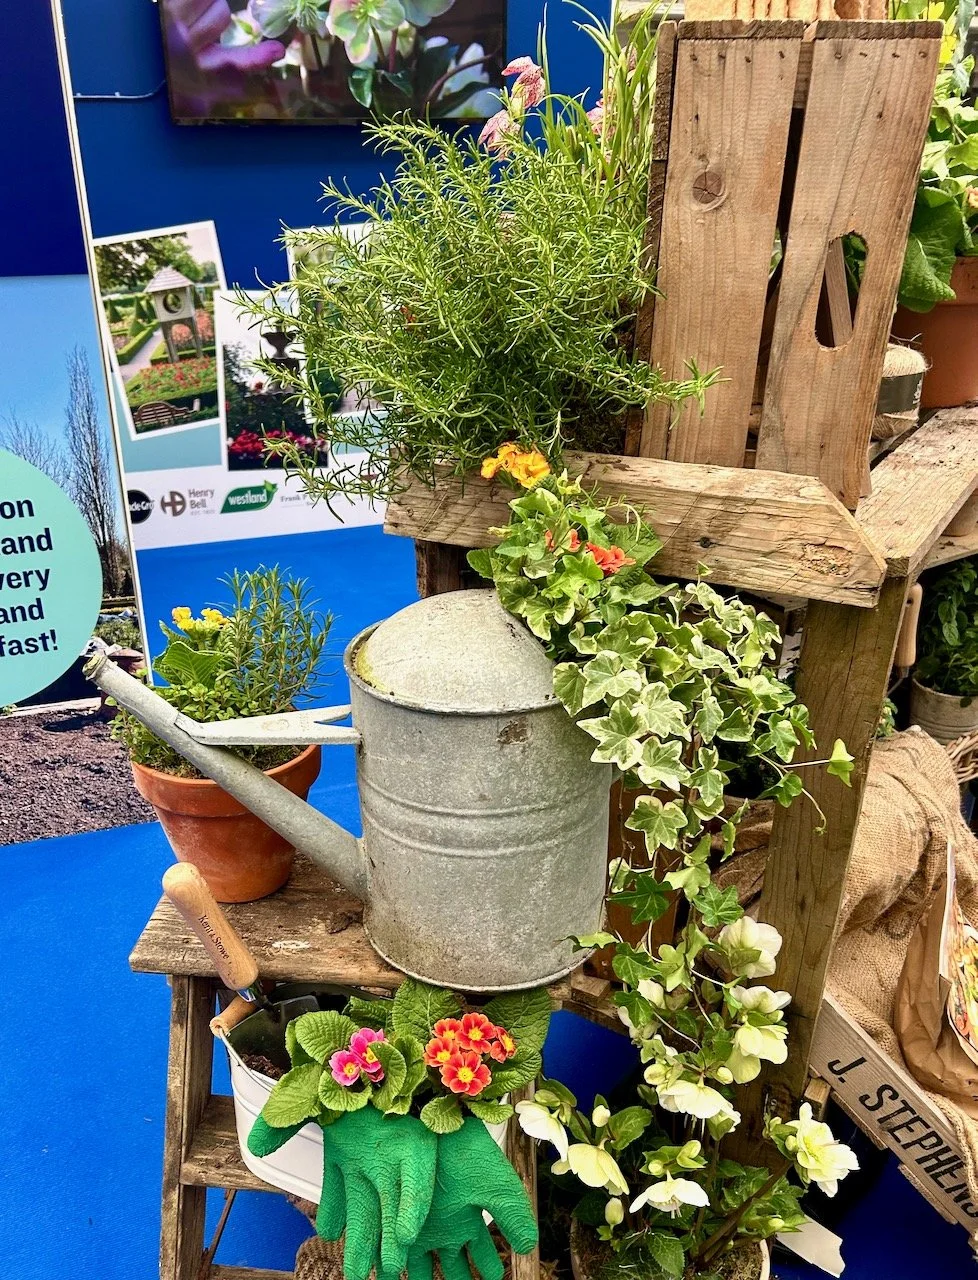
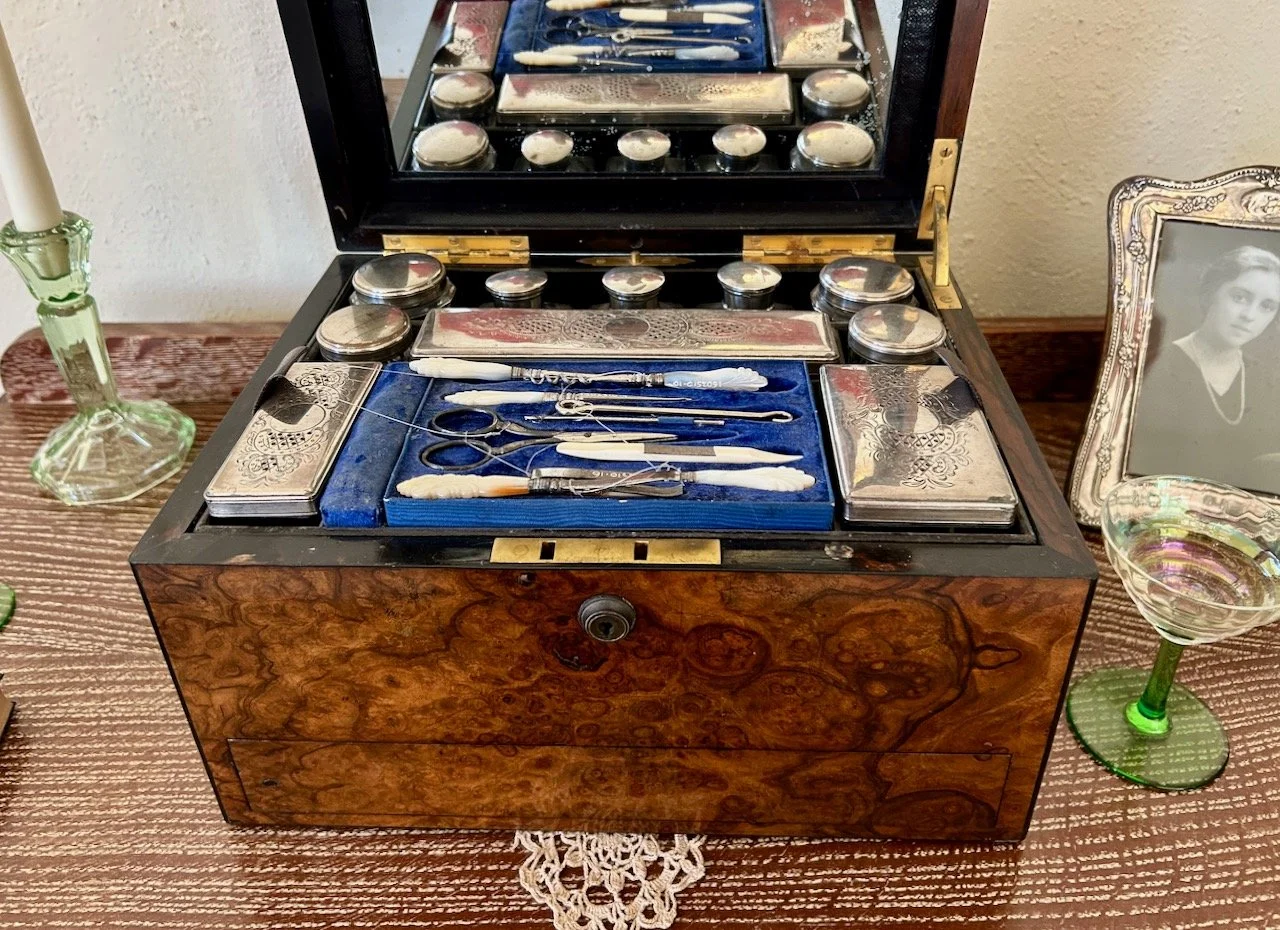
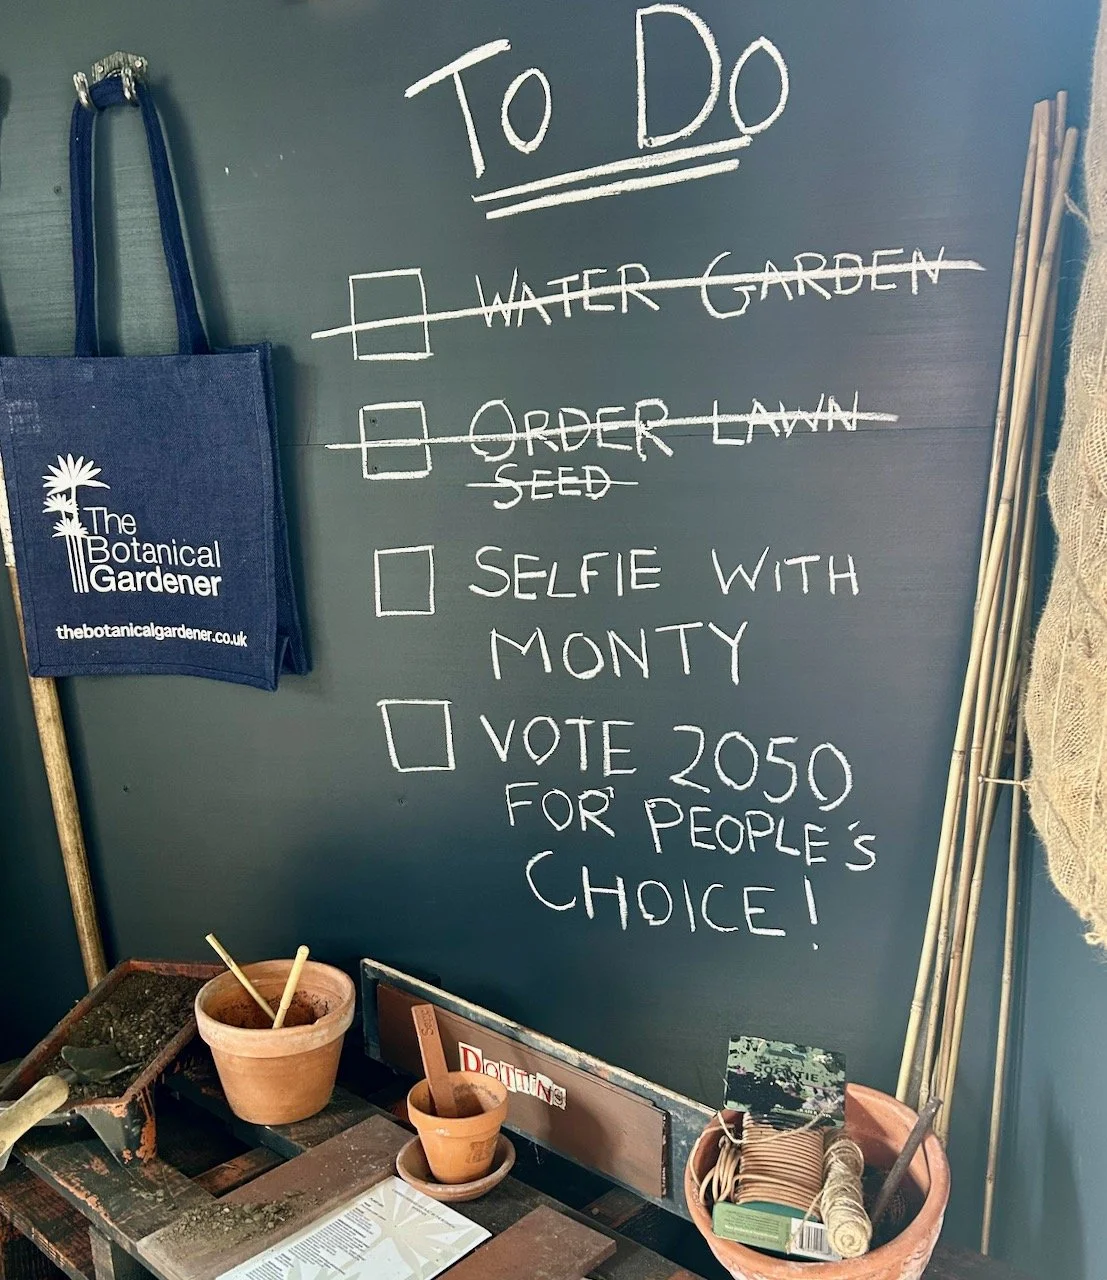
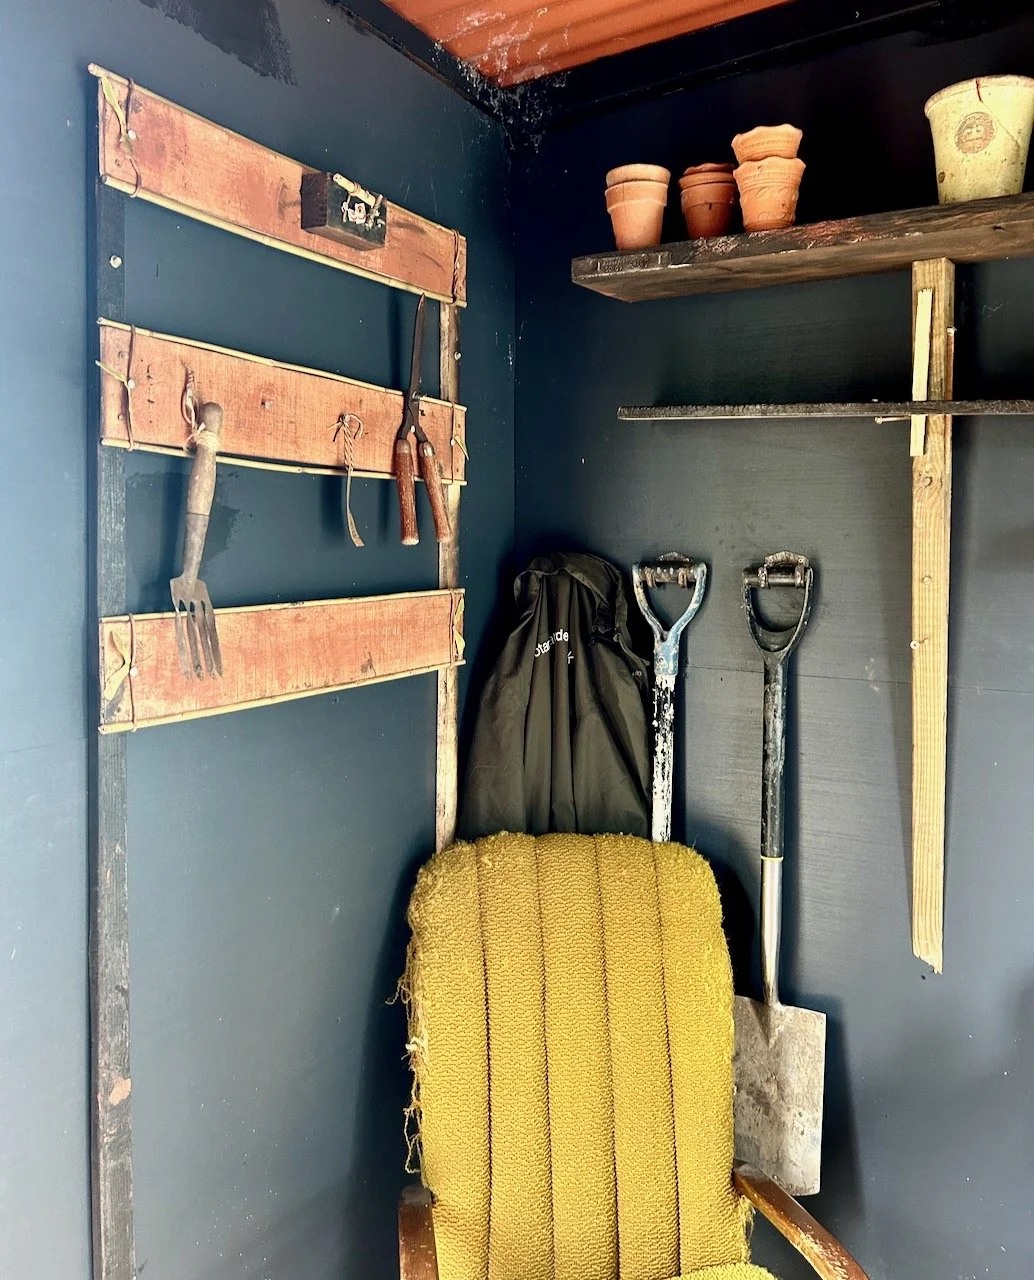
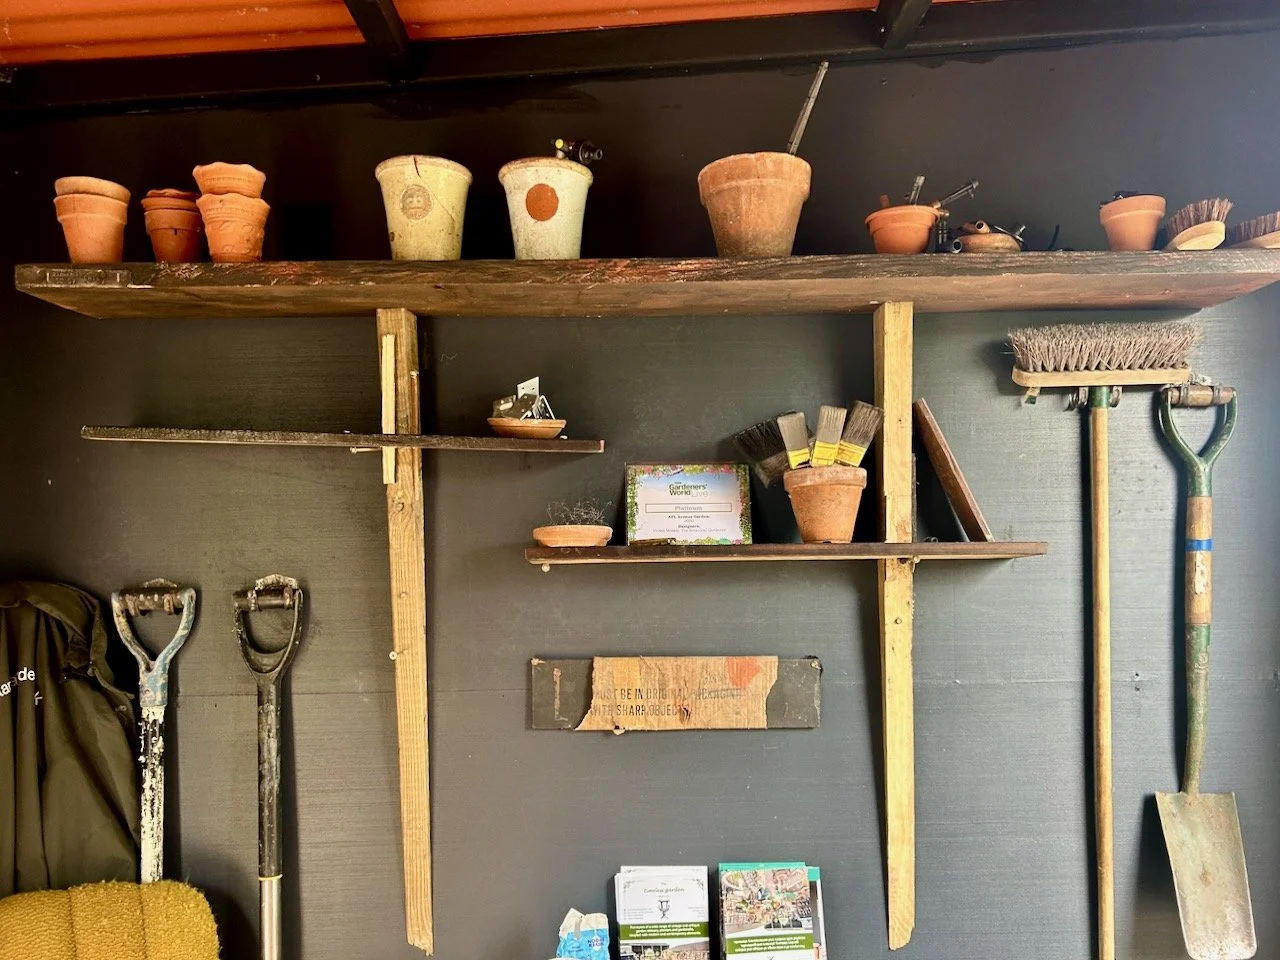
As I stepped into the shed, which was the entrance to this garden, I knew I was going to like it. They say first impressions count, and this to do list (who doesn’t love a list?!) and mix of vintage items, along with the humour had me hooked. Entering through a shed was definitely a point of difference so hats off to the garden’s designer Vivien Mosely, and of course to The Botanical Gardener who brought the design to life.

A handwritten to do list on a blackboard
Black walls in the shed entrance to the garden with vintage tools and pots hanging on the wall/shelves
Another view - straight on - of the vintage shelving tools & pots

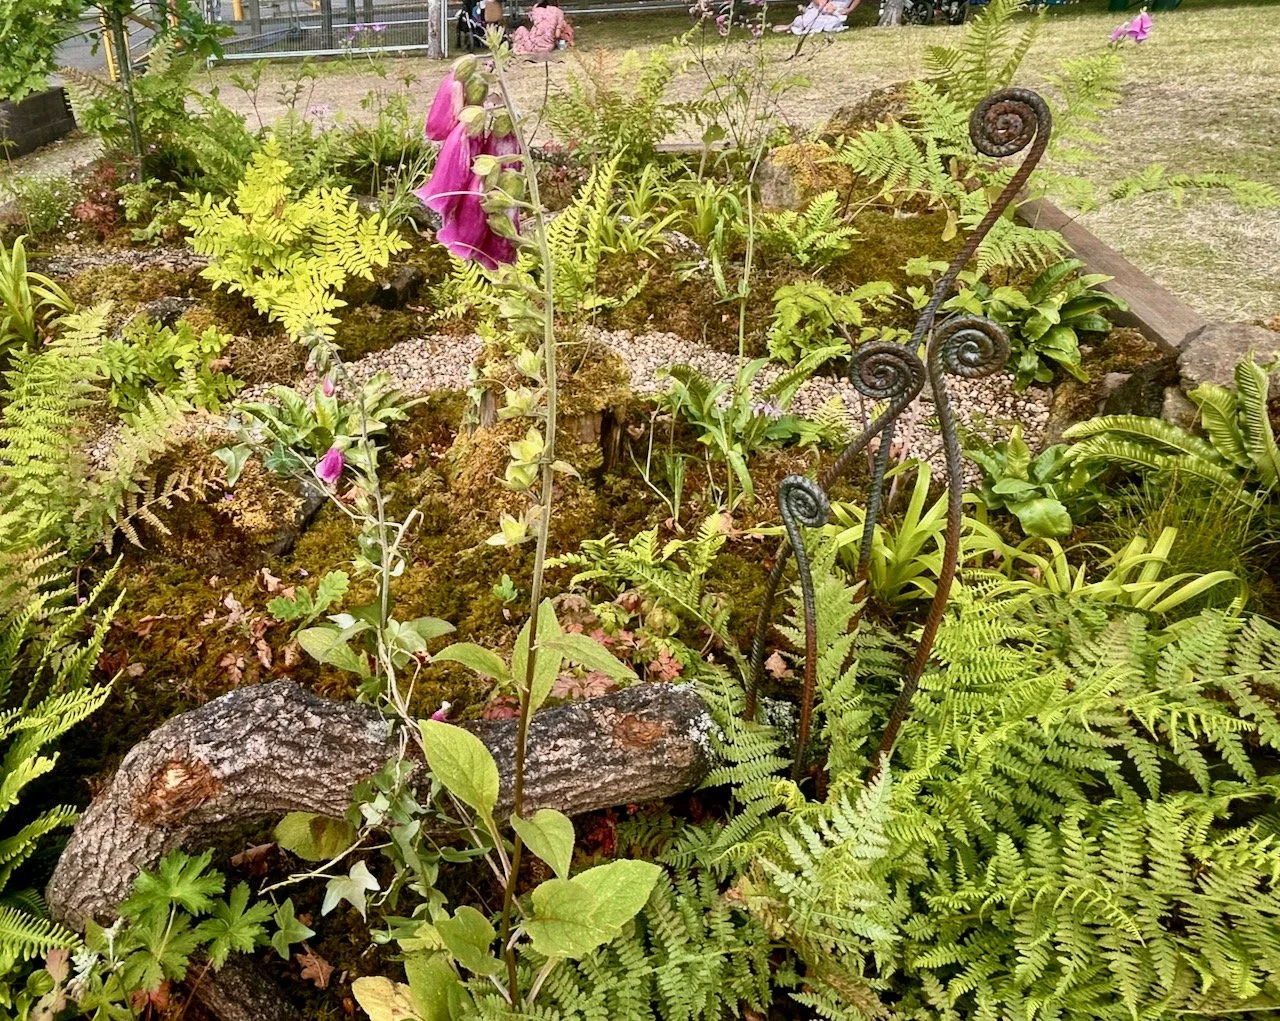
The garden offers a glimpse into the future, so the blurb said.

It’s set in 25 years time, where water resources are limited and the landscape is parched. Which unfortunately may be a realistic outlook if this summer and it’s four heatwaves (so far) are anything to go by, unless we get better at capturing water, as there was certainly plenty of it about in the first few months of the year.

But also, 2050 is 25 years away - surely 2050 is in a future space age, not within actual reach. We can all remember 25 years in the past (well, if we’re old enough to) and often it’s forty years ago that feels like it was much closer.

But anyway back to the garden.

An old municipal type water fountain filled with succulents, with the seating area beyond

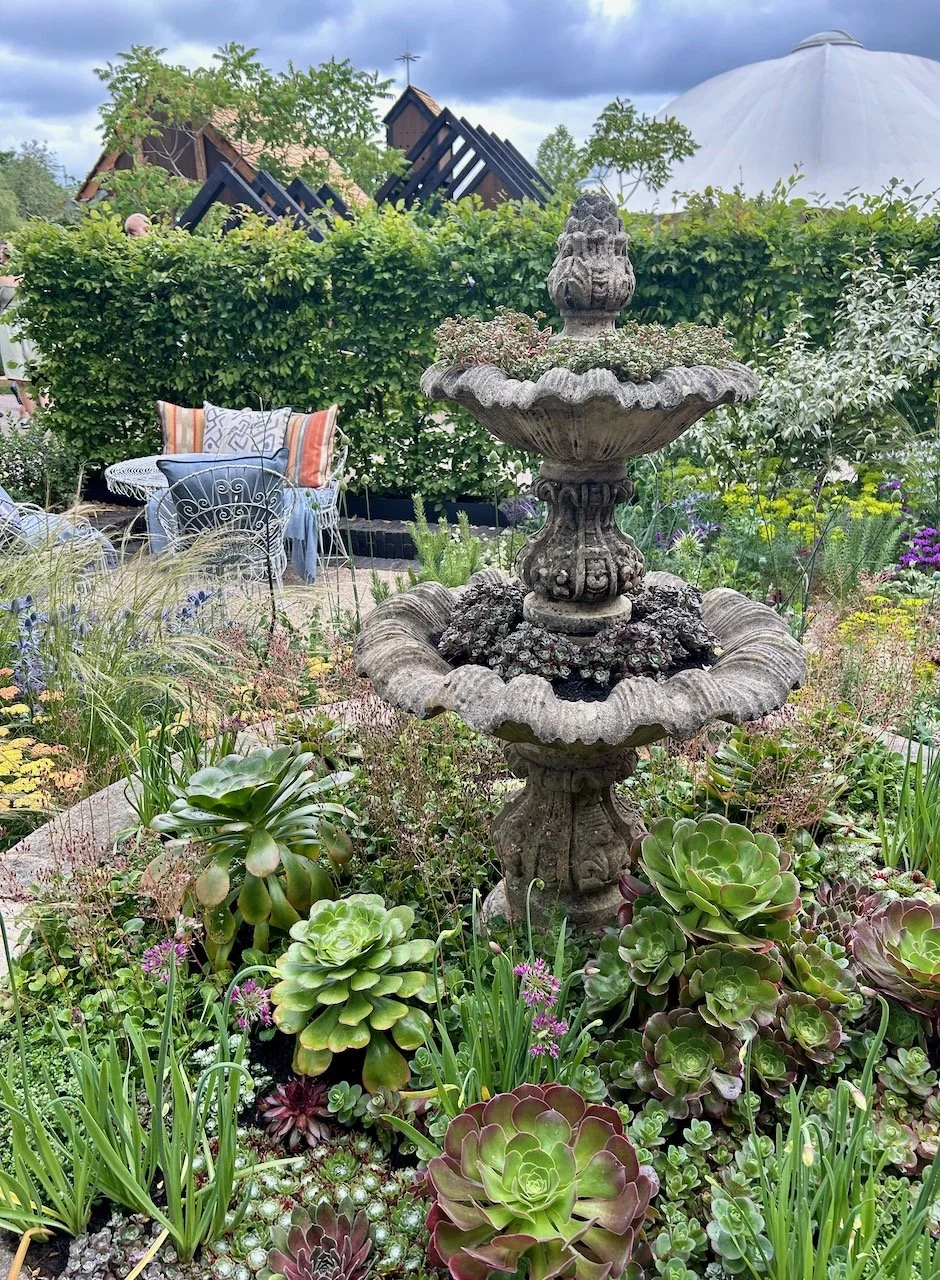
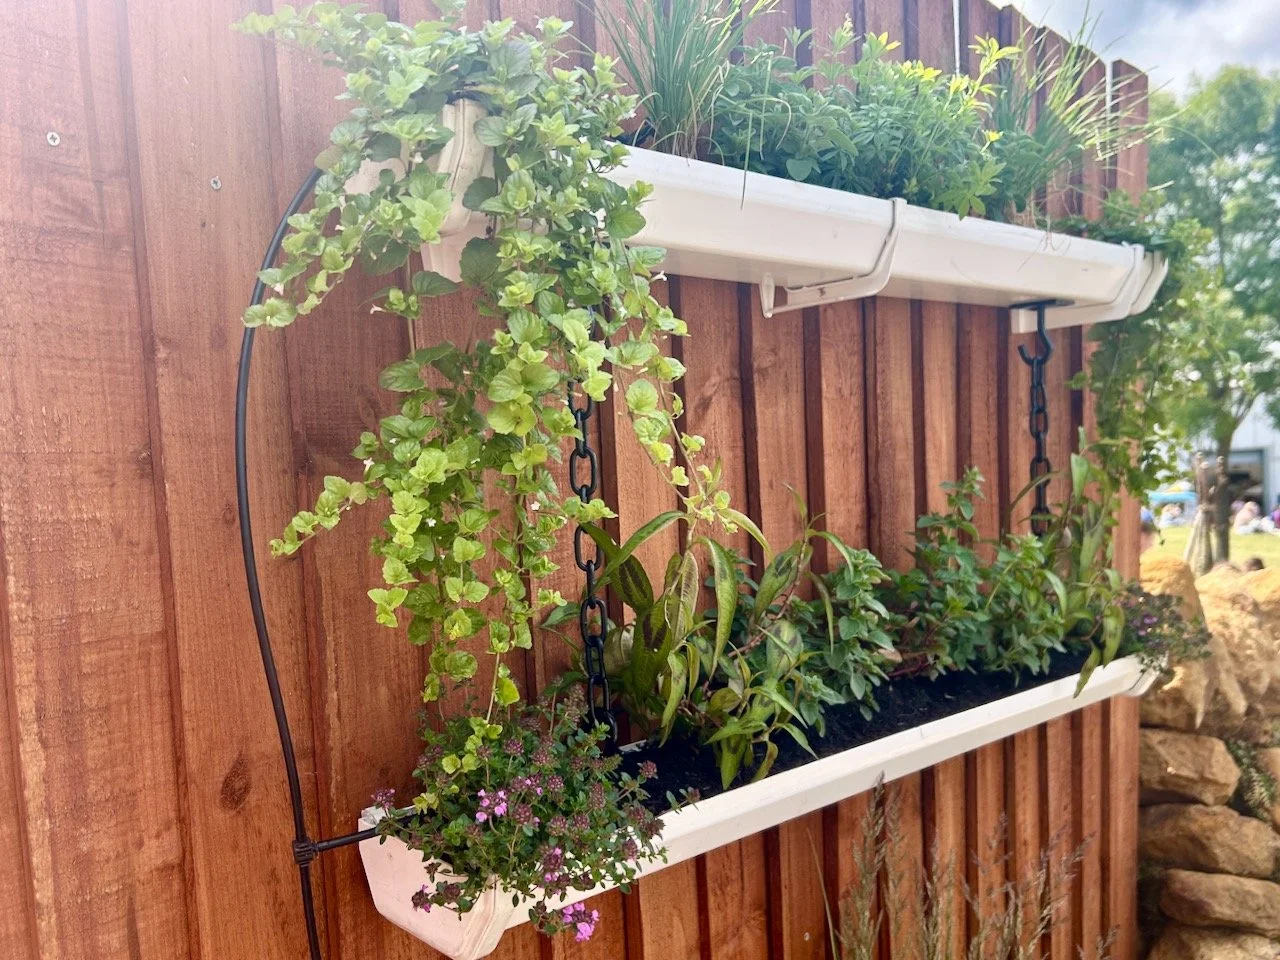
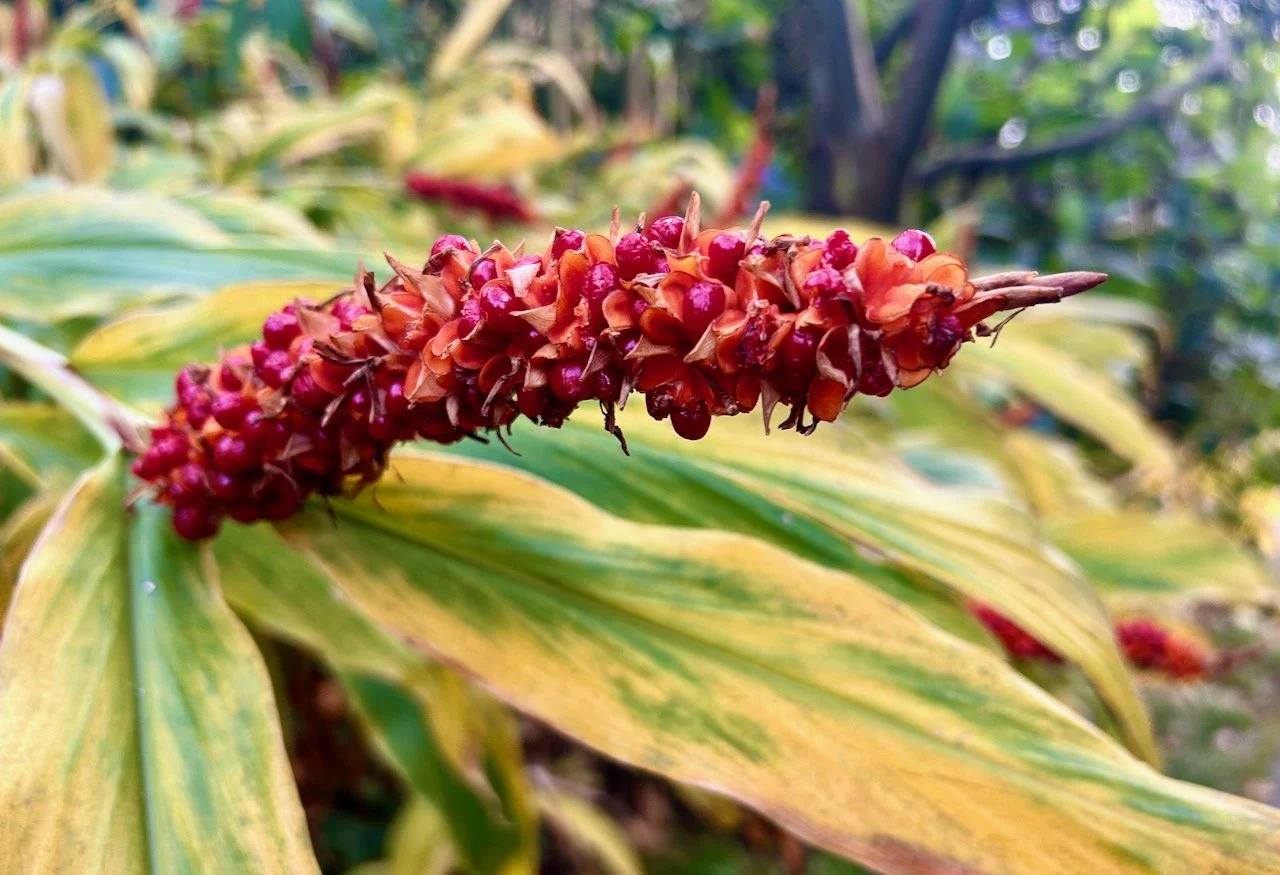
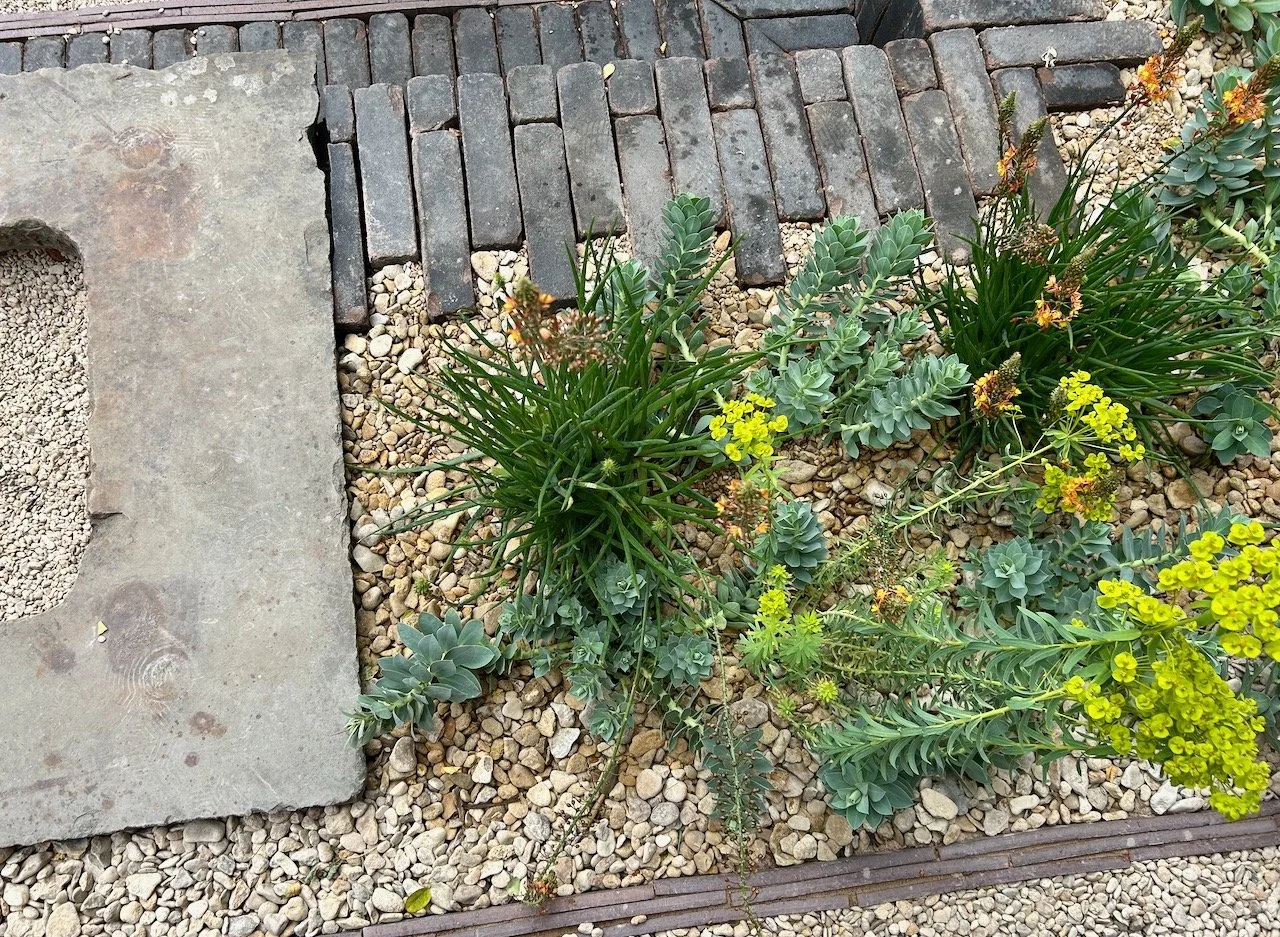
2050 is a garden that invites visitors to consider how gardening will change, and what plant species we can plant in our gardens today that will also thrive in the future. And my own increasing addiction to succulents isn’t lost on me either, here they’re used in a stunning and dramatic way to replace the ‘lost’ water.

A closer look at the bulbs and succulent planting in the fountain
Looking across the floaty planting of grasses to the seating area

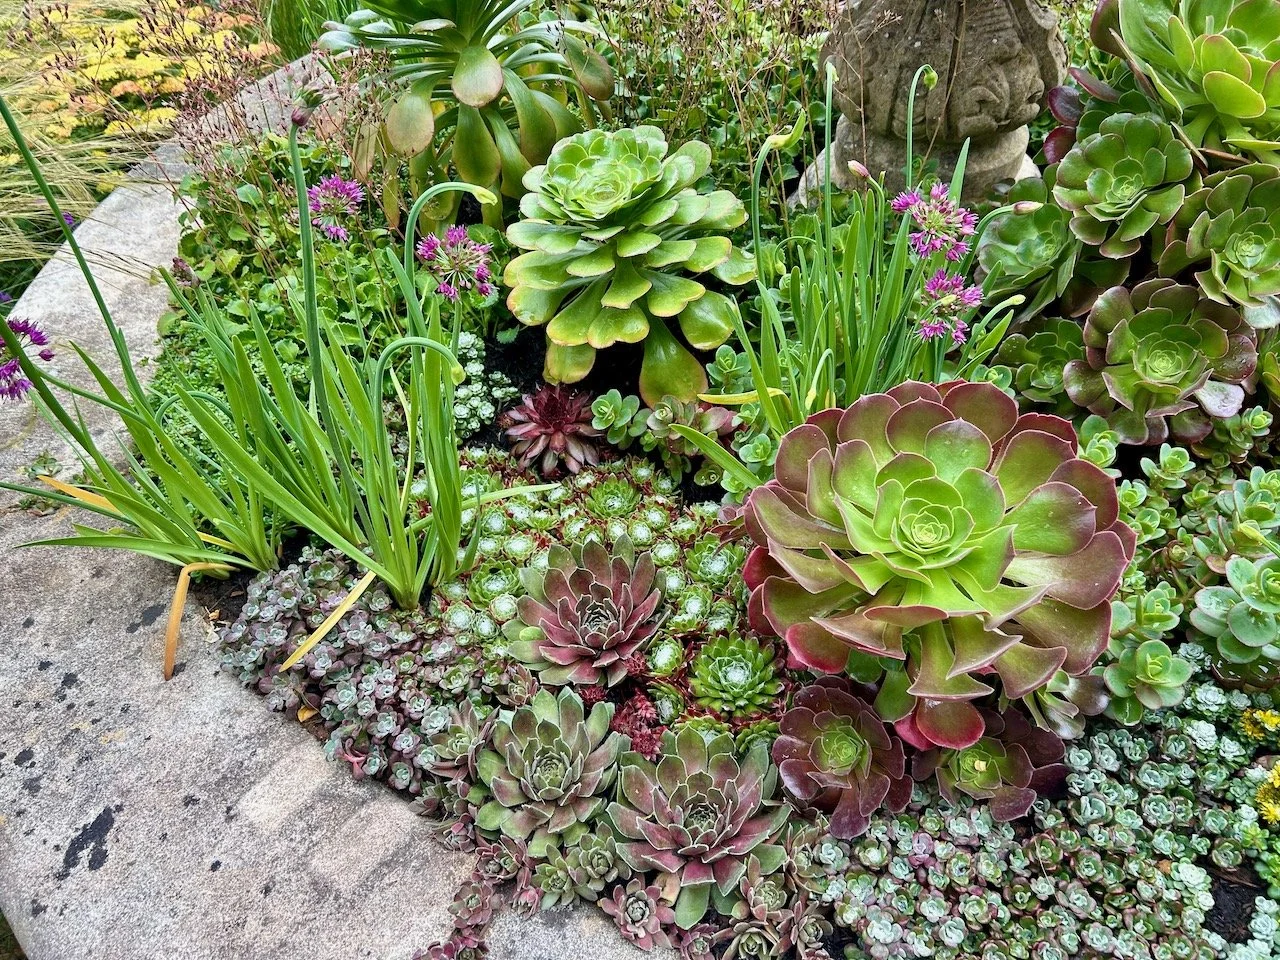
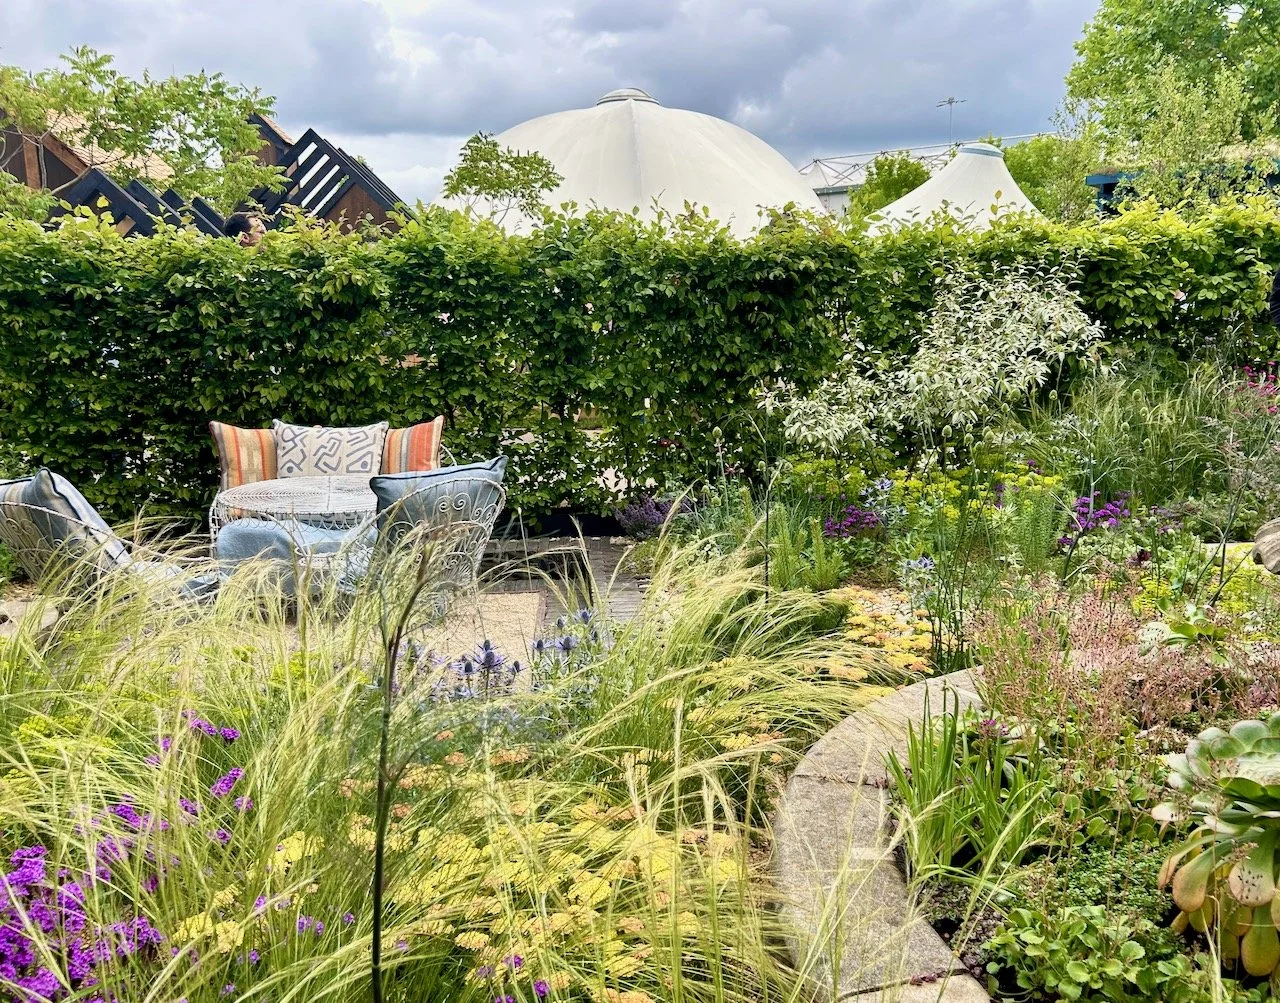
By using derelict artefacts and features evoking a sense of nostalgia the garden reminds us that we don’t miss the water until the well runs dry, but also that we can create something beautiful as we adapt to the changing climate.

There’s definitely something to think about there, and how we adapt our planting now, whether we do that consciously, or sub-consciously as the garden centres change their offering looking towards the longer-term.

And this garden shows, it can still be beautiful and attractive. I’m not one for a water feature in the garden, but a fountain of succulents, now that would be something else wouldn’t it?

The slightly sunken seating area, edged with dark bricks and surrounded by planting including splurge and red hot pokers
Looking more closely at the planting around the seating area, topped with gravel

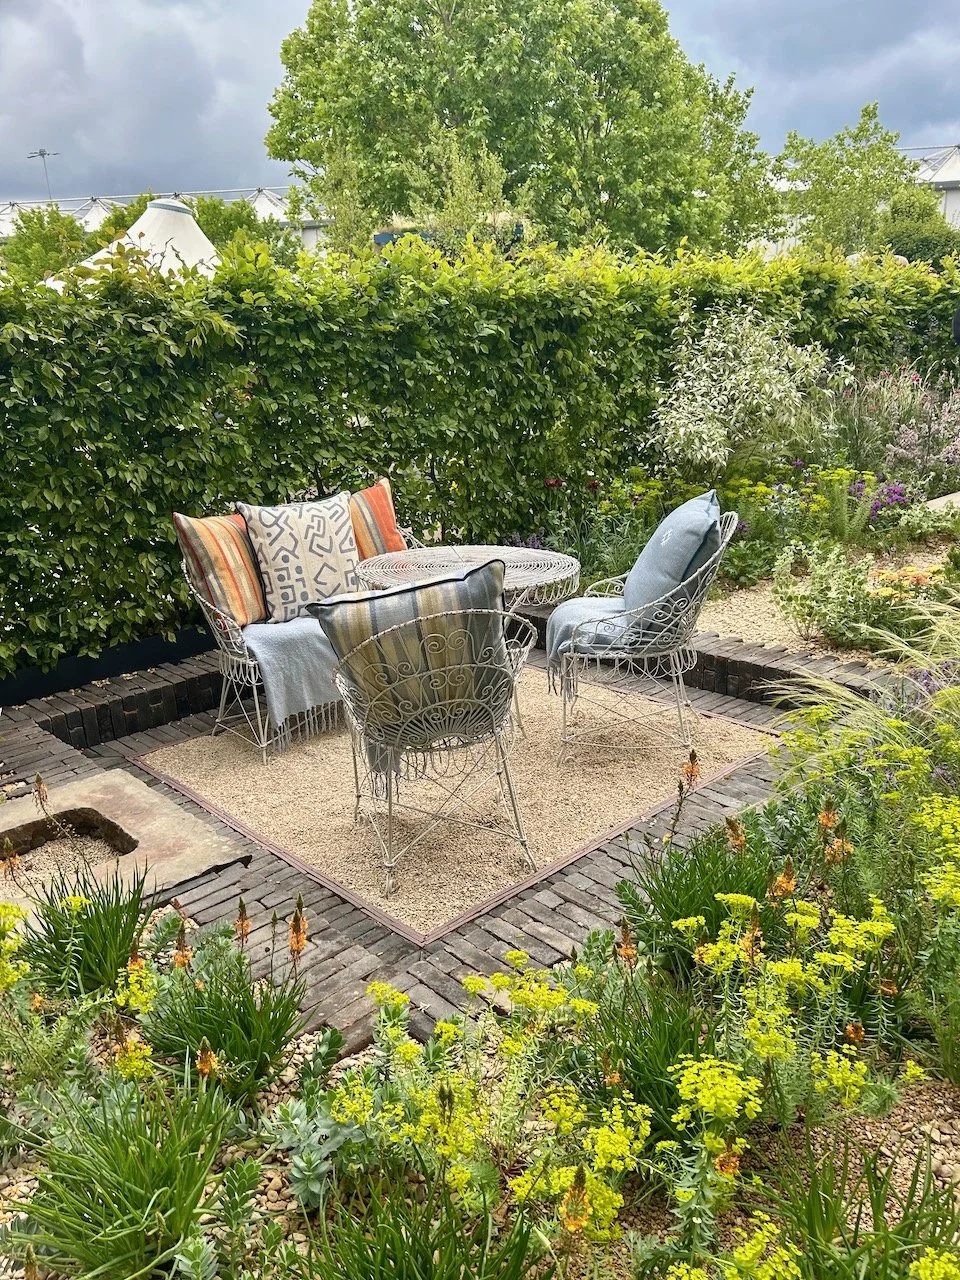
While at the show I was keen to eye up seating areas, especially those that might be on gravel. And this one delivered all of that. It’s something I’d been thinking about for our garden here - though I’m not sure if the gravel would work in reality. It’d be like walking across lego once you’d kicked back and kicked off your flip flops wouldn’t it?

Stepping back to admire the sunken seated area, a potential firepit and the planting

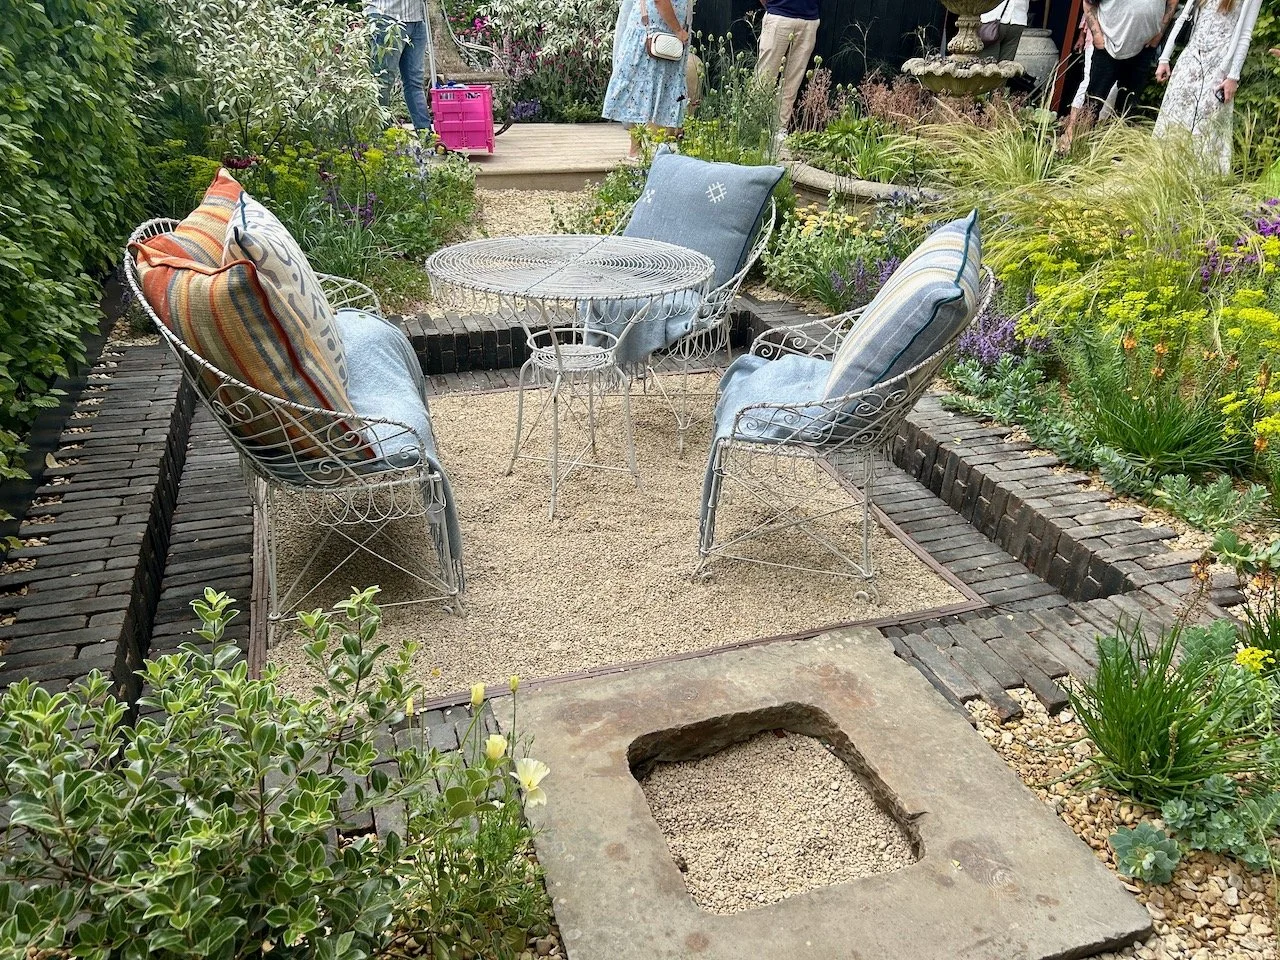
I like the architectural detail around the sunken seating area, and spent quite a while thinking if a sunken area could work in our garden. Then I realised it would probably annoy me, and make me feel constrained, and that along with the prospect of finding much builder’s rubble consigned the idea for our garden to history!

But it doesn’t make me love this garden any less, what do you think?

* With thanks to Gardeners’ World for inviting me to Gardeners’ World Live, it was quite a show! I’ll be sharing more from my visit to this year’s show throughout the year - I hope you enjoy them as much as I did the show.

A useful velvet box pouch

I’ve recently bought myself a new ‘for workshops’ sewing machine (more on that another time) and as it’s primary use is ‘on the go’ I wanted to make sure it was easy to transport, so bought a sewing machine bag to carry it in. After the first time taking my new machine out, I realised that I needed a pouch to house the foot pedal and cables - I know, what were the odds of me needing another pouch?!

I wanted something relatively soft as this pouch will live in the ‘throat’ of the machine - the gap between the needle and the main part of the sewing machine on the right hand side. You’ll not be surprised to learn that I’ve kept various furnishing fabric samples over the years, and it was these I had in mind for this boxy pouch.

I’ve not made a boxy pouch before, and I didn’t have a pattern but I reckoned, how hard can it be?

I laid out the materials which I planned to use - the velvet ones are from upholstery samples when we were considering a velvet sofa in our previous home, and the patterned samples are from the large footstool we now have in our bedroom. It seems I know what colours I like, which is a good thing as they all are a similar tone and all work together.

Laying out the upholstery samples, the lining and the sewing machine pedal

When I had the fabrics sewn together - and had cursed my idea for using velvet without using the walking foot on my sewing machine - I checked again that the foot pedal would fit. It would probably be tight, but we were good.

The samples sewn together in a kind of cross formation

I wanted a jazzy lining and so the navy flower burst material which came in a scrap pack I bought online was perfect. There was a fair bit of that too, which is always a bonus when it’s a fabric you like, but I did need to join it - but as that would be inside, that wasn’t an issue.

Adding lining behind, with the joins for the sides
Sewing underway at the machine

With the lining and outer materials attached and turned through, I edged the cross outline. After this I decided that it would probably work best to assemble the pouch with hand sewing. That would save any more arguments with the sewing machine, and the velvet and would also mean that I had as much space as possible to fit the pedal into the pouch, which after all is what it was all about. I didn’t mind if some of the lining showed on the outside either.

The completed pouch, complete with sewing machine foot pedal inside
the completed pouch - with mustard velvet on the top and toning tweed on the front - complete with a brown popper

A toning brown popper completed the ad-hoc boxy pouch. I think it’s looking pretty dapper, as well as functional and practical, and gives me my own unique addition to my ‘to go’ sewing machine bag.

And it really wasn’t that hard at all.

A Raspberry Plus

I’ve made another quilt as part of my quilting ‘stretch’ project using the block from Sherri at A Quilting Life’s mystery block a month. As I said then I don’t know if I’ll manage to make a quilt a month, but I won’t really know unless I try…

I’m beginning to think this stretch project was a daft idea.

Though I know it’s a self imposed challenge, I’m not ready to give up or make compromises just yet. To catch up, i.e. to make the July and August blocks that Sherri has released I just need a few days to sew, and that’s no bad thing. I’m yet to convince MOH, but I’m still working on it!

But I don’t like to be beaten, so I’m continuing.

My eighth charity quilt

This month I definitely wanted some calmer colours, but had no set ideas when I looked in my fabric stash. These were the colours that called to me this month.

Pulling caramel and raspberry toned fabrics from my stash

Quite a pleasing caramelly raspberry infusion. The fabrics are mostly fat quarters which I’ve acquired from various de-stashing events, along with two old shirts - one mine, the plain raspberry colour, and the other MOH’s the pink/white small patterned material in the top right of the photo above.

The pattern for this block, the June release, is another star - this time a friendship star - and in my rush to ‘be done’ my points were a bit off on a couple, so that’s yet another lesson for me - patchwork isn’t a speed sport!

The four central blocks - caramel stars surrounded in a plain raspberry fabric

I ummed and ahhed about the border fabric placement, eventually settling on this layout - which was also partially informed by the amount of fabric I had!

Trying out the placement of the border fabrics

And as ever, it wasn’t long before the borders were on and the squares were sewn together. This time for a single unifying border I added some strips cut from a vintage pillowcase. The floral pattern reminded me of the ‘Edwardian Country Diary’ phase from the 1980s, and I like how the floral pattern is interspersed around the blocks.

The four block quilt top sewn together with a cream border added (it was an old pillowcase)

I have once again used the vintage single duvet for the backing, which is turning into quite the bargain. It cost £1.04 plus postage from eBay a few years ago, but I’ve used it on plenty of quilts so far - and there’s more to come from this 'costly’ investment!

Taking a look at the vintage pink floral backing with one corner folded over to show this

For this quilt I have once again used straight line quilting. This time I’ve used varied widths, mainly to see how that turned out and how much I liked it. I think I prefer more equal distribution on reflection, but it’s good to try these things. I’ve also used a burgundy top thread (with cream beneath) for the quilting, and I’ve learnt that my lines aren’t always straight, and this notices more with a dark thread!

The finished quilt with straight line quilting in burgundy thread and a scrappy binding

But overall it’s another great looking quilt which I’m pleased with and one where I’ve learnt more about what I like most, and used the opportunity to improve my skills further. As I was sewing this one I was trying to think of a catchy name for it, they centred around caramel, coffee, wine and raspberry - which no doubt is obvious. But as I laid this one out it became clear that there was only one name for this - a great big raspberry plus, so it named itself. Sometimes these things just happen, don’t they?

You can see my other quilts which I’ve made to donate to Project Linus - a charity whose mission is to provide love, a sense of security, warmth and comfort to children, who are sick, disabled, disadvantaged or distressed through the donation of new, homemade, washable quilts and blankets, including those that are part of this ‘stretch’ project in earlier posts. I’m aiming to publish an update on my progress in the last week of each month for the remainder of 2025.