Admiring Carolyn Forster's quilts at the Newark Quilt Show

Last Friday I went along to the Newark Quilt Show held at the Newark Showground which is just a short drive away - I think it’s probably the closest-to-me quilt show I’ve ever been to, closer even to those at London’s Excel and that alone was a treat. I’d also not been in to the Newark Showground, though have driven past it several times - it’s on our list to go as they look to have some great shows on there, and the Newark Air Museum, which is also on our list, is also close by.

But they’re for another today, this visit was all about the quilts. I wasn’t quite sure what to expect size-wise, but I knew there’d be some quilts on display and some suppliers also present. Thankfully the show was clearly signposted and I followed a slow trickle of cars into the ground and to the parking area.

I was pleasantly surprised, while the hall wasn’t huge it was plenty big enough and the central section was dedicated to the quilts on display - and there were many. Suppliers, around 60 or so, were positioned around the edge of the quilts on display, and like every other show I’ve been to (and not just craft shows) the aisles were full of people making their way through the plentiful stalls.

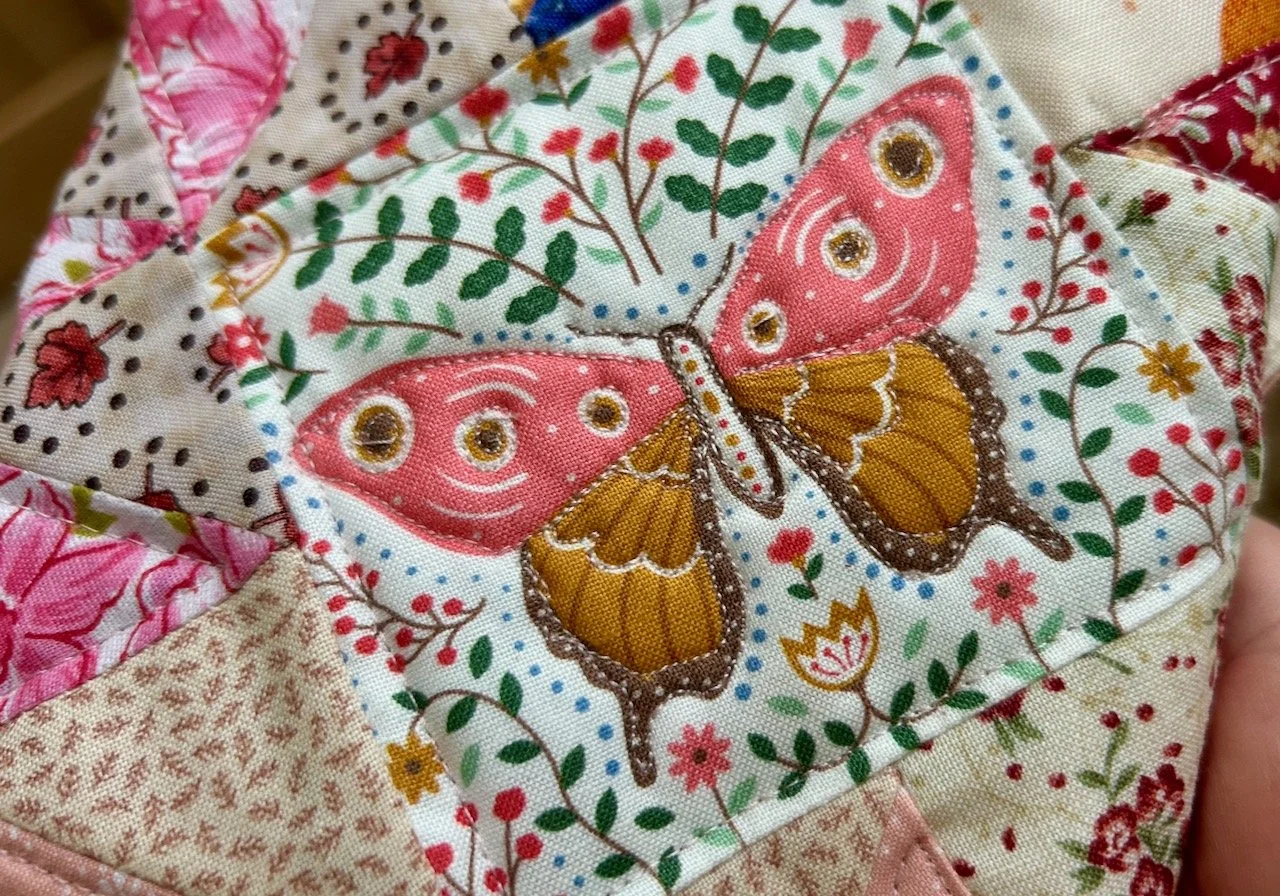
You’ll know that I’m a long time admirer of scrappy quilts, and have many plans to make my own - even if many of those plans don’t quite come to fruition every time! And so I was keen to see the ‘Stash Busting Scrappy Quilts’ by Carolyn Forster that were on display.

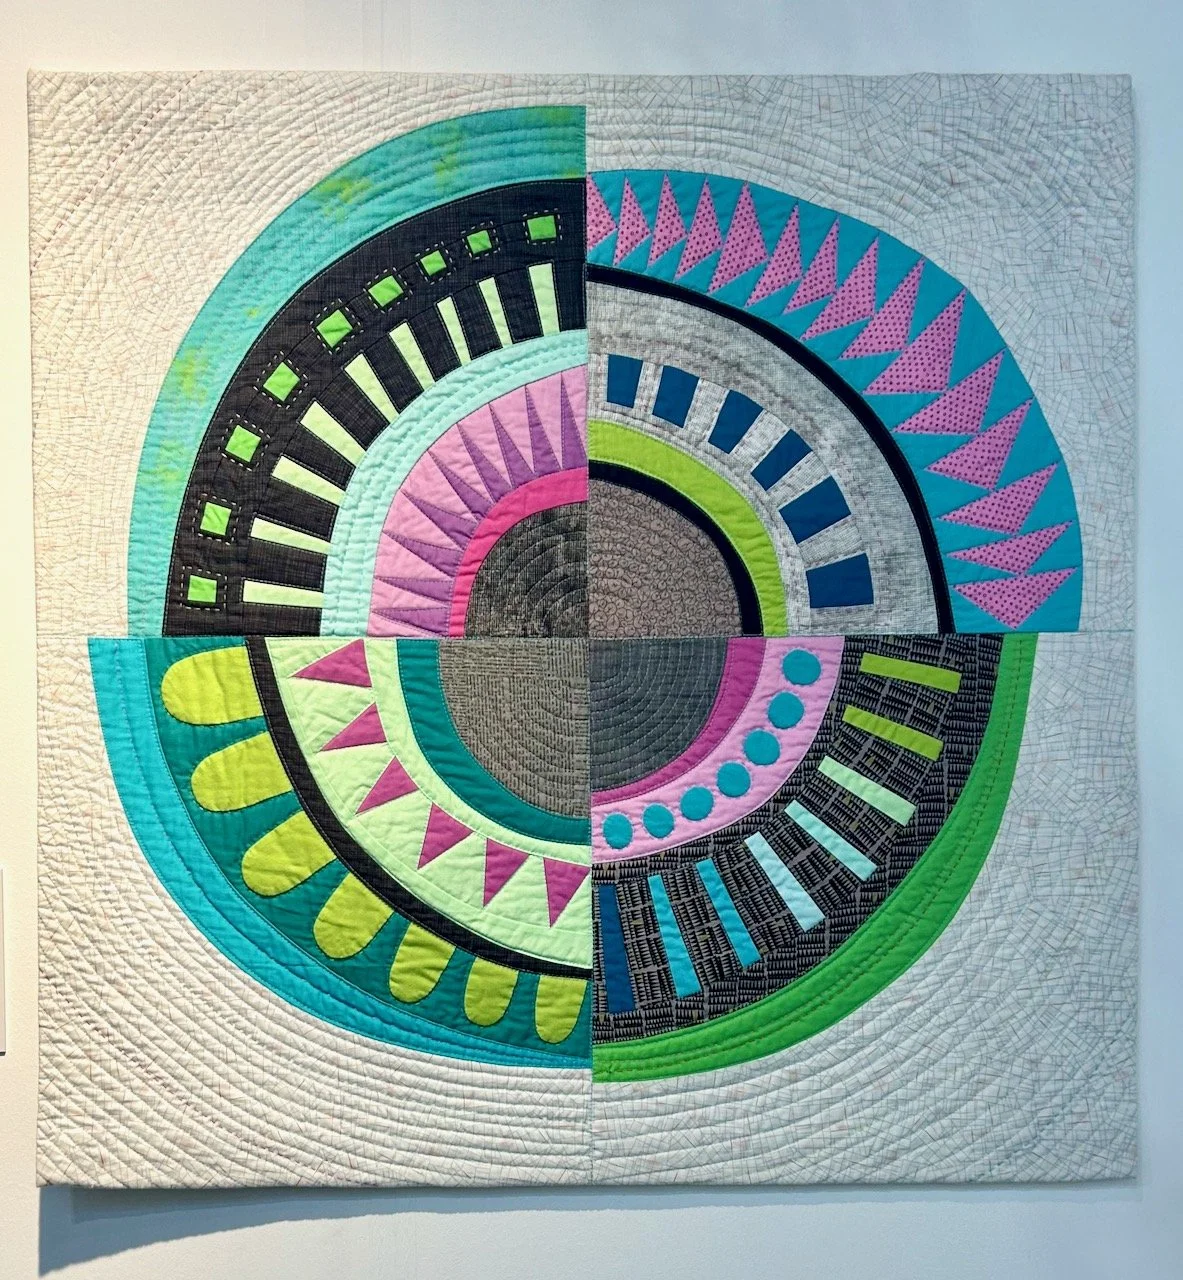
I took many pictures because they were so lovely, and as future inspiration for myself and while I took pictures of the whole quilts, it’s the details that really appeal to me and so I’m only sharing partial shots of Carolyn’s quilts here.

CAROLYN FORSTER: VINTAGE LINEN QUILTS

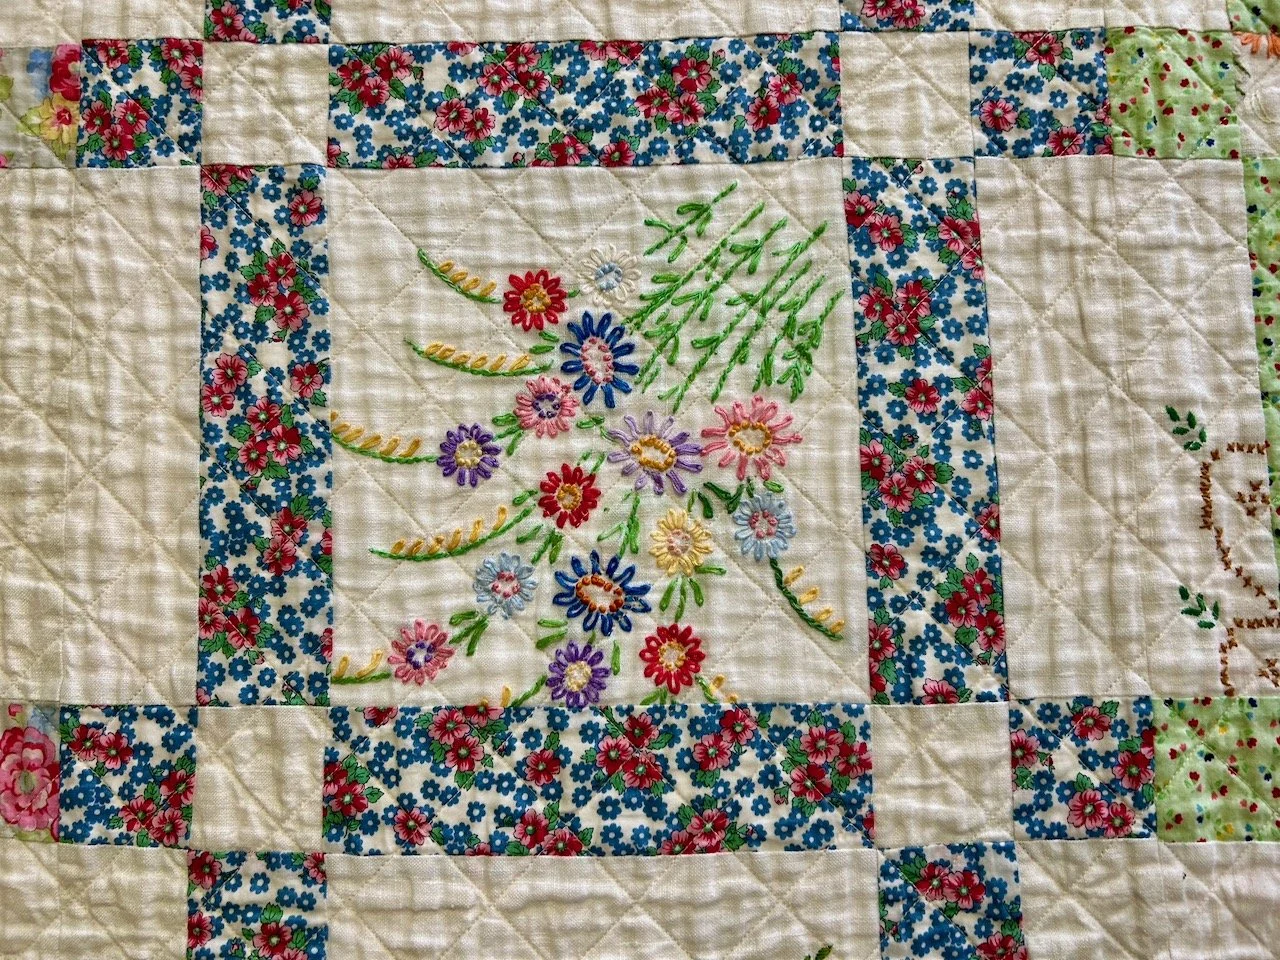
The Vintage Linens Quilt is a great way to reuse embroidered linens, especially those with a stain or two - though it needs some bravery to cut those up. I’ve acquired a few old tablecloths myself and I can see this being a good way to get them out of the cupboard and in use. Carolyn has used fabrics that compliment the embroidery to form a repeating block which I think works really well.

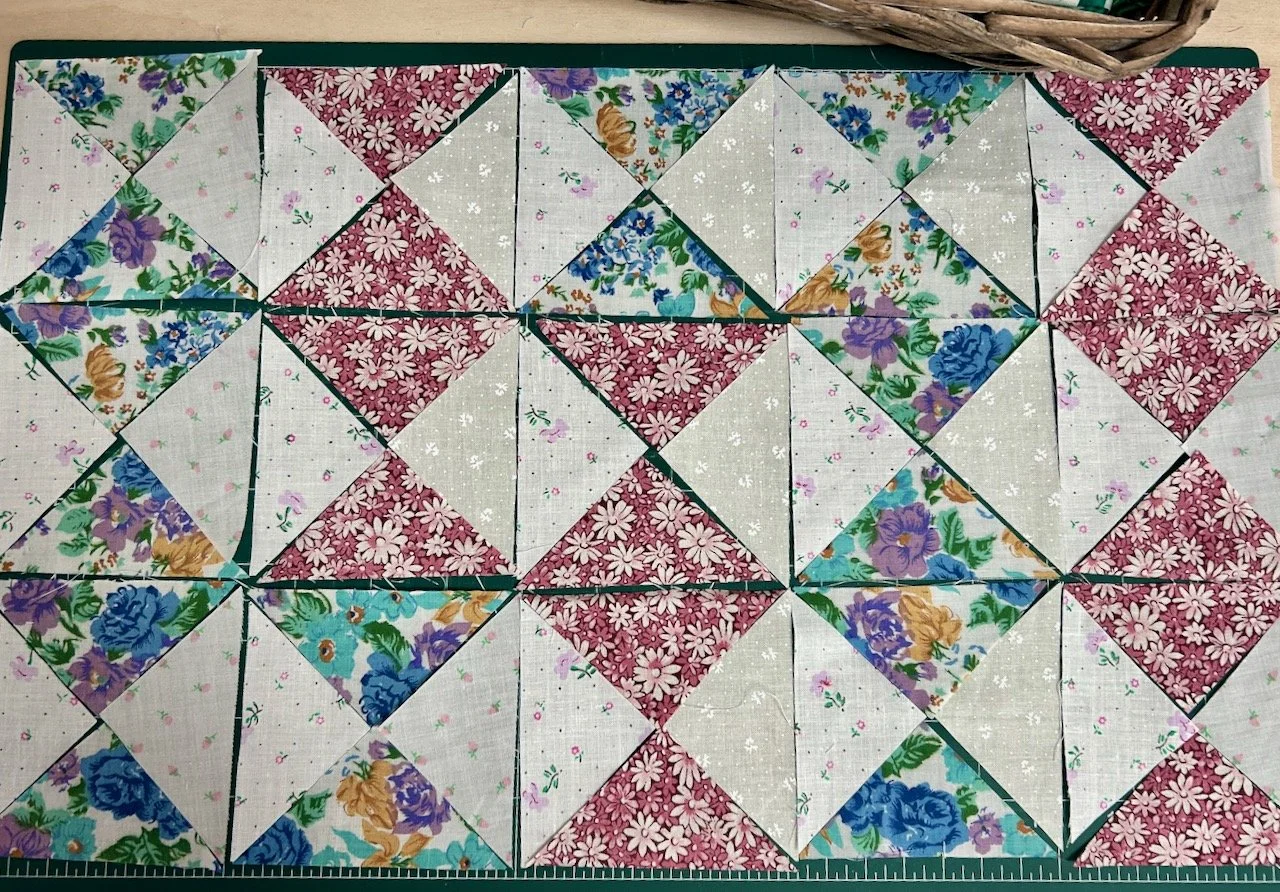
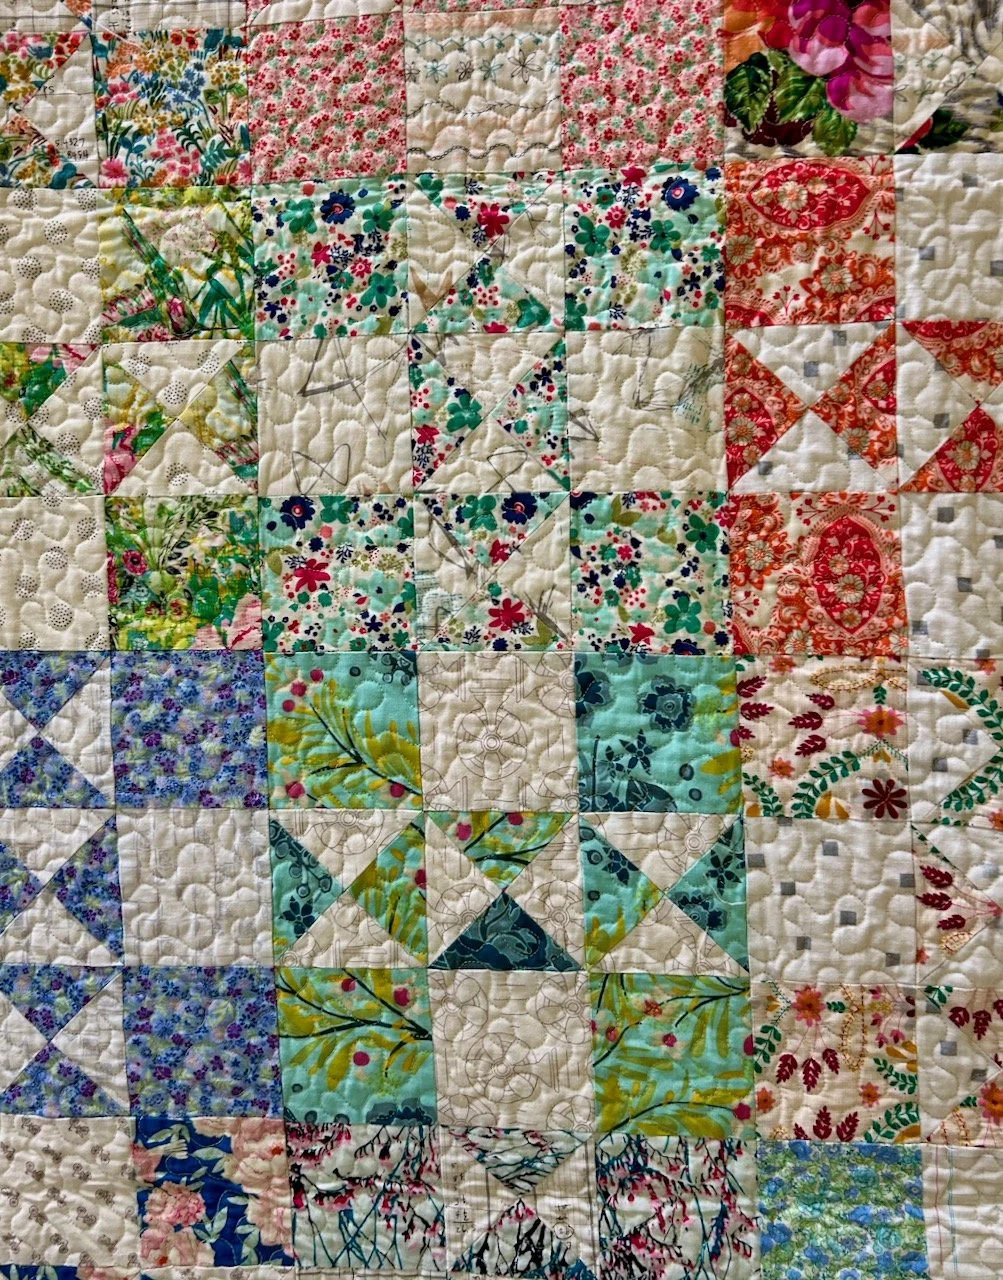
The Triplet Block Quilt is one that really caught my eye, I’m not sure I’ve really seen this block much before but spotted it in a couple of Carolyn’s quilts and it’s one that looks really effective repeated over a whole quilt too. I agree with Carolyn that the fabrics here give the quilt a summery feel, but hadn’t spotted that the block is set in alternating directions, until I read the card pinned alongside.

CAROLYN FORSTER: TRIPLET BLOCK QUILT

After that I did spend perhaps more time than actually necessary looking at how the blocks I liked were constructed, and without being mean or taking anything away from Carolyn’s work, they often are what appear to be quite simple shapes. I say what appear to be quite simple shapes, as we know that not everything is always what it appears to be, and there is real skill in not only the sewing but the fabric choices and layout.

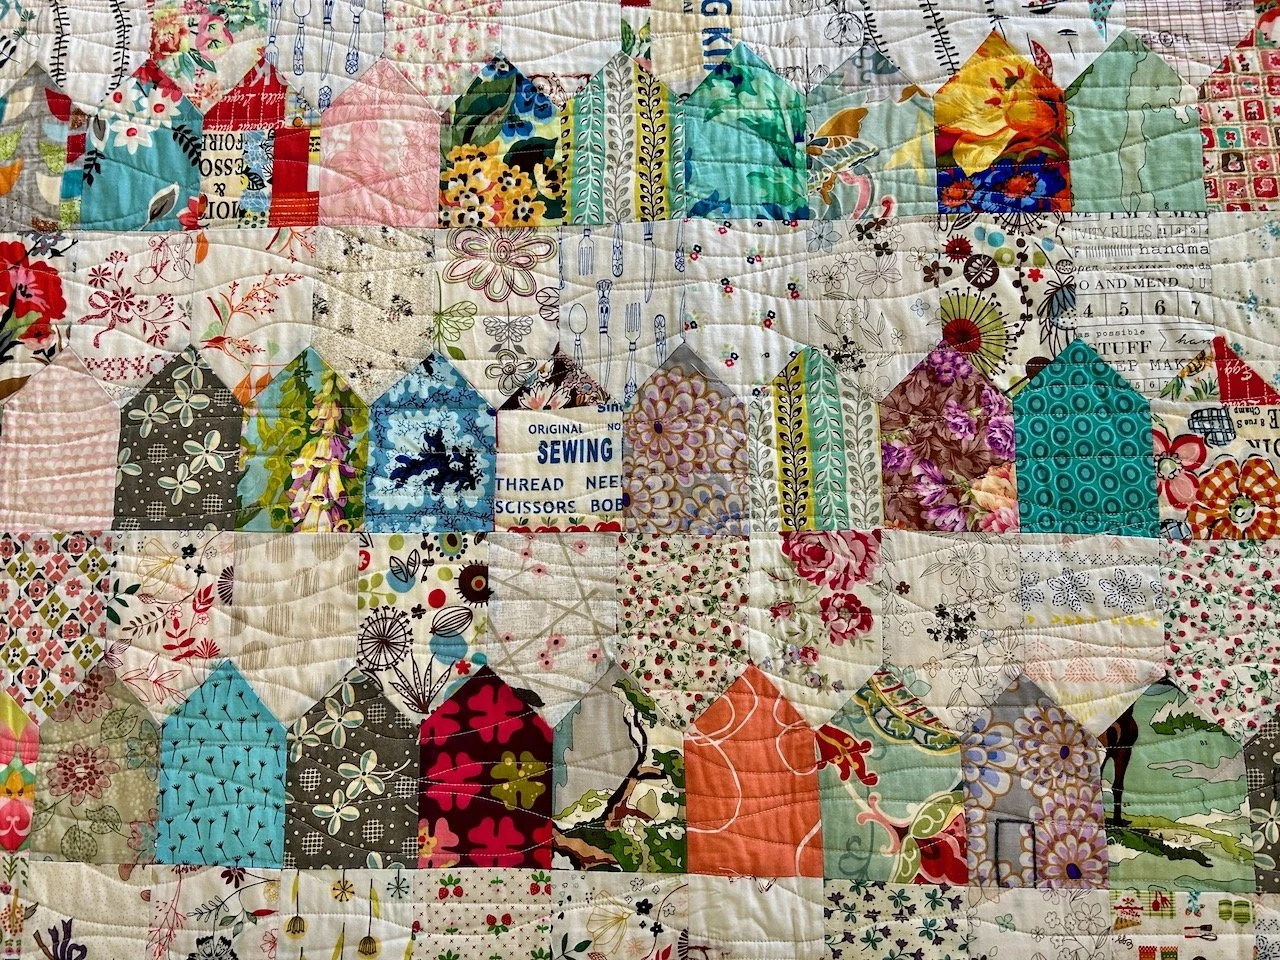
Carolyn acknowledges that in the Beach Houses Quilt saying that ‘the simple shape belies the fact that the sewing can be quite challenging. All the rows need to be set0in with the often-dreaded Y-seam!’

CAROLYN FORSTER: BEACH HOUSES QUILT

Beautiful though isn’t it?

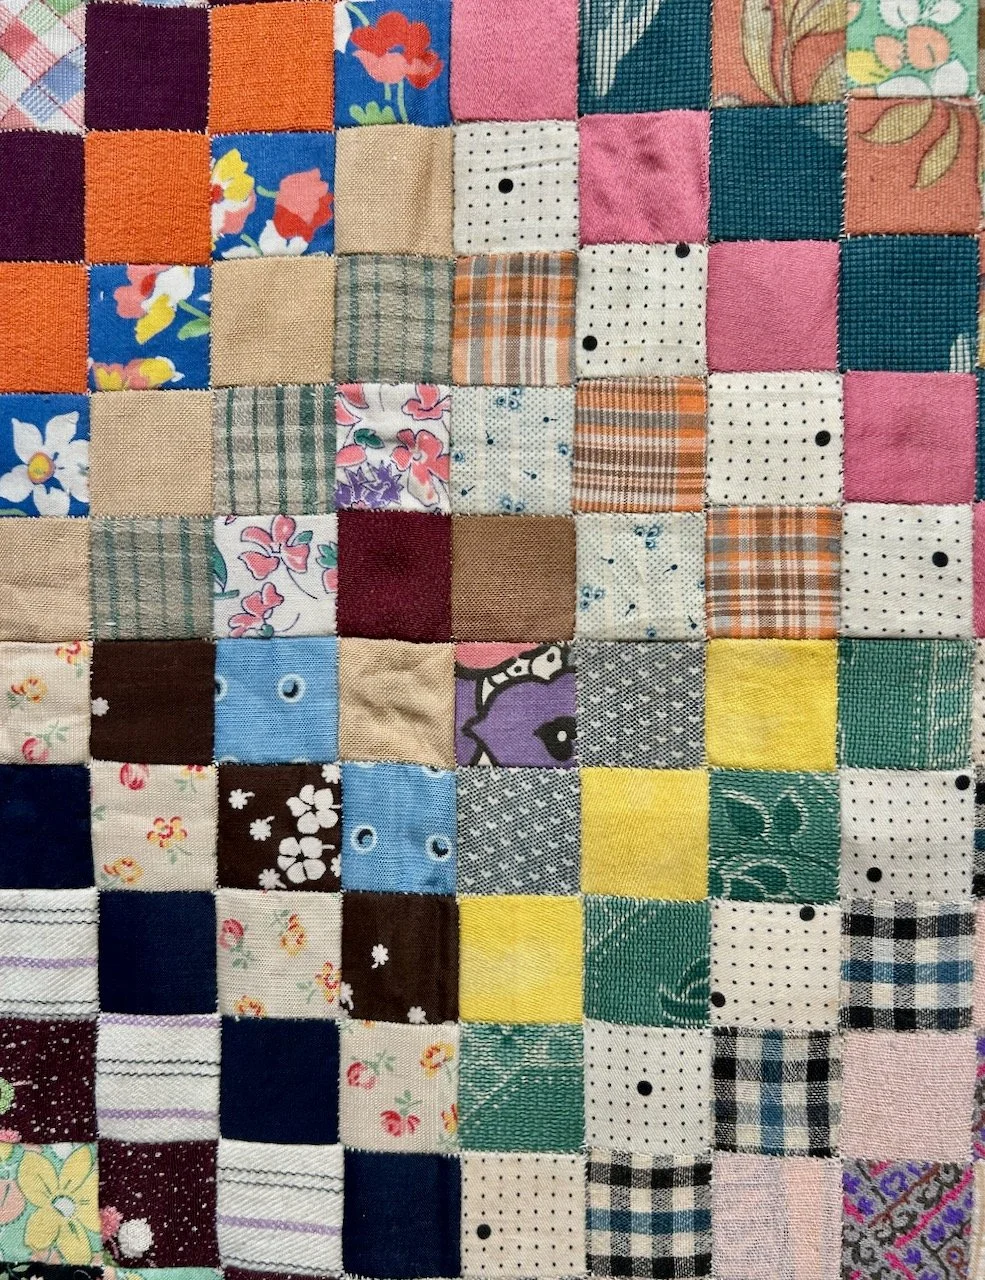
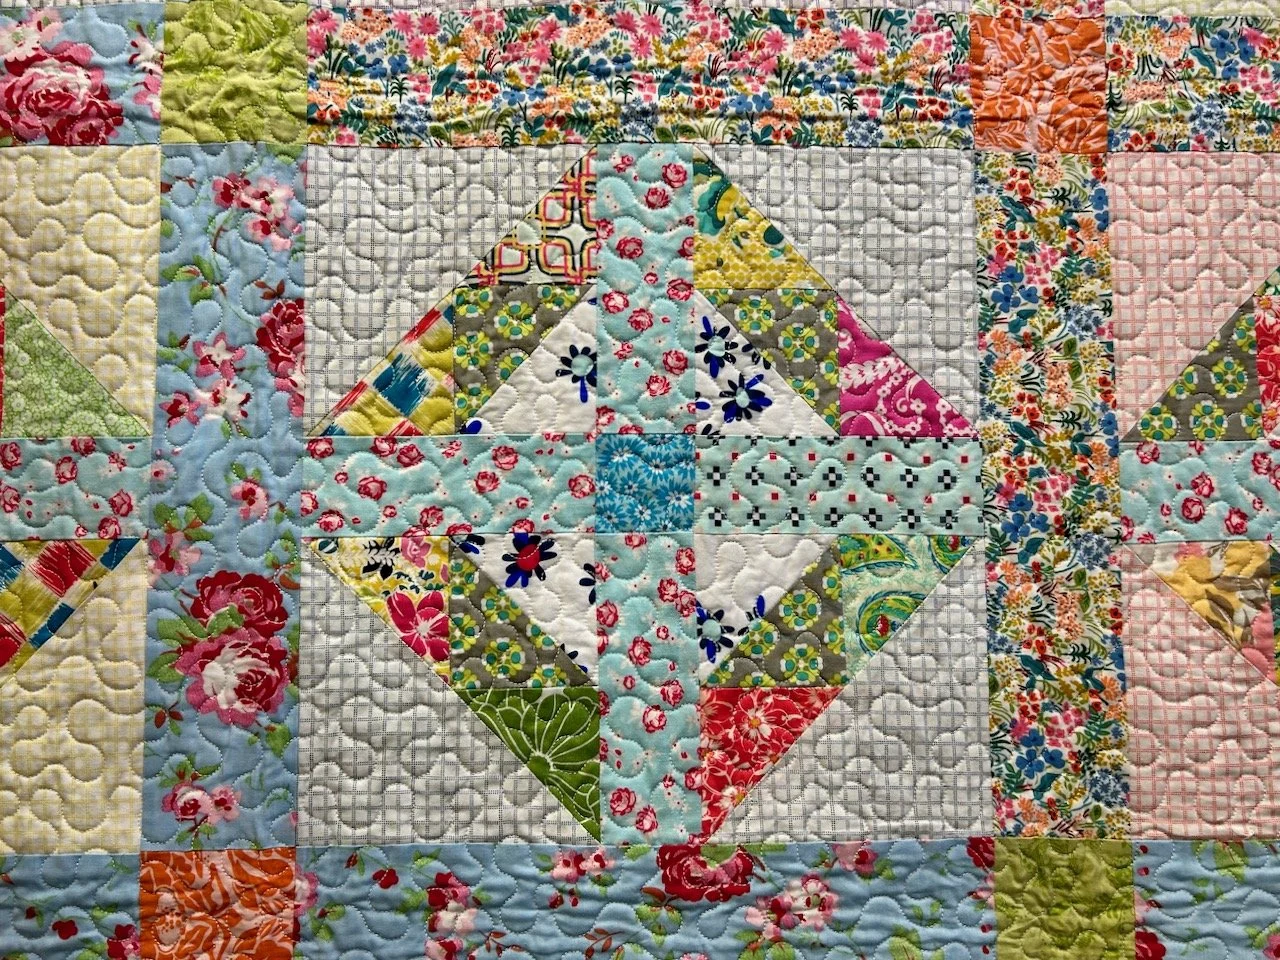
The Scrappy Crosses Quilt was another favourite of mine, this was inspired by a vintage quilt. Carolyn says that in this quilt she ran out of the original fabric for some of the centres of each block, but the good thing about scrappy quilts is that most of the time no one notices the substitutions. That’s so true, and a good lesson as I think often we’re so focussed on getting it right, when really a small deviation doesn’t really matter at all.

PART OF THE SCRAPPY CROSSES QUILT USING MULTIPLE FLORAL FABRICS

CAROLYN FORSTER: SCRAPPY CROSSES QUILT

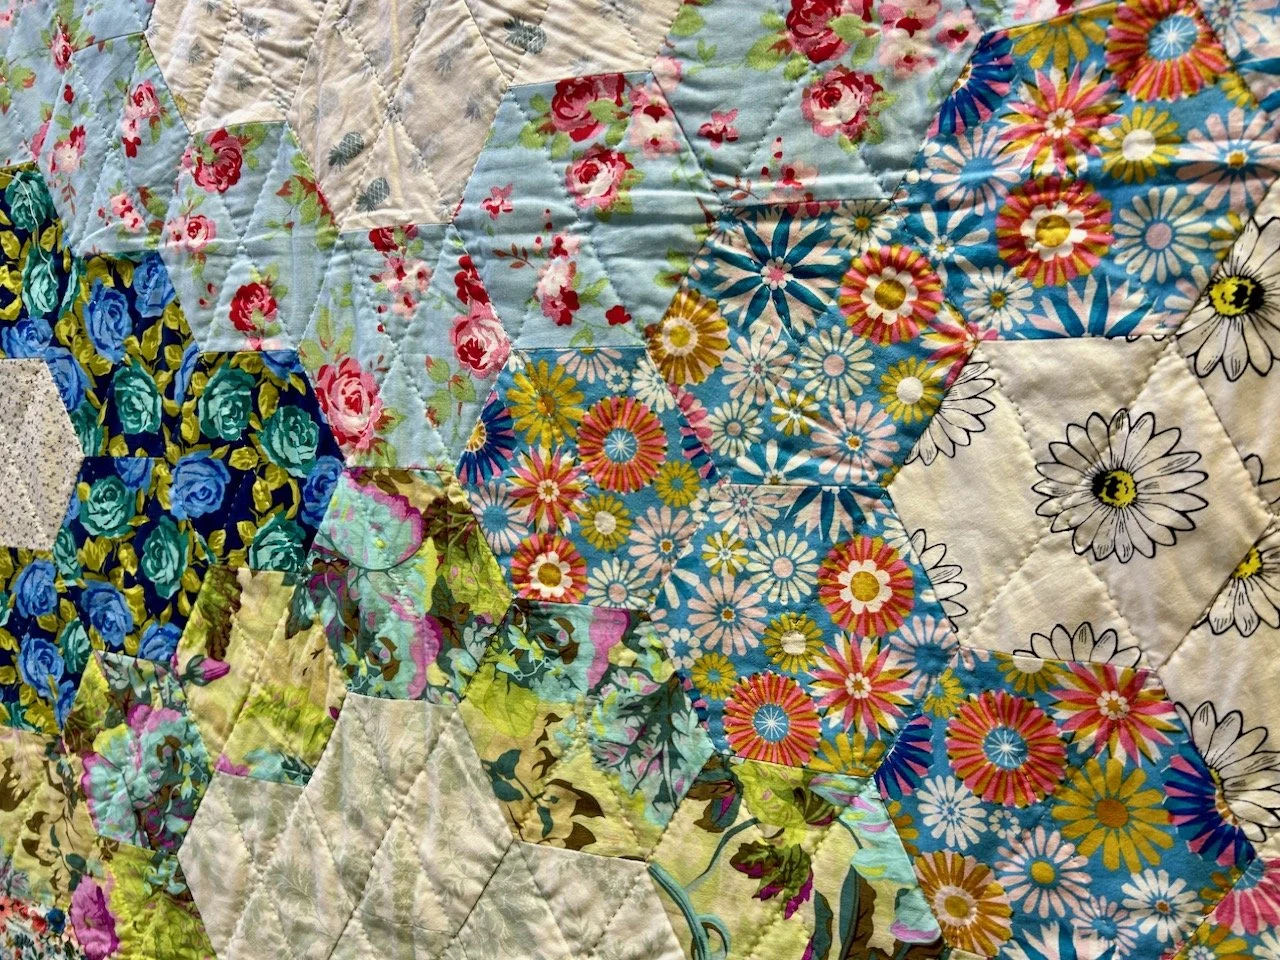
The Hexagon Lozenges Quilt using big hexagons, which is great for stash busting! The quilting design suggests smaller pieces have been used, but look again and it looks like this would be one that would grow quickly, and be relatively simple to do.

CAROLYN FORSTER: HEXAGON LOZENGES QUILT

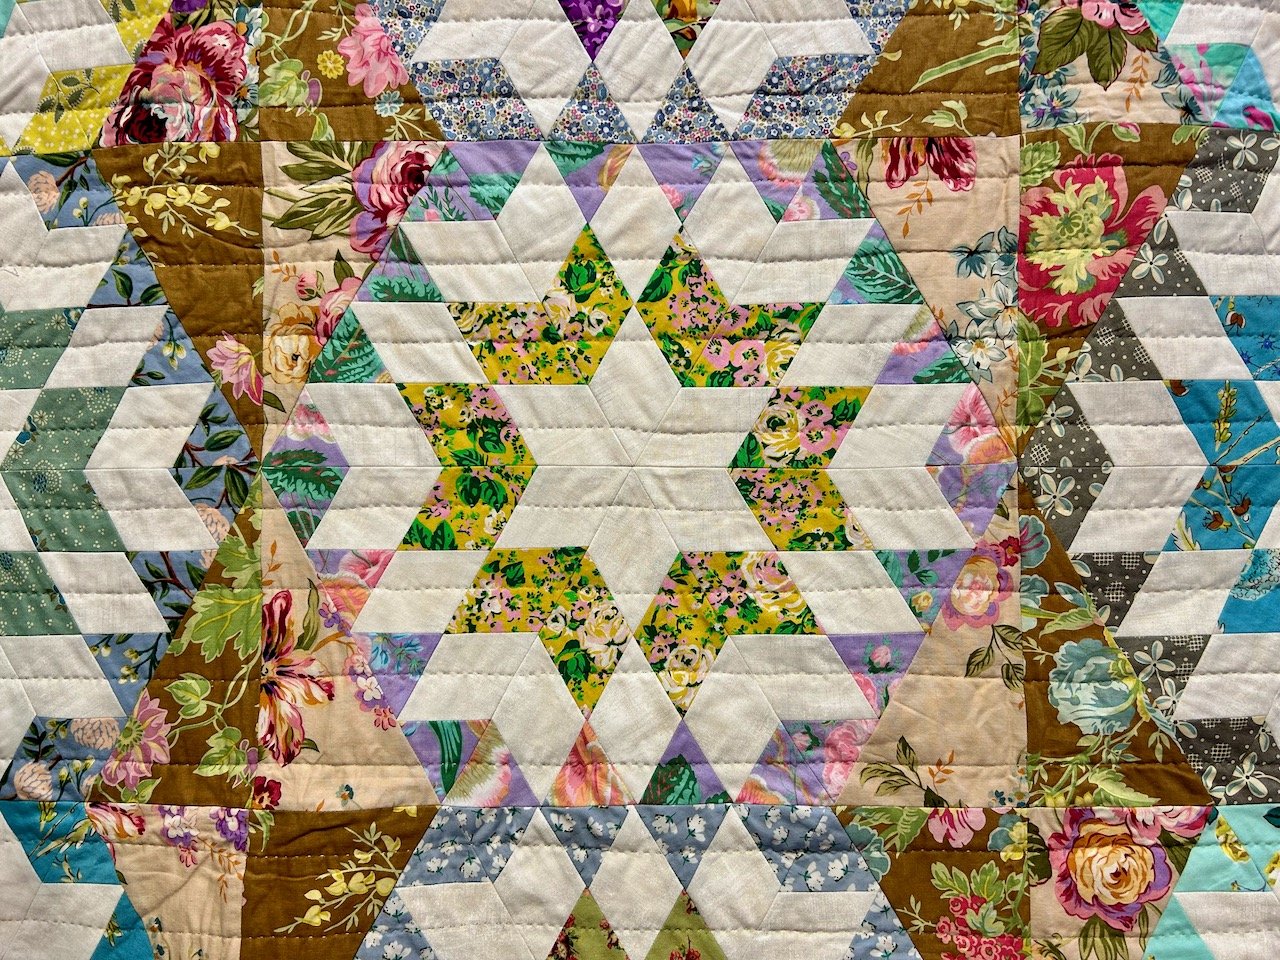
In the Diamonds and Stars Quilt for me it’s the plain fabric that becomes the star (quite literally) with the patterned fabric playing a supporting role - though the yellow floral fabric in the centre of the picture below looks pretty special. This quilt is based on a 60 degree diamond and an old fashioned block which is simple and effective.

CAROLYN FORSTER: DIAMONDS AND STARS QUILT

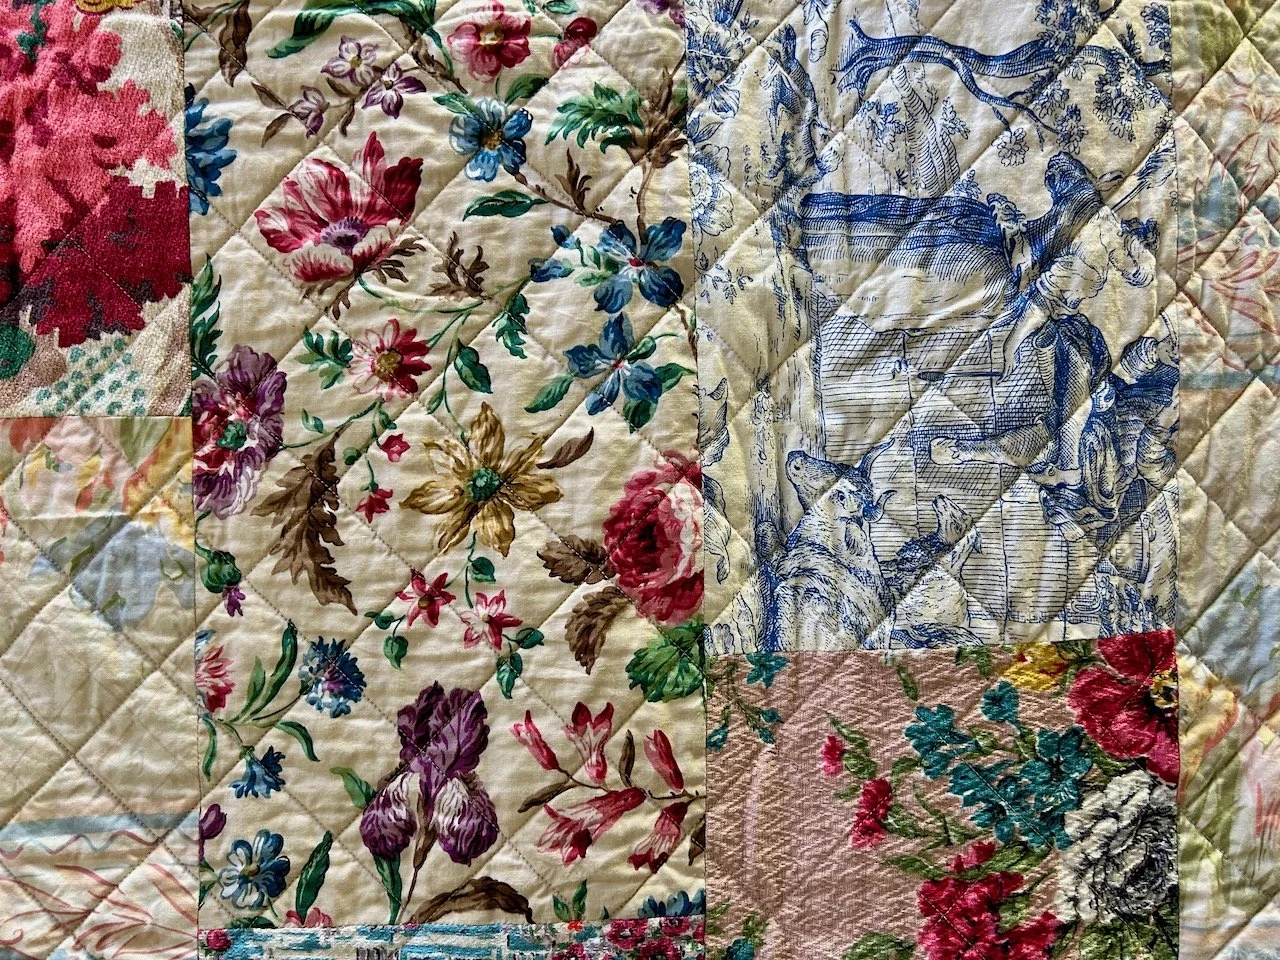
There was a good reminder alongside the Curtains Quilt that anything goes, and quilts don’t have to use dress-weight cotton. This one uses old curtains and curtain fabric off-cuts and I’ve no doubt that it would keep you just as cosy as any other quilt.

CAROLYN FORSTER: CURTAINS QUILT

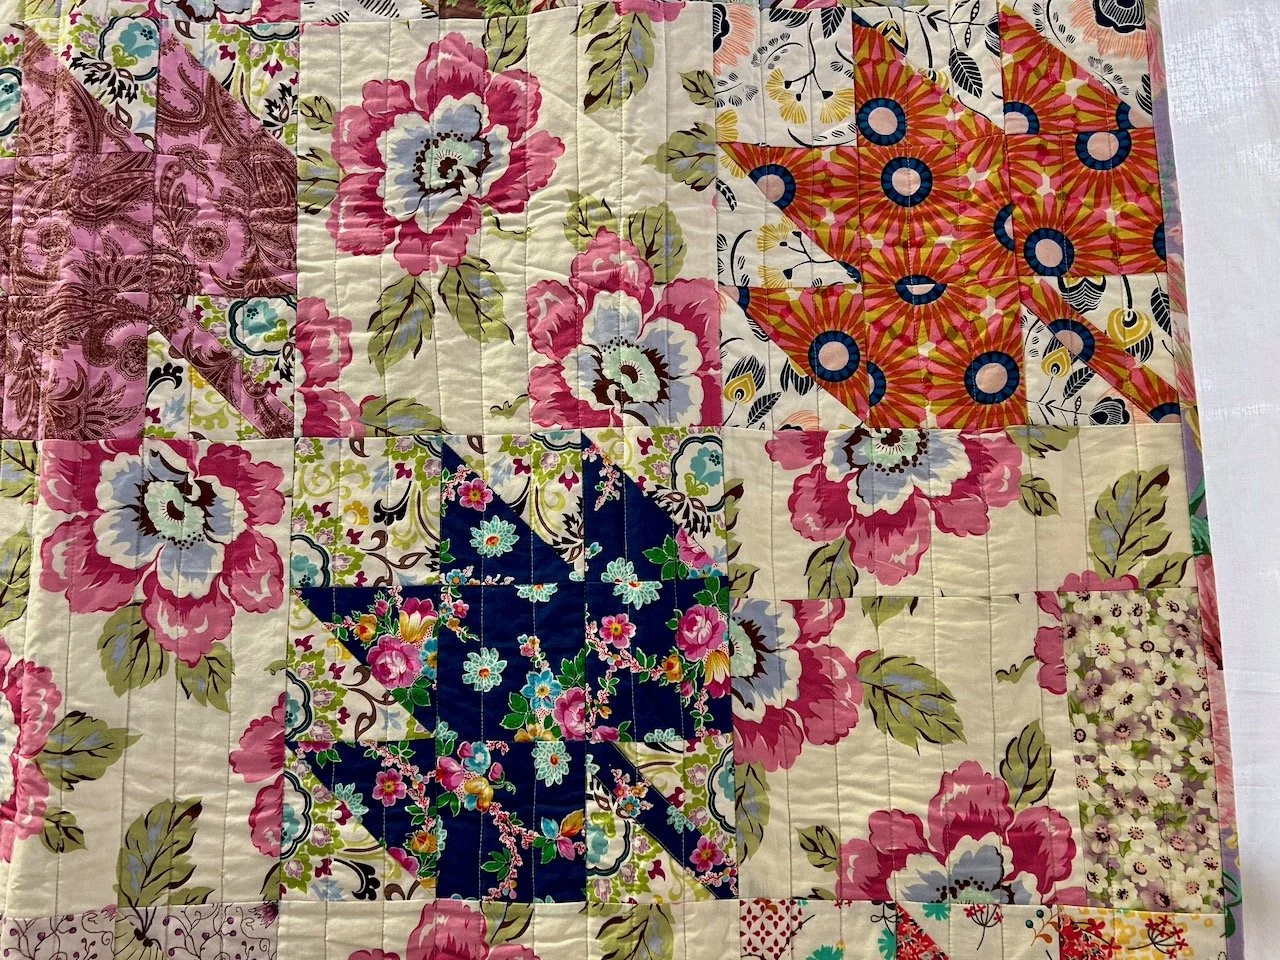
Carolyn started, and finished, the Maple Leaves Quilt during the first Covid lockdown and was inspired by one in the book ‘Unconventional and Unexpected’ by Roderick Kiracofe which gave licence for unusual choices. I love its boldness and larger prints, and I know I’ve plenty of larger prints stashed away which I could use in a similar way (one day!)

CAROLYN FORSTER: MAPLE LEAVES QUILT

So much inspiration here for me, and hopefully for you too - my planned project list is perpetually growing! But if I get close to anywhere near through that list I know I’ll have some beautiful quilts - both fabric and yarn-based - and will have plenty to choose from!

There were plenty more quilts on display at the show and I’ll share my favourites in a separate post soon.

PostCommentLove

My Christmas (and now my Winter) wreath

I’m getting into this wreath making - and even though I made my latest wreath at the start of December as a Christmas wreath, I’m not ready to let it go yet so it’s be renamed my Winter wreath! I think that’s ok, don’t you?

For this workshop I headed over to a village outside Grantham meeting up my SIL for us each to make a wreath for our front doors (or in my case, as before, my back door!). I hadn’t realised the workshop was to be hosted in a private house and so struggled to find where I was supposed to be. Luckily though I stumbled upon a villager who was also attending and helped me, I’m so glad she did as it was a brilliant evening hosted by Chloe Jonason, along with expert wreath advice from Sarah at Sage and Satin Floral, who we discovered during the course of the evening lives in the same village as my SIL. A small world indeed.
But anyway, wreath making - entering into a room set up for the workshop with a large table in the middle and wreaths complete with moss laid out ready for easily 15 of us, with a huge pile of greenery in the centre of the table made quite an impact. The lebkuchen and mulled wine on arrival, and throughout the evening were also very much welcomed, though with a drive ahead of me in inclement weather the lebkuchen were very much more my thing!

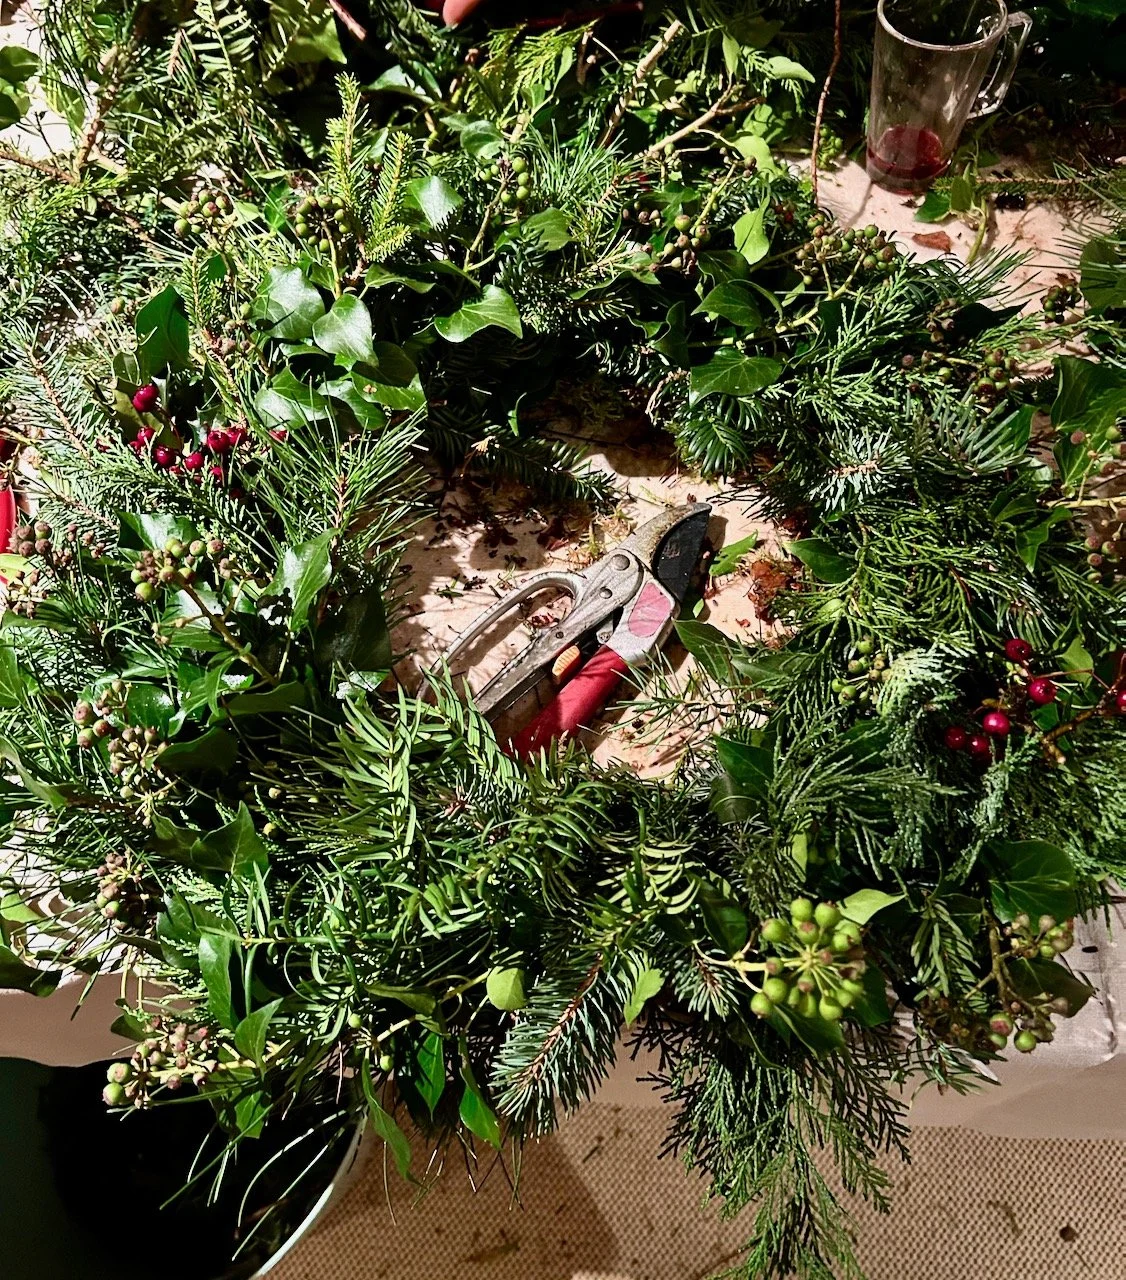
My wreath after adding greenery, some ivy flowers and a few red berries - secateurs at rest in the middle of the wreath

HOW IT STARTED…

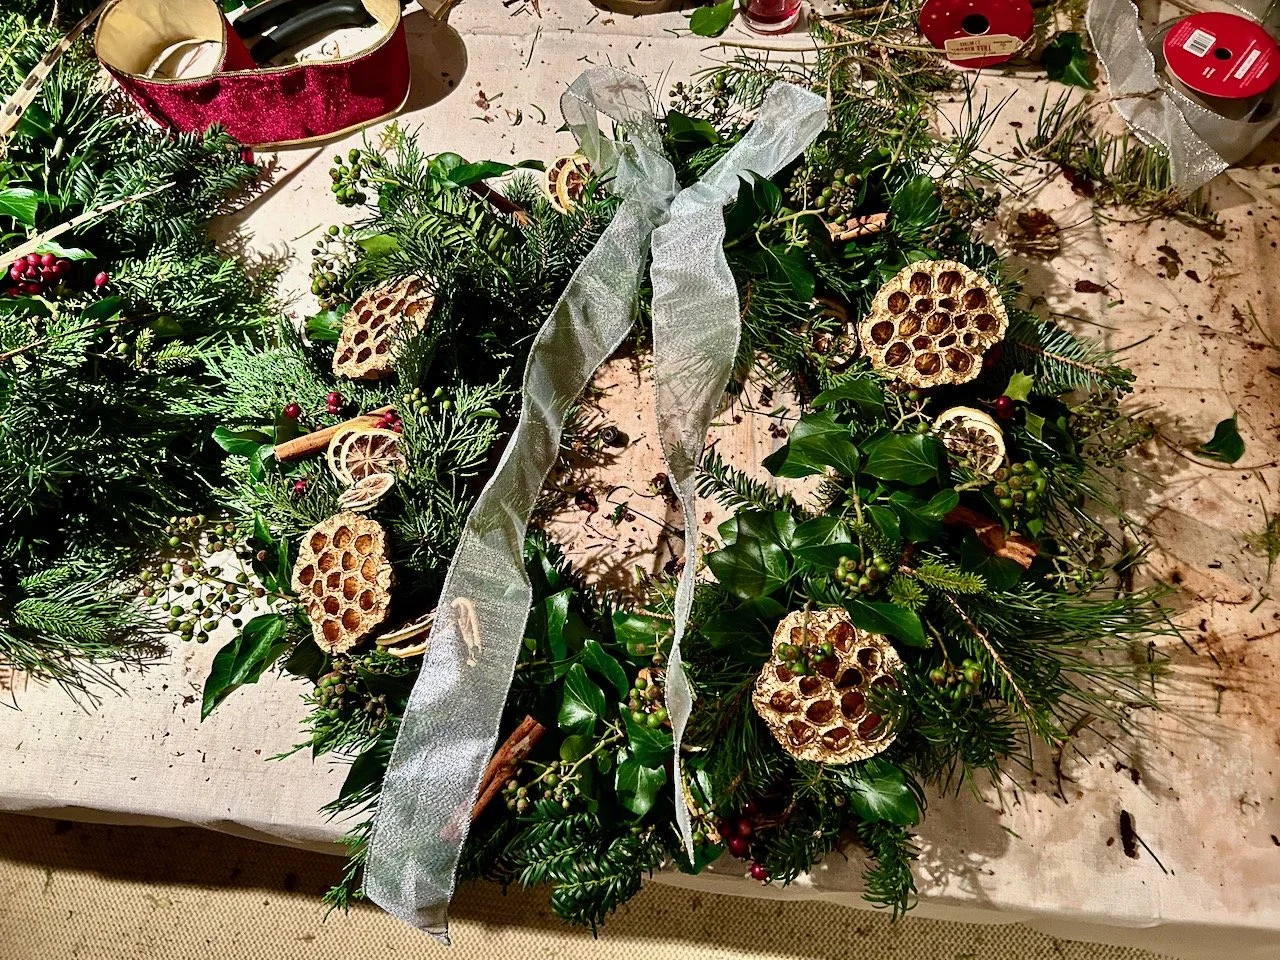
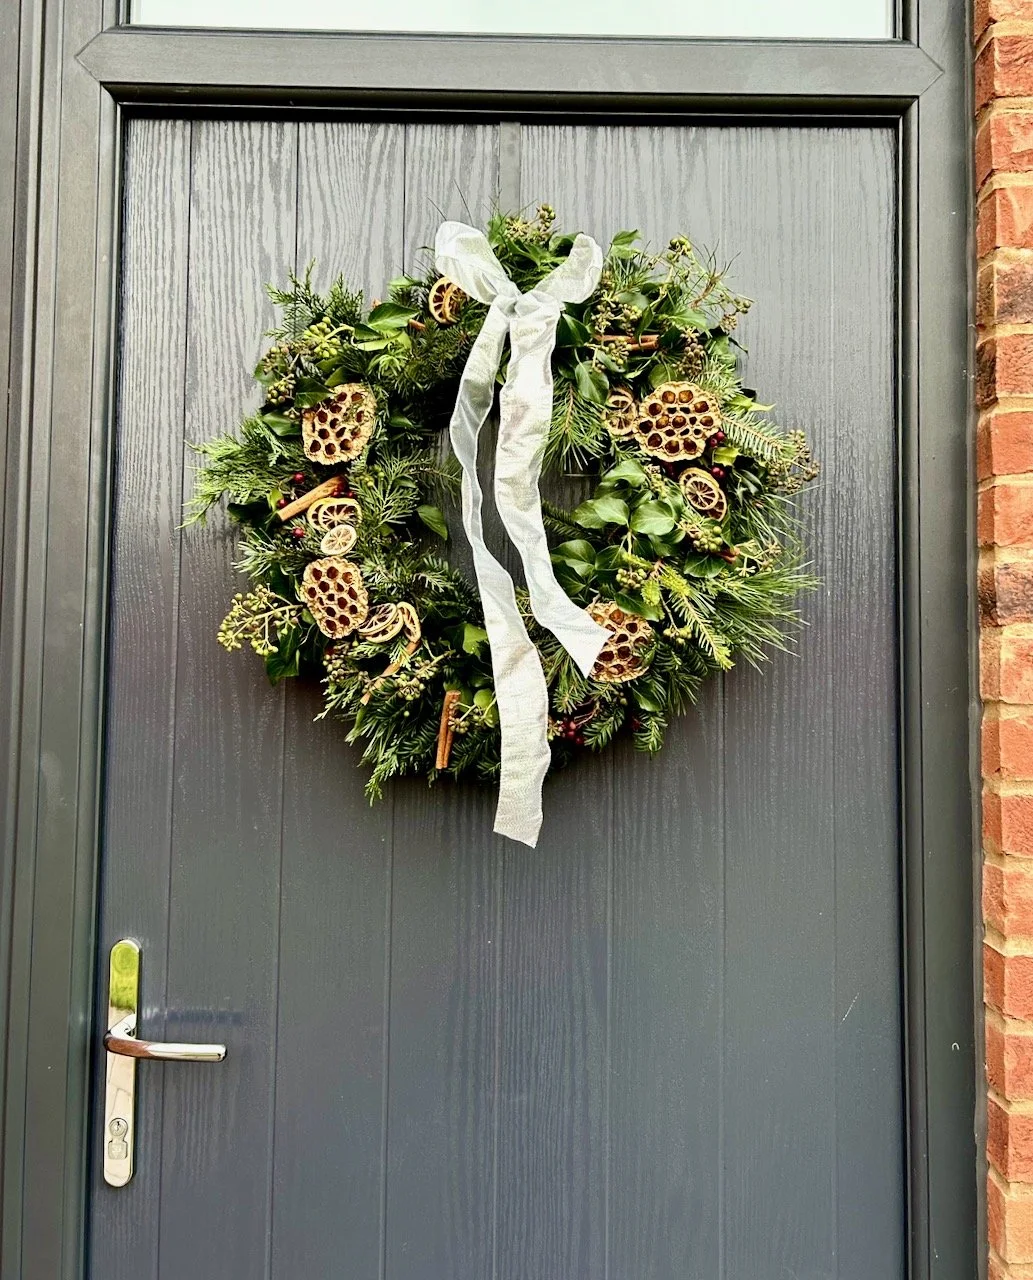
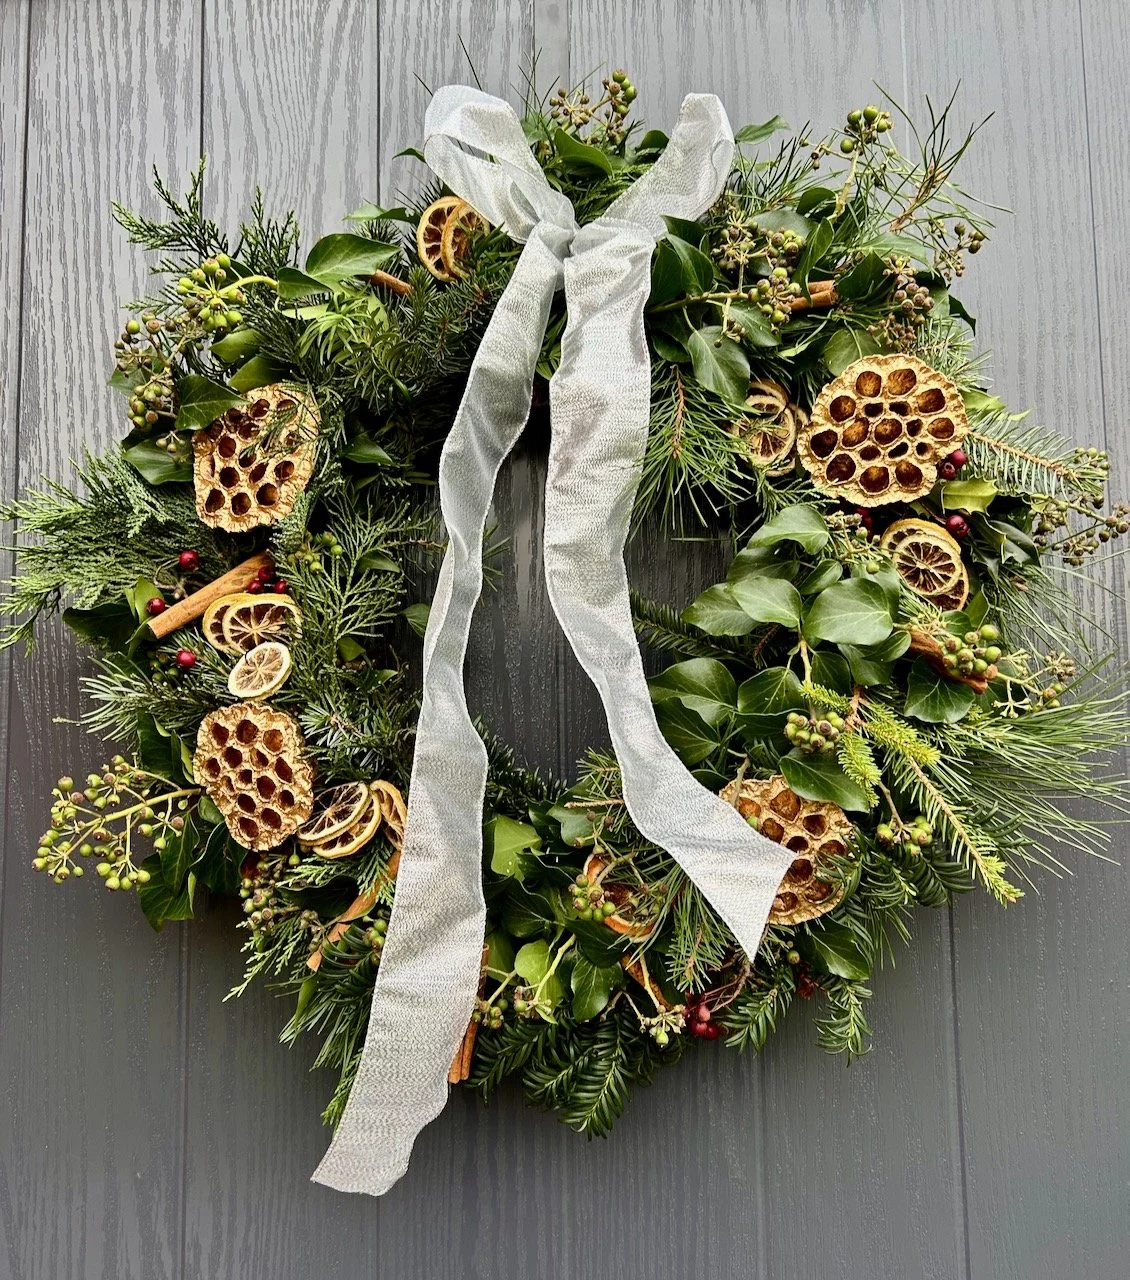
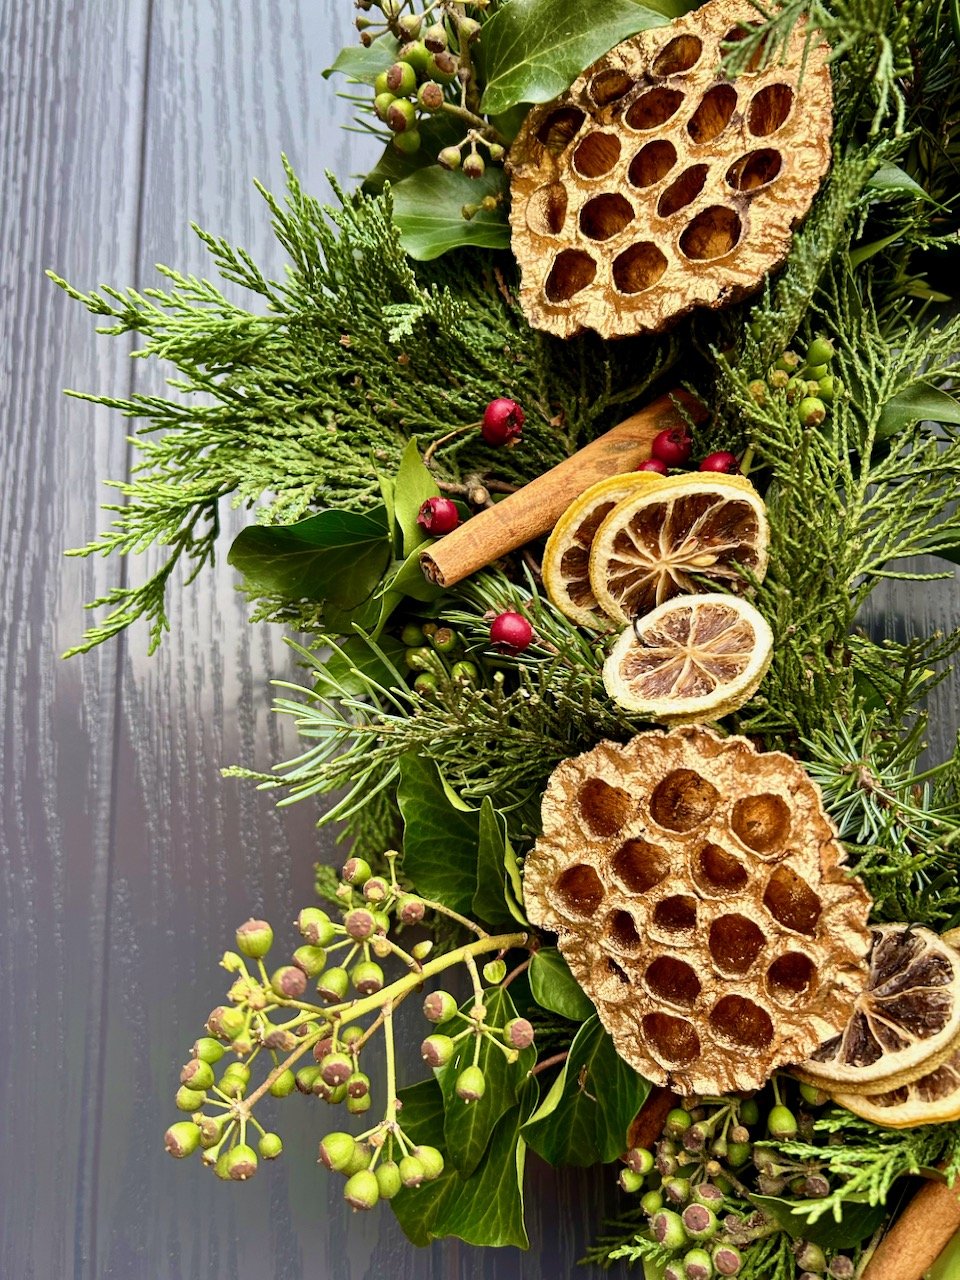
My completed wreath complete with decorations - including a large silver bow, golden lotus flowers, cinnamon sticks and dried citrus fruit

HOW IT ENDED…

Compared to my autumn wreath, this one has more decorations on which feels right for a more Christmassy effort - and it was good to learn how to wire these and attach them to the wreath. I’ve had one casualty - a cinnamon stick on our doorstep - which I’m quite impressed with, and used a very similar technique on my repurposed autumn wreath. Which reminds me I need to retrieve those pine cones and dry those before someone thoughtfully adds them to our brown bin…

Learning from my previous workshop, this time I had prepared my boot for the wreath’s journey home with a large piece of plastic and instead of moving it into the garage overnight, I left it in the boot! It was fine. In fact I didn’t hang it on my back door the next day either as I needed to make plans for storing the autumn wreath, and it was still fine. It’s still going strong and we’ve definitely had some weather in the last month or so, so I’ve also learnt that wreaths are pretty resilient.

It was only when I hung it on the door though, that I realised that my golden lotus flowers could have signified the Five Gold Rings from the 12 Days of Christmas, if only I’d thought to add another at the bottom. Never mind, it’s something to bear in mind for a future wreath, and as you’d expect I plan to remove the decorations, dry and store them for future use.

But in the meantime, enjoy a few more pictures of my newly renamed Winter wreath - I’ll let you know how long it hangs around for, and if there’s a replacement (though I’m pretty sure there will be one!)

A full length shot of the completed wreath on our dark grey door - which really sets off the silver bow
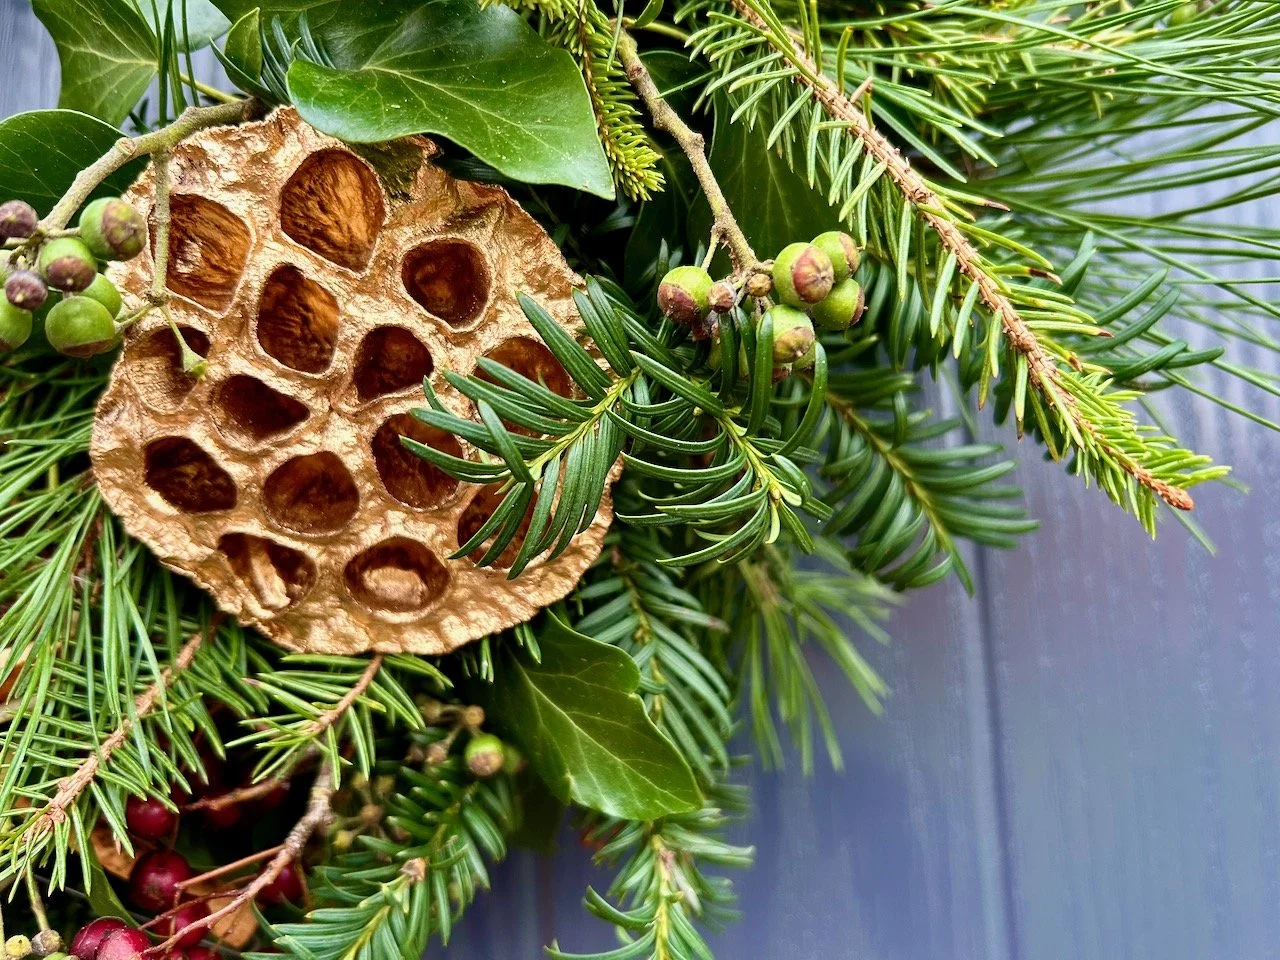
A closer look at the golden lotus flowers, along with yew and ivy greenery, some ivy flowers and red hawthorn berries
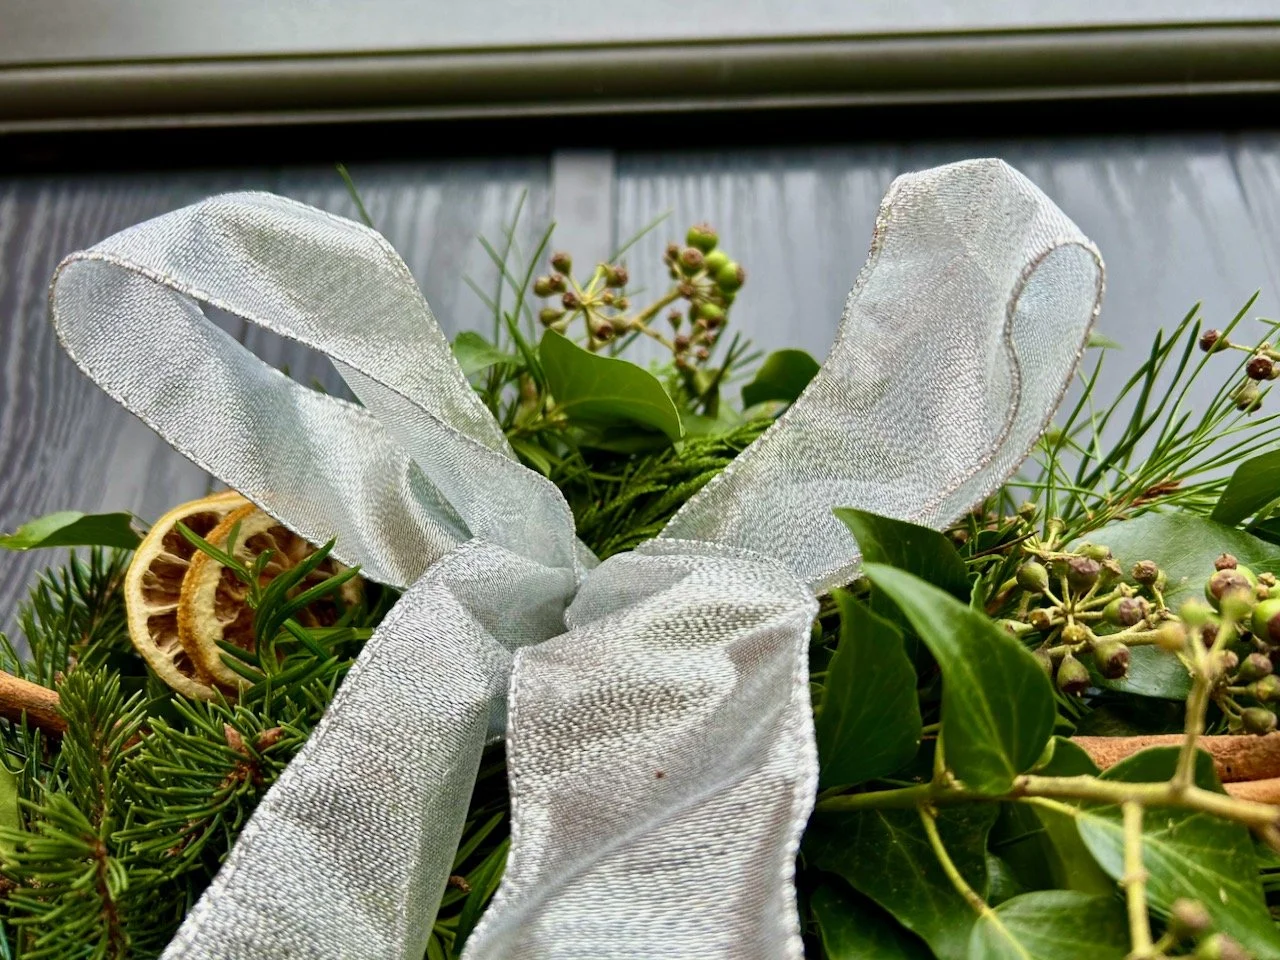
A closer look at the bow at the top of the wreath, the silver ribbon has wire in the edges and some transparency, the tails are long (to the bottom of the wreath) but aren't included in the photo

Wreath making is definitely a skill I’m pleased I’ve added to my repertoire, and I’m pretty sure I’ll be scouring my garden for plants to use in future wreaths, as well as looking for places locally to forage materials, as my garden is unlikely to keep up with my new wreath habit for a little while yet!

Repurposing my autumn wreath

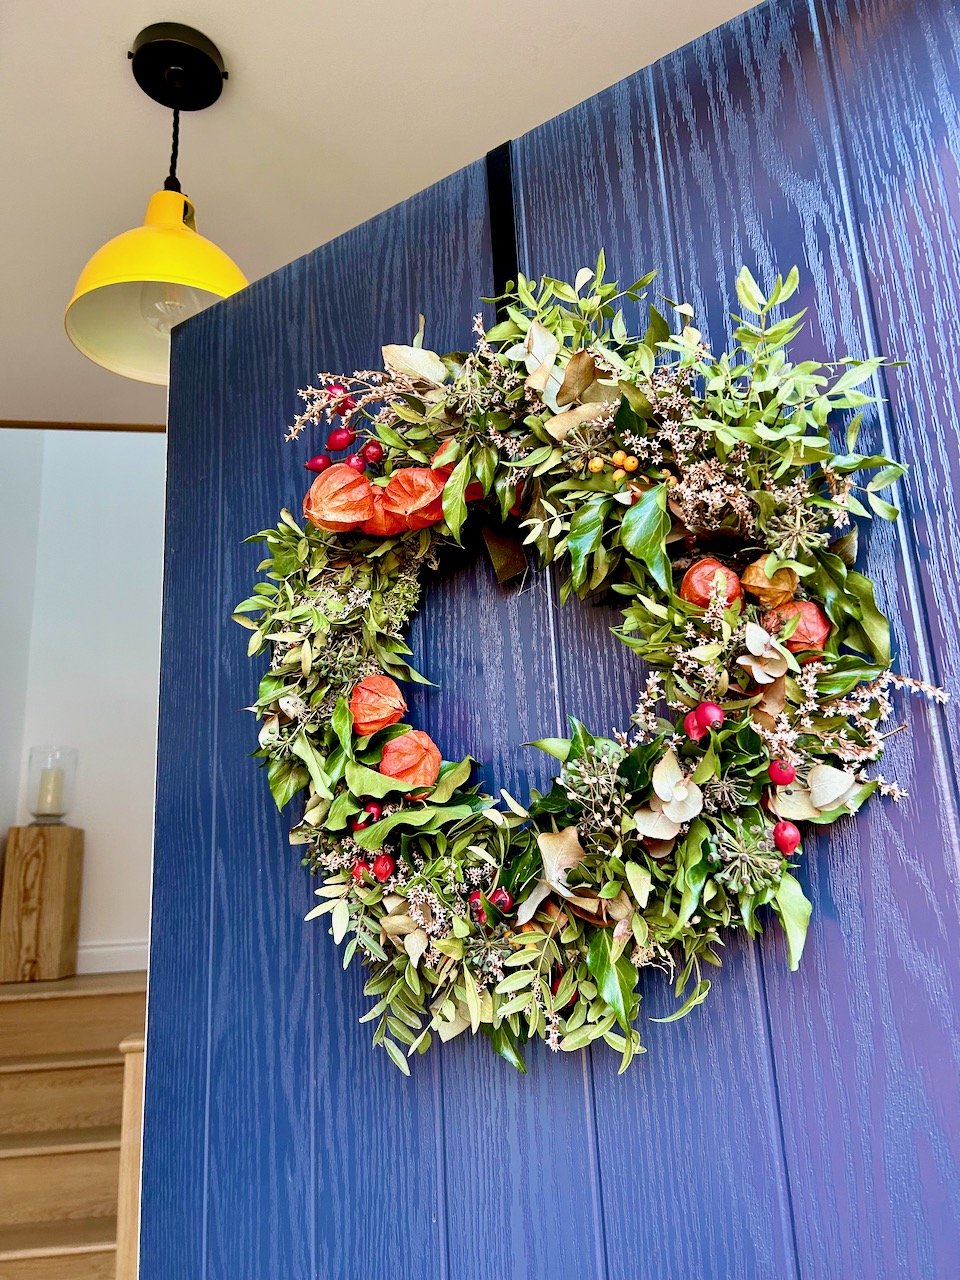
17 October I went to a workshop to make my autumn wreath, and almost a month and a half later it was still looking pretty respectable, if not slightly weather worn, which given the weather we’ve had - rain, wind and snow - isn’t surprising! And with a new workshop, and wreath, booked in for the start of December its days were numbered.

My autumn wreath fading a little on our open door

And while the autumn wreath was fading, it wasn’t completely done - which was just as well as I had plans for it.

Back in 2016 I shared how I’d bleached some pine cones, and how my top tip was to start early - I think I took my own advice there as I’d not used them properly, so by my reckoning eight years is plenty early enough!!

This year was going to be their year

At least I hoped it was.

I brought in the autumn wreath as by now the weather was too chilly to do this outside, and was immediately grateful that I thought to put this on a towel and on paper. It was wet from the recent rain, which was no bad thing as keeping the moss wet helps. The towel soaked some of that up, and the white paper helped easily identify bugs crawling out of it.

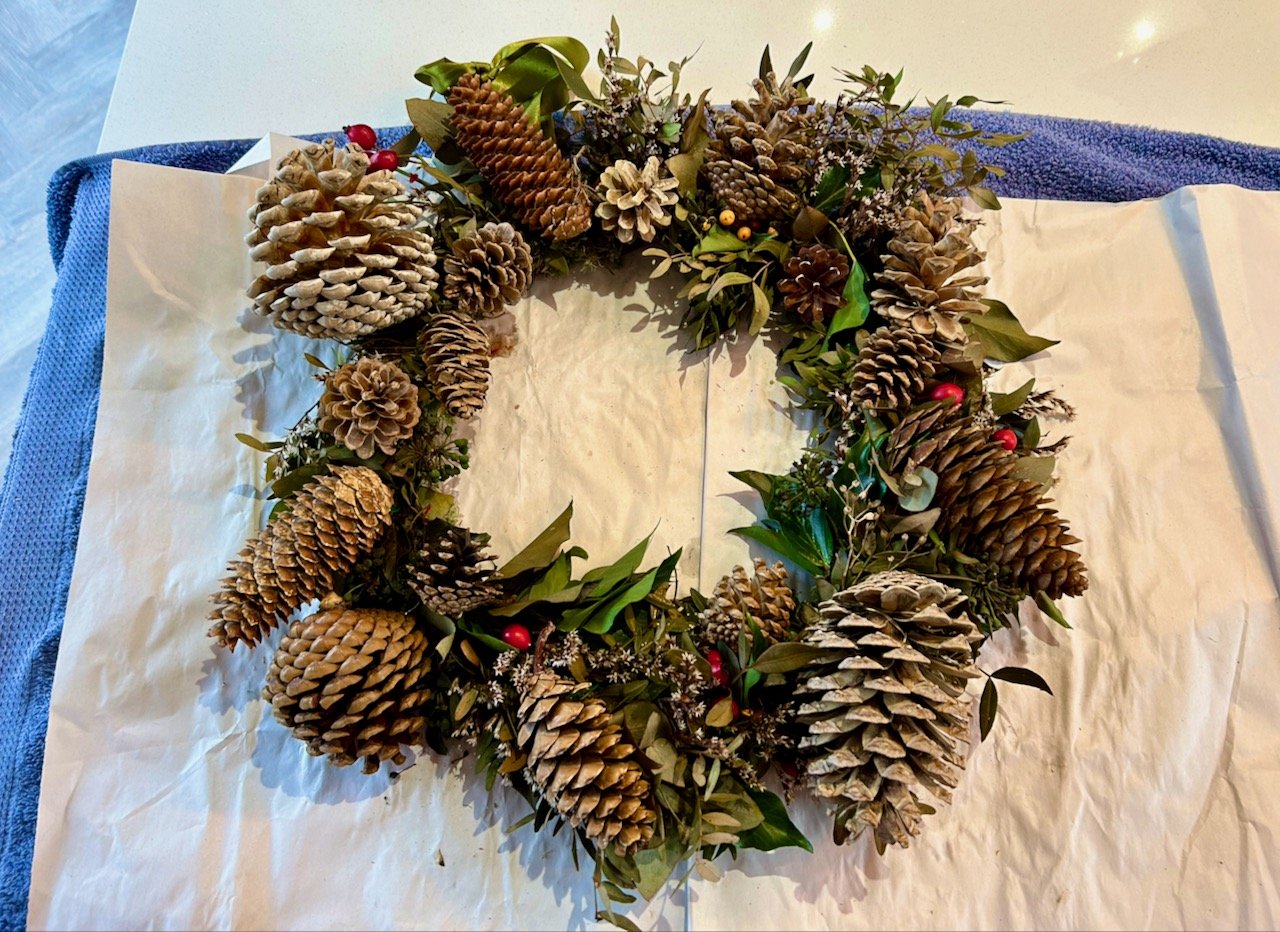
The autumn wreath on my kitchen worktop, plus towel and paper, before trimming the most faded elements.

I snipped off the Chinese Lanterns and some of the more faded greenery and the berries which were past their best, but left as much as I could.

To check the viability of this primping project, I placed my bleached pine cones around the wreath to check I had enough to fill the gaps. I did. So with more optimism than skill I set about wiring them into place. I had thin wire so I think this was harder to use than the thicker short lengths of florist wire which could be more easily pushed through the moss, but I go there and all the pine cones were attached successfully.

It doesn’t look too bad laying down does it?

I knew the proof of the pudding, or at least my newly acquired wreath making skills, would come when I held it vertical - and thankfully none fell off, so I could move to the next phase of the project - putting it on display.

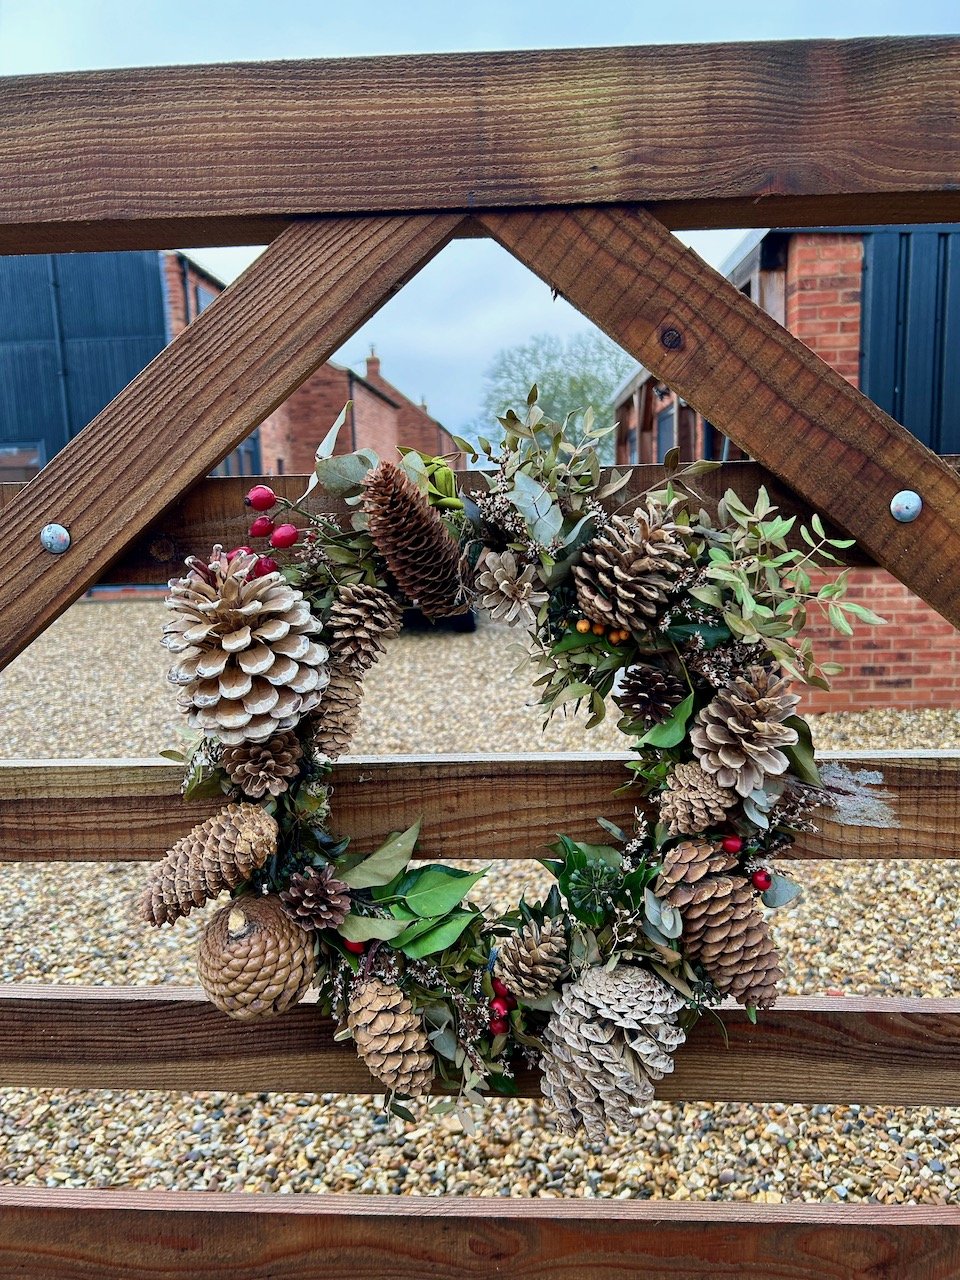
The primped autumn wreath with newly acquired pine cones attached to our gate

Not taking any chances with the wind gusts, I’ve tied this on in four places - top, bottom and both sides - and it’s stayed on the gate, so far. What’s more, the pine cones have also stayed attached to the wreath, so I’m calling that a win - and a pretty and sustainable one at that.

Though this will be its last stand, with the majority of it heading to the compost bin (actually our brown bin as we haven’t sorted new compost bins yet) in the New Year. I’ll be saving the pine cones, and if I can the metal ring, but you’re not surprised by that are you?

This is likely to be my last post before Christmas, so thank you again for continuing to read and support my blog. I hope you have a great time over Christmas celebrating and/or spending time with families or loved ones, and doing what’s important to you.

We’re looking forward to spending the Christmas period with family in our new home. I hope to share a post of my Christmas wreath before the New Year, so I’ll save wishing you a Happy New Year until then.