


When Lampcommerce got in touch I was immediately struck by the stunning designs featured on their site. This one in particular from the Wireflow collection by Vibia caught my eye:

VIBIA WIREFLOW Photo credit: LampCommerce
It has a simple, classic but somehow futuristic feel to it. It's a tall light though with a drop of two metres and would need the right space to show it off to its best. Just imagine it in the perfect stairwell, it'd certainly create a stunning entry to any property. I'm not the only one that thinks that as it won the award for best hanging lamp of 2014 from Interior Design Magazine.
When I thought more about statement lights, the one at the V&A immediately sprung to mind. Their 'Rotunda Chandelier' sculpture hangs in a fantastic space, above the Information Desk as you enter the museum. And while it's a sculpture rather than a light, it's effect is similar.
For me - the attraction to the wireflow light - is about the lines it creates. Just look at the ceiling in the image above - I know that if I were to be sitting in the hallway with that light, I'd be able to sit and lose hours just tracing and following the lines with my eyes. I guess that's a whole new way of being more mindful.
It does remind me of the lights I saw in the Gap House at the Ideal Home Show last April, and that proves to me that if you have a small space - the whole house was just three metres wide - then you can still be adventurous with lighting.
But finally having ruled it out for this house - we have a spiral staircase, so it wouldn't work for us I soon browsed the site further and discovered the Artemide Tolomeo range.
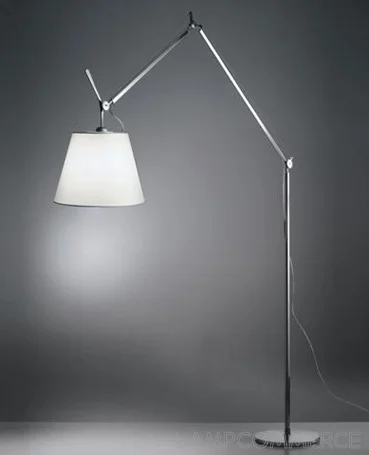
ARTEMIDE TOLOMEO MEGA FLOOR LAMP Photo credit: LampCommerce
The possibilities for this range are endless - from floor lamps like the one above through to the mini desk lamps below, with sizes in between too. They are, for me a design classic and I was surprised to learn that it was designed as recently as 1986, winning the Compasso d'Oro design prize in 1989. I know that that's thirty years ago now, but well the eighties still seems relatively recent to me, it was the decade I started work, so that I think brings an extra touch of reality!
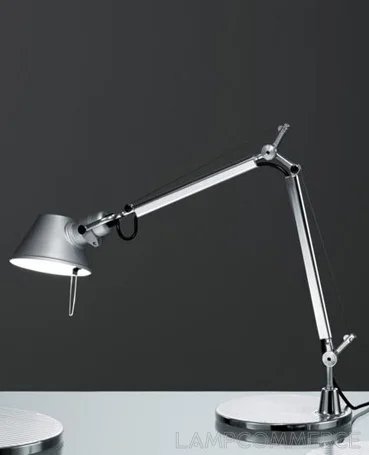
ARTEMIDE TOLOMEO MINI TABLE LAMP Photo credit: LampCommerce
If you're looking for something that's stylish and colourful, then the Tolomeo micro table lamps come in a range of fun colours - including metallics, such as bronze and rainbow colours - which would brighten any space, whatever the look you were after.
I think most homes in the eighties and beyond have owned a light similar to this - I know when we moved in here MOH moved in with a large black table lamp, which at the time we didn't have the space for. Now though, it's one of the things that would fit right into our current decor, so perhaps we should have hung onto it after all.
...Or perhaps it's time to treat ourselves to a replacement!
This is a collaborative post but all opinions are my own