

Christmas cards: another year, another tree

Last weekend I knew I needed to find time to make my Christmas cards if I was going to send handmade cards again. I had a design - and a craft - in mind but hadn't worked out quite how to do that. So given the lack of time I decided to try something else instead. It's always good to have a backup plan!

I tested it out and it worked better than I'd hoped. With a plan that works and the motivation to do it I once again found myself making Christmas cards with trees on. Last year there were trees too, and I'm pretty sure there'll be trees again next year, because I want to go back to my original idea.

Just as well I like trees really isn't it?

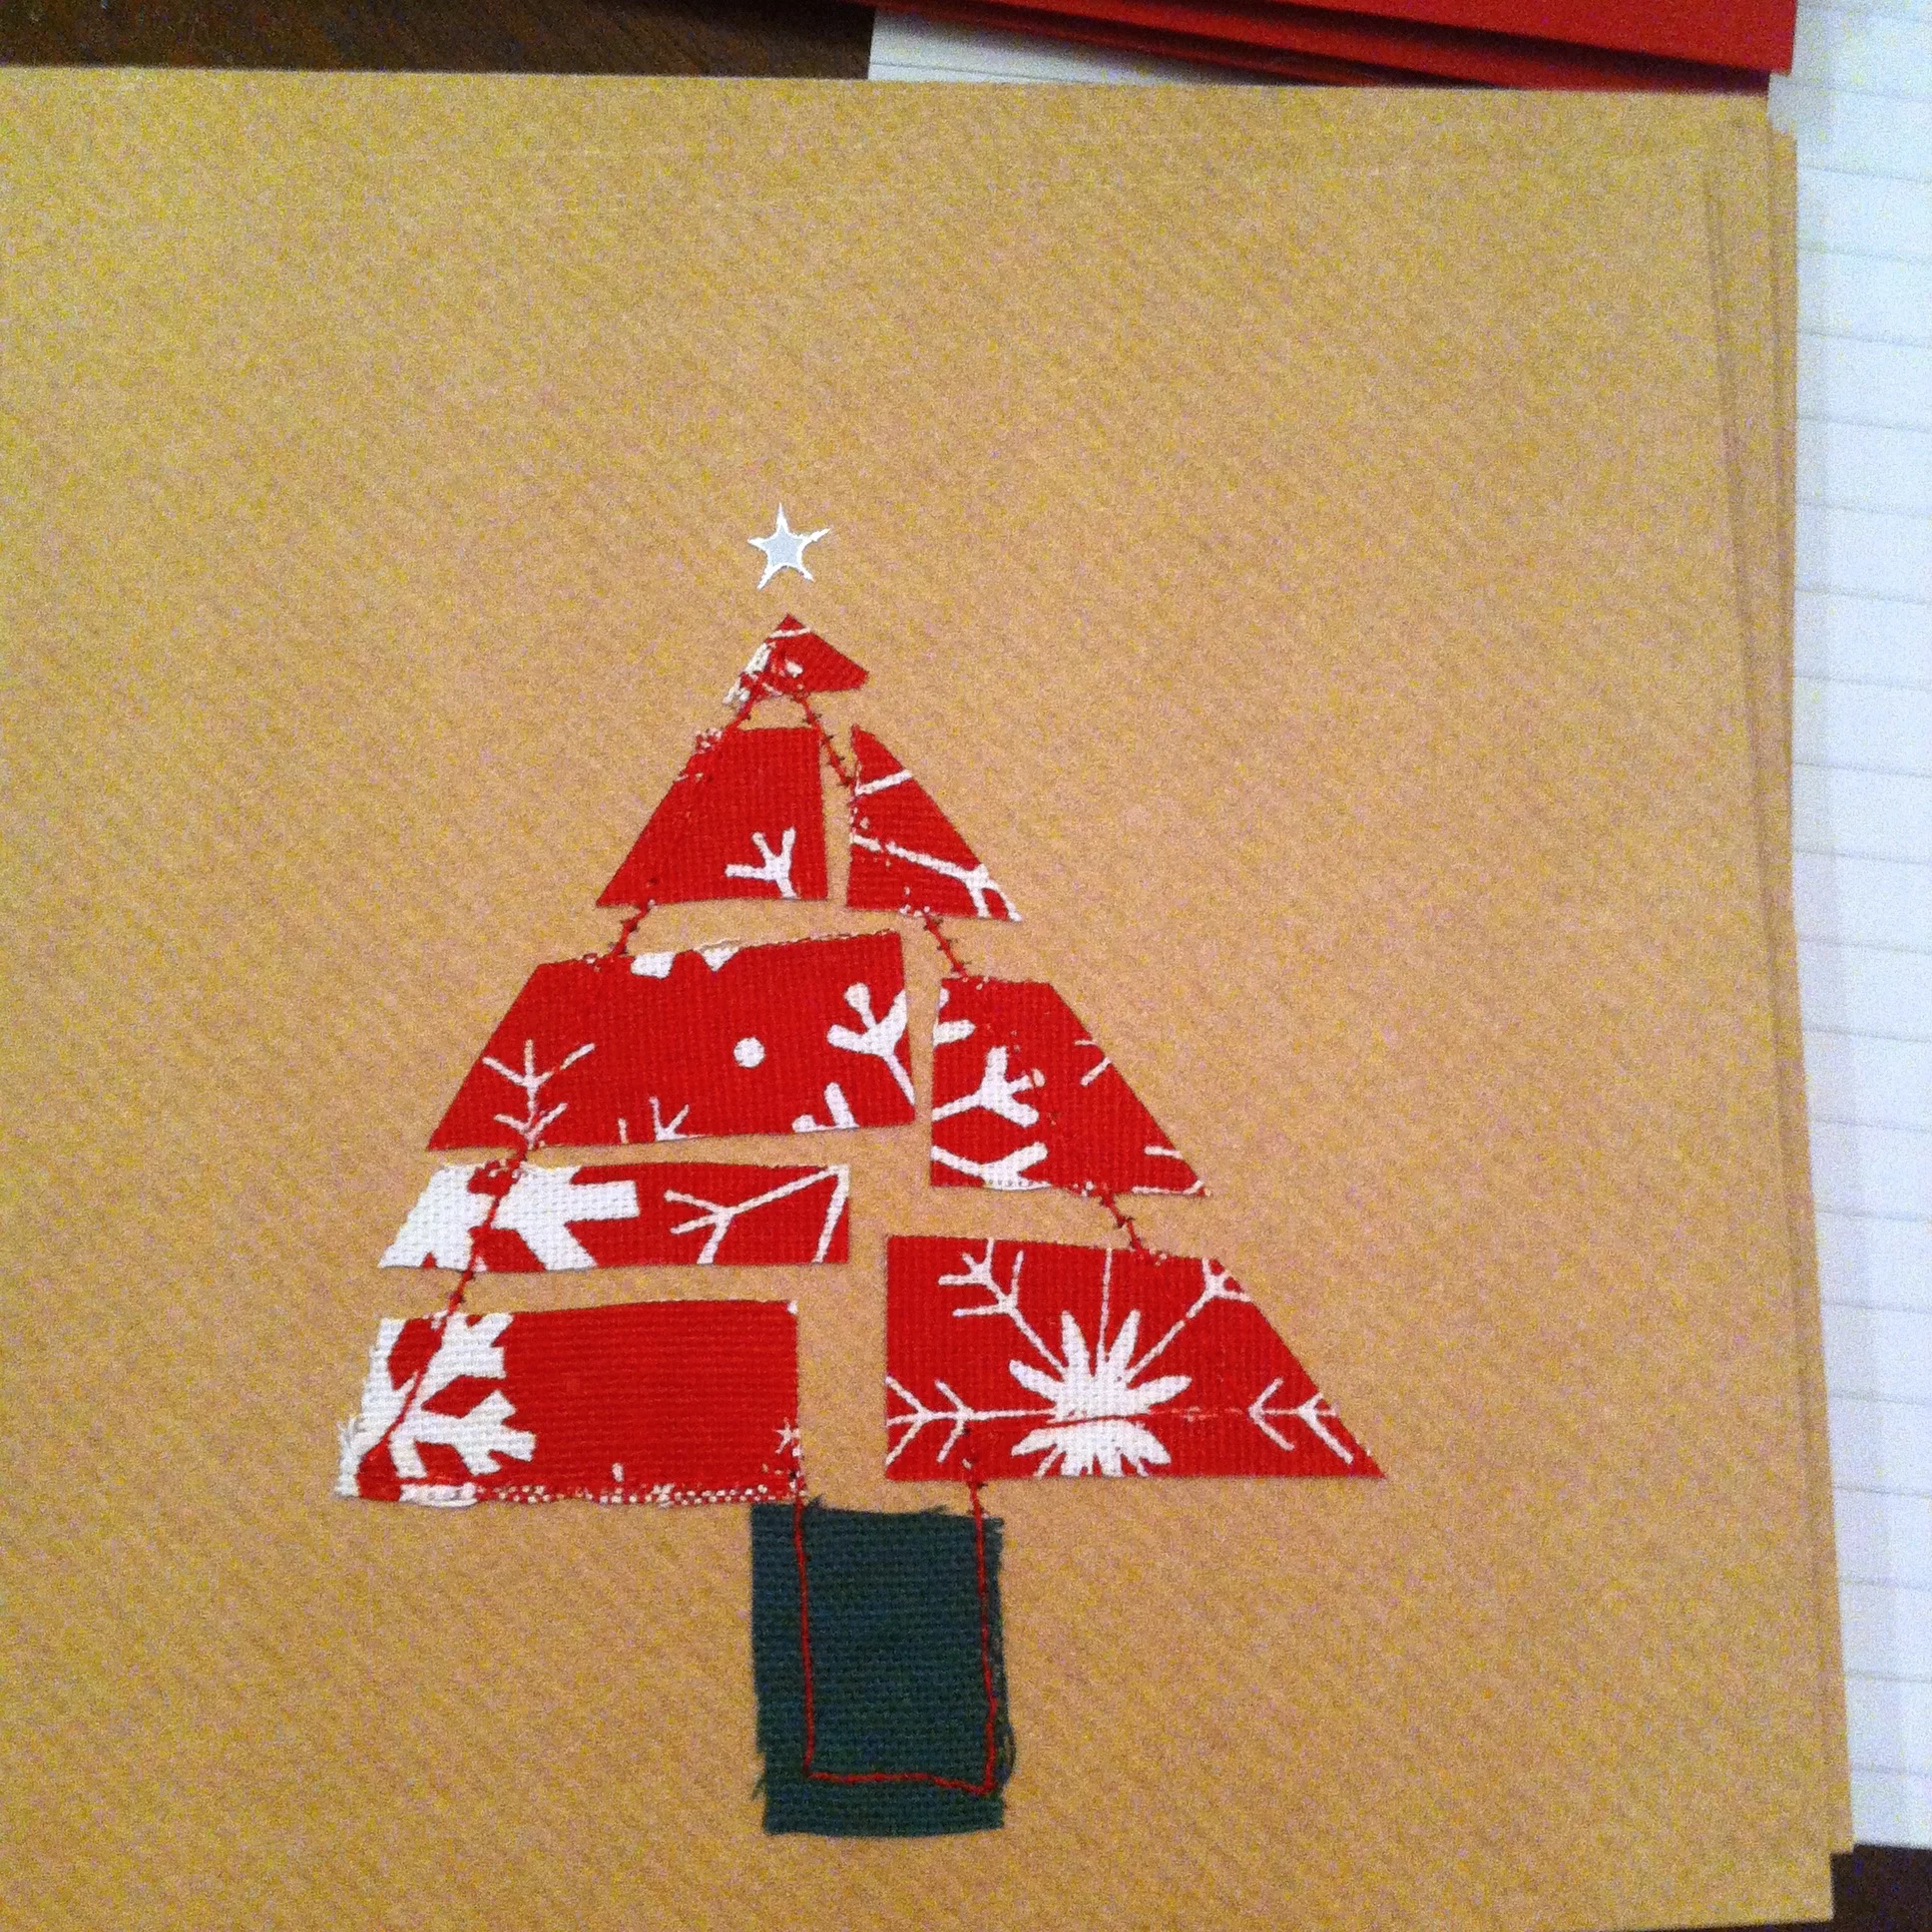
This year they all have the same design, although there's still so scope for individuality.  I used material scraps and started out by placing the material on the cards, before tacking them down with some glue so I didn't drop them as I moved over to the sewing machine.

layingoutthedesign.jpg

At the sewing machine I added an outline to the tree. I liked them before this, but this gave them the finish I was looking for. I experimented with how to add the stitched outline and found it easiest to do this in a continuous stitching movement. The bonus is this leaves a cute tree shape on the inside of the card too.

addingsewingdetail.jpg

Then it was time to add a star to the top of my trees, a little sticky star was just the thing. In fact I found this the trickiest and was quite often juggling the stars and chasing them around the card to get them in place.

Phew, just as well I'm going for the individual look...

addingthestar.jpg

I'm really pleased with how they turned out, and especially how time efficient they were to create.   
handmadechristmascards.jpg
redhandmadechristmascards.jpg

But that meant there was no excuse for not writing them. This year MOH and I shared writing our cards - we don't send a huge amount, and it seems we don't have an equal distribution of labour here. MOH wrote one and I did the rest, and boy you should have heard him moan about having to do that and why wasn't there a stamped "Merry Christmas" inside...  

Because dear, we want to write a personalised message didn't seem to be the desired response, but it's true. I know that I love to receive cards where people have added a short message so I like to do that myself. I'll apologise in advance to the people receiving MOH's card...

Ah well, until next year when once again I'll plan to start earlier than I actually do!

writingchristmascards.jpg

Do you send many - or any - Christmas cards? And do you write the same or a different message in yours? And do you write them or share the task between you?

Post Comment Love

Gorgeous Gift Tags

You may have seen that Prestigious Textiles have a crafty advent calendar this December. Each day there's a snazzy new craft idea and there's been some real corkers so far. The wallpaper stars from day 10 are definitely going on my "to make" list.

So when they got in touch and asked if I wanted to get involved by choosing a day and making my own version of their prompt, of course I said yes. So by now you'll have worked out that I chose day 14 and gorgeous gift tags. 

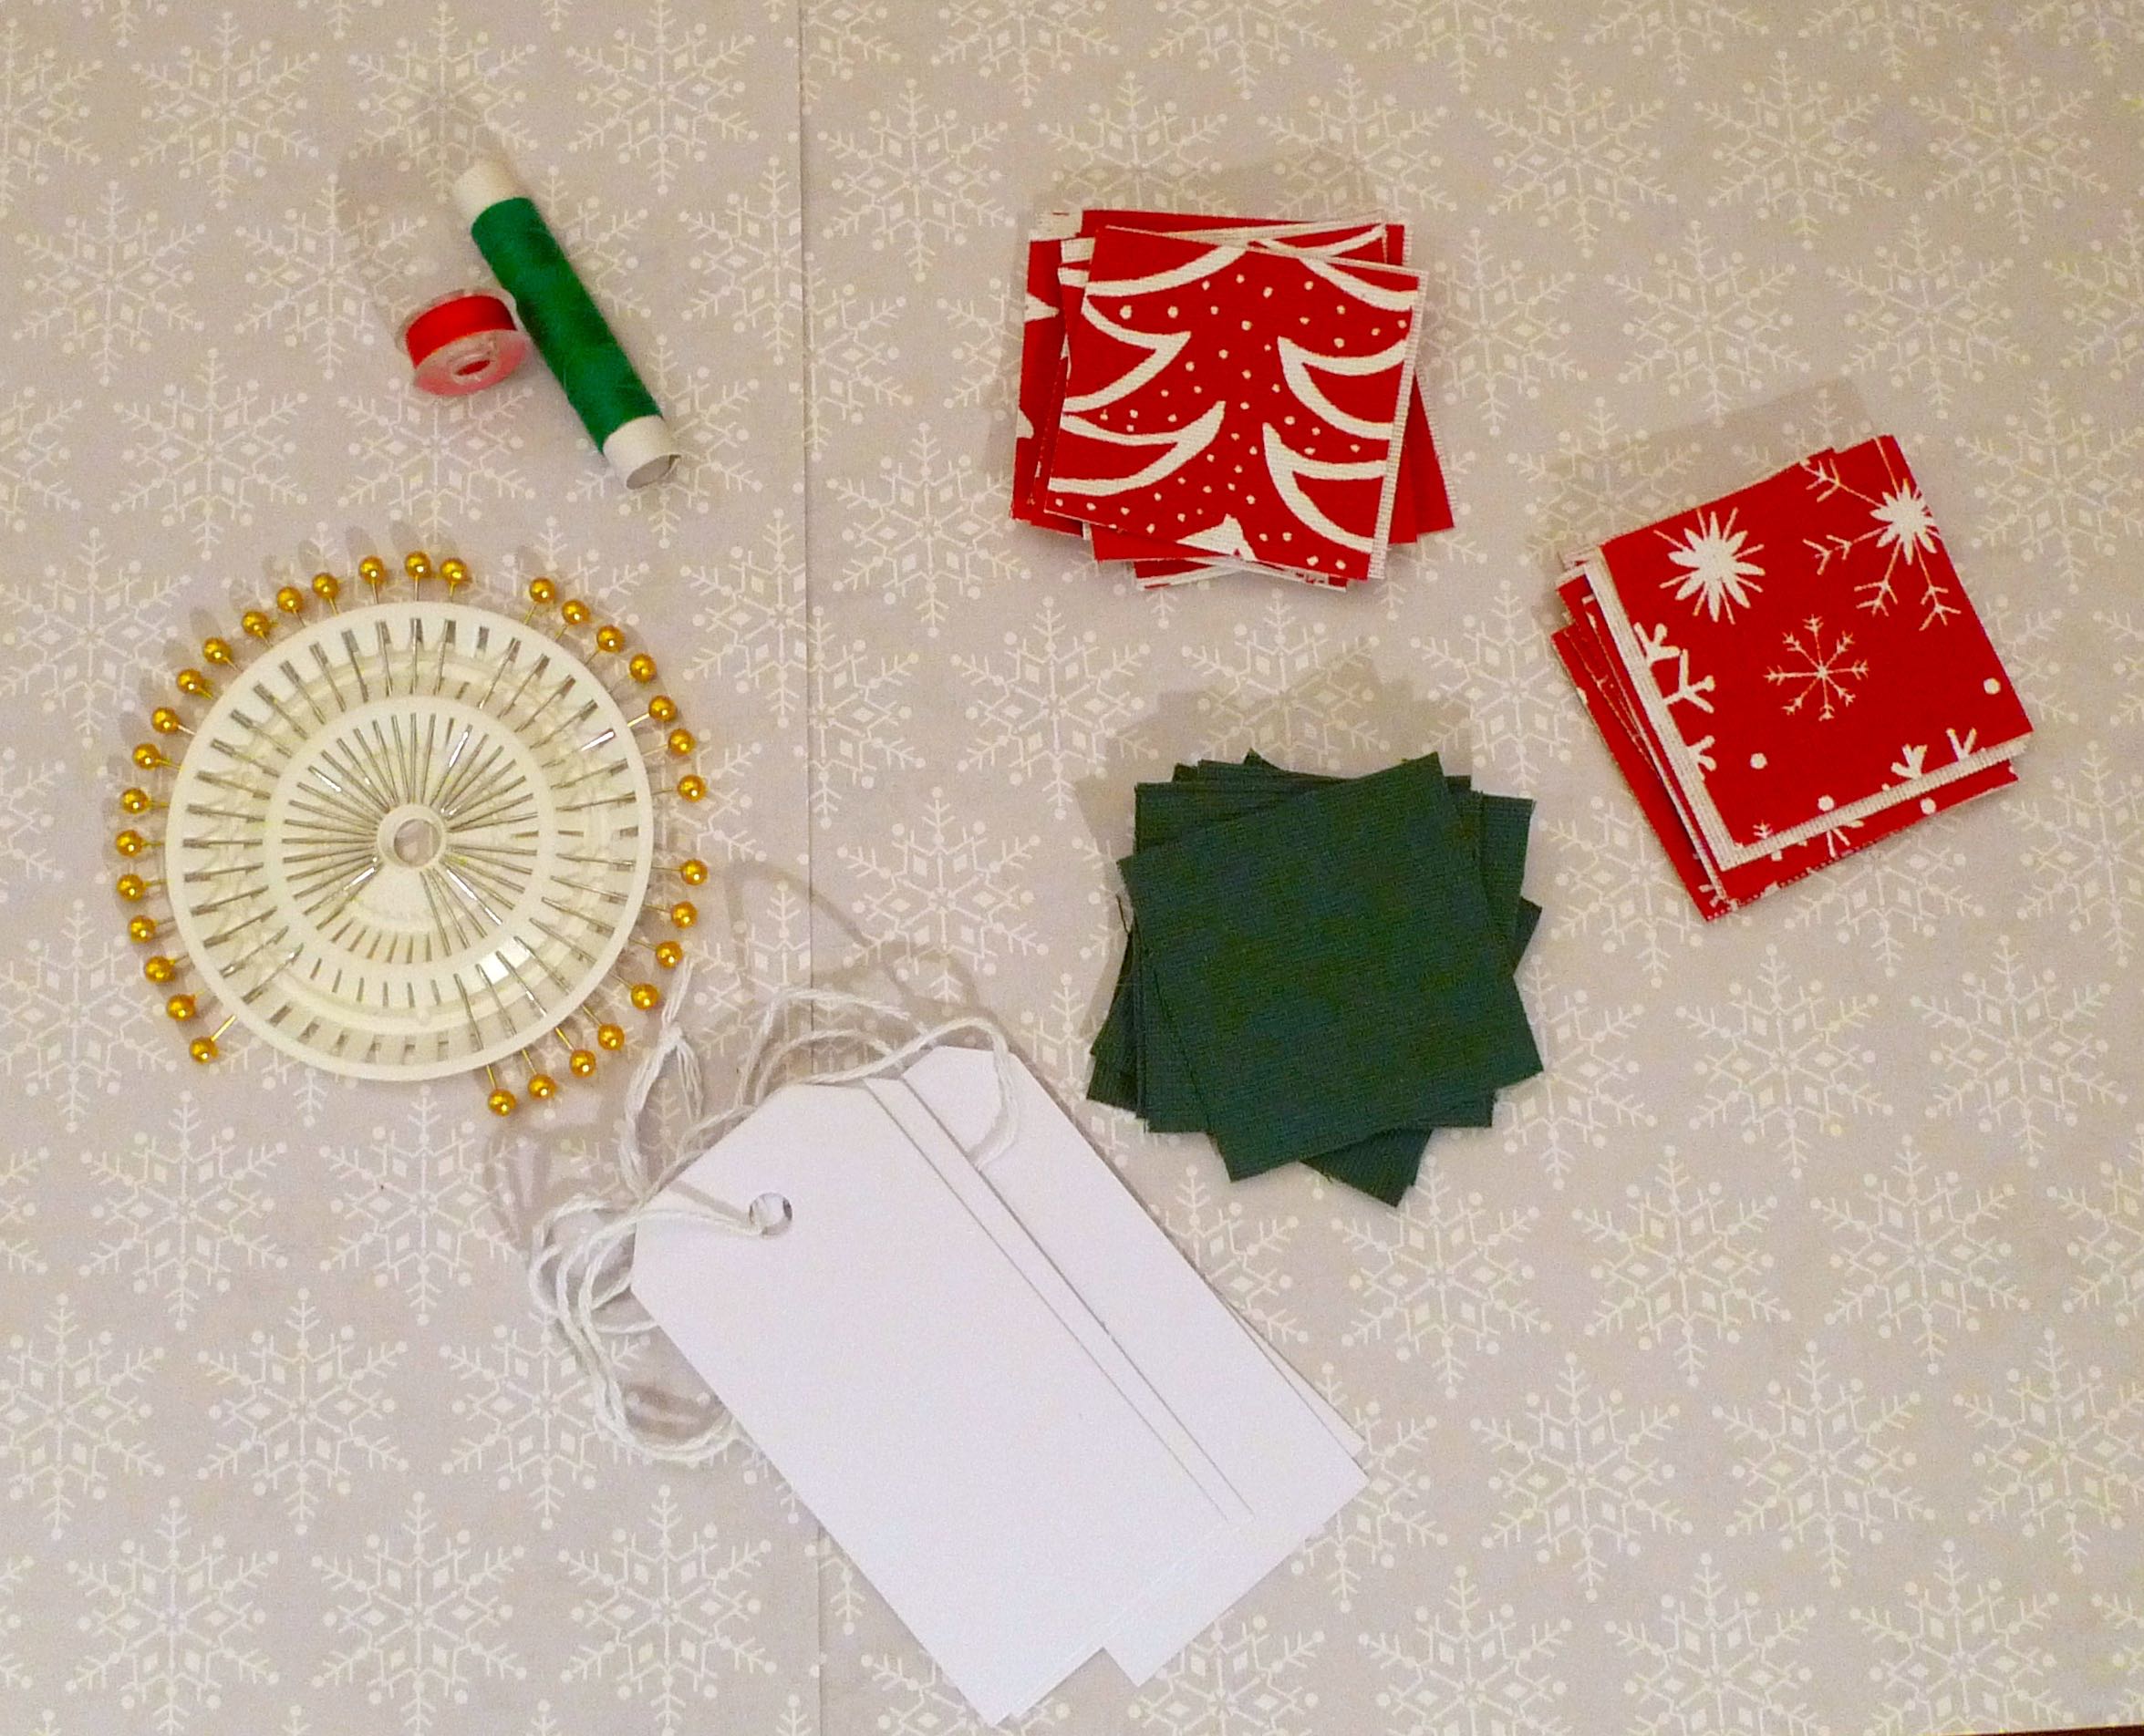
materials.jpg

So let's get started.

You'll need:

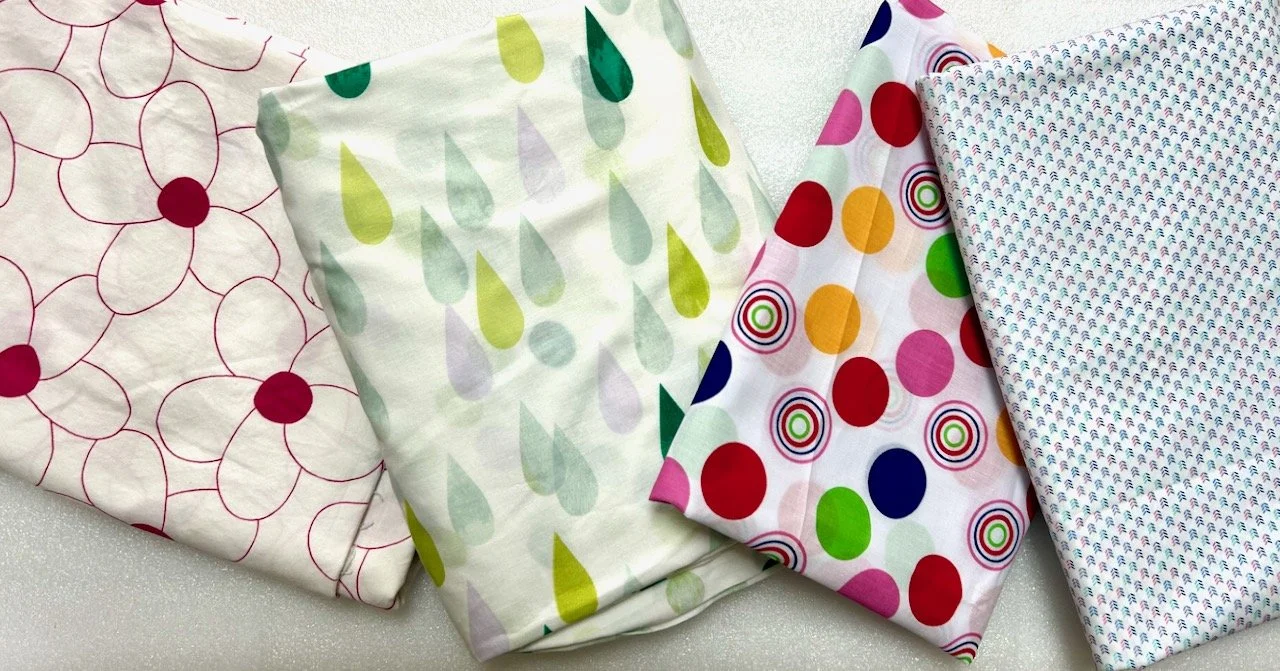
  • material squares in Christmas fabrics, my squares are two inches
  • plain gift tags, or card and twine to make your own
  • pins
  • needle & thread
  • scissors
  • glittery or glitzy embellishments
  • buttons

.

Inspired by my mum and the decorative additions she'd added to a new bag she'd made I decided to try my hand at Kanzashi. Yes exactly, I'd not heard of it before either - but mum assured me it was easy. It certainly looked impressive so I was in.

Kanzashi are decorative hair ornaments used in Japanese hairstyles and often worn by brides and geisha in tea ceremonies. The folded fabric flower kanzashi is just one type and that's what I'm going to add to my gift tag to make it gorgeous. I'm going to embellish them with some glitzy trimmings and then add a button as the flower centre. 

That's the plan anyway!

To make the kanzashi

1. Each of our two inch squares will make one petal. Take one of the squares and fold in in half diagonally and then fold the corners down towards your hand.

step1.jpg

2. Turn your folded fabric over and fold both tips of the "side" corners to the centre, see below.

step2.jpg

3. Now add a pin through the folds.

step3.jpg

4. Repeat the steps above to make as many petals as you need. The finished flower will be approximately the same size as the squares you started with, so in this case two inches. For this size I found seven petals worked best, but you can choose if you add more, or less.

step4.jpg

5. When you have the number of petals you need, trim each petal to remove the "bulk" of the material at the non-folded end.

step5.jpg

6. Ensuring all of your petals face the same way, thread them onto a length of cotton leaving both ends of the thread long.

step6.jpg

7. Pull the thread tight so the petals come together and form a circle, then knot the thread. I added a few stitches to keep the petals where I wanted them.

step7.jpg

8. Next I took some glitzy fabric trimmings and cut a length of about two inches. For each I sewed a loose running stitch on one edge and once again pulled that tight to form a rosette and attached it to the kanzashi.  I added a button in the centre, which not only finishes the flower, but it also covers my sewing. 

For the first gift tag I used a spotted craft button and omitted the glitzy trimming, for the other two gift tags I used an old shirt button. Then I replaced the gift tag string with a beaded string.

I'm rather pleased with my gorgeous gift tags, what do you think?

gorgeousgifttags.jpg

With thanks to Prestigious Textiles for the challenge and for the Christmas fabrics.

Hidden under the leaves...

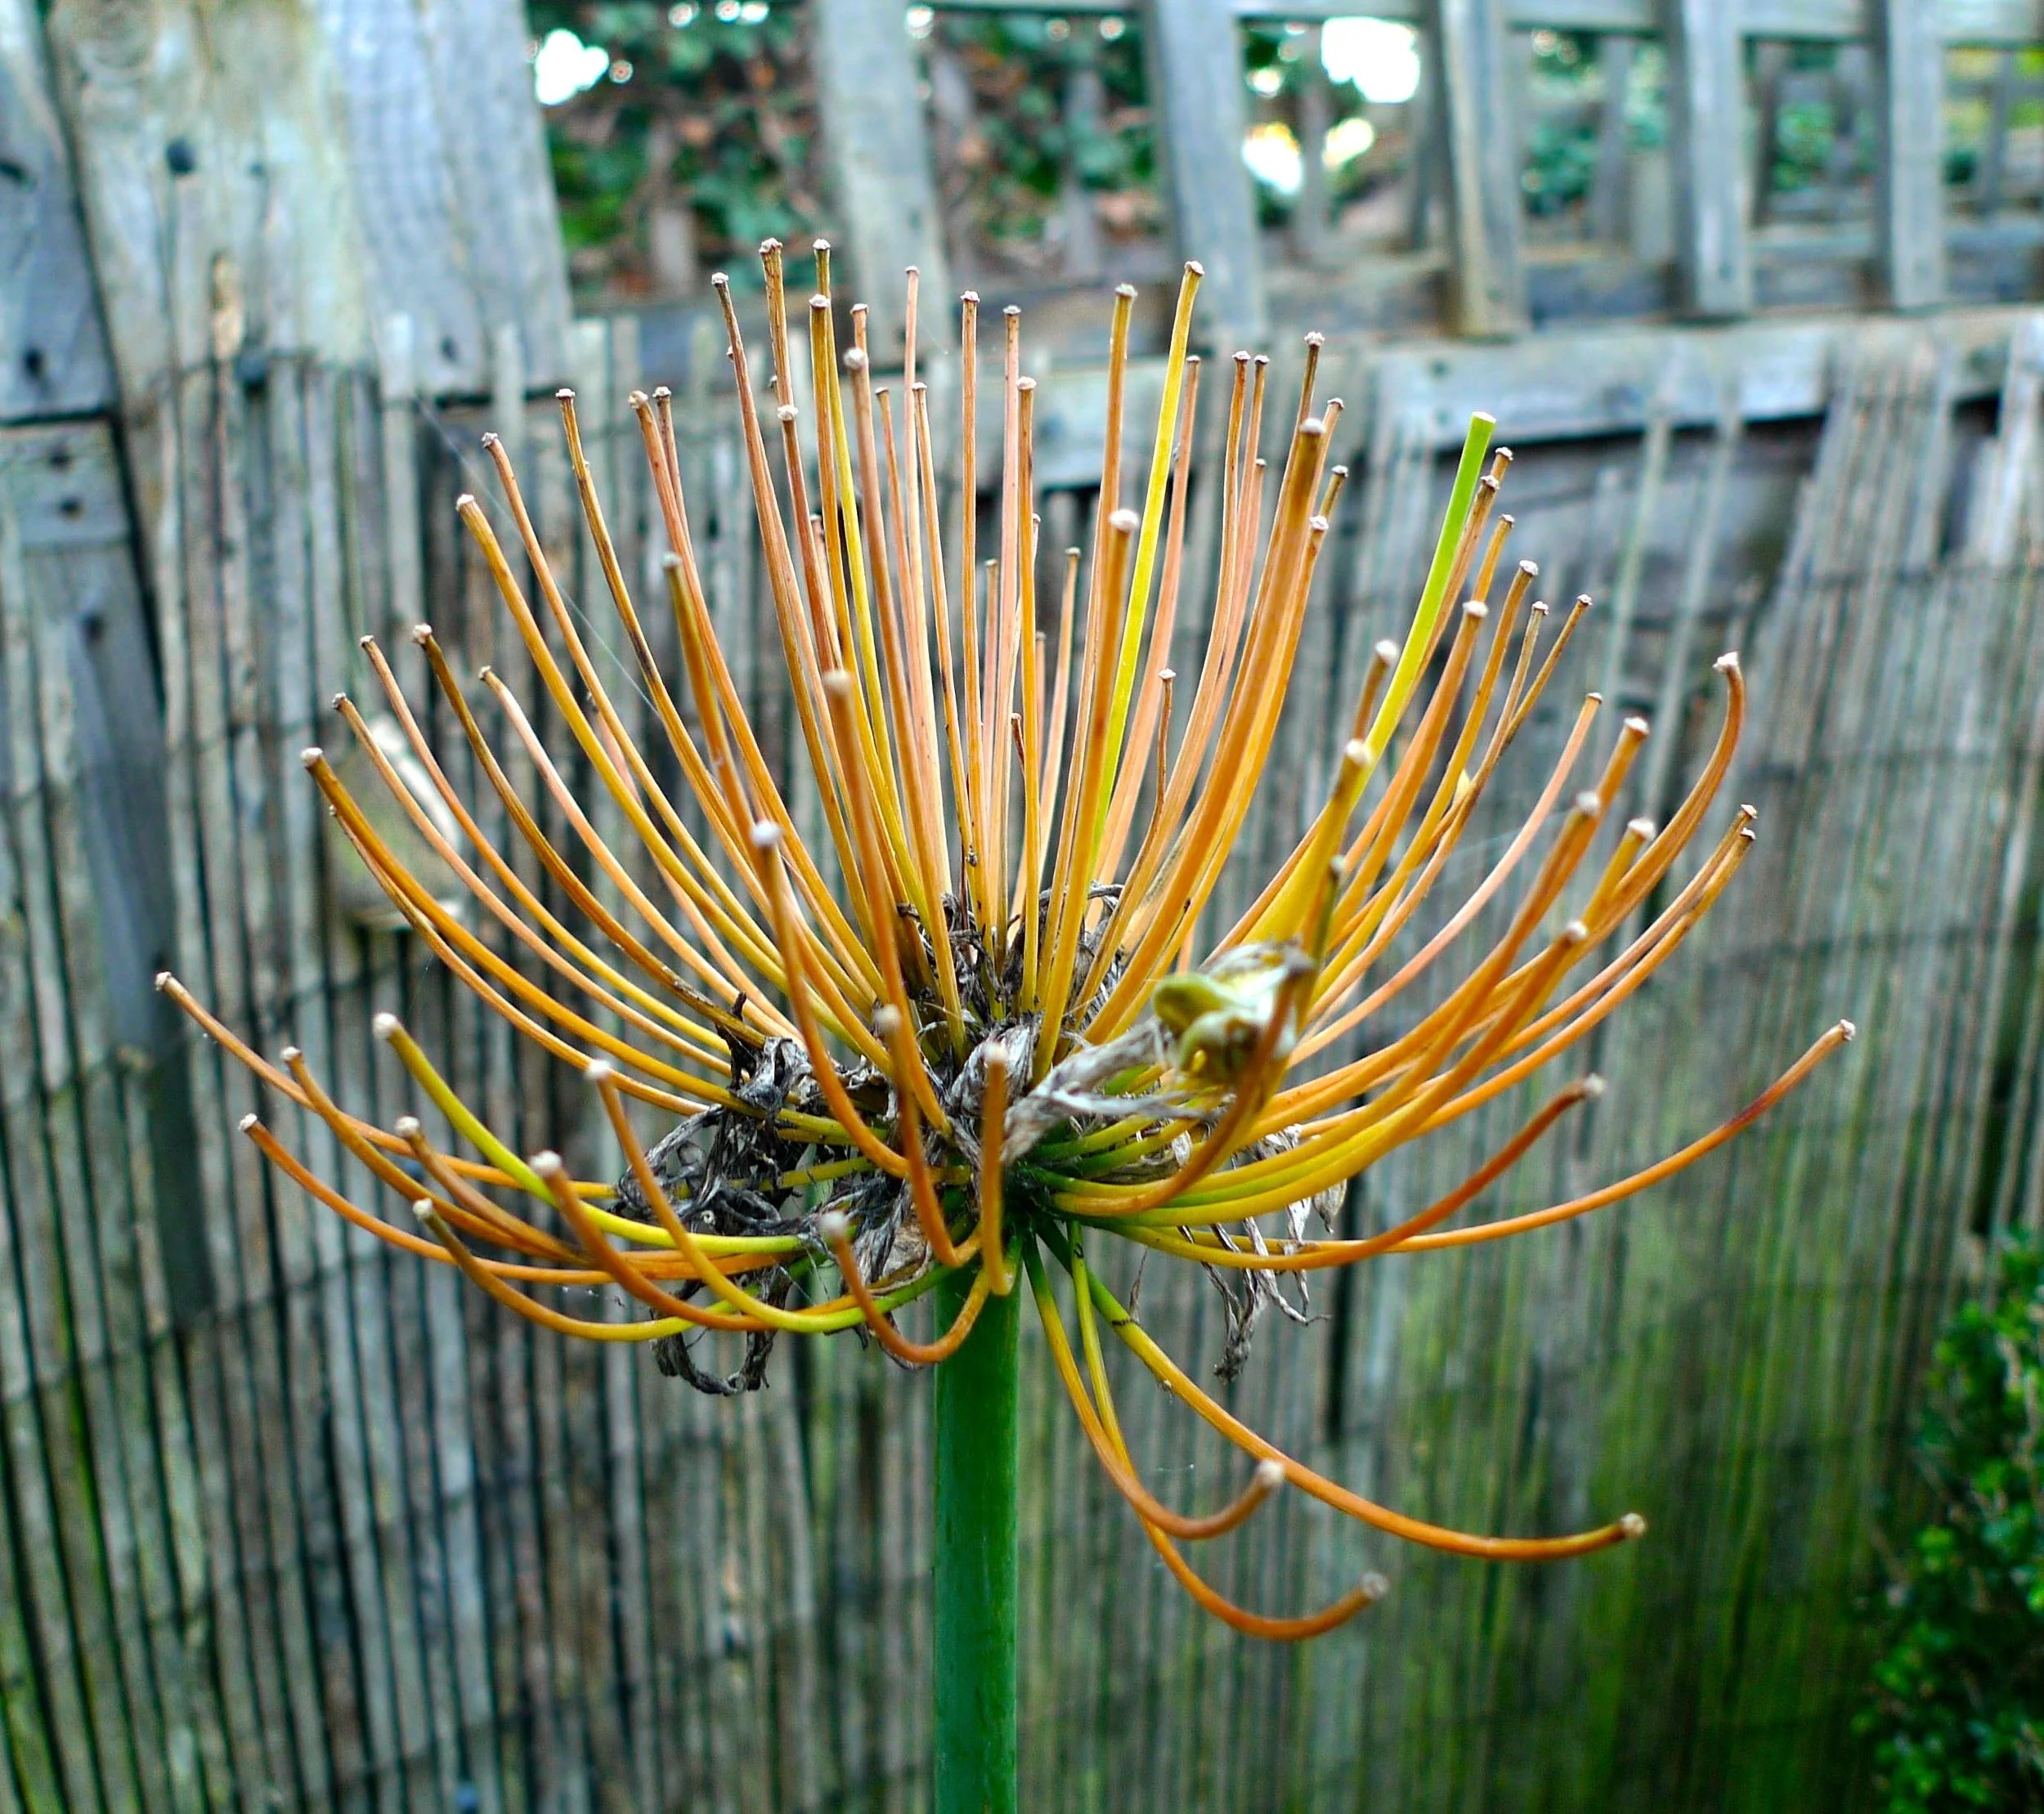
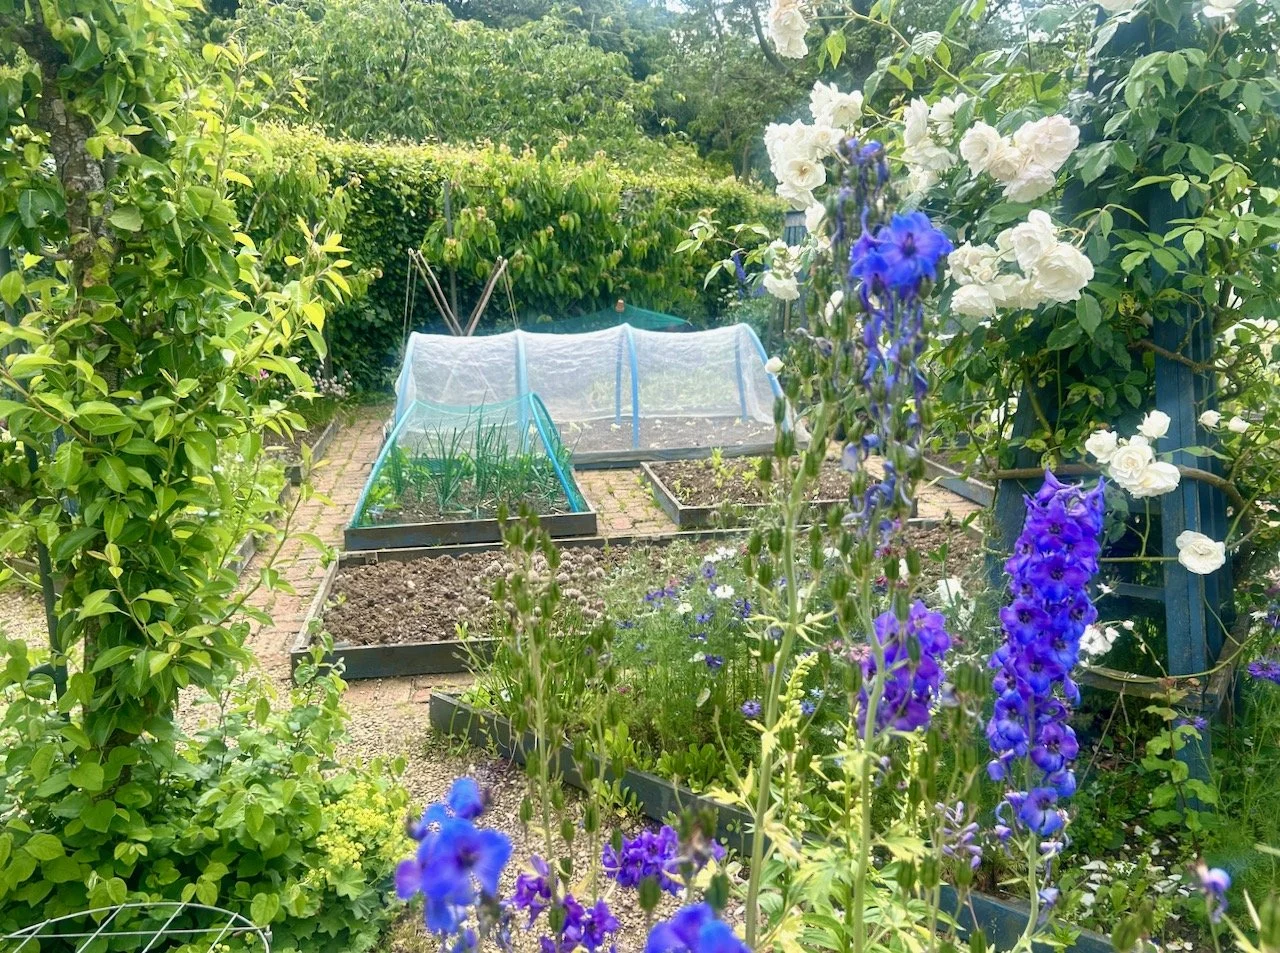
At the weekend I glimpsed out of our conservatory window and couldn't help but notice the spent agapanthus stem and how different it was now. I made a mental note to pop out and take some pictures of my garden for this post. Then what with the rain and the wind and my march about town in new shoes on Sunday it didn't happen. Harrumph.

But yesterday was one of those crisp, clear winter's mornings so before I went to work I grabbed my camera and had a quick wander around the garden. 

But first isn't the agapanthus a beauty?

autumnalagapanthus.jpg

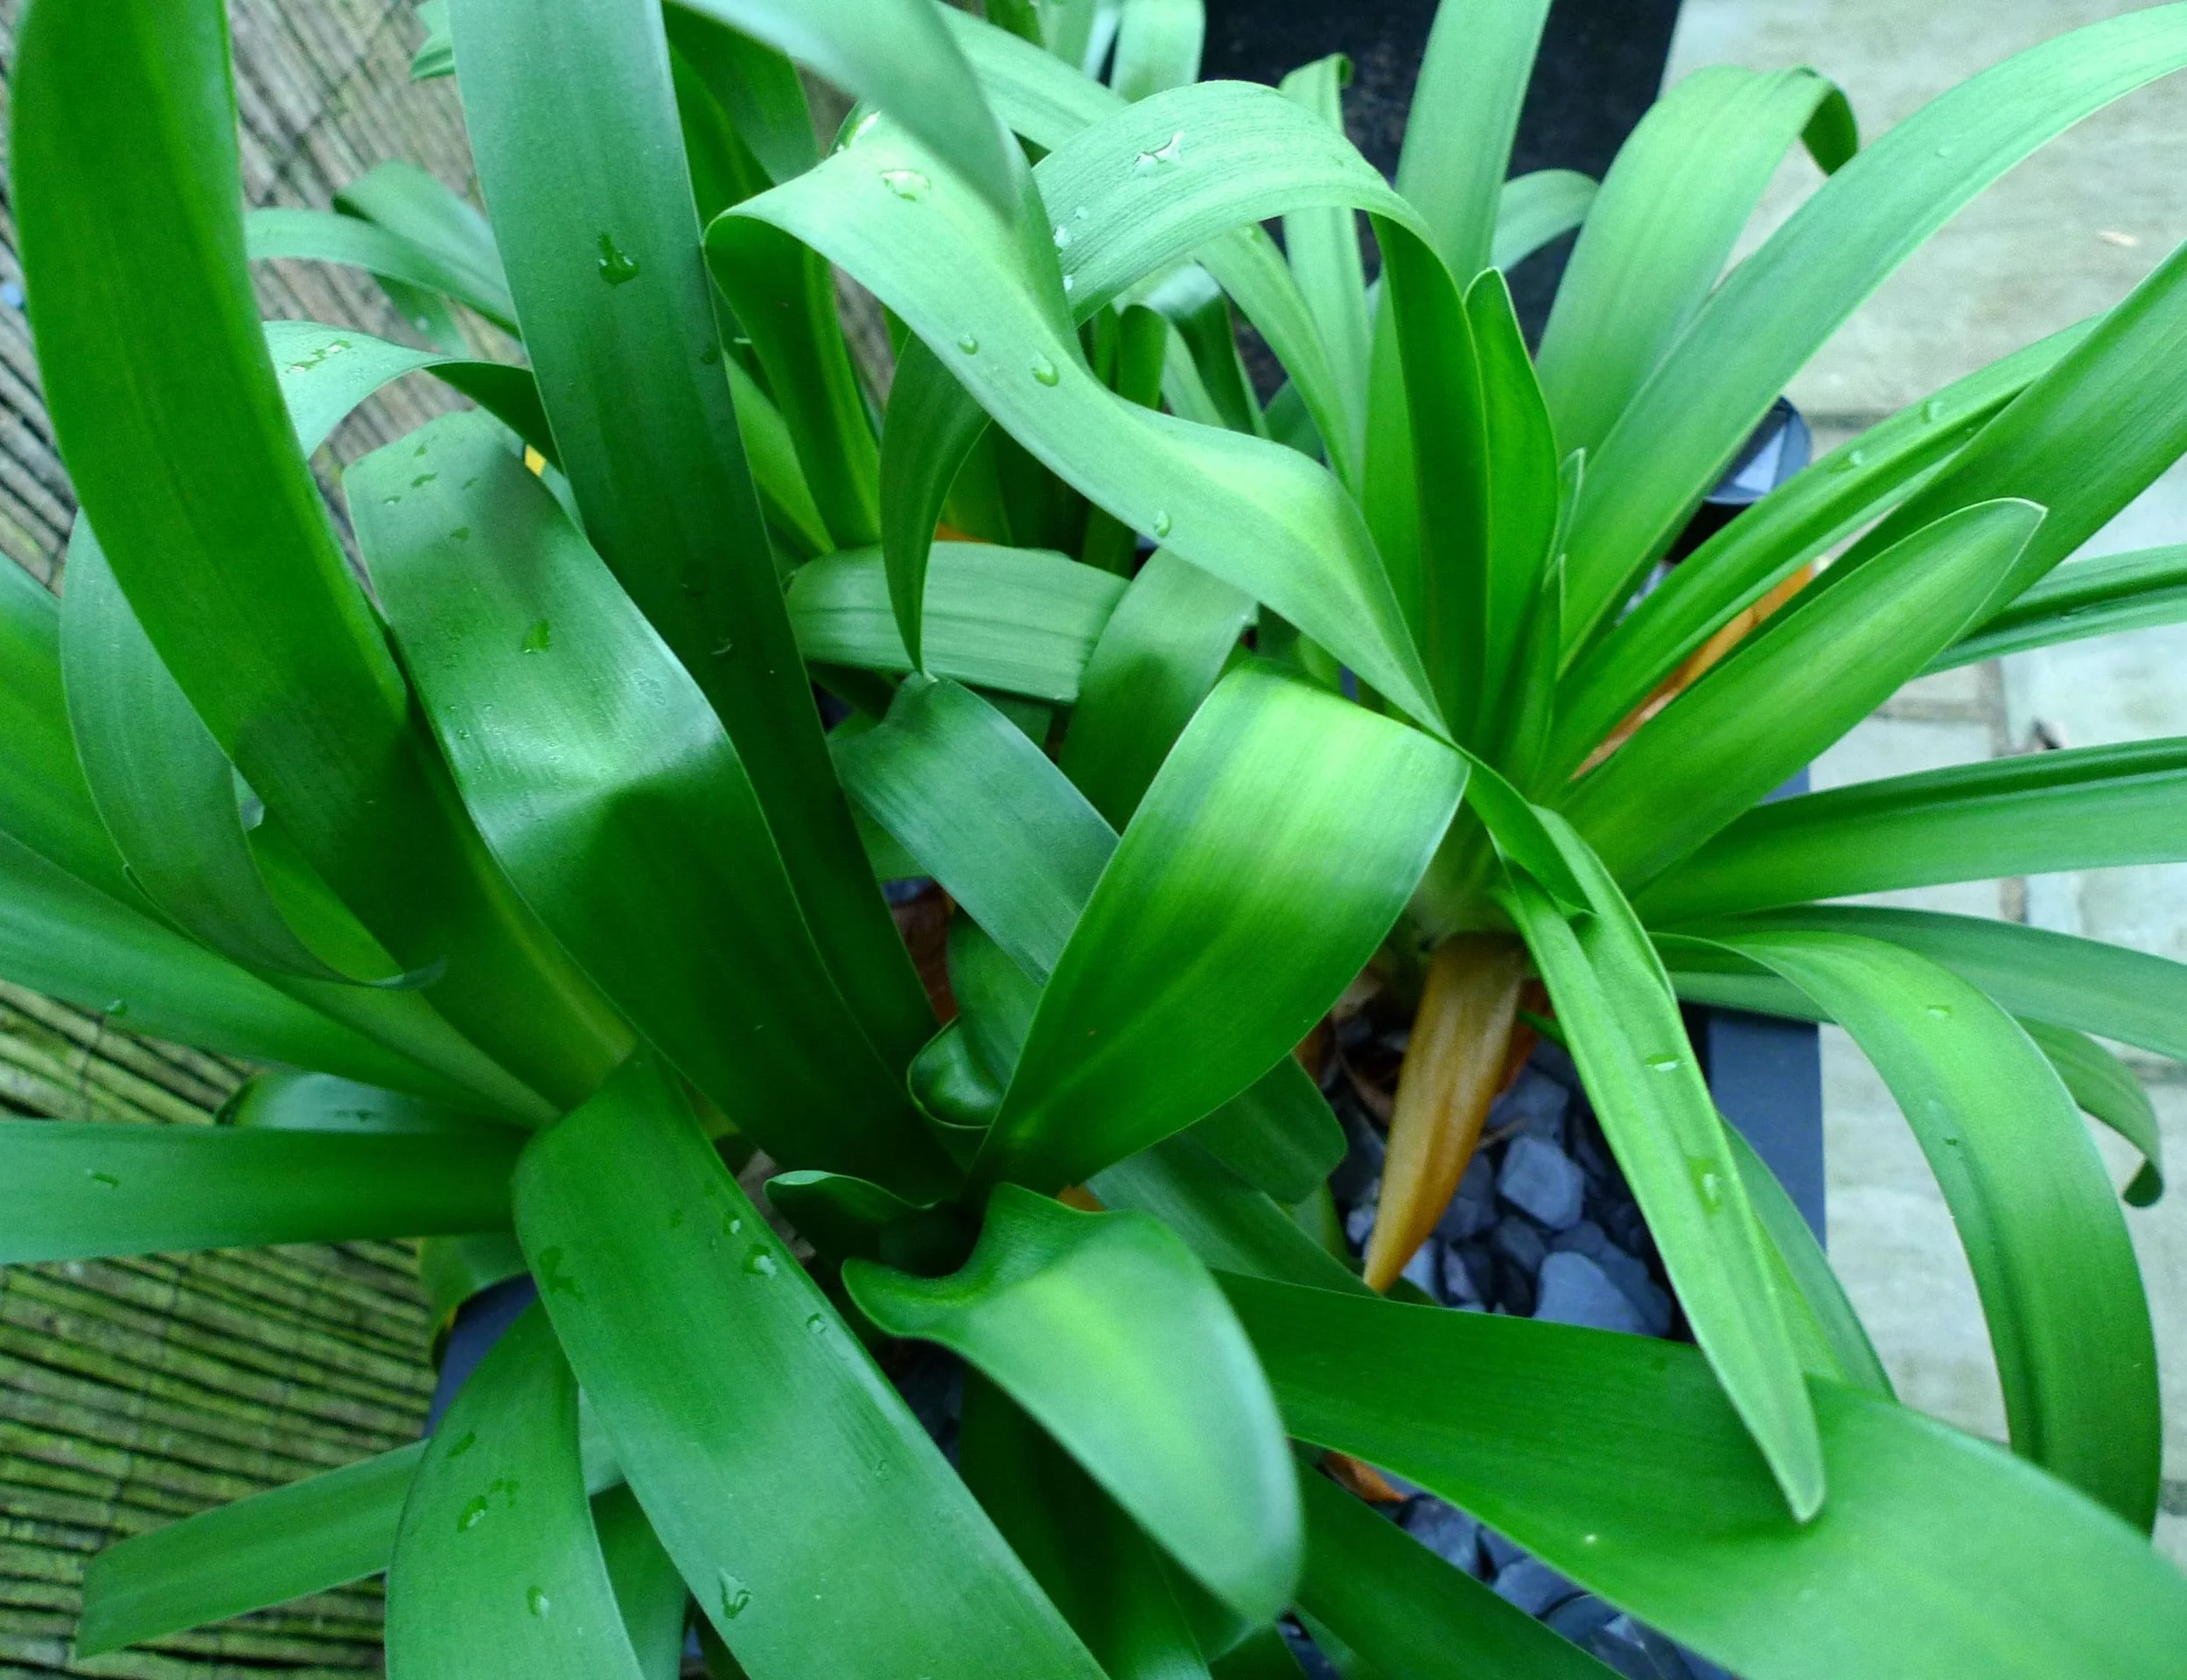
Looking at the picture now I'm not quite sure what it's caught, it could be the petals or it could be some wildlife. Either way the colours make up for it. The plant, though is still lush green and quite a contrast.

agapanthusleaves.jpg

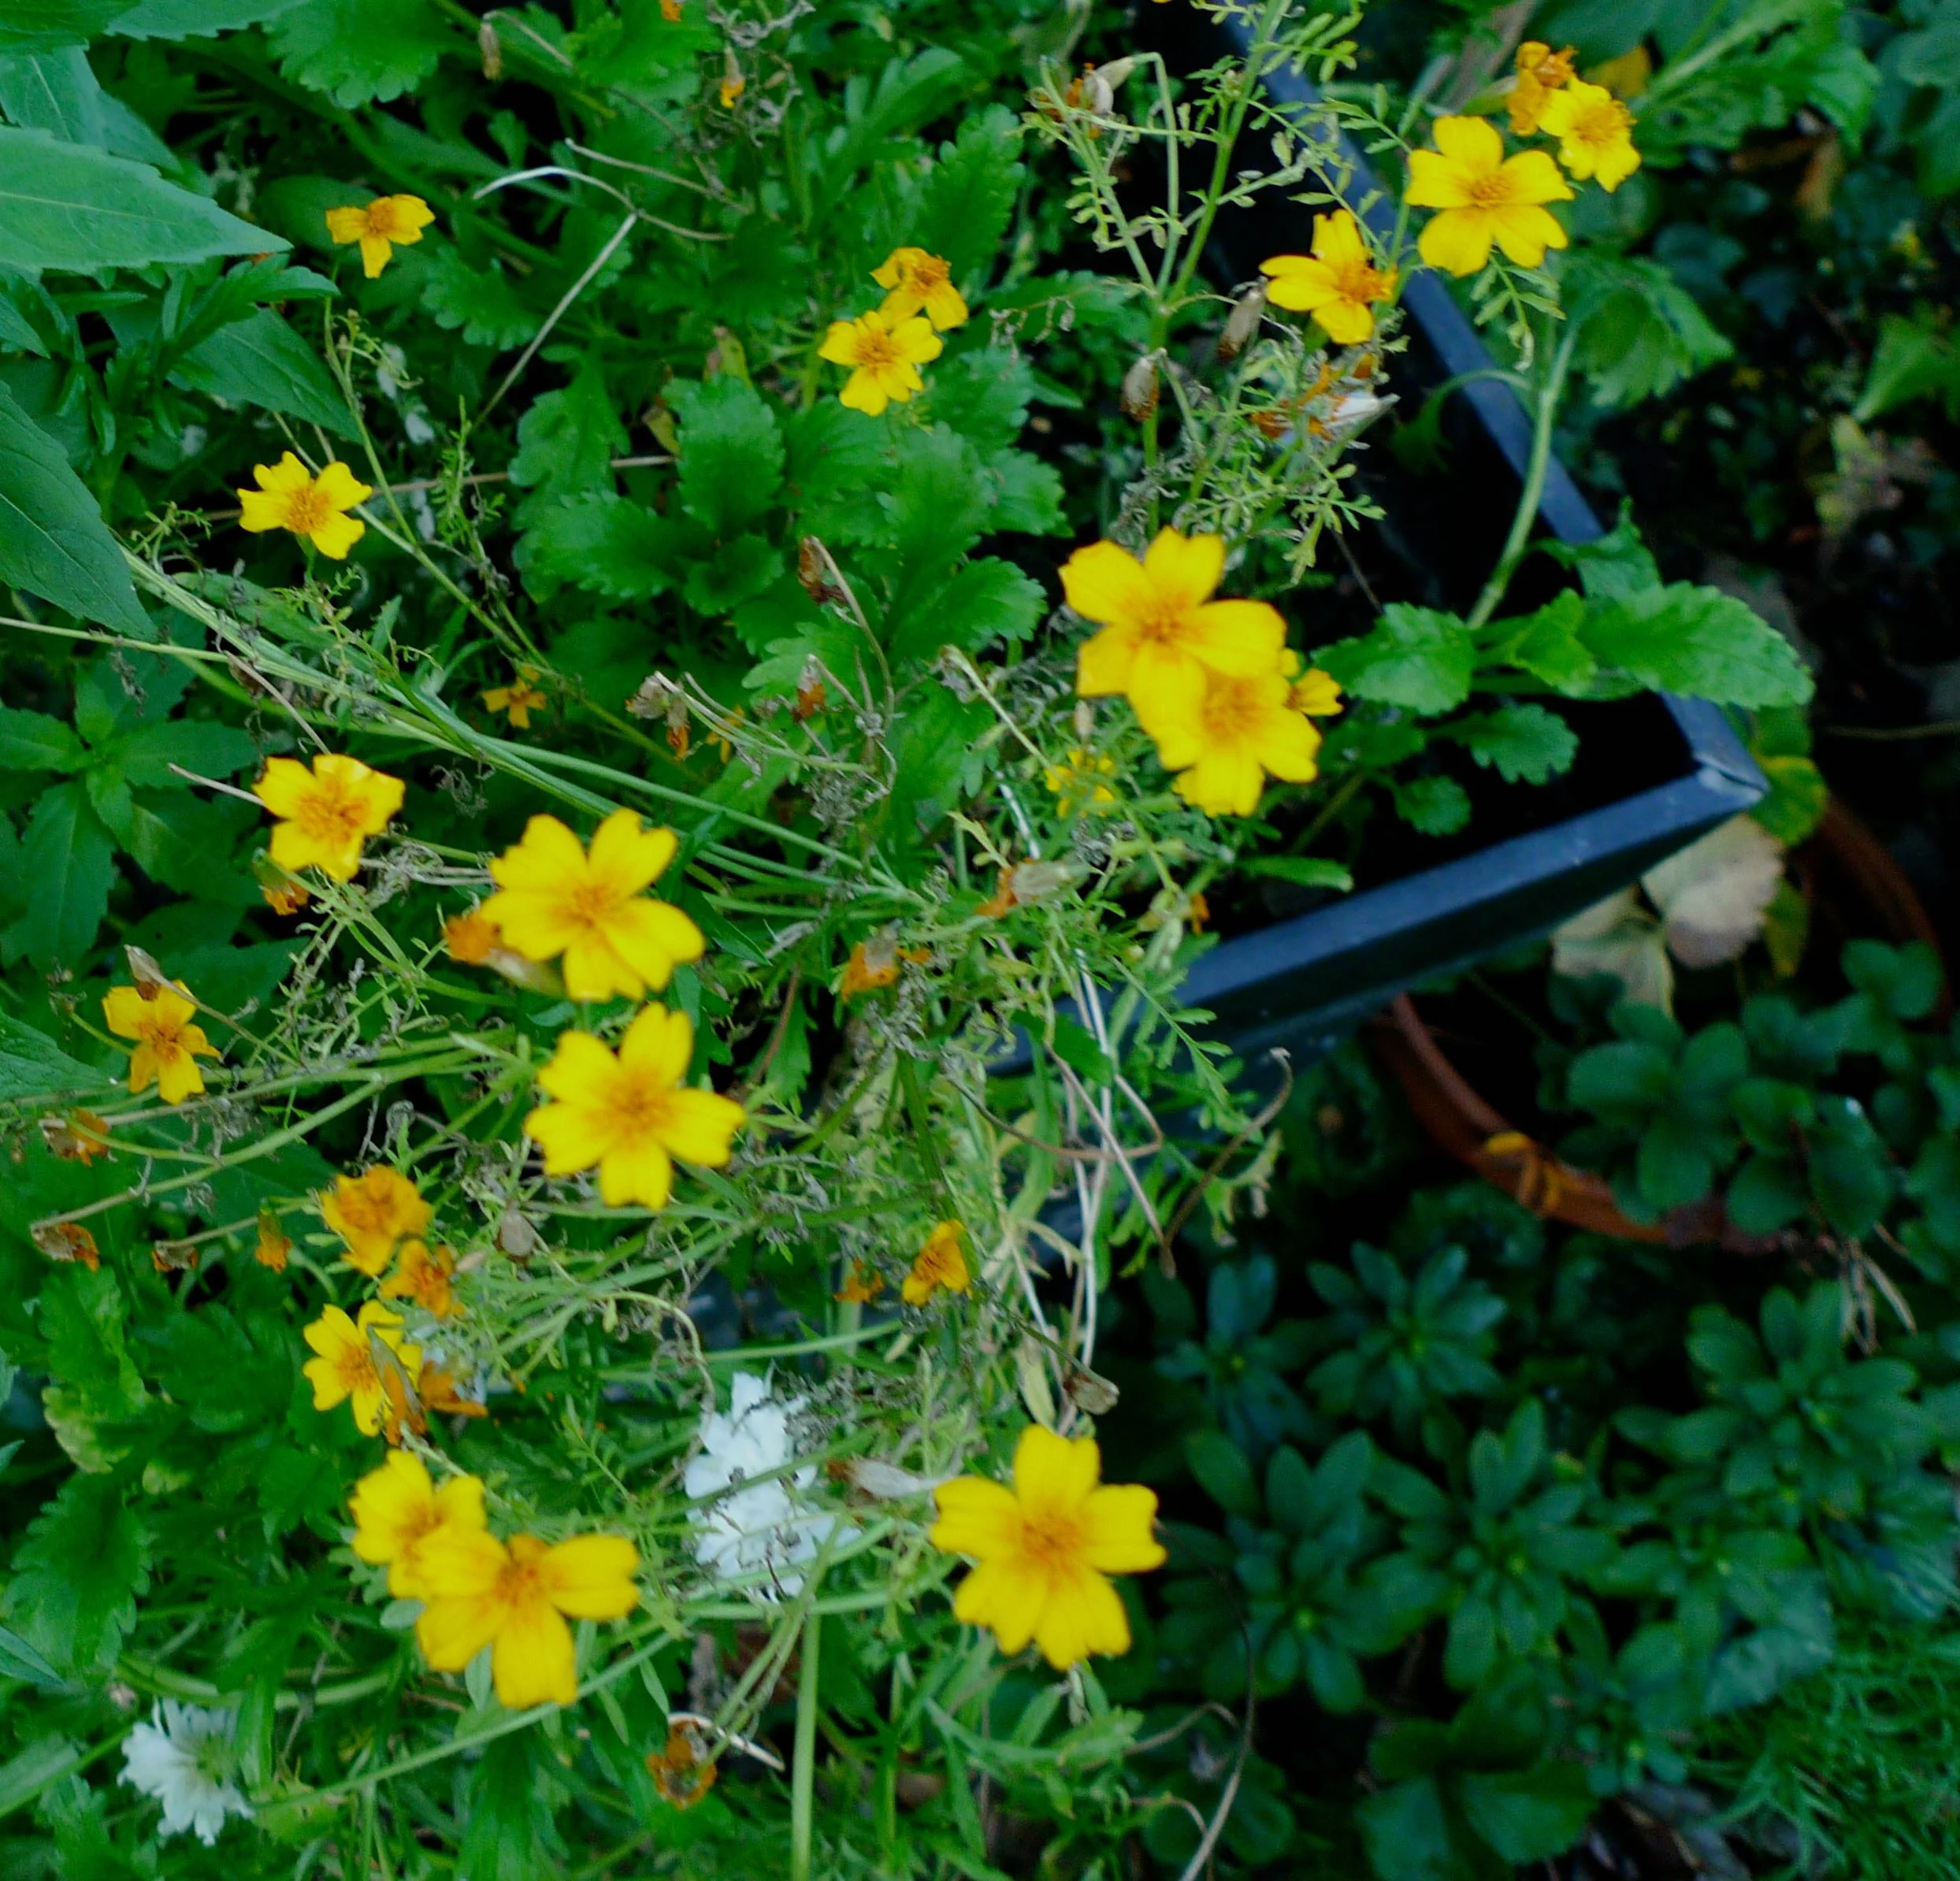
Further along the tagetes and scabiosa are still flowering -  I know it sounds painful doesn't it?

tagetesandscabiosa.jpg

And it seems the leaves have shed all their leaves already. MOH noticed the trees were bare, but as the grass was clear assumed they'd blown away so he wouldn't need to clear them this year. Well they have blown away, I found a lot of them up against the fences...

leaves.jpg

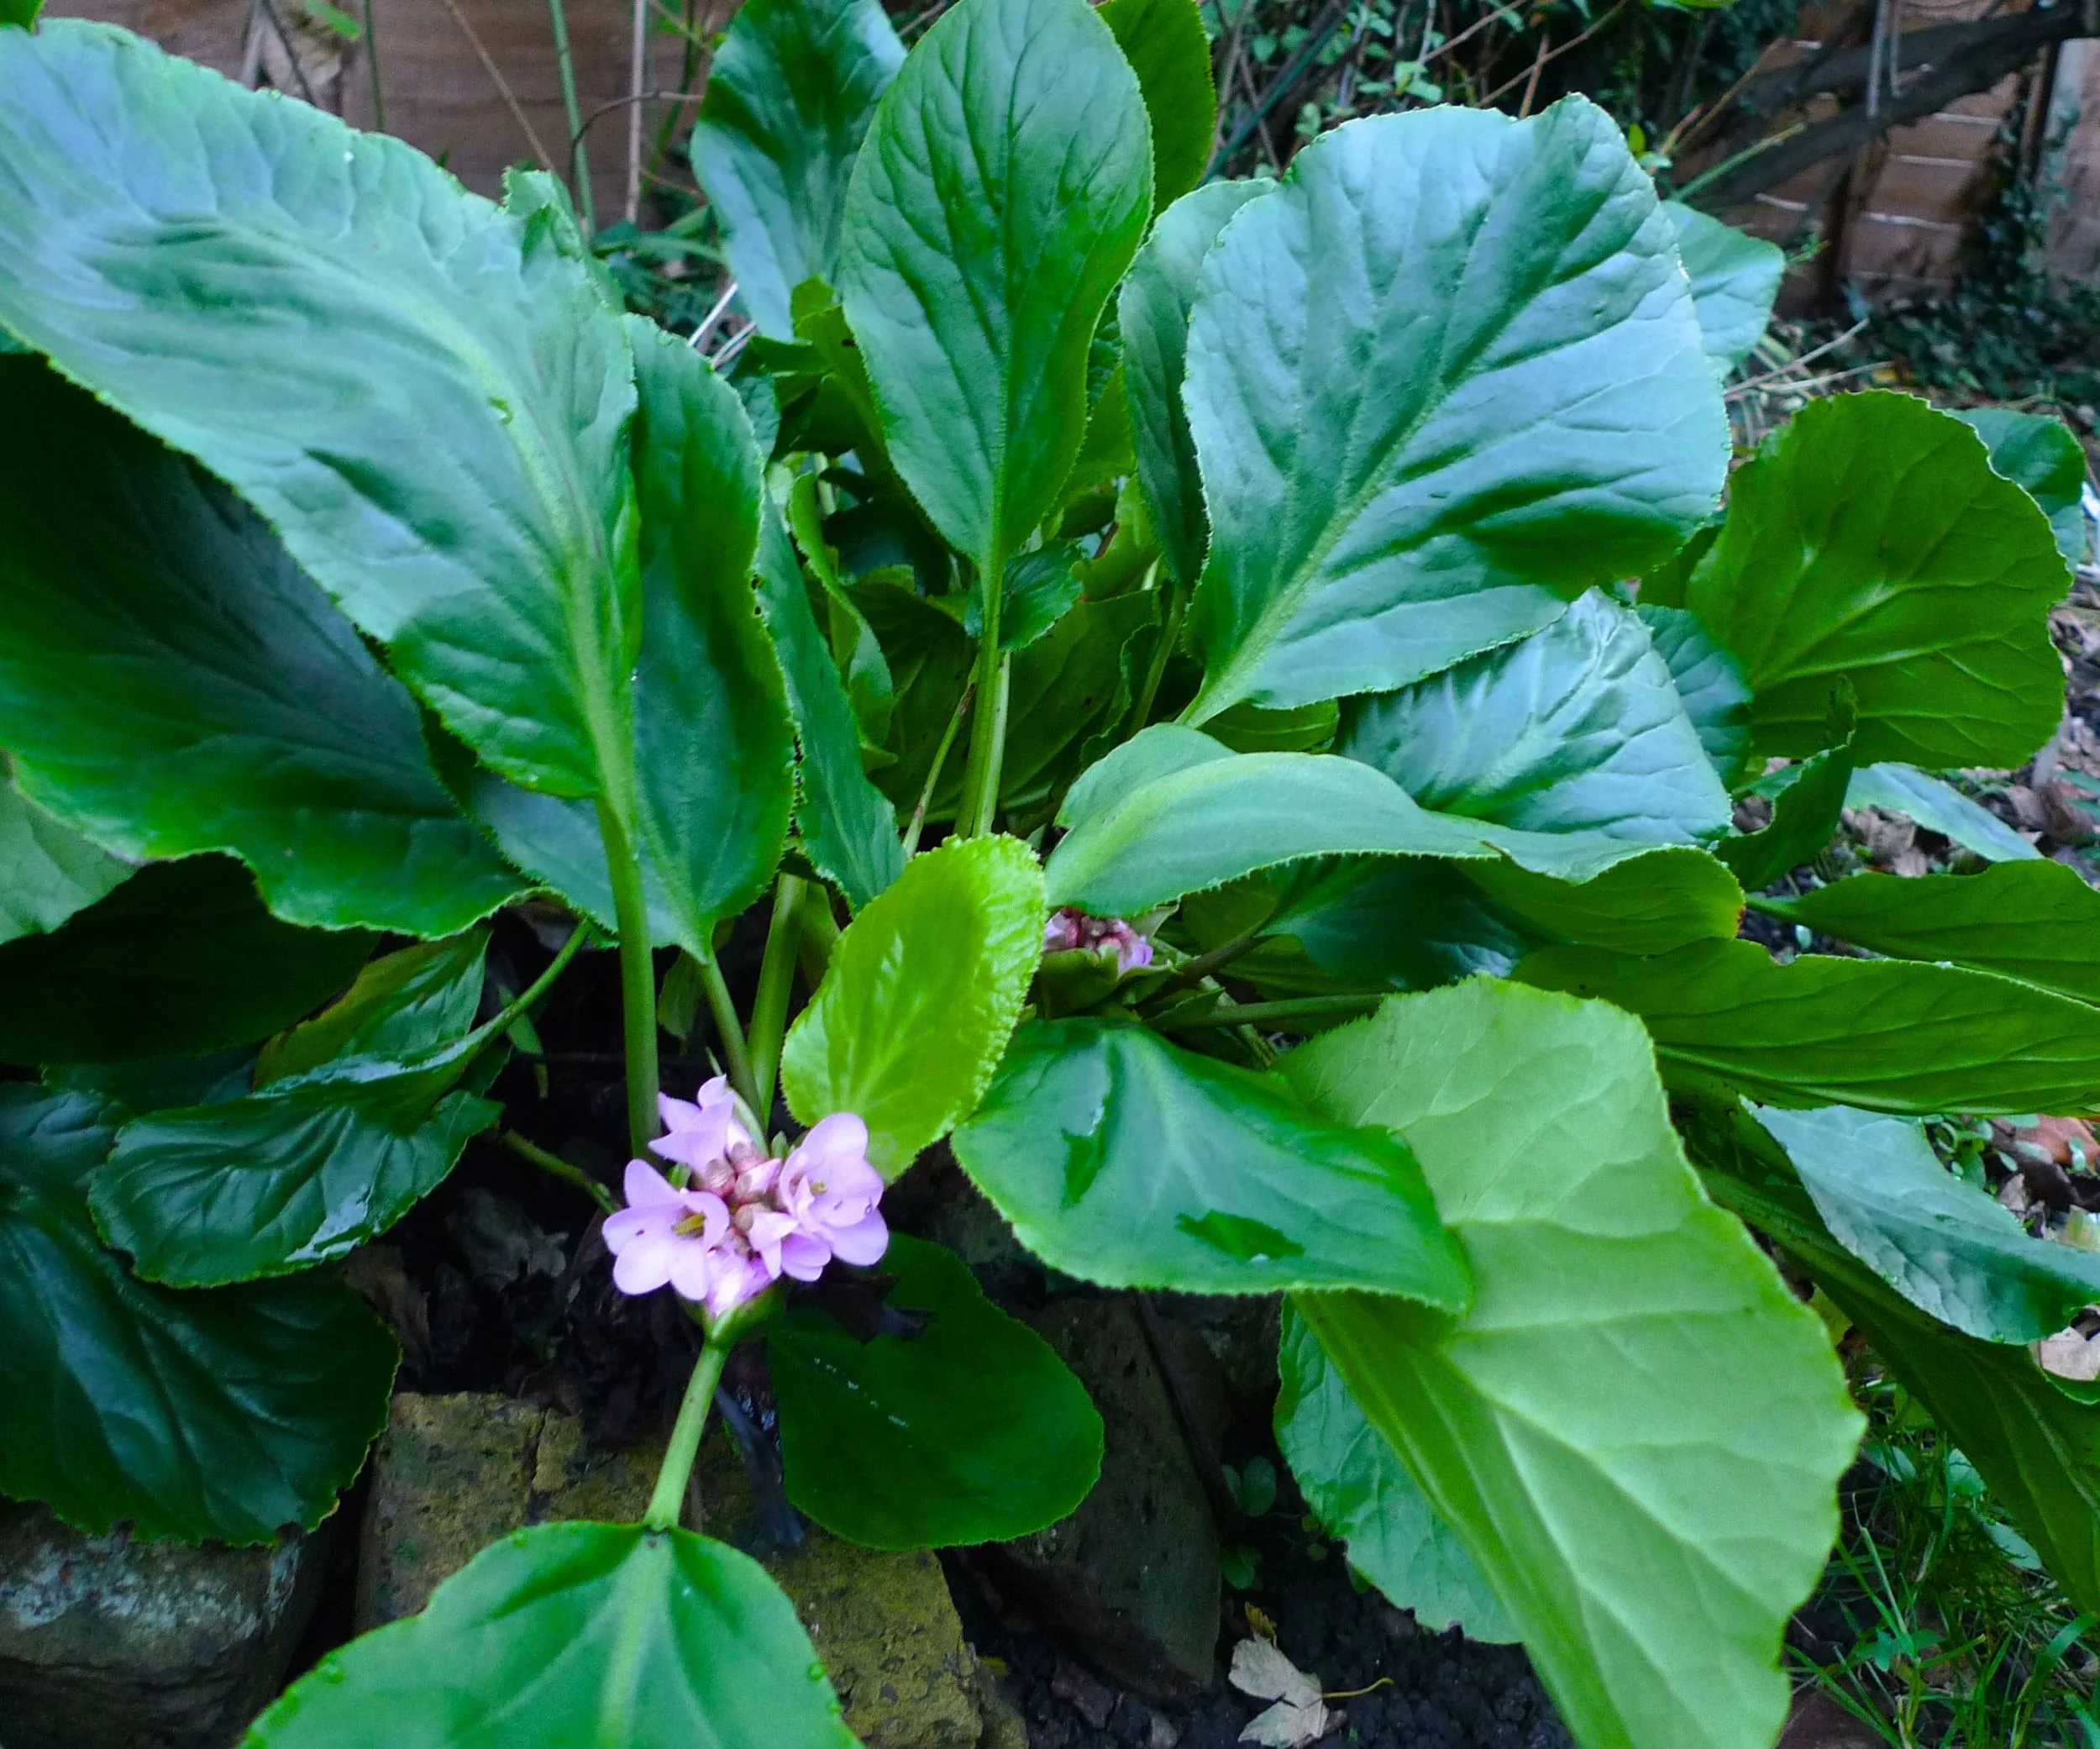
It wasn't long before I spotted some flowers on the hostas, hopefully they'll continue to flower and the pastel pink will deepen in colour.

hostas.jpg
phormium.jpg

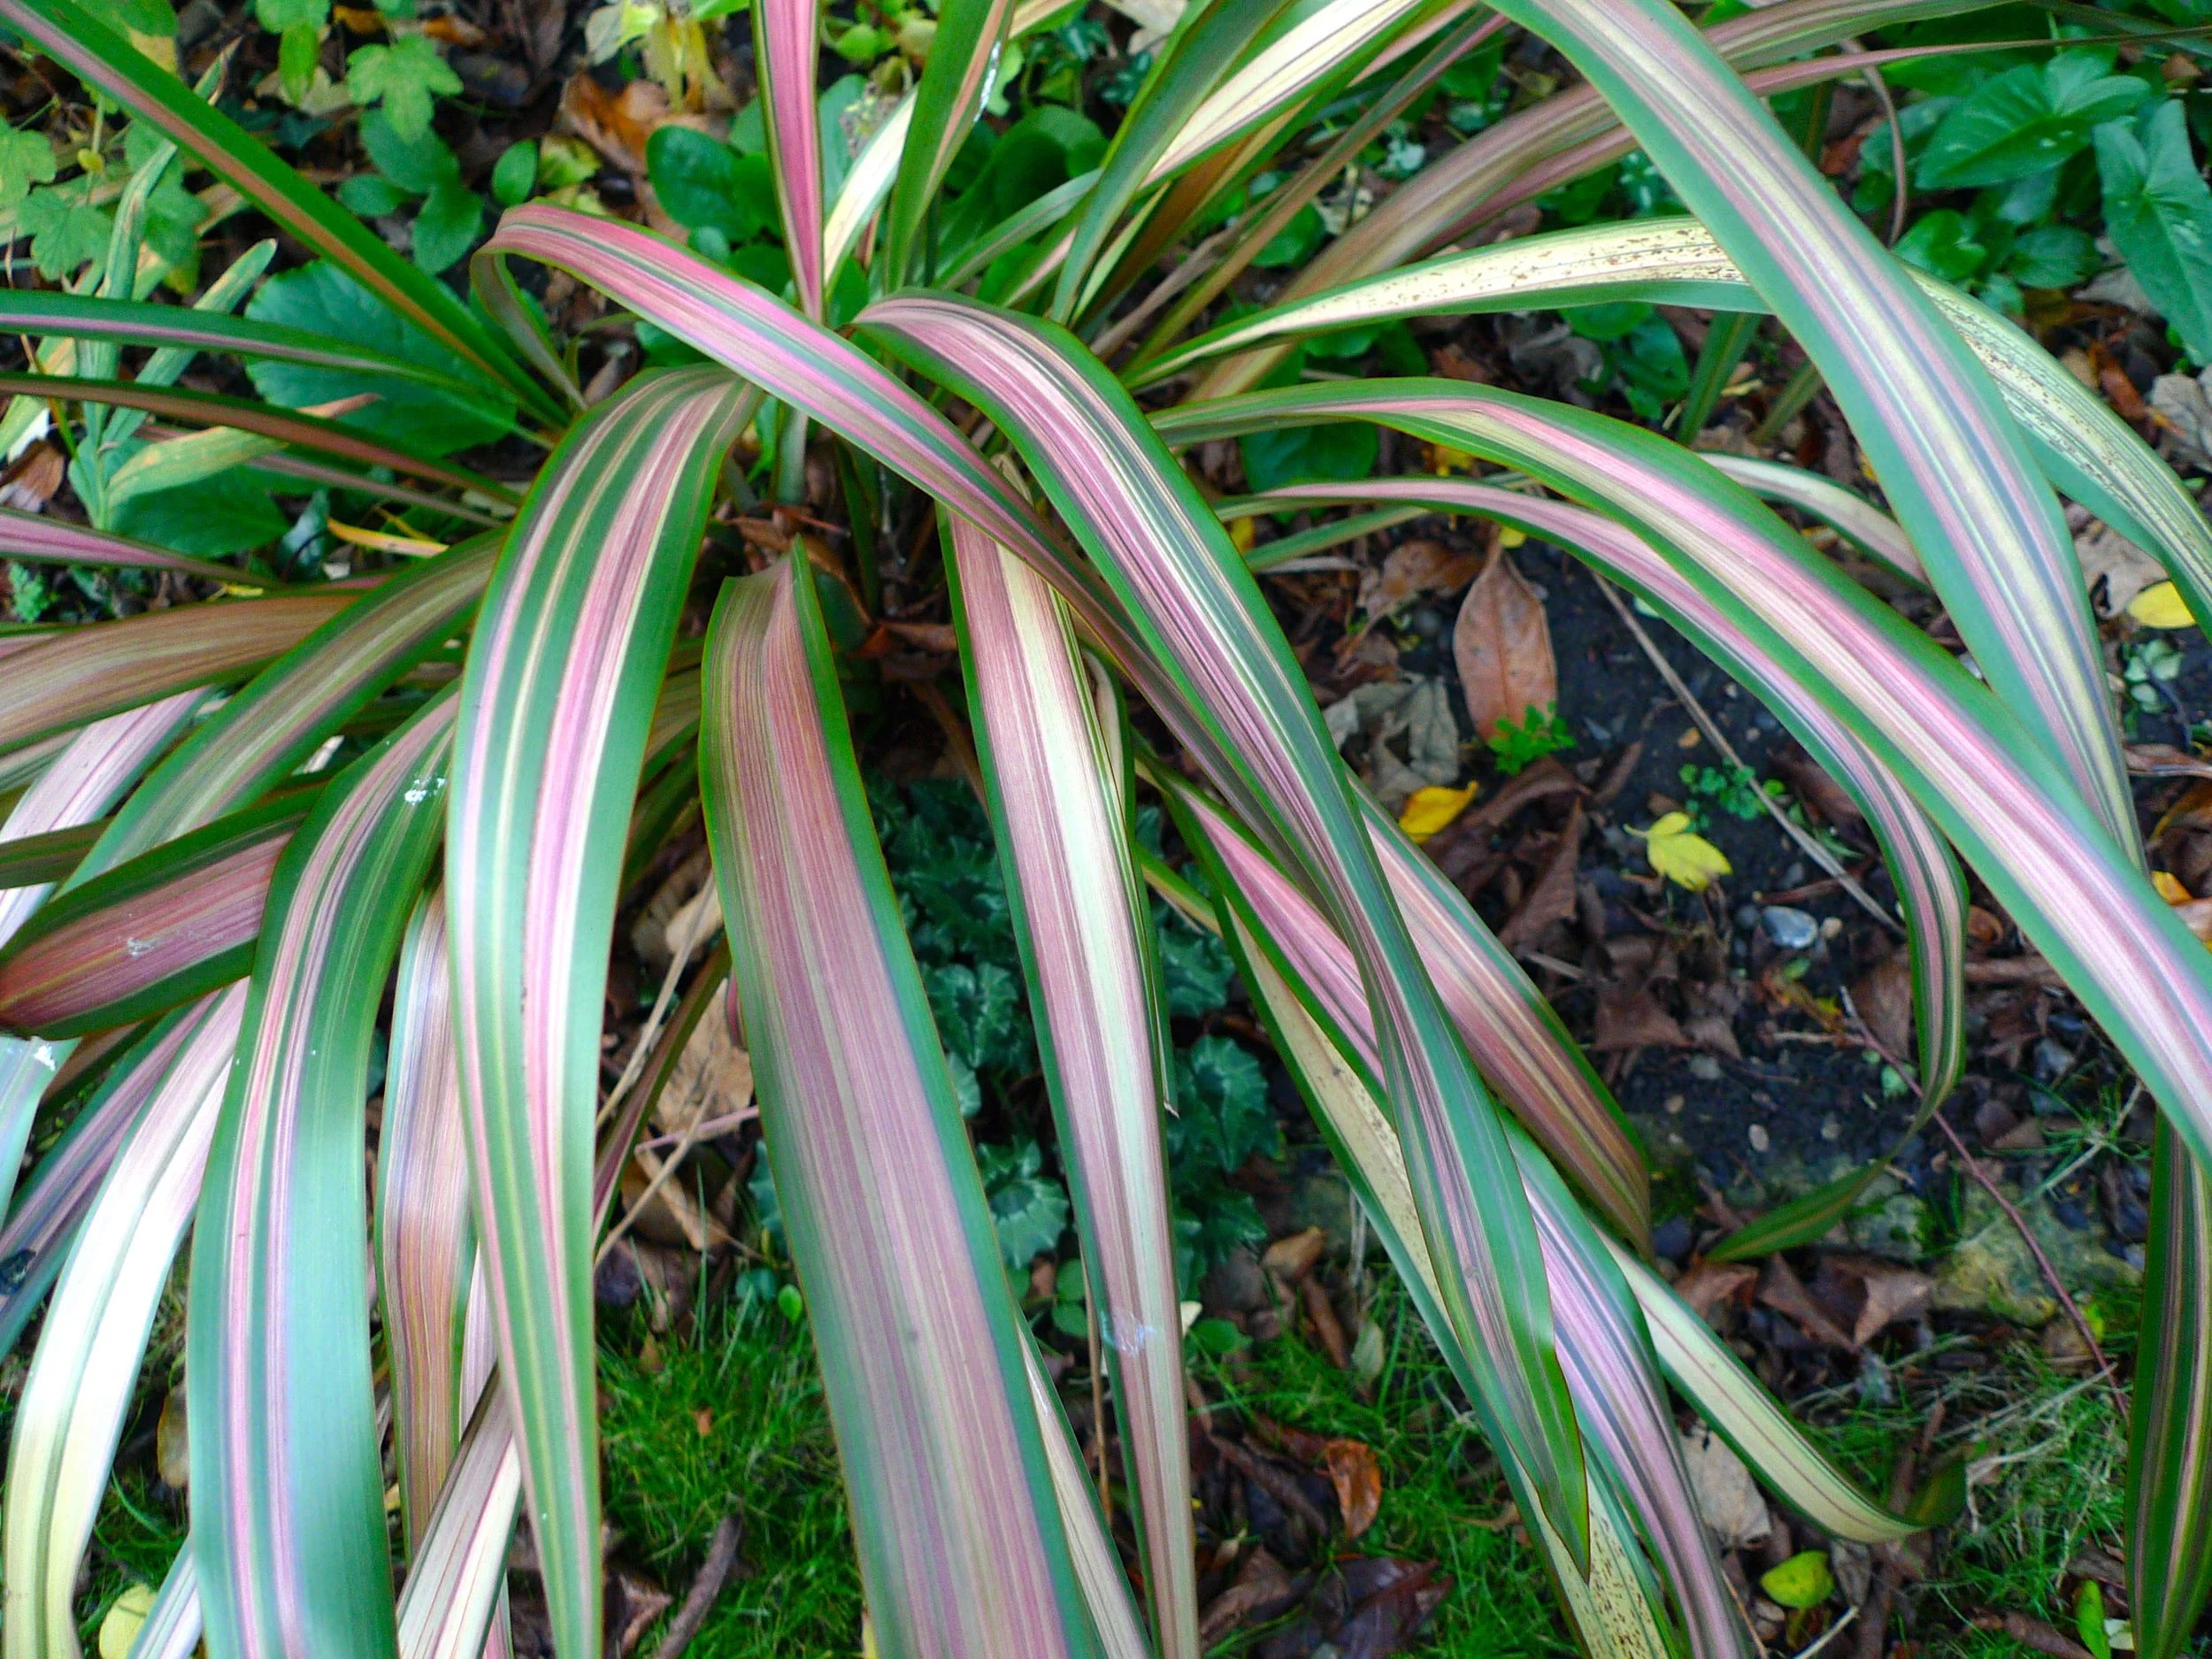
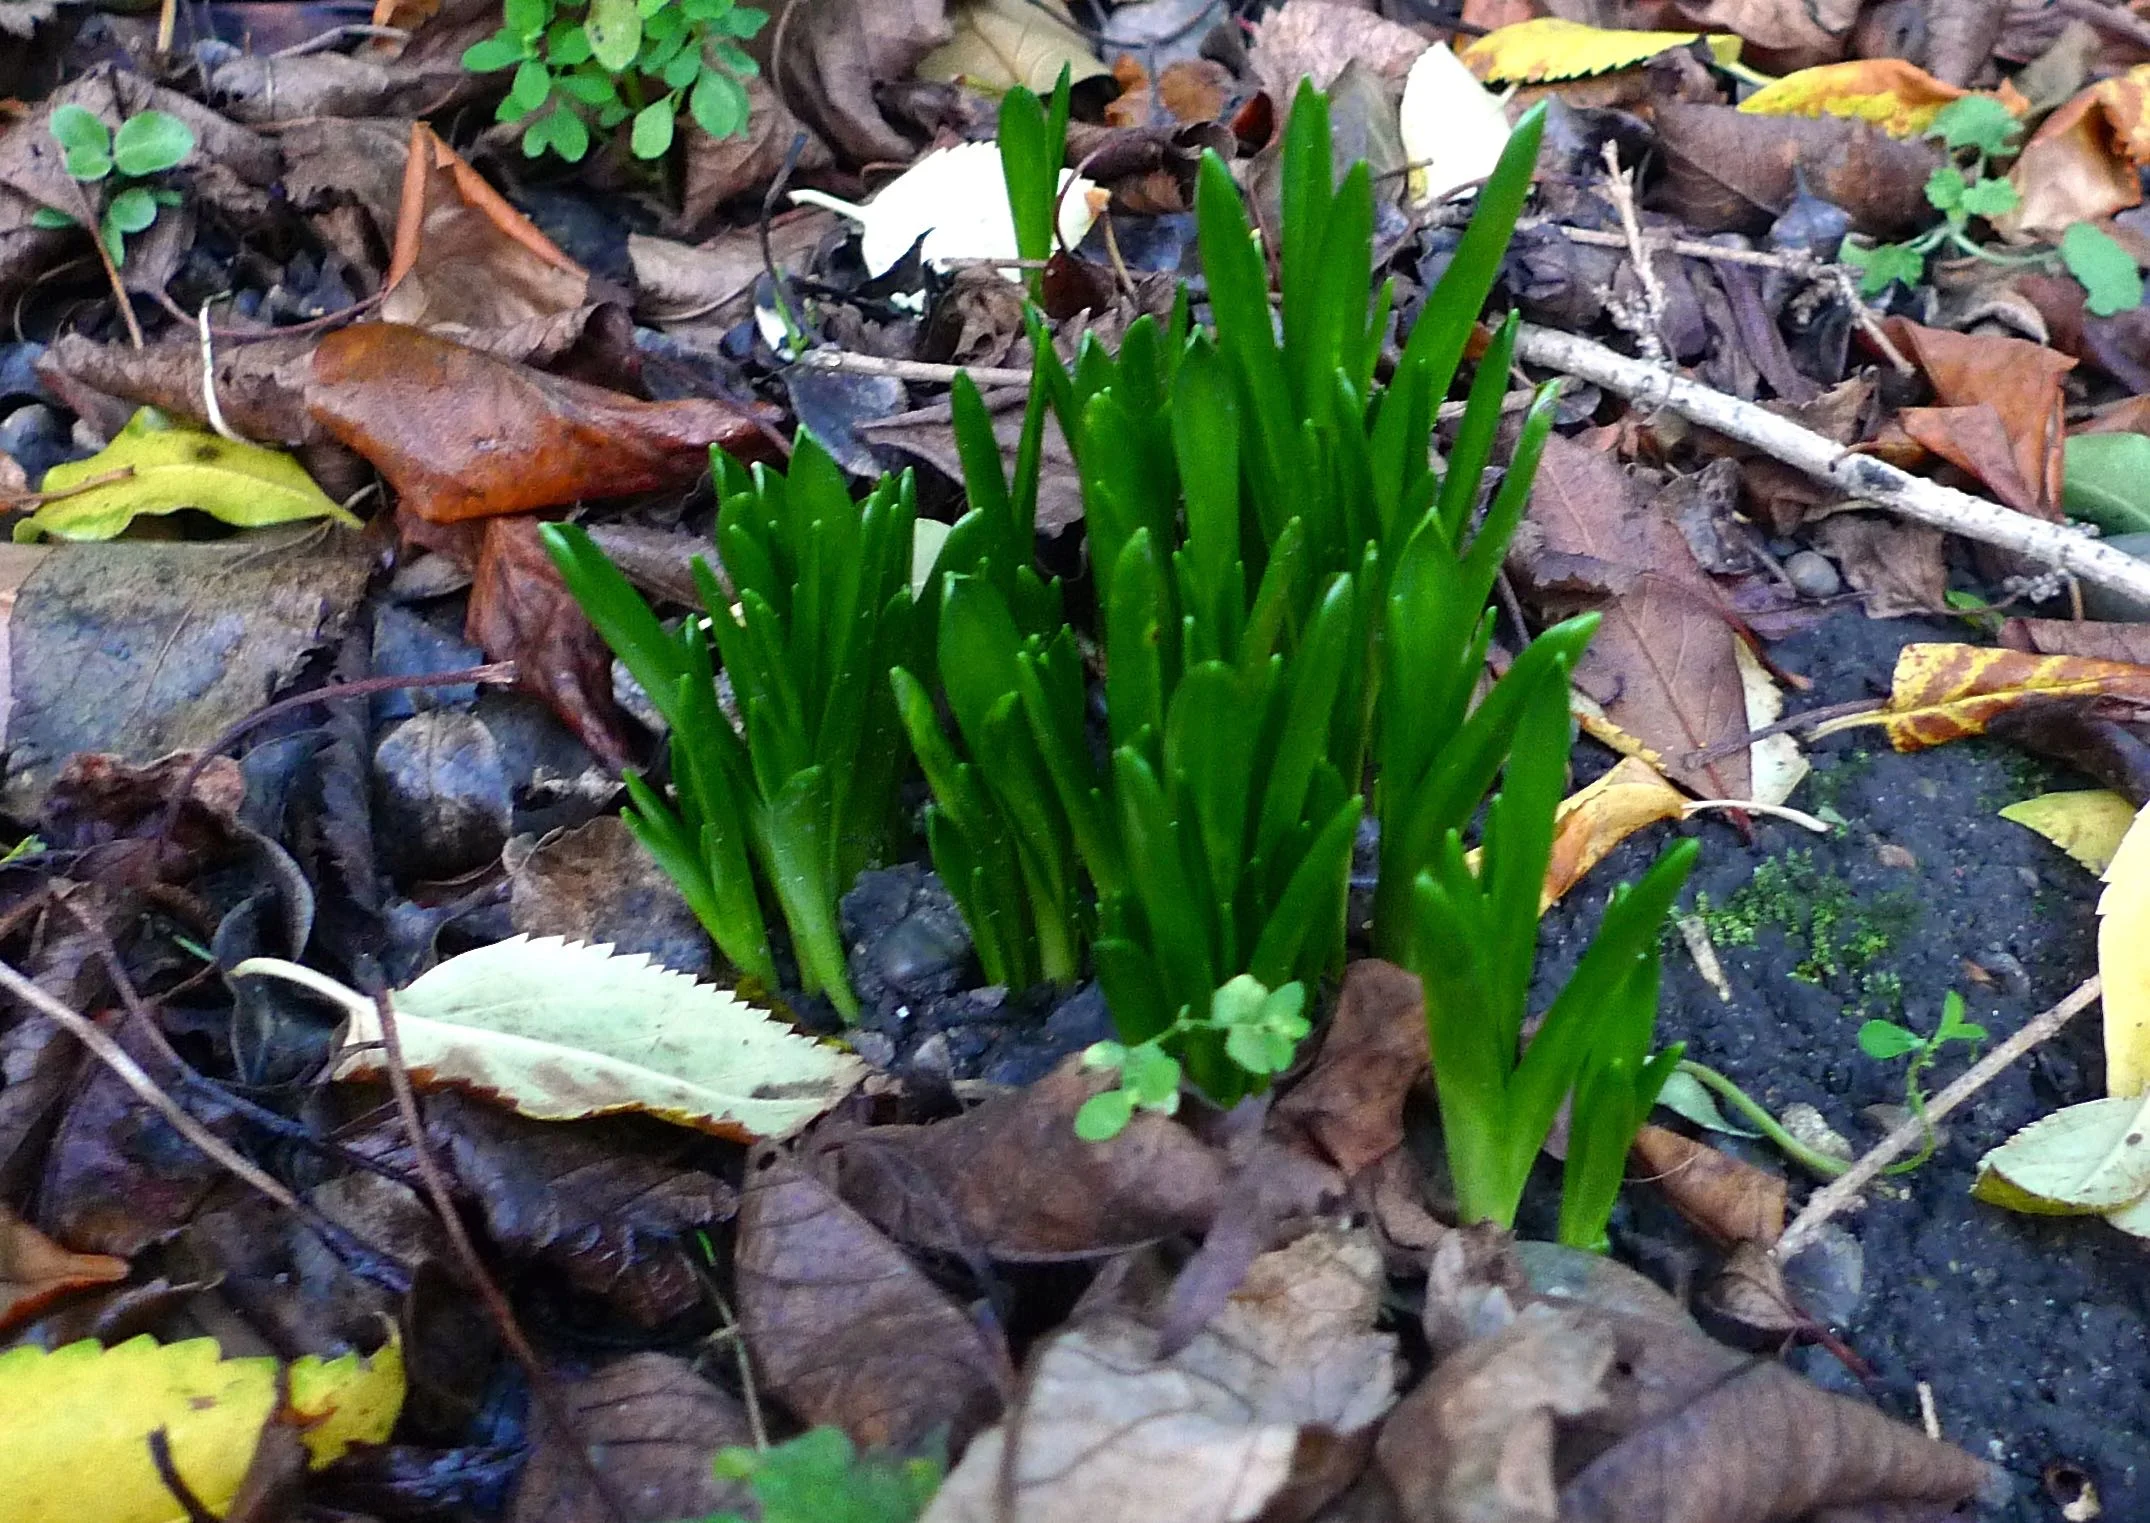
Up by the phormium with its ribbon-like leaves I couldn't quite believe my eyes. That's right I spotted bulbs already coming through, these I think are most likely bluebells. Although my bulbs aren't as advanced as some, I saw during the week that Ness has already seen her first daffodil.

bulbs.jpg
pyracantha.jpg

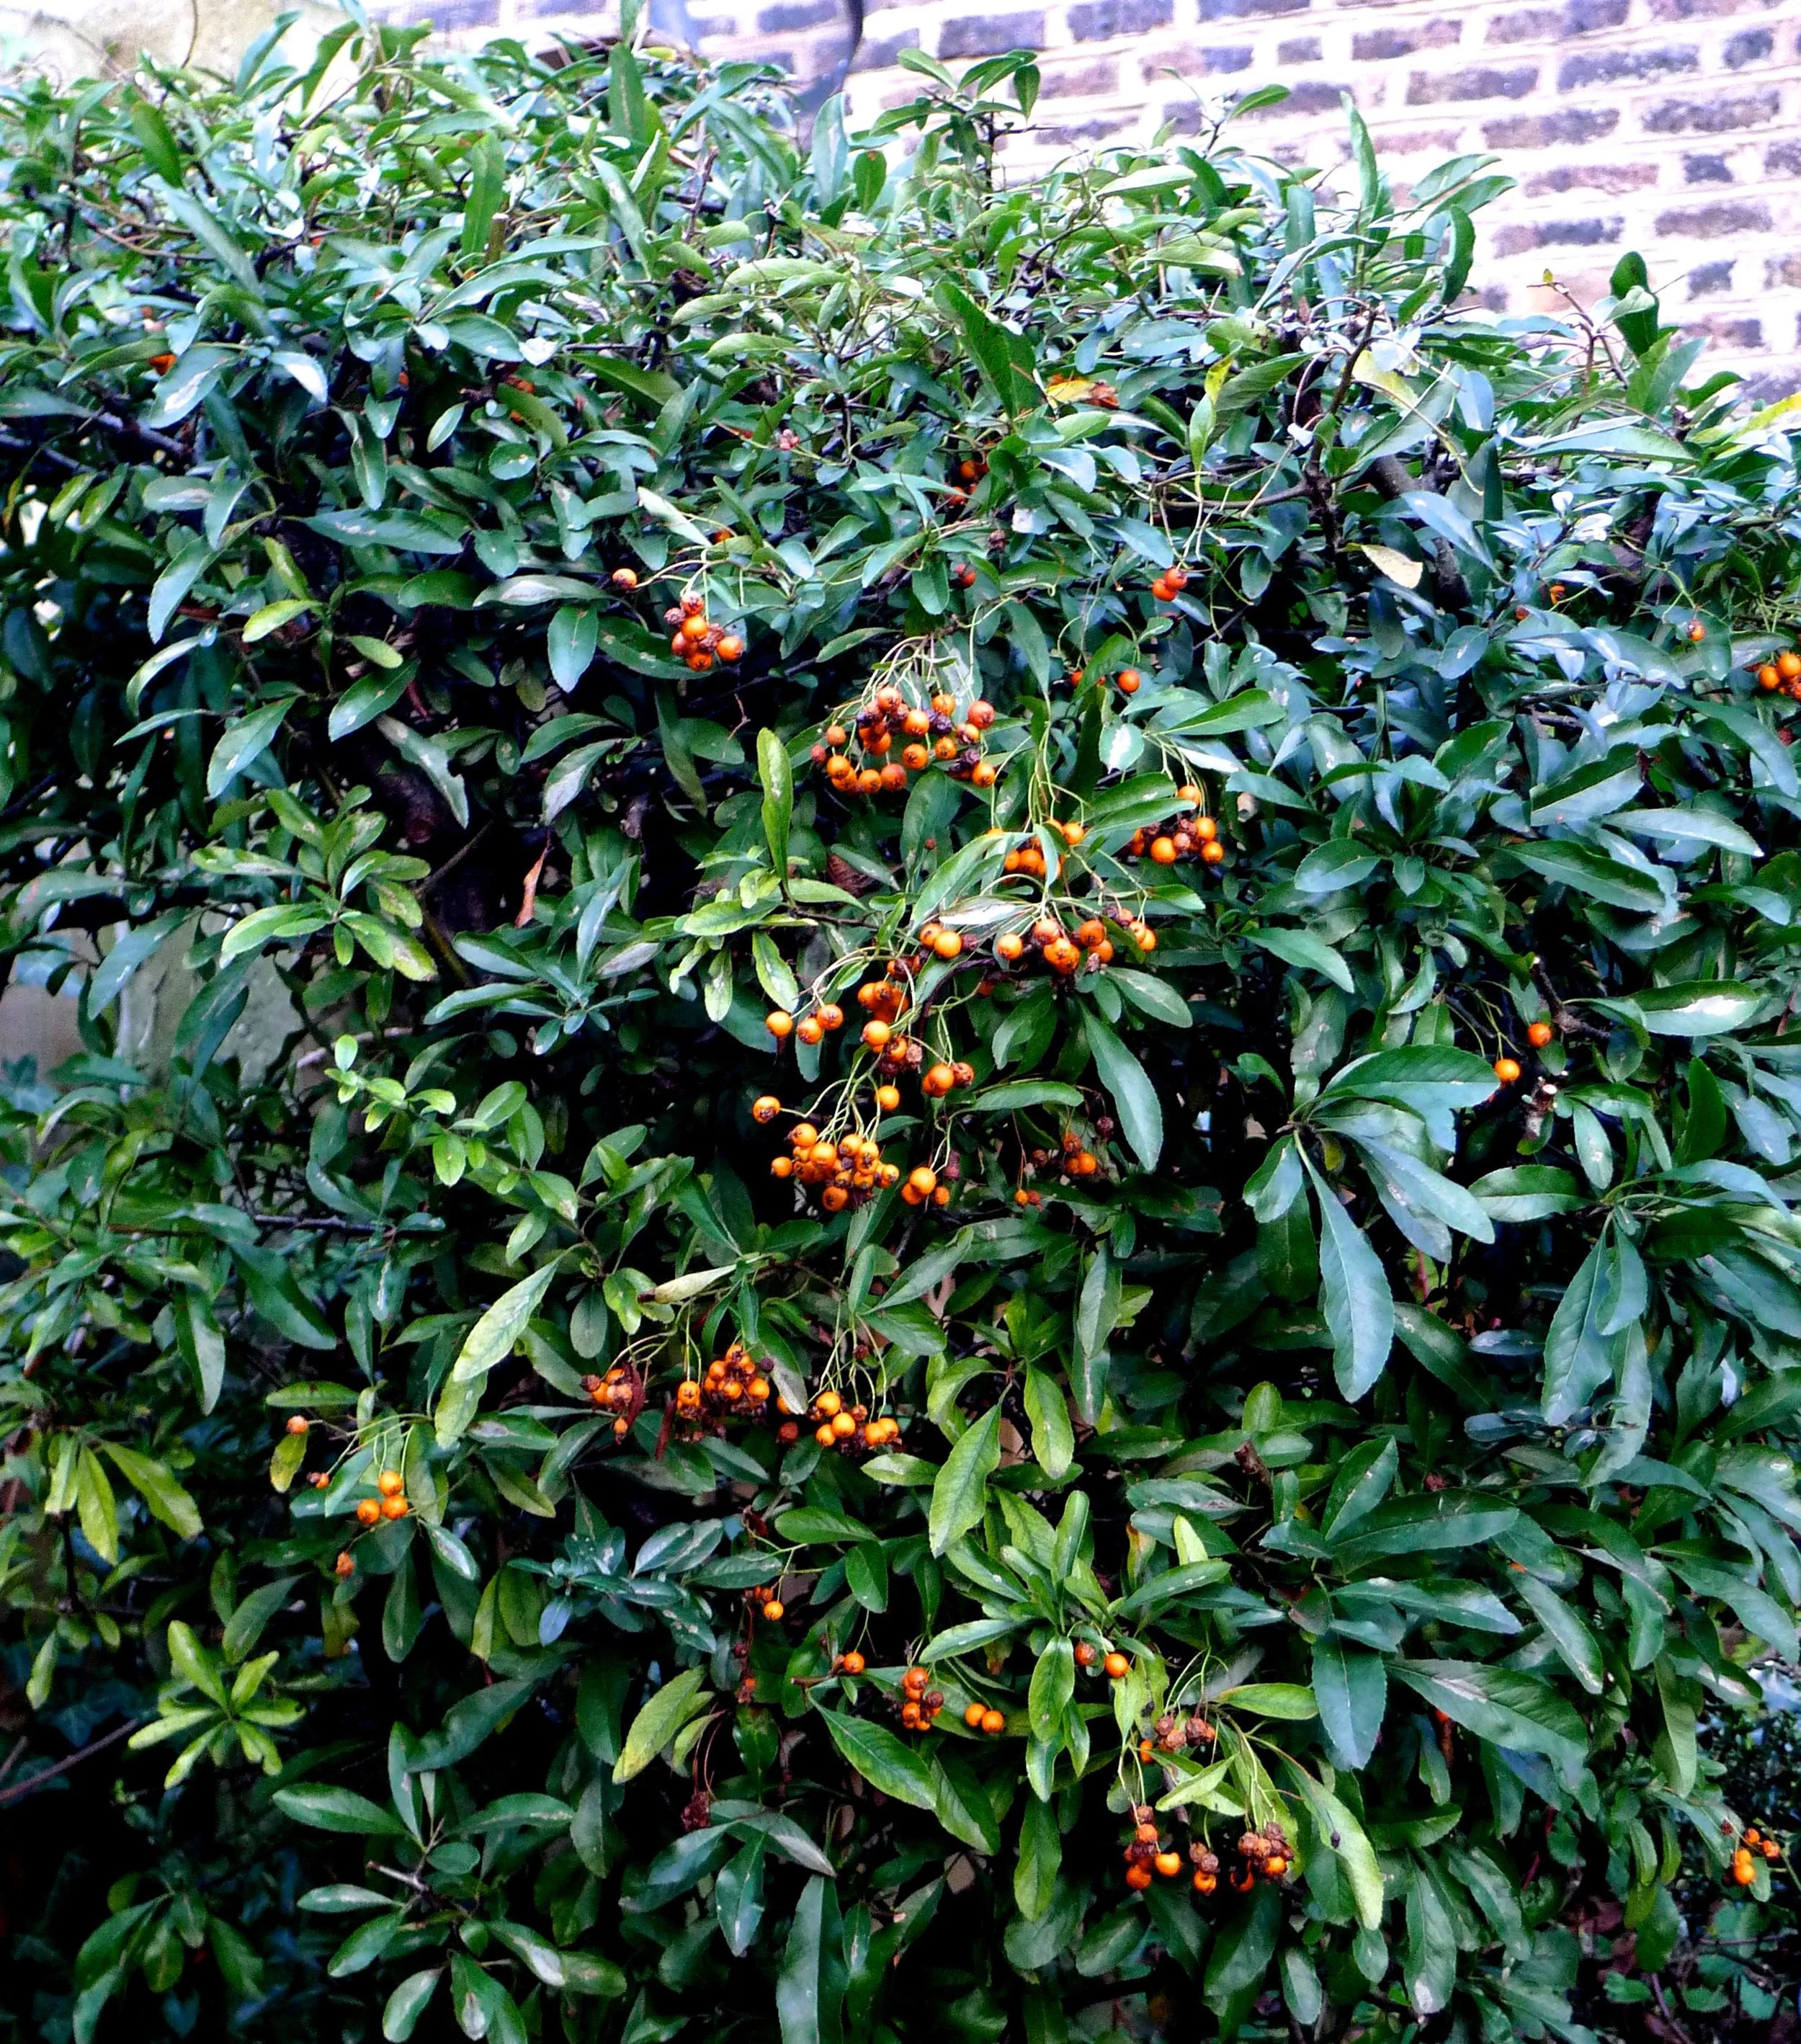
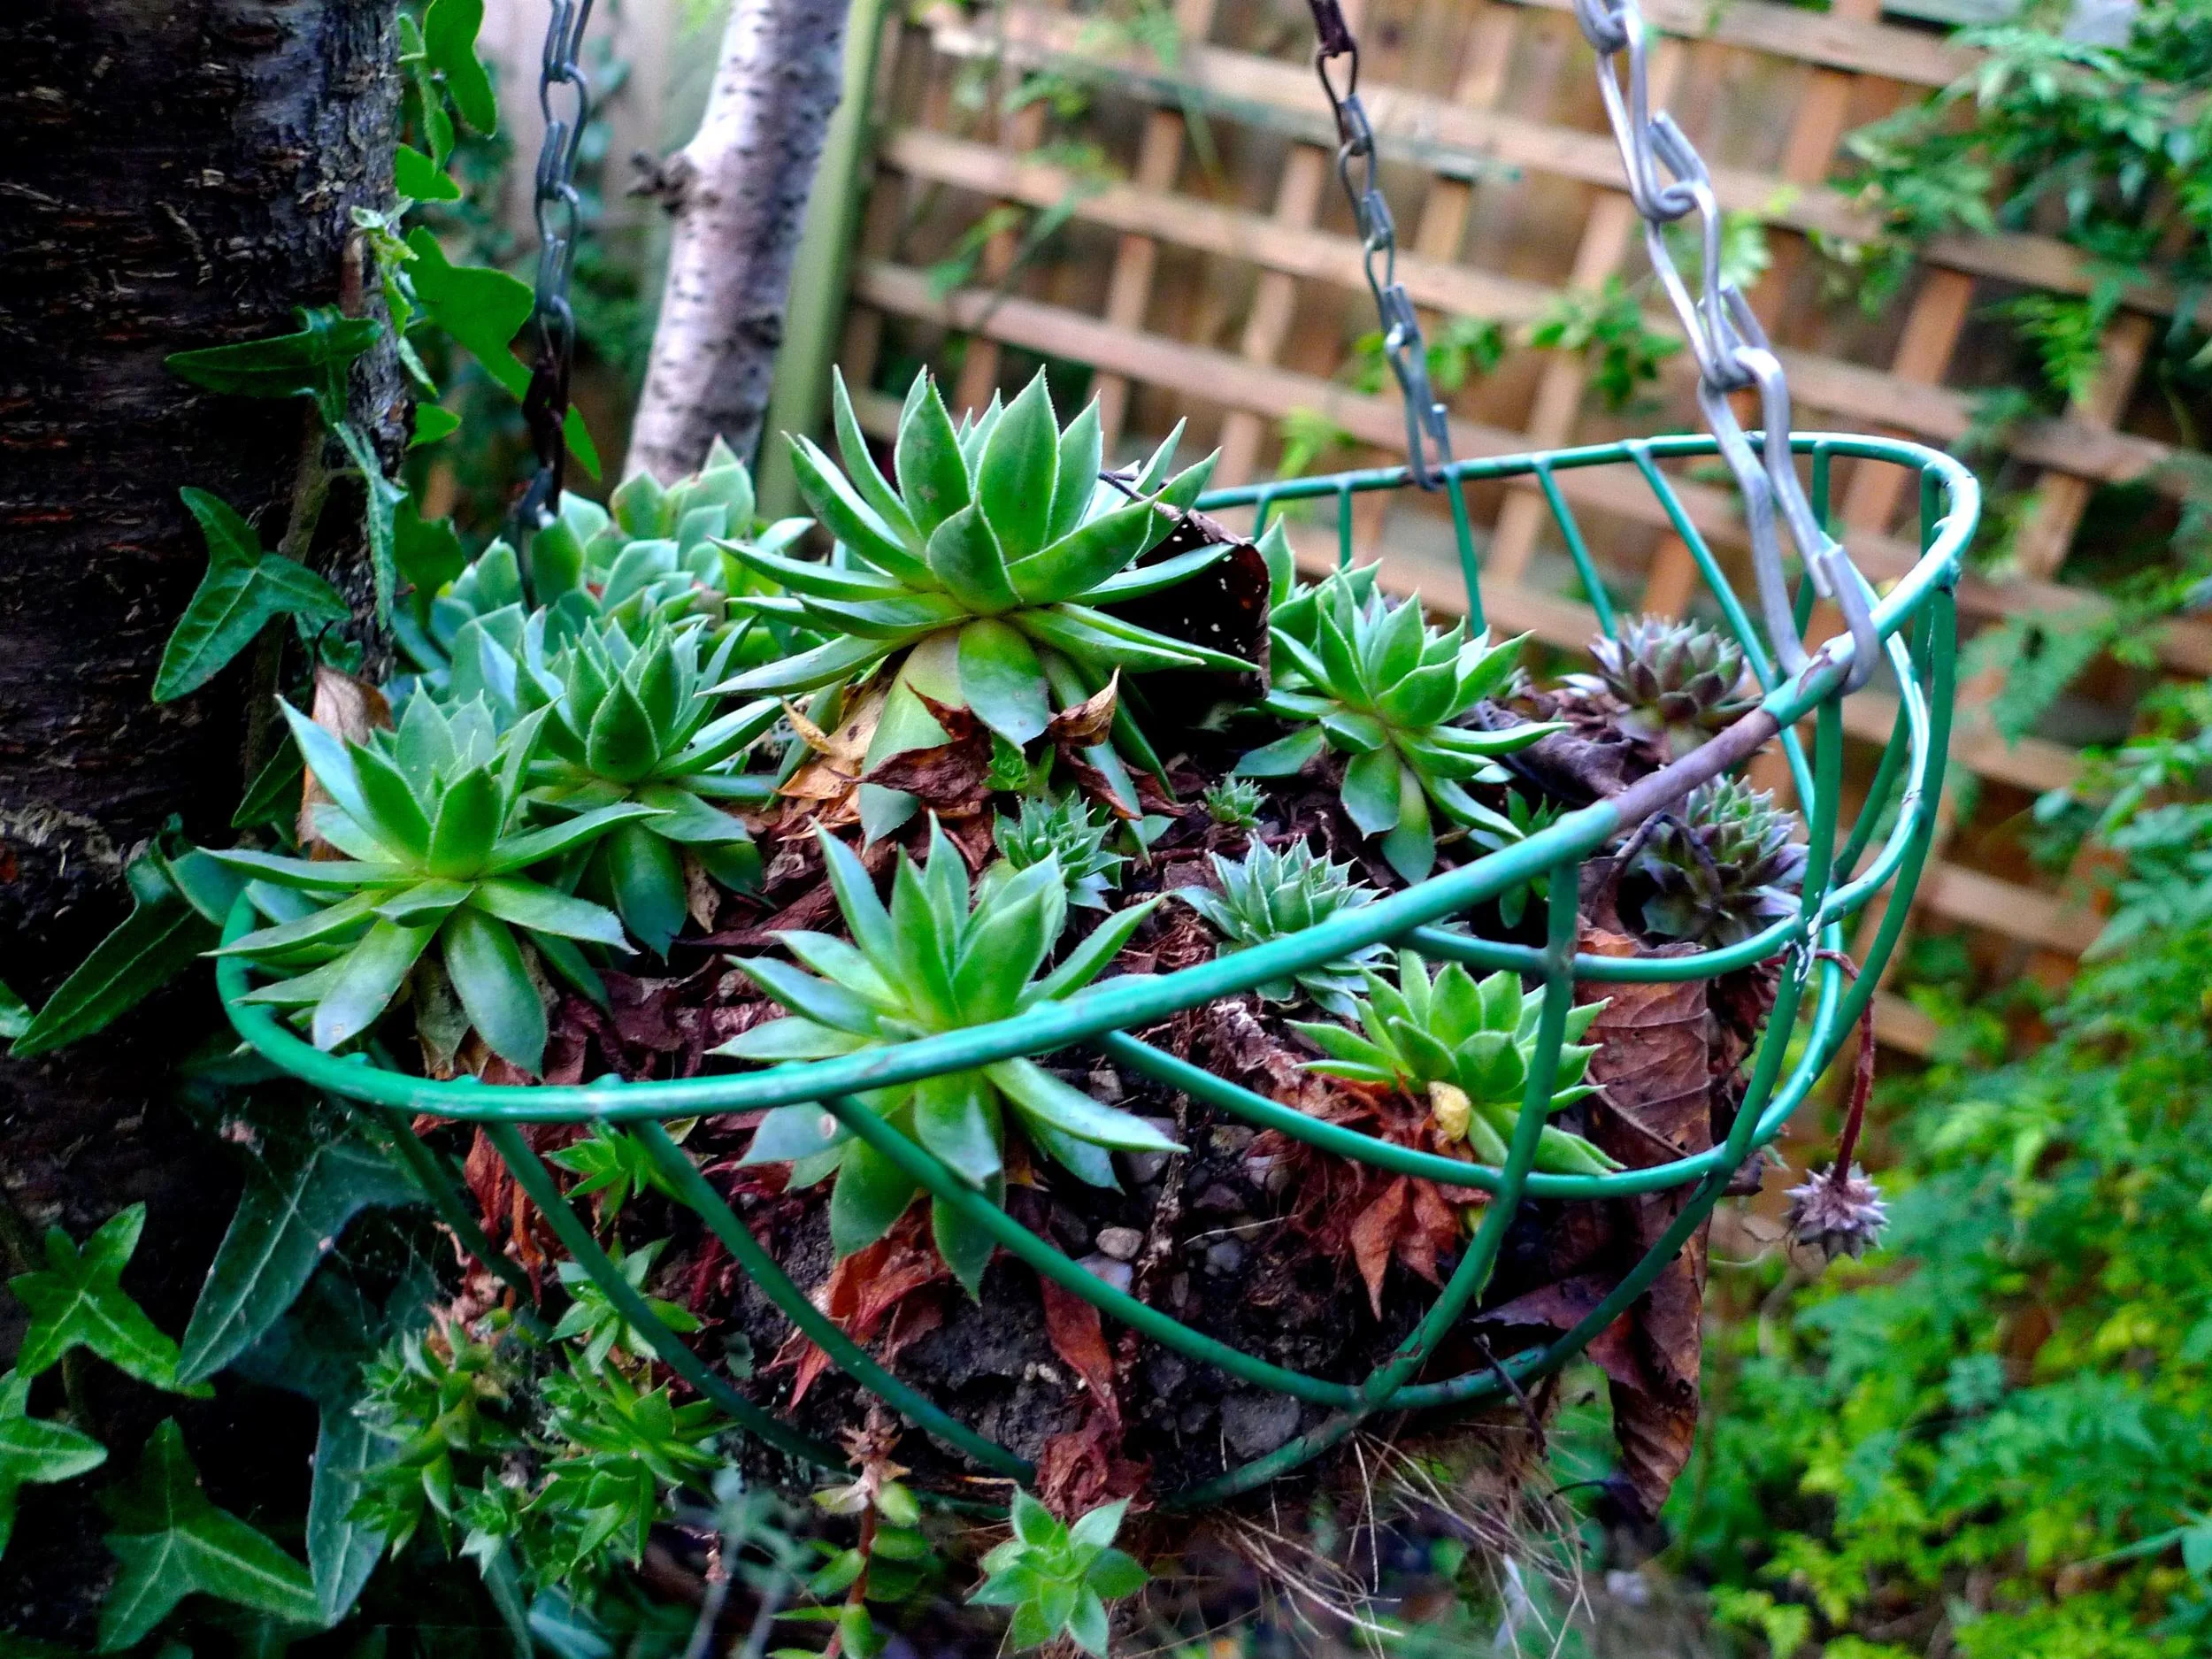
At the back of the garden my pyracantha is still loaded with berries, probably the most we've seen on this plant. Not as many as some I've seen but as it's a shaped bush, quite a few I think. Then I wondered how the succulents had fared with the weather we've been having.

Perfectly well it seems. Considering I only bought two small plants a few years ago now, they're doing fine!

succulents.jpg

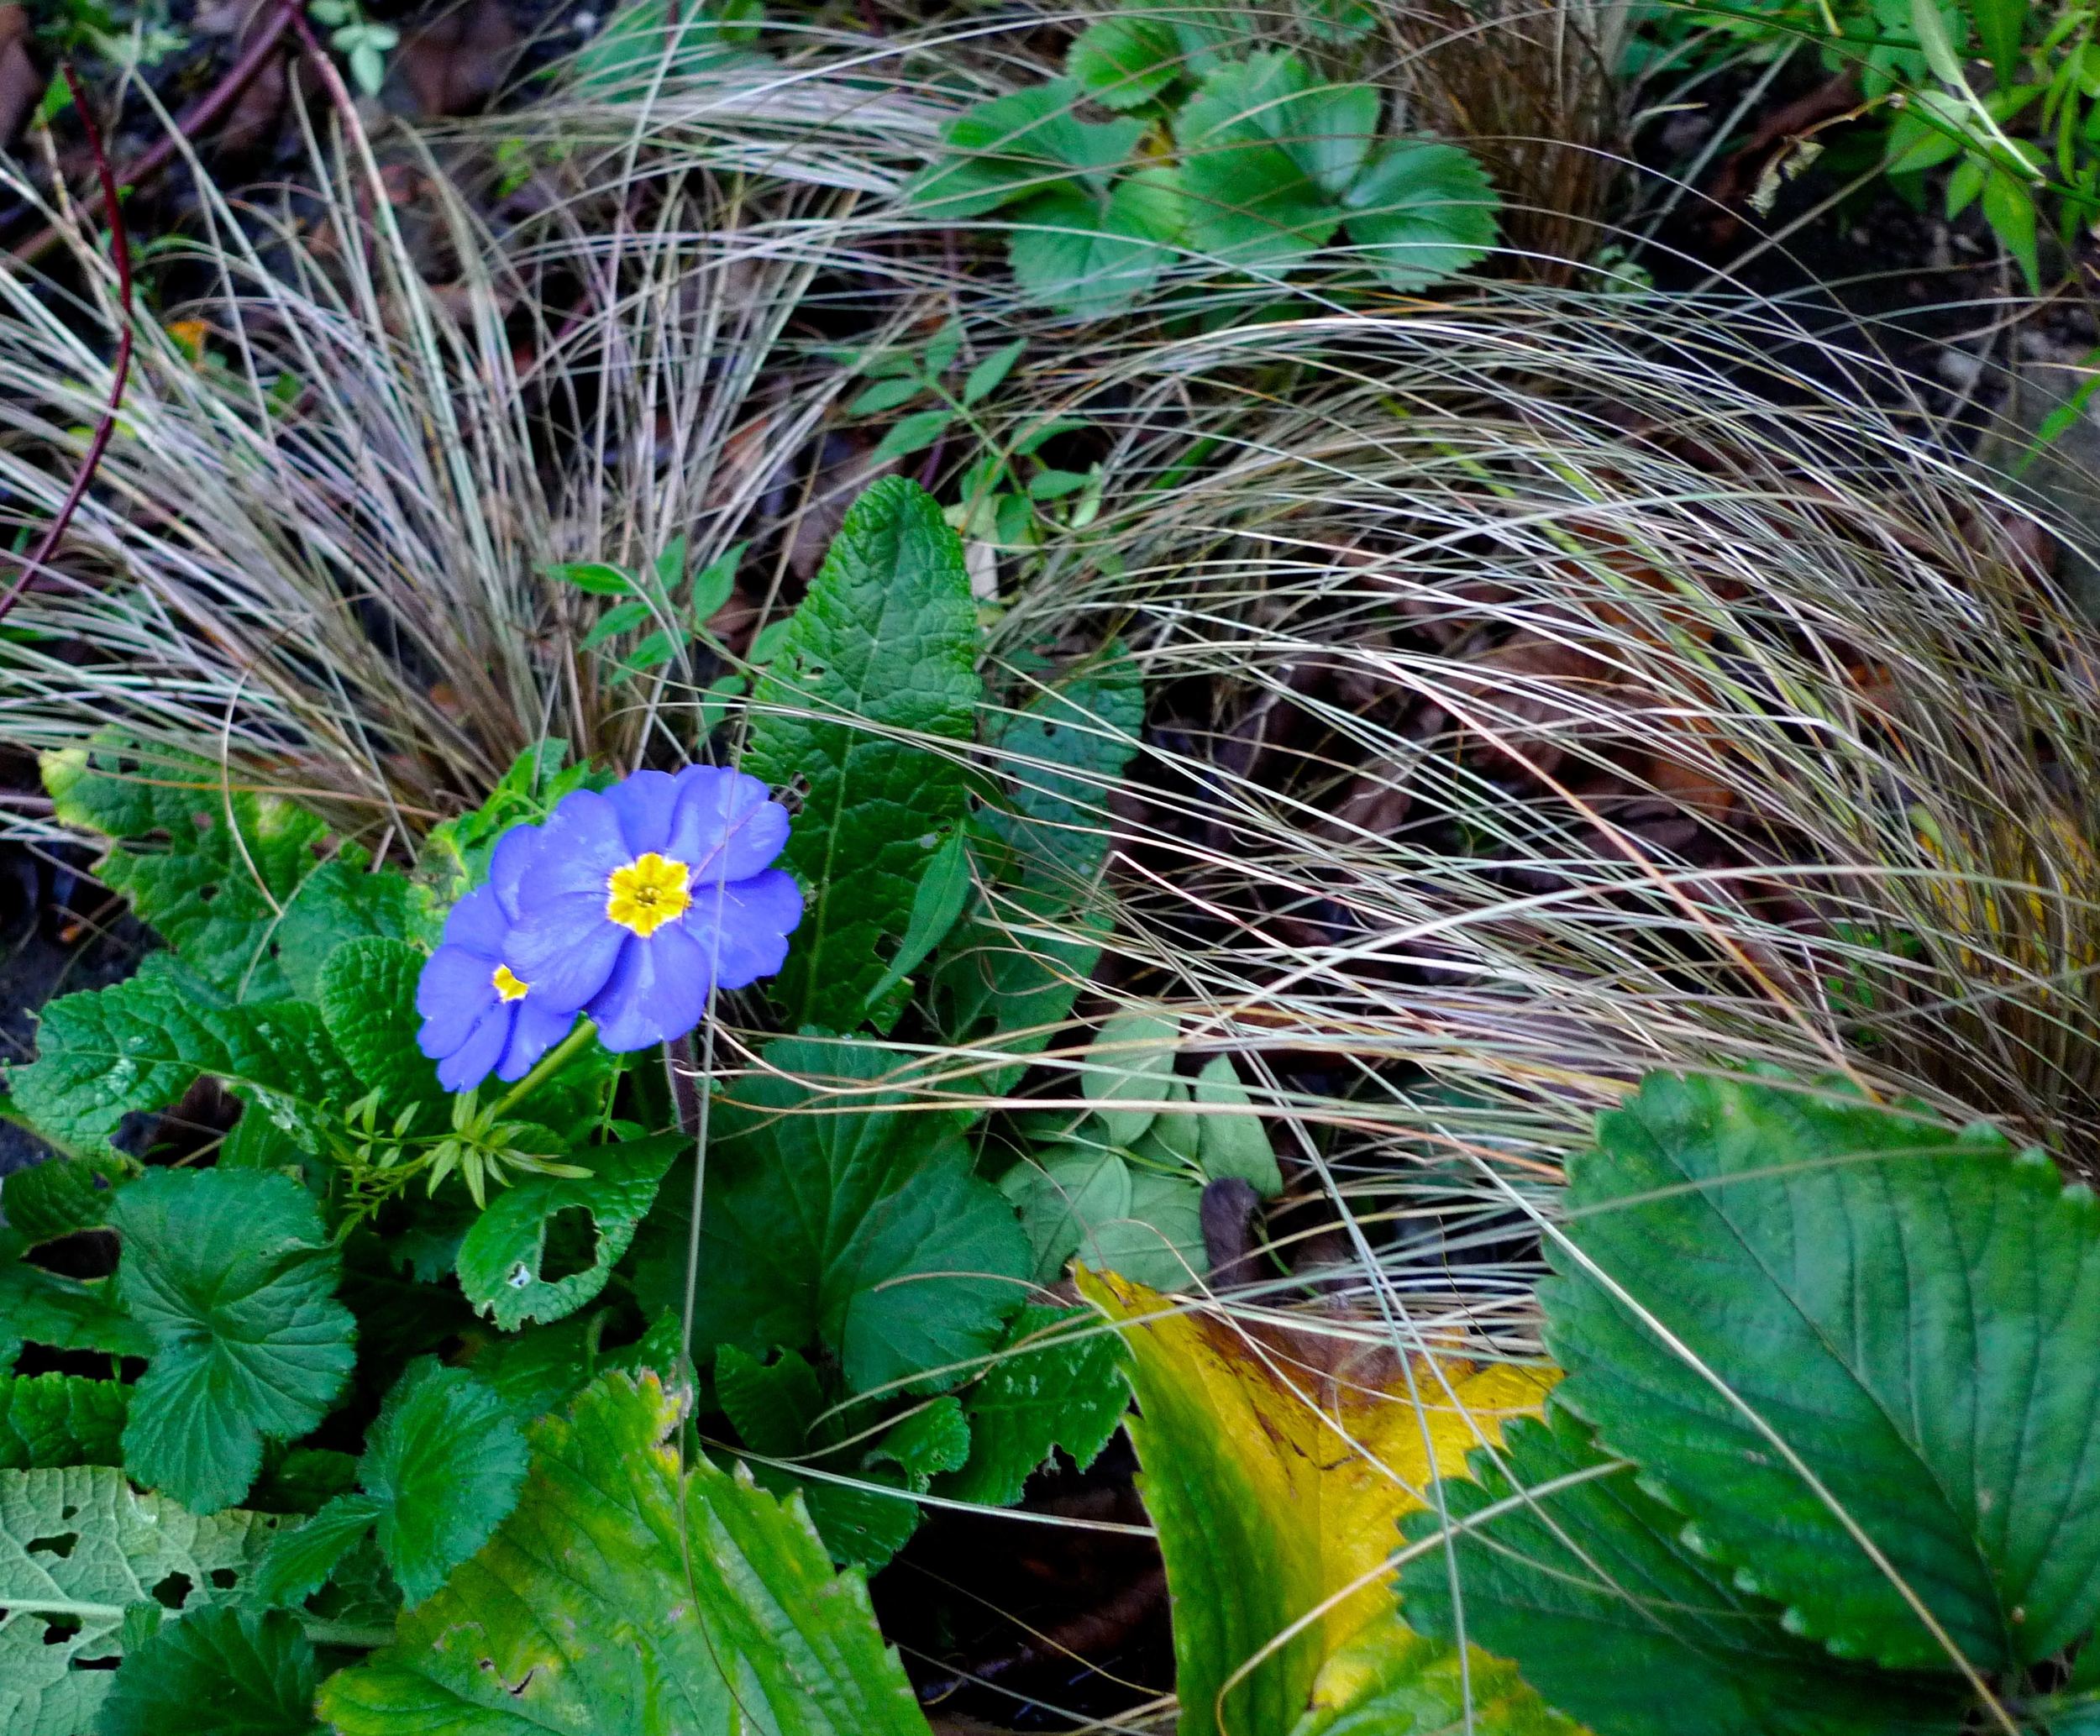
Then I spotted a primrose amongst the grasses. These are the ones I'd named perpetual primroses because they flowered for so long. Well they did stop flowering eventually, but it seems it was only a short break as they're back. 

blueprimrose.jpg
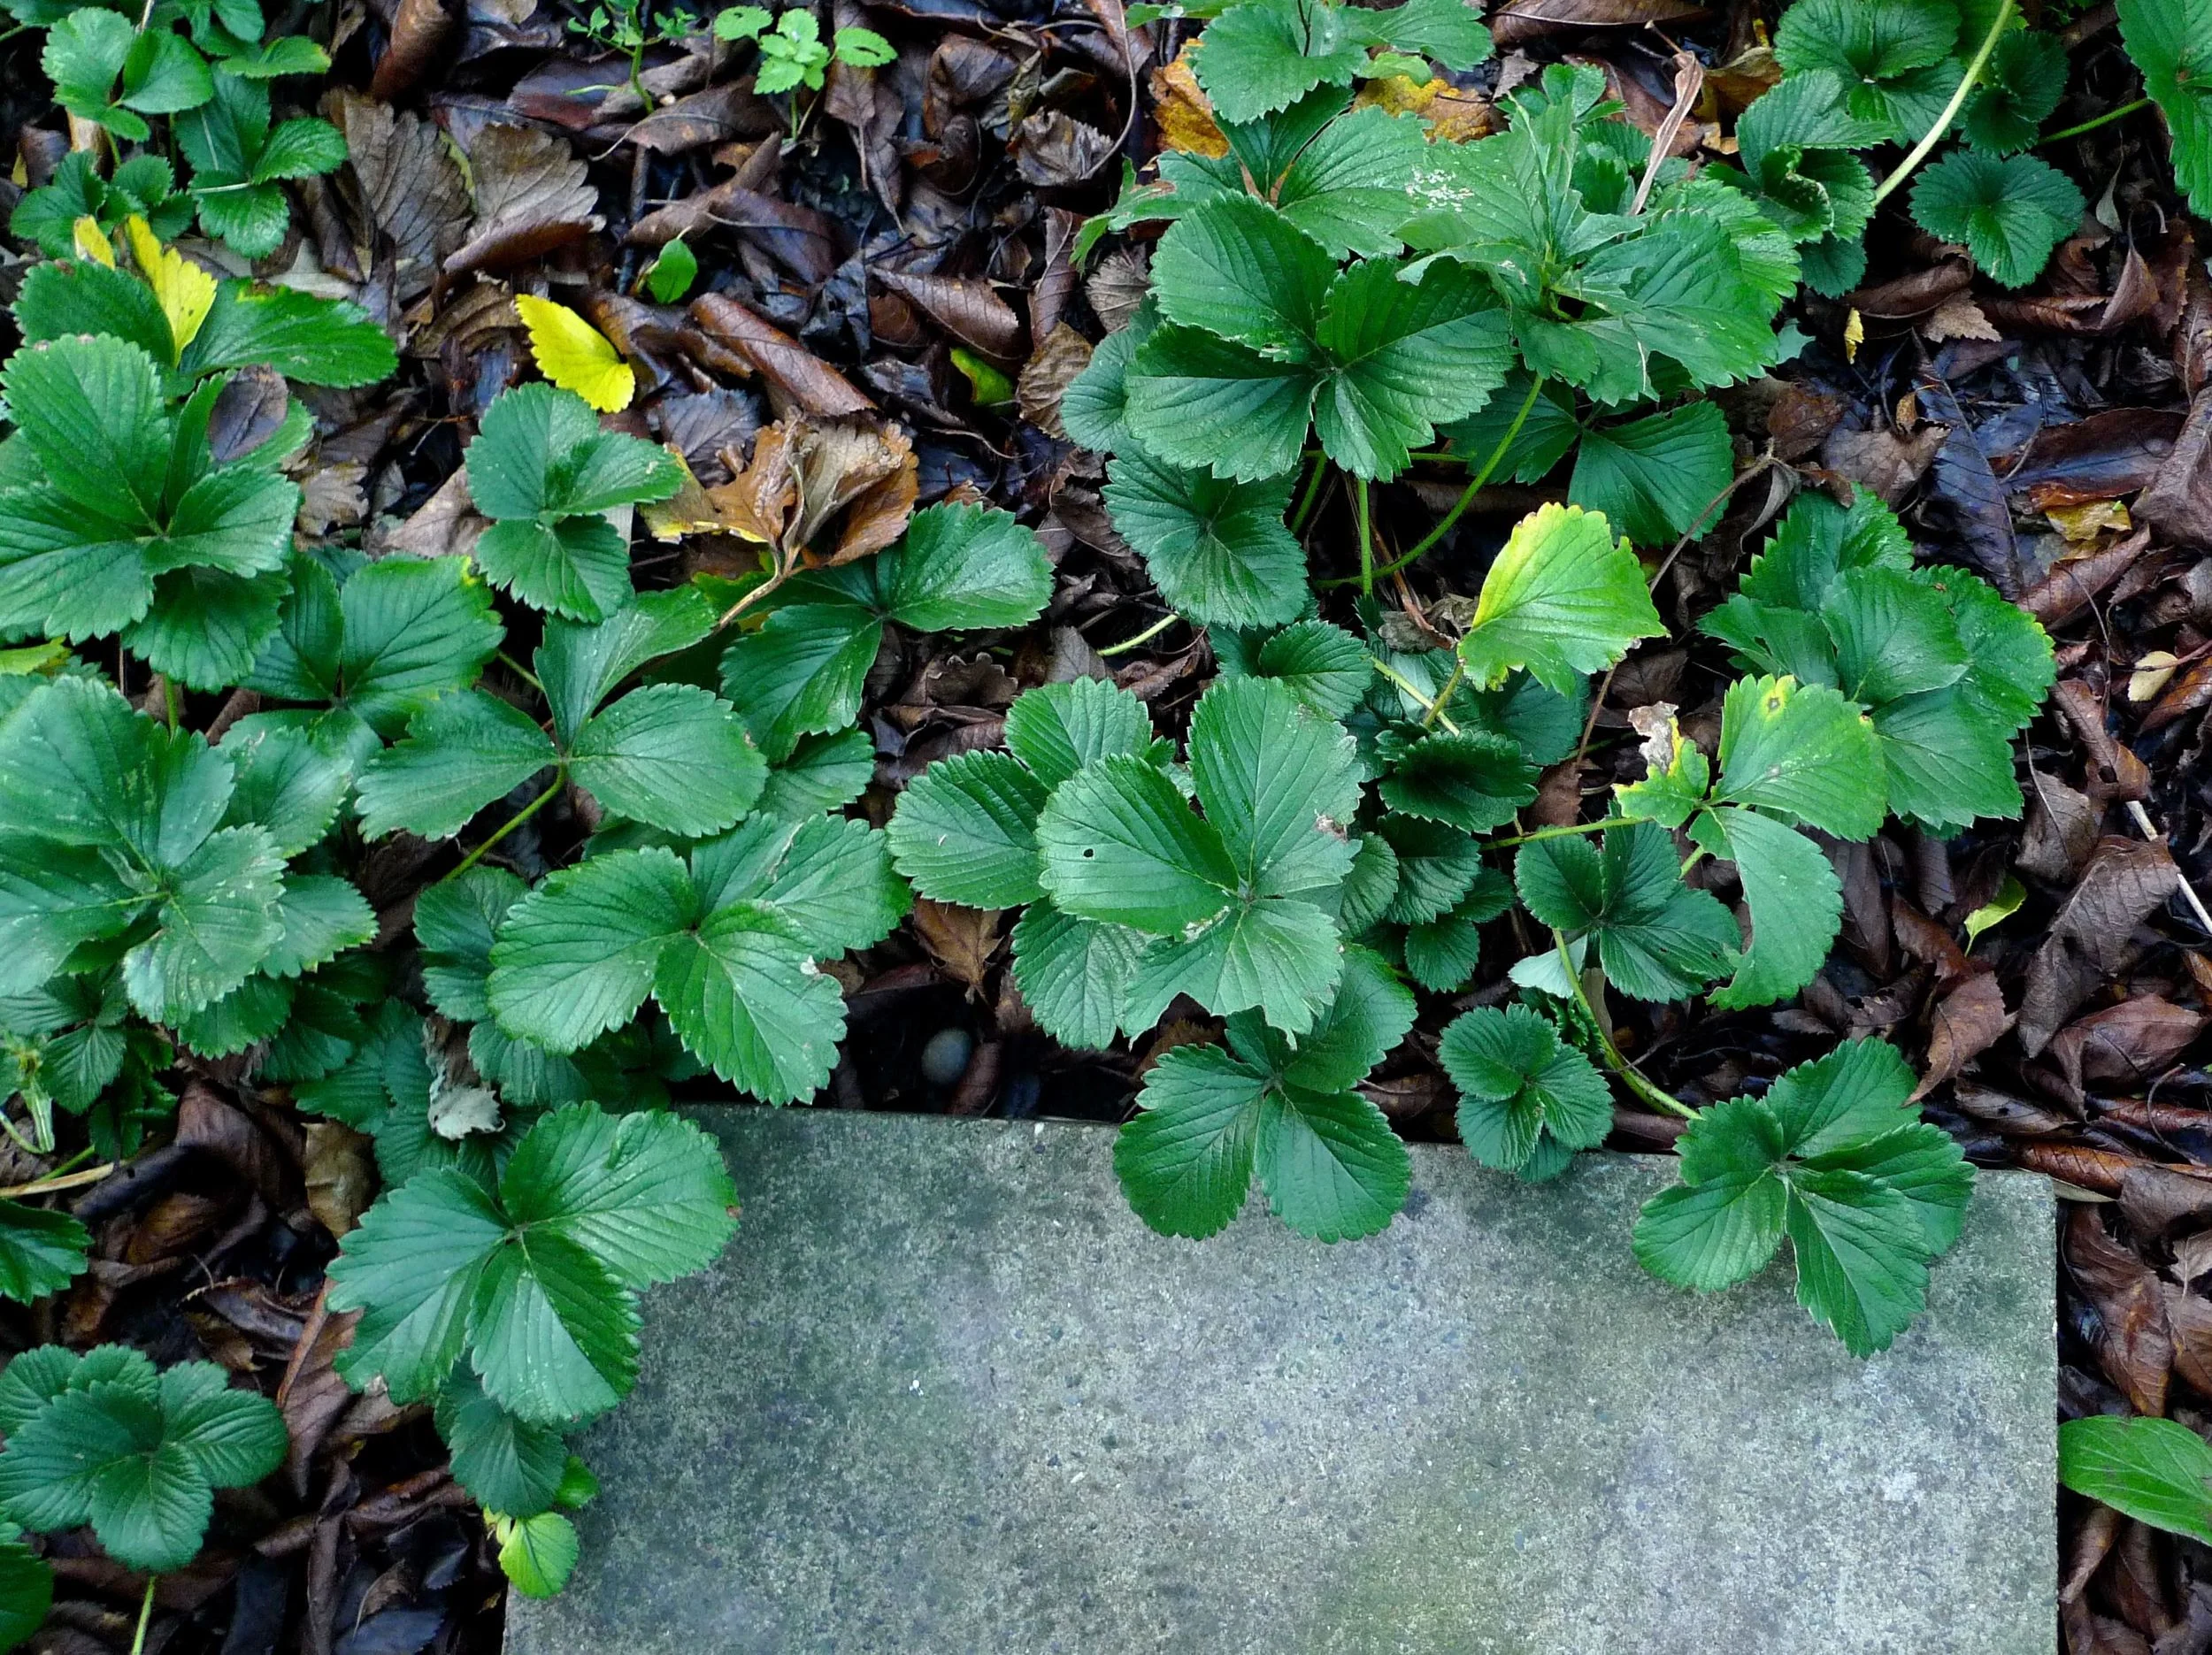
strawberriesandleaves.jpg

The strawberries are also doing well. They're harbouring even more leaves, perhaps they know they're destined for the allotment...

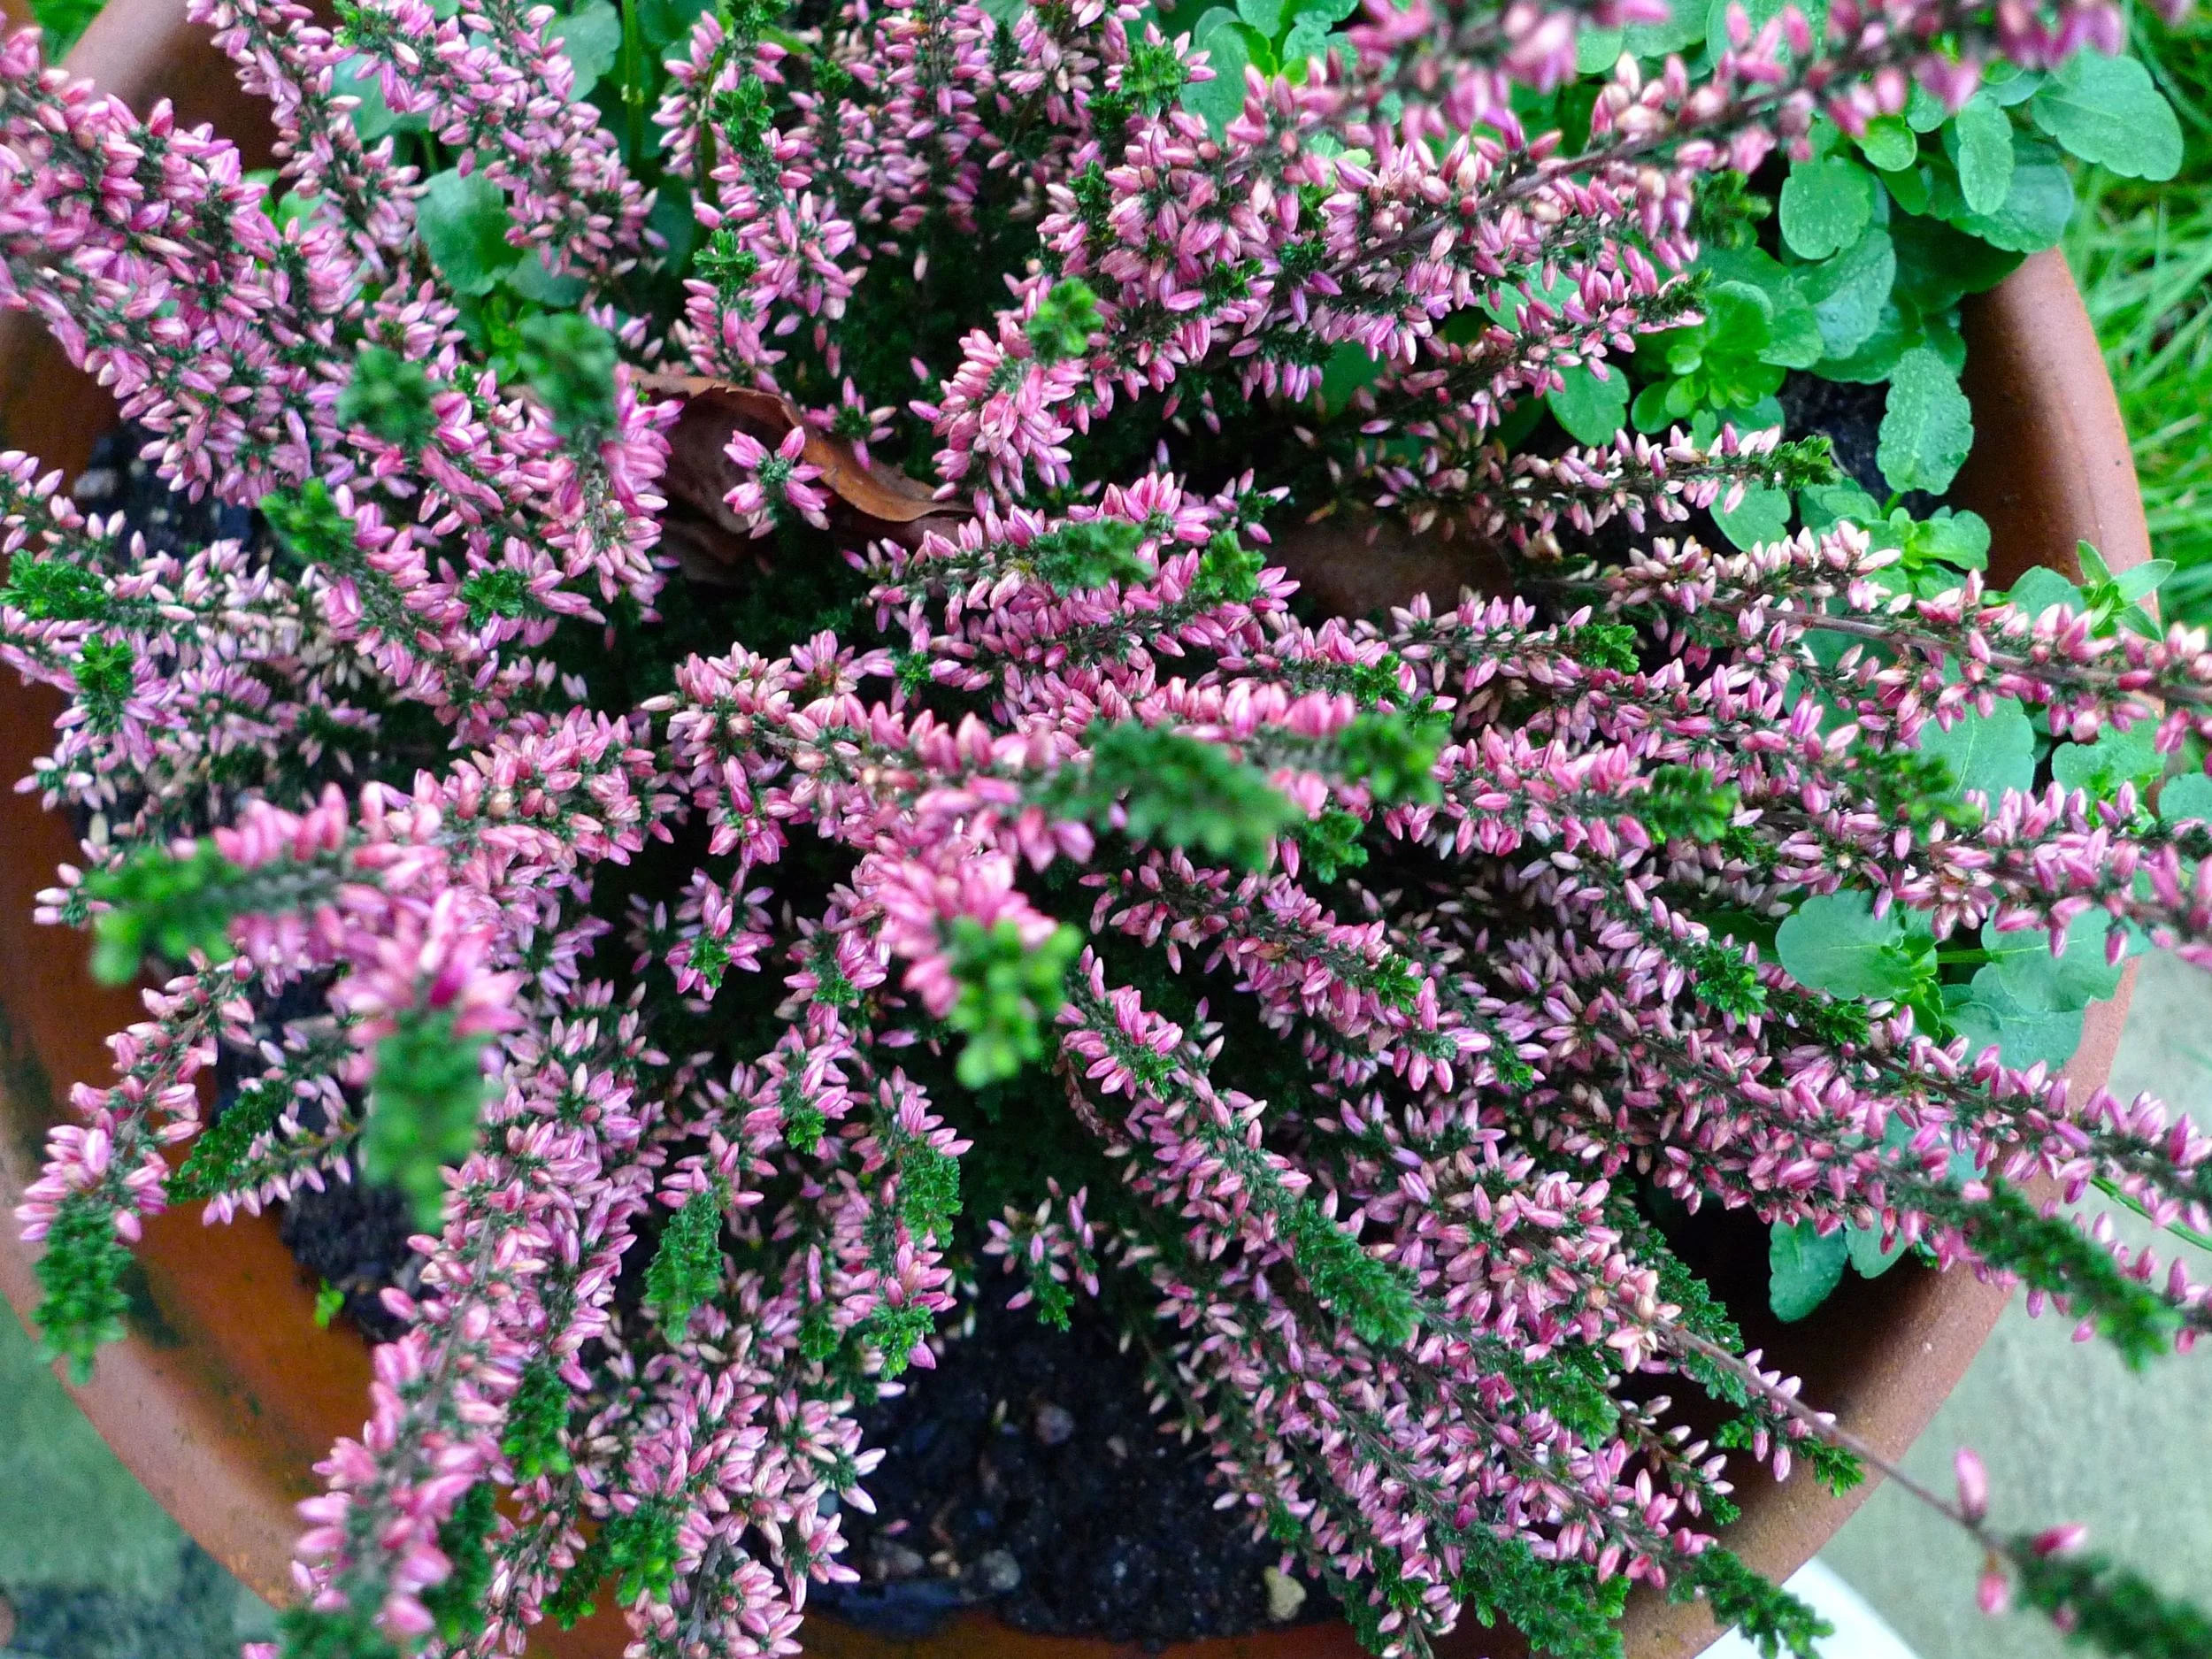
My new patio pots - which are still lodging at the far end of the garden - are doing well, the heather has grown and continues to add a burst of pink. But even they are harbouring leaves - I guess it's just that time of year!

heather.jpg
“TheGardenYear