So when they got in touch and asked if I wanted to get involved by choosing a day and making my own version of their prompt, of course I said yes. So by now you'll have worked out that I chose day 14 and gorgeous gift tags.
So let's get started.
You'll need:
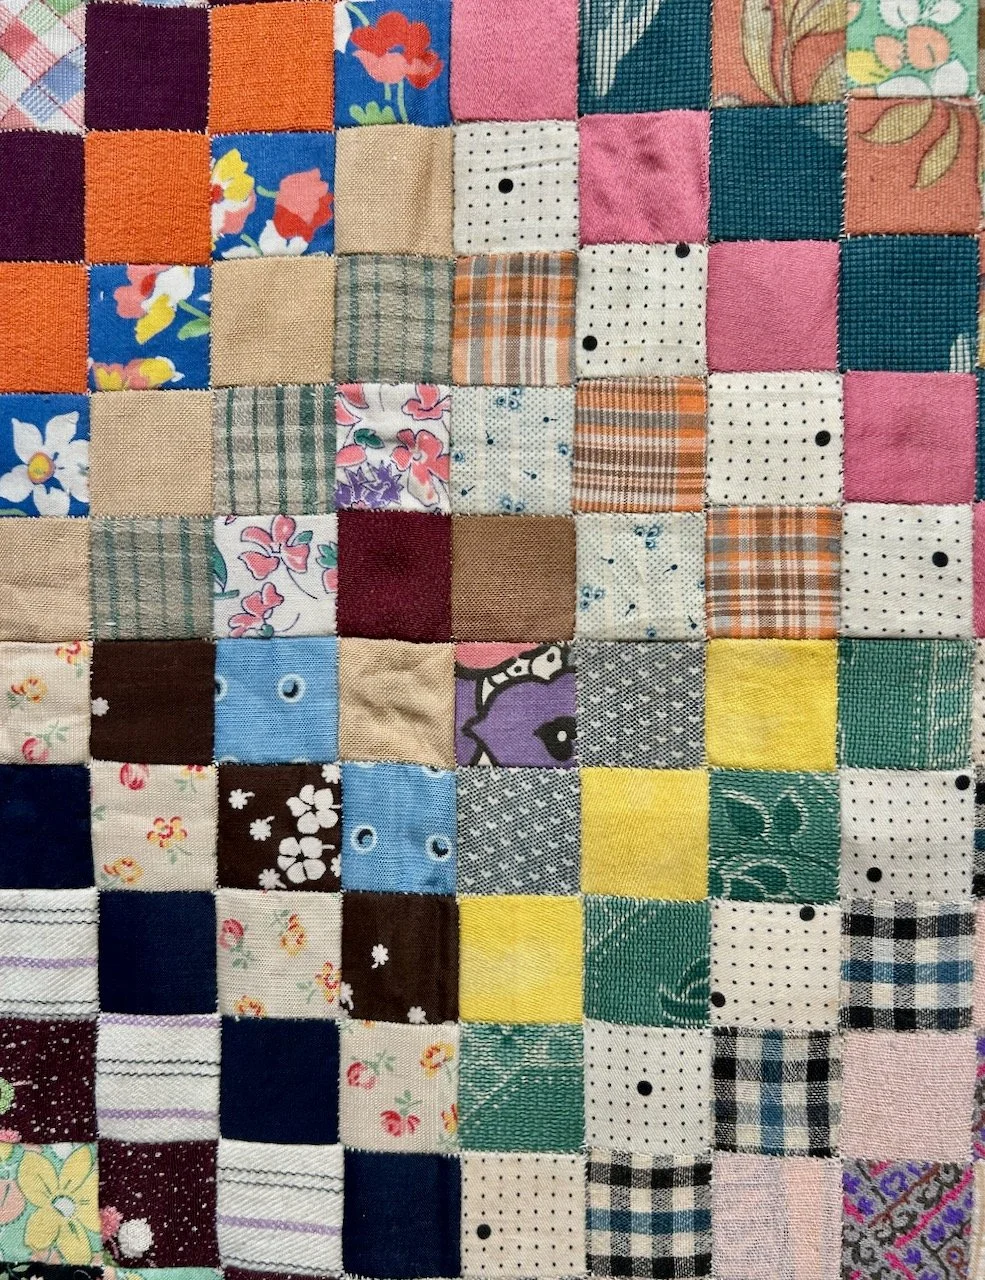
- material squares in Christmas fabrics, my squares are two inches
- plain gift tags, or card and twine to make your own
- pins
- needle & thread
- scissors
- glittery or glitzy embellishments
- buttons
.
Inspired by my mum and the decorative additions she'd added to a new bag she'd made I decided to try my hand at Kanzashi. Yes exactly, I'd not heard of it before either - but mum assured me it was easy. It certainly looked impressive so I was in.
Kanzashi are decorative hair ornaments used in Japanese hairstyles and often worn by brides and geisha in tea ceremonies. The folded fabric flower kanzashi is just one type and that's what I'm going to add to my gift tag to make it gorgeous. I'm going to embellish them with some glitzy trimmings and then add a button as the flower centre.
That's the plan anyway!
To make the kanzashi
1. Each of our two inch squares will make one petal. Take one of the squares and fold in in half diagonally and then fold the corners down towards your hand.
2. Turn your folded fabric over and fold both tips of the "side" corners to the centre, see below.
3. Now add a pin through the folds.
4. Repeat the steps above to make as many petals as you need. The finished flower will be approximately the same size as the squares you started with, so in this case two inches. For this size I found seven petals worked best, but you can choose if you add more, or less.
5. When you have the number of petals you need, trim each petal to remove the "bulk" of the material at the non-folded end.
6. Ensuring all of your petals face the same way, thread them onto a length of cotton leaving both ends of the thread long.
7. Pull the thread tight so the petals come together and form a circle, then knot the thread. I added a few stitches to keep the petals where I wanted them.
8. Next I took some glitzy fabric trimmings and cut a length of about two inches. For each I sewed a loose running stitch on one edge and once again pulled that tight to form a rosette and attached it to the kanzashi. I added a button in the centre, which not only finishes the flower, but it also covers my sewing.
For the first gift tag I used a spotted craft button and omitted the glitzy trimming, for the other two gift tags I used an old shirt button. Then I replaced the gift tag string with a beaded string.
I'm rather pleased with my gorgeous gift tags, what do you think?
With thanks to Prestigious Textiles for the challenge and for the Christmas fabrics.


