Post Comment Love 12 - 14 September

Hello there, and welcome to this week’s #PoCoLo - a relaxed, friendly linky which I co-host with Suzanne, where you can link any blog post published in the last week. We know you’ll find some great posts to read, and maybe some new-to-you blogs too, so do pop over and visit some of the posts linked, comment and share some of that love.

Please don’t link up posts which are older as they will be removed, and if you see older posts are linked then please don’t feel that it’s necessary to comment on those. If you were here last week it was great to have you along, if you’re new here we’re pleased you’ve joined us.

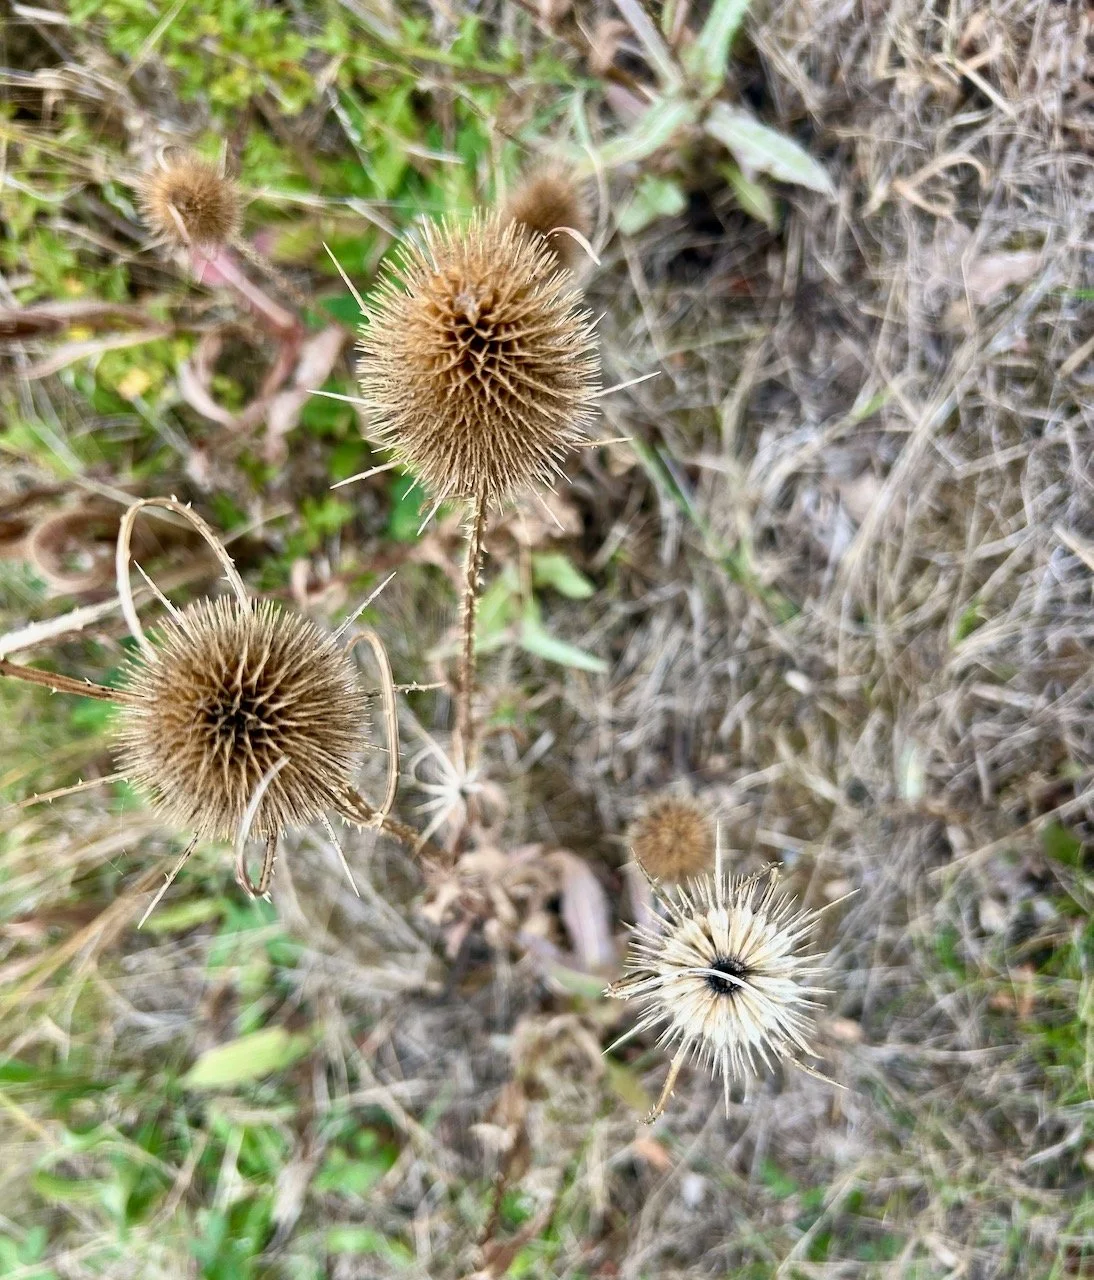
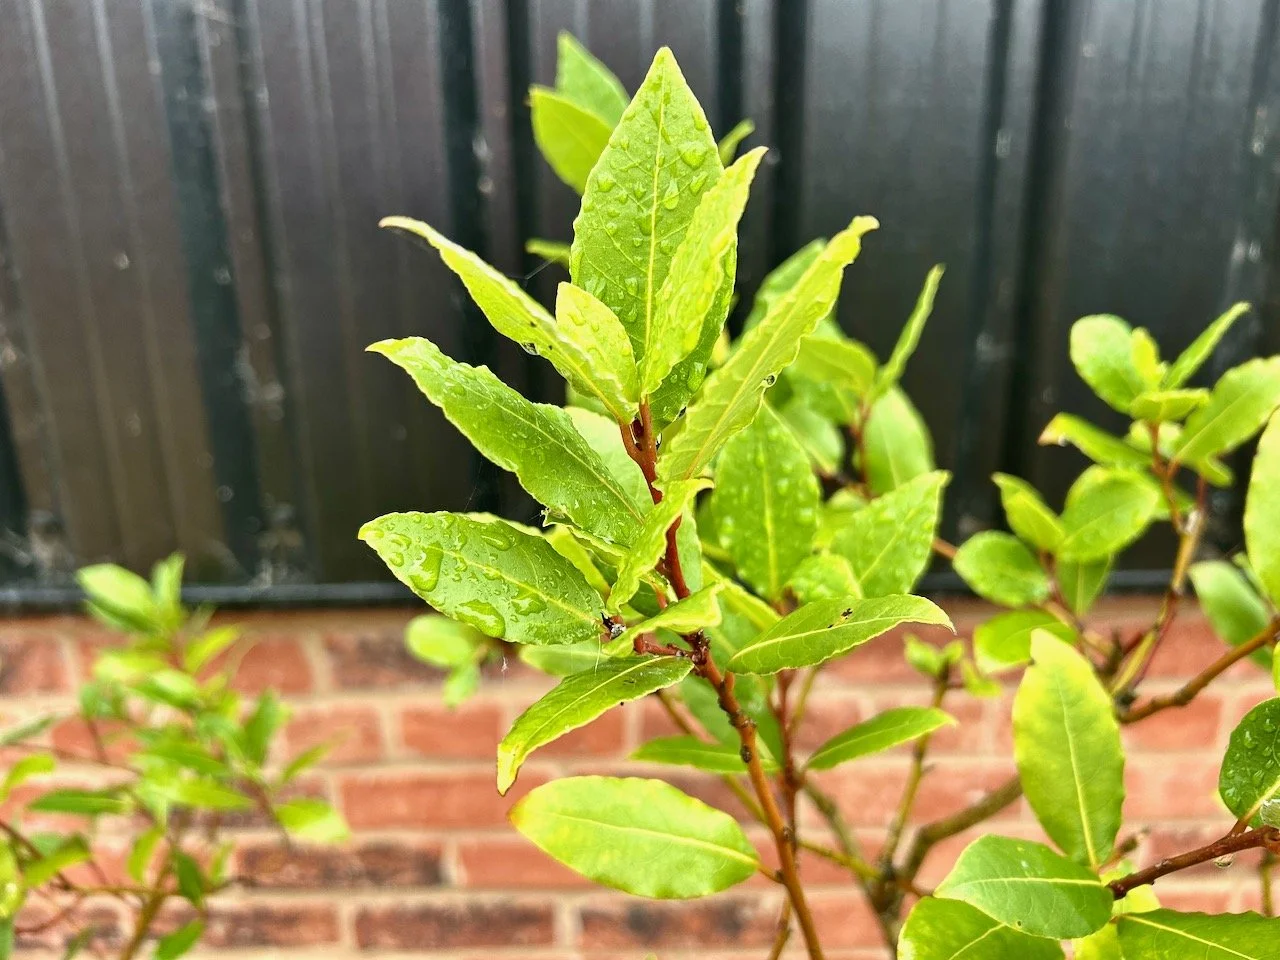
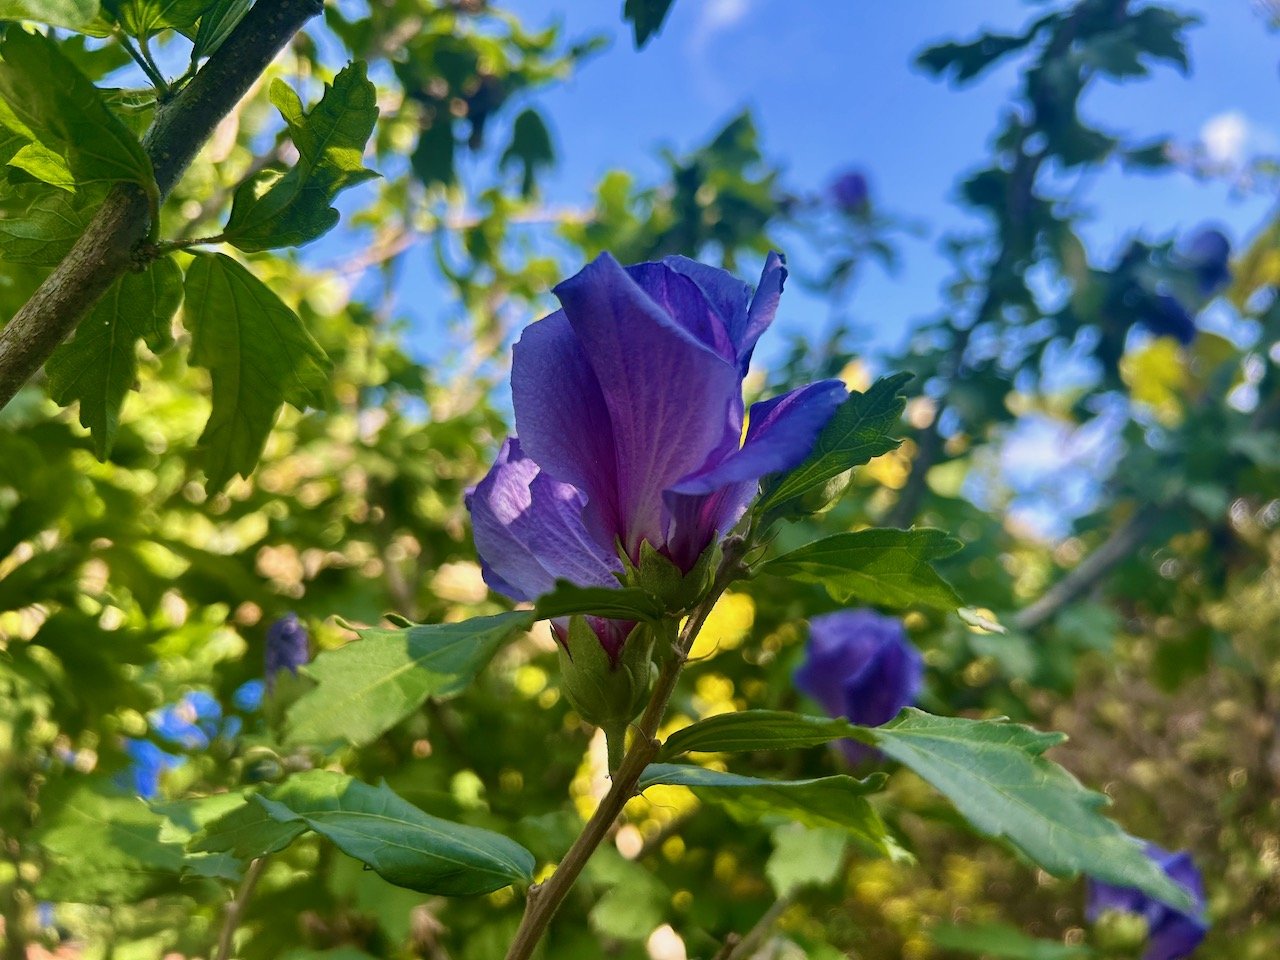
There’s definitely been an autumnal feel at times this week, and then just as quick it’s almost like summer again. Though we have at last had a decent amount of rain, which I know the farmers around us are thankful for.

We’ve had another relatively easy week, but with those hints of autumns there’s also been roast dinners and long slow cooks, which I’m not sad about at all. I know people say they have favourite seasons, but I think one of my favourite things about seasons is when one switches to another - especially winter to spring, and then summer to autumn.

Have a great week.

spiky teasels growing by the roadside

You are invited to the Inlinkz link party!

Click here to enter

Planting my new olive tree

I shared the start and end of this in my August garden update, but as you’d imagine there was a bit more to it than just filling the pot and popping in the plant.

We’d seen the pot when we were at Grand Designs back in May. We weren’t looking for a pot, but there was something about it, as well as the show price and free delivery, that had us hooked. I always knew that if we bought the new large pot, then it would be going on the far corner of our patio and I just needed to convince MOH it would look fine there.

Lots of pots and pots on display at Grand Designs Live at Excel

Pot delivered, now for the tree

When it arrived and we’d stripped its wrapping off, the first thing we did was to see it in situ. Thankfully it worked just as well as I hoped it was, and MOH was convinced. The second thing we did was carry the pot back to the garage where it stayed for a while, while we sourced the right sized, right shaped and as importantly right priced olive tree.

I didn’t want something so small it was lost in the pot, but equally I didn’t want something that was too large - a real goldilocks tale! So we had a tour of a few garden centres near us to check out the olive trees, and they had a lot. Again we hadn’t intended to buy one straight away as we knew we were going to some garden shows, and well, there’s always a deal to be done at a garden show isn’t there?

But we found the right sized tree for the right price at the second garden centre we visited. And £32 later and yet more convincing MOH it would work we were back home with our new tree. Which of course we left in its garden centre pot for a good couple of months…

The chosen olive tree's position alongside our garage

Sourcing the soil

It’s a large pot to fill, and just as I’m running out of pots I also don’t have much spare soil in this garden. I didn’t want to use all new compost as I wanted the pot to have even just the smallest part of our local eco-system. I asked in our village Facebook group if anyone had any soil they wanted to get rid of, but no joy.

I knew I’d need to add drainage to the pot, and plenty of it but I didn’t want to add rocks and weight to the pot. I’ve used polystyrene seed trays before in pots, so I thought using larger blocks would work here. I was kicking myself though as we hadn’t that long ago had a purge of the polystyrene that we had, but never mind. So I also asked in the group if anyone had any of those chunky polystyrene blocks, but I didn’t get much joy from that request either.

However while out walking around the villages lanes I did find a large chunk of polystyrene blowing along so I brought that home and stored that for a while. In the end though over the summer we had some more deliveries which included enough hefty chunks of polystyrene that we could use.

But we were no further forward on the soil.

Or not much anyway. With my tomatoes finishing relatively early this year I had two pots of soil that I was sure would have a relatively active eco-system, and so they were earmarked for the big pot - but I would need more.

In the end we bought some compost for trees and large shrubs and some bags of topsoil, and used a mixture of these along with the tomato pot soil and a very large helping of horticultural grit, again to help drainage. It makes sense that olive trees don’t like soggy roots doesn’t it, when you think about the countries they grow.

Actually planting the thing!

There might have been more than one or two suggestions from MOH about when the thing would actually get planted, and get that large pot out of the garage. So with a morning free and time to potter about, it was time.

But before anything went in the pot I wanted to get some pot feet stuck on the bottom. I’ve used these round silicone feet (from Amazon) wedged under our other pots and they’ve done well. As this pot won’t be moved that often, and will be heavy, I didn’t want to have to faff about getting the pot feet in the right place if we do move it. I used PVA glue to stick these in place, and before long we were good to turn the pot the right way up.

The new large pot upside down with four black pot feet stuck on

I had help adding the polystyrene blocks for drainage - we found sawing them into smaller chunks was the most efficient way to break them down.

MOH sawing blocks of polystyrene into the large pot for drainage

And then before any soil was added, it was time for a quick position check.

Looking across the patio to the large pot in its corner - checking the position is right

Yeap, all good so in went the soil from the tomato pots, two bags of tree/shrub compost and a bag of horticultural grit, which I forked through the soil using my original ‘ladies’ gardening fork. This was my first (and only as it’s still going strong) garden fork from Homebase, which I bought along with a small spade when I got my first house (and garden) back in 1992.

The large pot partly filled with compost and horticultural grit - with a garden fork stuck in the contents

After firming the soil down, I gave the pot a good water and left the soil to settle for a day or too. it didn’t change the level much at all, but that itself was good to know.

It really was finally time

While giving the olive tree a good soak in a trug of water, we added a couple of bags of topsoil and more horticultural grit to the large pot, making an hole for the tree in its centre by standing the olive tree in its pot, in the new pot at the level we wanted to plant it. I’ve seen this done before by Monty Don and co, but have never really done it myself.

Placing the olive in its pot in the large pot to get the level correct

It worked well, as removing the potted olive tree left the right sized hole. So all that was left to do was to get the olive tree out of its pot, and pot it in the ready made hole.

The olive pot sized hole once the plant was removed

And then, after checking it was straight enough from all angles and adding some decorative grit on the top to deter weeds, we could sit back and admire our new olive tree in the large pot.

Looking back across the patio to the pot now complete with olive tree

I think it works well. And with a couple of olives on it already this month, I think it’s happy in its new home too.

A couple of tiny green olives on the lower branches of our tree

We’ll need to give it some protection over winter, but I have some garden fleece in the garage I can use for that. I’ll probably also add some bubble wrap to the pot, as while it’s frost proof, olives don’t like their roots frozen which is fair enough really, I wouldn’t either.

Caring for olive trees in pots

I’ve found the following pages useful, and if you’re thinking about adding an olive tree to your garden, or if you have one already, then you may too:

I’ve yet to get some seaweed feed for my olive, but it’s on my list for my next visit to the garden centre. I’m loving this new addition to our patio, and along with the garden sofa and the pots I’ve started to place around the garden it’s really feeling like we’re starting to ‘own’ our garden.

I’m sure there’s much more to come though, but that’s all for another day.

Making my Mystery Block of the Month: July 2025

You’ll have seen that I plan to complete Sherri’s mystery block a month quilt and in my last post I shared the test blocks which I made into my ninth charity quilt, today I’m sharing the centre block I made for my own quilt.

I’m still behind where I thought I would be on this, but - life - and I’m ok with that.

This month’s block is a churn dash, and it’s my first. There were definitely some lessons in the four test blocks I shared yesterday. I much prefer the corner triangles to be dark, and for the central square to be light, and so I kept that in mind when selecting the fabrics.

It’s not a ‘star’ month so I had some freedom to choose which colours I wanted to use this month, and the rules by the way are ones that I’ve set myself to bring some more uniformity to my finished quilt - not that I know what that will look like at this point!

But anyway. I went with green.

The assembled 9 block elements to make up the central square

When I’m sewing these blocks I’m constantly checking the layout, and which of the green borders I should use - as well as which sides they need to be on. That hand drawn, scribbled plan has been so, so useful for the latter.

The central block with the first pale border on  and a green strip laid in place - alongside is the scribbled masterplan

I didn’t quite get the motif in the centre spot on, but I think that was possibly down to my cutting rather than my sewing. And in the scheme of the whole quilt, I’m not sure it’ll be noticeable.

My finished churn dash block in greens with the light borders top left and the green borders bottom right

But with the borders added, the photos taken and now the blog post shared this one is hanging in my craft room along with the six blocks that have come before.

The block is hanging on a skirt coathanger hanging from my bookcasse

I’m getting quite used to seeing them hanging on my bookcase, hopefully once all the blocks are made and sewn together I’ll get used to seeing it on a bed instead. Still a while to go yet, and I’m saving sharing the ‘quick peek at all the blocks together’ for a month or two more yet.

Next month it’s back to stars, so I know I’ll be using navy blue fabrics. I’m not sure yet though if I’ll need to add in some other colours to make the design work, so I’ll leave it there for now.

Join me next month to see how I get on with the next mystery block, and check out my previous posts for my mystery block quilt or the charity quilts made from the test blocks.