


I’ve made another quilt as part of my quilting ‘stretch’ project this time using the March block from Sherri at A Quilting Life’s mystery block a month. As I said then I don’t know if I’ll manage to make a quilt a month, but I won’t really know unless I try…
I’m glad that this block was relatively simple to put together as time has been more challenging this month, perhaps the warmer weather or something else, I’m not sure quite why, but I only finished it after a concerted push last night…
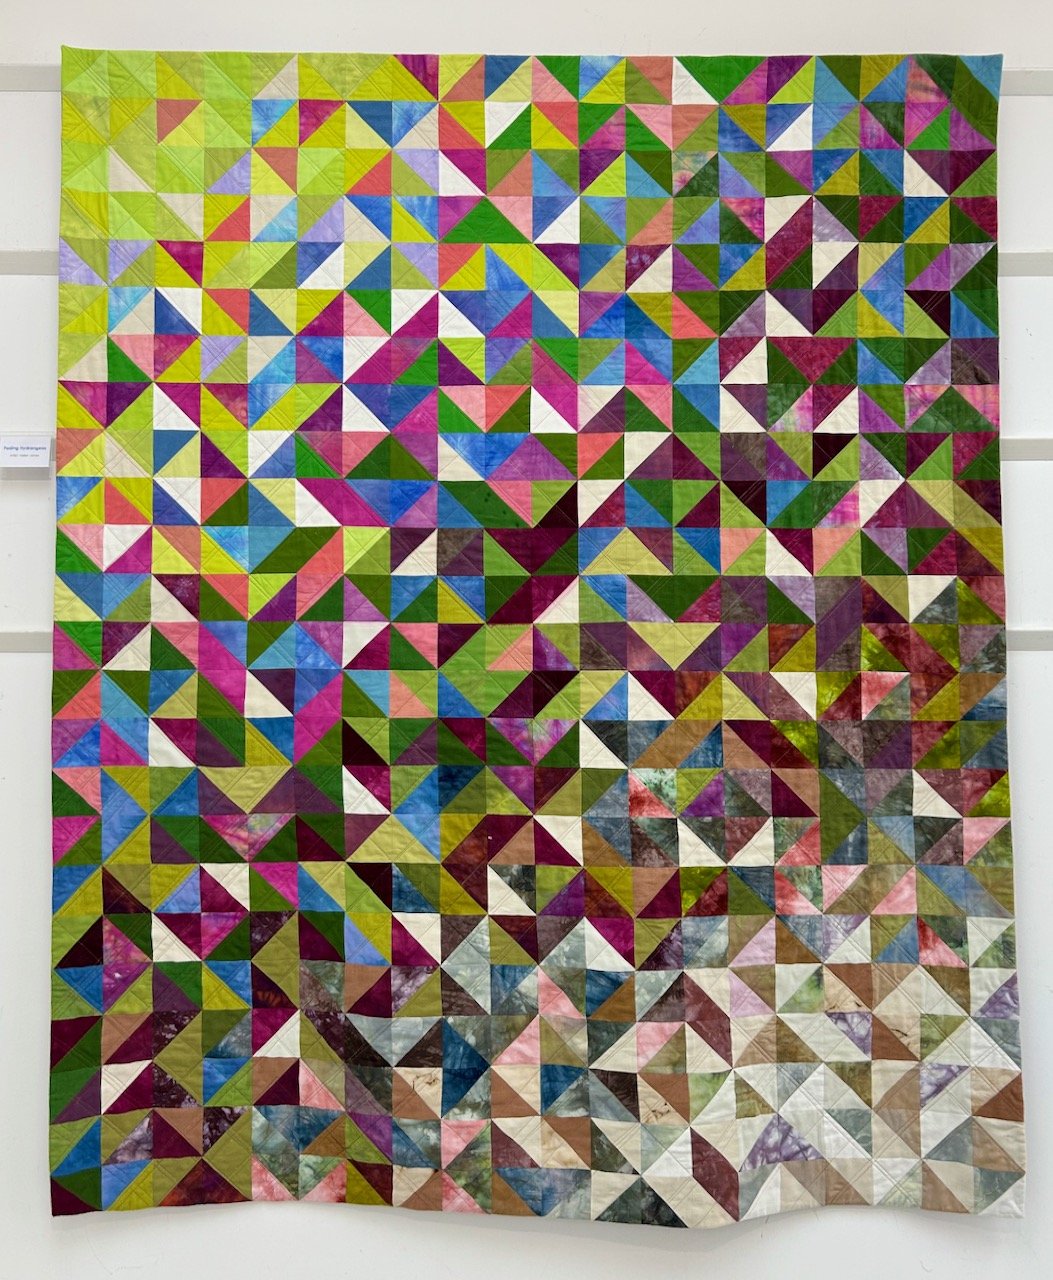
My fifth donation quilt
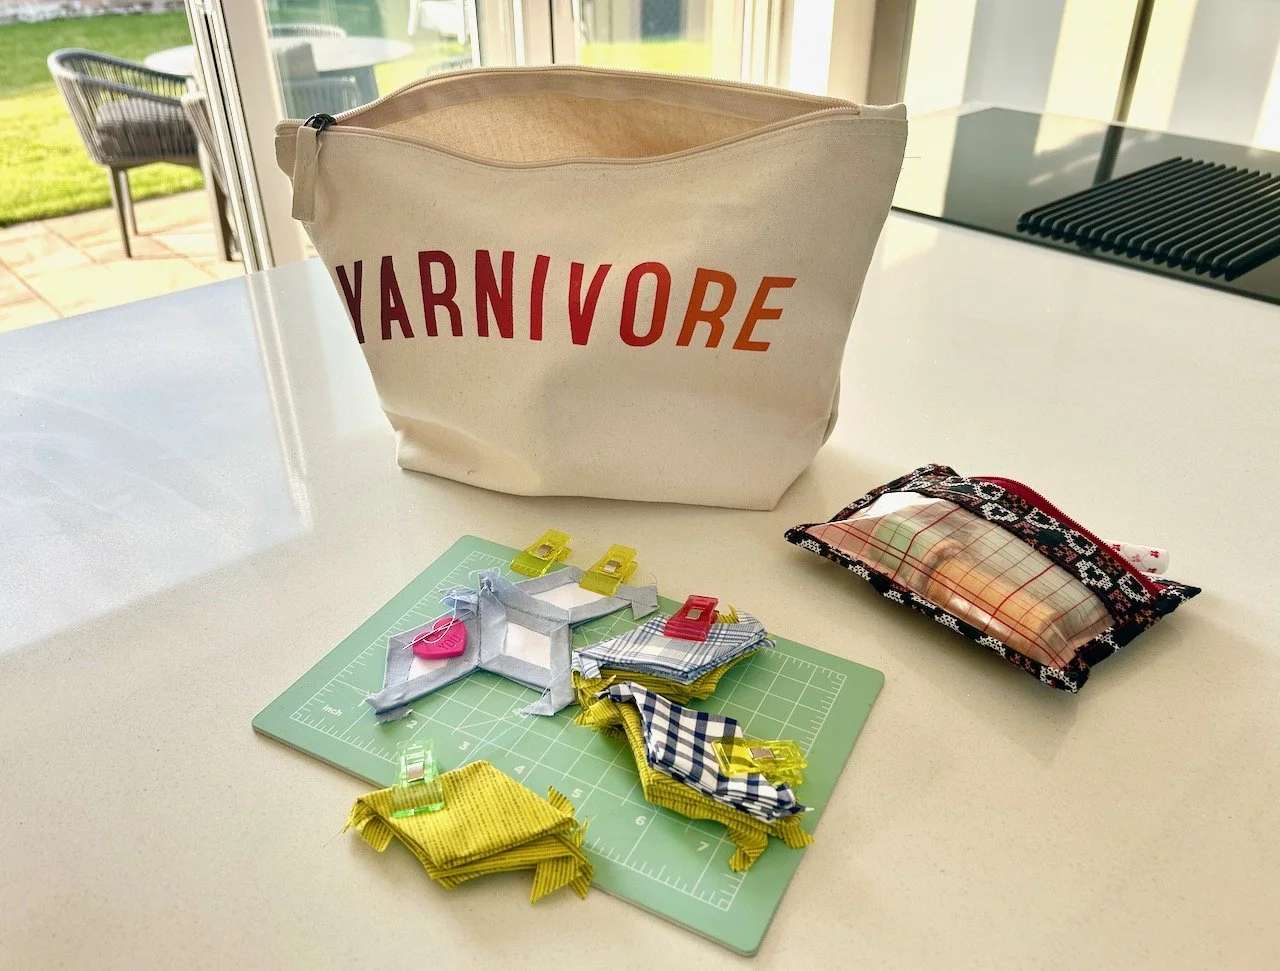
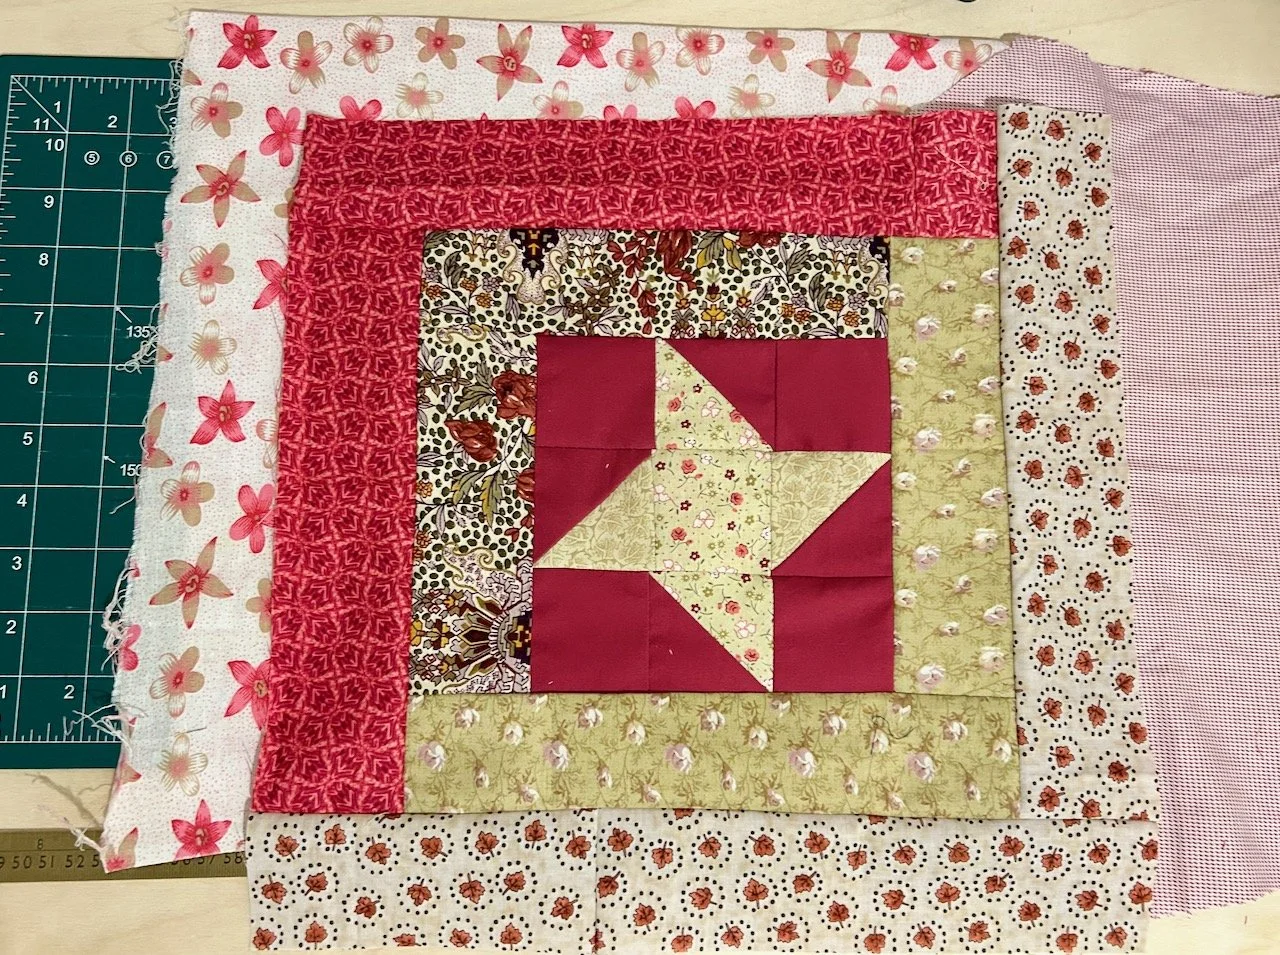
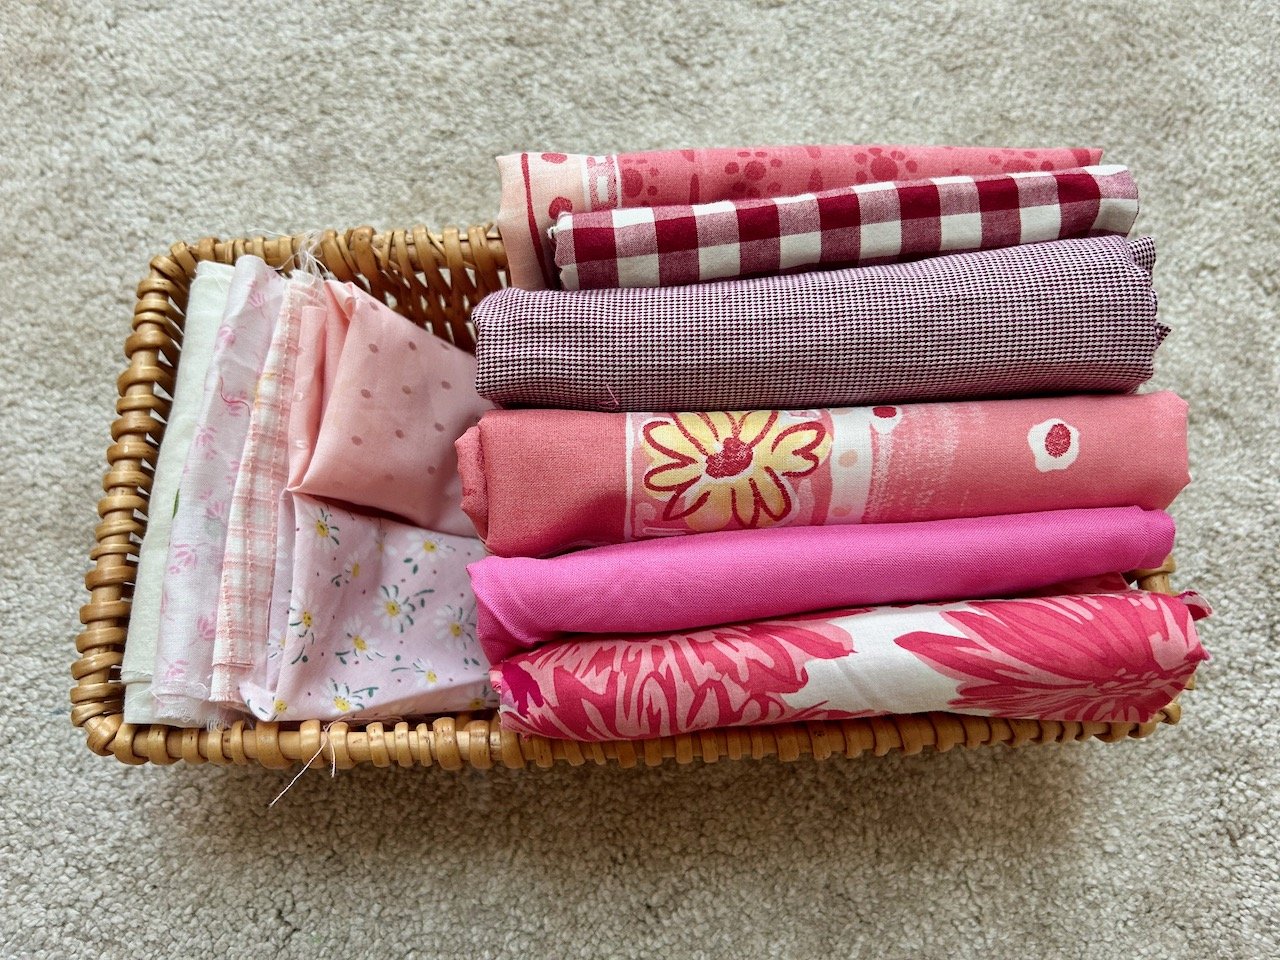
As soon as I saw the centre block was a heart I knew that I’d be using pinks from my stash - but which ones! The pile of pinks on the right of this basket are (from top to bottom) from an old quilt cover, two old shirts, the old quilt cover again, a mystery plain pink and remnants of a much loved Boden sundress. I’ve no recollection of where the plain pink material has come from so perhaps it was part of a mystery bundle I picked up somewhere.
The paler pinks which I’m using for the hearts are likely to be much older and acquired at some point from mum’s stash, and the paler background is from the lining of the sundress. As you’ll see as this post progresses I also added some grey zigzagged material from an old duvet, which was also the backing on last month’s quilt.
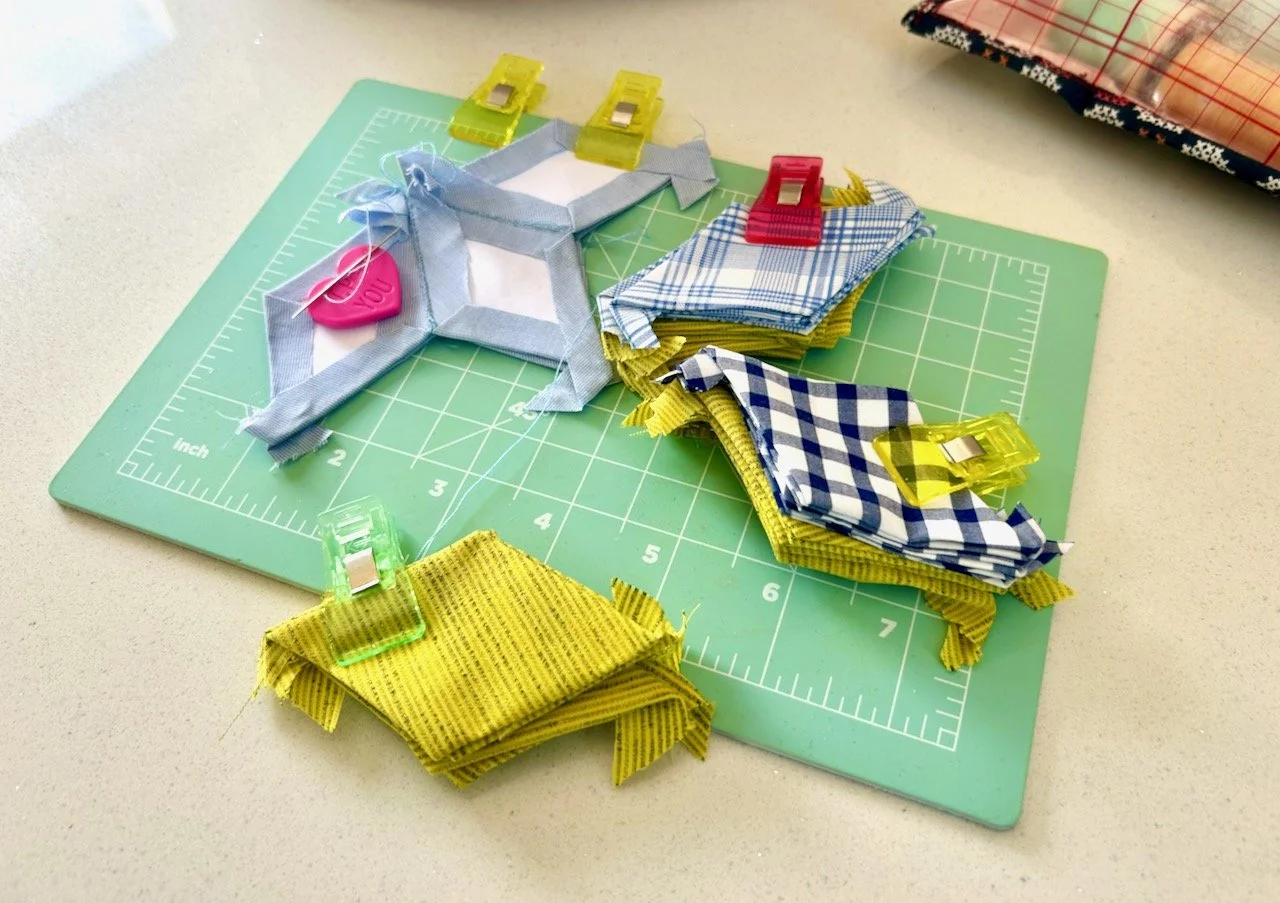
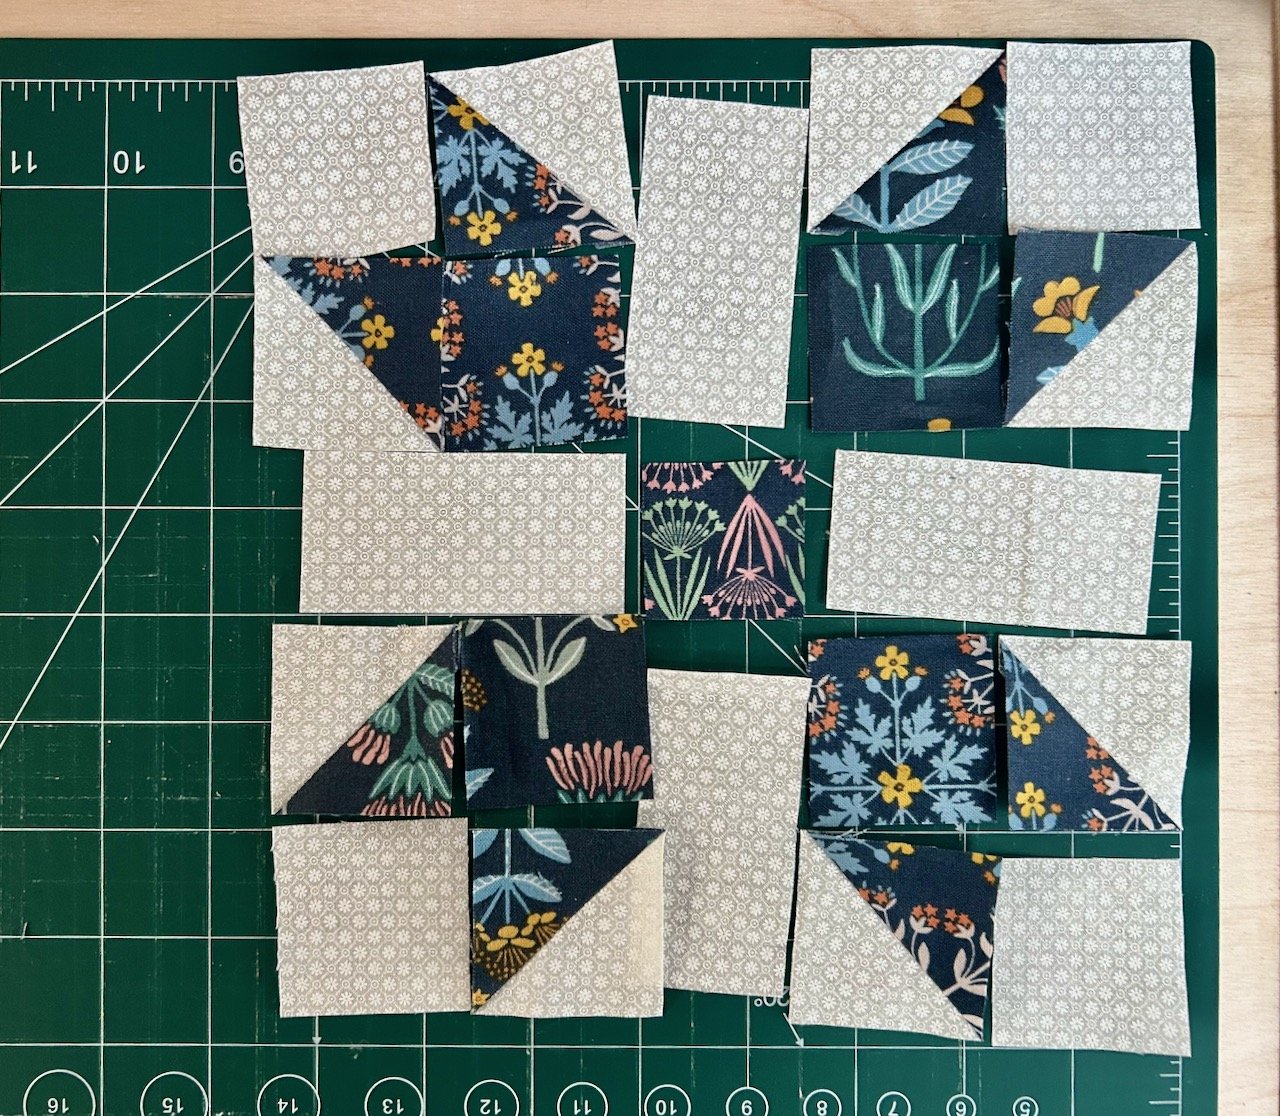
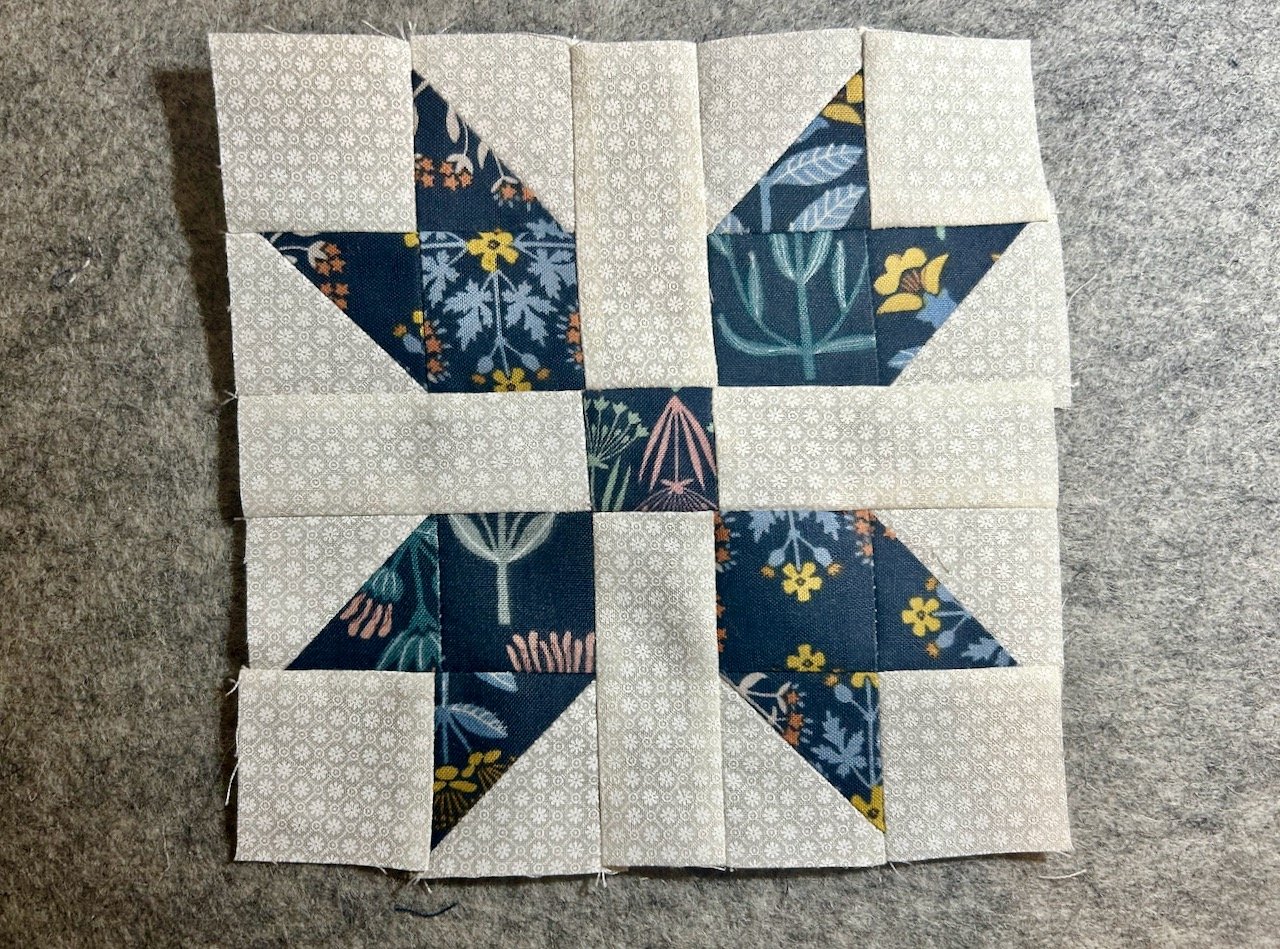
Testing the block
As you know I’m making test blocks ahead of making the block for my mystery block of the month quilt and I’m making these blocks into quilts of their own. And this block has relatively few pieces compared to last month’s vintage star block, and was therefore much easier to put together, phew.

The part that required the most concentration was not to cut the wrong side of the sewn line, but I managed that successfully each time - and tbh it really wasn’t that hard, but that was the potential stumbling block (no pun intended) this month.
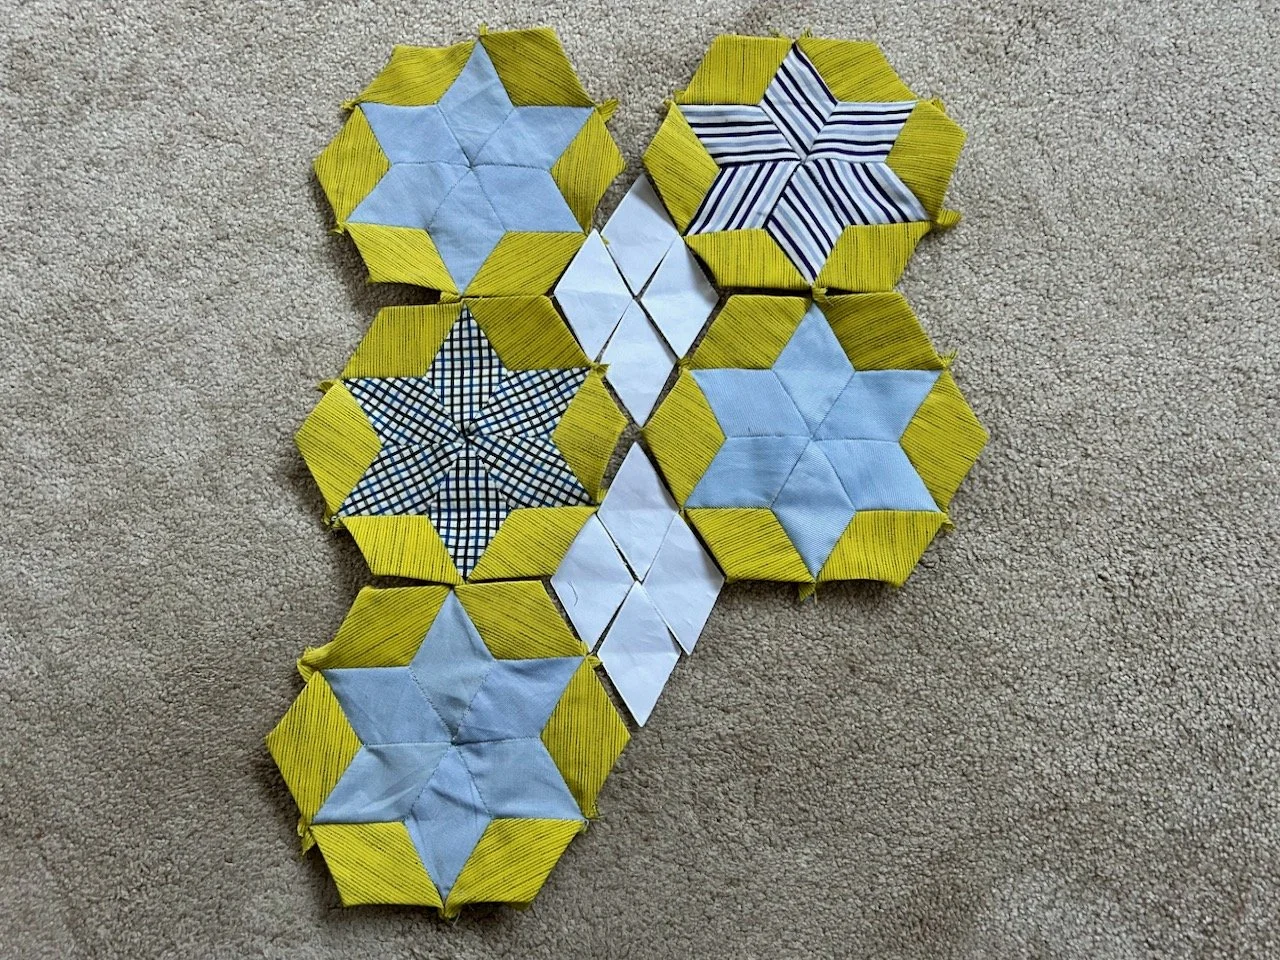
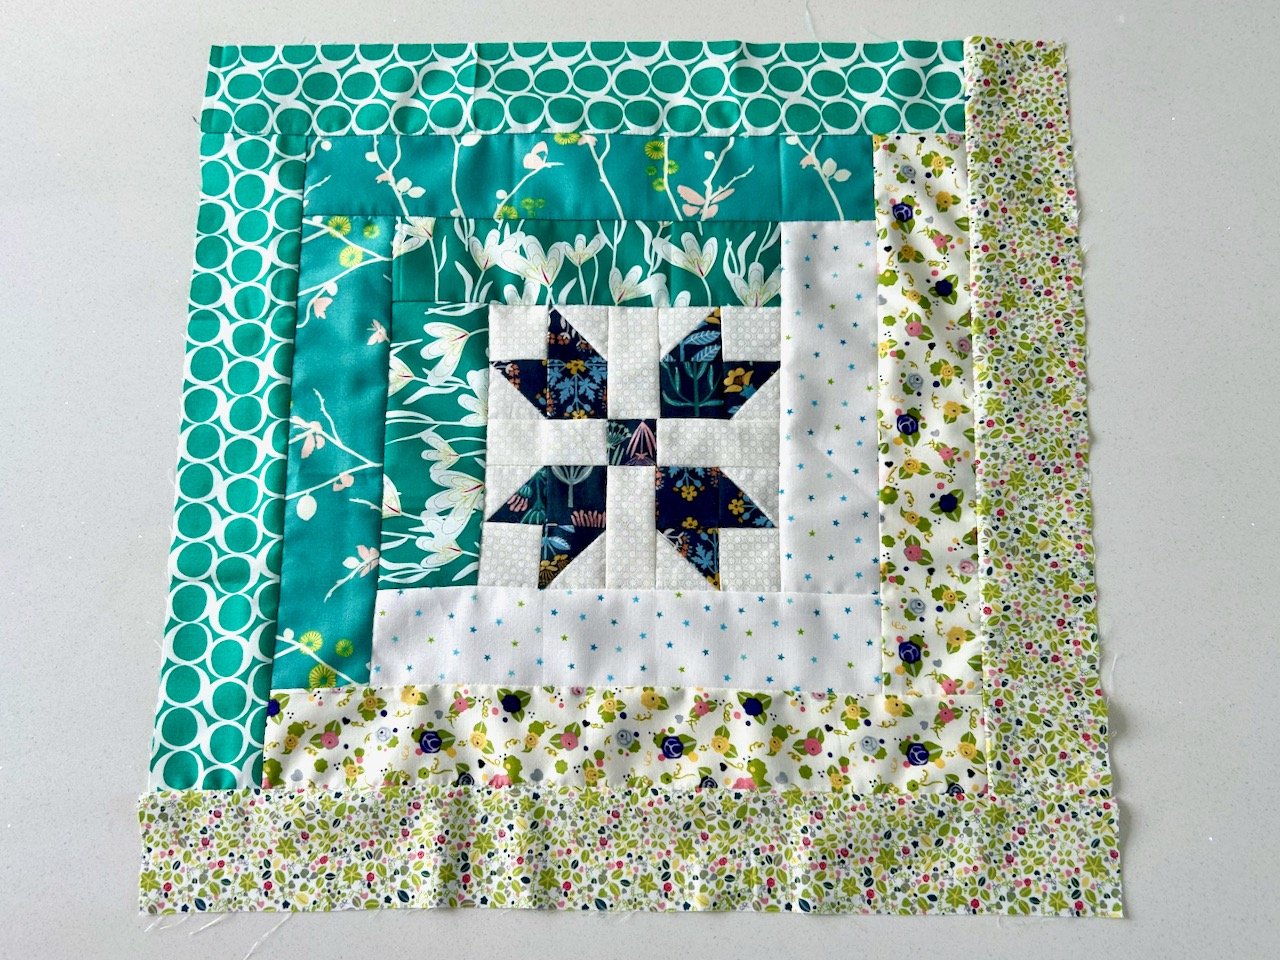
And in no time at all I’d added borders to the hearts, and joined the blocks together.
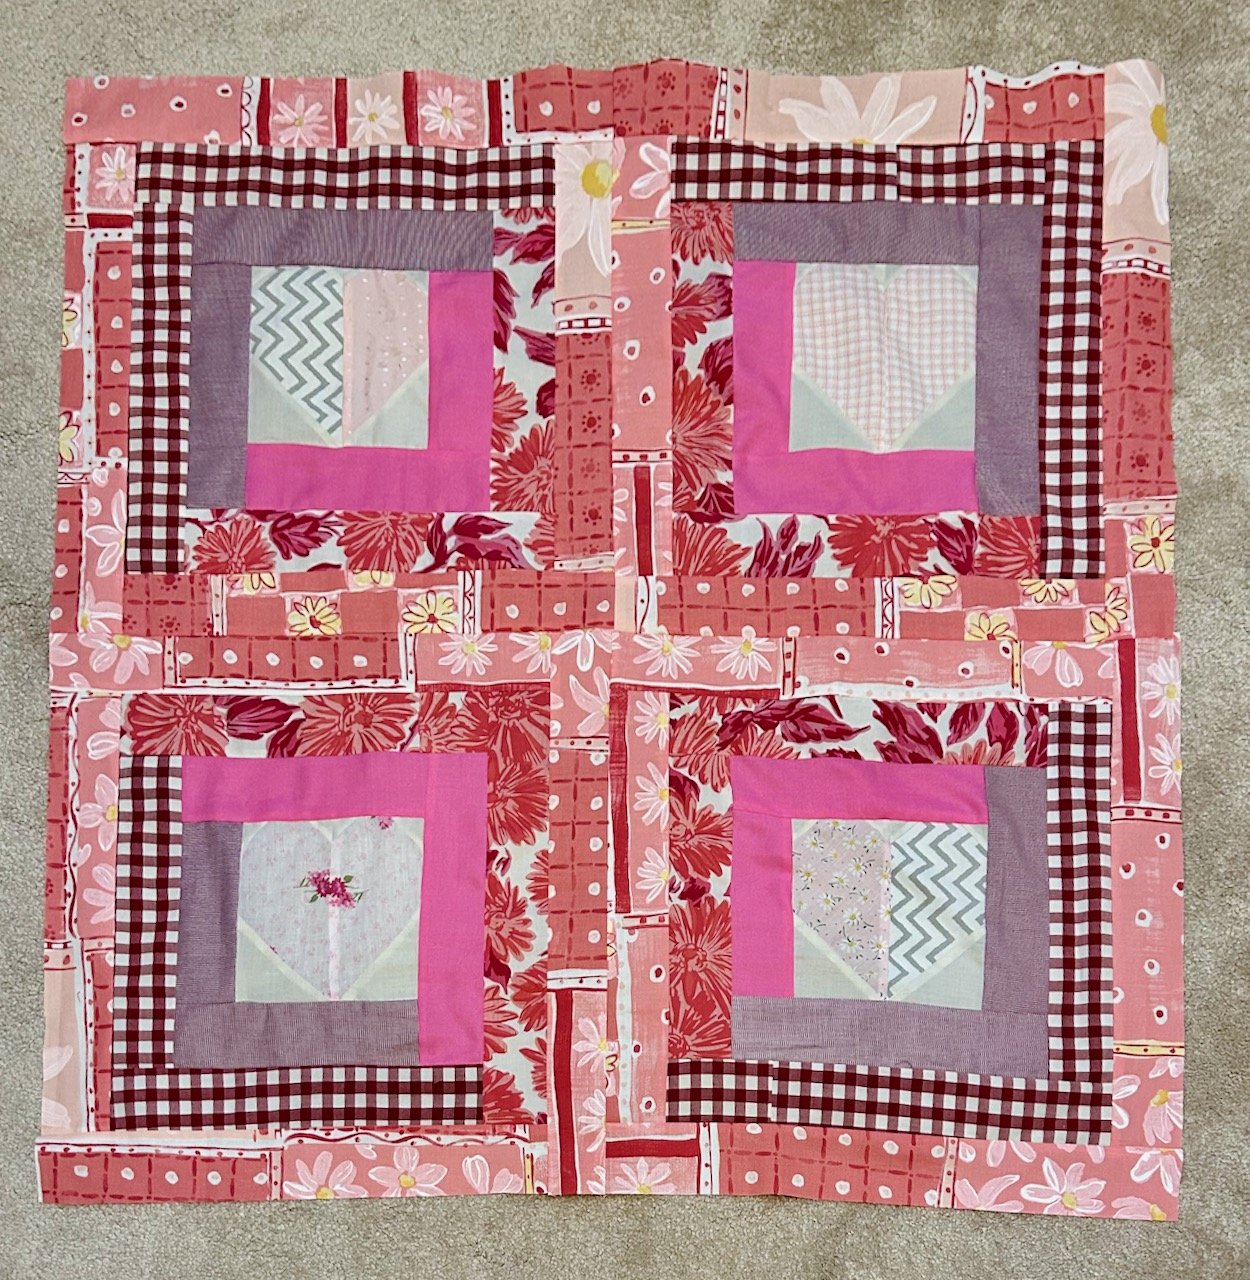
But I felt it wasn’t quite there yet, so left it overnight mulling over which fabrics to use for the borders. In the end I decided on a thinner red checked border before adding more of the multi-patterned pink material from the old duvet cover. I think it needed the bold checked thin border to make it work. I also knew that it needed the stripes to match as best they could to avoid it looking messy.

And with a little bit of luck that worked out.
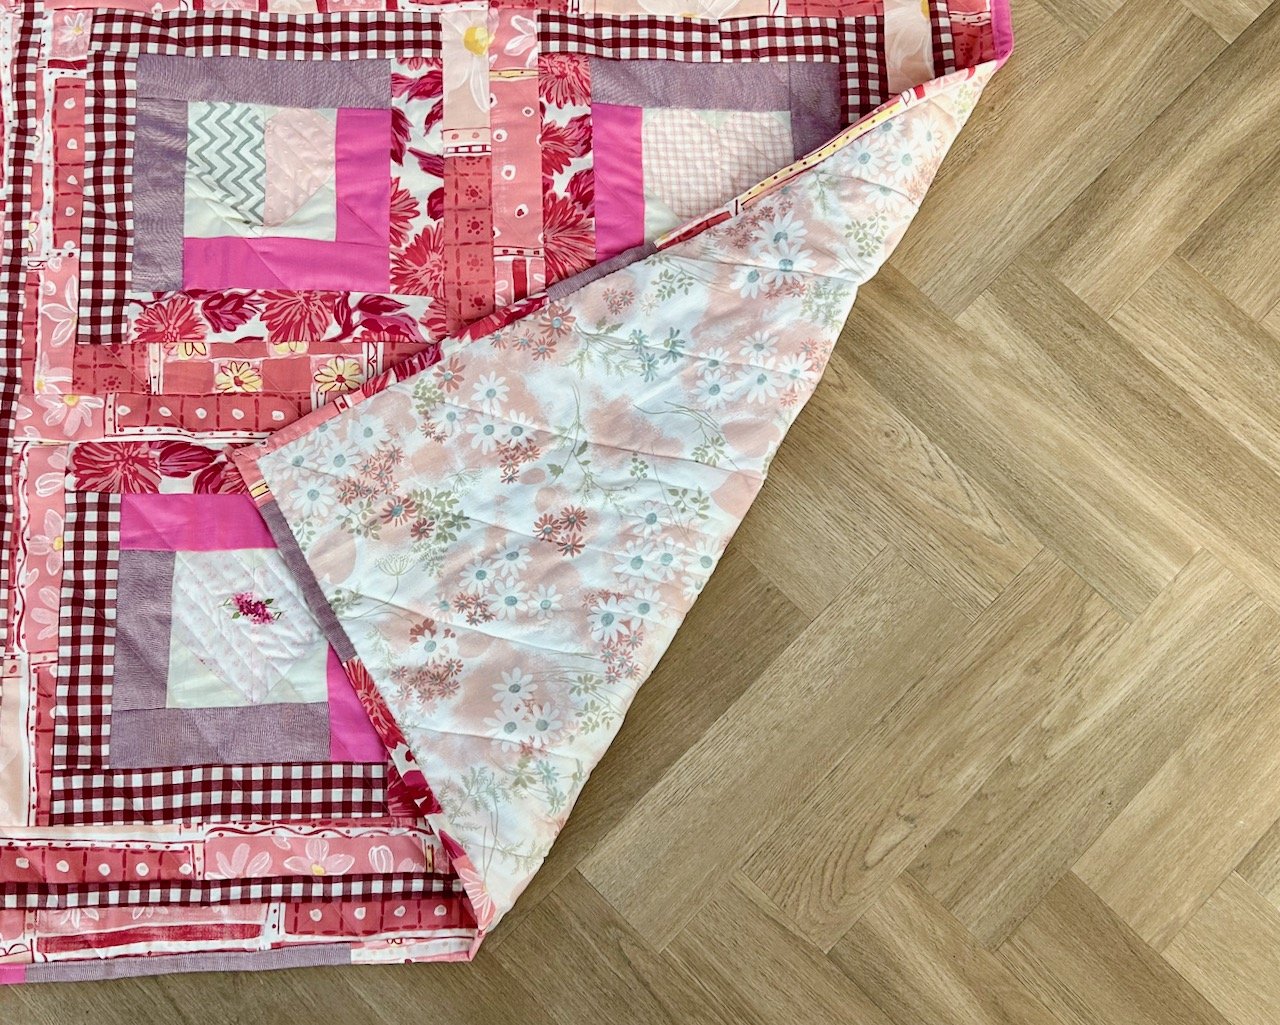
I’ve also changed my mind on which backing to use, originally I thought it would be the multi-patterned pink fabric but I think any more of that would be too much, and so I’ve opted to cut up a paler pink single duvet cover which I bought a couple of years ago on eBay for £1.04 plus postage - as I discovered in the label I’d thoughtfully written for myself when I unfurled the fabric.
Finishing the quilt
I got the quilt to a finished quilt top level in a few days, then it sat for a while waiting for me to assemble it with the batting and backing fabric. In fact I snuck that part in ahead of waiting for family to arrive over Easter, which was a good use of time. Then after the bank holiday I set about quilting it. Remembering that the purpose of these quilts is partly to up my skill levels and to get myself comfortable with both piecing and quilting, as with practice comes a better crafter.
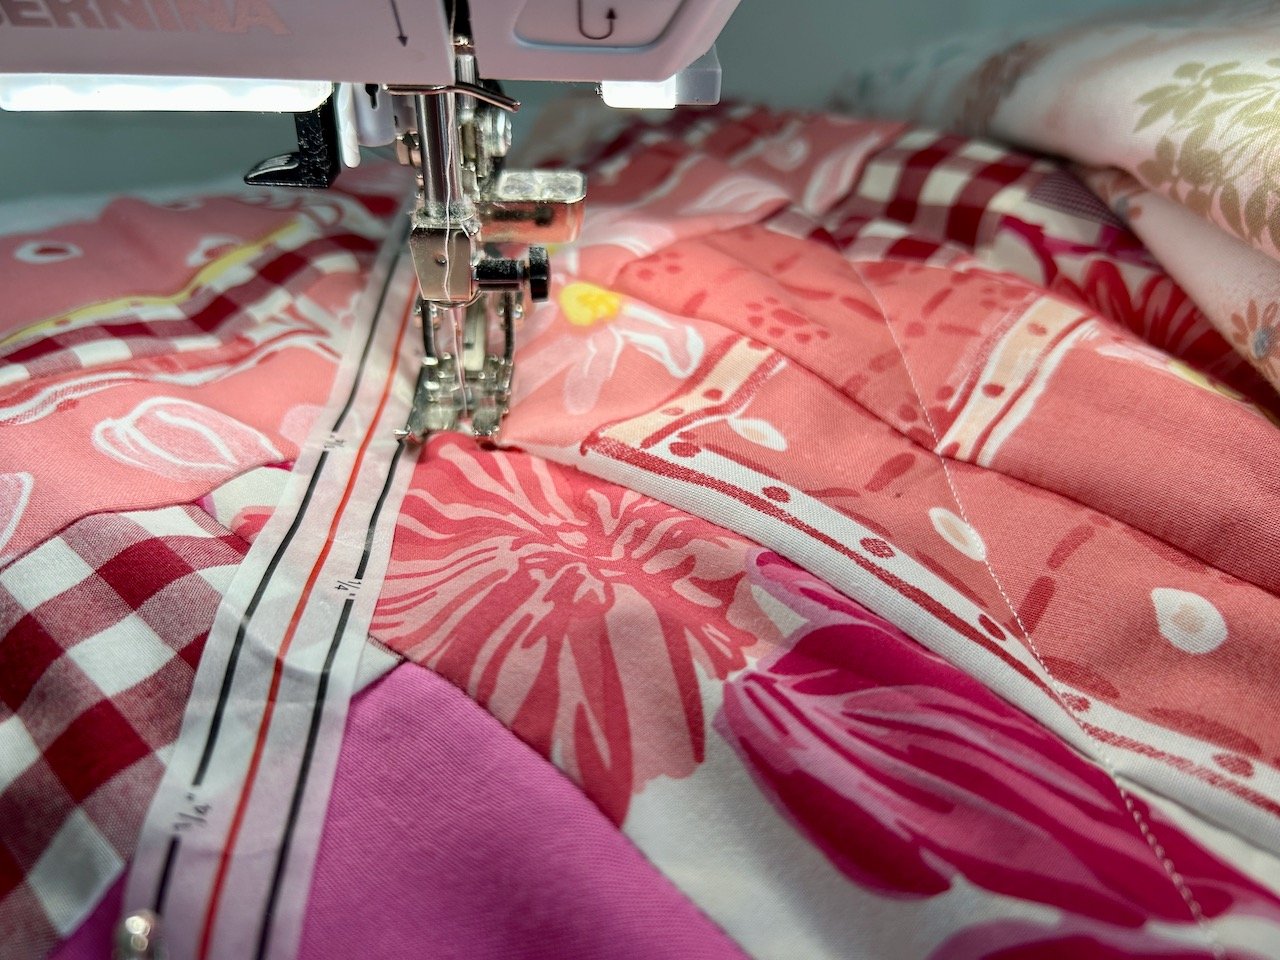
So rather than quilt this one as I have before I decided to quilt it in diagonal rows across the quilt, and then spent ages looking for some masking tape that I was sure I had,. I didn’t find that, but I did find some tape with marked lines on which was probably a better option, or it was once I worked out where to place it most effectively, and so I didn’t sew over it!
I also wanted to change the density of the quilting on the hearts. I considered a different colour thread, but in the end opted to add quilting lines closer together, using the same approach.
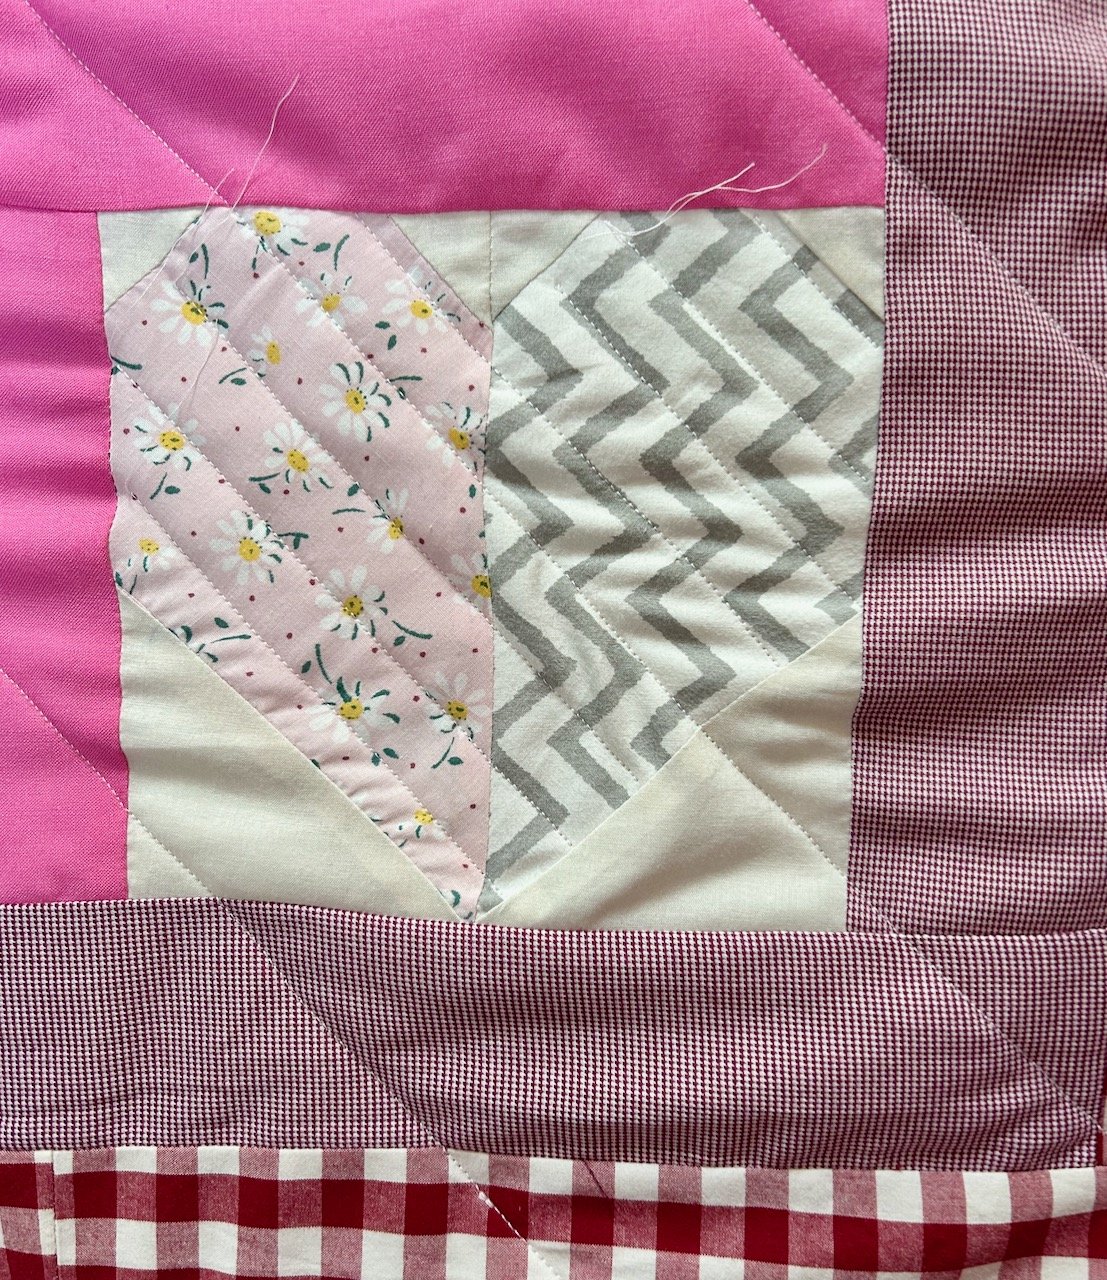
And I’m happy with how this quilting style turned out; the tape worked well and could be easily repositioned for each line of sewing. I didn’t have a plan for the spacing between the lines before I started and worked that out as soon as I started to plan the second line - they’re about 8.5cm apart. Yes they could be more precise, and ideally closer together but it was good to discover this process as I went.
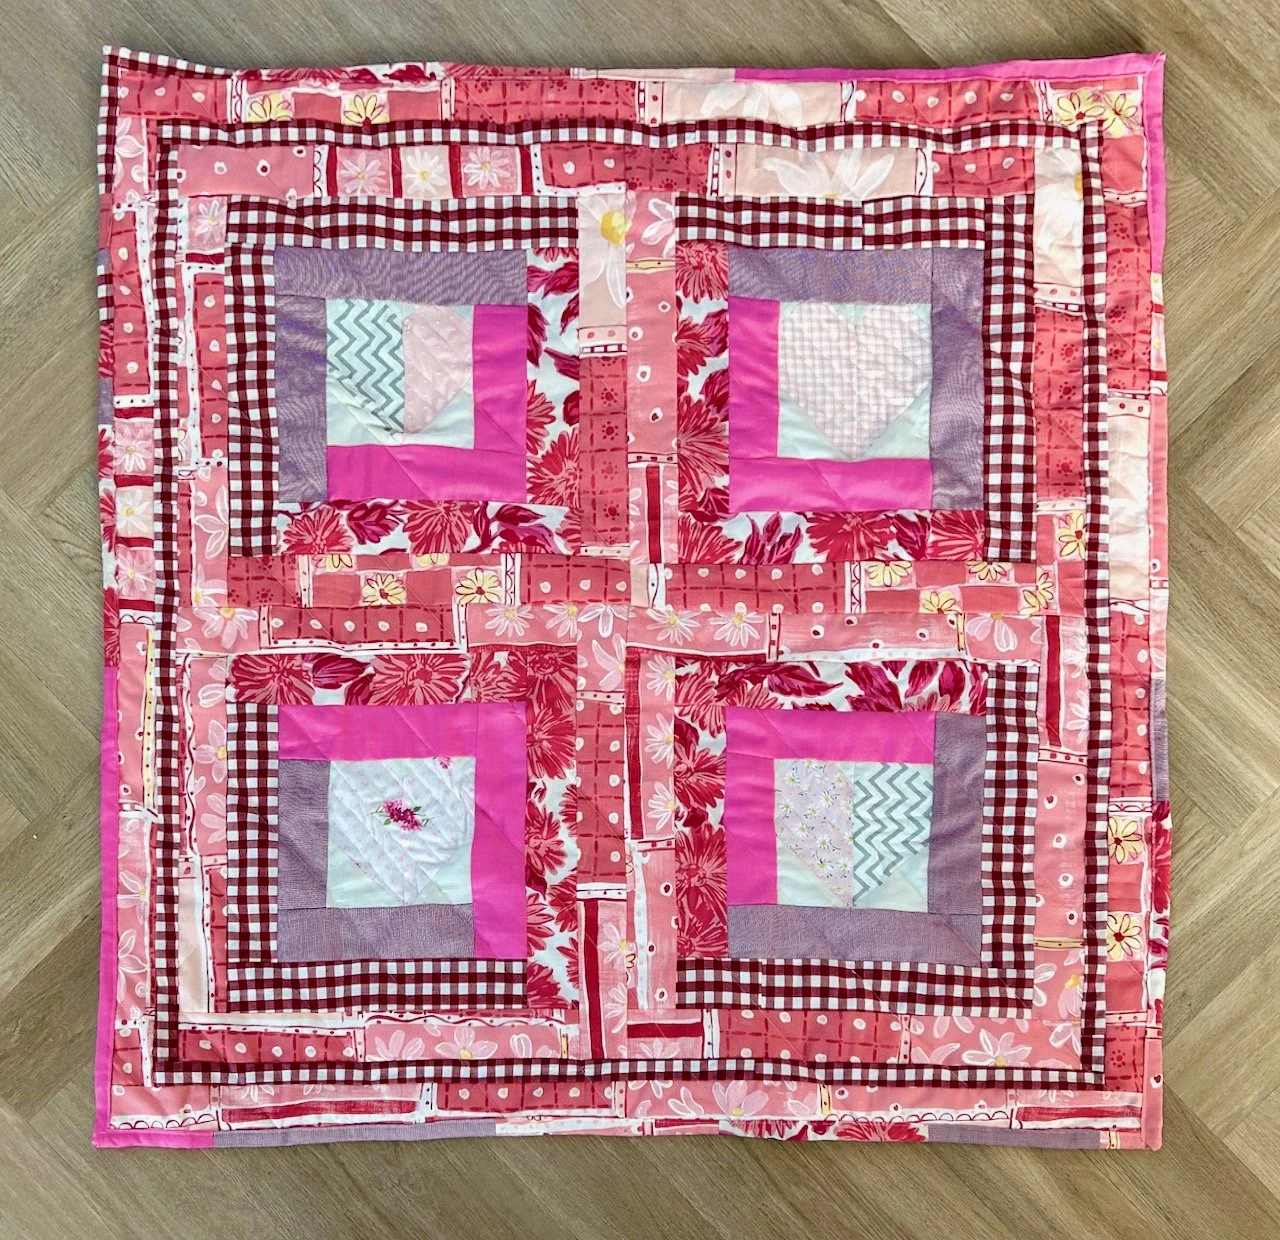
It turned out well didn’t it? And four hearts and a hug seems the perfect title for this one.
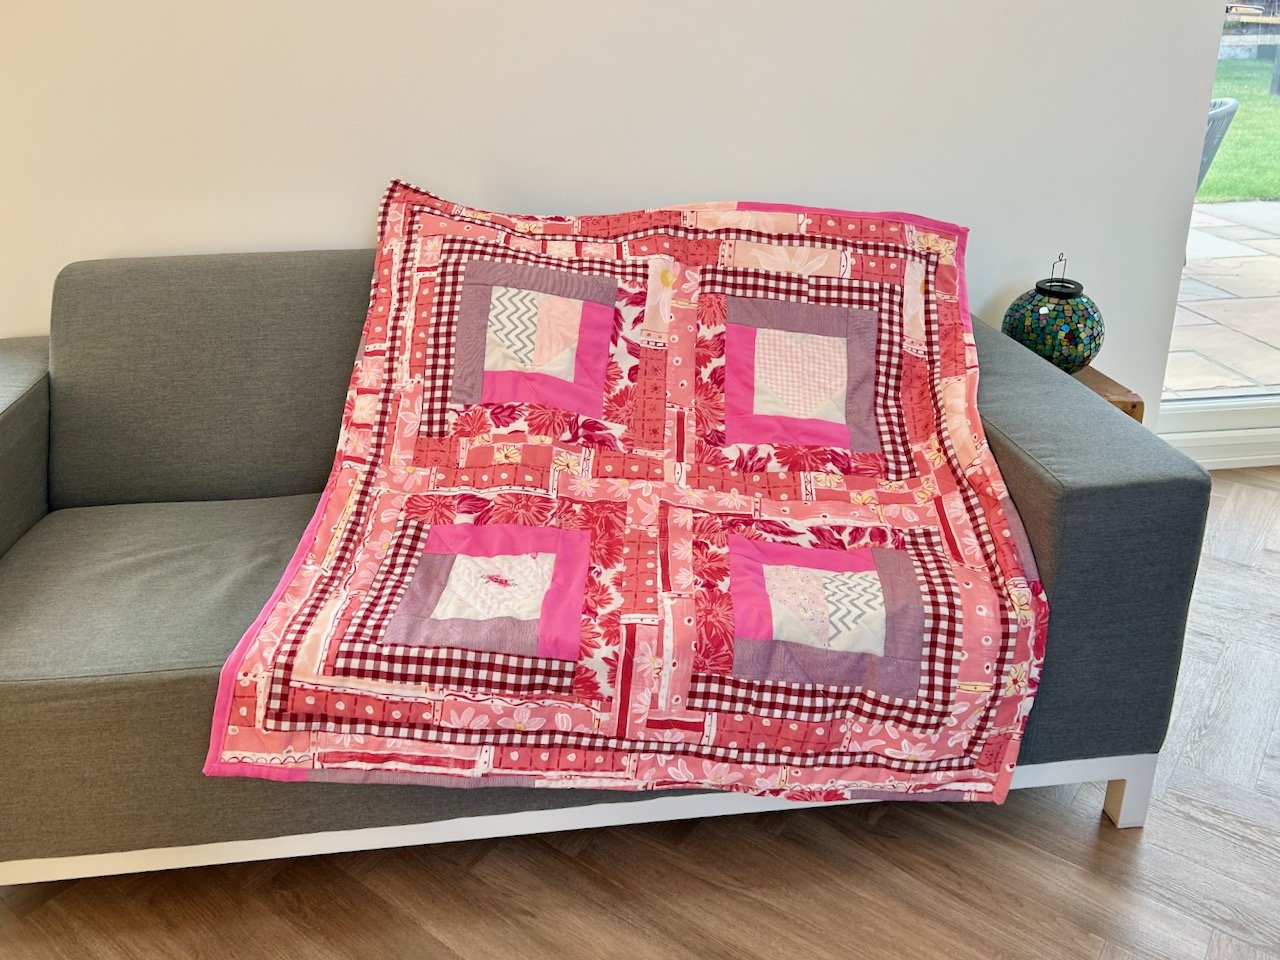
You can see my other quilts which I’ve made to donate to Project Linus - a charity whose mission is to provide love, a sense of security, warmth and comfort to children, who are sick, disabled, disadvantaged or distressed through the donation of new, homemade, washable quilts and blankets, including those that are part of this ‘stretch’ project in earlier posts. I’m aiming to publish an update on my progress in the last week of each month for the remainder of 2025.