Making my Mystery Block of the Month: May 2025

You’ll have seen that I plan to complete Sherri’s mystery block a month quilt and yesterday I shared the test blocks which I made into my seventh charity quilt, today I’m sharing the centre block I made for my own quilt.

And yes, it’s July and I’m only just sharing my May block - holidays, heatwaves and life have played their part here!

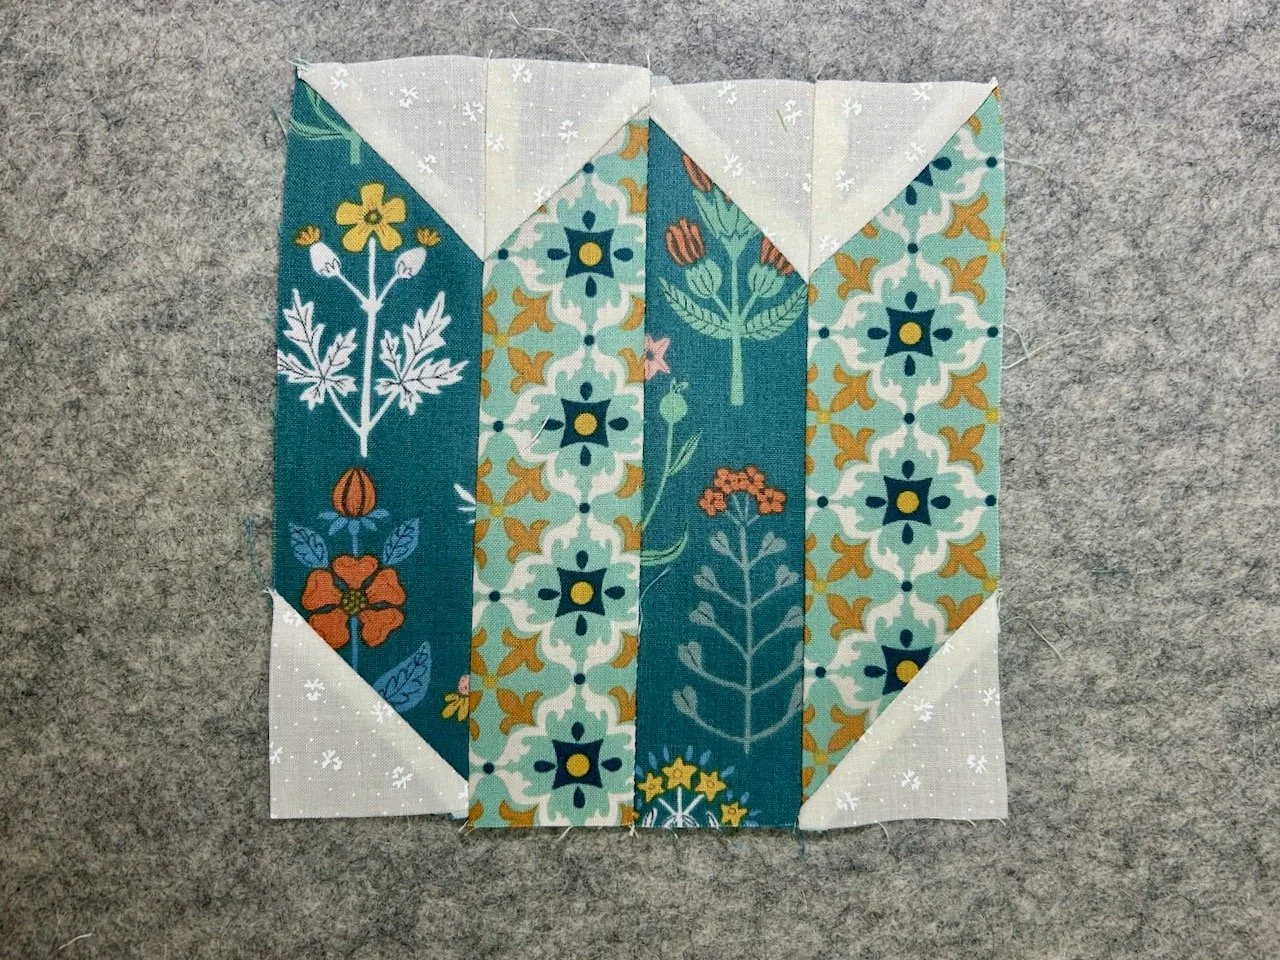
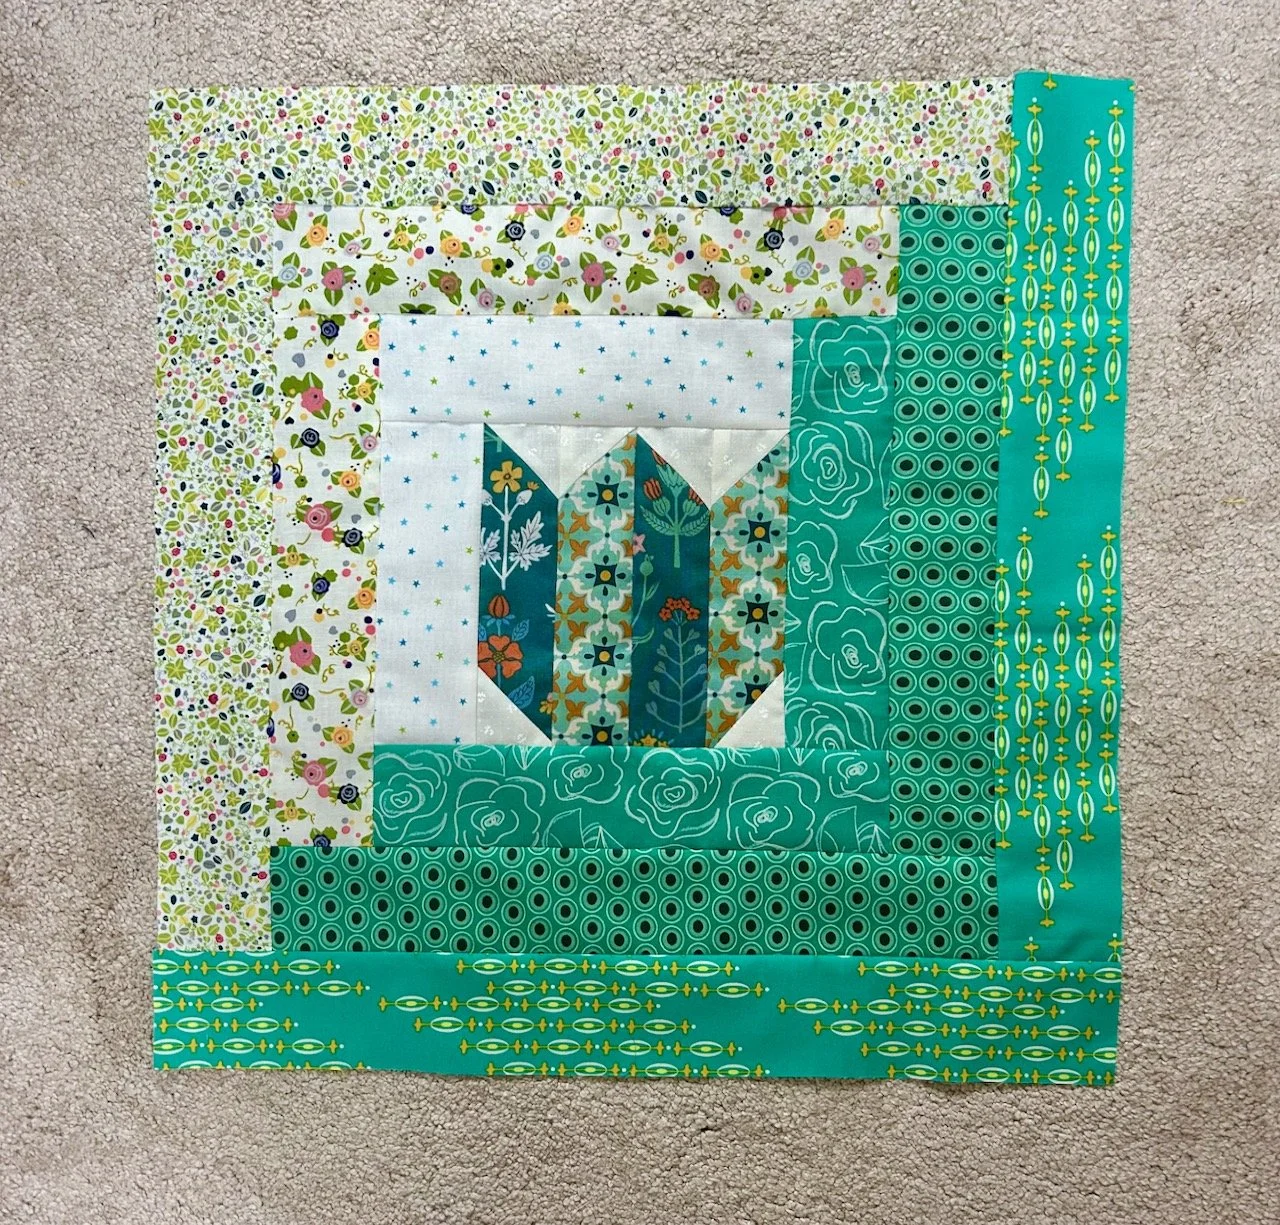
In last month’s post I speculated that the next block wouldn’t be a star, and I was right. It’s a flower, though this one looks decidedly less tulip-like, though I think that’s down to my colour choices.

I remembered to pay attention to my seams and I’m happy with how they turned out. They’re not all perfect, but then again this is a flower and not all flowers are the same, and they all still seem to look pretty good.

Head-scratching? Which border…

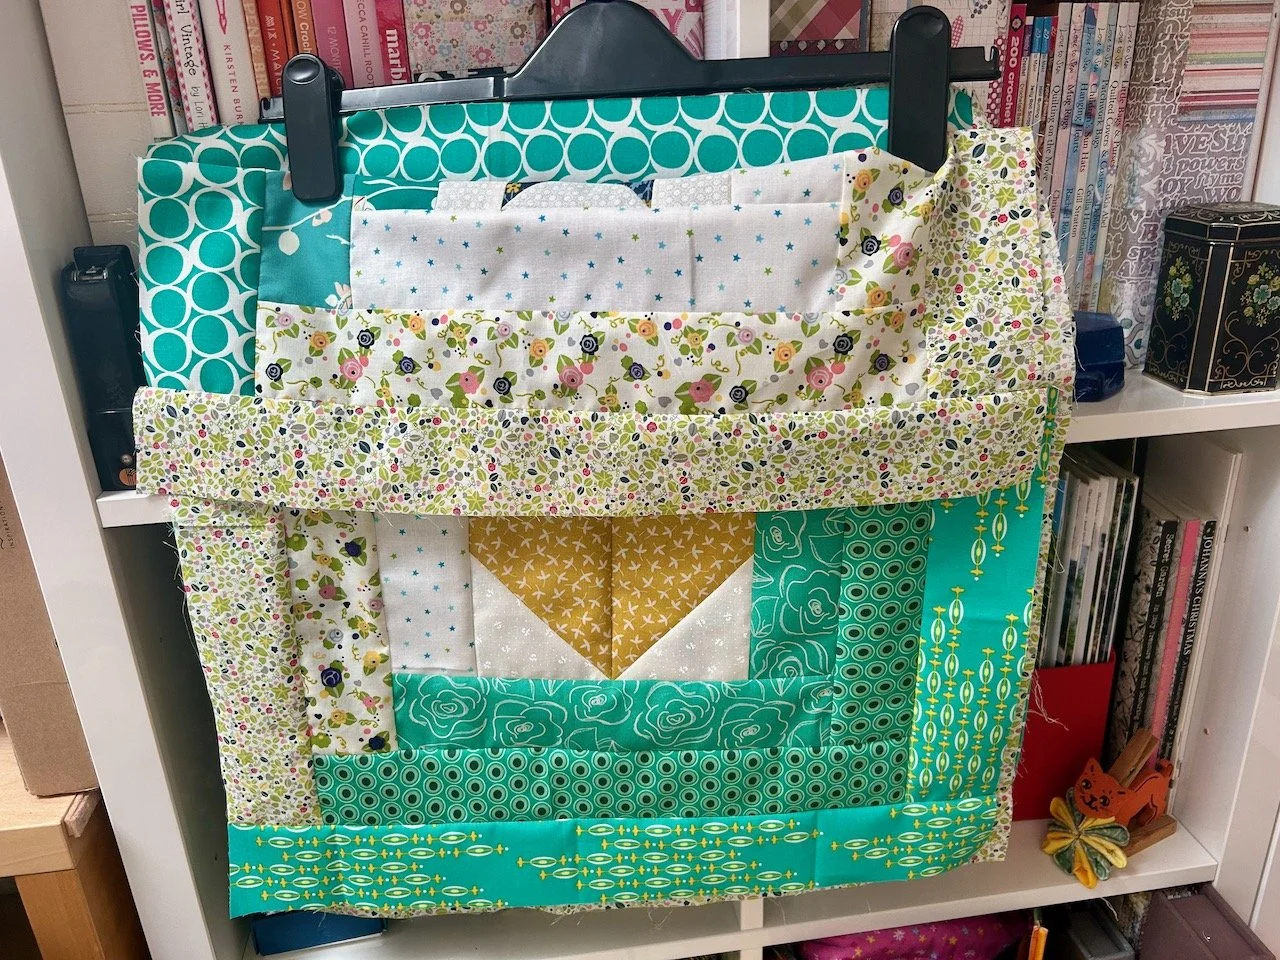
Even though I have my handy hand-scribbled plan for the eventual quilt layout, I still found myself scratching my head to work out which of the green borders to use, and which side of the block they should go.

It took way more brainpower than it should have, but I ended up with this visual reminder to save me going over it all, and doubting myself each time. It’s not necessarily conventional, but it worked.

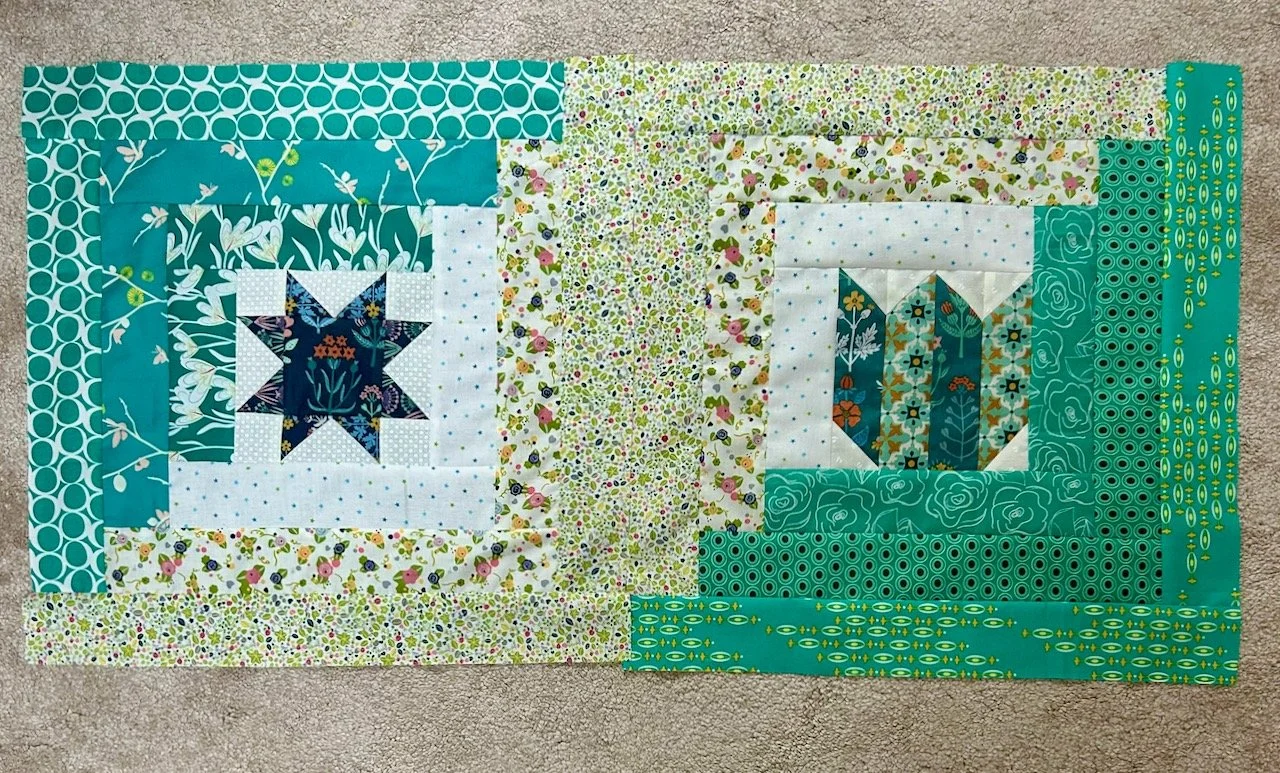
I’m pleased with my completed block, and couldn’t resist seeing what it looked like next to April’s block.

I’m even more pleased with this small preview of how the quilt will turn out, and although the green borders are not the same I’m happy with how they’re working out. It’s back to a star for June’s block so I’ll be back to the navy fabrics again, and hopefully I’ll be sharing it sooner than you know…

Join me hopefully later this month to see how I get on with the next mystery block, and check out my previous posts for my mystery block quilt or the charity quilts made from the test blocks.

Pleated Tulips

I’ve made another quilt as part of my quilting ‘stretch’ project this time using the block from Sherri at A Quilting Life’s mystery block a month. As I said then I don’t know if I’ll manage to make a quilt a month, but I won’t really know unless I try…

And as I said in my recent Quilty Update I’ve realised that this stretch project is dominating my sewing, so I need to work out how to change that so I stand a chance of achieving more of the quilts and other projects on my list. Small steps and all that, but as you’ll have seen I’ve finally made myself a dress, so there’s some hope!

I’m trying not to beat myself up too much for not finishing another quilt, even though I gave myself a bit longer to do this one since we returned from our trip. I’m looking at the positives, which are that given I started this one less than a week ago, it’s already at this stage with only the final steps to complete. And if you say the final steps of baste, quilt and bind quickly, then it really isn’t very much at all!

My seventh charity quilt

Last month I intended to include much more yellow in my Friendly Bee quilt, but when I pulled the materials from my stash it didn’t work out that way, so this month I was more determined. And more successful!

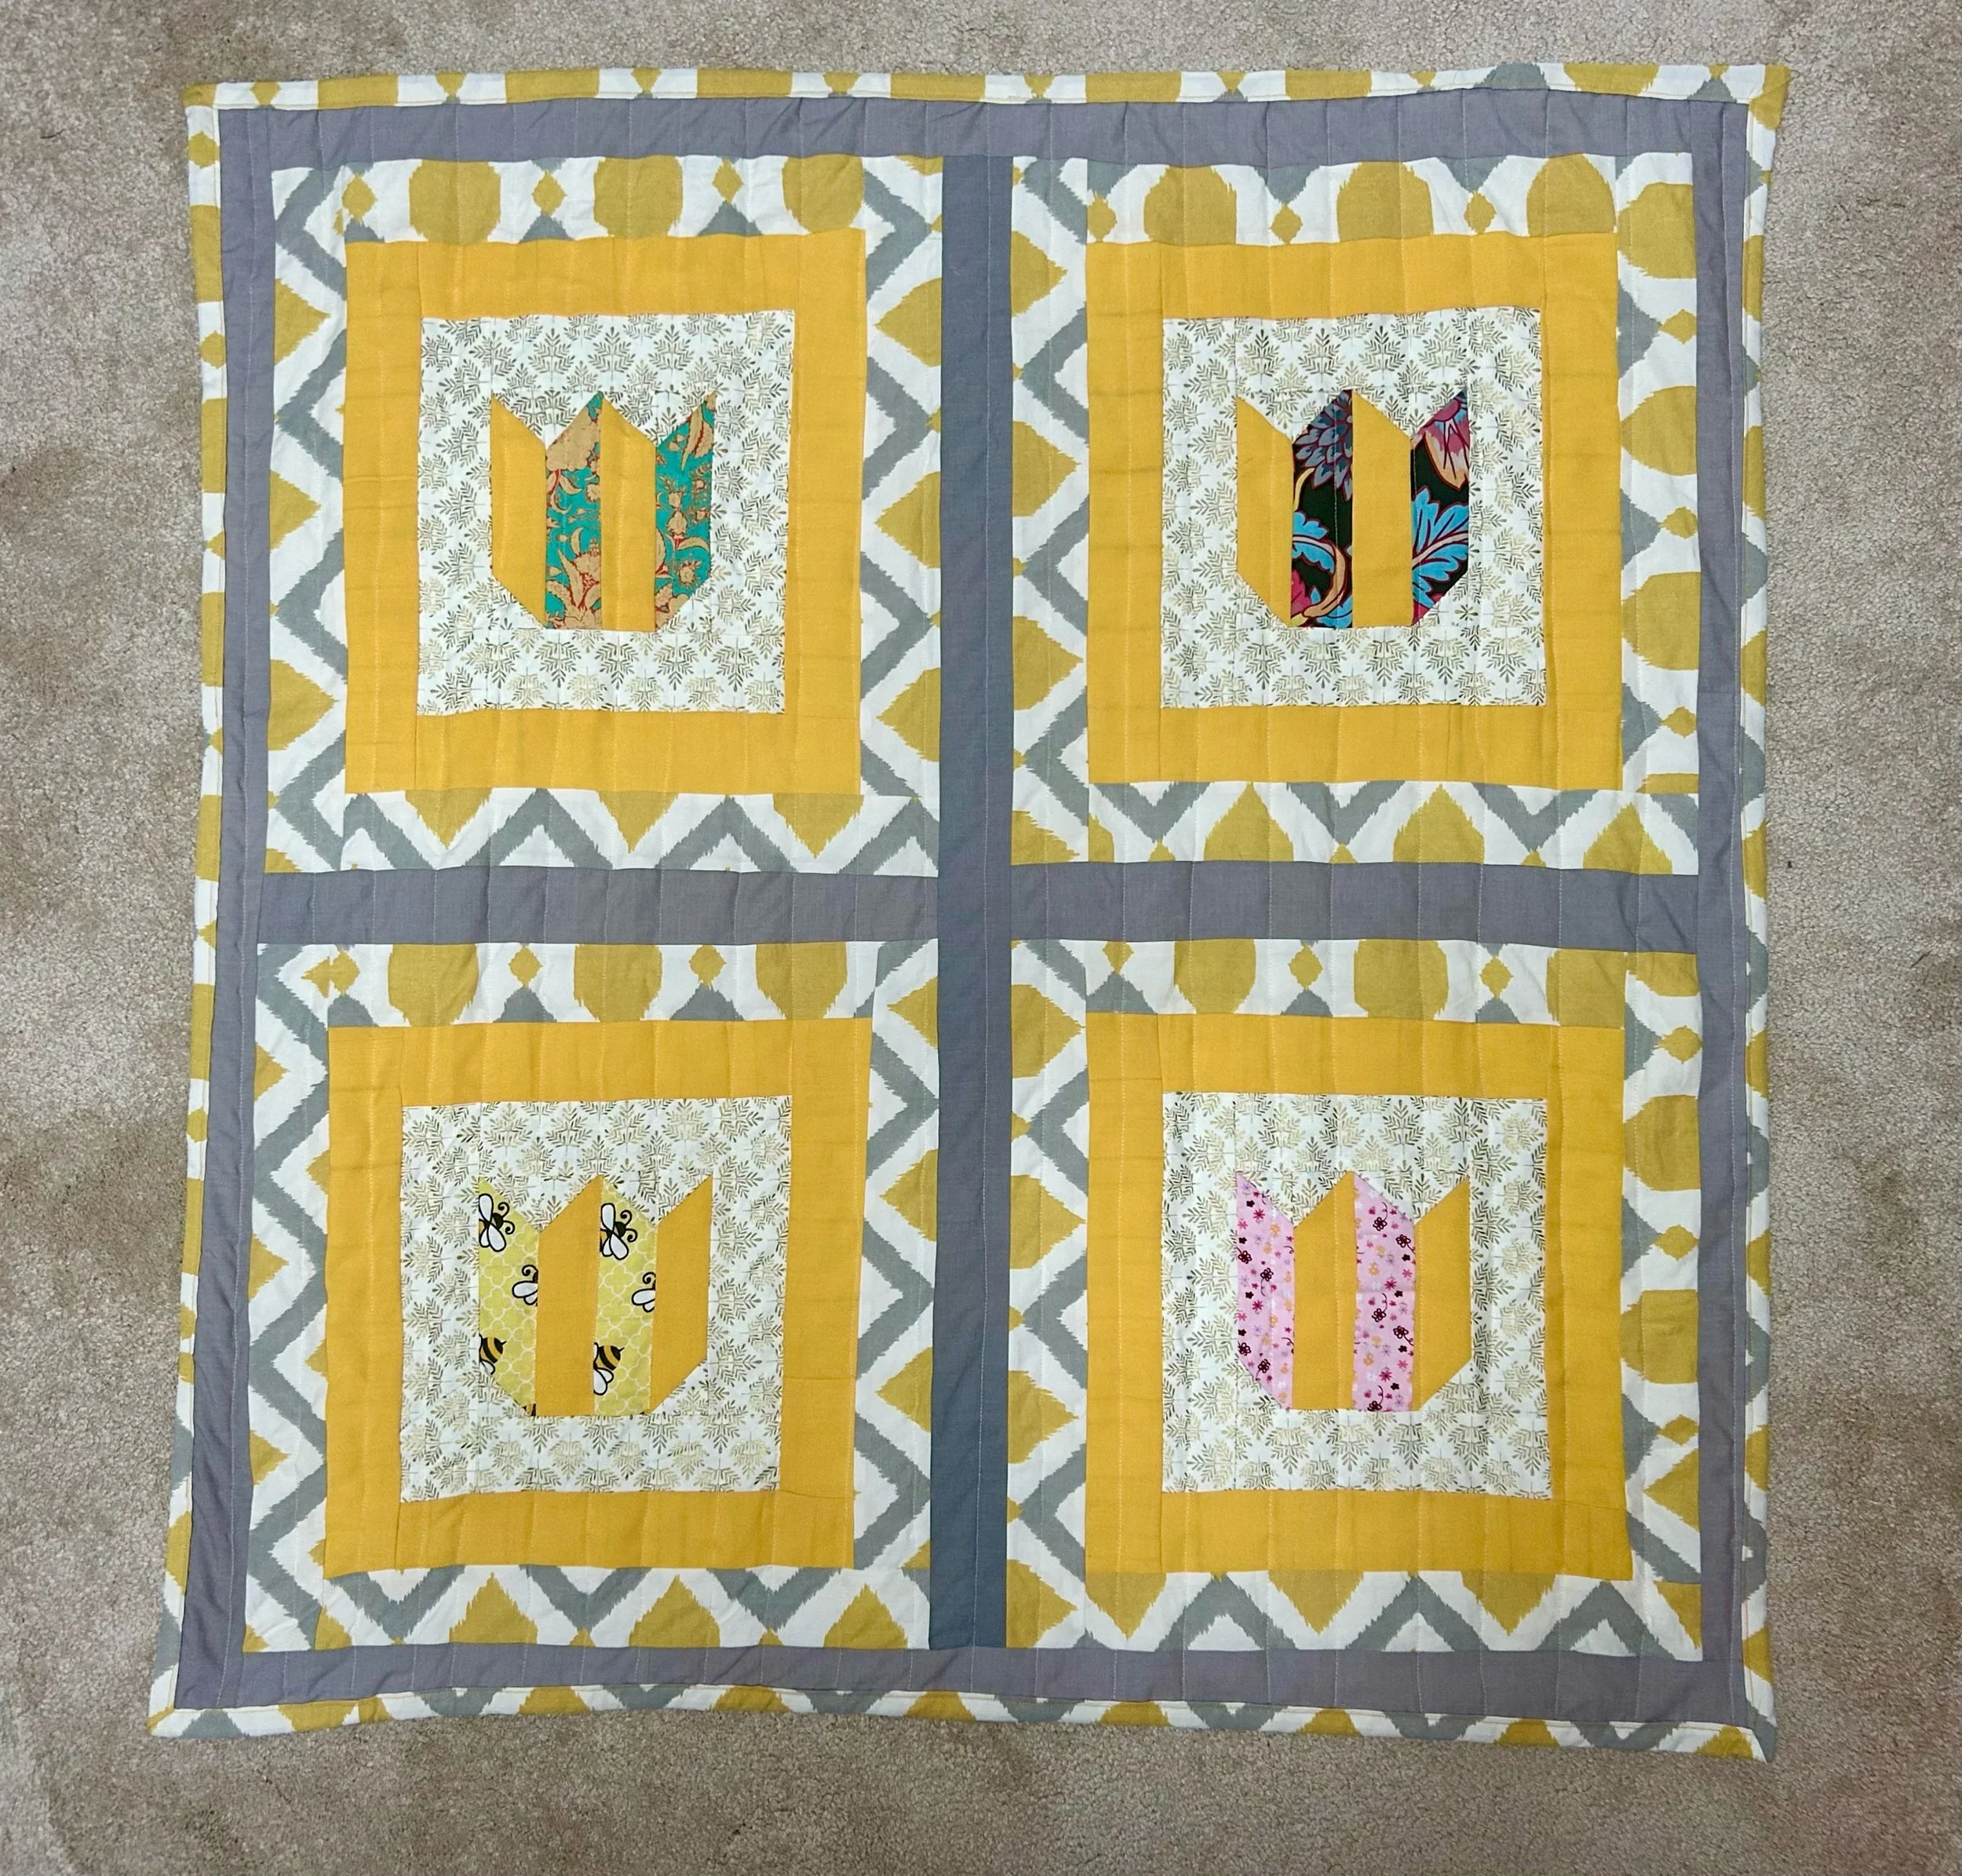
The materials I’ve used in this quilt are parts of four different fat quarters, along with some plain yellow strips from an old netball skirt for the flowers, and some white/gold material as the background and first border which was left over from the backing of last month’s quilt. The pleated yellow border is also from an old netball skirt, which also explains the name. The aztec patterned material is an old duvet cover, and the grey which I’ll explain later was also from an old duvet cover, which I used to back my first charity quilt with Flying Geese. Nothing goes to waste here!

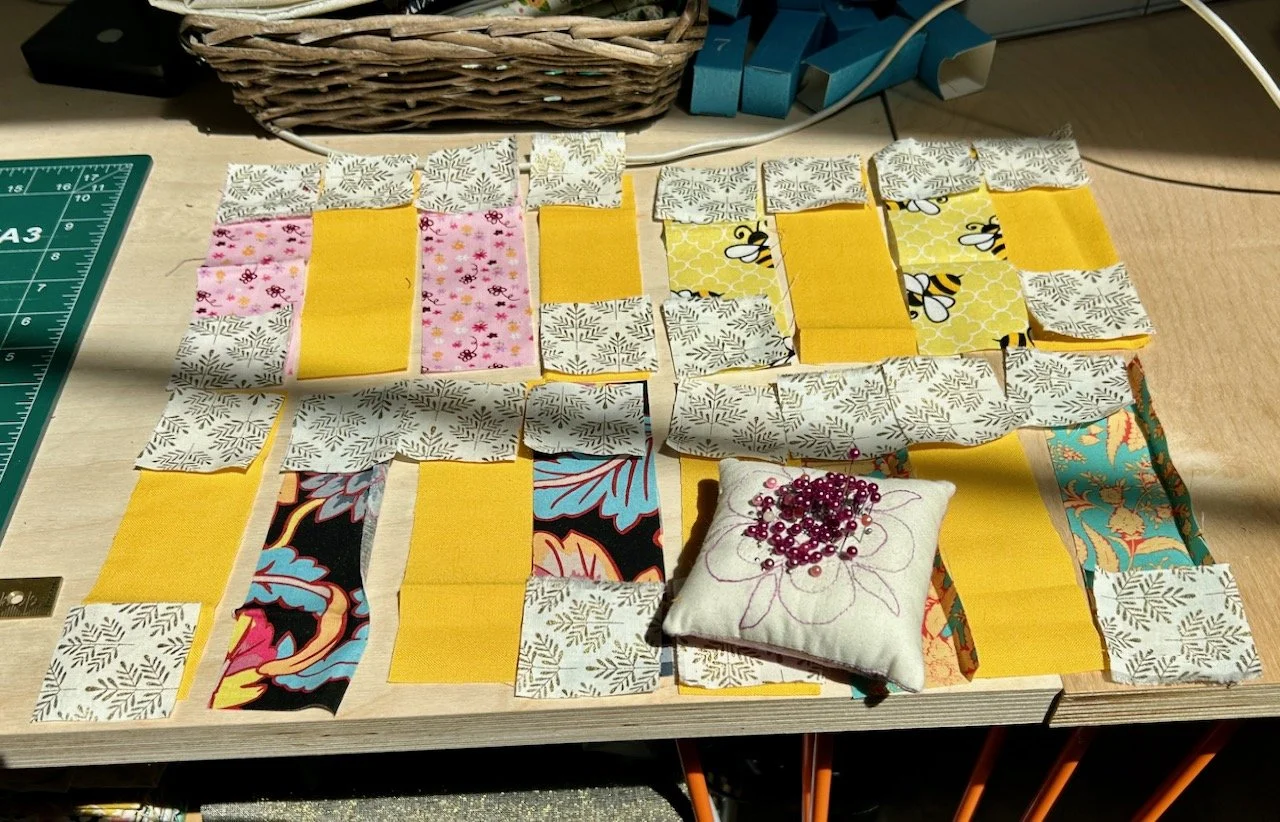
Cutting out the pieces for the centre blocks one sunny evening - still warm work

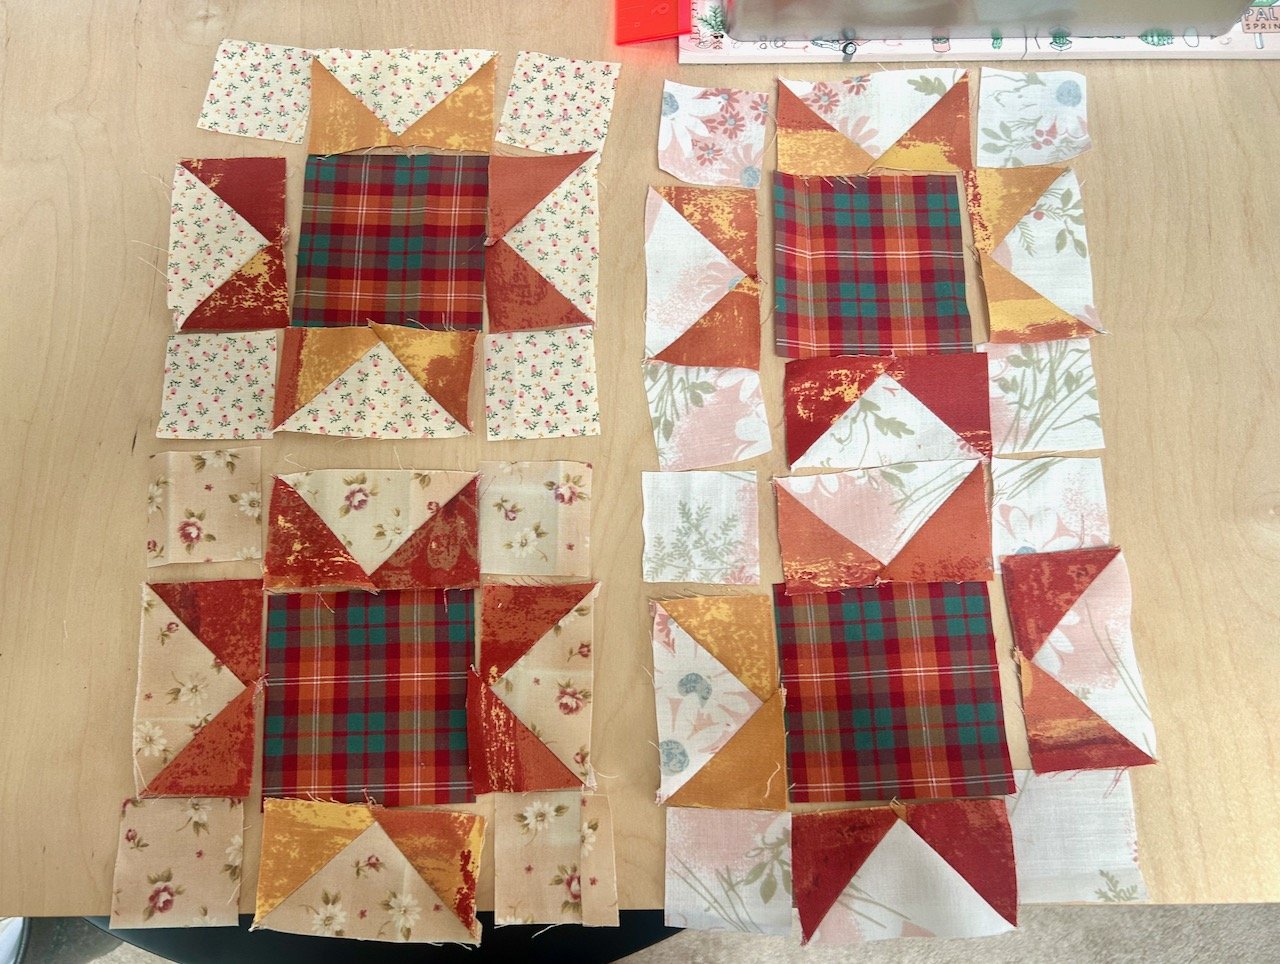
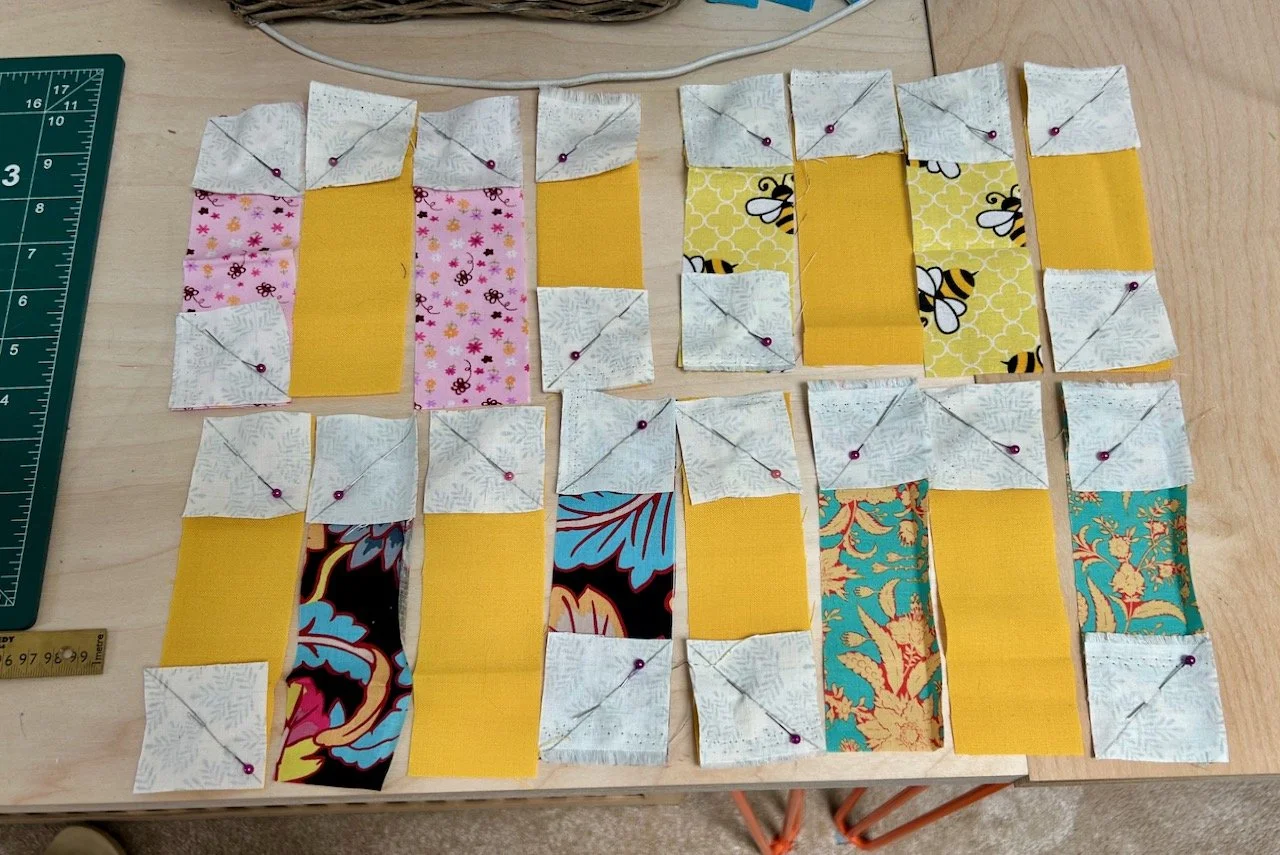
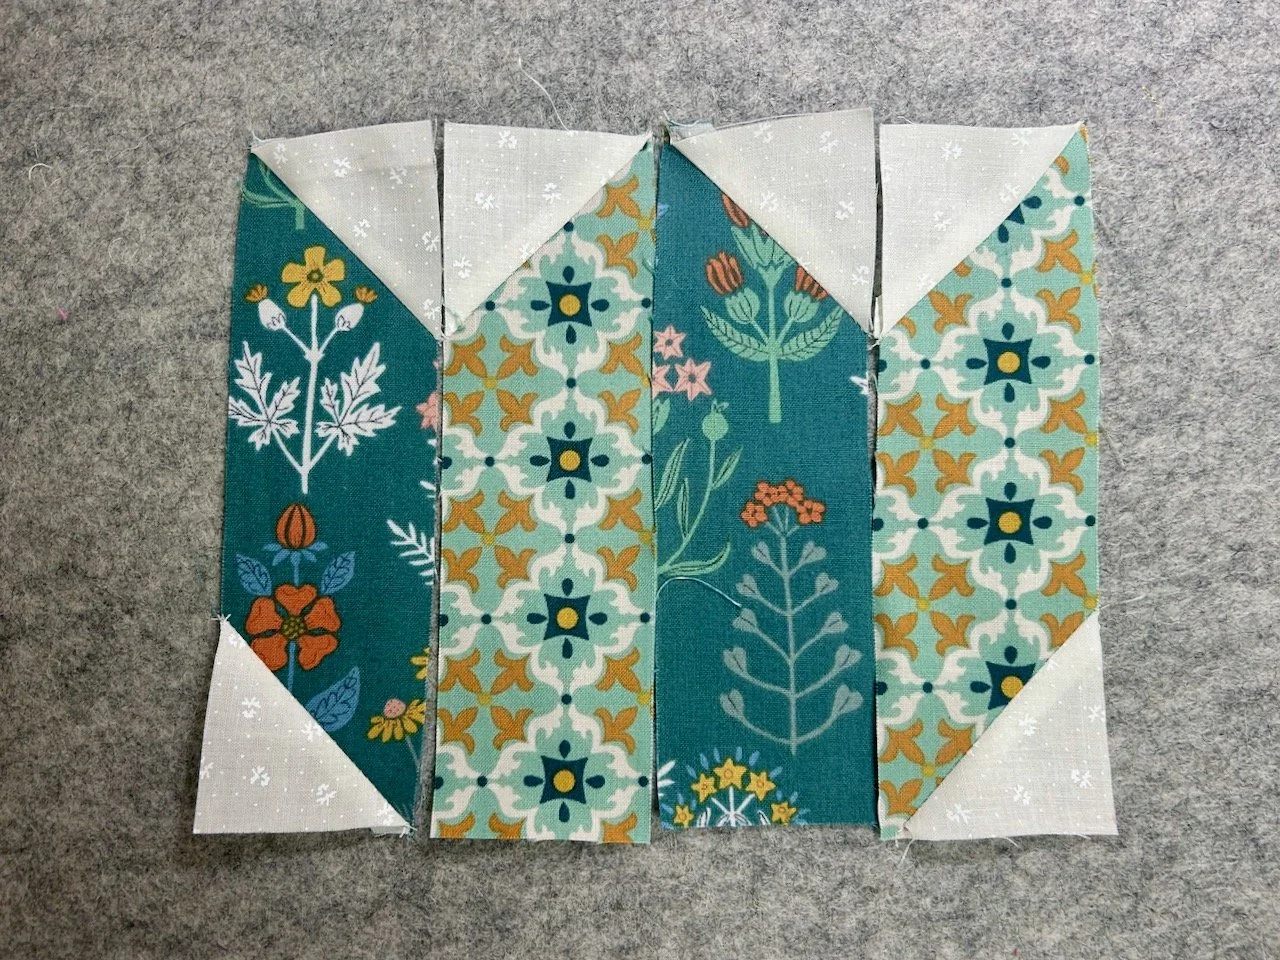
Once I’d drawn lines and pinned the HSTs (half square triangles) in place, it started to make more sense - well perhaps to me at this stage anyway.

Lines drawn and pinned in place to make the (longer) HSTs

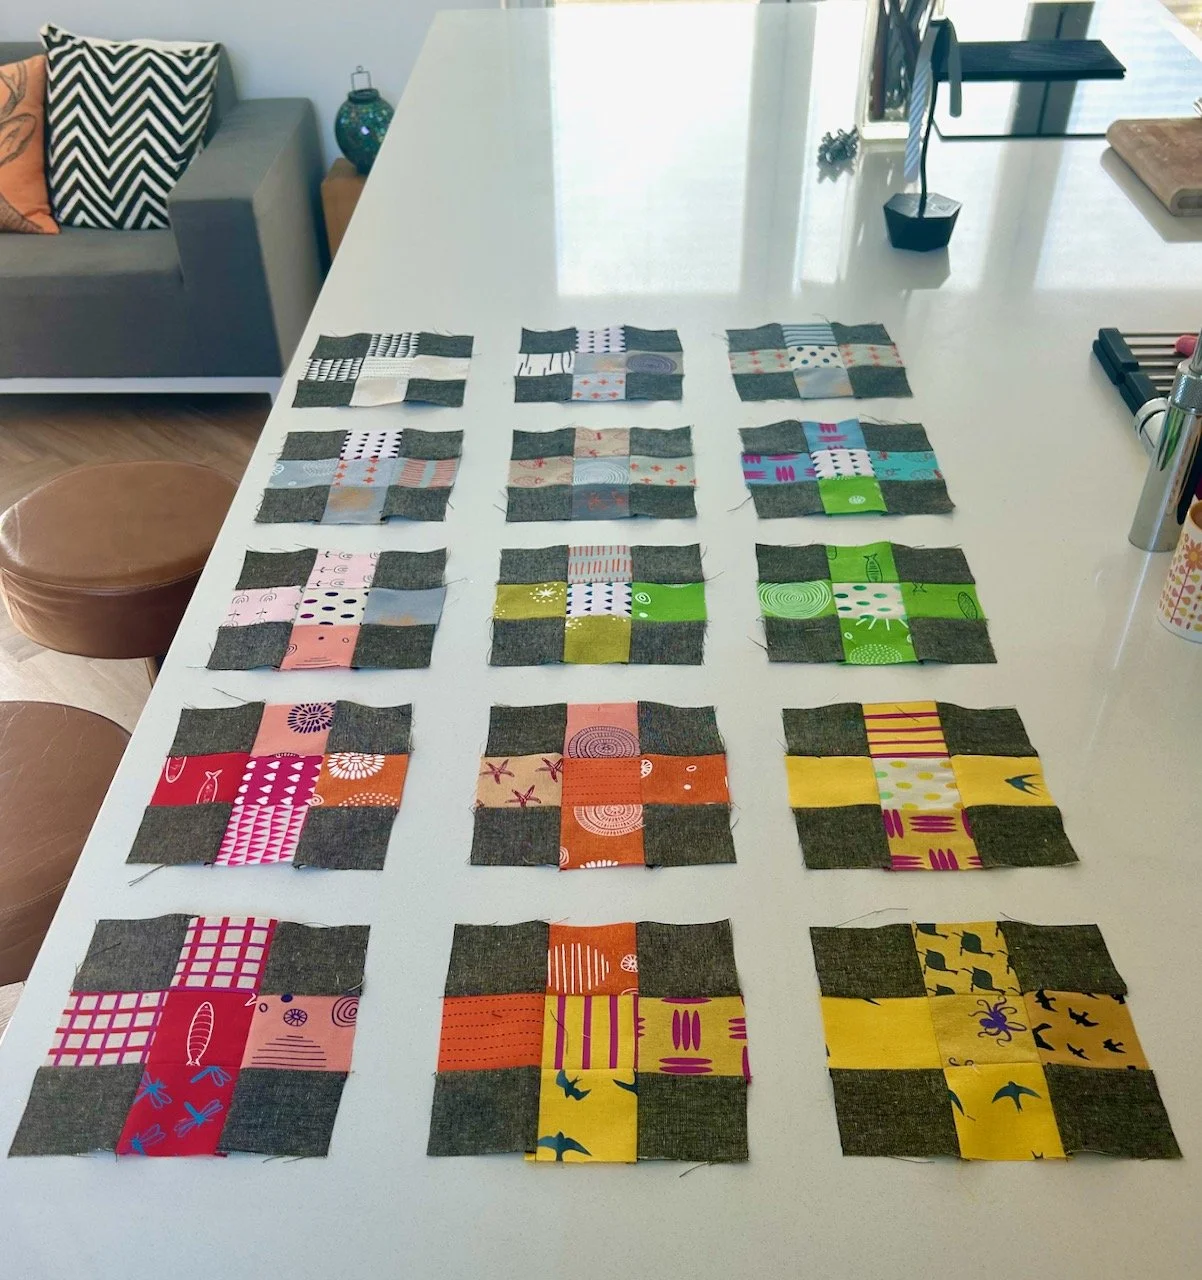
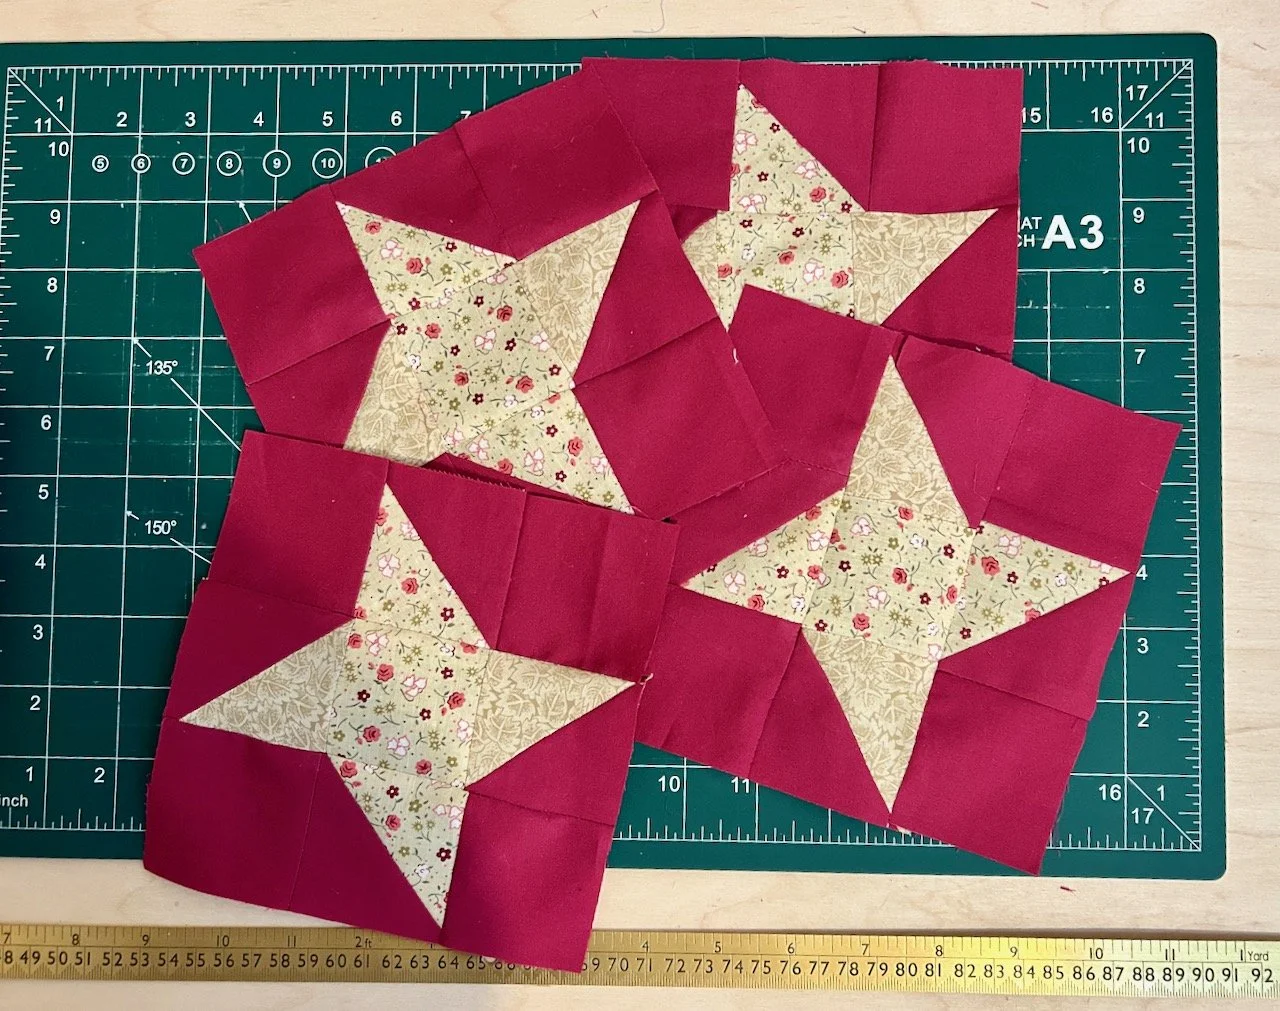
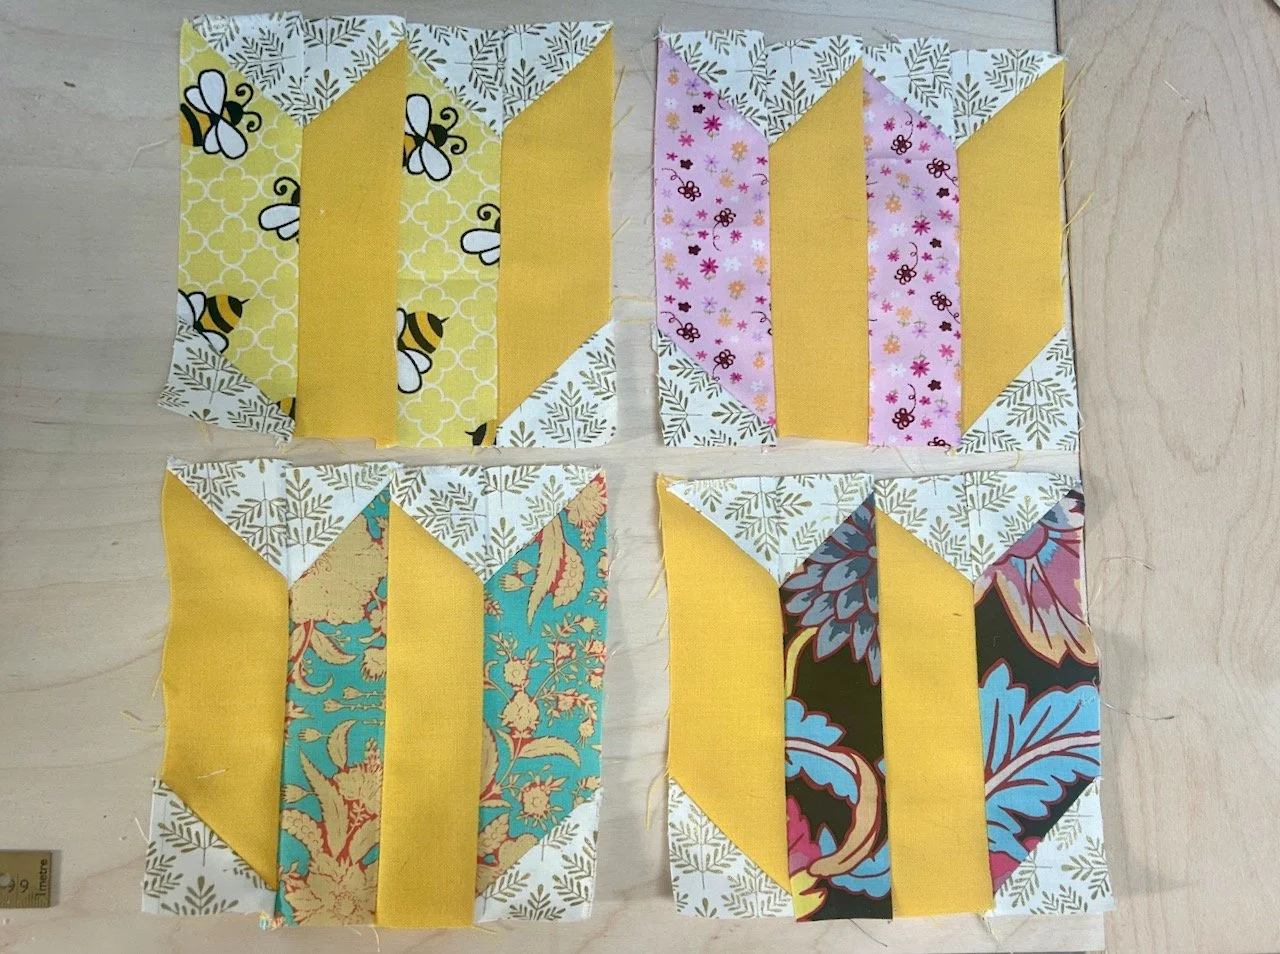
Quite quickly four flowers emerged.

The four centre blocks sewn - and four tulips emerge

I was mildly irritated with myself as I hadn’t managed to match very many of my seams - but as we know, these are test blocks for my Mystery Block of the Month quilt, so at least I knew where I should focus my attention when it came to making that.

I added borders merrily, enjoying getting back to using my machine. This time I used the same material for all of the borders, mostly because I was that intent on having a cheery yellow quilt I wanted nothing to set me off track.

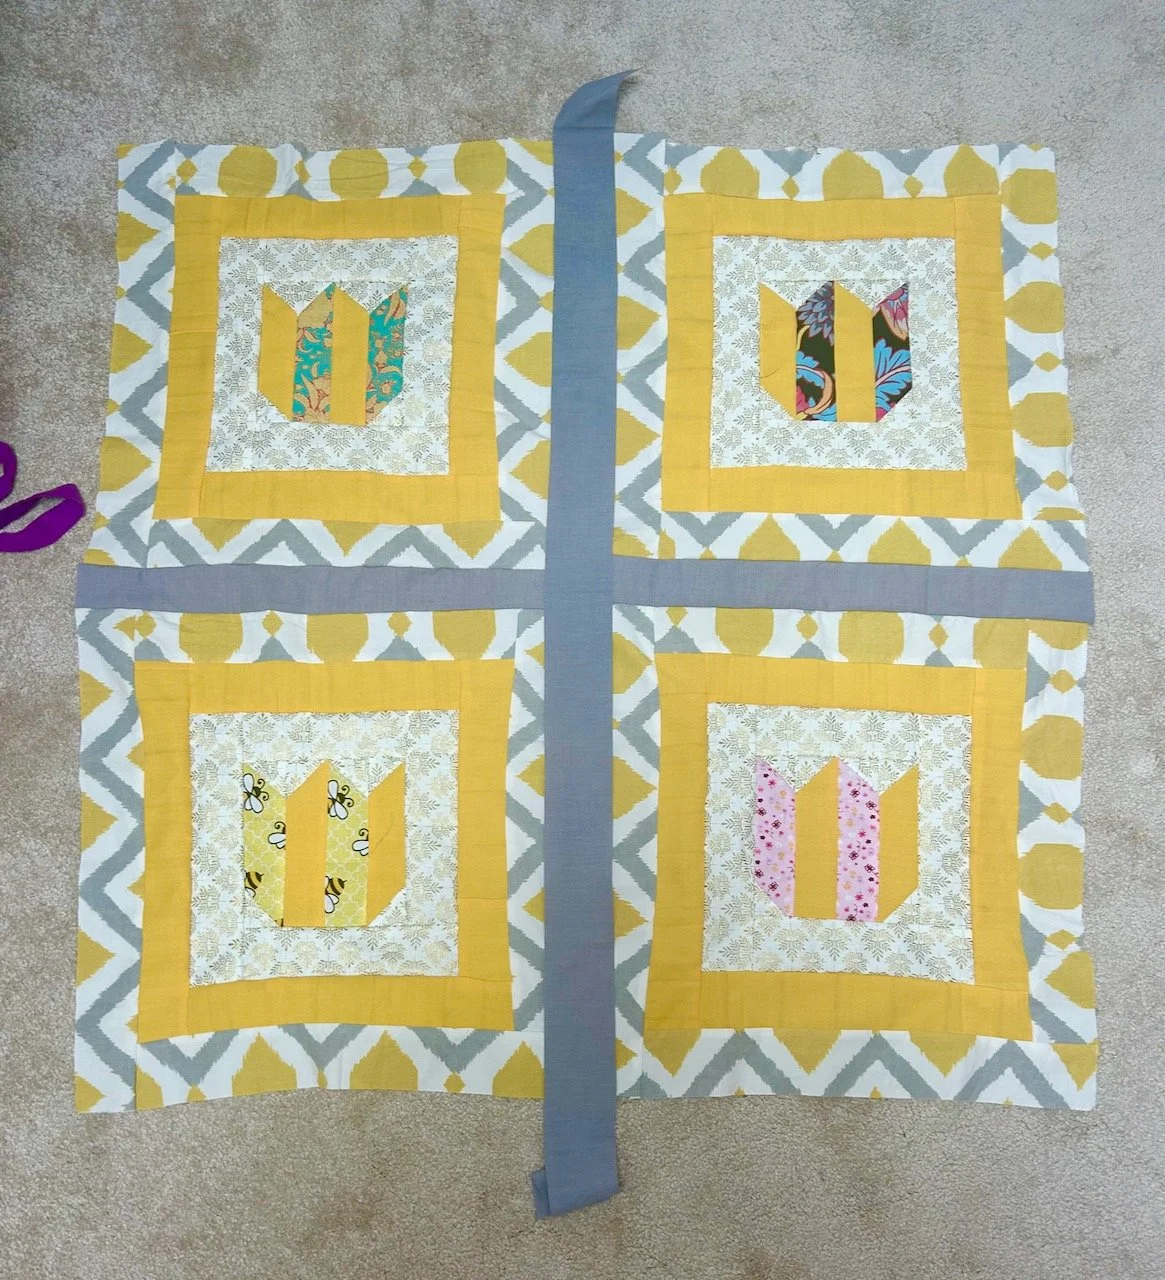
It was only when I laid the blocks out that I saw the nearly matching of the zig zags, which wasn’t my intention. It was close enough that it would look like I’d tried to pattern match, and failed - and I knew it would be distracting to my eye at least. But I also knew I wasn’t going to unpick them and try to get them to match.

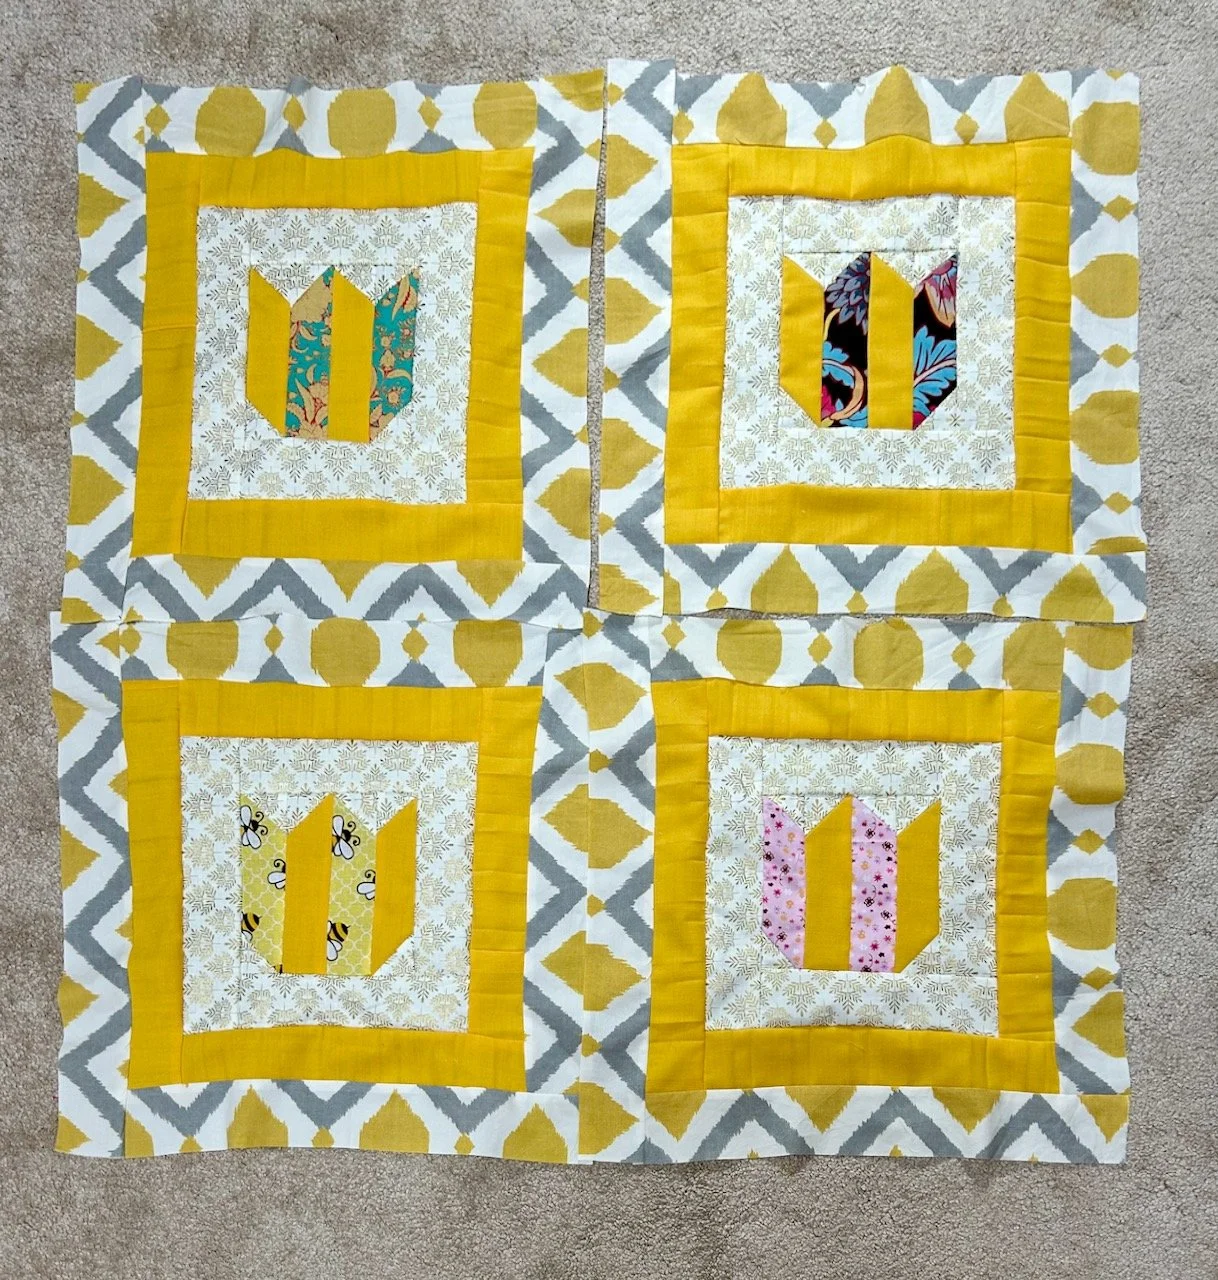
Four blocks edged in white/gold, then pleated yellow and a grey, white and yellow aztec print - laid out in formation

So my plan was to add plain sashing to help distract my eyes - and I think it works. Phew.

Trying out some plain grey sashing between the four blocks
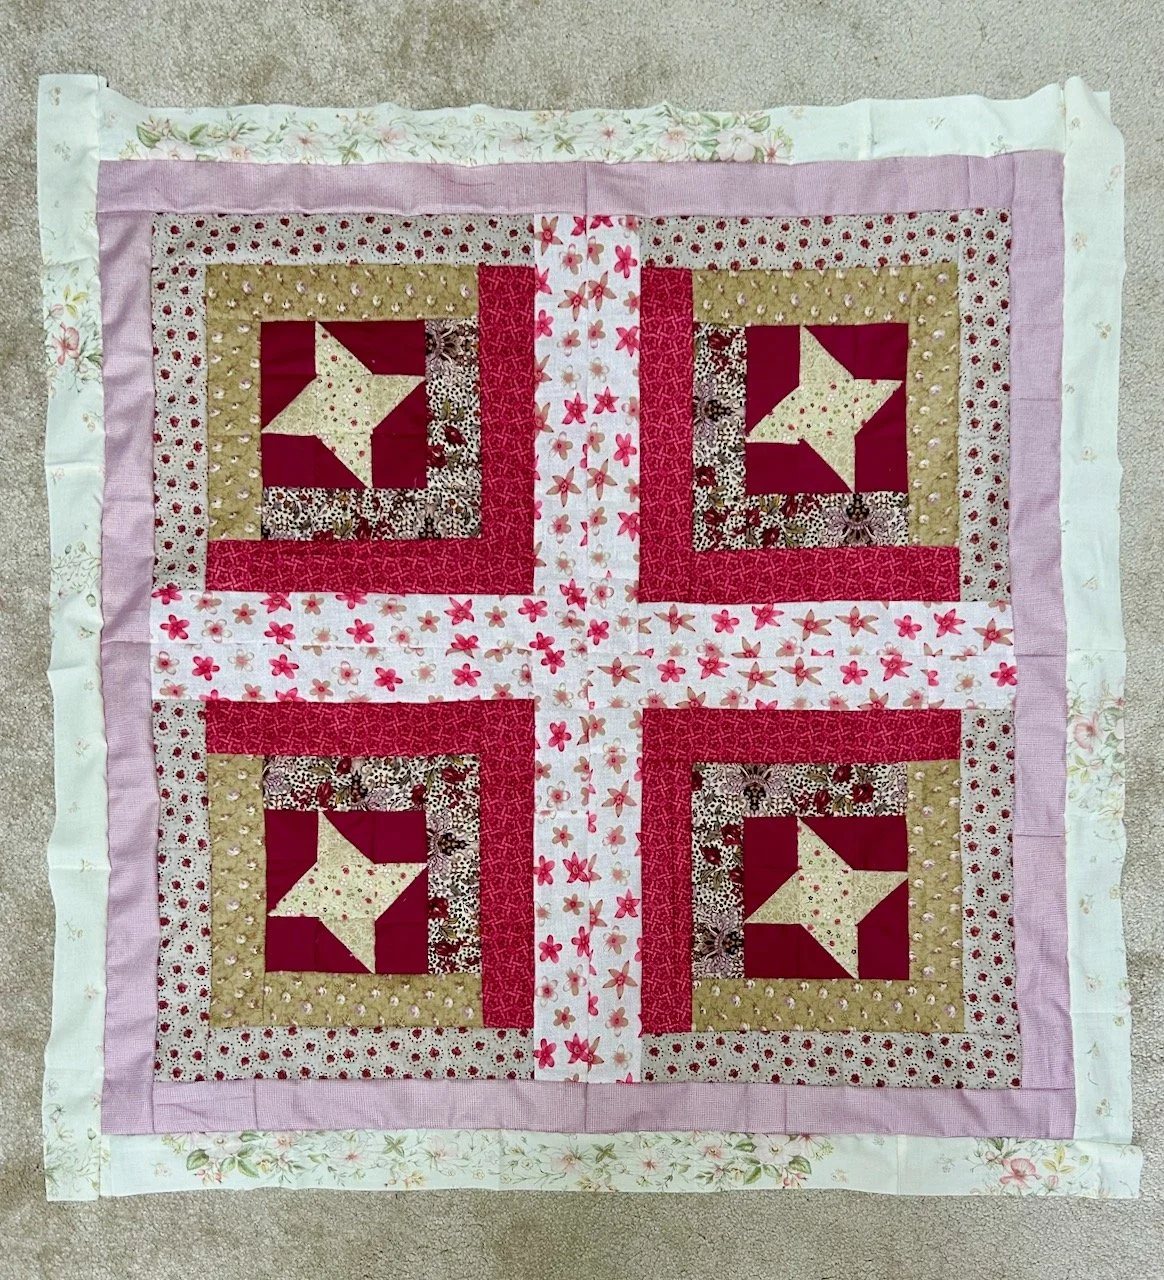
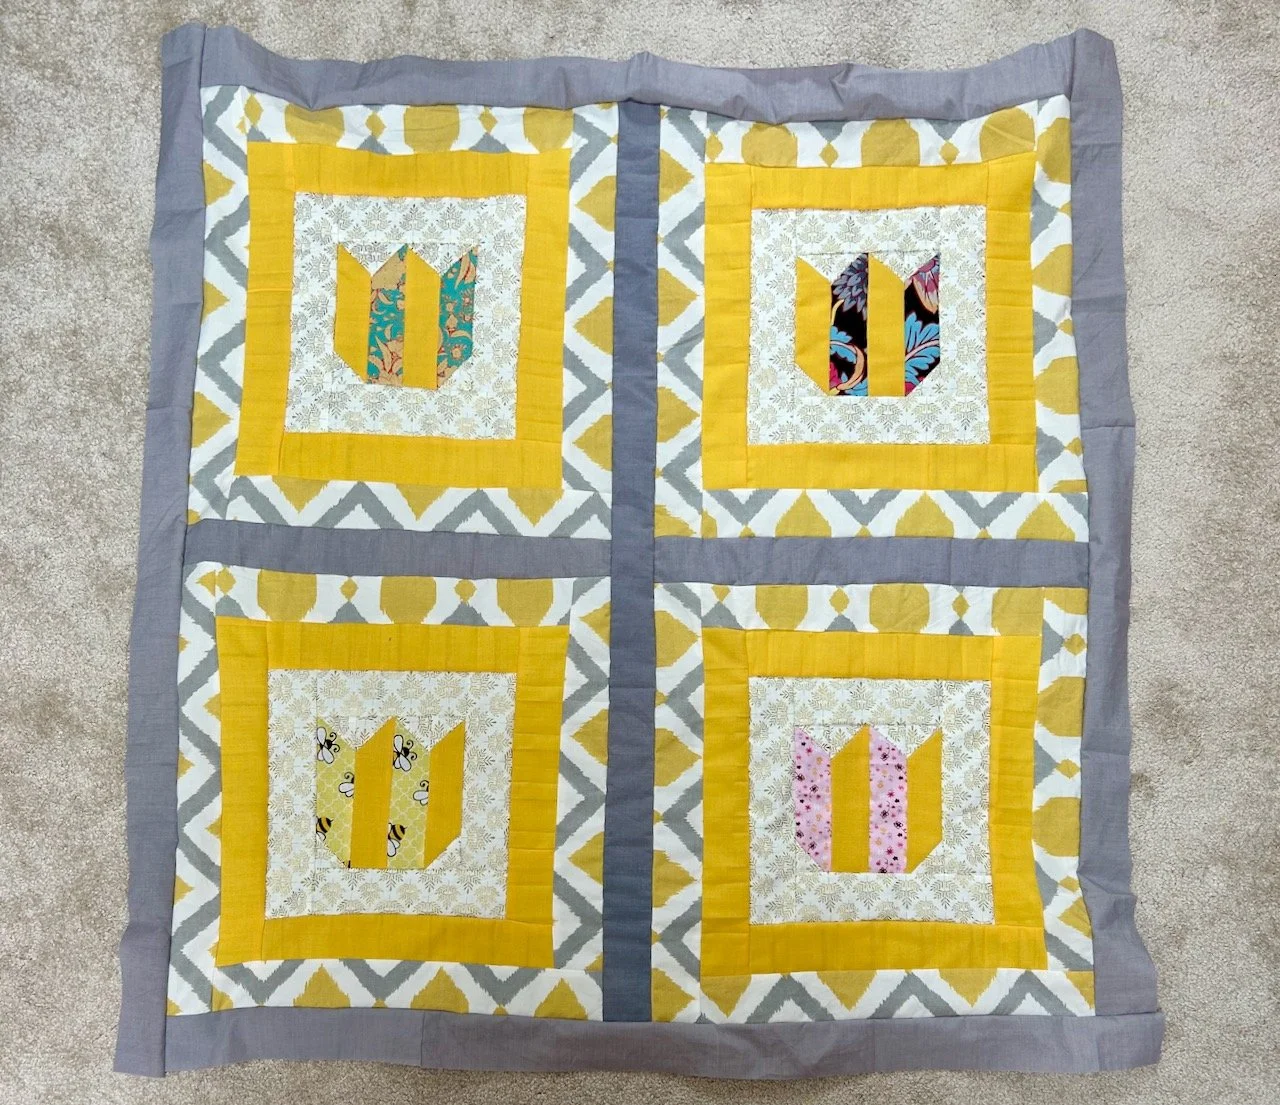
The grey sashing sewn in place, and a border added around the whole quilt top using the same material

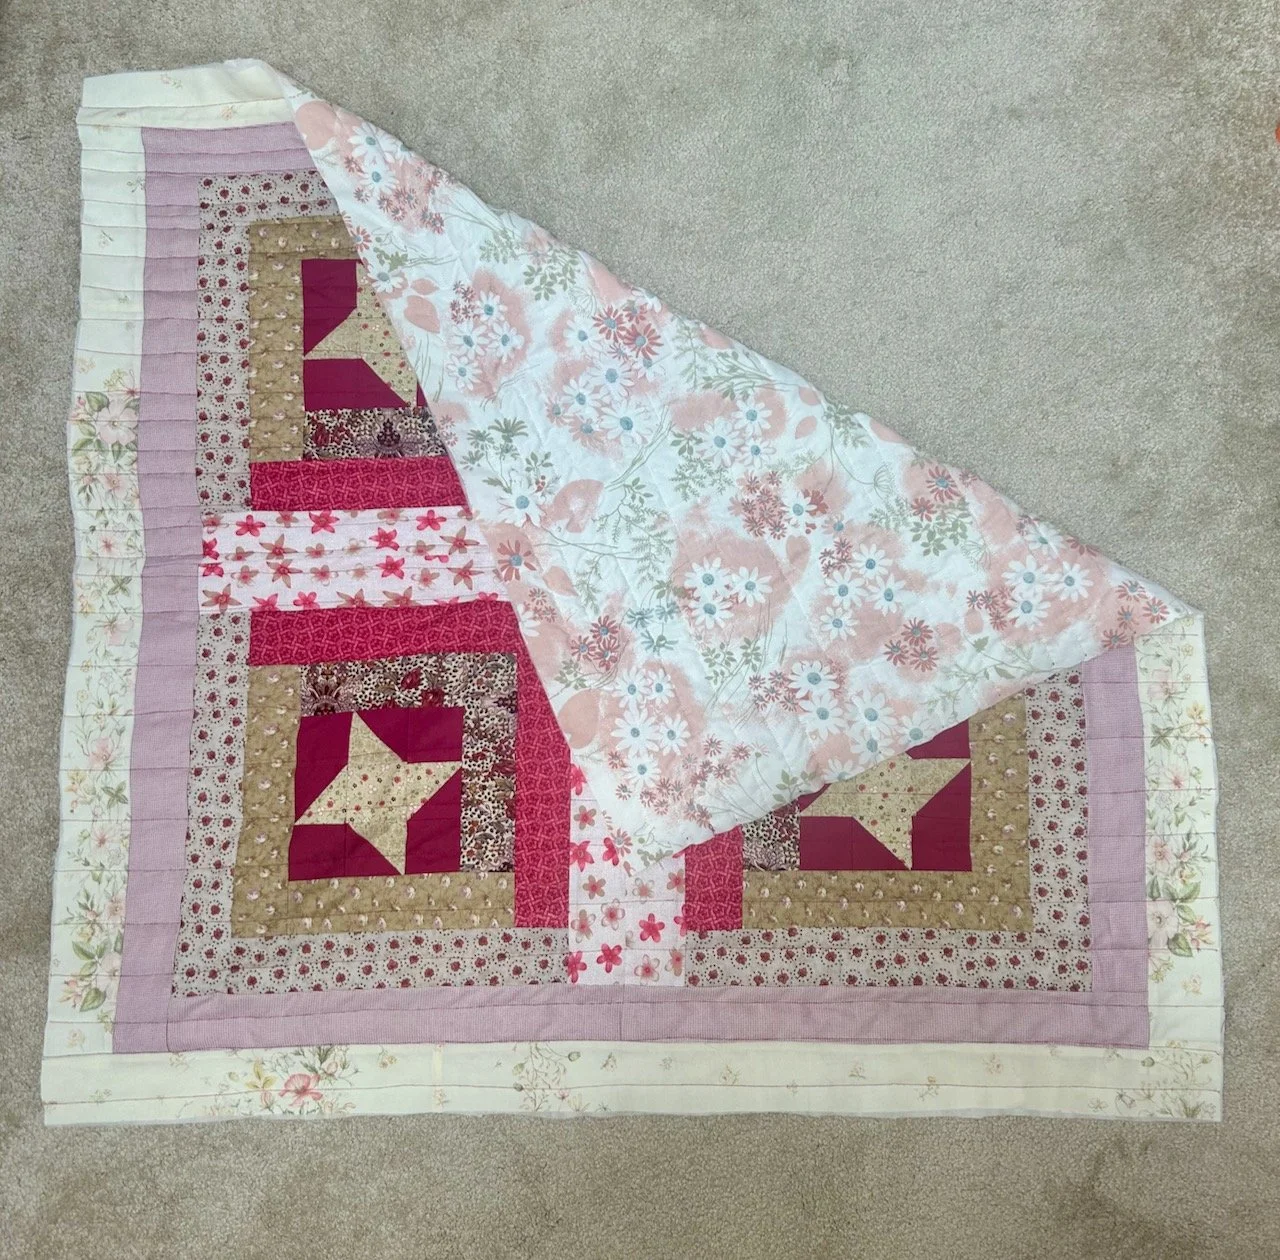
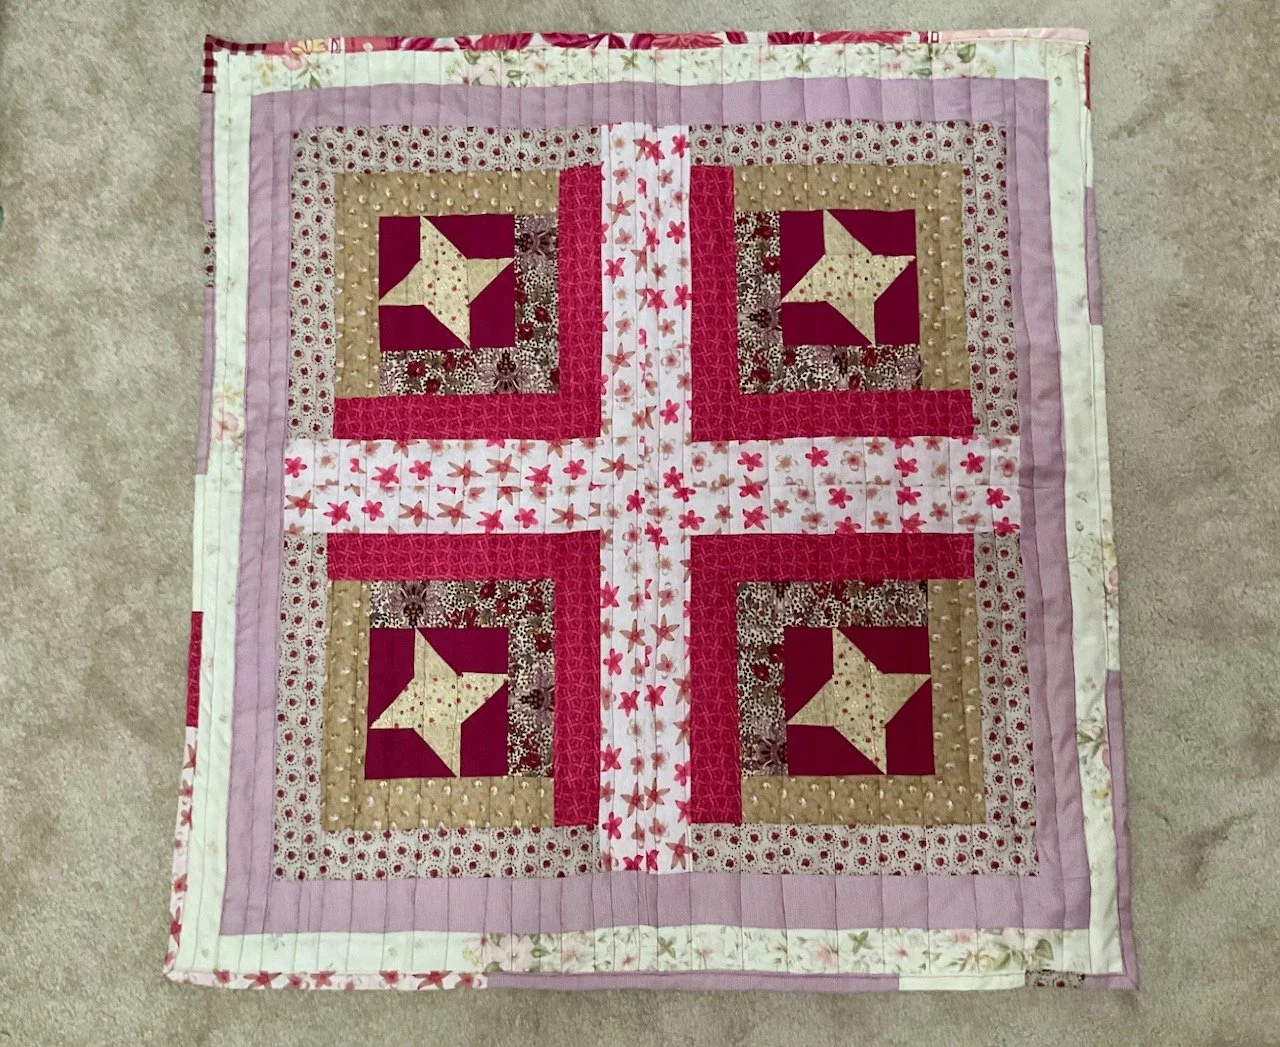
So there it is, my seventh finished charity quilt top waiting to be finished off which I’m hoping will be relatively soon. My plan is to use the grey, white and yellow aztec print on the back of the quilt and to use that as the binding too, but there’s a couple of steps before I get to the binding.

Look out for the updated post, as I’ll share it again when it’s finished.

You can see my other quilts which I’ve made to donate to Project Linus - a charity whose mission is to provide love, a sense of security, warmth and comfort to children, who are sick, disabled, disadvantaged or distressed through the donation of new, homemade, washable quilts and blankets, including those that are part of this ‘stretch’ project in earlier posts. I’m aiming to publish an update on my progress in the last week of each month for the remainder of 2025.

I made a dress, finally!

Yes, it’s been a long time since I first shared my patterns and unexpected plans, a little over two years in fact - doesn’t time fly, when you’re enjoying yourself - we even moved house!

But in that time things were whirring slowly, especially since we moved house and got settled, but I got the fear. I had that gorgeous material, remember the embroidered chambray, and what if I messed it all up?
beautifully embroidered chambray fabric

WHAT IF I MESSED THIS BEAUTIFUL MATERIAL UP?

Striking a chord

But then again I didn’t buy it to sit in a cupboard did I?

And something that Tracey Symonds, a semi-finalist in series 4 of the Great British Sewing Bee who led the Learning to Love your Overlocker workshop I went on in January last year, said struck a chord. At the end of the workshop we were all talking about projects we’d yet to start, and Tracey insisted that before starting anything, and cutting into expensive material, we should make a toile. And if that toile became wearable then that’s a double win.

A double win because you’ve practiced and learnt how to sew the pattern on material that’s most likely a lot cheaper than the material you’ve fallen in love with, and if it’s wearable you’ll have two outfits now that you’re confident enough to cut into the other piece that had been giving you the fear.

It’s not something I’d ever considered before, but I could see it had legs. And so I thought I’d go one better than that, as I was sure that I’d have fabric to make a version of the ‘Essential Denim Dress’ even if it wasn’t denim.

And I did.

Cue two old shirts of MOH’s (chambray and blue/white checked), and old sun dress of mine (green/white floral) and a larger piece of checked and floral Laura Ashley material, which I’d used to cover a headboard in my Croydon house - yes, of course I still had it!

The Sew Different Essential Denim Dress pattern

Sew, sew, stop

Fired up I took the pattern and material along to my March 2024 sewing group and cut out the pattern and most of the fabric - I was surprised at how much time this took - I wish I’d had enough time to cut out all of the fabric pieces there, as that didn’t happen for another month or so.

But eventually I started sewing. And the pattern was as easy to use as I’d been promised - phew. Over the next few weeks I followed that and had the bones of the dress together. All that was left to do was finish the neck, sew the sides together and the bottom hem. I tried it on and wasn’t sure, so it hung in my craft room cupboard for longer than I care to remember.

Alterations for the win

At the end of April I saw the George Broderie Anglaise dress modelled by Jasmin Le Bon in a magazine (I forget which) and fell in love with it. It was the ‘hot’ dress of the season according to the article and so I ordered it almost on the spot - at £18 I thought I probably couldn’t go wrong.

It came, I collected it and tried it on and it swamped me - but I still loved it and realised with a few tweaks (shortening the sleeves, lowering the neck and possibly some darts) it would be fantastic. Which made me realise what I didn’t like about my half finished dress - the neck was too high.

And doh! Wasn’t that in my gift as I was making the dress? Of course it was, so I made a template from a dress that I’m more than happy with the neckline of and cut into my toile. Happy with the neckline, finishing it off was a breeze.

BTW I’ve yet to start the alterations on the Broderie Anglaise dress!

MY SEW DIFFERENT ‘ESSENTIAL DENIM DRESS’ - CLEARLY NOT DENIM

MY SEW DIFFERENT ‘ESSENTIAL DENIM DRESS’ - CLEARLY NOT DENIM

A CLOSE up of the top half and neck finished with pink bias binding - the back uses the green material

A CLOSE UP OF THE TOP HALF, AND THE PINK BIAS BINDING ON THE INSIDE OF THE NECK

A close up of the side pocket

A CLOSE UP OF THE POCKET - WHAT YOU CAN’T SEE IS THAT THE INSIDE IS THE PLAIN BLUE MATERIAL, BECAUSE THERE WASN’T ENOUGH WHITE/BLUE CHECK MATERIAL!

THE DRESS INSIDE OUT - SHOWING MY NEATLY FINISHED SEAMS

AND INSIDE OUT

My learnings

The biggest one was clearly that I could amend the pattern as I wanted to, there is no pattern police so it’s ok to go off piste if it means i) you’ll finish the item and ii) you’ll actually wear it!

More specifically for this pattern next time I’ll:

  • use my overlocker instead of zigzaging the seams,

  • cut the neck much lower - I have a template now,

  • potentially adjust the shoulder seams so the neck doesn’t sag too much,

  • take care with the pocket so it’s not too baggy - if this one is baggy when I’m wearing it I’ll add a popper, and

  • leave larger gaps for the arms for a looser and more comfortable fit.

I’ve even worn my dress out, in public - and it didn’t fall to bits!

It seemed only right that its first outing was to a sewing group meeting, but I think there’ll be more - both outings and dresses! Which is just as well as I’ve a few more in mind for this style, including that embroidered chambray above.