My garden in February

I’ll admit to very little garden activity again this month, other than stopping and taking more photos - though I’m hopeful that in the next month there’ll be much more actual gardening happening. But until then, let’s look back at February, when my garden has started to wake up.

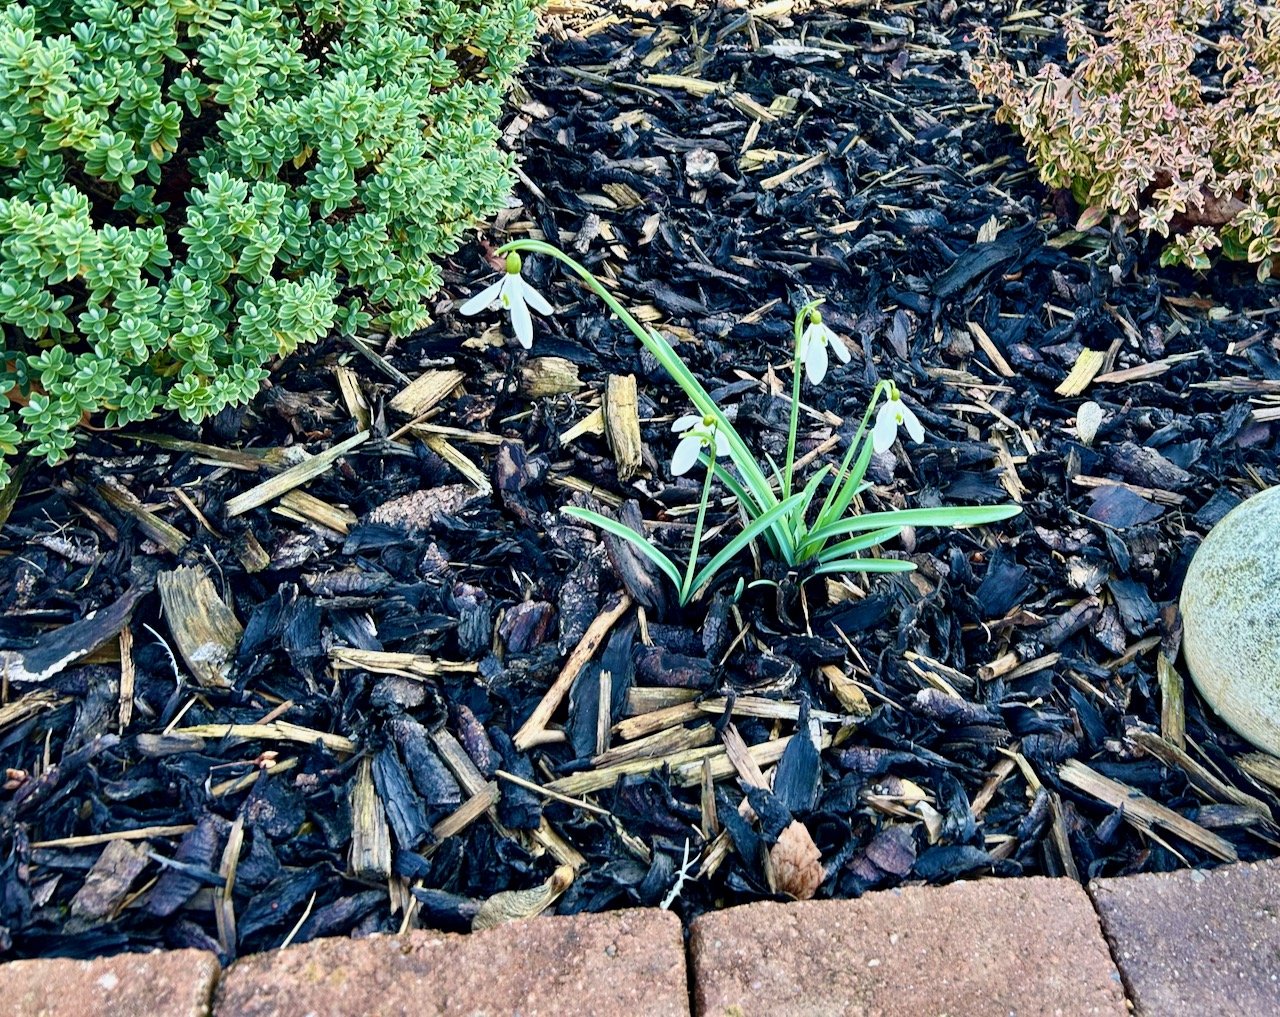
The snowdrops, which I ended last month’s post with, have continued to develop - it seems these are the tallest of the two clumps I planted last Spring, and clearly I wanted to see these as I planted them closest to the house. The other clump have made an appearance but there’s not been as many as this. I suspect that both clumps with be even better next year.

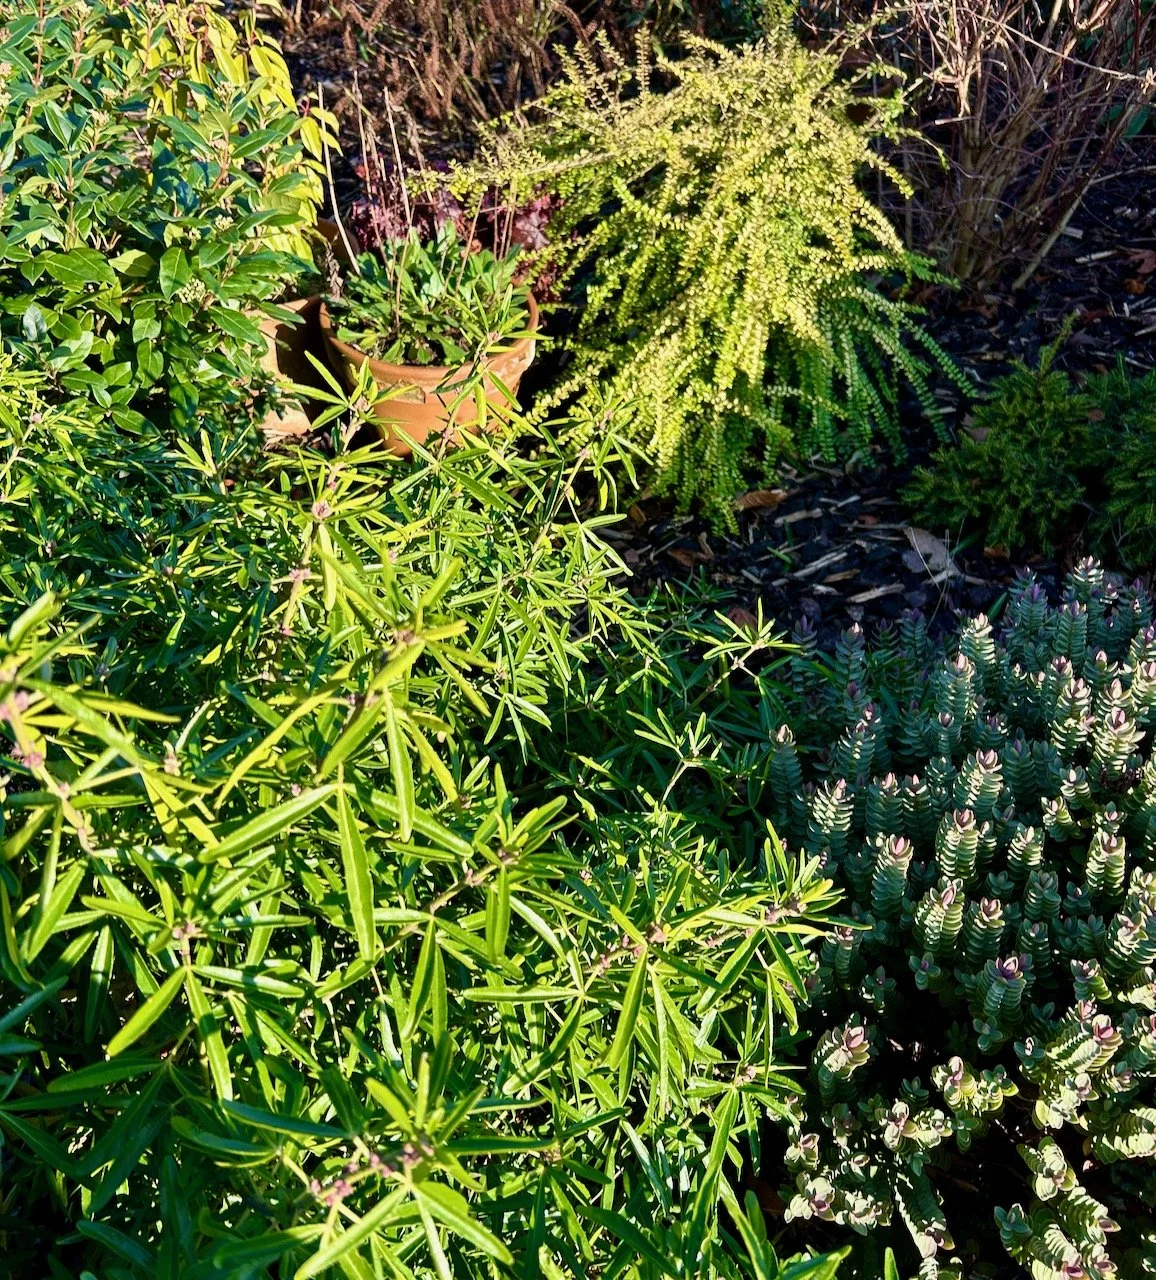
It was great to catch the sun on this part of the garden early on in the month, especially at a time when sighting the sun was a rarity. I think I’ve identified the main shrub (bottom left) as a daphne - I’ll have to double check that when it flowers though - but the sun on its leaves, and the contrast of the sun and shadows on the hebe next to it was really uplifting.

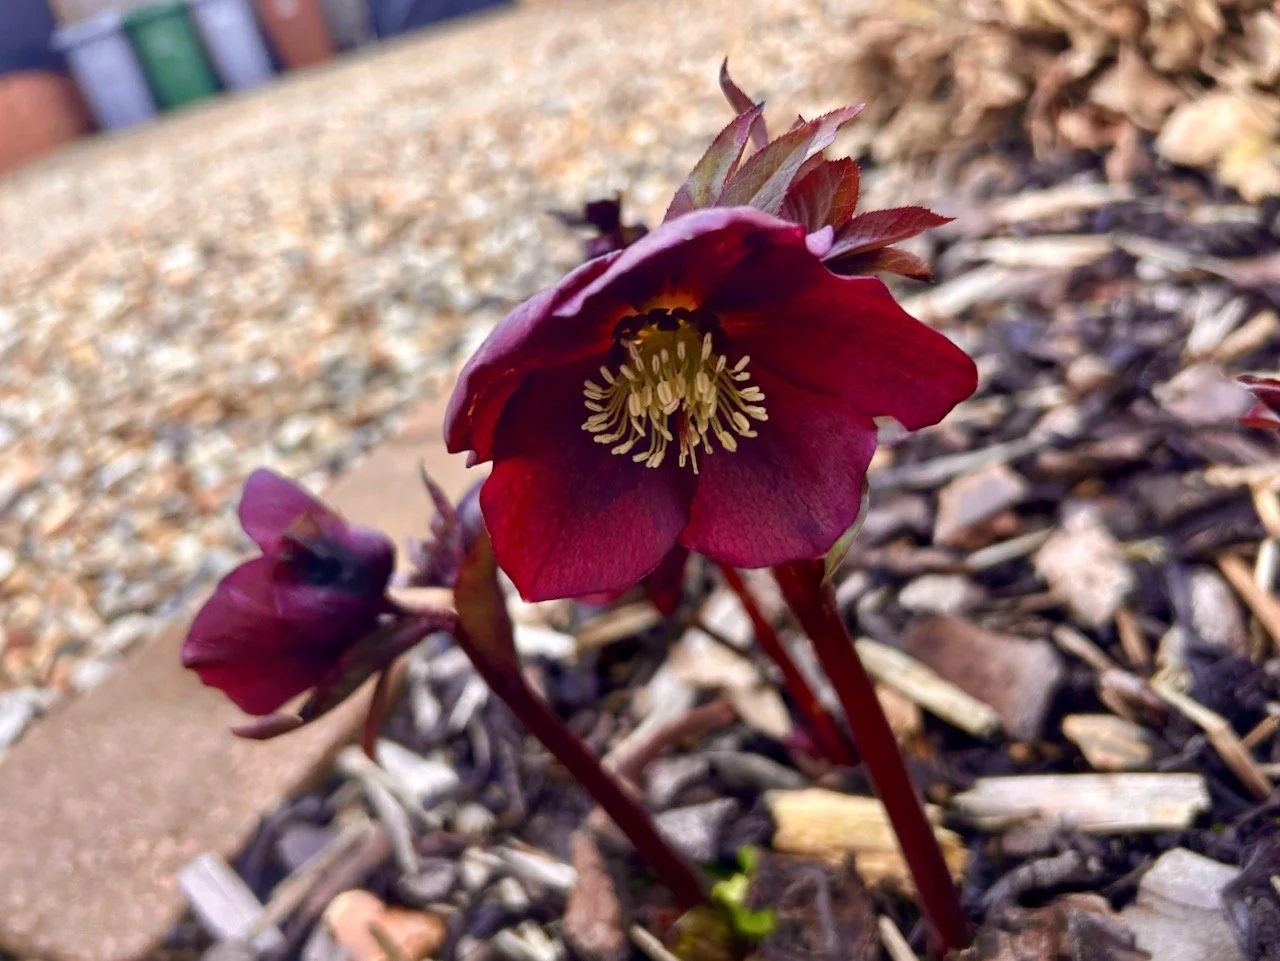
Elsewhere in the garden the hellebores have been doing their thing. I’m especially pleased to see this maroon one flower - it’s one we brought with us from London and which originated from my FIL’s garden. I’d taken the plunge and potted it into the border, just along from the cream hellebore which was already here. I thought I’d lost this one, and it still doesn’t have a huge amount of leaves - but clearly I haven’t.

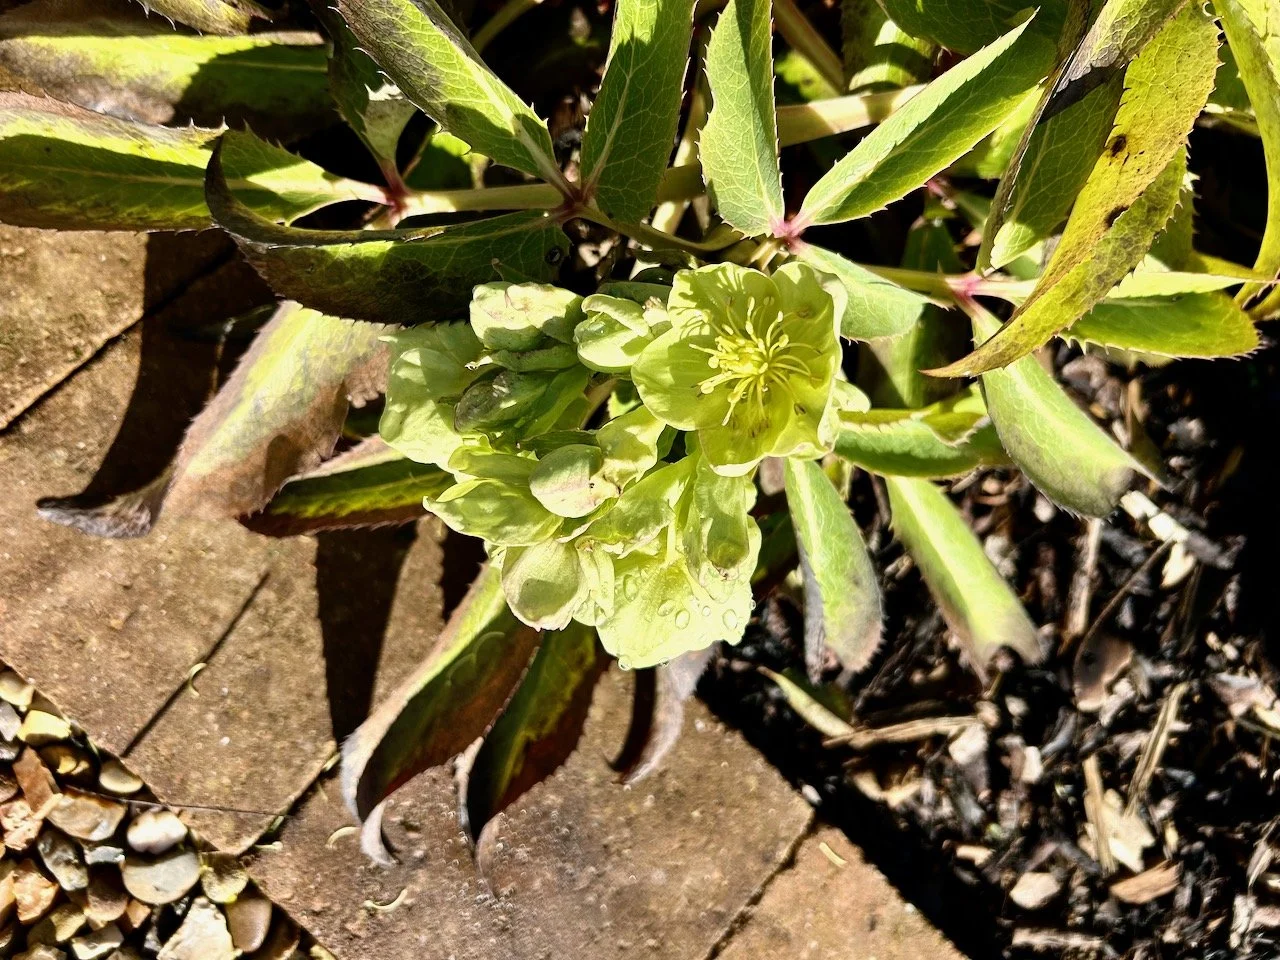
the cream hellebore in flower leaning over onto the edging stones

It’s great to have a dark and light hellebore almost next to each other and both enjoying the sun. In our previous garden we had the dusky pink sort, and at some point I might add to my hellebore collection.

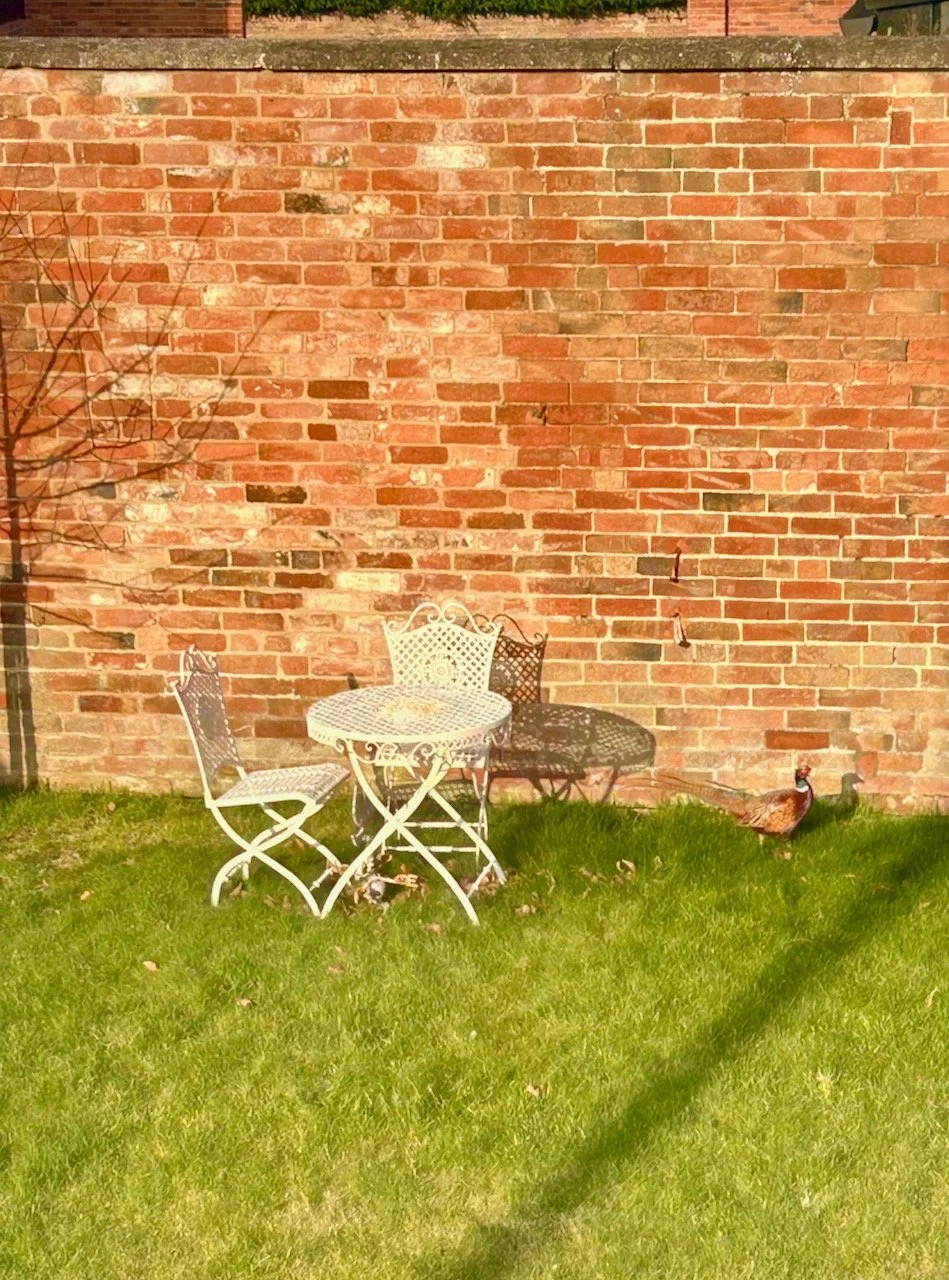
You may have already seen in other posts that we had a unexpected pheasant visitor to our garden this month - I’m including it here too, as it really made me smile - and wasted about thirty minutes of our day watching its antics. Aren’t the colours wonderful, and how like the brick wall are they?

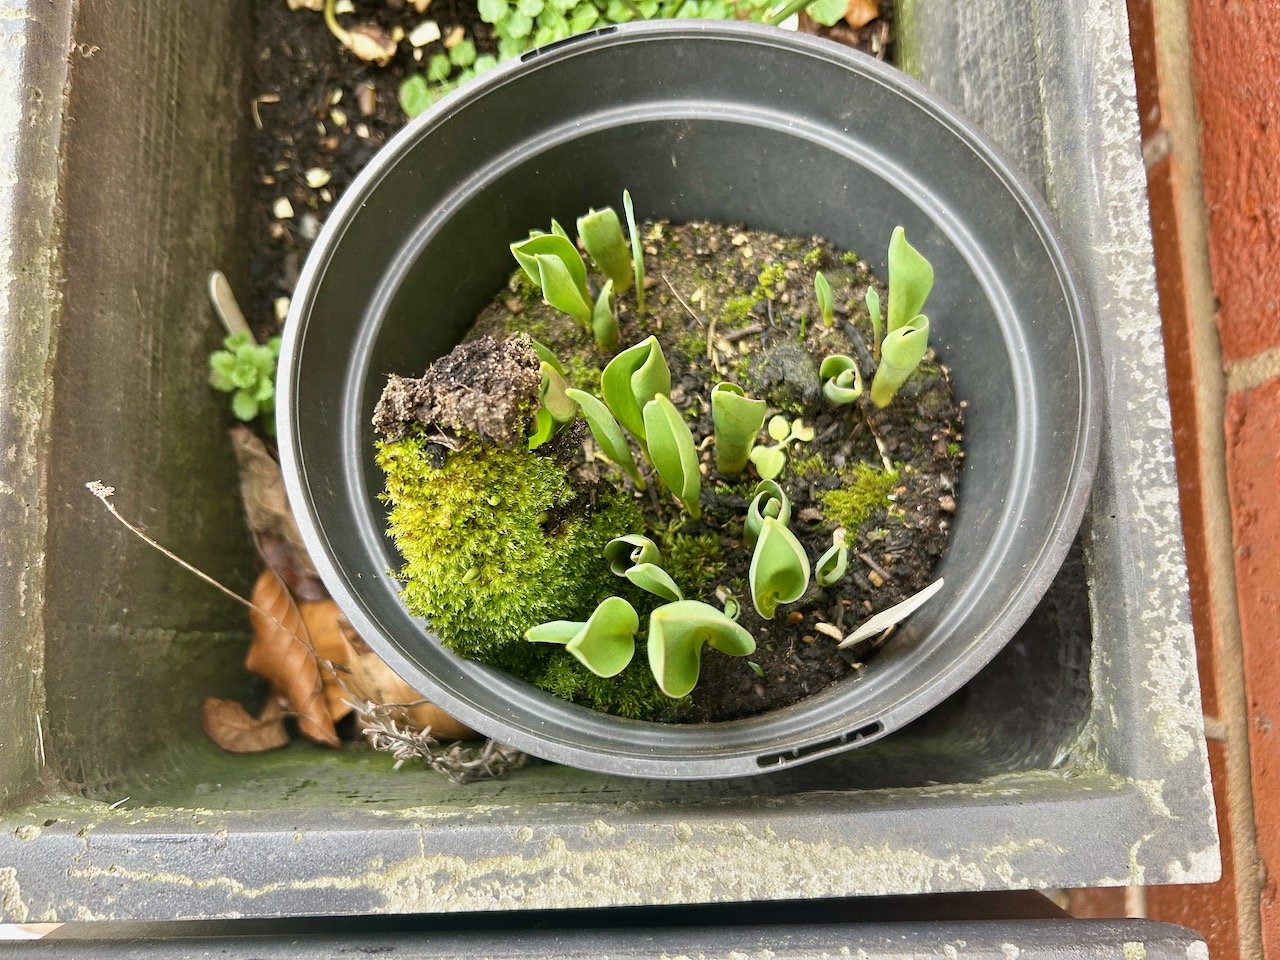
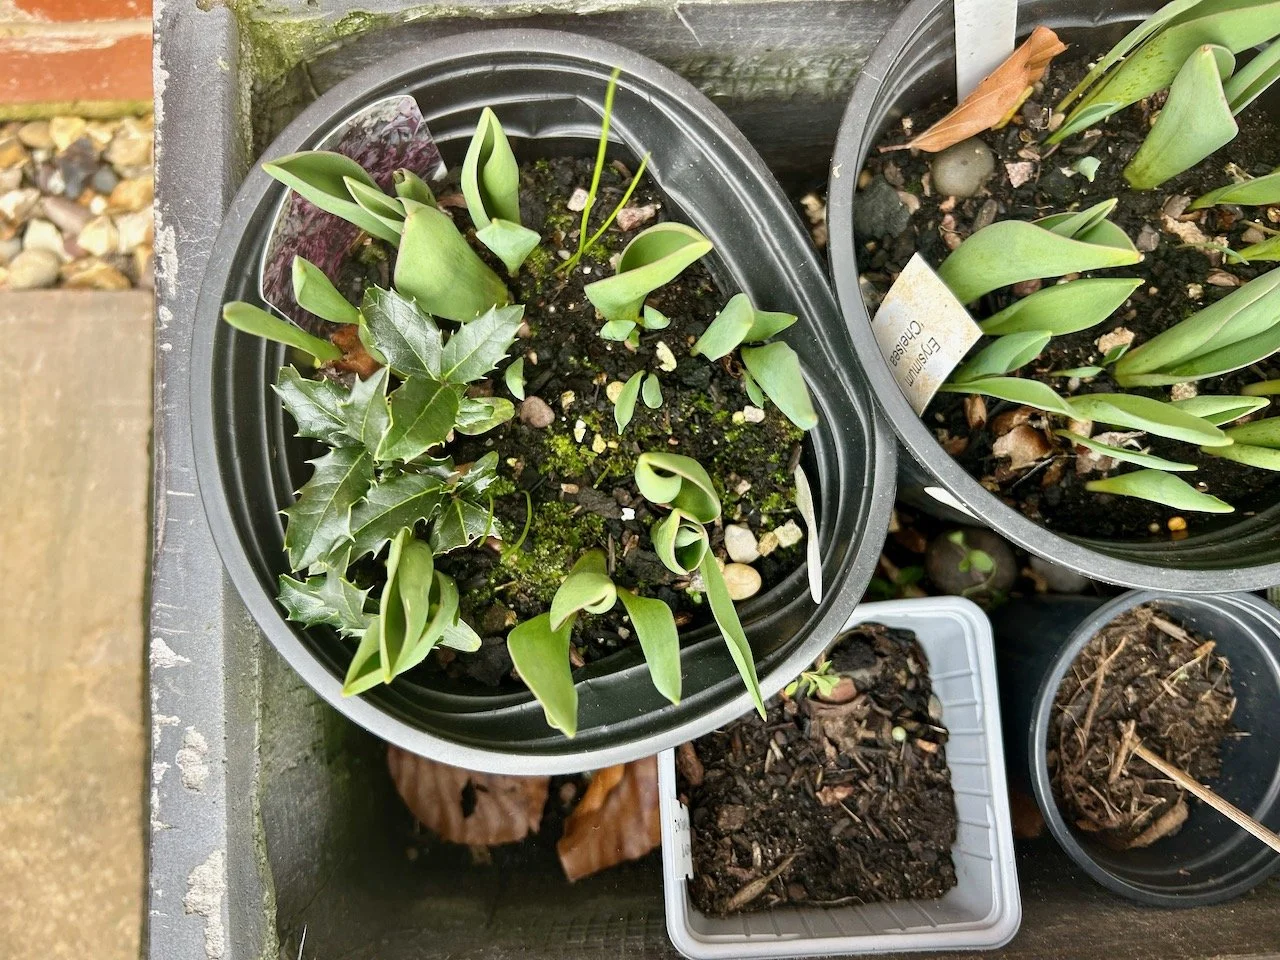
There’s also been much bulb activity in my pots. The tulips have started to unfurl their leaves in their temporary spot alongside the garage. One pot seems to have developed some moss over the winter, and another now seems to be sporting four small holly seedlings which I’m not sure where they’ve come from. I think I might try and transplant them to see if they continue to grow as they could potentially be useful longer term, and well, who doesn’t like free plants?

more tulip pots and growth - though this time the left hand pot has four holly seedlings too

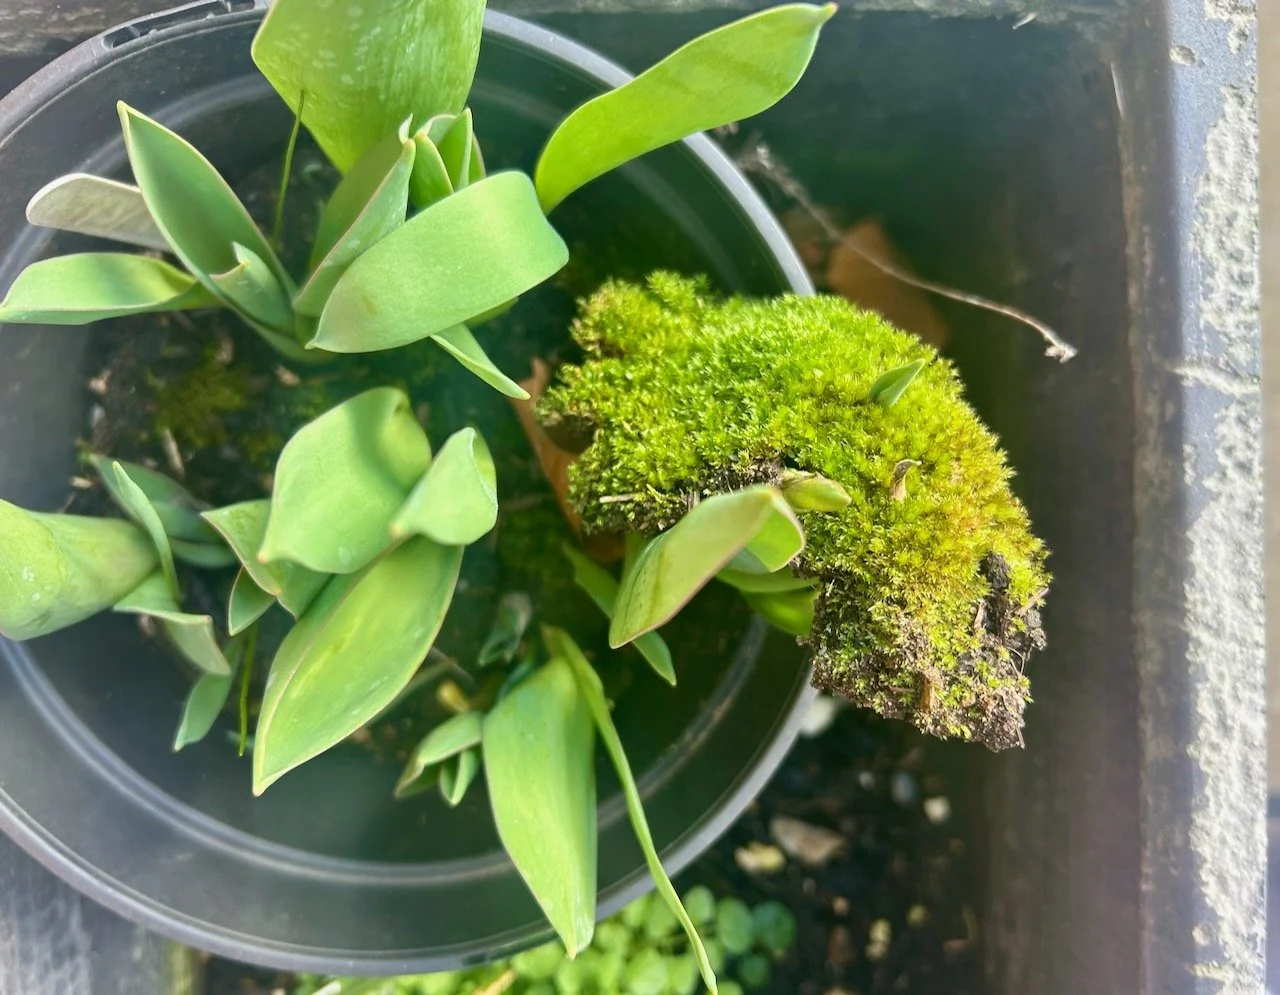
I did have a wry smile later in the month when I checked on the tulips again. The one with the mossy pot has dealt with it in the only way it could - and grown through it. I’m loathed to remove its mossy duvet just yet as I can imagine the weather might be a bit of a shock, but I think I’ll probably need to remove it at some point to give the tulip’s stability its best shot.

More growth from the tulips with the moss - in fact they're growing through the mossy blanket
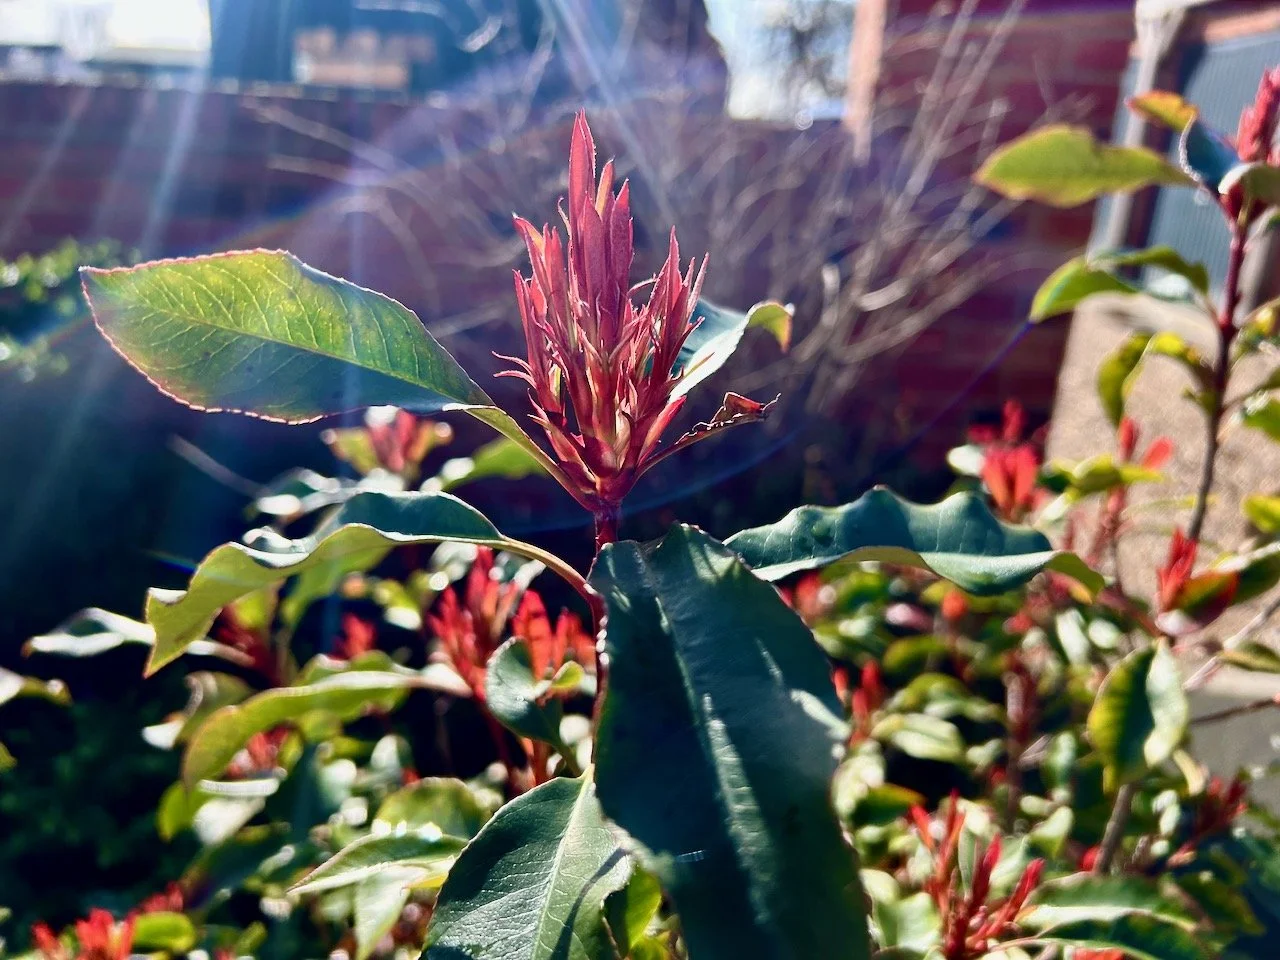
sunlight beaming down onto the red new growth of the red robin shrub

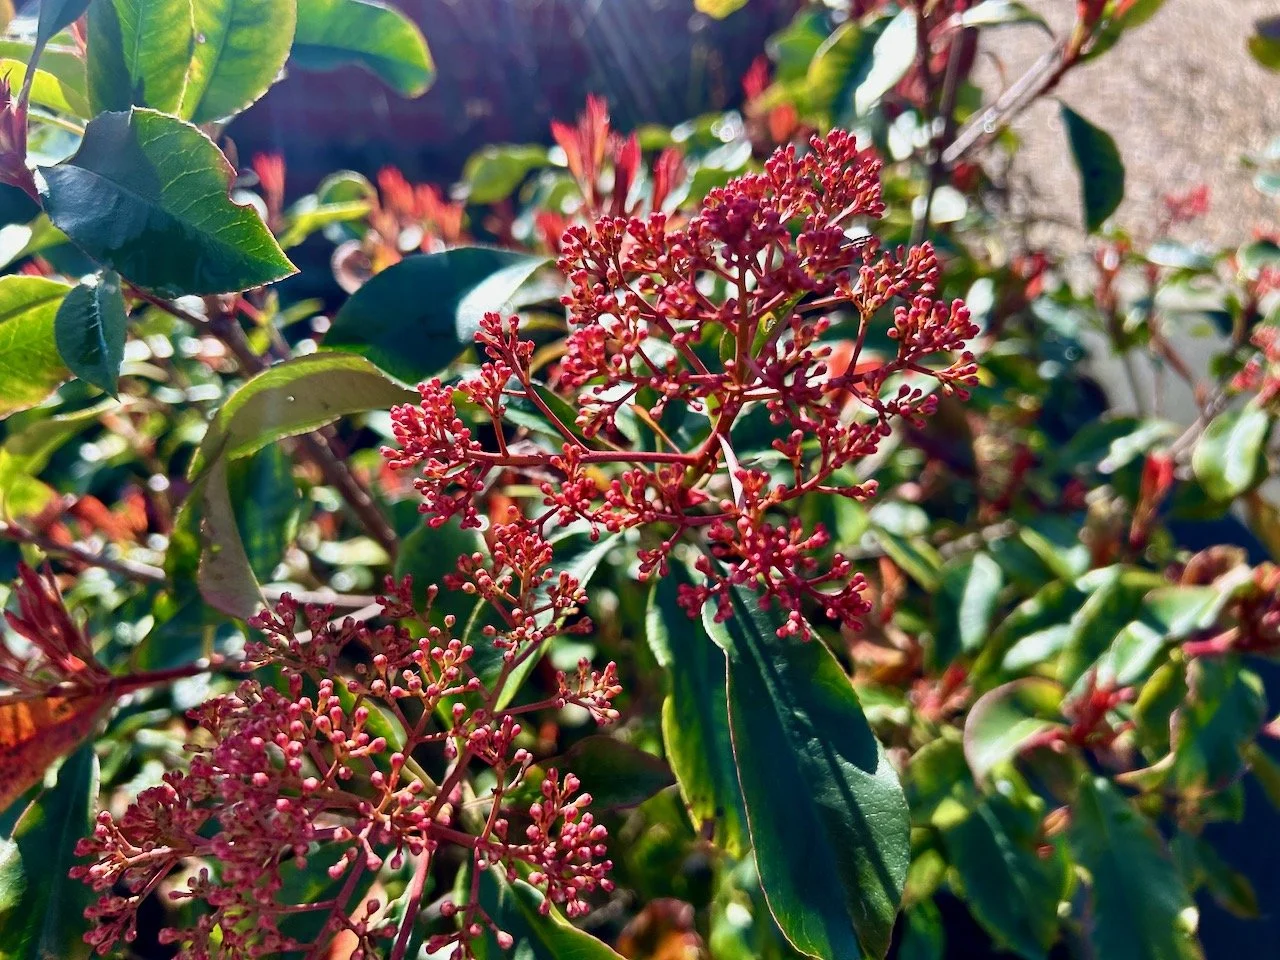
Getting the bin in the other day (oh the glamour!) I noticed the sun on this Red Robin shrub and couldn’t help but take a snap or two - the forming flowers reminded me of coral in both their form and colour.

the same red robin bush but this time the start of the flowers - which almost look like coral with their form and colour

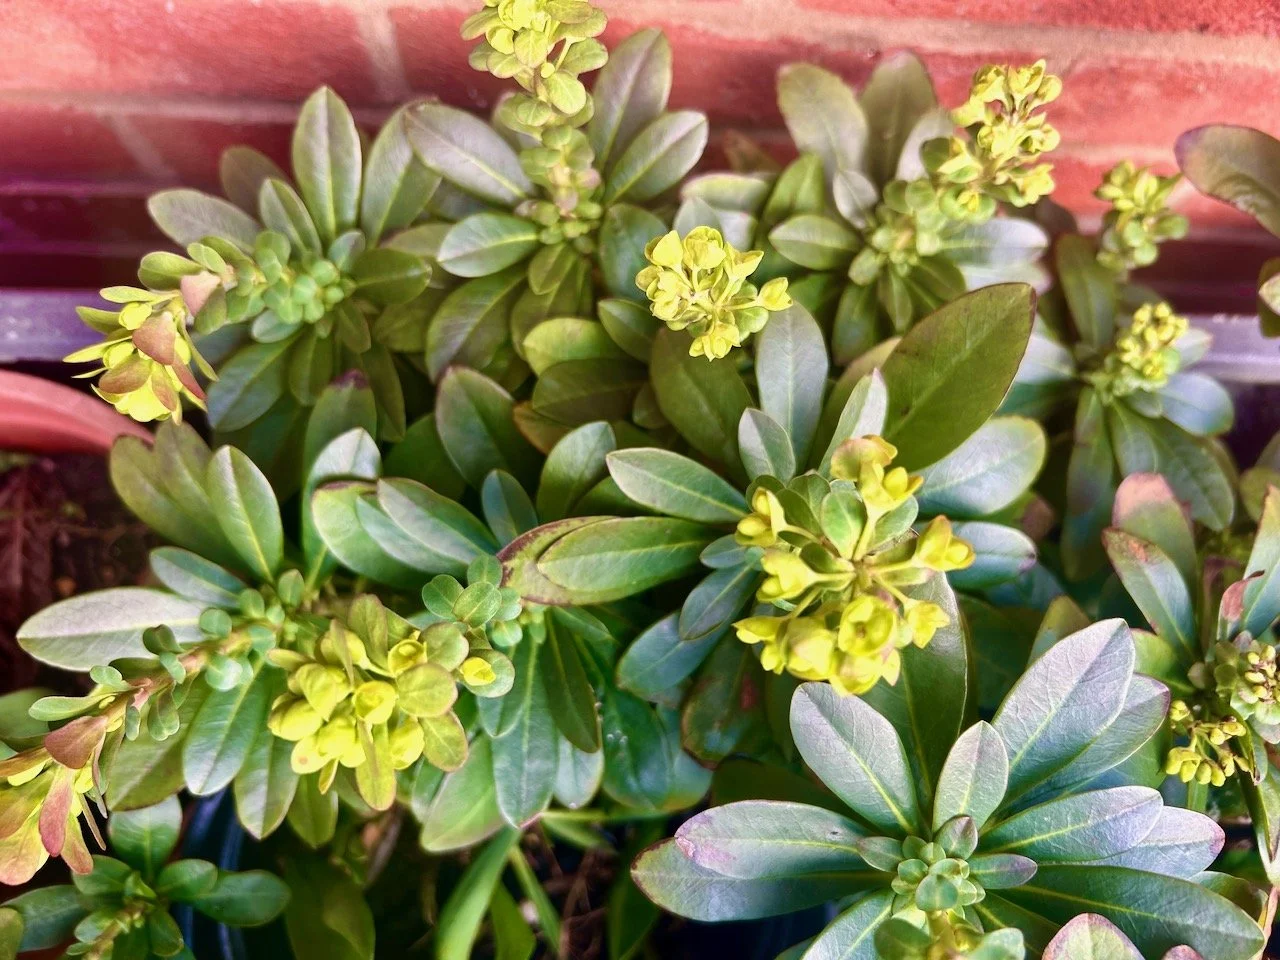
The other colour that’s arrived in the garden this month is the fresh lime green of the euphorbias. These are still contained in the pot that brought them from our London garden, and I still think that’s the best way of dealing with them. I’m hoping to pair them with some flowering tulips again this year - if the timings work out.

The lime green bracts of the euphorbia

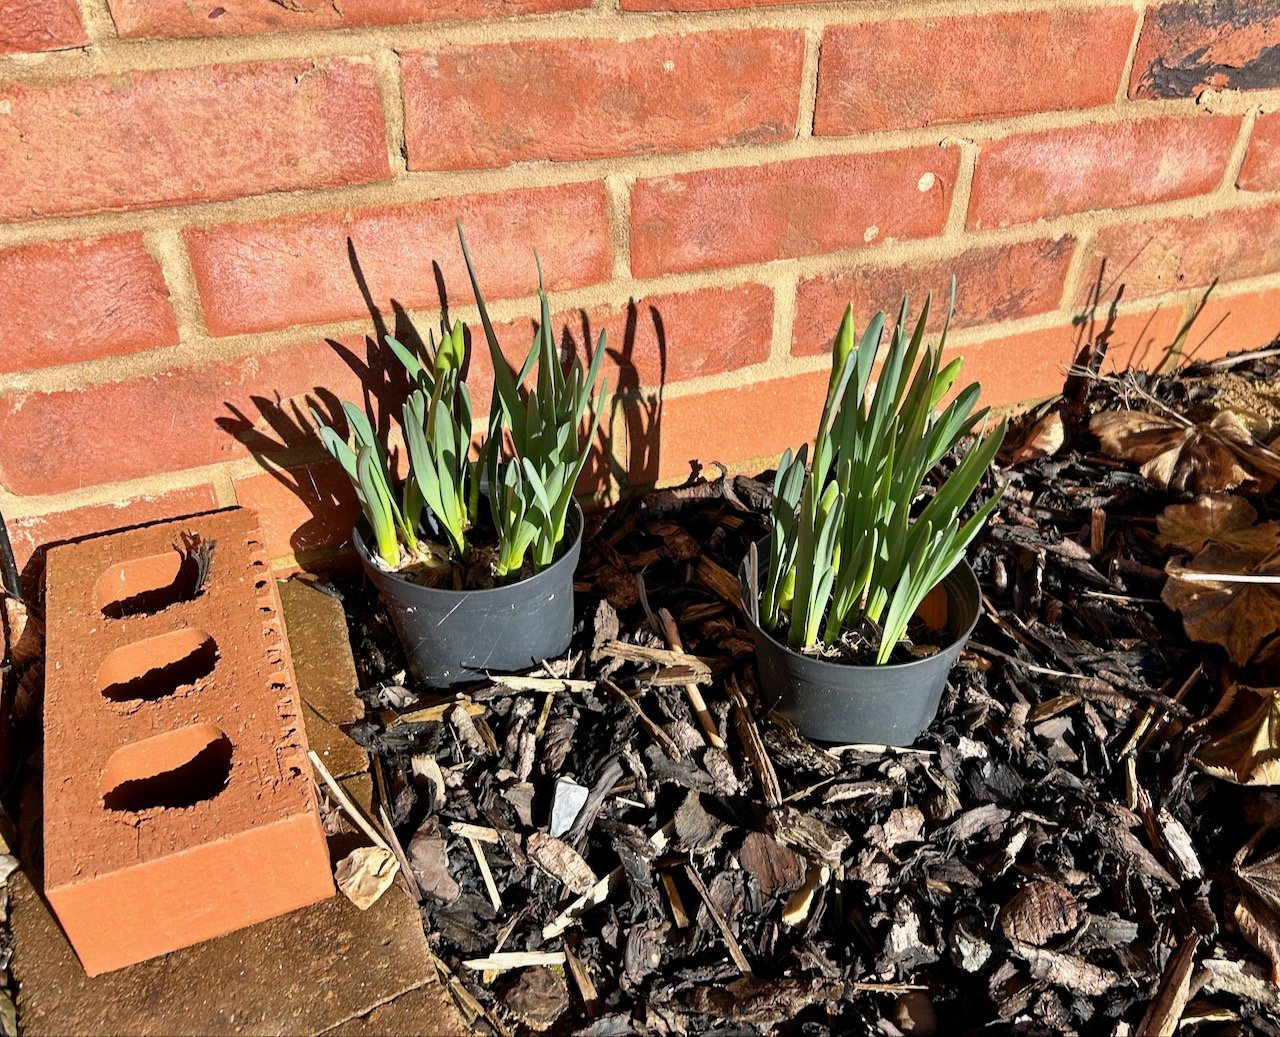
I don’t yet have flowering daffodils, and it is still quite early for them, but I think these two pots by the gate are the likeliest to flower first, and I can’t wait.

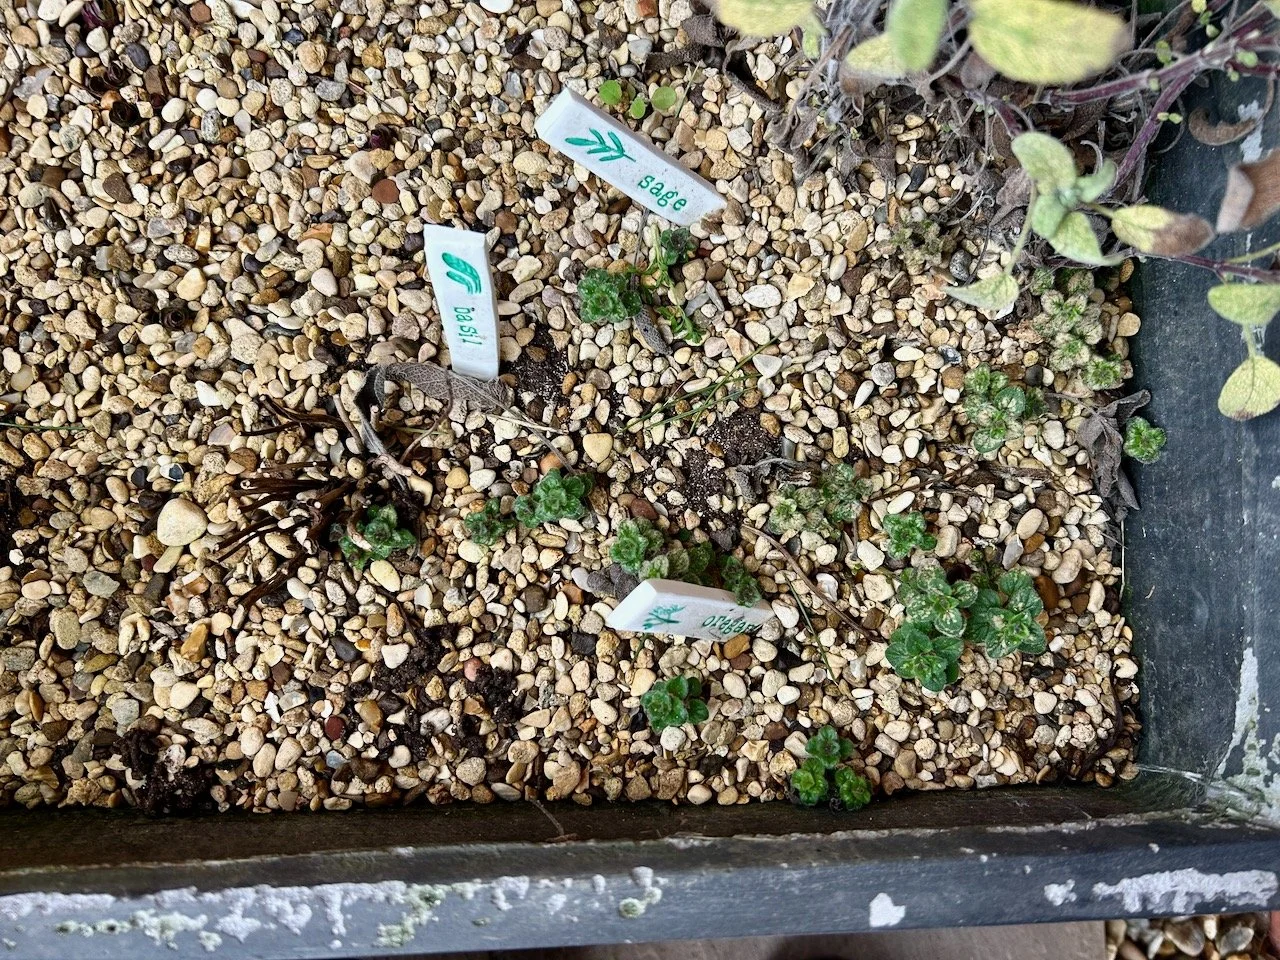
In my herb planter by the back door things have been pretty sparse over the winter. I cut both the mints back and I’m waiting for them to come back with extra vigour; the flat leaf parsley has continued to provide throughout the winter and that’s been a first for me - though I often forget its there, which isn’t so good! But it’s the oregano that’s currently the star with it’s little cabbage like growth taking up a wider area than the original plant (which was close to where the plant label is), and I can’t wait to see how this goes, and how we can use it in the kitchen too.

new growth of oregano - in a wider area than before - in my herb planter
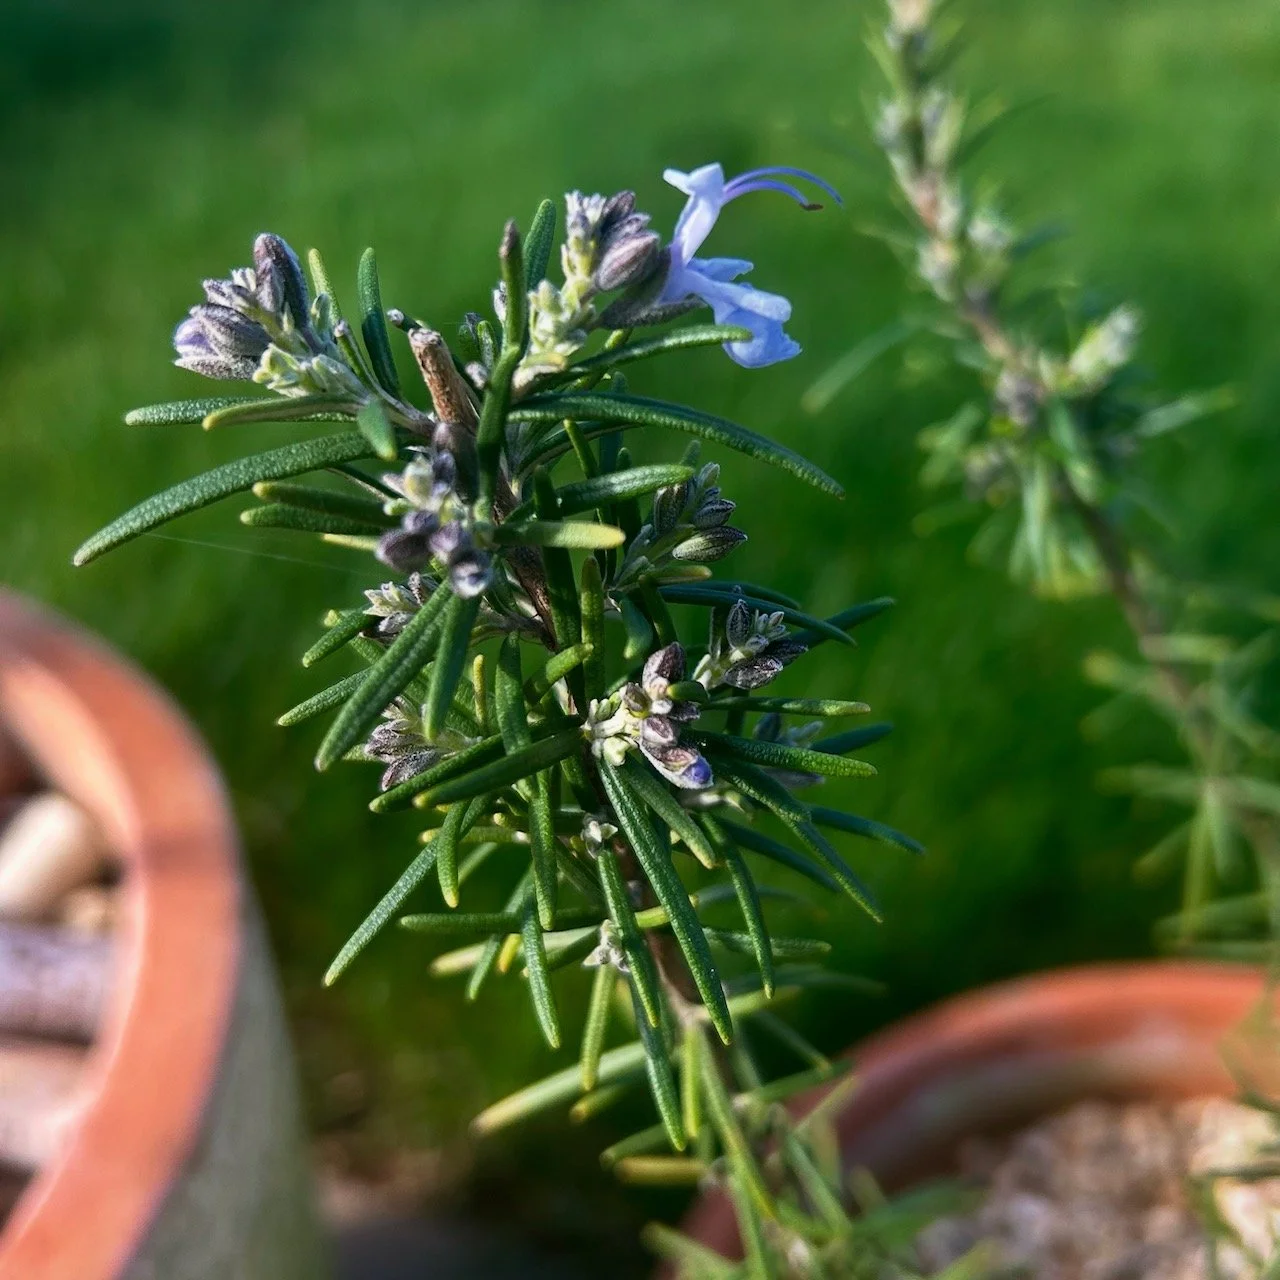
the first blue flower on my rosemary plant - clearly enjoying the sunshine

My rosemary is a tale of two plants; the older rosemary which we brought with us and suffered with wind damage but then recovered enough to plant in the outer border didn’t make it through the winter, sadly. However the newer plant is thriving. Clearly its a different variety as I never saw a flower on the older plant, ever - but this one looks as if it will deliver plenty of those, and plenty of rosemary too. I suspect that at some point I’ll be taking a cutting or two from this one to increase my rosemary chances in the future.

Thanks for joining me for this month’s update, you can read all the posts in this series, and join me next month to see how my garden continues to grow!

Making my mystery block of the month: January

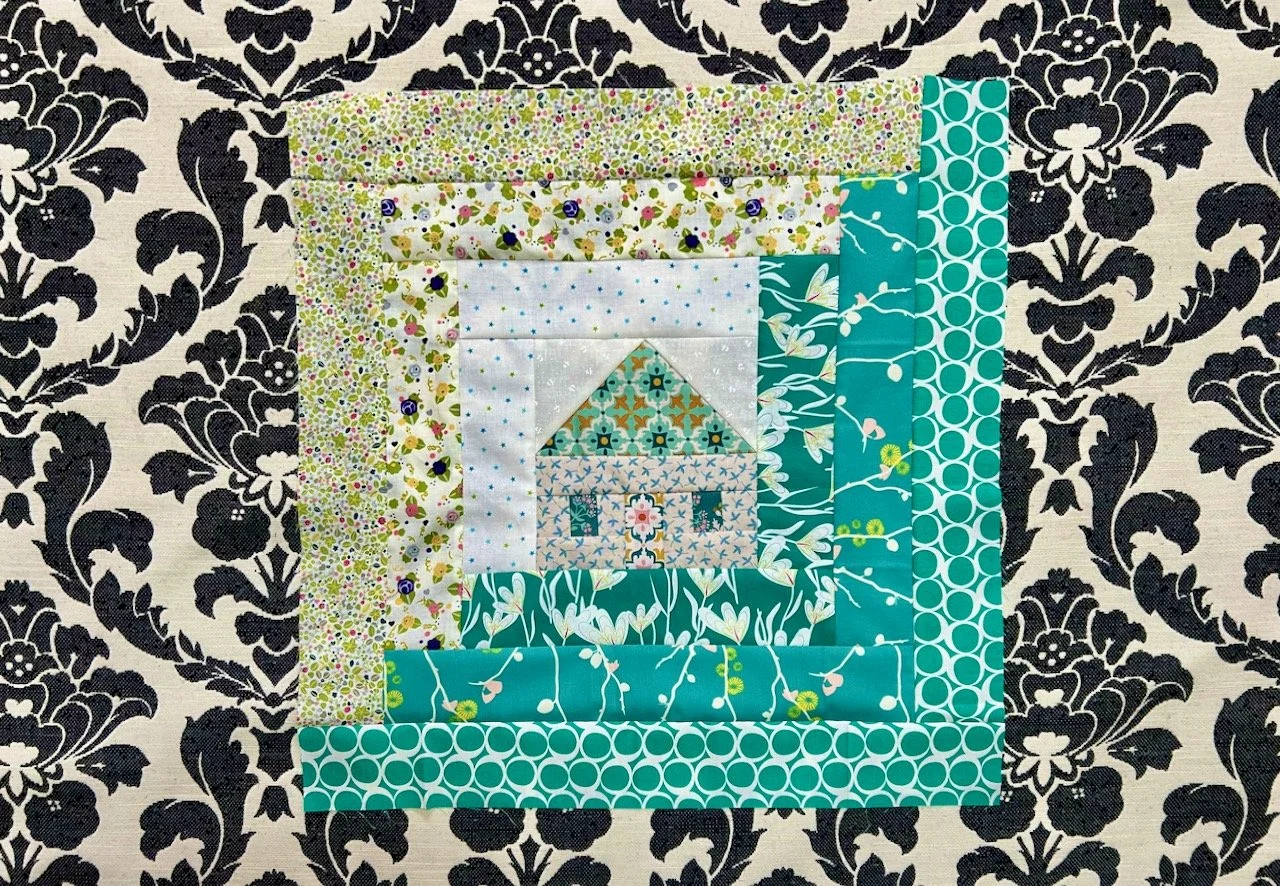
You’ll have seen that I plan to complete Sherri’s mystery block a month quilt and yesterday I shared the test blocks which I made into my third Project Linus quilt, well today I’m sharing the log cabin block I made for my own quilt.

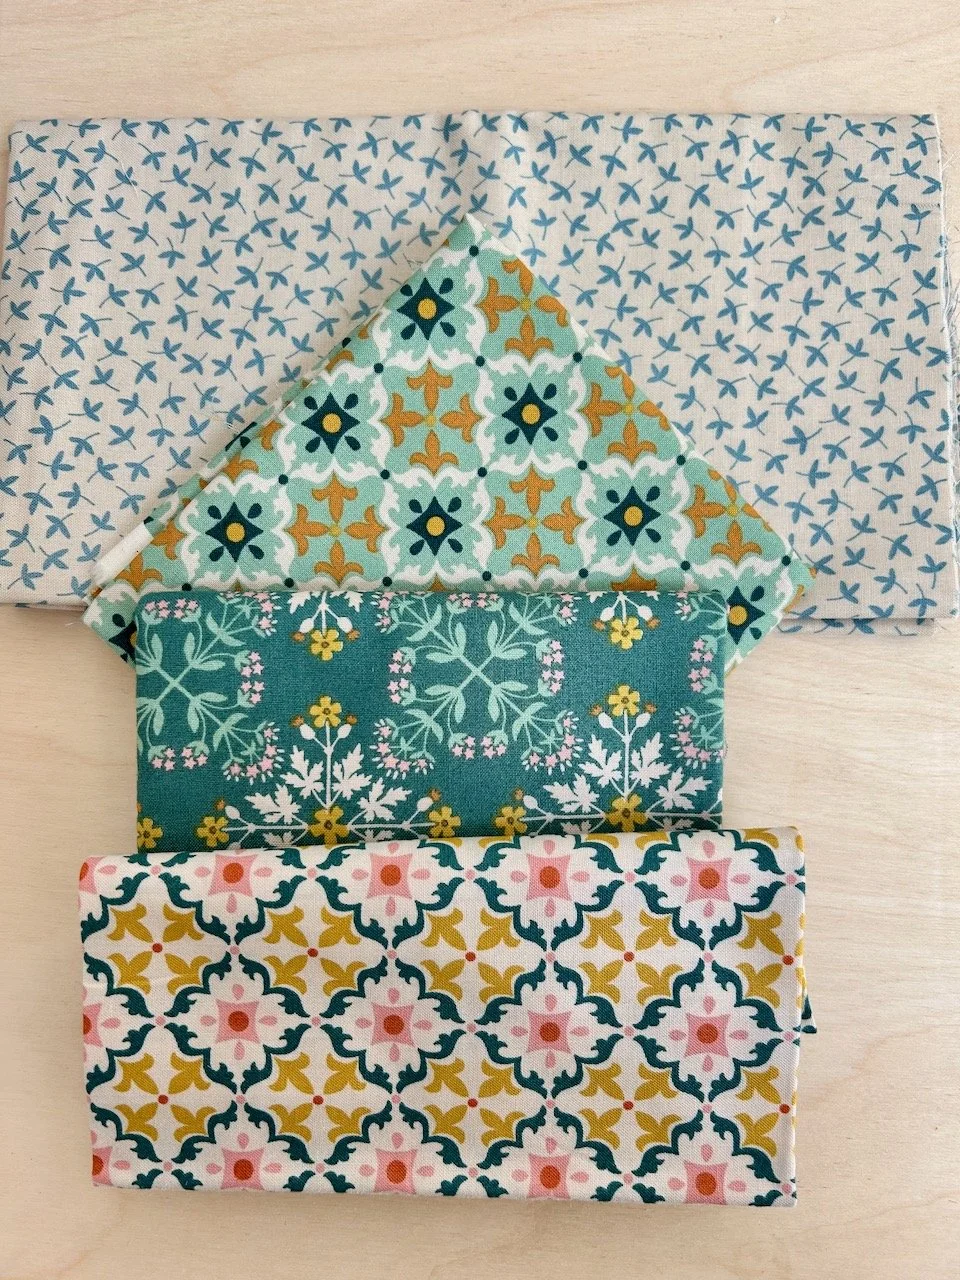
So while I knew that I’d use the Lewis and Irene fabric bundle which I picked up at the Newark Quilt Show in January for the block’s centres, I didn’t know what to use for the borders. I wanted something quite bold for one of the colour ways, as our house is predominantly white, and although I like that I’m also keen to add colour through accessories and furnishings.

But it was the borders that made me think twice, and more than twice really. I ummed and ahhed about whether I should add them as I go along, or wait until the final block is completed later in the year. The pluses for delaying meant it would give me longer to decide which fabric to use and I could be sure I had enough of that; but the downsides were that there would be a lot of quilt still to complete at the end of the year, and the chances of that happening could be low. But I might not have enough material to use the same on the borders throughout, though I remembered that it really didn’t matter so much on the quilt I’d just completed - but you see my dilemma.

In the end I just got sewing, and hoped I’d work it out along the way!
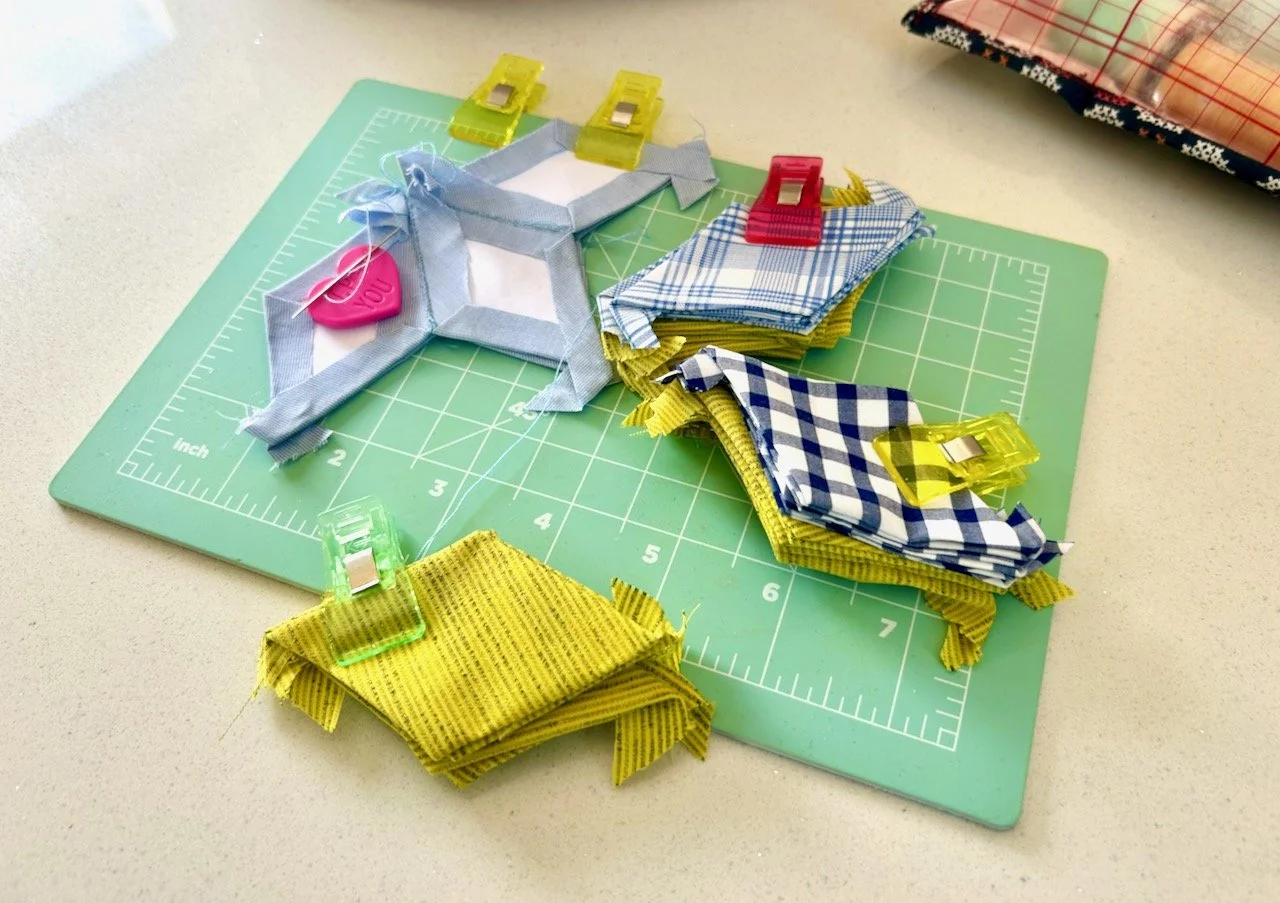
Sewing the central block

Having completed the test blocks I felt pretty confident to try the block for my own quilt; as well as learning how not to cut off the point of the roof, I also learnt that I preferred the darker border colours on the bottom half of the block, and the lighter ones on the top. Perhaps for this block because they were representative of the ground and the sky respectively - who knows.

I’ve also worked out recently that pulling the fabrics together for a quilt is one of the most enjoyable aspects for me, but while I thought these were busy, I thought they would probably work.

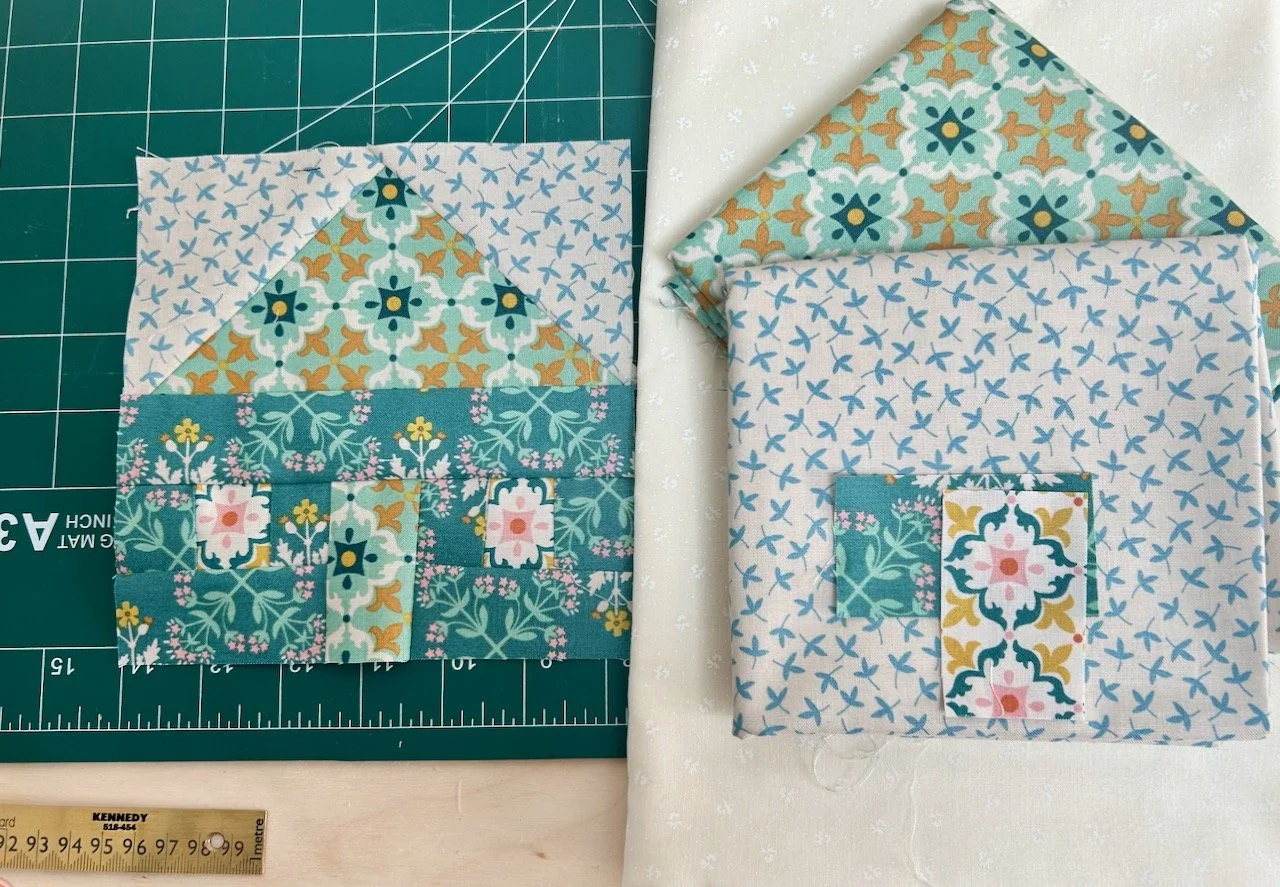
But with the block sewn, I was less sure. The more I looked at it the more I was less sure - and nor did that help my borders dilemma. When looking at it again with fresh eyes, and realising the thing that pleased me most about the sewn block (on the left in the picture below) was the placement of the door handle, I realised it was time to try again.

However perfect and completely unintentional the door handle placement was!

The sewn block using the fabrics laid out, and an alternative layout of fabrics

And so I tried a second combination of fabrics - one that’s much less busy, and introduces a plainer element for the sky. This worked so much better, even though this time the door has no handle.

Happier with my block it was time to deal with the dilemma.

Adding borders, or not?

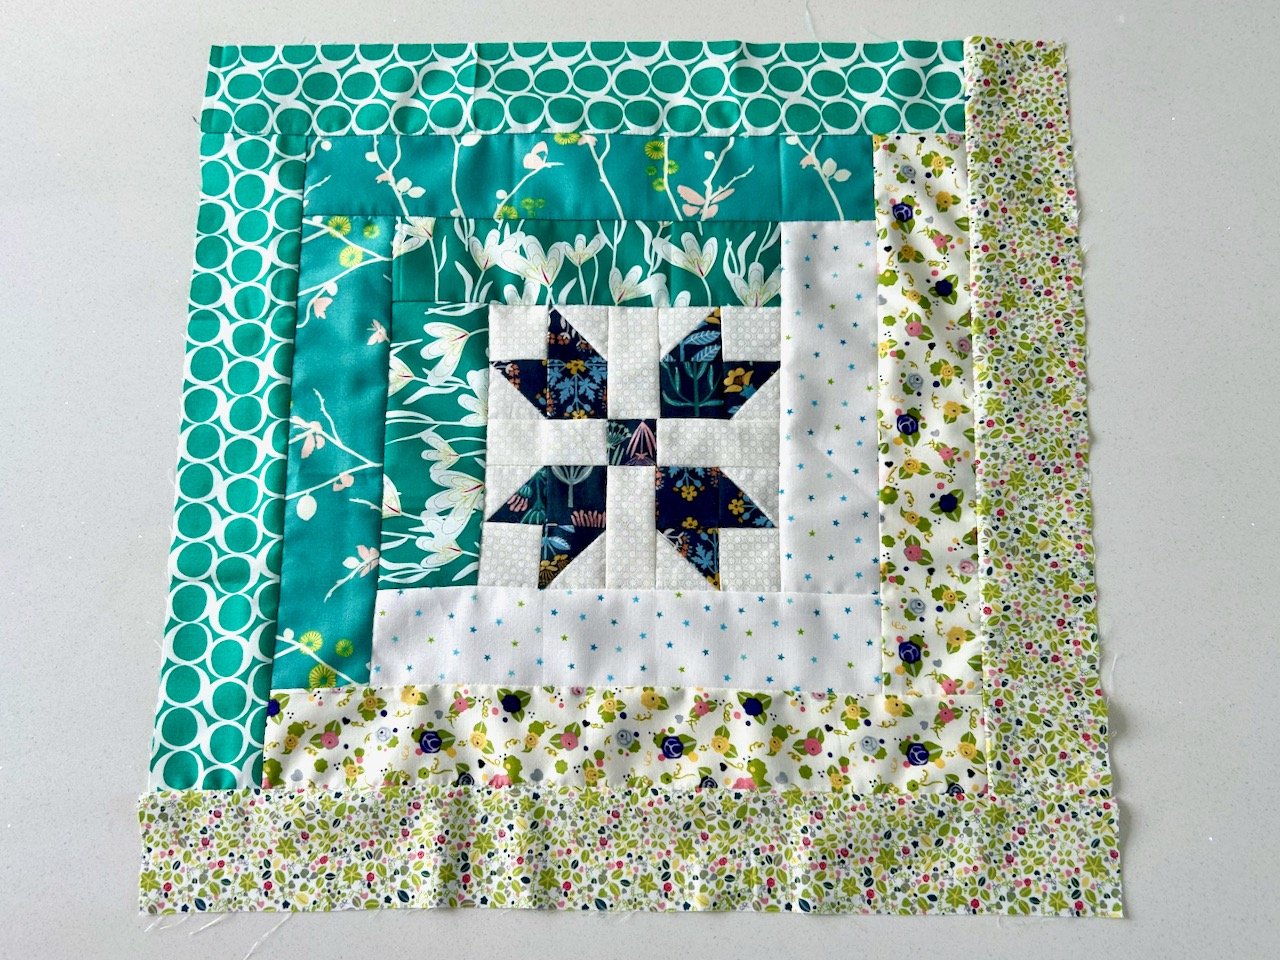
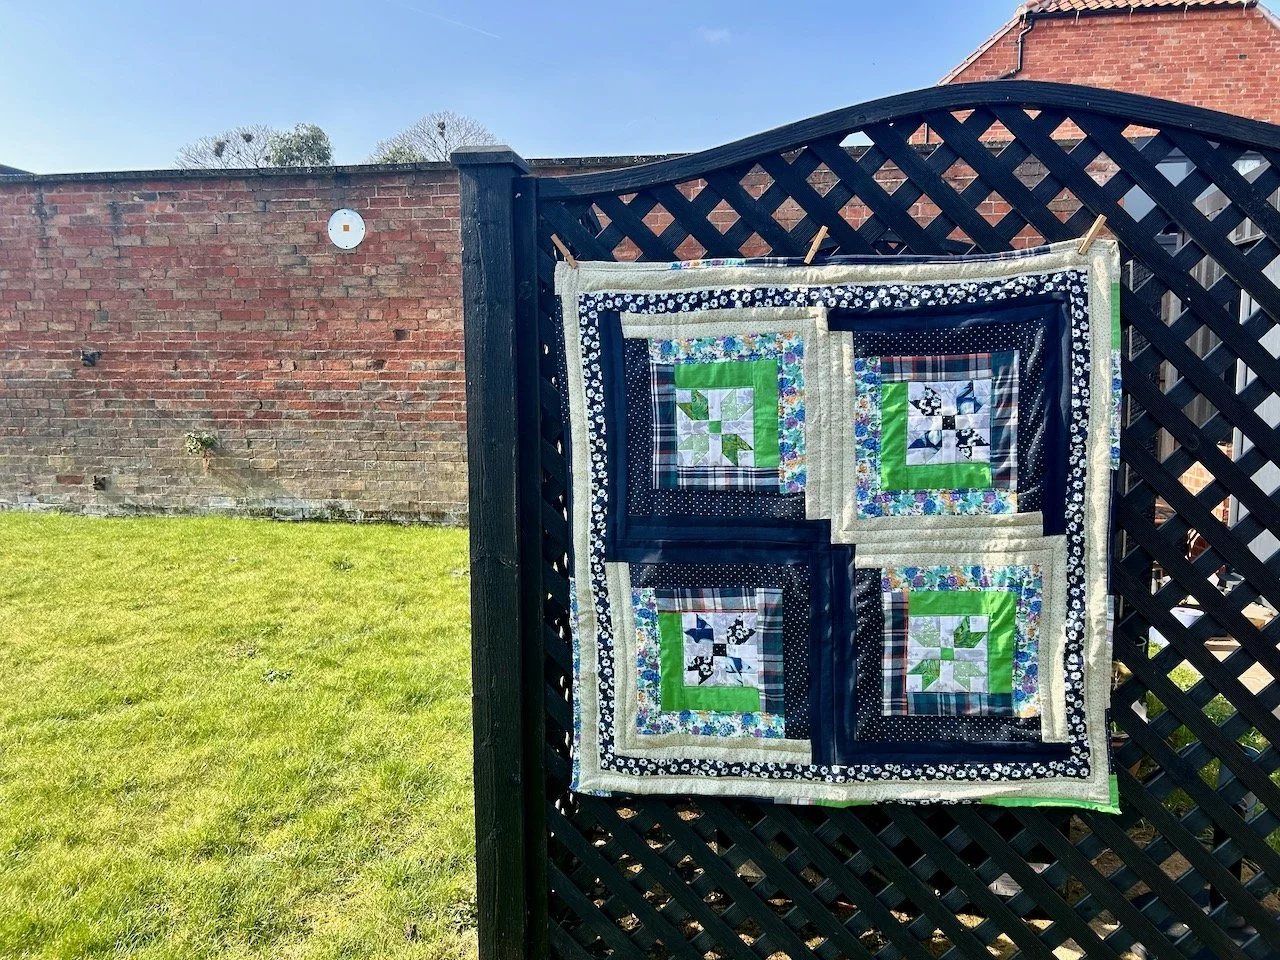
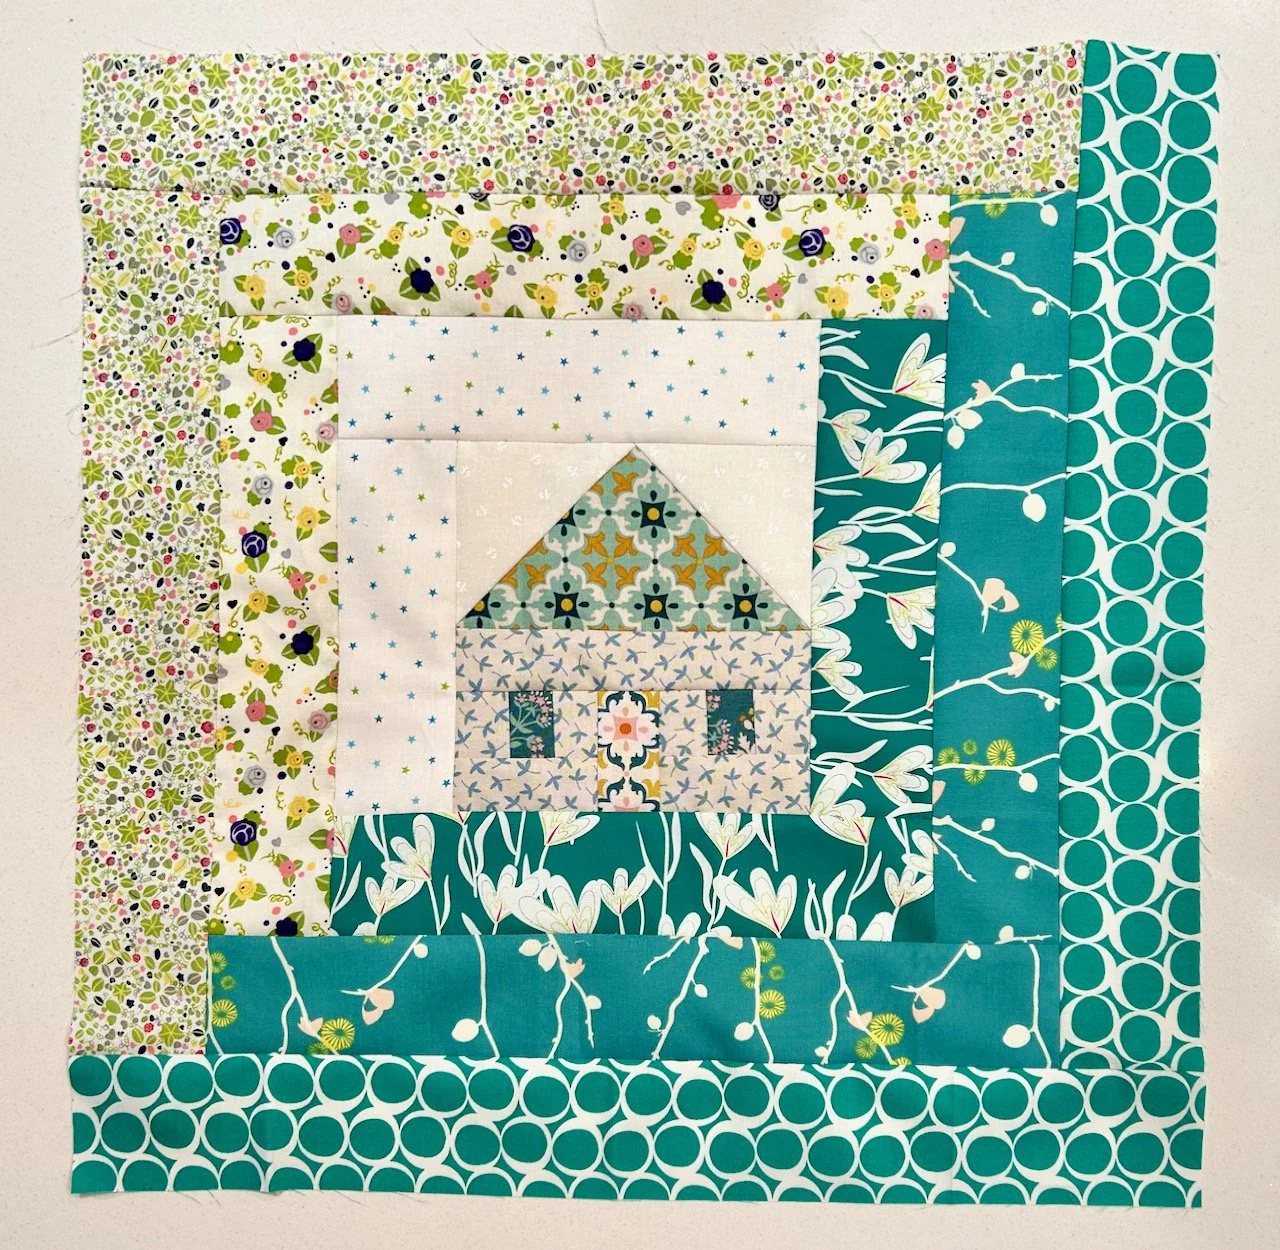
I tried many combinations before I made my decision, but as you can see I’ve added borders.

My main concern was not having enough fabric and ending up with a quilt that looks as if it was of two halves. But in the end I’ve made peace with myself and have mitigated this as far as I can. I’ve bought an extra metre of both of the outer light borders, ideally I’d have bought a metre of the pale background star border too, but I was only able to get half a metre of that. So the lights will be my constant, or that’s the plan anyway.

For the darks - or the bold jade green borders, the material is much older and hunting down similar quantities wasn’t going to happen, but I do have other toning fabrics which were all part of the same set. I think they came from either a magazine subscription or a competition win, but I have ten or so of similarly coloured AGF fabrics which I’ll use interchangeably. The colour will be the constant rather than the pattern for this border, and I’m pretty sure it will work.

And so, on went the borders.

My completed january block

I’m really pleased with how it turned out, and I know it’s bold - but that’s also by design as my working theory is that this will be a quilt for our spare bedroom which will have a rather ornate headboard (well it will once I’ve recovered it!).

So it needed to be bold to get the attention I’m sure it will warrant once its complete.

Join me next month to see how I get on with the next mystery block, and check out my posts which contain charity quilts made from the test blocks.

An embroidered heart

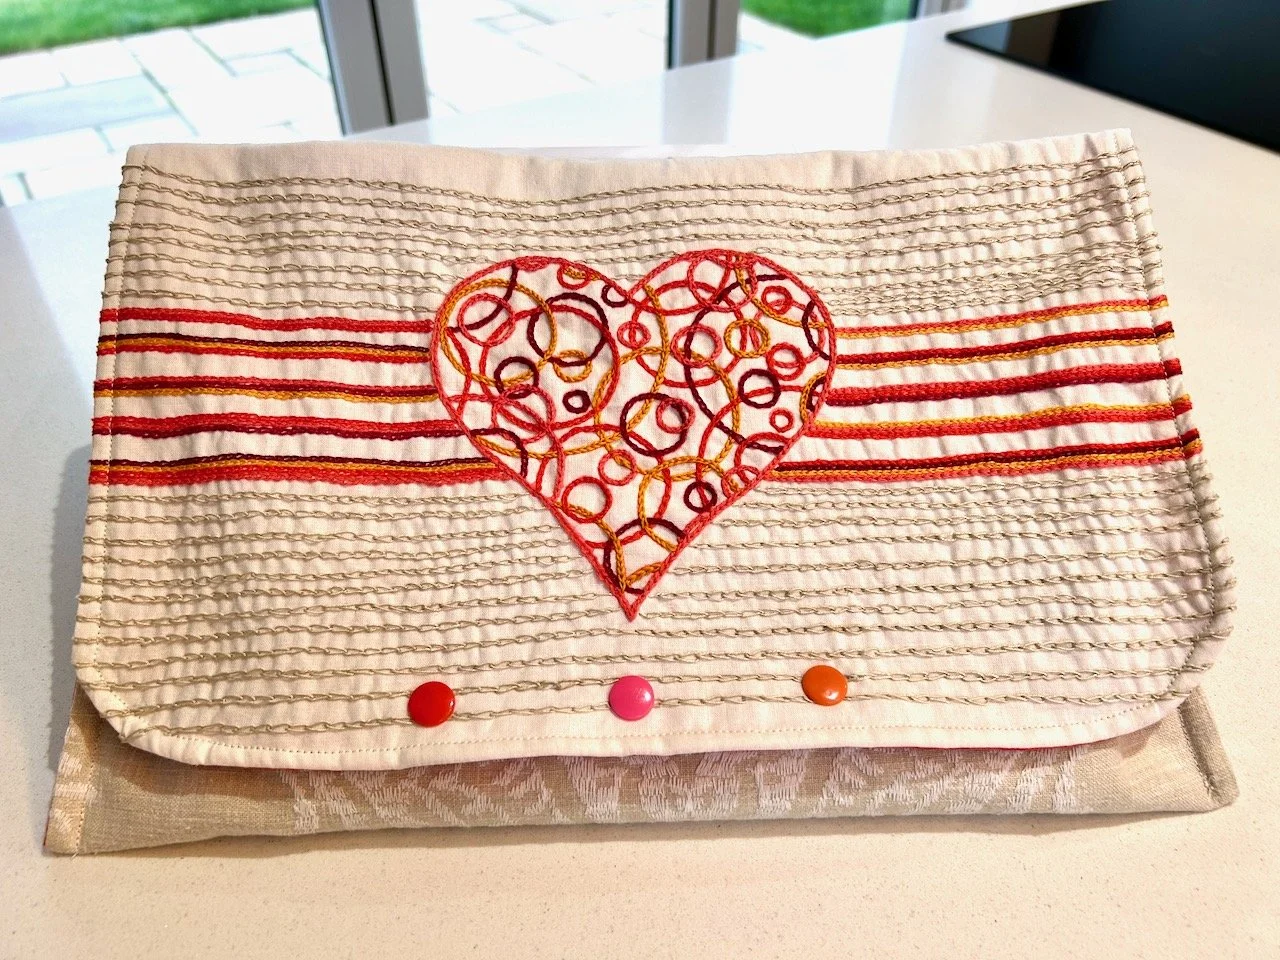
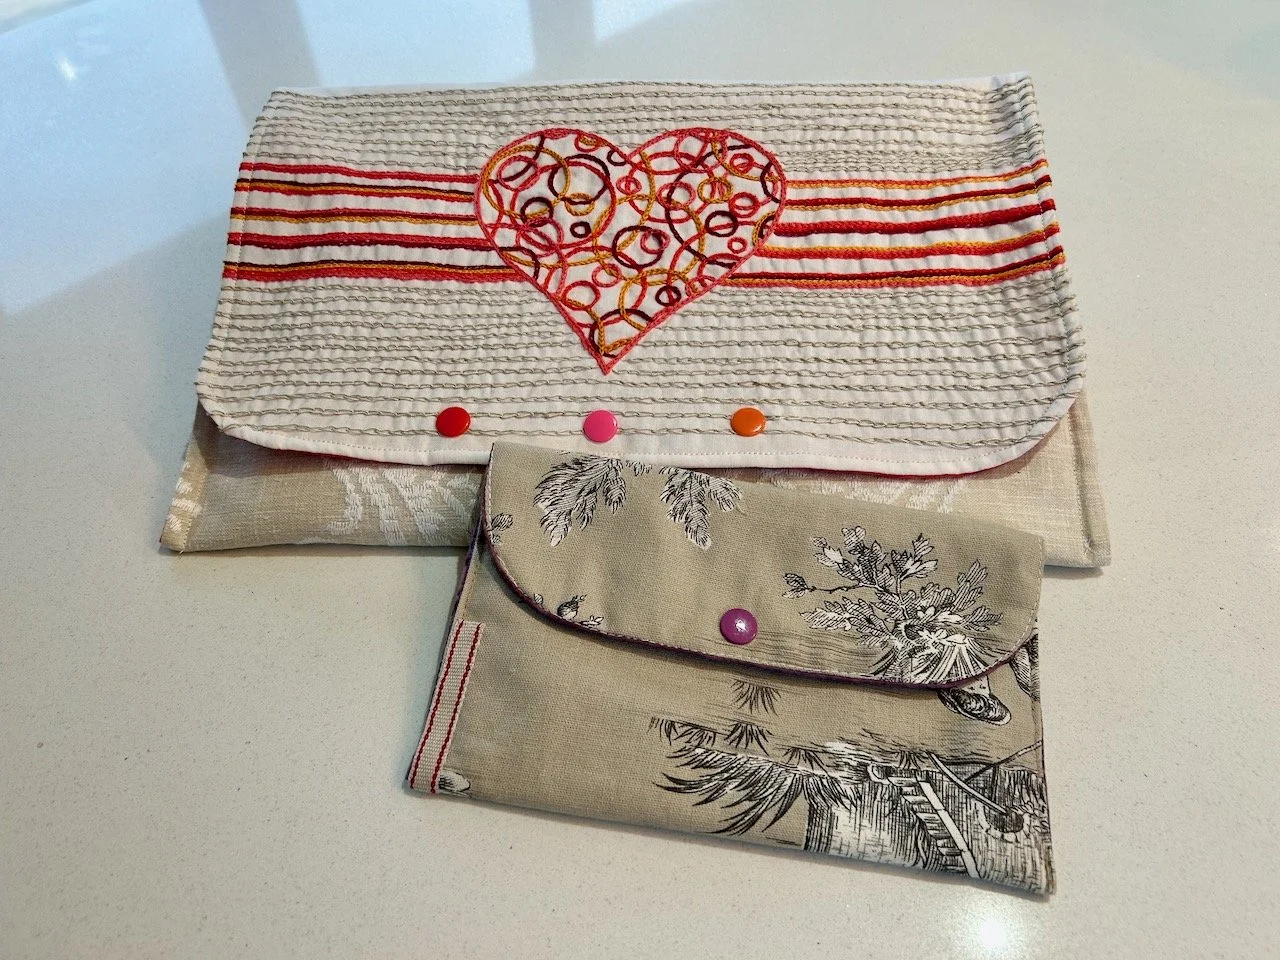
There was only one pouch in my pouch love series to share on Valentines Day wasn’t there? And from a simple printed heart it’s blossomed into a large and very beautiful pouch.

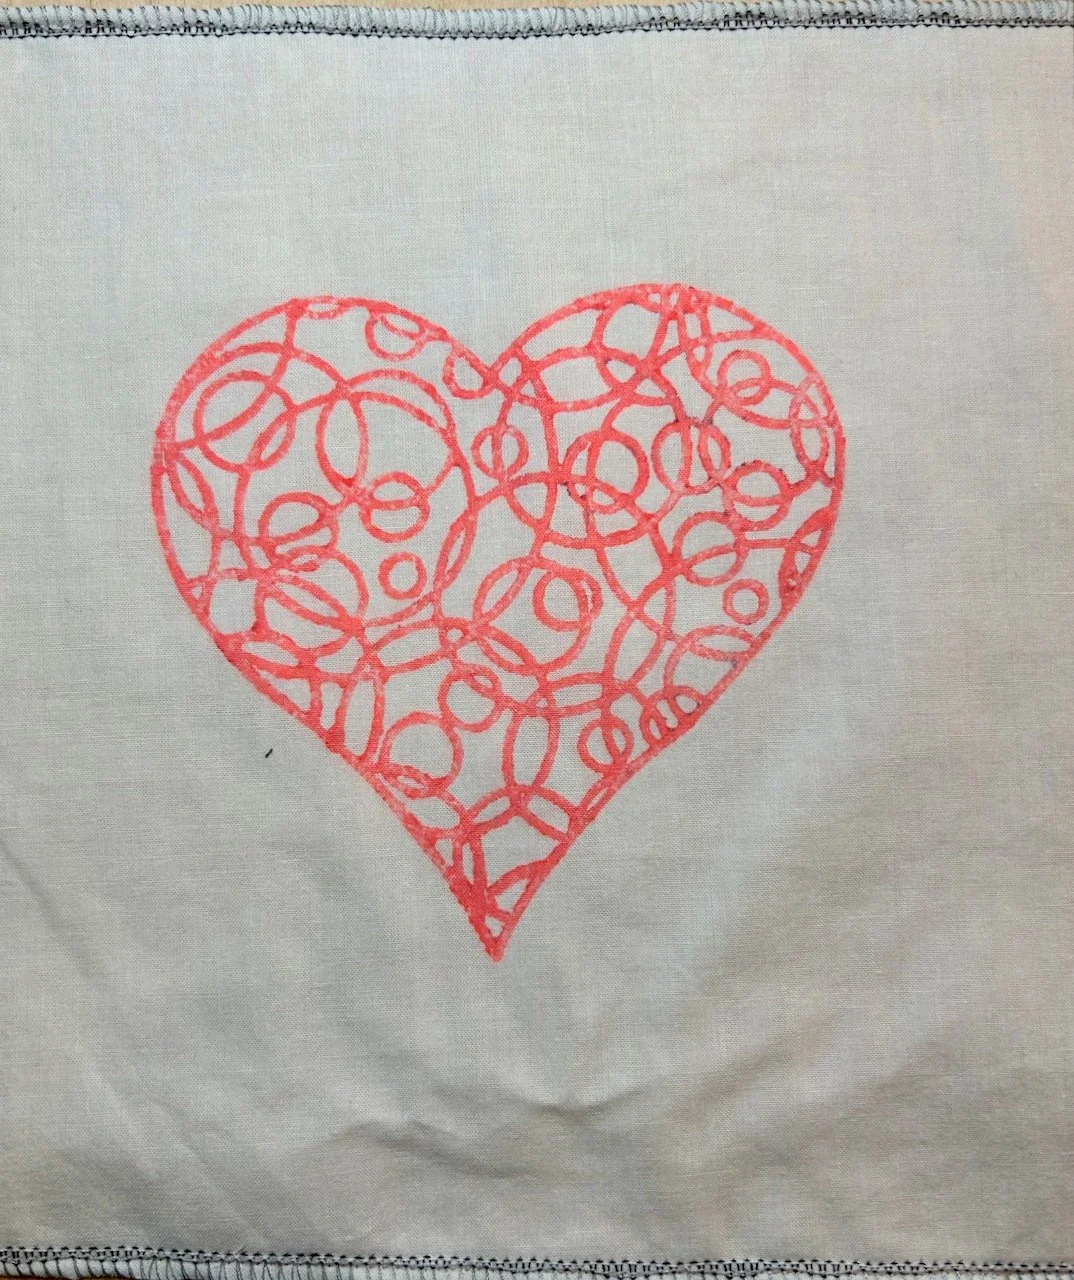
It’s hard to believe that this is how it started - a test print for some bunting I made to celebrate my dad’s 90th birthday last year. The bunting was simply embroidered but I wanted to explore the interlocking circles this time round.

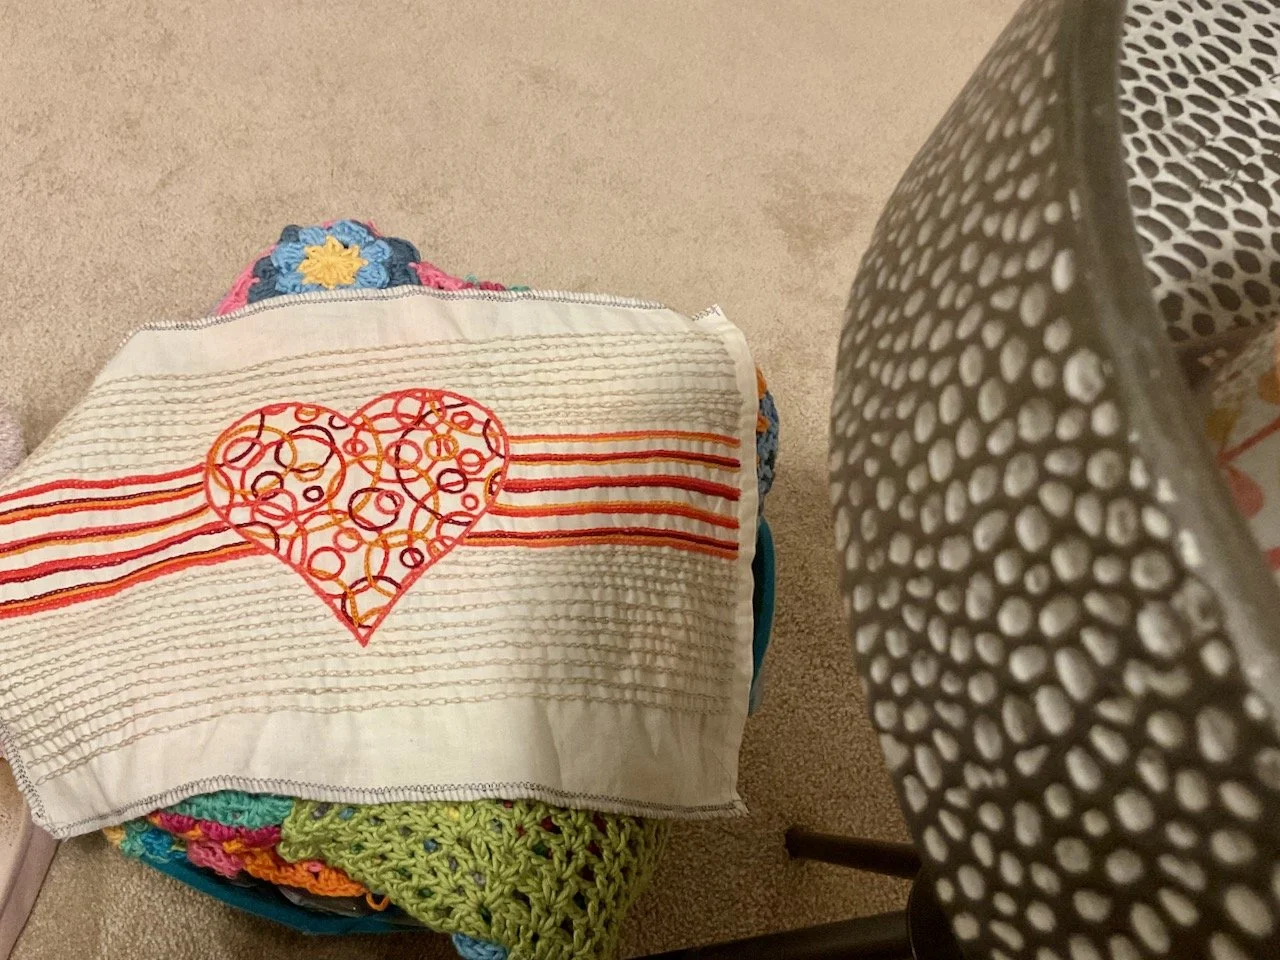
Unusually I don’t have any photos of it ‘in progress’ and I’m not really sure why - it definitely came with me on our trip to Glasgow last September and has been on the train to London too. After outlining the heart and before exploring the inner circles, I added several coloured stripes across the fabric, which reminded me of a 1970s/80s tracksuit.

And then I braved the circles trying not to have two of the same colours next to each other, which just about works. Embroidering the circles with my beloved chain stitch was incredibly mindful and relaxing. Once the main emblem and its stripes were complete, I still felt that it needed more, and at the back of my mind I remembered a cream/beige embellished fabric which I picked up at a WI stash sale, which might work with this.

I knew I wanted to make this one into a pouch, and so finding the fabric to go alongside this in my stash was a complete win. That fabric I had in mind absolutely worked, and also encouraged me to add several rows of cream chain stitch stripes above and below the heart to tie it all together.

And this is how it ended:

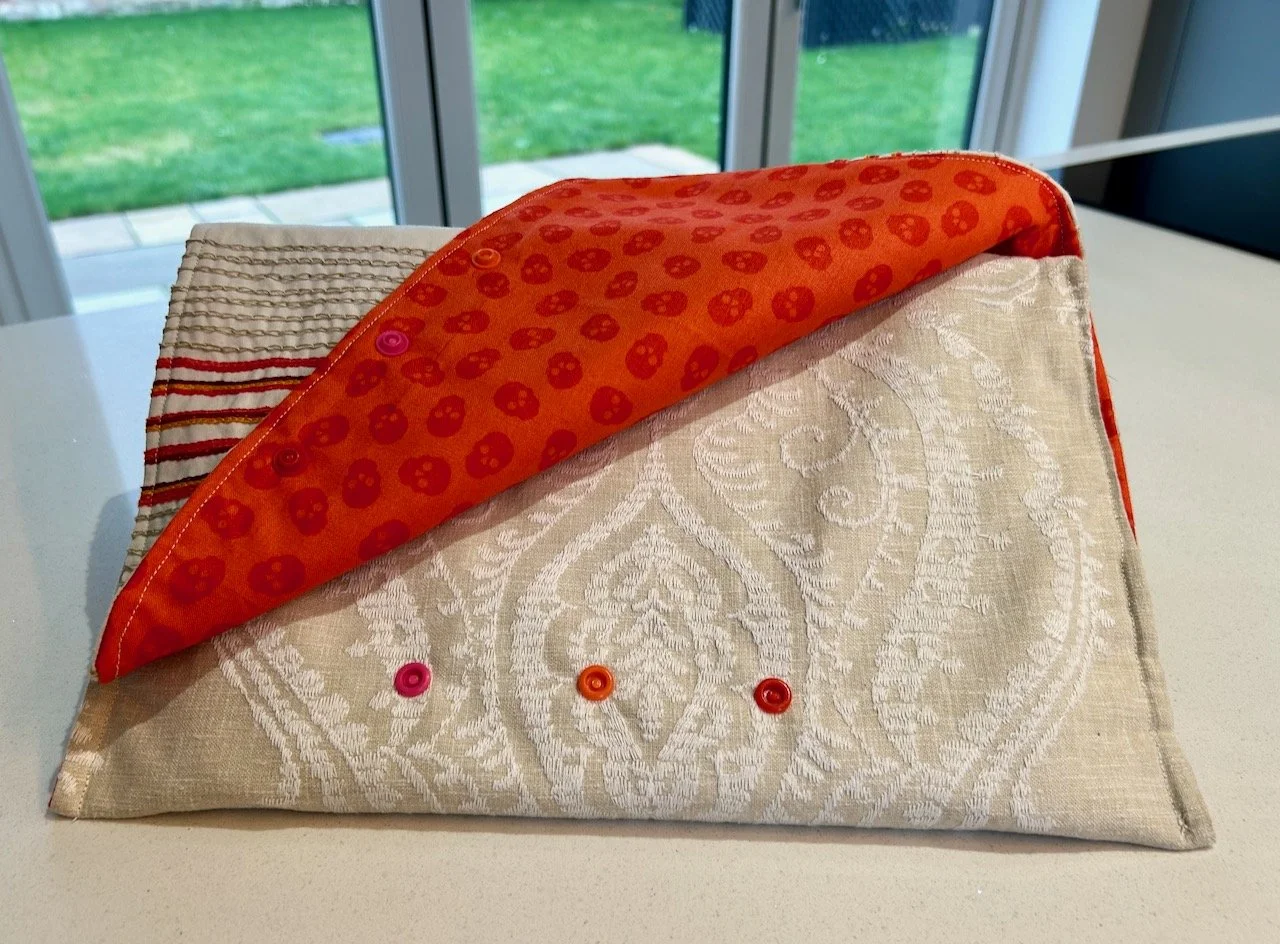
What’s even better is the lining was also in my stash - and while dark orange skulls on an orange background might not have been the natural choice on paper, once I saw the colours together there was no other choice for me. To finish it off, of course I needed poppers, and as the fold over flap was relatively large, it needed more than one - and so unable to choose between pink, orange and red, I had one of each!

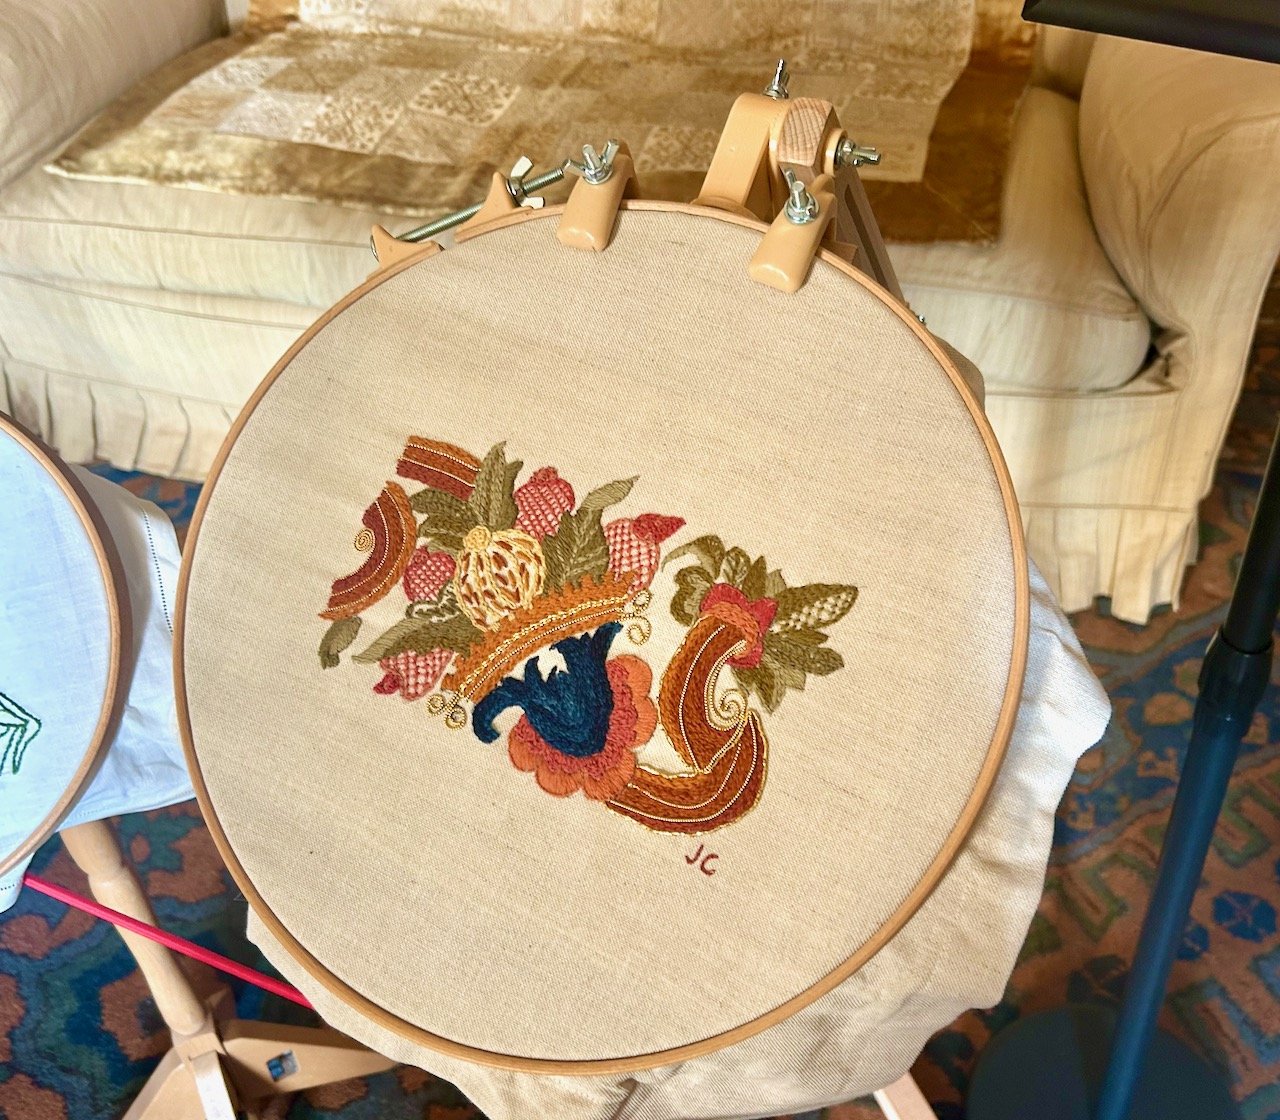
If my embroidered heart pouch reminded you of one I’d already made - you’re not wrong, it’s a much larger version of the baroque lady version which was the first one I made at the bag making sewing course.

I’m loving them both, and I’m pretty sure there’s plenty more pouches to come!