


You might have seen on social media last weekend that I decided to teach myself to crochet. It's been a long time coming, and you might be wondering why now? That's a fair question as I originally said I wanted to start crocheting back in 2014, and I've not really got close to it before. It was one of those aspirations, that well remained just that.
At least though I'd bought some wool, some crochet hooks and a granny square book, and mum sent me the Learn to Crochet booklet. It doesn't have a date, and I hesitate to call it vintage, but let's just say the price on the front is 2/-
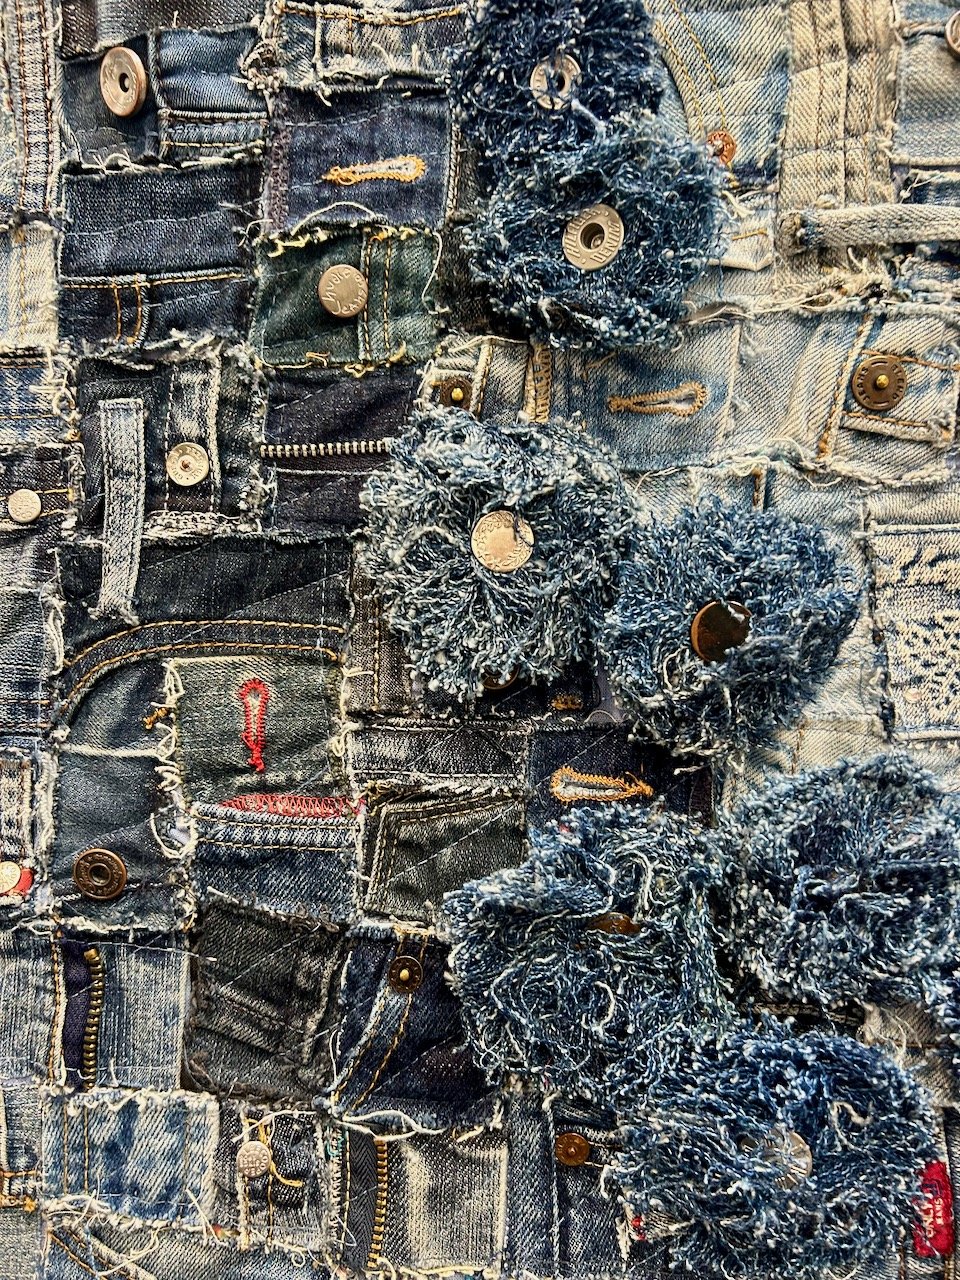
And I made good progress; four traditional granny squares and a foray into something more adventurous too - the Blooming Granny, complete with popcorn stitch flower (get me!) - and mum's asked me to show her this stitch.
I'd always looked at crochet diagrams in bemusement, but I quickly realised with a bit of decoding, the learn to crochet guide and a peek at YouTube it wasn't anywhere near as hard as I thought. And much to my surprise the crochet diagrams are easier to understand than the written instructions.
I've always been a knitter (some might say knit) and so working with a single hook seemed alien. Over the weekend I learnt that the hook does all of the work and it's quite fascinating to watch and see my granny squares develop. On the plus side, it seems progress is quicker than knitting too, which for a beginner is just awesome...

BLOOMING GRANNY
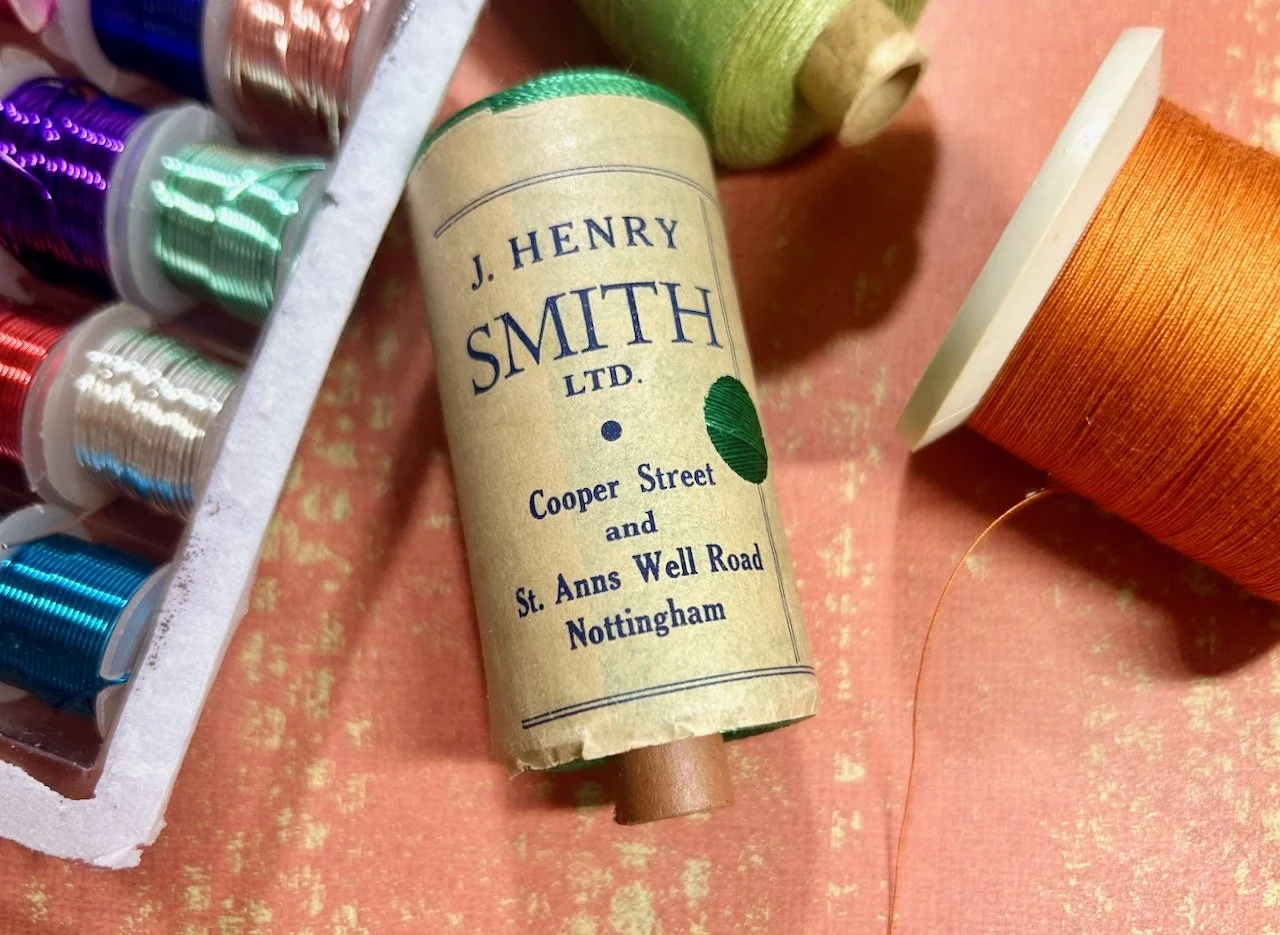
So I've seven completed squares, and the crochet has been in my bag every day at work this week. It hasn't quite made it out yet, but lunchtimes this week have been a bit rushed, but it's staying there because I'm an eternal optimist. I was starting to tire of using the same wool, but the pistachio green and candy pink wasn't quite the look I was going for, so off I headed to Hobbycraft after work on Monday.
It's great, I walked there and then home again so I could feel totally virtuous with the 13,500+ steps I clocked up that day, and thankfully walking meant I had to carry my purchases. I wasn't sure what I wanted, other than a change of wool, but I left with more yellows, mint greens and creams.
MOH hasn't seen them yet, and he doesn't really need to just yet - he's already asking what I'll do with the growing pile of squares I'm manufacturing. The answer is clear, I'll make a blanket. Obviously. He looked less than convinced, but it'll look great in our spare bedroom.
But I haven't told you why last weekend yet, have I. And my granny squares are just that, they're nowhere near as beautiful as the Kalevala CAL in the title of this post.
The Kalevala CAL
Early Saturday morning saw some Facebook browsing and I came across a post about the Kalevala CAL, which I had no idea what it was. But the lady that posted seemed excited by it, so I took a look. And maybe, the image below might have caught my eye.
I mean, isn't that blanket fantastic?!
My ambition for learning to crochet was always to make an afghan (or blanket) with various patterned squares, but like learning to crochet I'd done nothing more about it. And here, fortuitously it had been presented to me and so with my simplistic way of thinking, it was clearly meant to be.
My Facebook browsing was abandoned and I went into research mode. I learnt the Kalevala CAL is a project to celebrate Finland's 100 years of independence. The blanket is made up of twenty four squares, plus the join and the border and each square relates to the Kalevala poetry by Elias Lönnrot.
But could I do it?
Well laying in bed there Saturday morning the answer was clearly no, but I thought if I could learn to crochet then I'd be in with a fair chance. And so that's what I did, but first I dived into what colourway my Kalevala CAL would be. And yes, I contemplated yellow, but decided this would hopefully be something that would be around for a long time (finished I mean, not part-made) and so an olive green would have better longevity.
So I ordered the wool and I'm waiting for it to arrive.
Am I mad? Yes!
Will I have a beautiful hand crocheted blanket? I hope so!
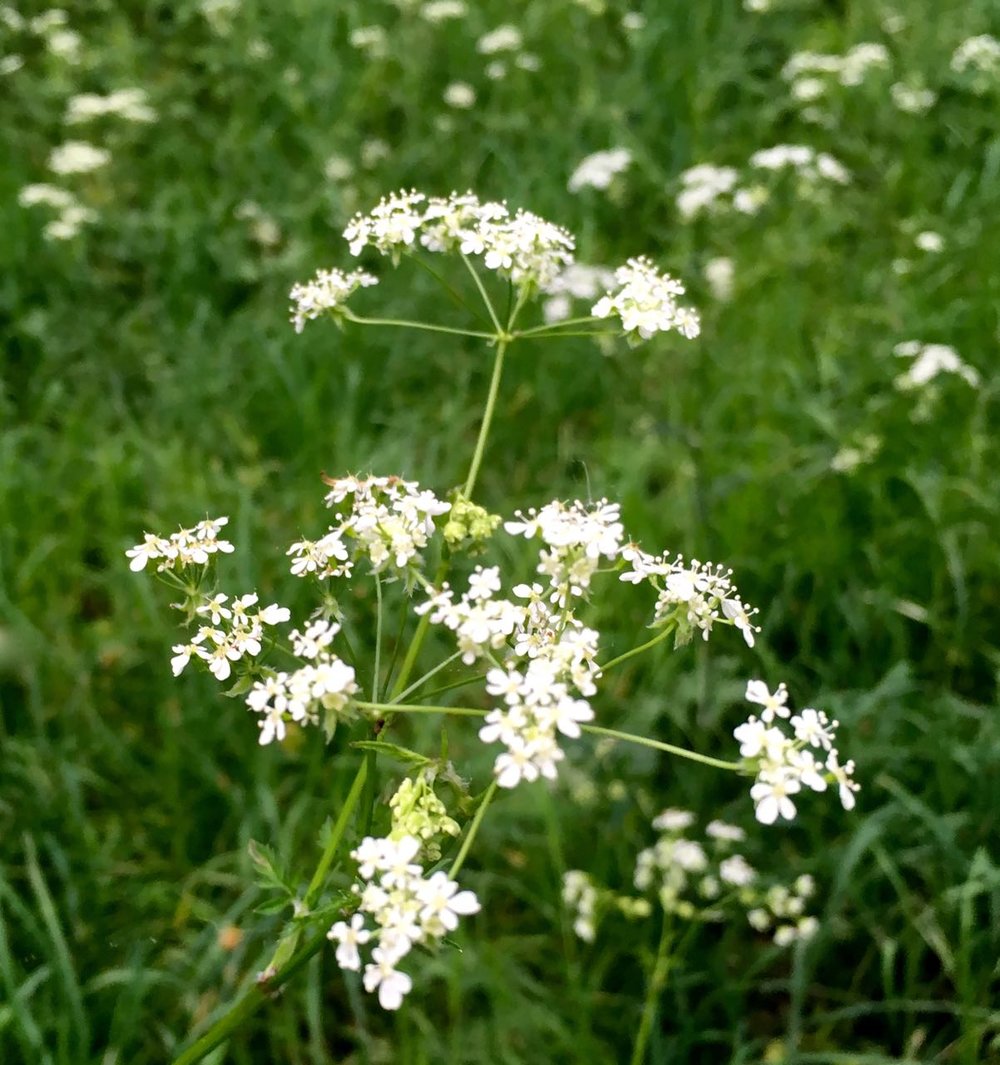
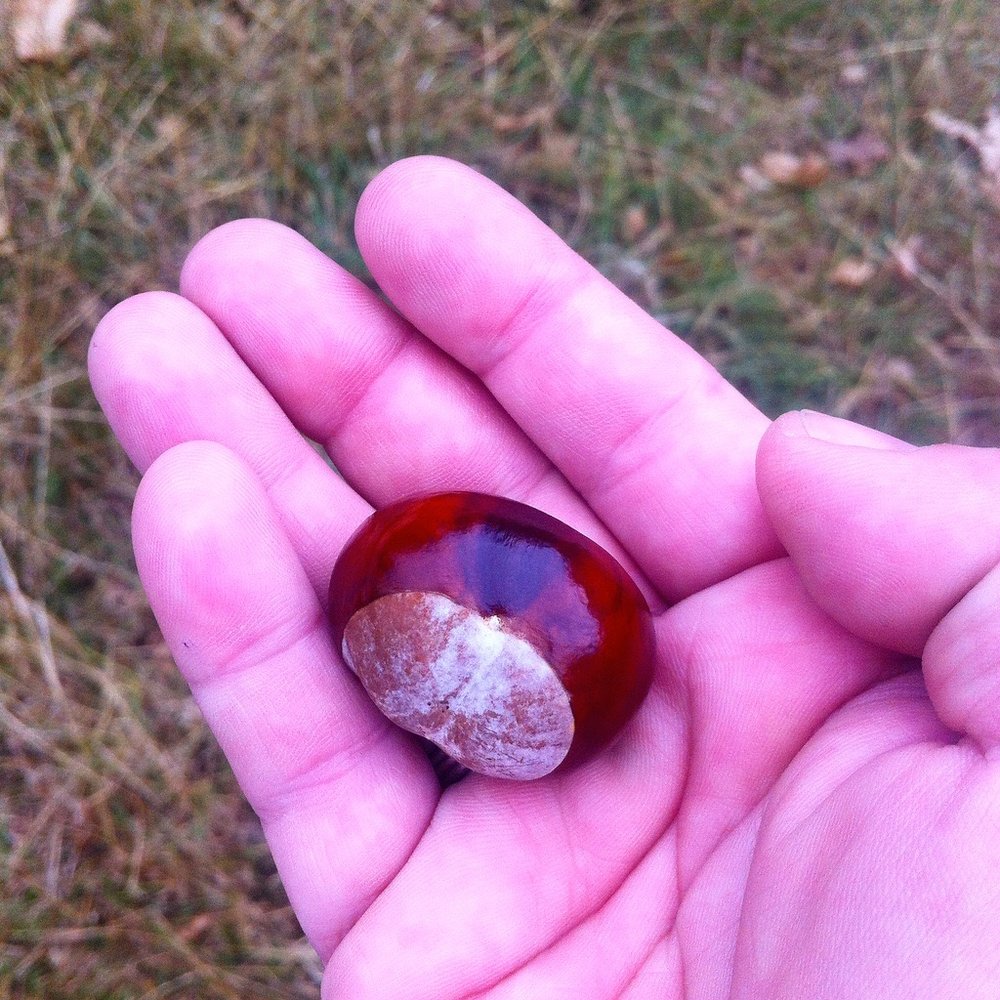
This was my year in Greenwich Park
The more observant among you will have noticed there hasn't been a "a year in Greenwich Park" post yet this month, and that's because I've been debating with myself whether or not to continue with this series. In the end I decided to keep it to a year in Greenwich Park as that has a better ring to it than "another year in Greenwich Park!"
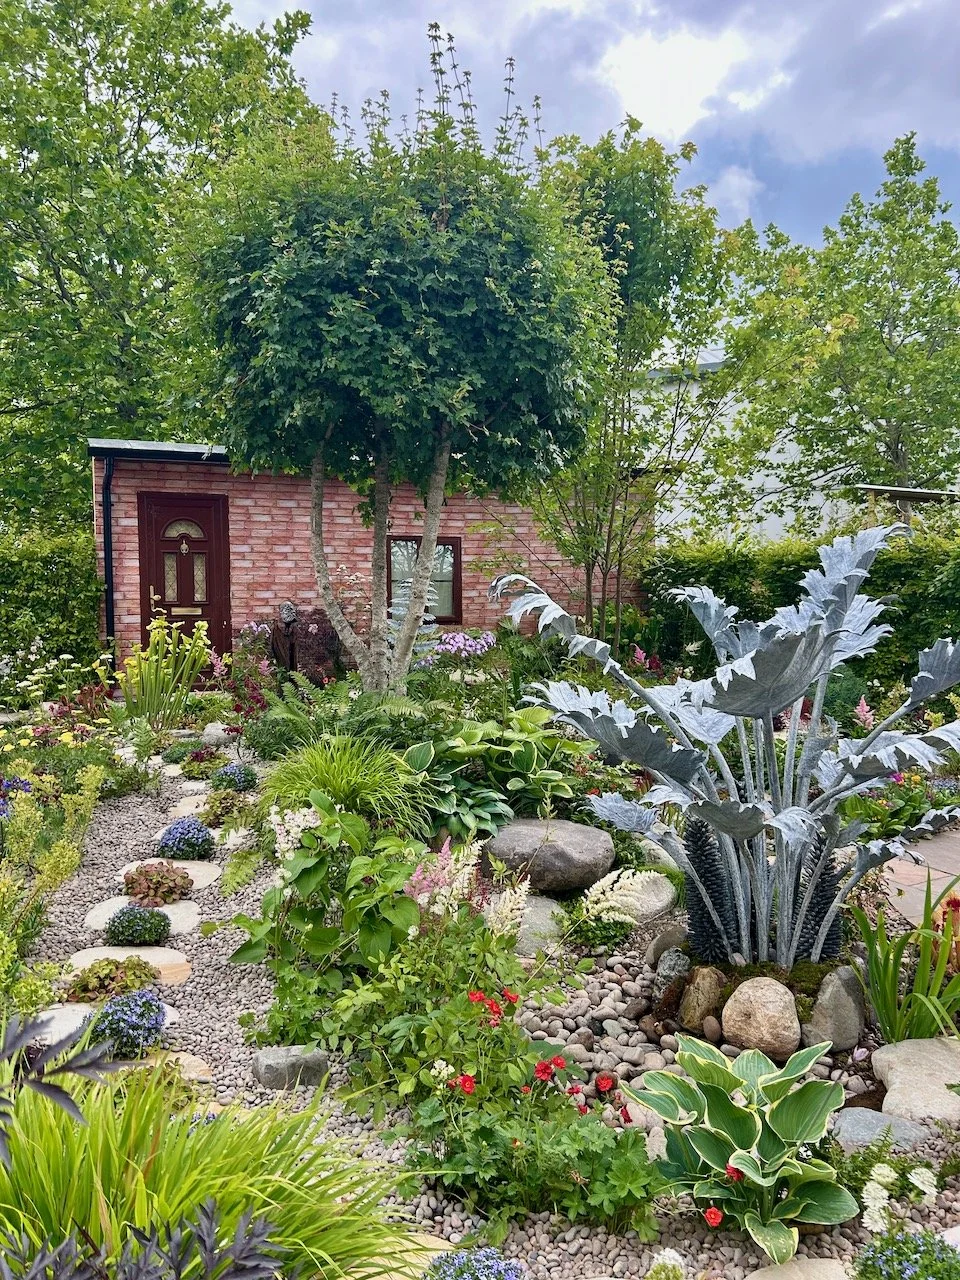
It's not that I've fallen out of love with Greenwich Park, far from it, but I've noticed that I'm taking less photos and enjoying the park, its scenery and the people that over the year I've nodded, smiled and waved at.
But I couldn't leave the year without a look back, so here's a photo for every month, and maybe a bonus one or two along the way


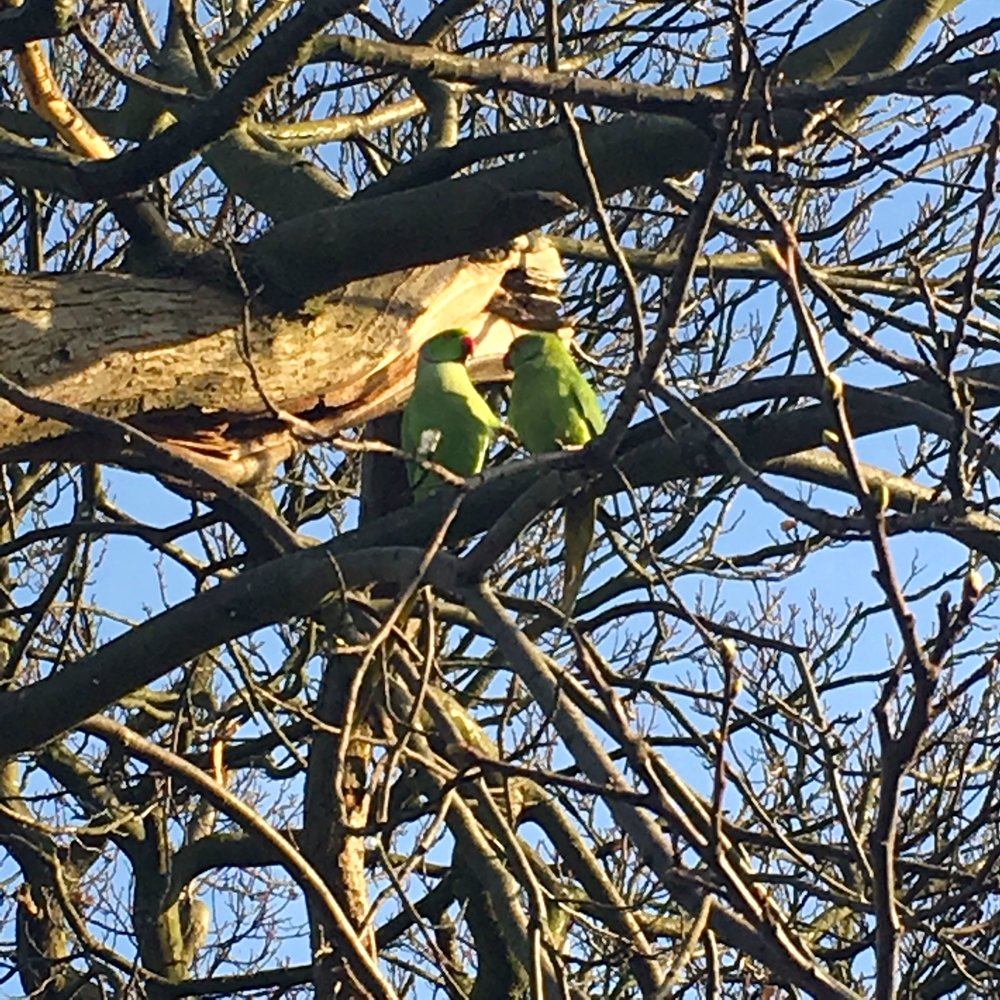

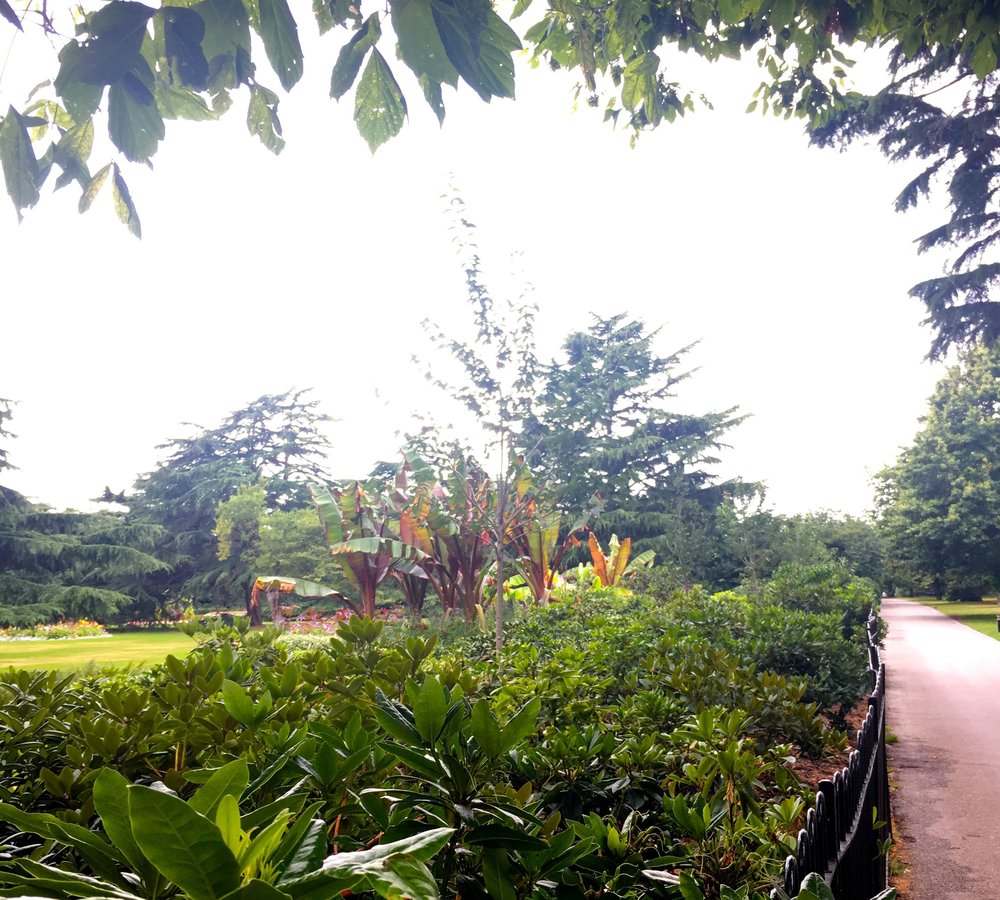
It's been quite a year getting to know our local park, and there's still places I haven't shown you. I'm sure there'll be posts from Greenwich Park in the future, and I've enjoyed focusing on how it's changed over the year. I'm contemplating continuing with the "a year in" theme, and I'm looking for the next subject to present itself.
More soon... (hopefully!)
Overcoming my overwhelm and letting inspiration strike
Now that may seem a strange title but let me explain. In August I received a delivery from Fellowes of some small office equipment to review. My neighbour's house sitter took in the parcels and then when I popped round to collect helped me bring them home as the largest of the boxes was, he said heavy. He wasn't wrong and later that evening I unboxed a binder (the heavy box), laminator and trimmer along with accessories to get started with the laminator and binder machine.


It's fair to say I was pretty overwhelmed. Not only by the kit in front of me and where I would store them, but also how I could use them. I wanted to do something more creative than organise MOH's shed, labelling where he should put things (although I will do that at some point) but what exactly, I wasn't sure. The Ideas Centre on the Fellowes site helped with the inspiration, and after a little percolation I started to have some ideas.
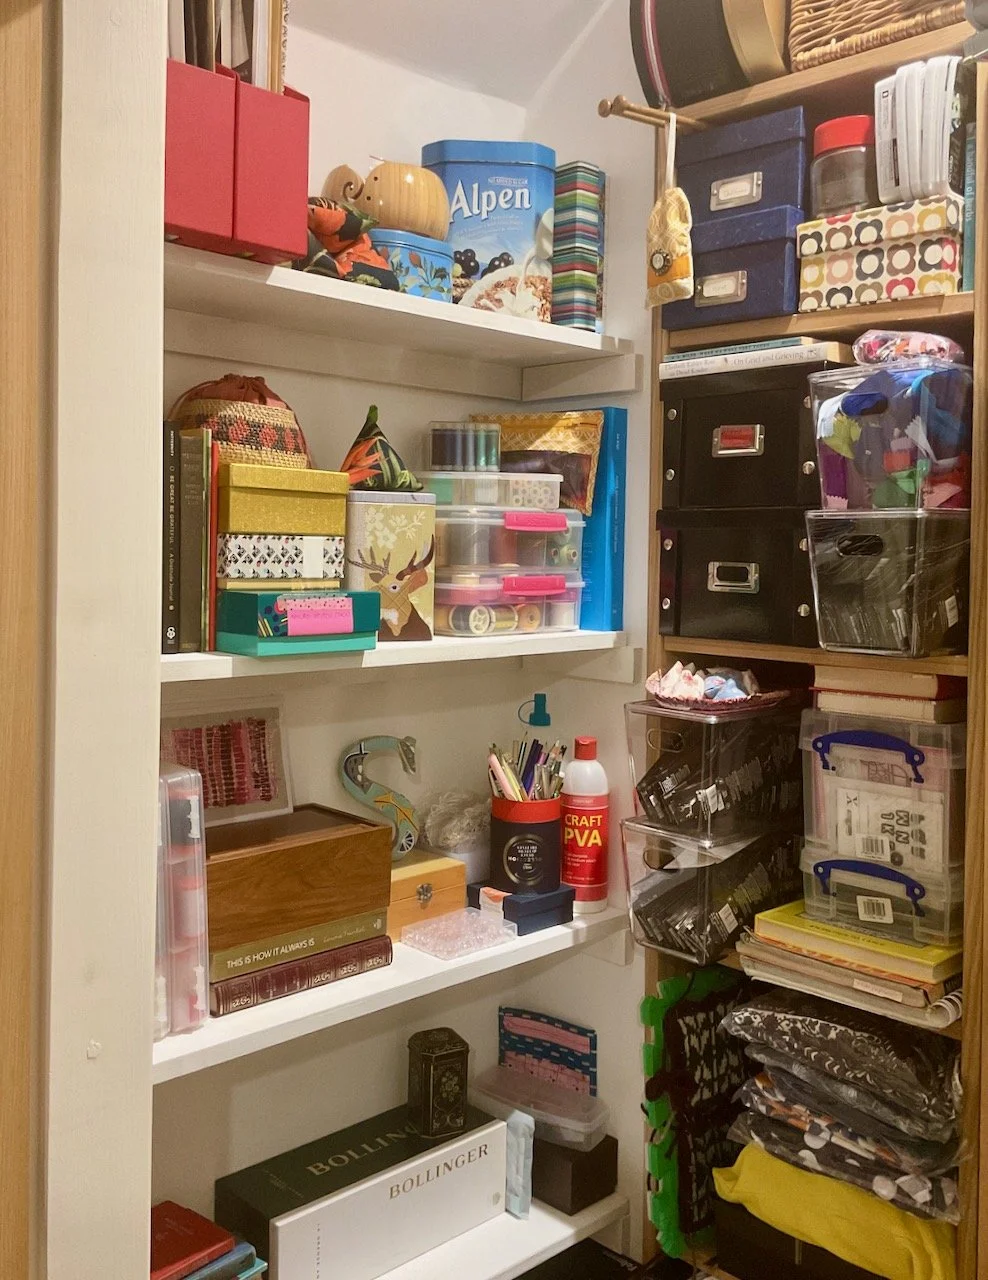
First though I needed to address where to store them, as MOH kept saying he was getting fed up of walking past them. I knew I had to have a bit of sort out in our study-cum-craft-room which had become our dumping ground. On the face of it the sort out looked like I'd just moved stuff into the top bedroom (and I have) but I've also rationalised what's in the study. And the things I've moved out are in a "to be sorted" pile.

CLOCKWISE FROM LEFT: BINDER, LAMINATOR AND TRIMMER
Out of their boxes the items looked equally impressive; the laminator and trimmer are A3 size, which I know will be handy as often scrapbook papers are larger than the smaller A4 size. The binder - which is the heaviest item looks sleek and I think will fit inside one of the Ikea Corras units we have in the study.
I was intrigued to see inside this machine, as while I've seen many bound documents, I've not actually done any myself. It had the look of a typewriter (without the keys) if you looked quickly. If you're not sure what I mean, you're probably too young to know, so please just humour me.

A hive of activity
With space in the study almost sorted, and renewed vigour to finally tackle the collage wall that I've been collecting frames and pictures for, this weekend we set about making it happen. It seems my frames to pictures ratio is slightly out and we have many more frames than pictures. My thinking is that if we're going to go for the informal collage approach, then all the frames need to be on the wall at the same time, especially as I've pictures ranging from A2 size to A6 (postcard) size.
I wasn't keen to have empty frames on the wall, so while I find the long-term pictures I decided to fill the frames with scrapbook paper, and so, in came the trimmer.


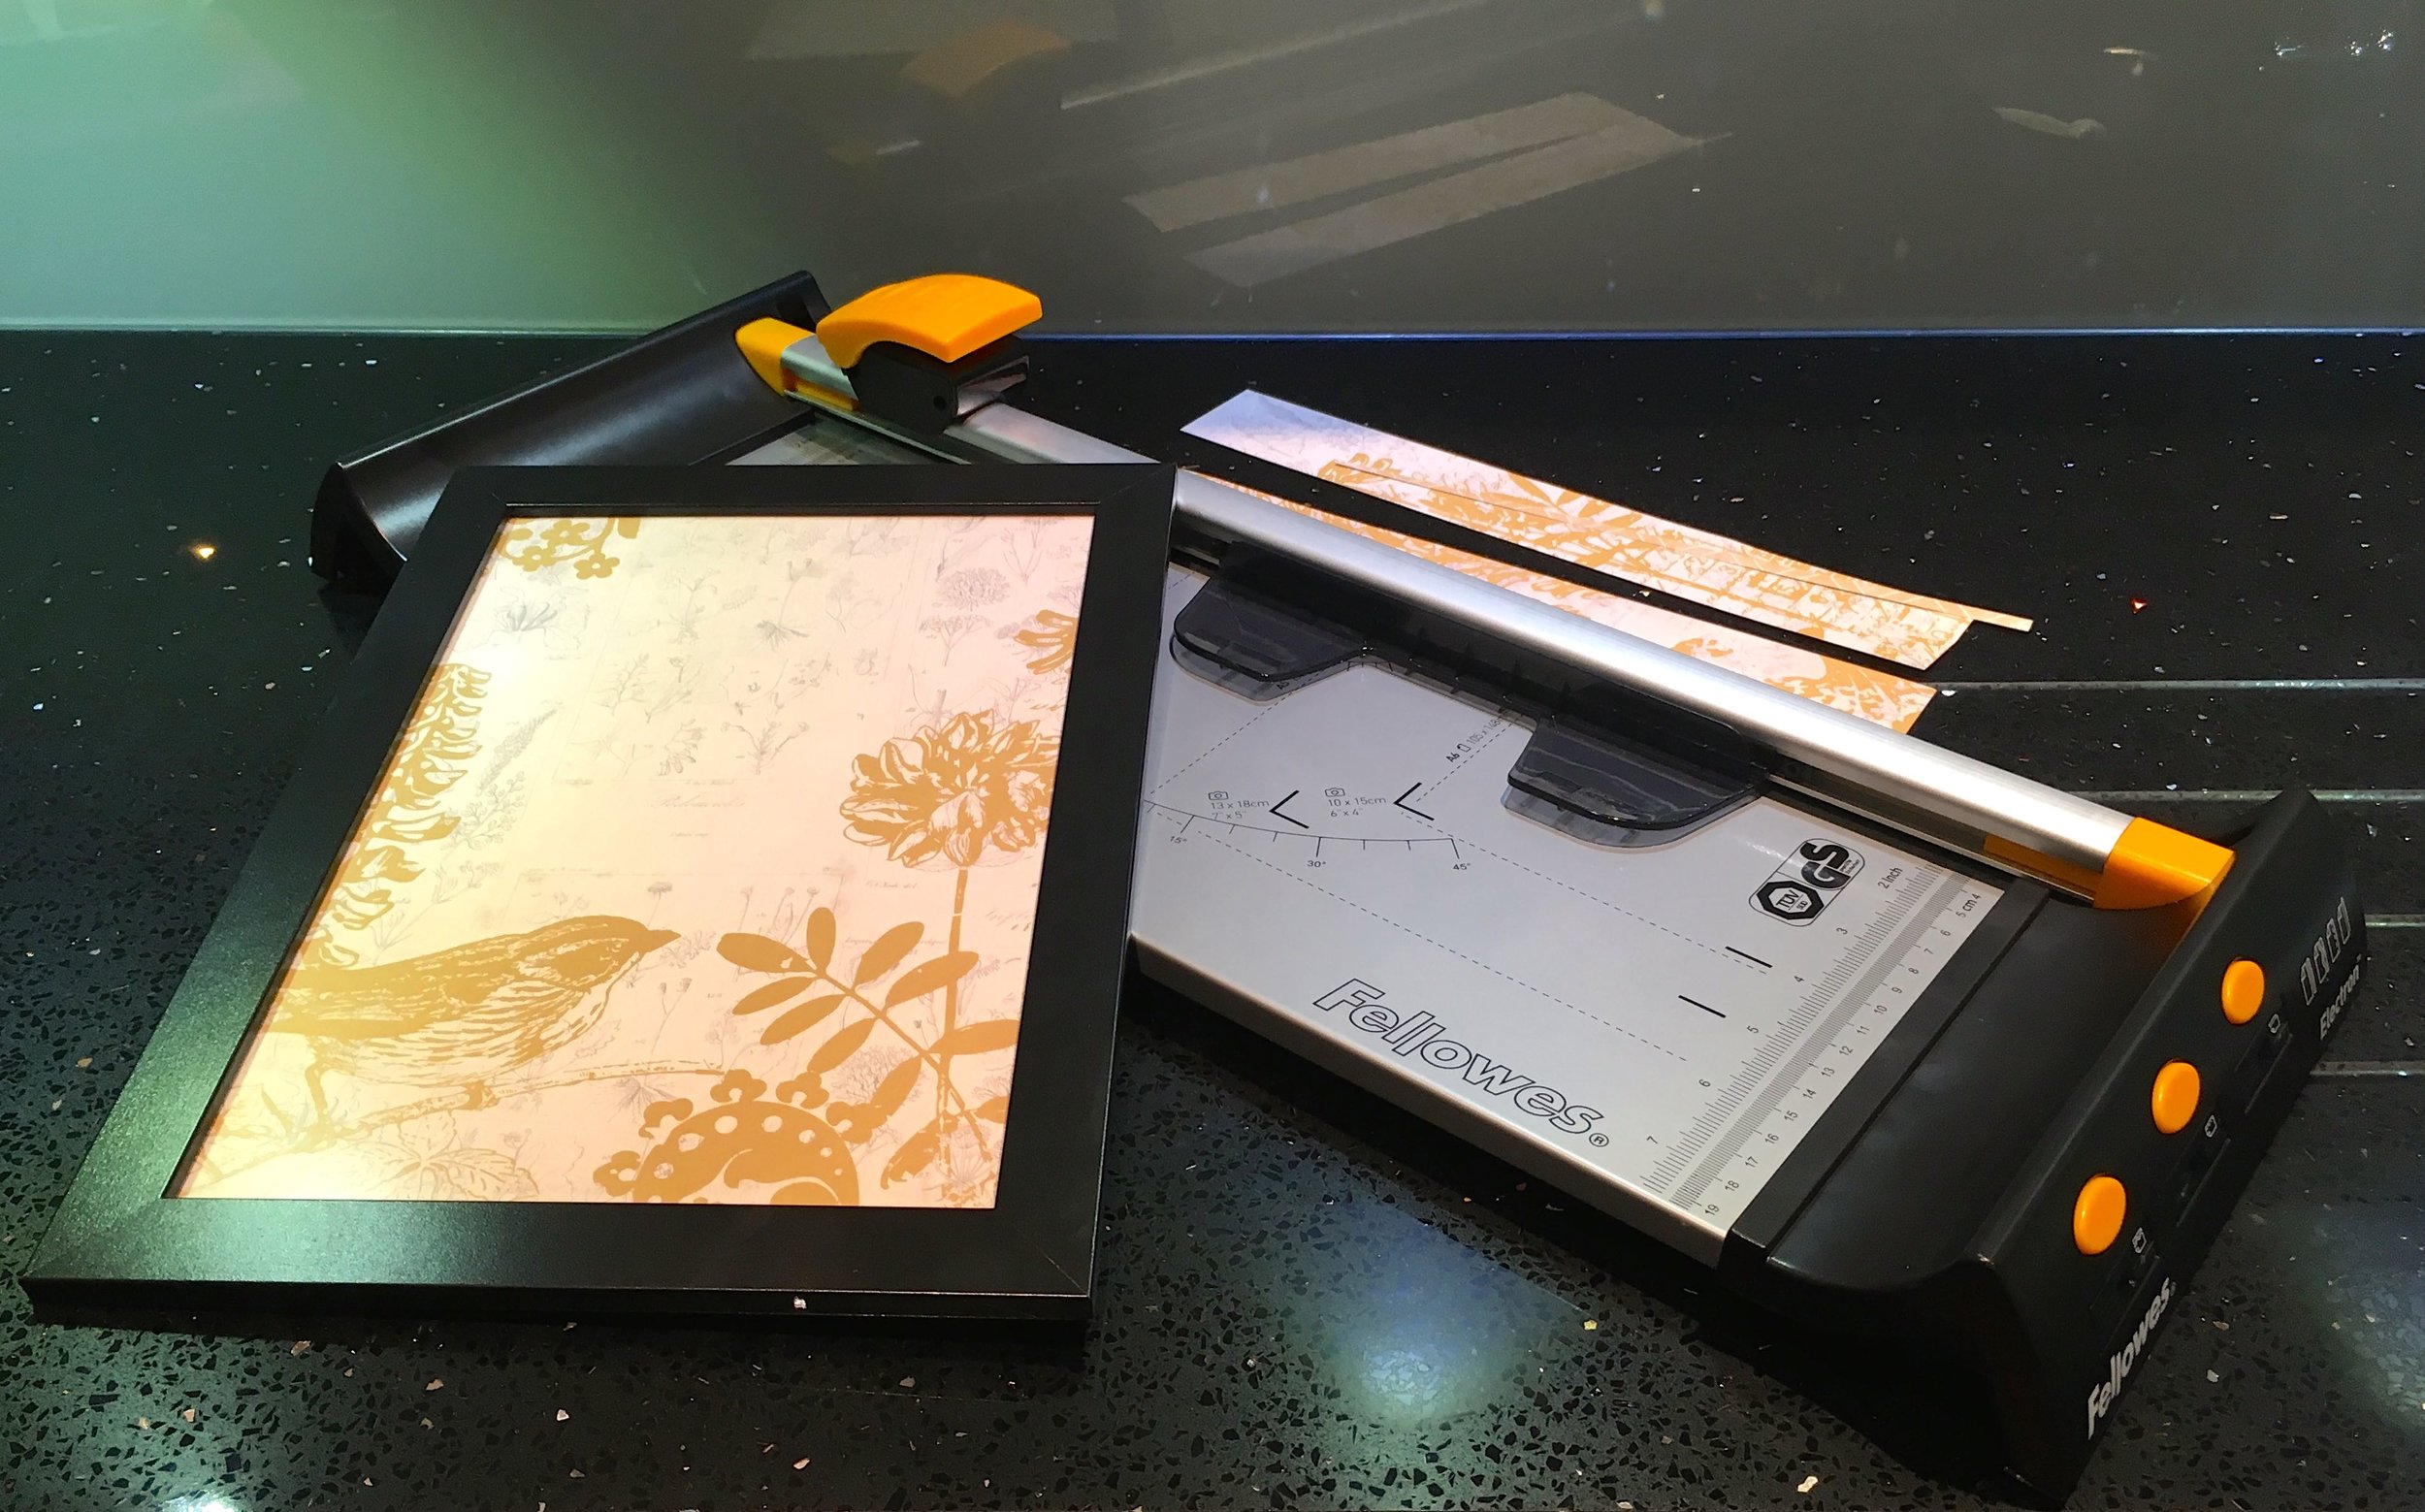
After marking where I should cut in pencil I lined it up on the cutting line of the trimmer, which has a LED guide to help you cut just where you expected to.

The trimmer was easy to use and easy too to trim small amounts from the edge. As well as the LED guide, the other really handy part of the trimmer was the gripper (the smoky plastic "flaps" to the left of the cutting line in the picture below) which worked well keeping the paper in place.

With my paper cut to size it was easy to add to the frame. I'm quite pleased with how it turned out, and with how the trimmer performed. The trimmer itself is lightweight and there's some additional cutting blades that I still need to try out. What I like about those is their integral storage - those three orange buttons in the picture below are those blades. They're easily inserted into the cutting head too, I'll let you know how I get on with those.
And isn't it always the case, that once you get started it's hard to stop?
That was me on Sunday too.
Like many crafters - tell me I'm not alone - I have a collection of paint charts and paint strips, and an idea was starting to form for my next project, and it would make use of the laminator and the binder too.


With my paint chart cut ready, I was ready for the laminator. But what's my project? Can you guess?
I'll share more soon, I promise!
* This is a collaborative post, I was sent the small office equipment in this post by Fellowes for use in my creative projects in return for sharing my views and opinions.