







New sofas and pondering paint colours

Back at the start of the year we had a flurry of house improvement type of activity, which included buying and installing the blue chandelier and some new sofas. We’d actually seen the new sofas when we stopped off in Bruton overnight in the December, whilst on the way to visit family in Devon.

Clearly they were meant to be.

MOH pointed the new sofas out in the window of a small showroom, and while he may not have fallen for them immediately, for me it was the sofa I didn’t know I was looking for. It took us a while to decide they were right for us, and after much measuring we took the plunge and ordered two rather expensive sofas.

We didn’t expect them to arrive until around Easter, so we thought we’d have plenty of time to consider our decor, and so the paint charts came out. I’d envisaged our lounge having dark green velvet sofas, and I wanted a relatively dark wall too.

But these sofas were not dark green, though they ticked the velvet box.

A rethink was needed.
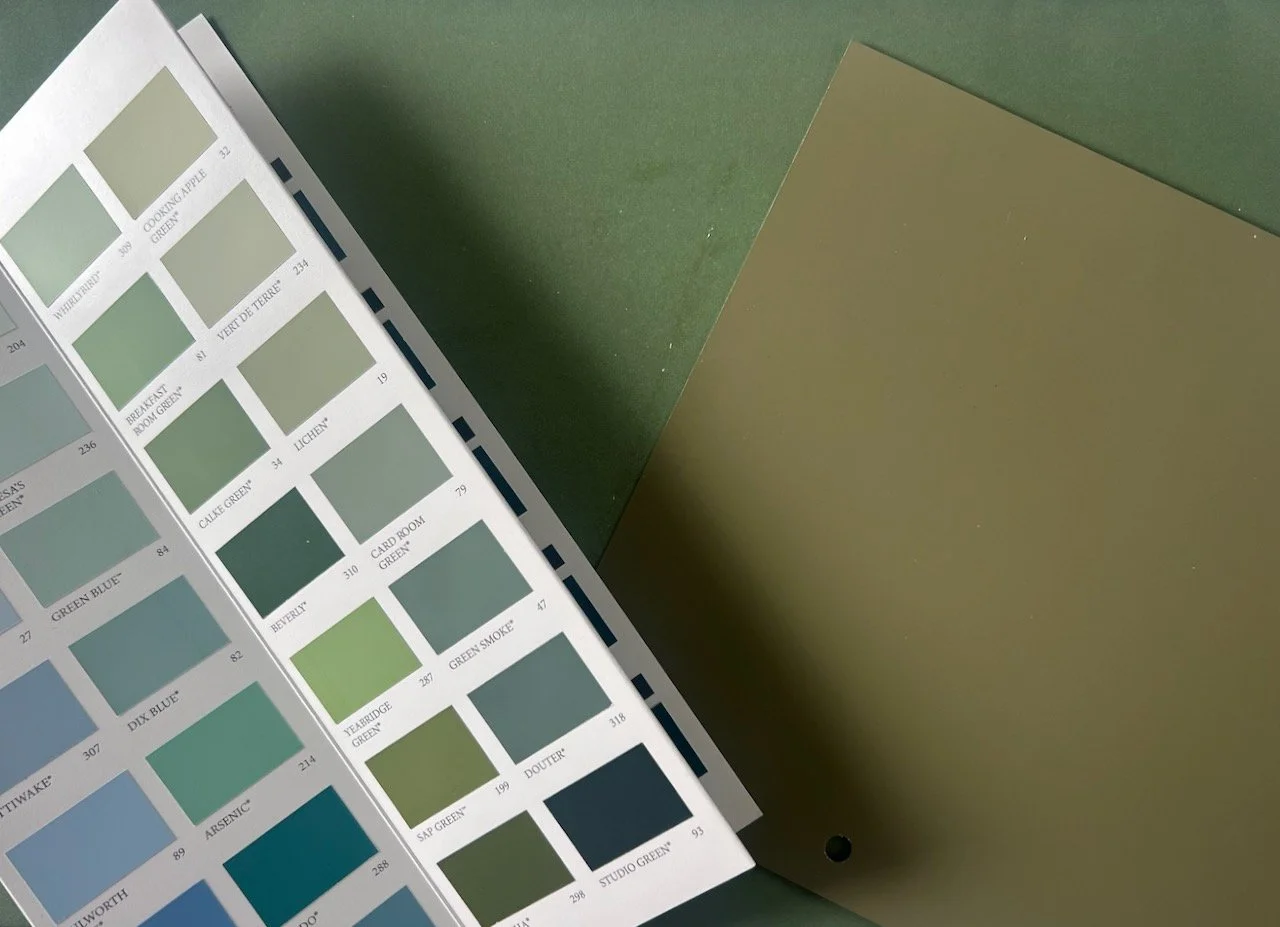
A paint charts of greens along with two larger samples

I was still keen on green though, and the small show room in Bruton were really helpful pointing us towards greens that would work with the sofas we’d chosen. So we worked our way through various paint charts but mainly sticking to the Farrow & Ball colours which we had worked so well for us in our previous home.

Larger samples were ordered of the two that we thought would work best for us, and Farrow & Ball threw a spanner in the works by sending the samples in a green envelope - which was more like the green I’d had in mind originally.

Argh!
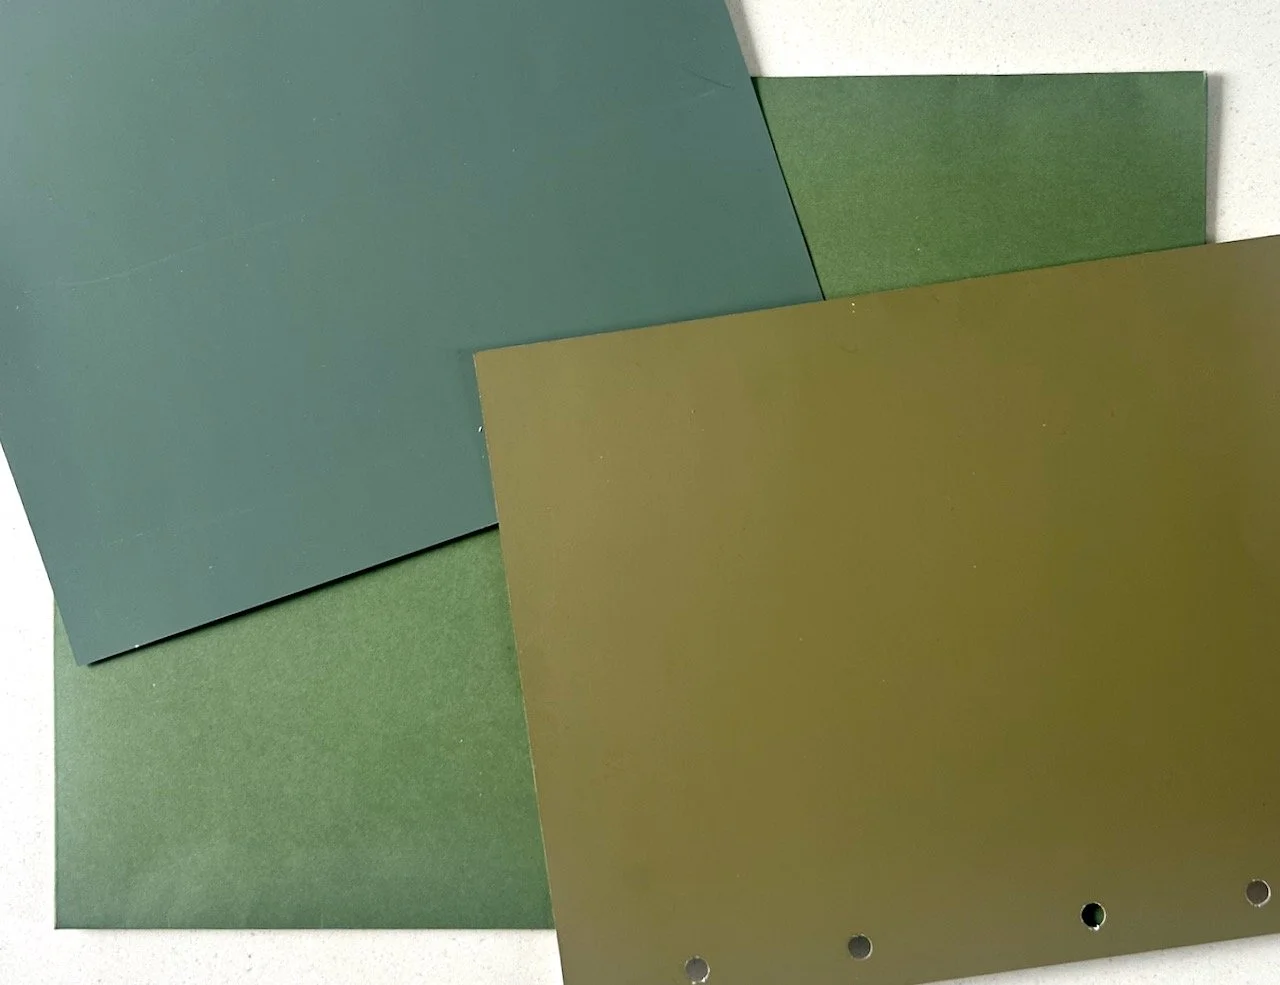
Three larger samples of GREEN SMOKE, CALKE GREEN AND DIBBER

GREEN SMOKE, CALKE GREEN AND DIBBER

The Green Smoke was immediately dismissed for being too grey in our room - strangely adding it here confirms that it’s not for us. The Calke Green is still a favourite colour of ours, but not for the lounge so it’s likely that we’ll use that in another room, which leaves Dibber. On its own it isn’t a colour I’d choose, but with the sofa samples it changes from a drib muddy browny-green to something that gives me the darker colour I wanted, and goes brilliantly with our sofa samples.
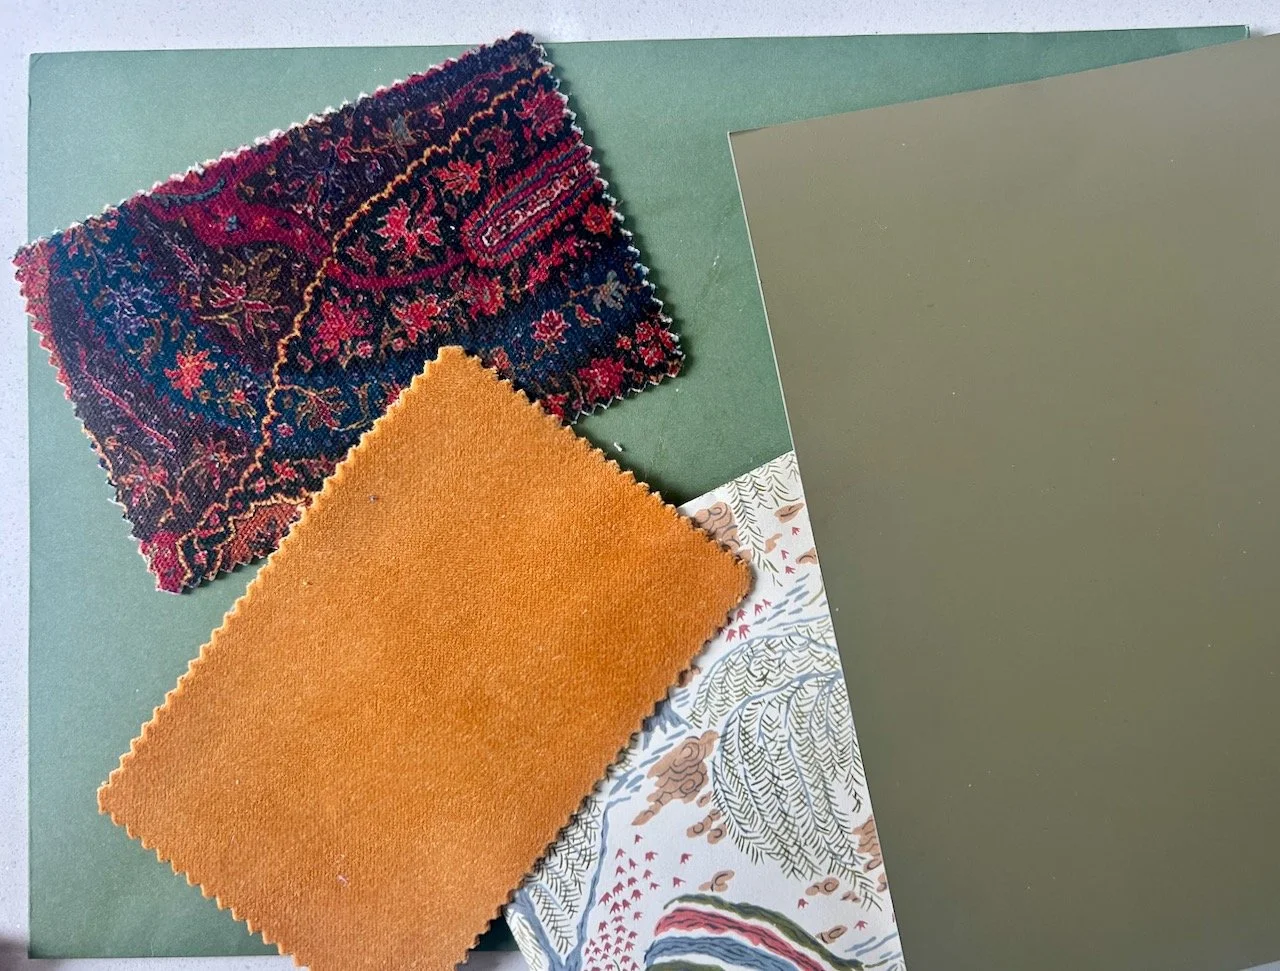
Adding the sofa samples alongside the potential wall colours

The bigger challenge is choosing a white which goes with it as having these larger samples has shown that the builder’s bright white kills this colour, and it needs a softer white. The same goes for the Calke Green, builder’s bright white isn’t the match. And while on the Farrow & Ball site they give options for whites which match their colours, there isn’t a common white for both of the colours we think we’ll use in our downstairs decorating.

We don’t need - or want - three different colour whites in our downstairs, so the hunt for the white which doesn’t subdue the colours is still on. It’s harder than choosing the colours, I’m sure.
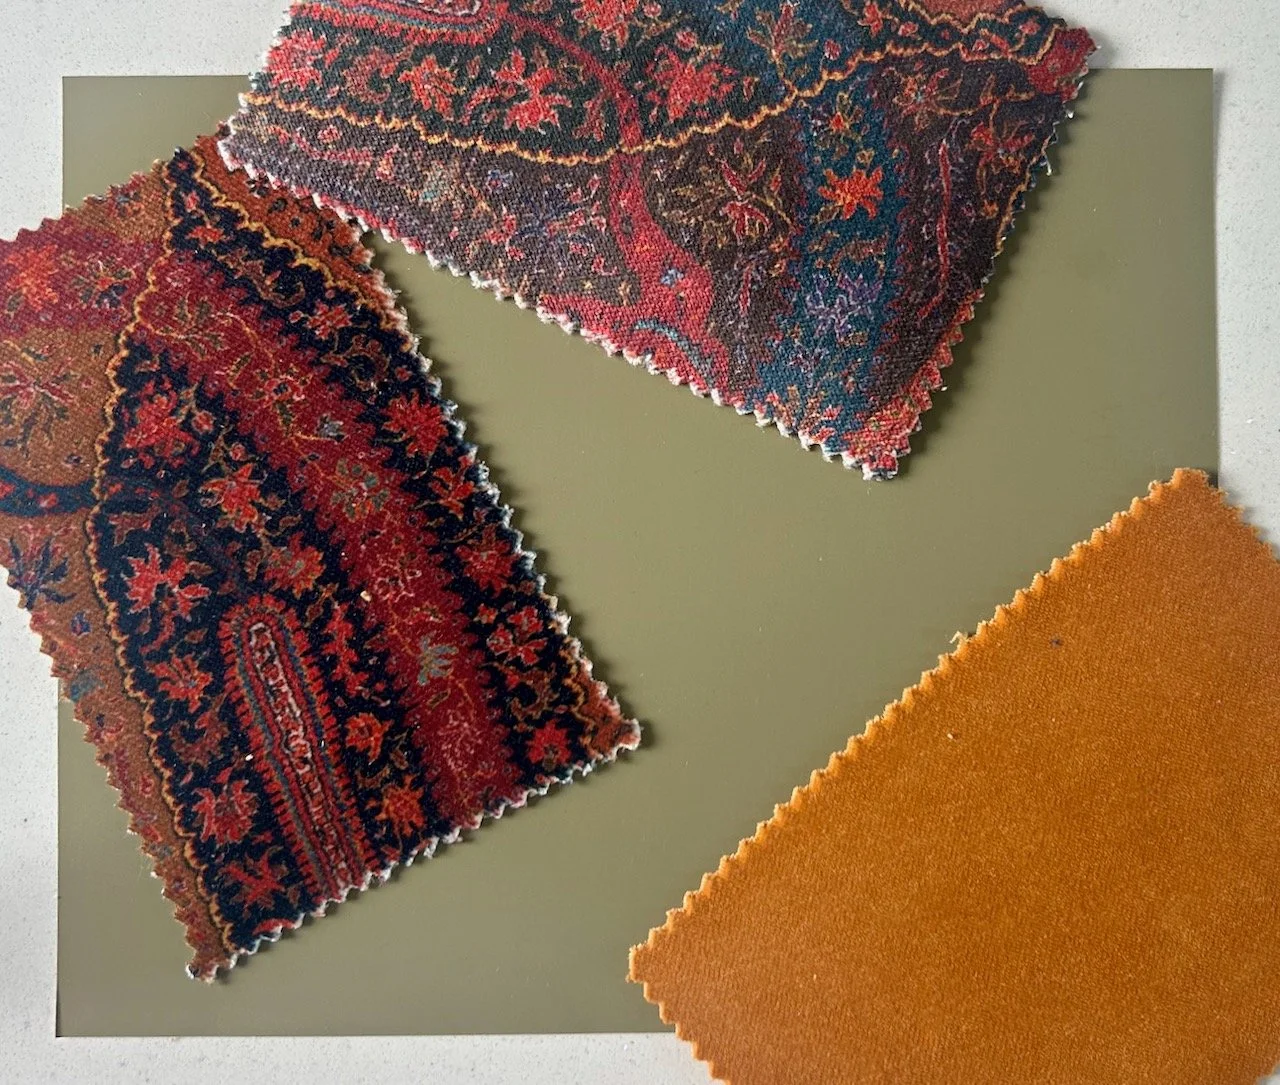
The sofa samples against the Dibber paint sample

Our hunt was cut short by an earlier than expected sofa delivery, they arrived at the end of February taking us quite by surprise.
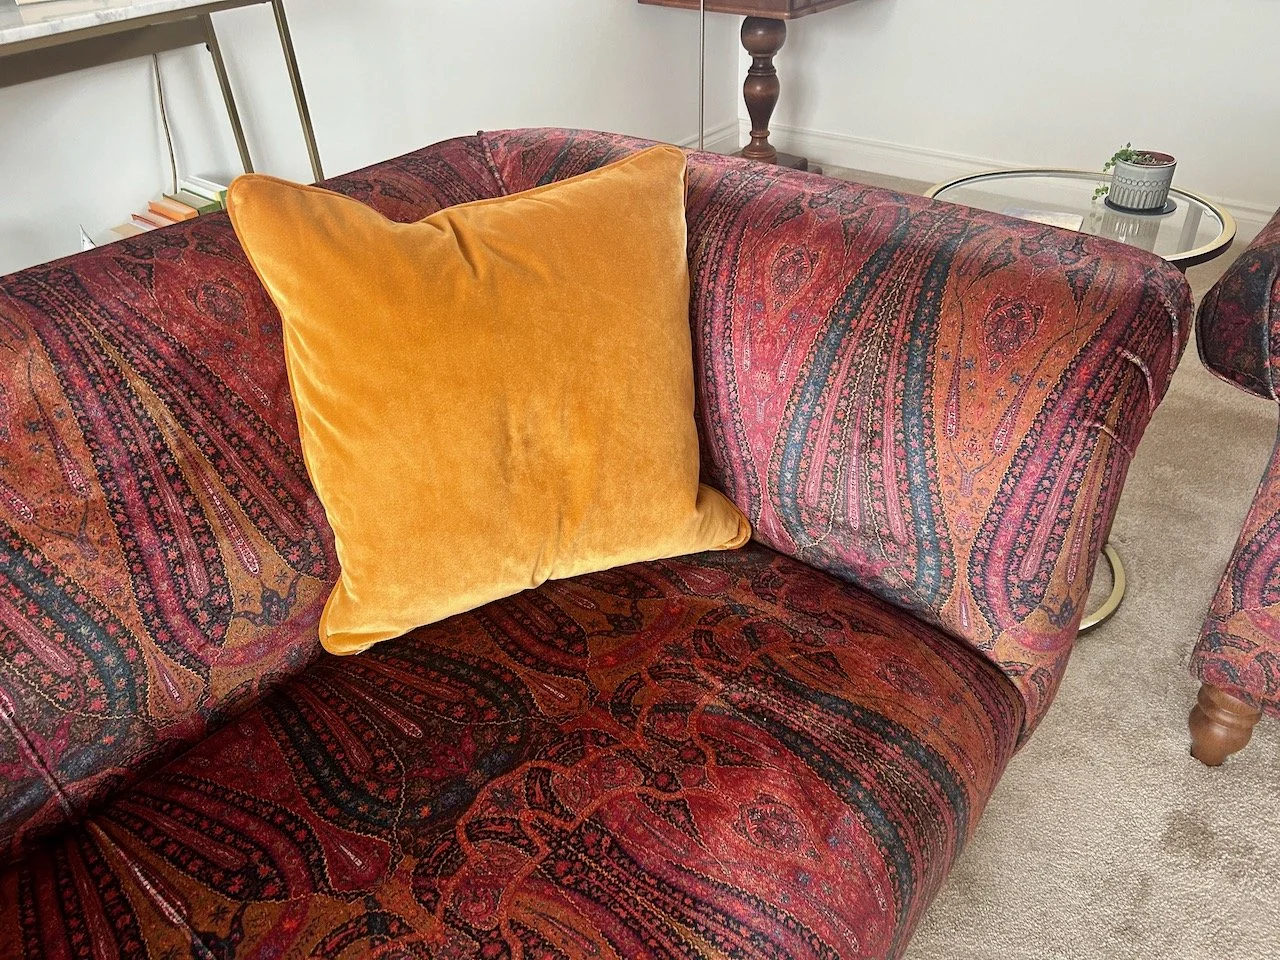
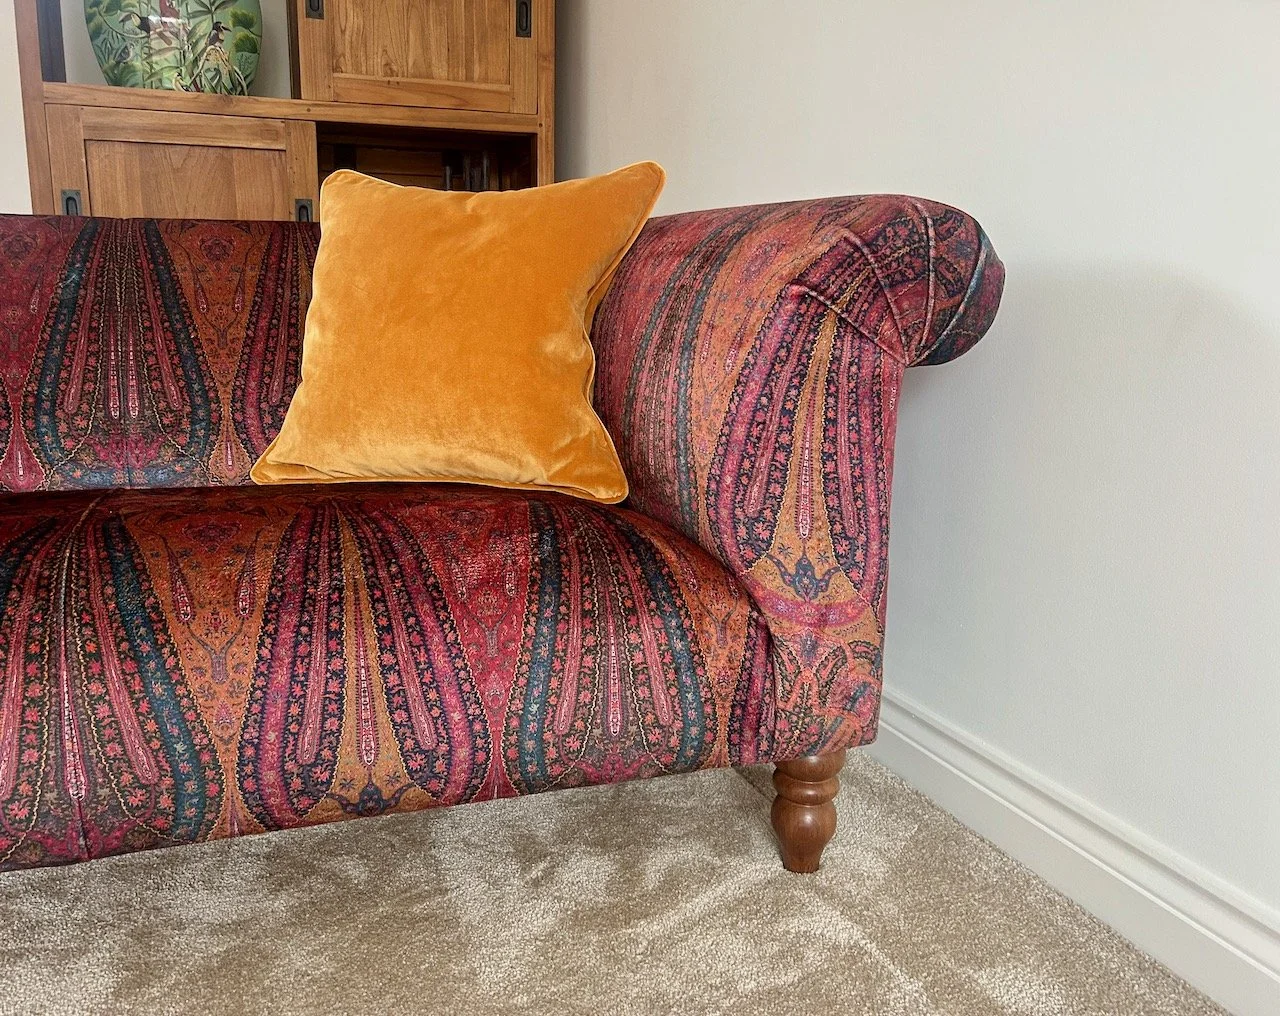
The corner of one of the new sofas - and cushion - in our lounge
part of the second sofa in our lounge

But looking good. So very good.

As you can see we still have the builder’s white on the walls, but life got in the way a bit and we will get the walls painted at some point, just as soon as we’ve found the white that works with both - and booked the decorator!

Overcoming my overwhelm and letting inspiration strike

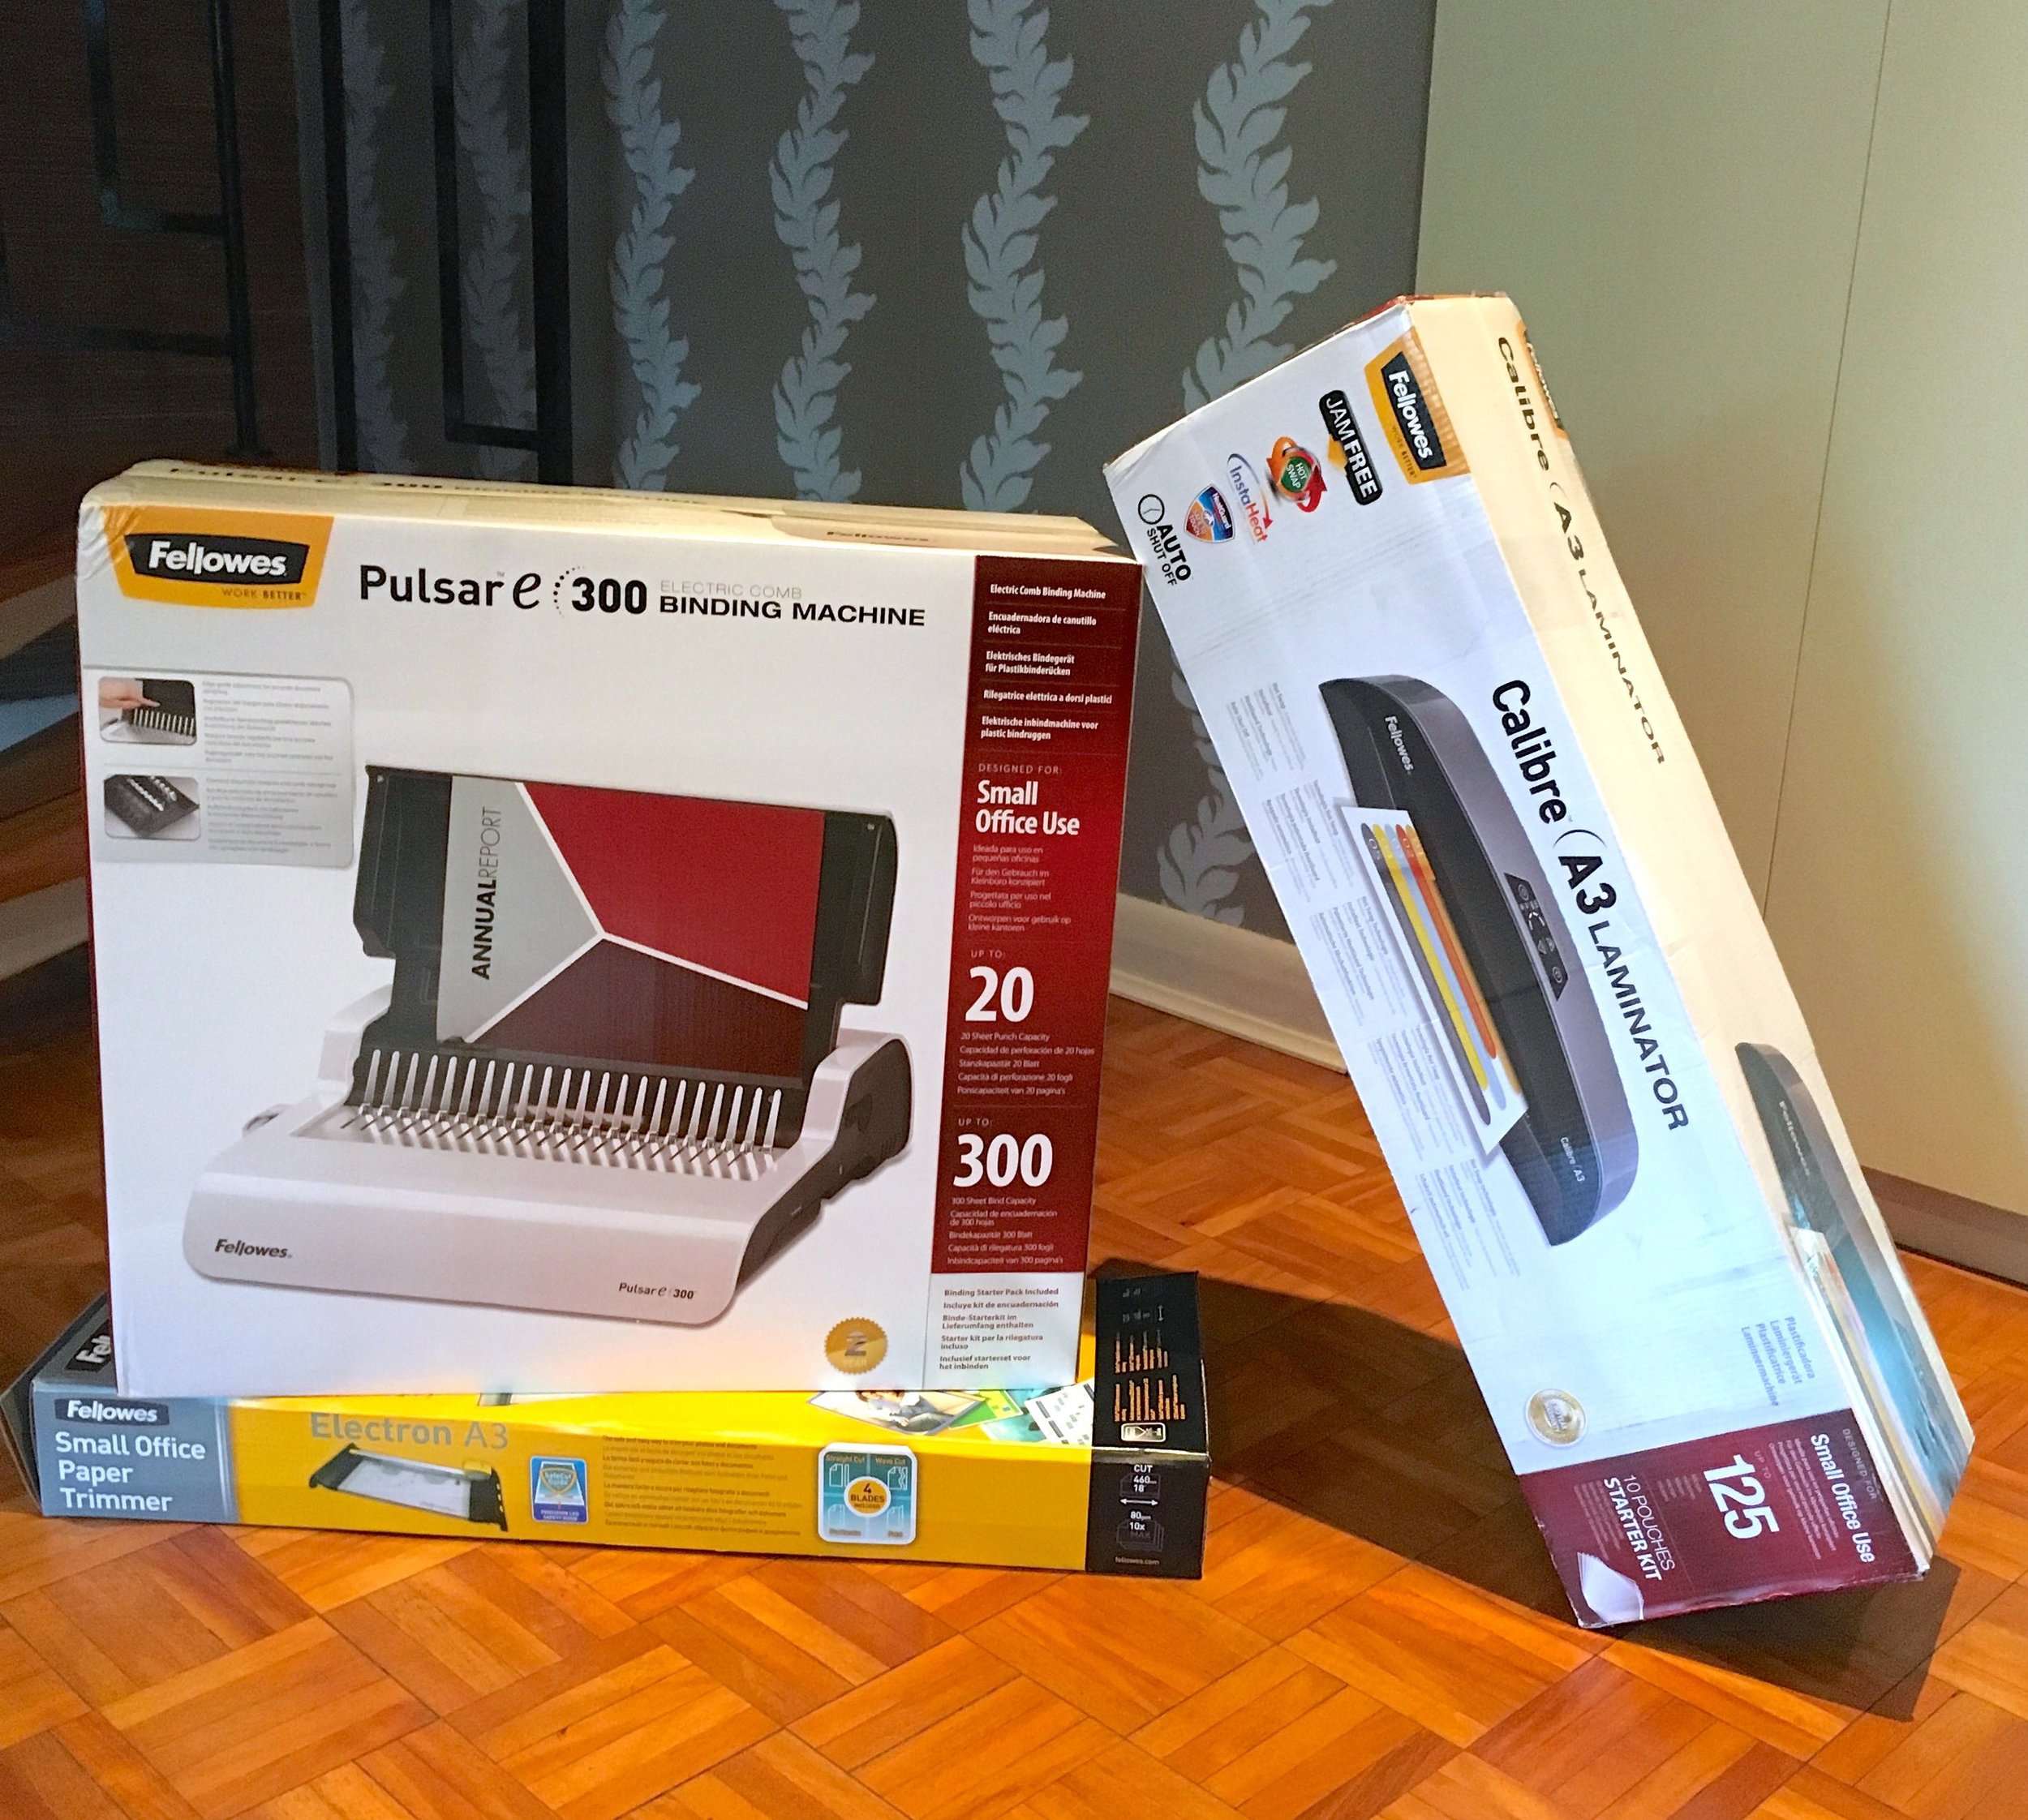
Now that may seem a strange title but let me explain. In August I received a delivery from Fellowes of some small office equipment to review. My neighbour's house sitter took in the parcels and then when I popped round to collect helped me bring them home as the largest of the boxes was, he said heavy. He wasn't wrong and later that evening I unboxed a binder (the heavy box), laminator and trimmer along with accessories to get started with the laminator and binder machine.

A delivery from Fellowes taken in by my neighbour's housesitter
unboxed and wow

It's fair to say I was pretty overwhelmed. Not only by the kit in front of me and where I would store them, but also how I could use them. I wanted to do something more creative than organise MOH's shed, labelling where he should put things (although I will do that at some point) but what exactly, I wasn't sure. The Ideas Centre on the Fellowes site helped with the inspiration, and after a little percolation I started to have some ideas.

First though I needed to address where to store them, as MOH kept saying he was getting fed up of walking past them.  I knew I had to have a bit of sort out in our study-cum-craft-room which had become our dumping ground. On the face of it the sort out looked like I'd just moved stuff into the top bedroom (and I have) but I've also rationalised what's in the study.  And the things I've moved out are in a "to be sorted" pile. 

CLOCKWISE FROM LEFT: BINDER, LAMINATOR AND TRIMMER

CLOCKWISE FROM LEFT: BINDER, LAMINATOR AND TRIMMER

Out of their boxes the items looked equally impressive; the laminator and trimmer are A3 size, which I know will be handy as often scrapbook papers are larger than the smaller A4 size. The binder - which is the heaviest item looks sleek and I think will fit inside one of the Ikea Corras units we have in the study.

I was intrigued to see inside this machine, as while I've seen many bound documents, I've not actually done any myself. It had the look of a typewriter (without the keys) if you looked quickly. If you're not sure what I mean, you're probably too young to know, so please just humour me.

The binder machine by fellowes was fascinating - I've not seen one before

A hive of activity

With space in the study almost sorted, and renewed vigour to finally tackle the collage wall that I've been collecting frames and pictures for, this weekend we set about making it happen. It seems my frames to pictures ratio is slightly out and we have many more frames than pictures. My thinking is that if we're going to go for the informal collage approach, then all the frames need to be on the wall at the same time, especially as I've pictures ranging from A2 size to A6 (postcard) size. 

I wasn't keen to have empty frames on the wall, so while I find the long-term pictures I decided to fill the frames with scrapbook paper, and so, in came the trimmer.

Trimming scrapbook paper using the Fellowes trimmer
 
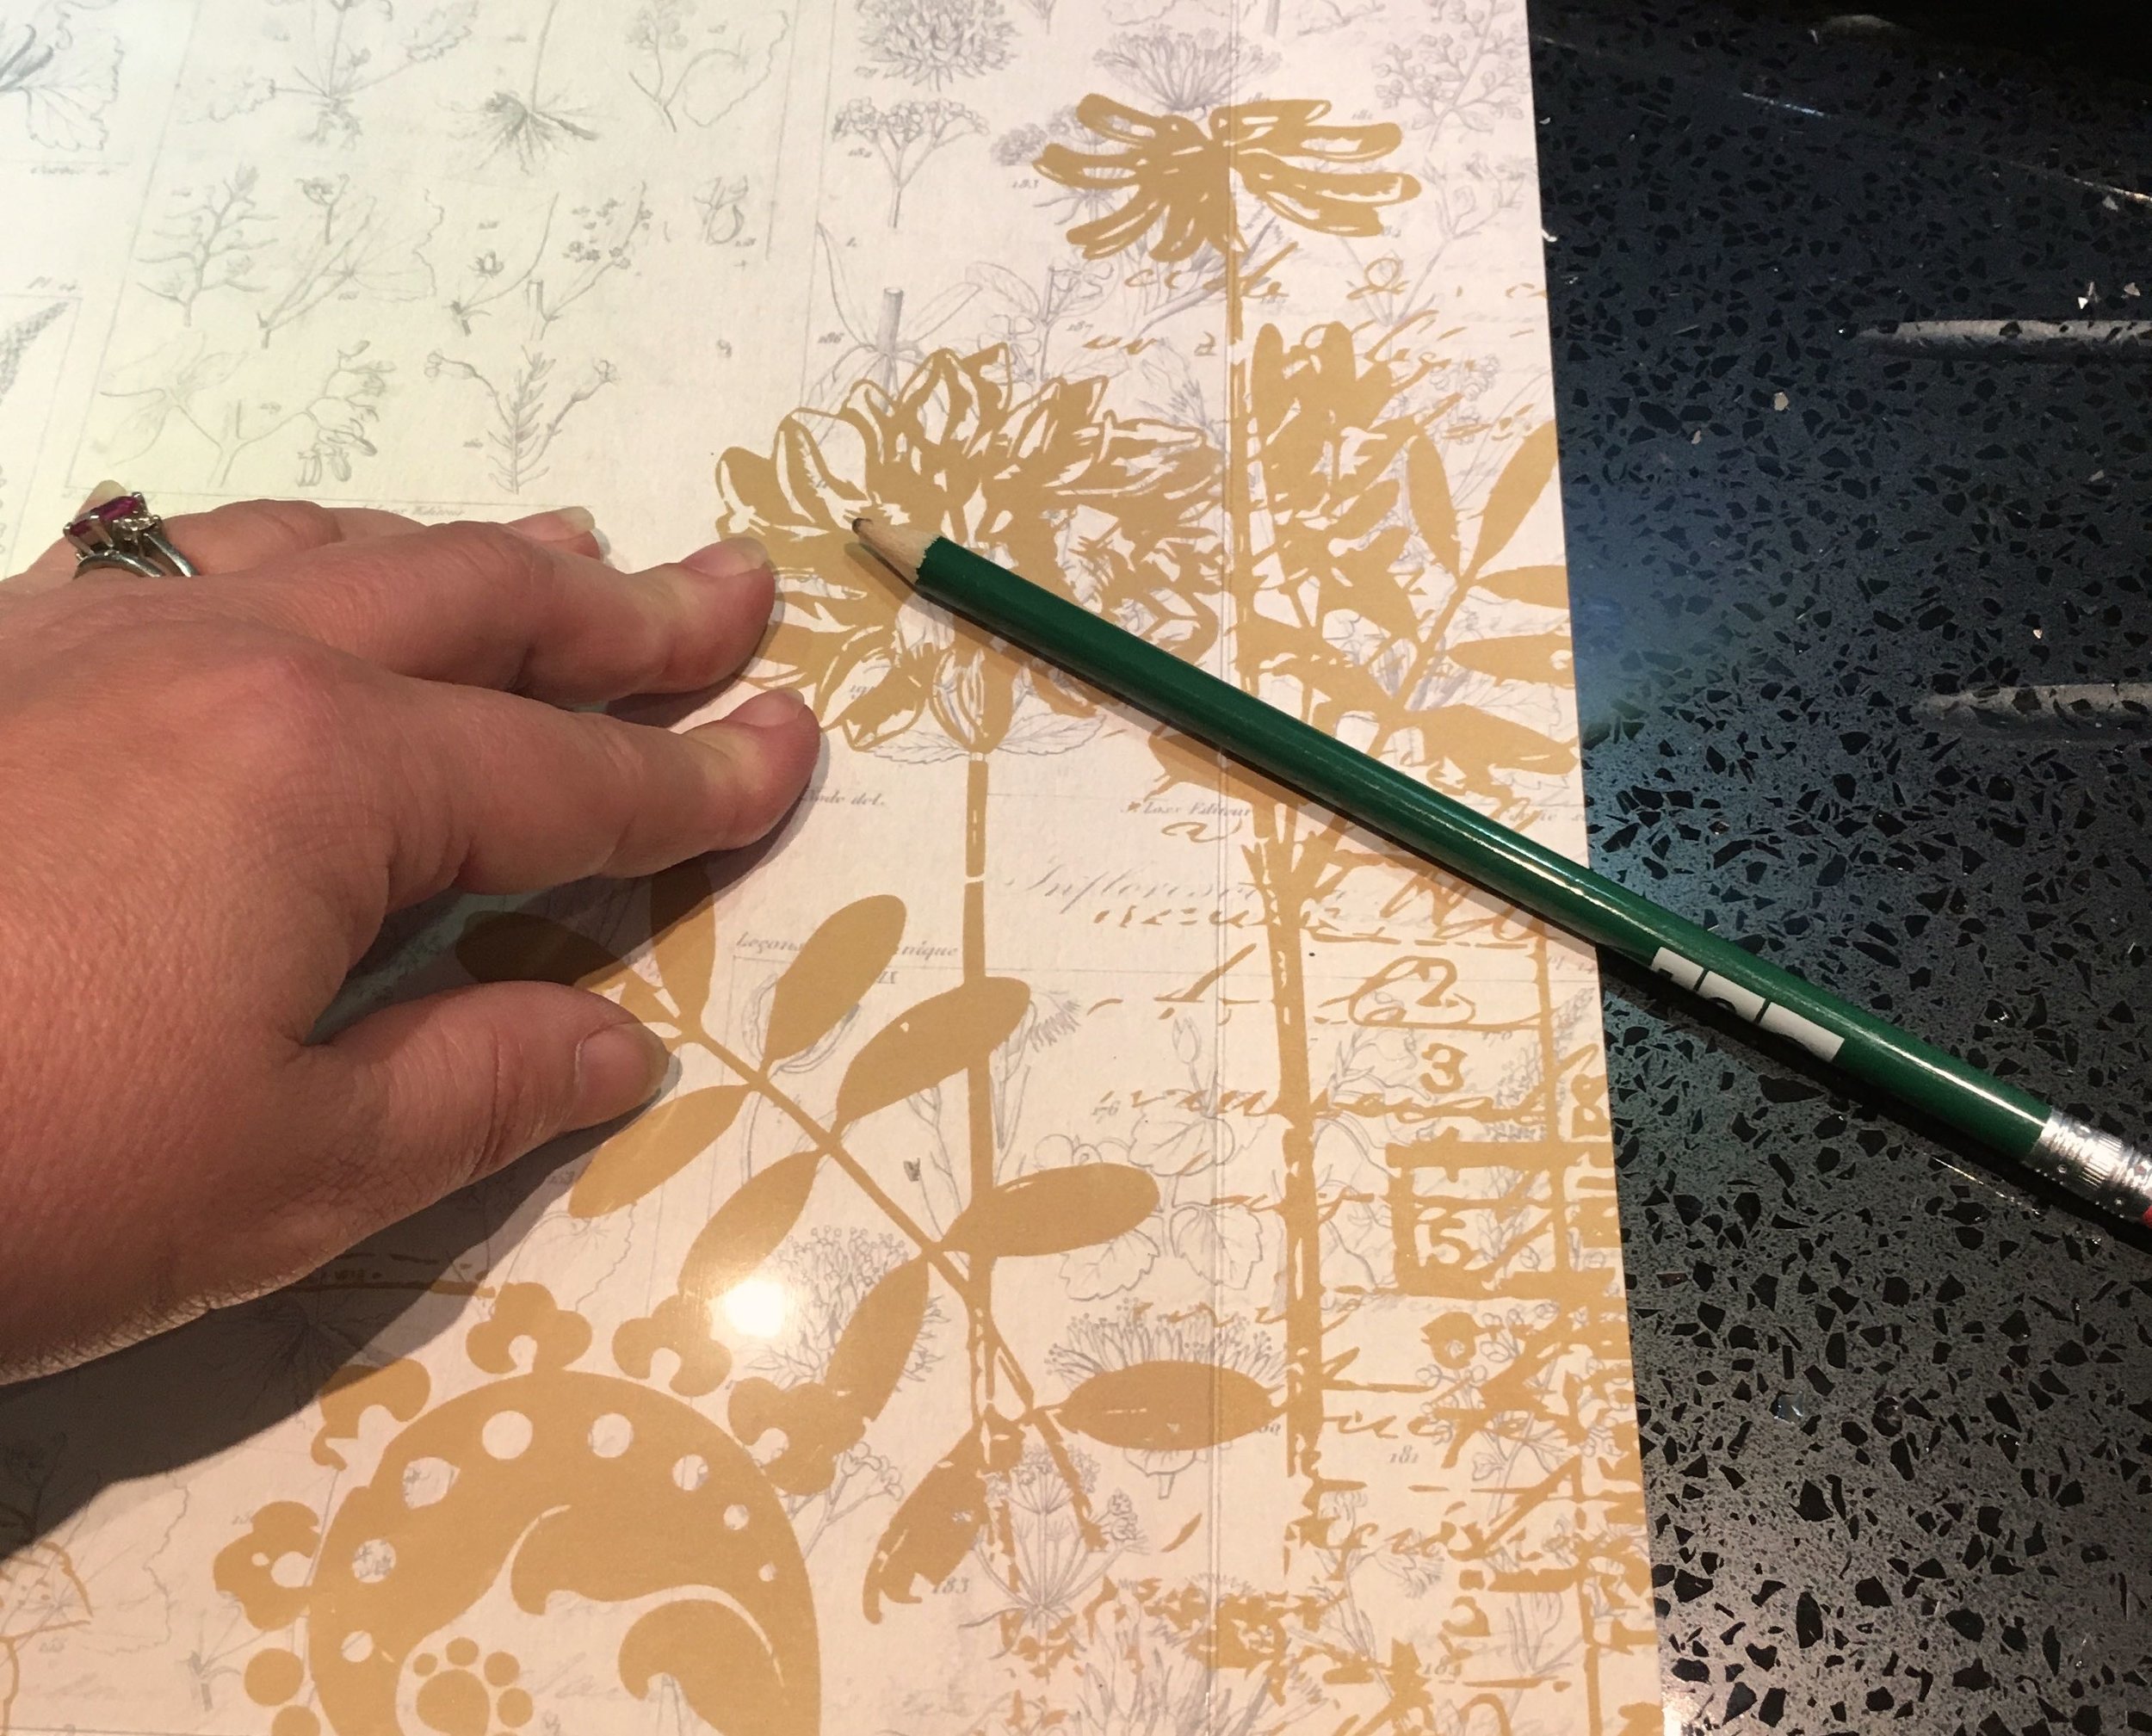
Marking out where to cut using the perspex from the frame

After marking where I should cut in pencil I lined it up on the cutting line of the trimmer, which has a LED guide to help you cut just where you expected to.

Lining up the paper along the LED lit cutting line on the Fellowes trimmer

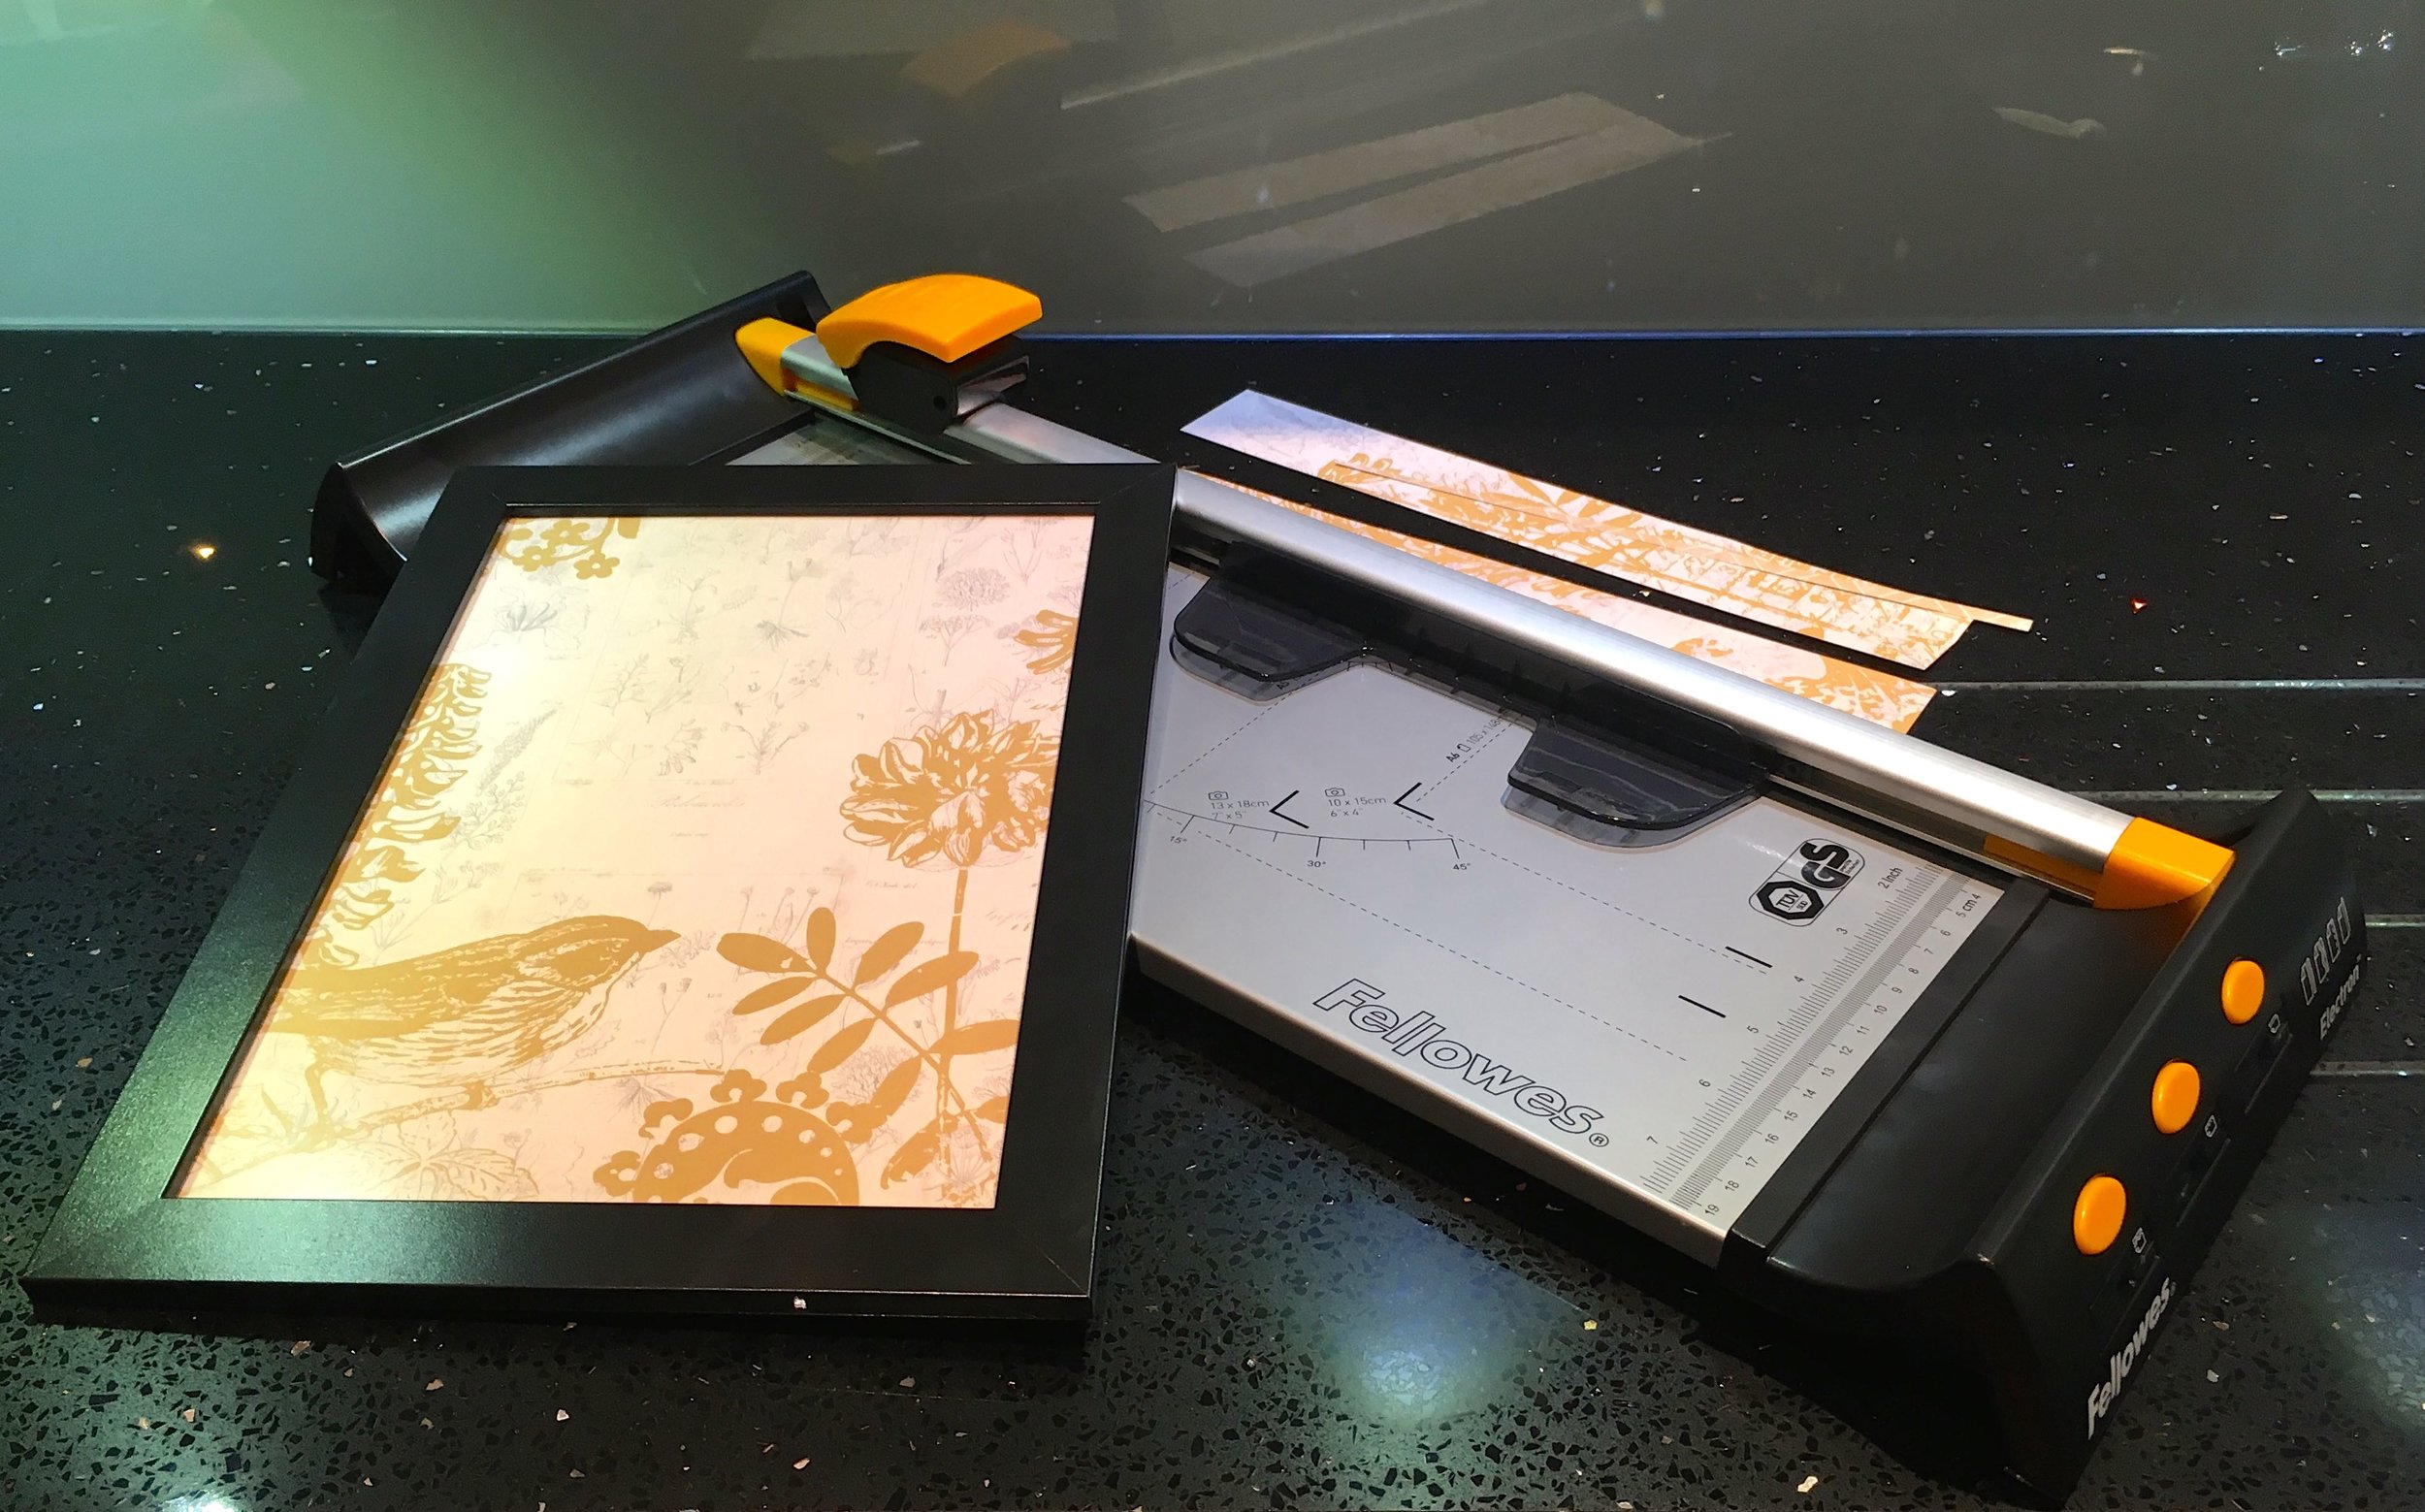
The trimmer was easy to use and easy too to trim small amounts from the edge. As well as the LED guide, the other really handy part of the trimmer was the gripper (the smoky plastic "flaps" to the left of the cutting line in the picture below) which worked well keeping the paper in place. 

trimmings cleanly alongside the trimmer by Fellowes

With my paper cut to size it was easy to add to the frame. I'm quite pleased with how it turned out, and with how the trimmer performed. The trimmer itself is lightweight and there's some additional cutting blades that I still need to try out. What I like about those is their integral storage - those three orange buttons in the picture below are those blades. They're easily inserted into the cutting head too, I'll let you know how I get on with those.

My completed filled frame with help from the small office trimmer from Fellowes

And isn't it always the case, that once you get started it's hard to stop?

That was me on Sunday too. 

Like many crafters - tell me I'm not alone - I have a collection of paint charts and paint strips, and an idea was starting to form for my next project, and it would make use of the laminator and the binder too. 

Trimming paint charts using the Fellowes trimmer as inspiration struck
 
With my paint chart trimmed and ready to laminate I'd overcome the overwhelm of my new office tools from Fellowes

With my paint chart cut ready, I was ready for the laminator.  But what's my project? Can you guess?  

I'll share more soon, I promise!

* This is a collaborative post, I was sent the small office equipment in this post by Fellowes for use in my creative projects in return for sharing my views and opinions. 

Post Comment Love