A useful velvet box pouch

I’ve recently bought myself a new ‘for workshops’ sewing machine (more on that another time) and as it’s primary use is ‘on the go’ I wanted to make sure it was easy to transport, so bought a sewing machine bag to carry it in. After the first time taking my new machine out, I realised that I needed a pouch to house the foot pedal and cables - I know, what were the odds of me needing another pouch?!

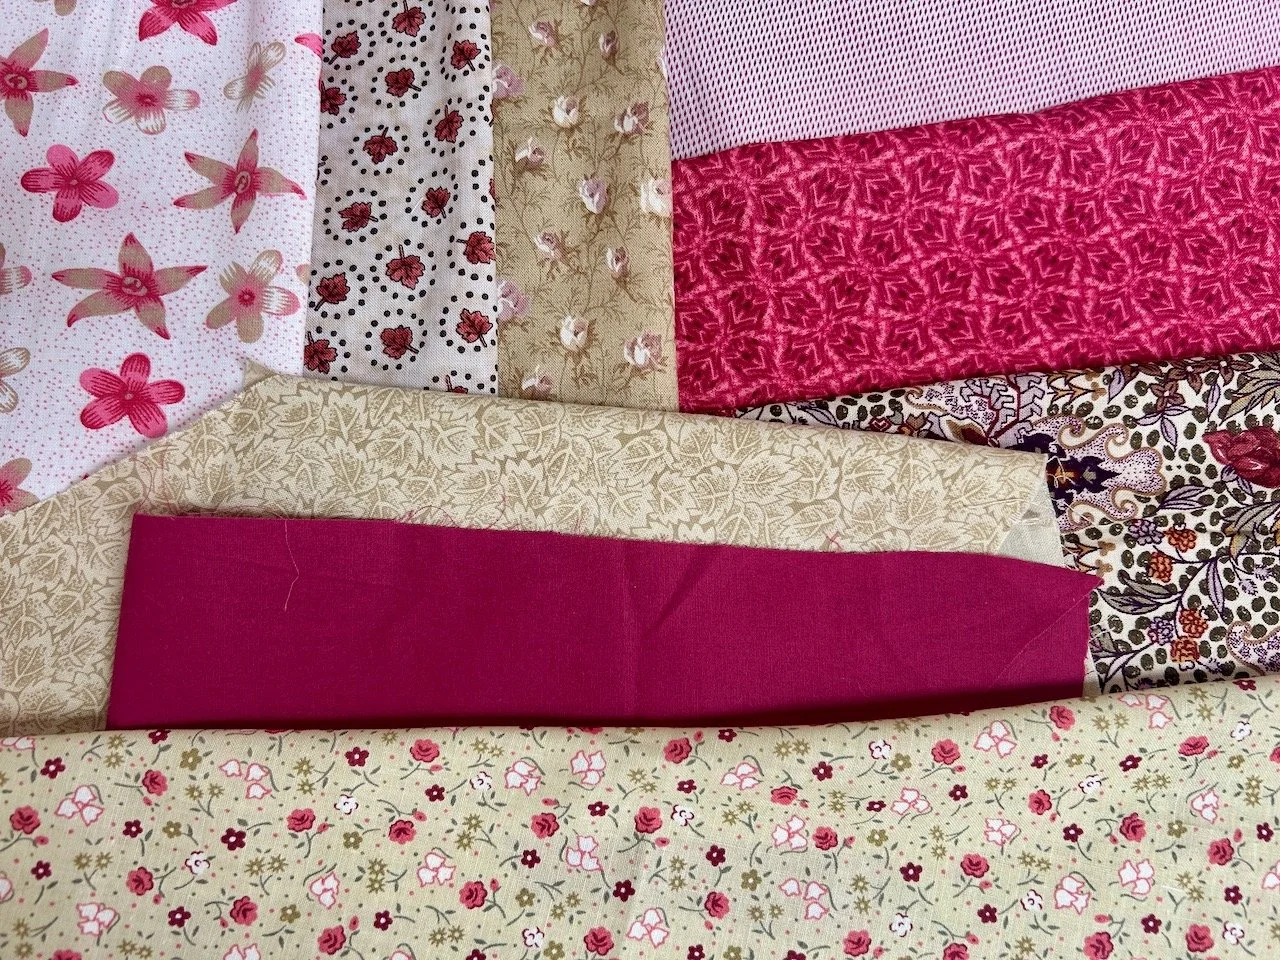
I wanted something relatively soft as this pouch will live in the ‘throat’ of the machine - the gap between the needle and the main part of the sewing machine on the right hand side. You’ll not be surprised to learn that I’ve kept various furnishing fabric samples over the years, and it was these I had in mind for this boxy pouch.

I’ve not made a boxy pouch before, and I didn’t have a pattern but I reckoned, how hard can it be?

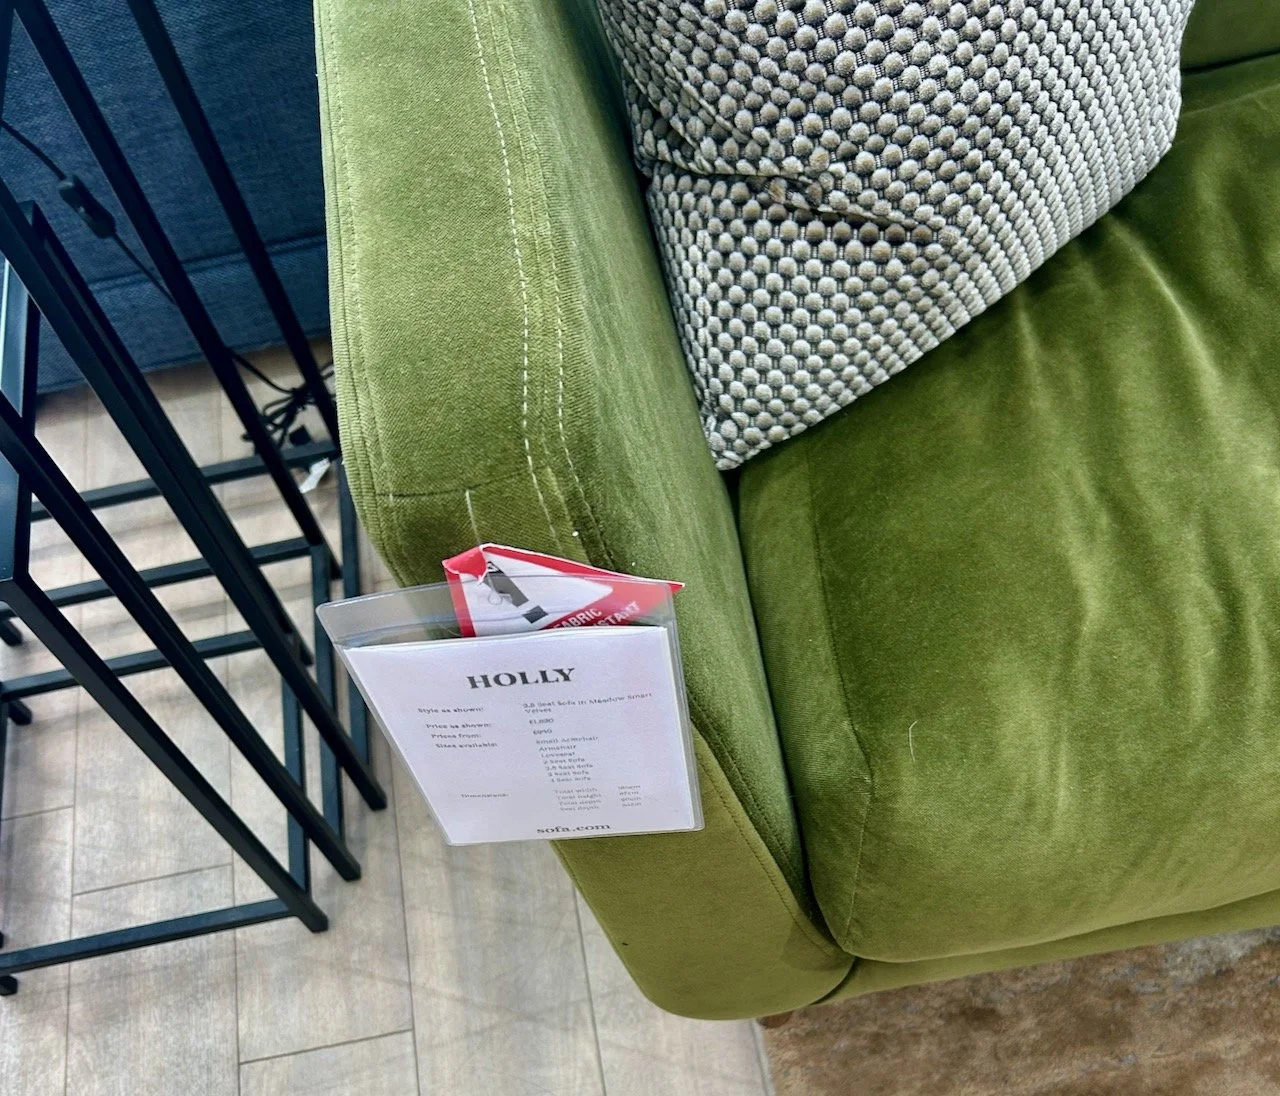
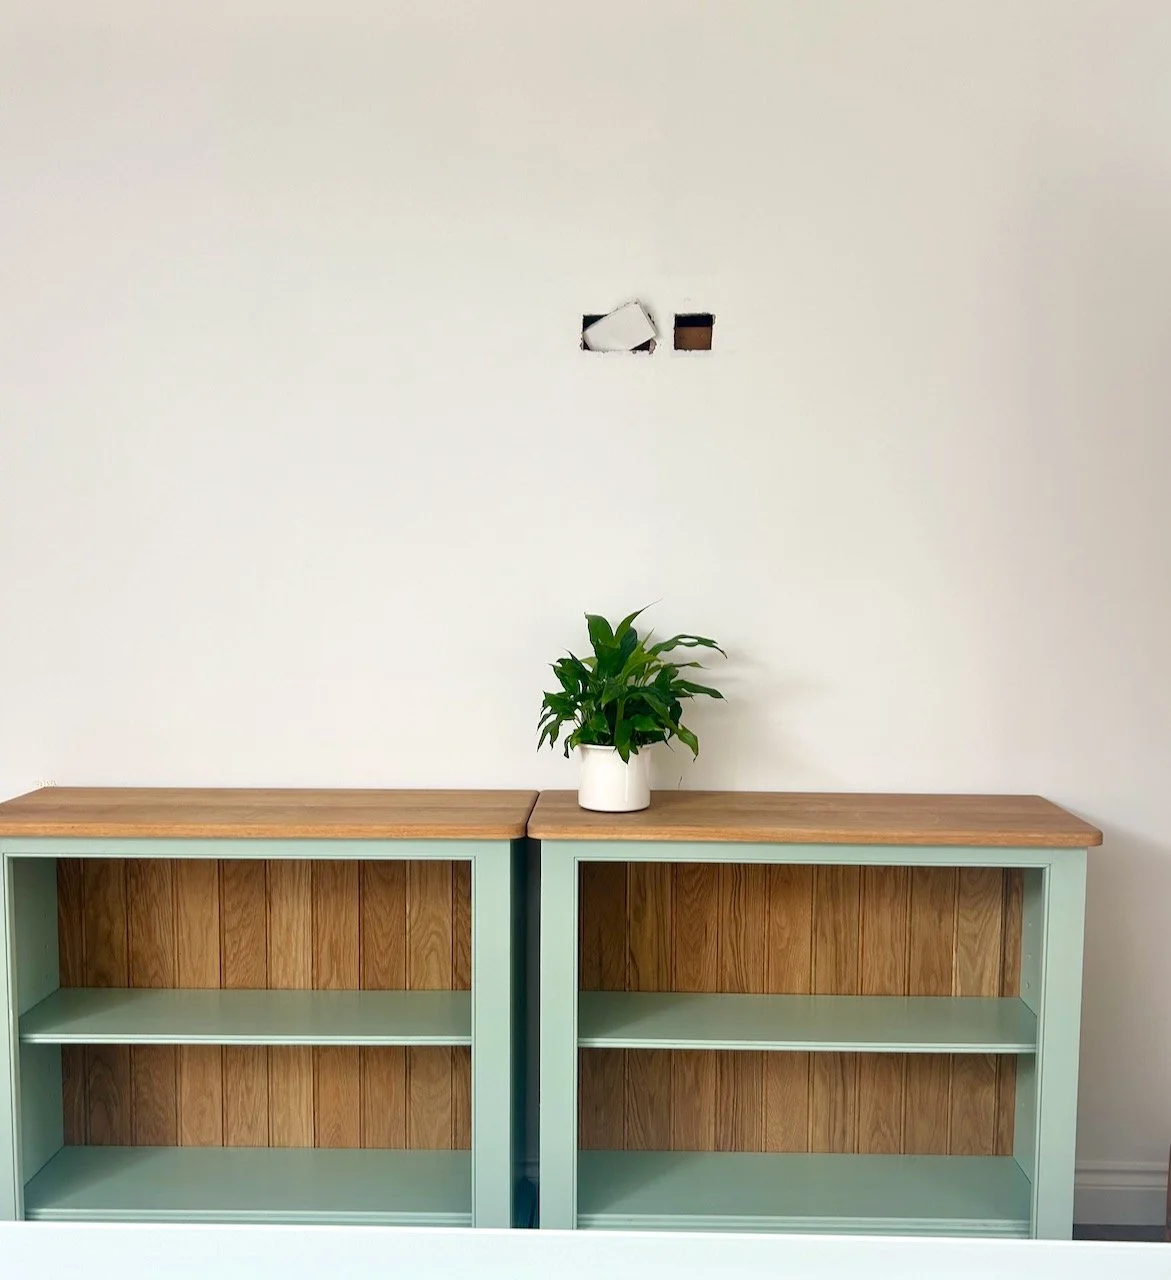
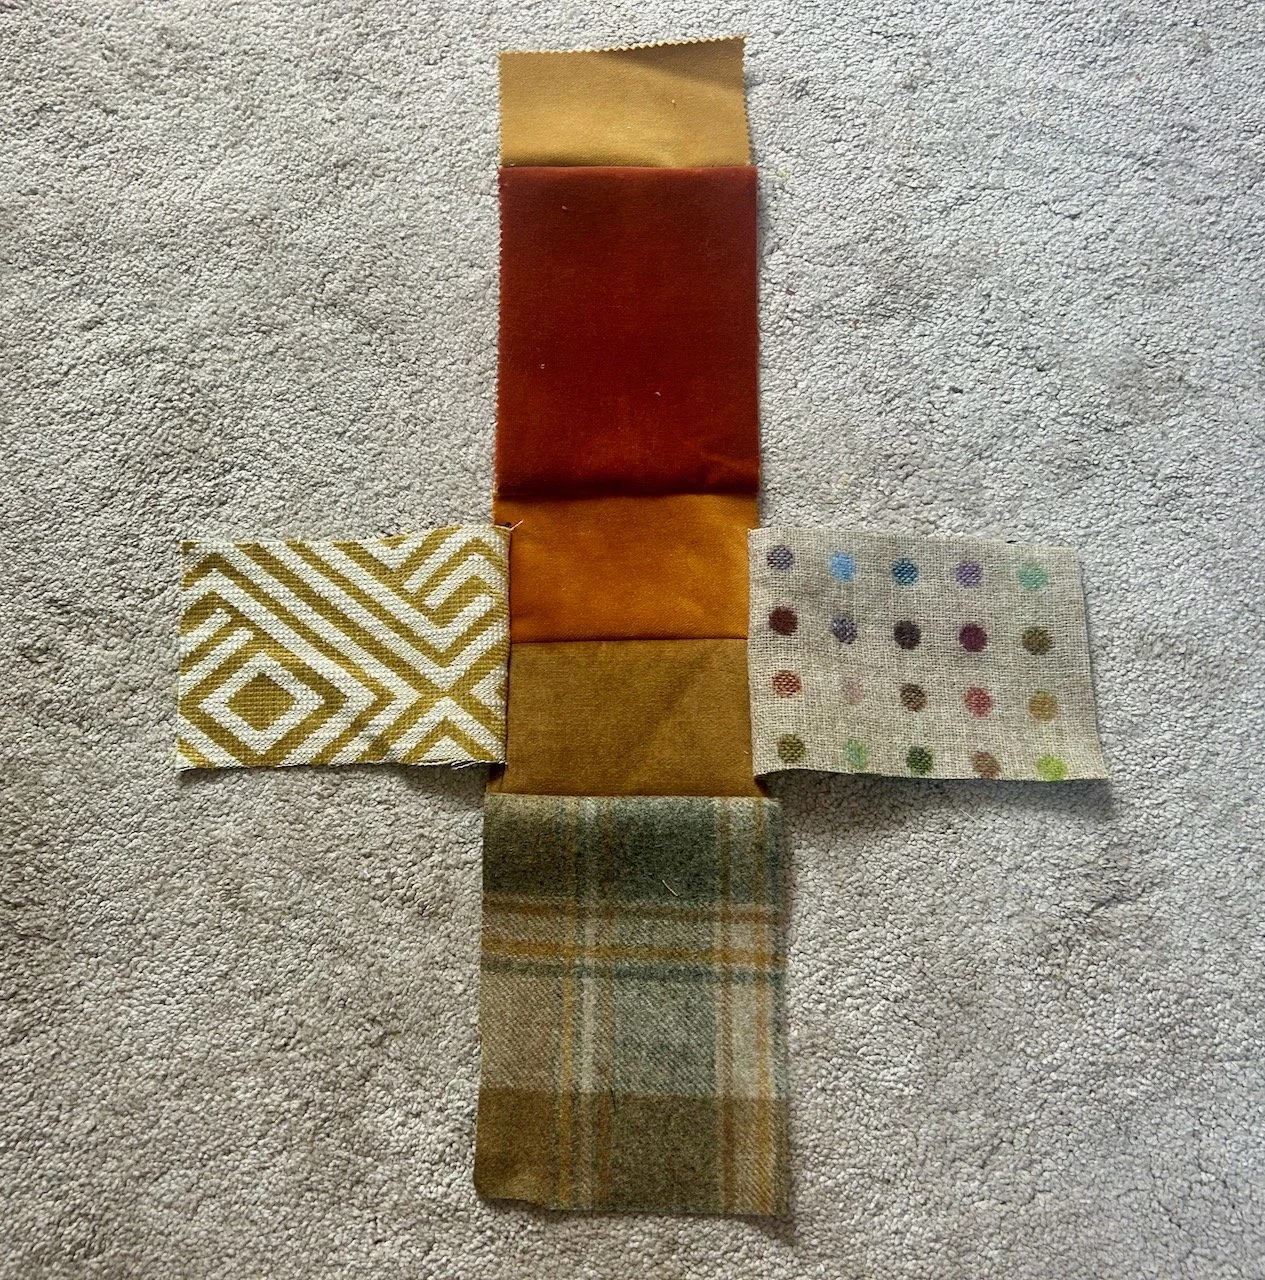
I laid out the materials which I planned to use - the velvet ones are from upholstery samples when we were considering a velvet sofa in our previous home, and the patterned samples are from the large footstool we now have in our bedroom. It seems I know what colours I like, which is a good thing as they all are a similar tone and all work together.

Laying out the upholstery samples, the lining and the sewing machine pedal

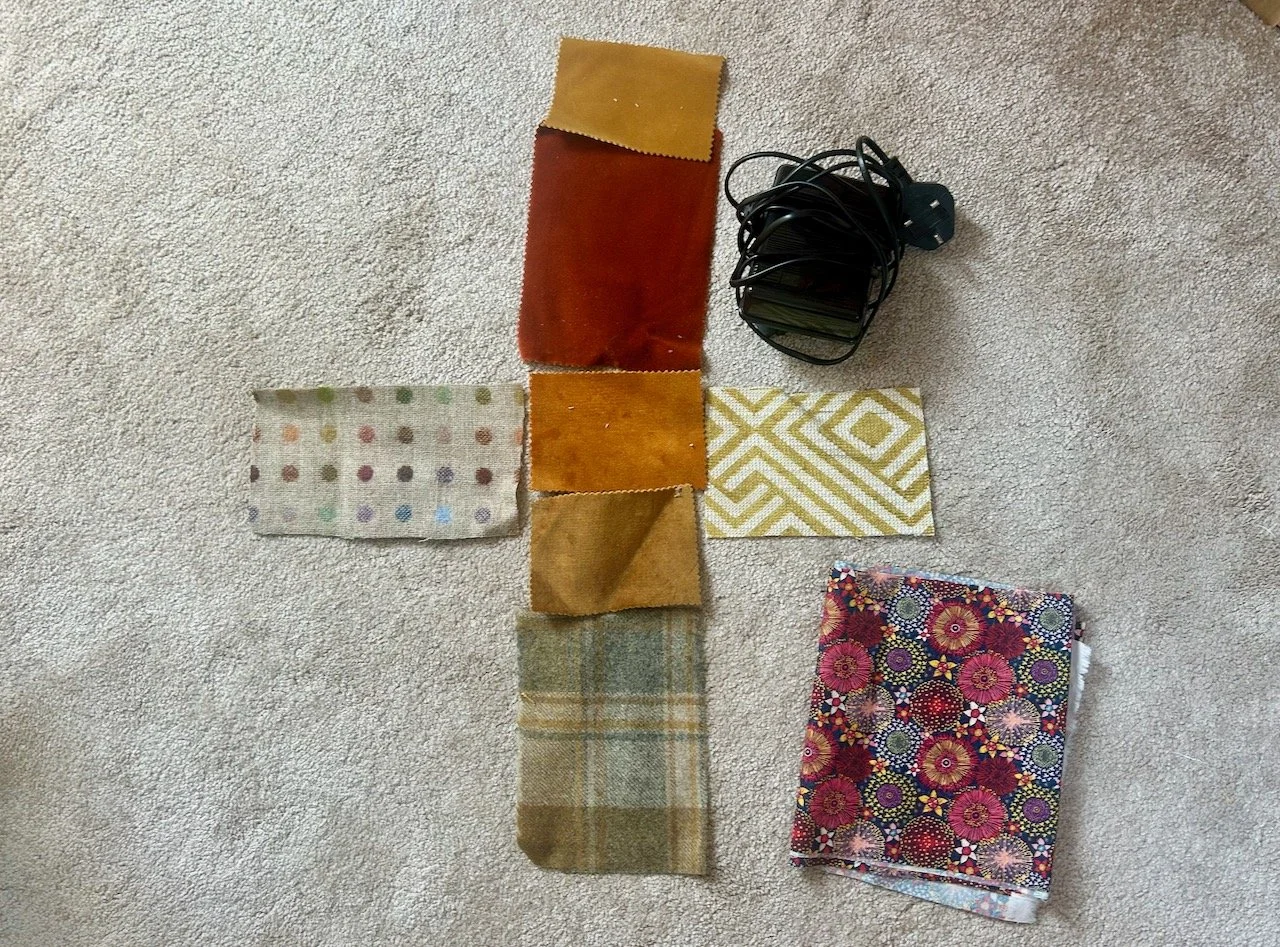
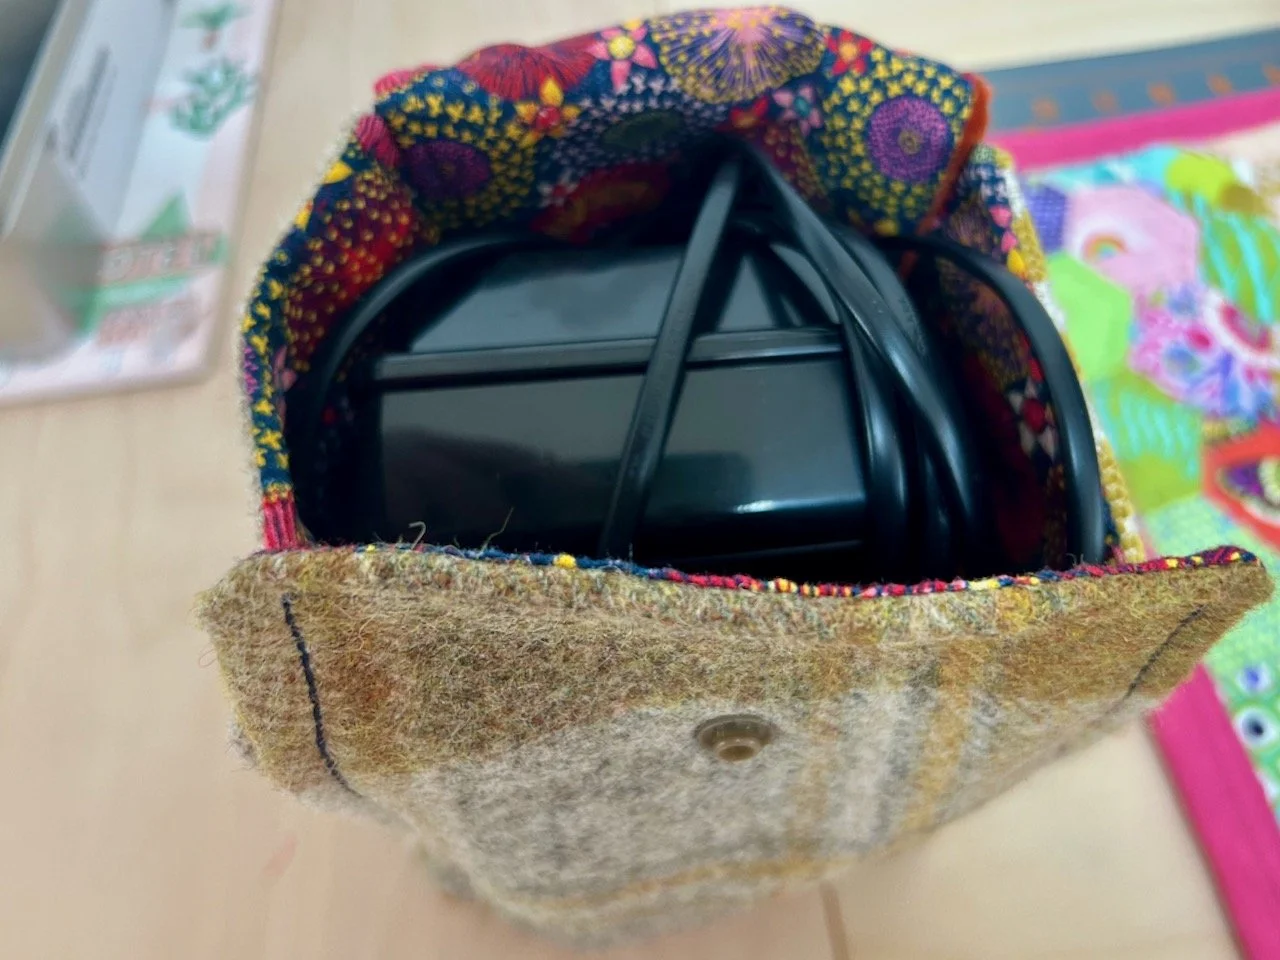
When I had the fabrics sewn together - and had cursed my idea for using velvet without using the walking foot on my sewing machine - I checked again that the foot pedal would fit. It would probably be tight, but we were good.

The samples sewn together in a kind of cross formation

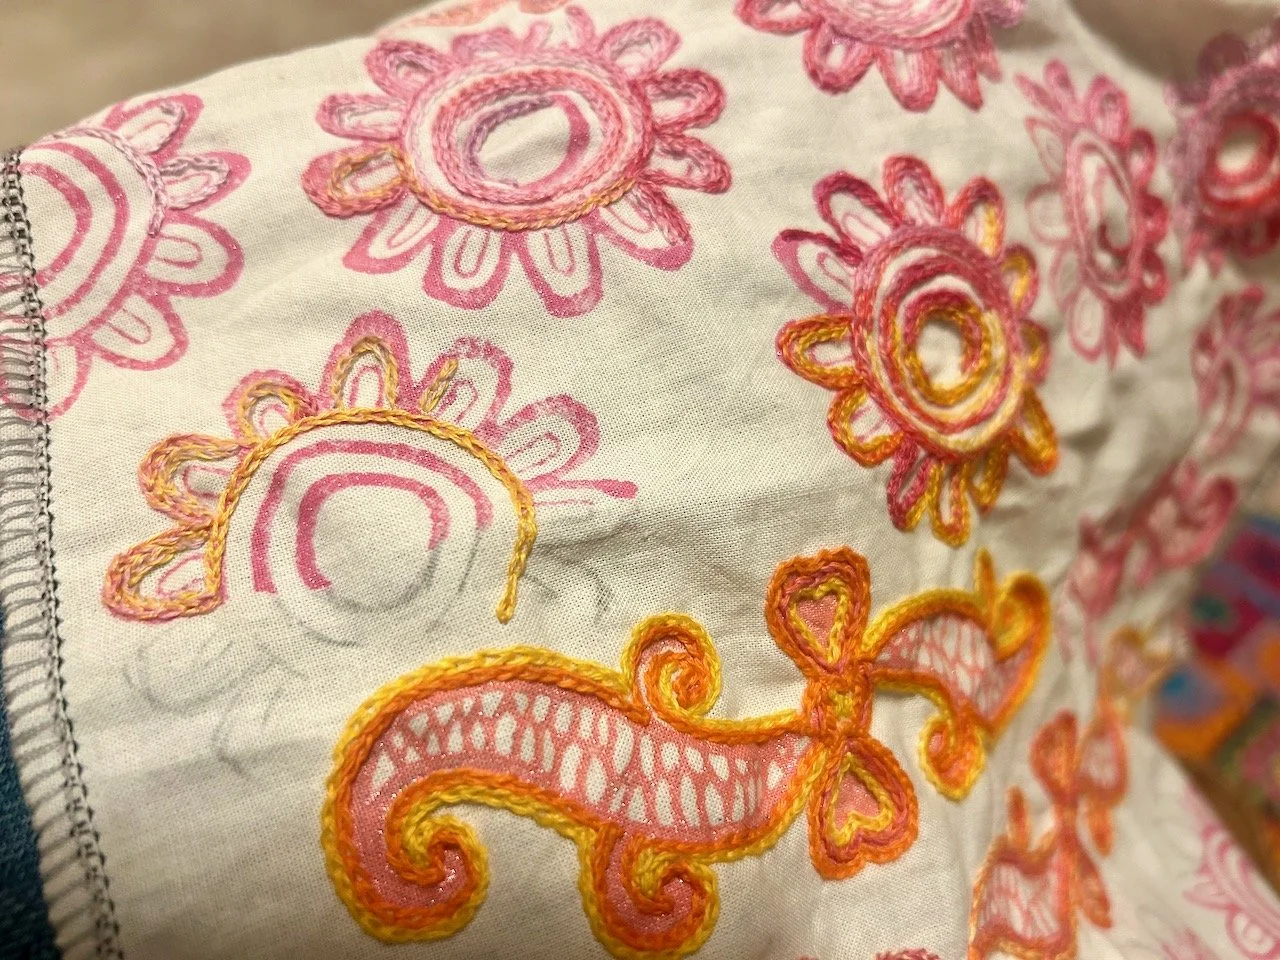
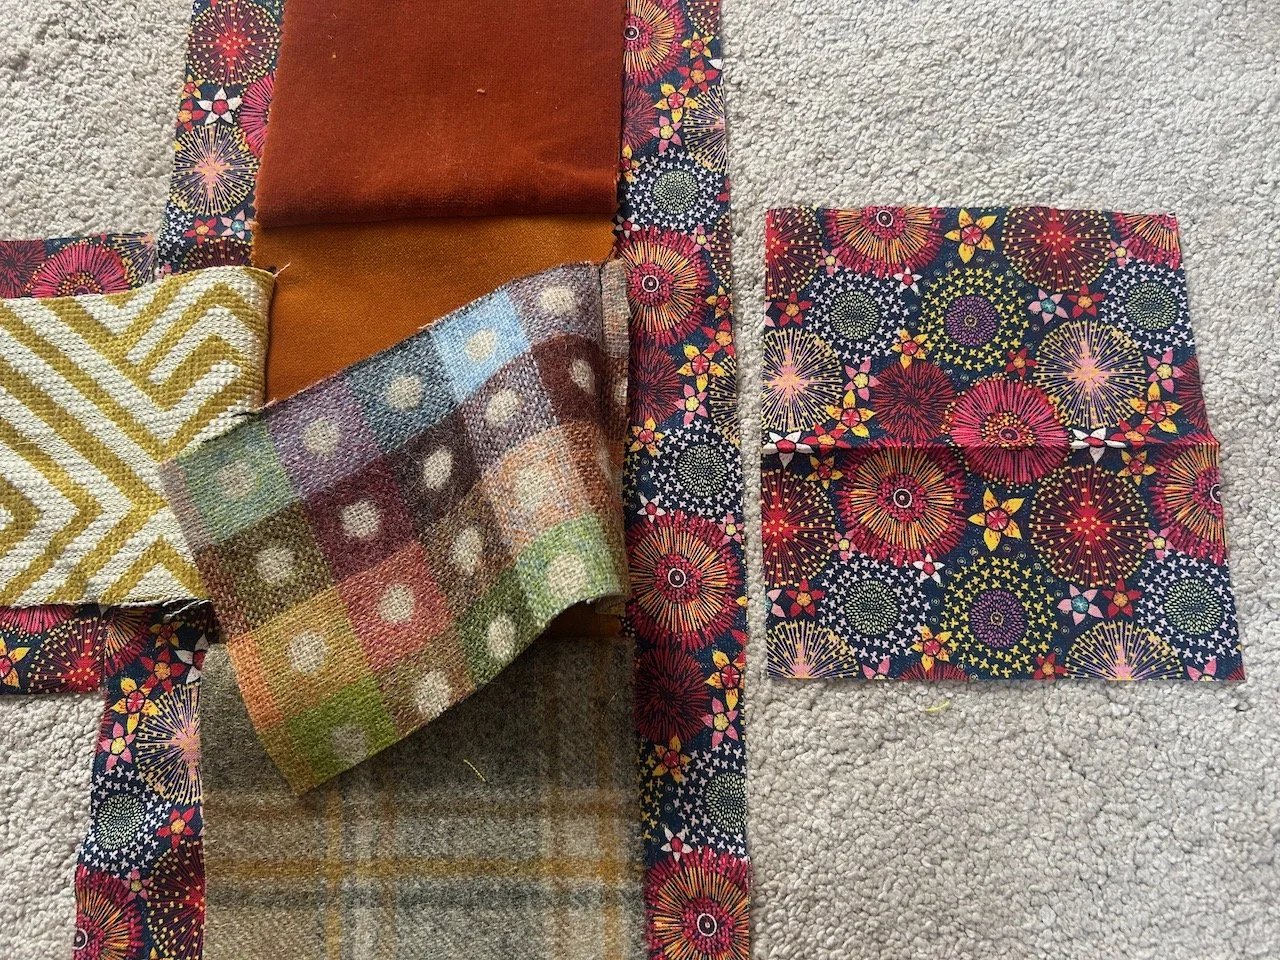
I wanted a jazzy lining and so the navy flower burst material which came in a scrap pack I bought online was perfect. There was a fair bit of that too, which is always a bonus when it’s a fabric you like, but I did need to join it - but as that would be inside, that wasn’t an issue.

Adding lining behind, with the joins for the sides
Sewing underway at the machine

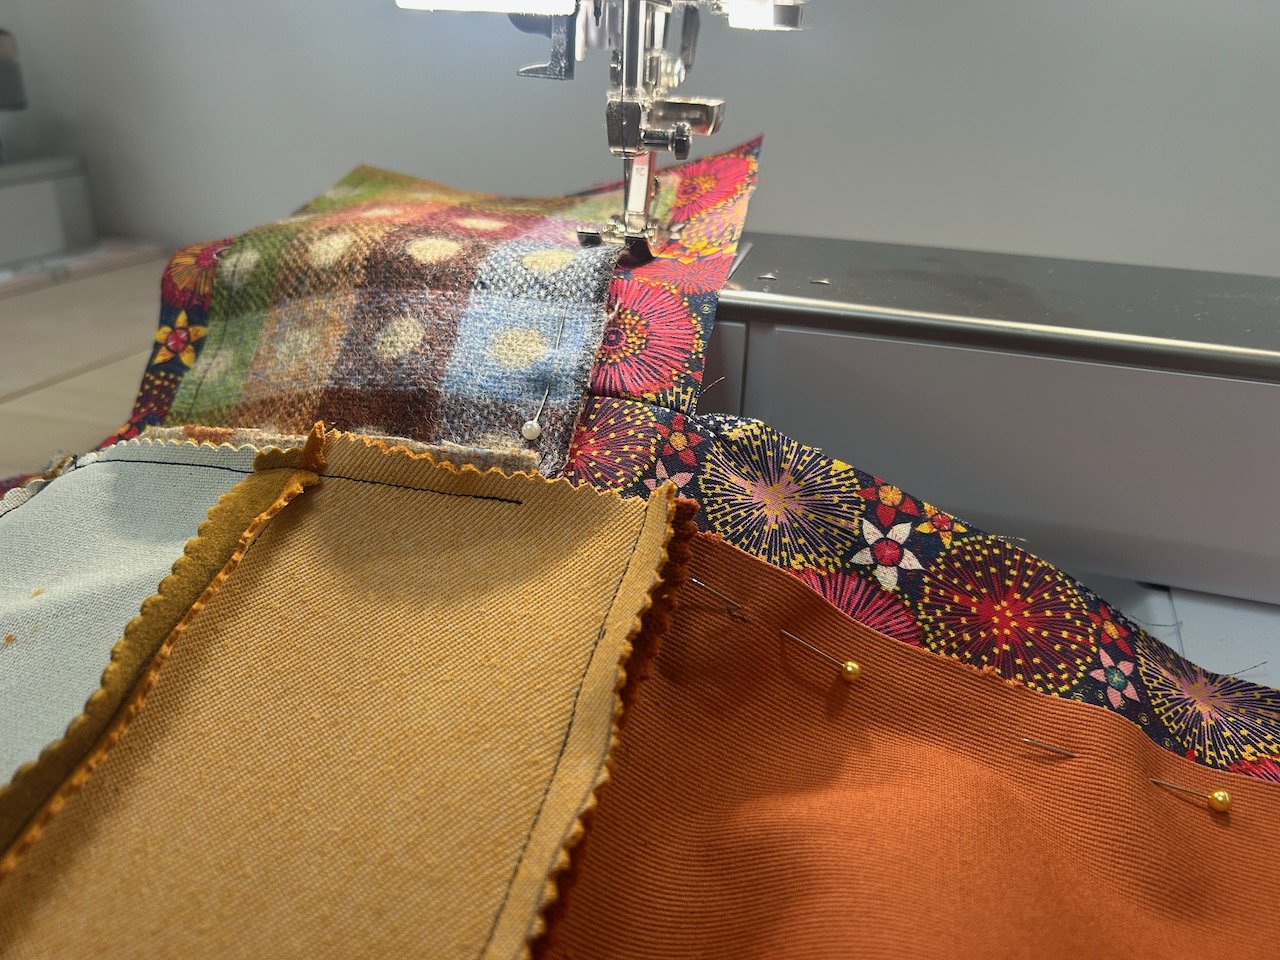
With the lining and outer materials attached and turned through, I edged the cross outline. After this I decided that it would probably work best to assemble the pouch with hand sewing. That would save any more arguments with the sewing machine, and the velvet and would also mean that I had as much space as possible to fit the pedal into the pouch, which after all is what it was all about. I didn’t mind if some of the lining showed on the outside either.

The completed pouch, complete with sewing machine foot pedal inside
the completed pouch - with mustard velvet on the top and toning tweed on the front - complete with a brown popper

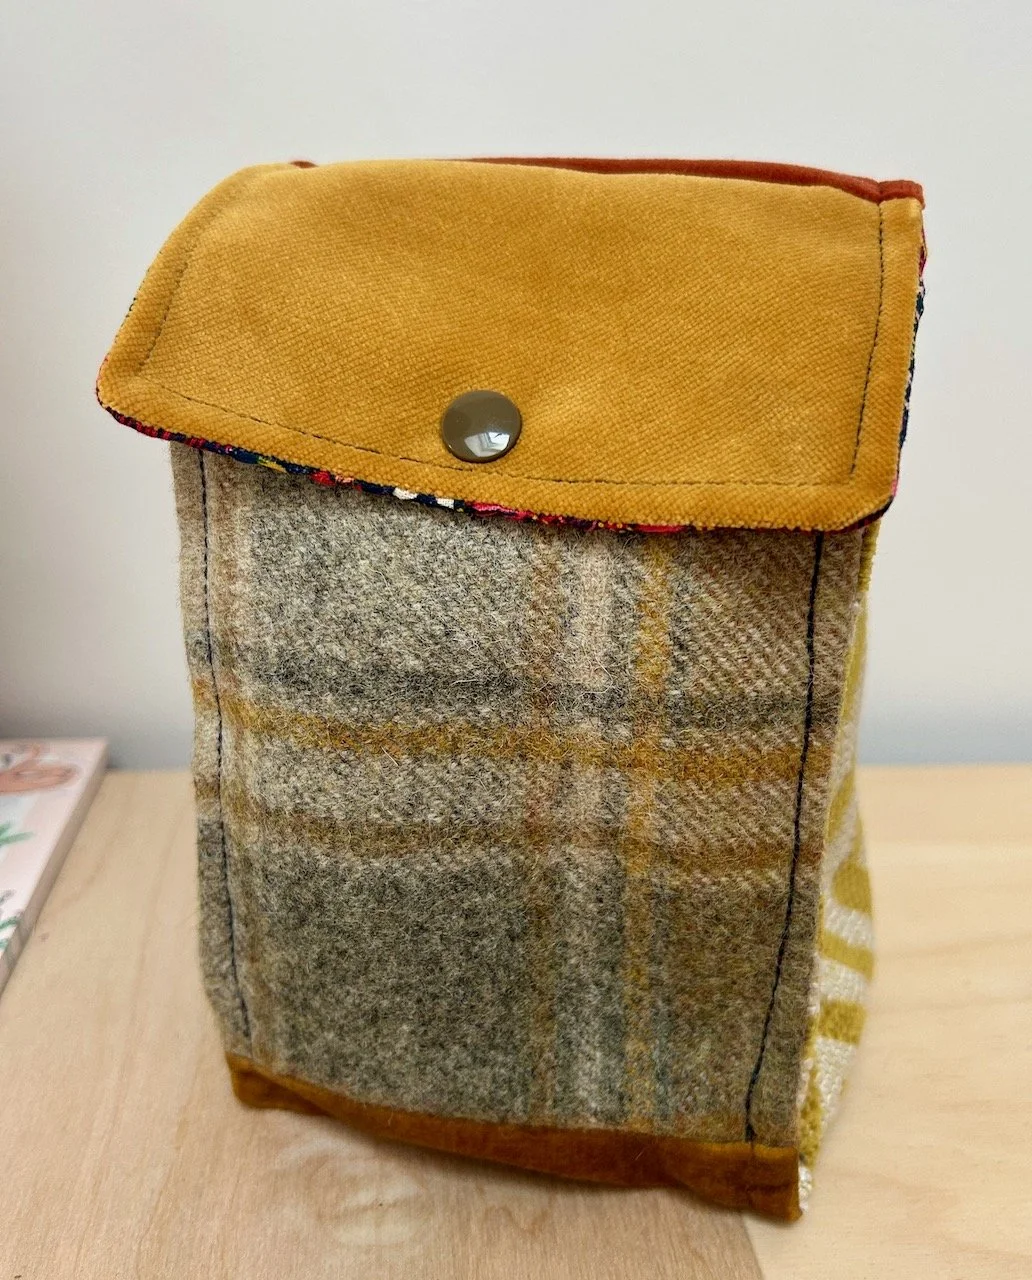
A toning brown popper completed the ad-hoc boxy pouch. I think it’s looking pretty dapper, as well as functional and practical, and gives me my own unique addition to my ‘to go’ sewing machine bag.

And it really wasn’t that hard at all.

Making my Mystery Block of the Month: June 2025

You’ll have seen that I plan to complete Sherri’s mystery block a month quilt and in my last post I shared the test blocks which I made into my eighth charity quilt, today I’m sharing the centre block I made for my own quilt.

And yes, this is June’s block in August - I’m still catching up with myself and a more relaxed blogging approach this month is also contributing. But that’s life, hey.

We’re also back on the stars, this month’s is a Happy Friendship Star and the star also means we’re back on the navy blue fabrics, which I’m using for alternate blocks.

Learning from my test blocks

The purpose of my ‘stretch project’ is to up my skills, and this month that clearly also includes reading all of the instructions. Somehow I missed trimming my Half Square Triangles (HSTs) in the Raspberry Plus quilt which also probably explains why I wasn’t overly happy with my joins.

This time though I’ve learnt.

Trimming my HSTs - something I'd missed previously

And my points were much better, but still not perfect - though good enough!

Assembling the Happy Friendship star - and pressing those seams

I spent more time than I should have working out which borders were required for this month’s block - and that was even after many looks at and double checking my handy drawing. But I got there, and the right borders are in the right place.

The borders added to the central block - green on the upper corners, light florals on the lower corner

It’s turned out ok, hasn’t it?

The completed block hanging on my bookcase with the previous months blocks

I even spent some time ‘fussy cutting’ the centre square to get the pattern centred, and I think that was definitely worth the time it took. So that’s six months in on this mystery block quilt, six months of blocks left - and then there’s the assembling. I think it’s going to look really special, but there’s a while to go yet!

Join me next month to see how I get on with the next mystery block, and check out my previous posts for my mystery block quilt or the charity quilts made from the test blocks.

A Raspberry Plus

I’ve made another quilt as part of my quilting ‘stretch’ project using the block from Sherri at A Quilting Life’s mystery block a month. As I said then I don’t know if I’ll manage to make a quilt a month, but I won’t really know unless I try…

I’m beginning to think this stretch project was a daft idea.

Though I know it’s a self imposed challenge, I’m not ready to give up or make compromises just yet. To catch up, i.e. to make the July and August blocks that Sherri has released I just need a few days to sew, and that’s no bad thing. I’m yet to convince MOH, but I’m still working on it!

But I don’t like to be beaten, so I’m continuing.

My eighth charity quilt

This month I definitely wanted some calmer colours, but had no set ideas when I looked in my fabric stash. These were the colours that called to me this month.

Pulling caramel and raspberry toned fabrics from my stash

Quite a pleasing caramelly raspberry infusion. The fabrics are mostly fat quarters which I’ve acquired from various de-stashing events, along with two old shirts - one mine, the plain raspberry colour, and the other MOH’s the pink/white small patterned material in the top right of the photo above.

The pattern for this block, the June release, is another star - this time a friendship star - and in my rush to ‘be done’ my points were a bit off on a couple, so that’s yet another lesson for me - patchwork isn’t a speed sport!

The four central blocks - caramel stars surrounded in a plain raspberry fabric

I ummed and ahhed about the border fabric placement, eventually settling on this layout - which was also partially informed by the amount of fabric I had!

Trying out the placement of the border fabrics

And as ever, it wasn’t long before the borders were on and the squares were sewn together. This time for a single unifying border I added some strips cut from a vintage pillowcase. The floral pattern reminded me of the ‘Edwardian Country Diary’ phase from the 1980s, and I like how the floral pattern is interspersed around the blocks.

The four block quilt top sewn together with a cream border added (it was an old pillowcase)

I have once again used the vintage single duvet for the backing, which is turning into quite the bargain. It cost £1.04 plus postage from eBay a few years ago, but I’ve used it on plenty of quilts so far - and there’s more to come from this 'costly’ investment!

Taking a look at the vintage pink floral backing with one corner folded over to show this

For this quilt I have once again used straight line quilting. This time I’ve used varied widths, mainly to see how that turned out and how much I liked it. I think I prefer more equal distribution on reflection, but it’s good to try these things. I’ve also used a burgundy top thread (with cream beneath) for the quilting, and I’ve learnt that my lines aren’t always straight, and this notices more with a dark thread!

The finished quilt with straight line quilting in burgundy thread and a scrappy binding

But overall it’s another great looking quilt which I’m pleased with and one where I’ve learnt more about what I like most, and used the opportunity to improve my skills further. As I was sewing this one I was trying to think of a catchy name for it, they centred around caramel, coffee, wine and raspberry - which no doubt is obvious. But as I laid this one out it became clear that there was only one name for this - a great big raspberry plus, so it named itself. Sometimes these things just happen, don’t they?

You can see my other quilts which I’ve made to donate to Project Linus - a charity whose mission is to provide love, a sense of security, warmth and comfort to children, who are sick, disabled, disadvantaged or distressed through the donation of new, homemade, washable quilts and blankets, including those that are part of this ‘stretch’ project in earlier posts. I’m aiming to publish an update on my progress in the last week of each month for the remainder of 2025.