An embroidered heart

There was only one pouch in my pouch love series to share on Valentines Day wasn’t there? And from a simple printed heart it’s blossomed into a large and very beautiful pouch.

It’s hard to believe that this is how it started - a test print for some bunting I made to celebrate my dad’s 90th birthday last year. The bunting was simply embroidered but I wanted to explore the interlocking circles this time round.

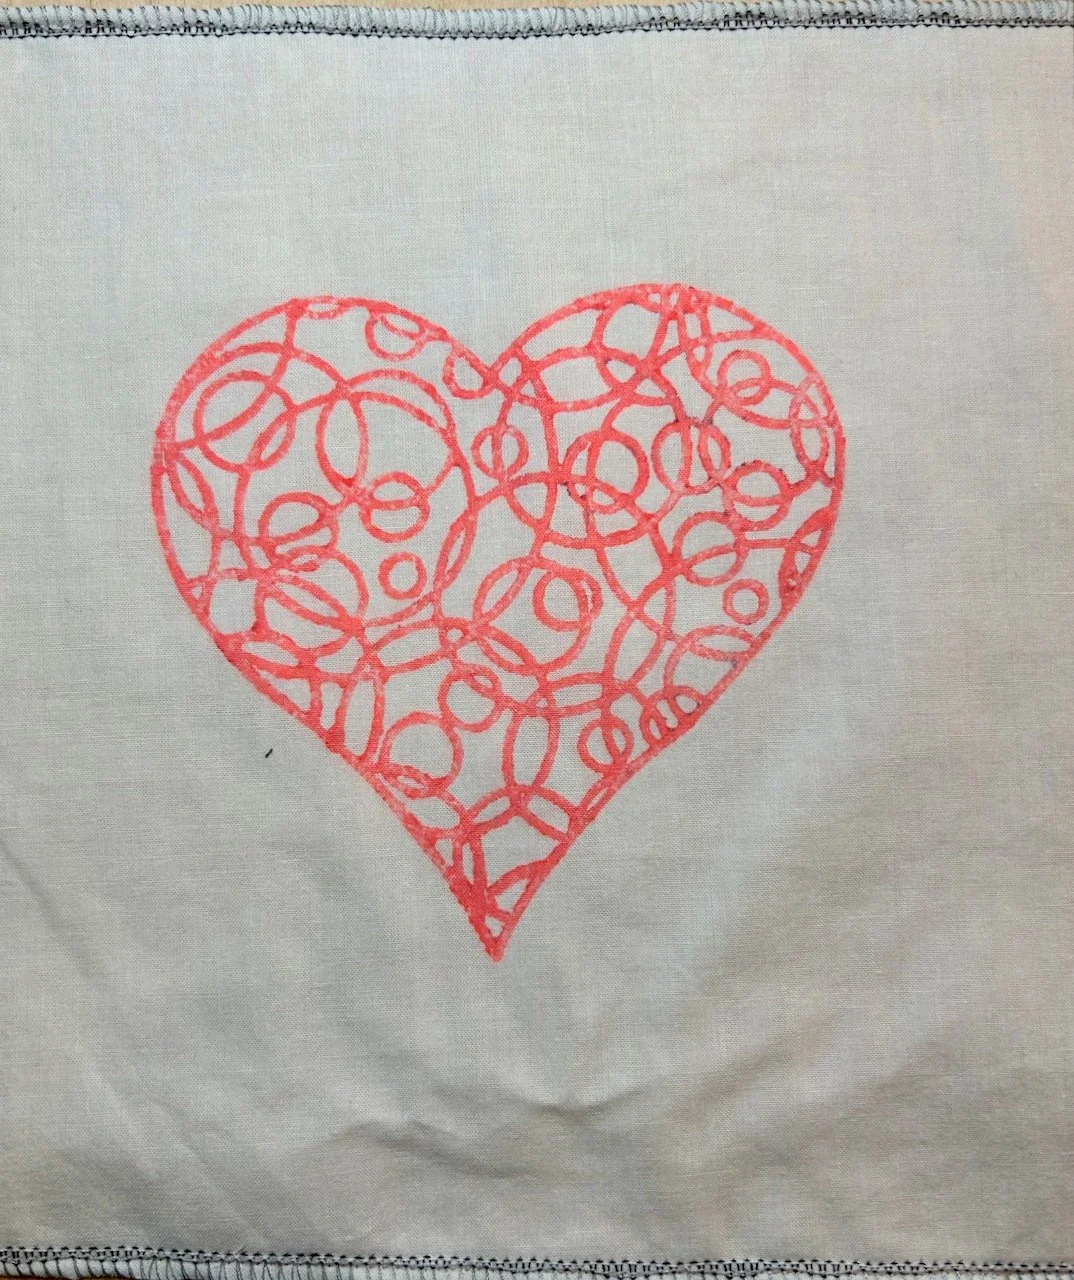
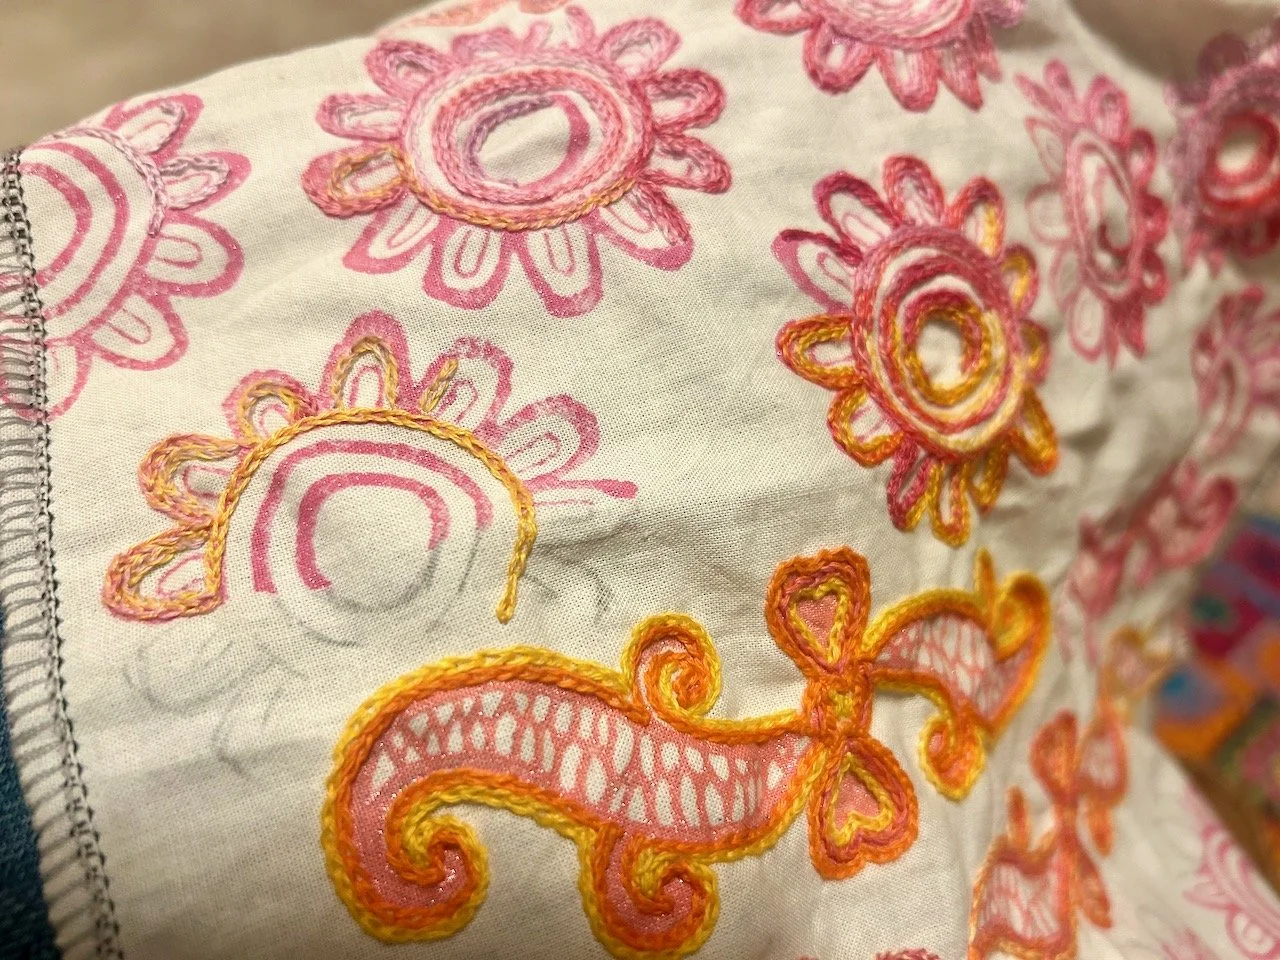
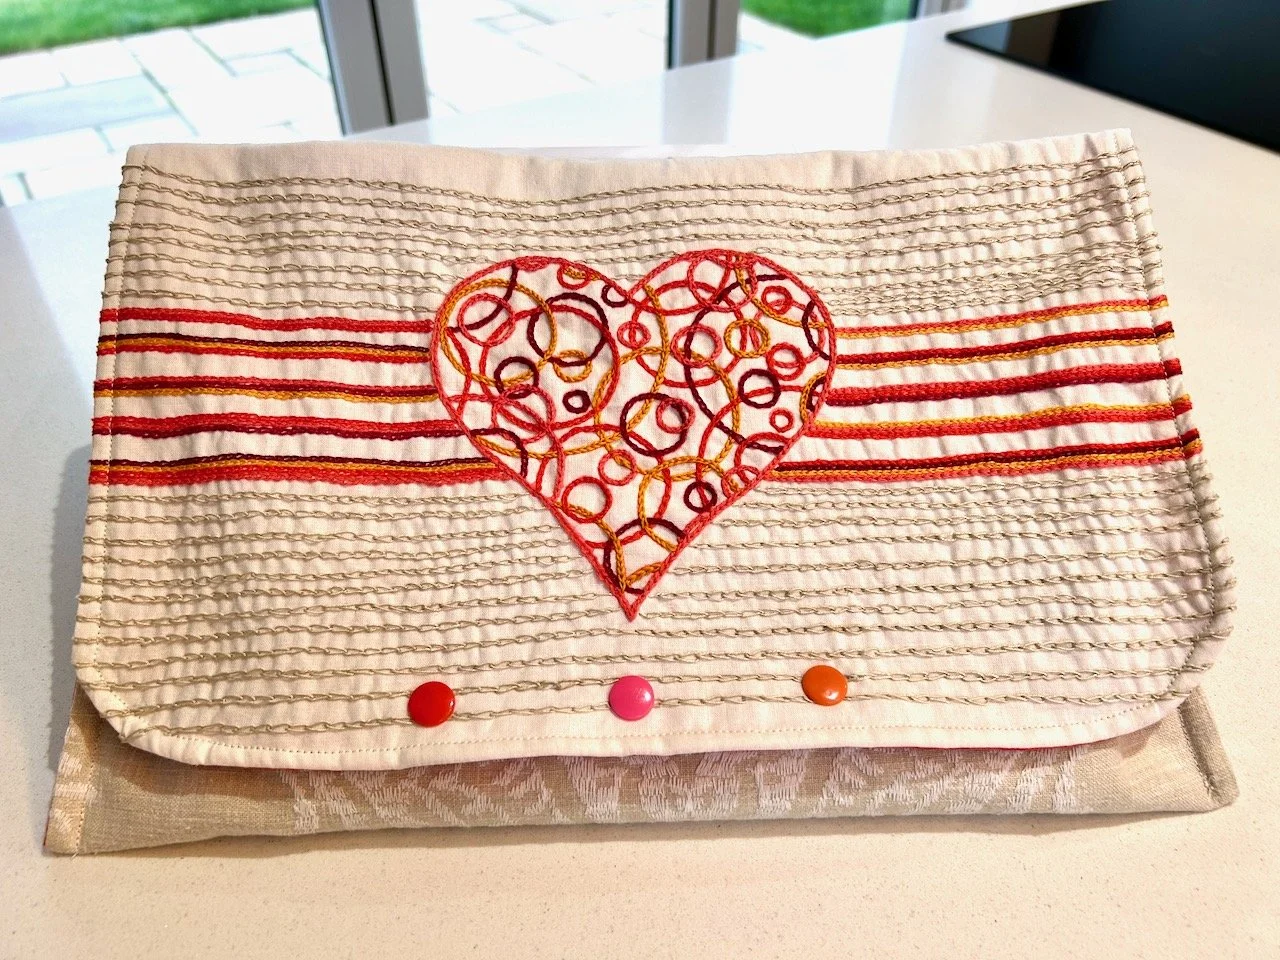
Unusually I don’t have any photos of it ‘in progress’ and I’m not really sure why - it definitely came with me on our trip to Glasgow last September and has been on the train to London too. After outlining the heart and before exploring the inner circles, I added several coloured stripes across the fabric, which reminded me of a 1970s/80s tracksuit.

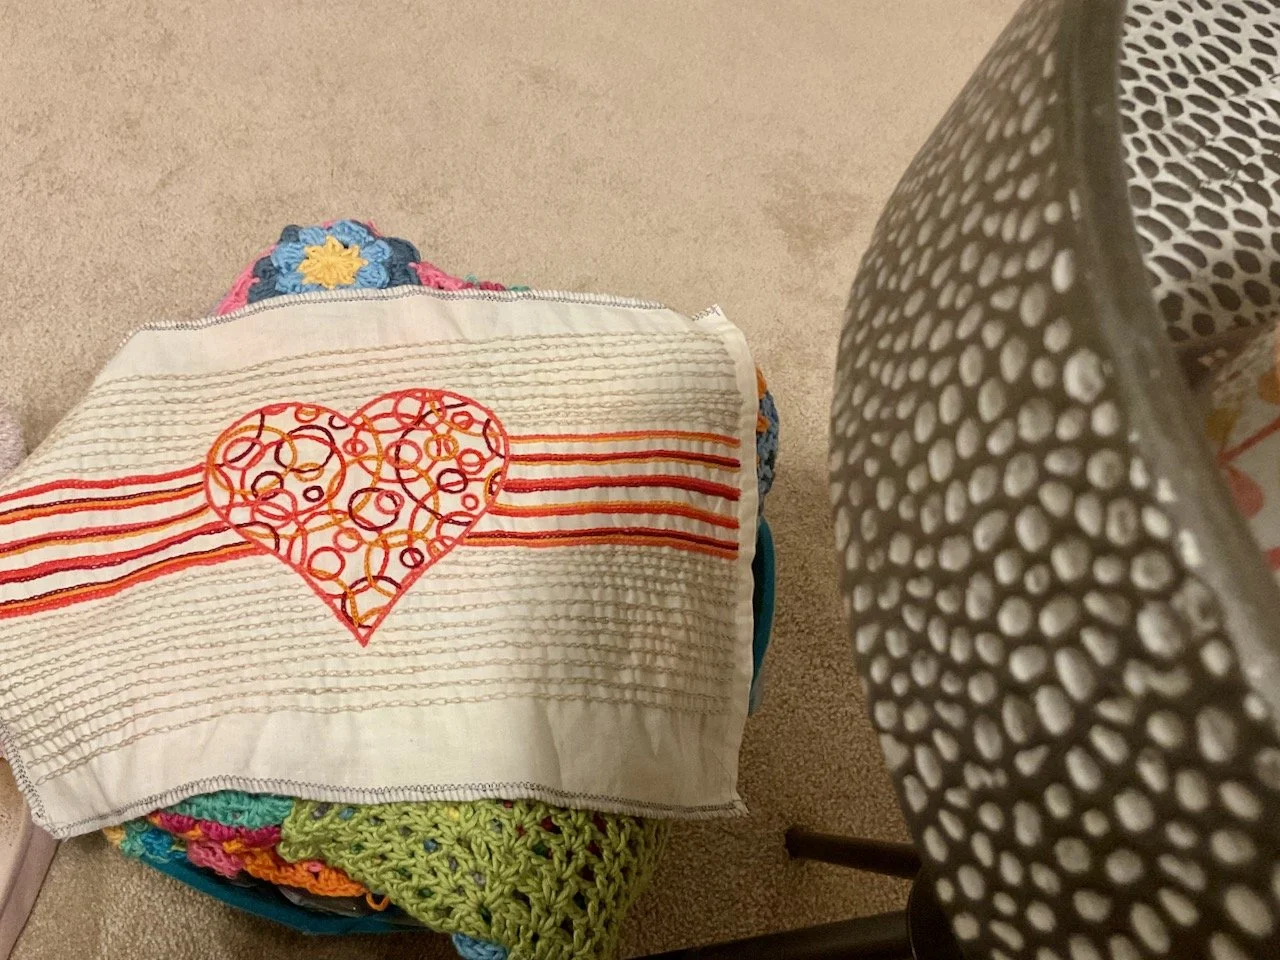
And then I braved the circles trying not to have two of the same colours next to each other, which just about works. Embroidering the circles with my beloved chain stitch was incredibly mindful and relaxing. Once the main emblem and its stripes were complete, I still felt that it needed more, and at the back of my mind I remembered a cream/beige embellished fabric which I picked up at a WI stash sale, which might work with this.

I knew I wanted to make this one into a pouch, and so finding the fabric to go alongside this in my stash was a complete win. That fabric I had in mind absolutely worked, and also encouraged me to add several rows of cream chain stitch stripes above and below the heart to tie it all together.

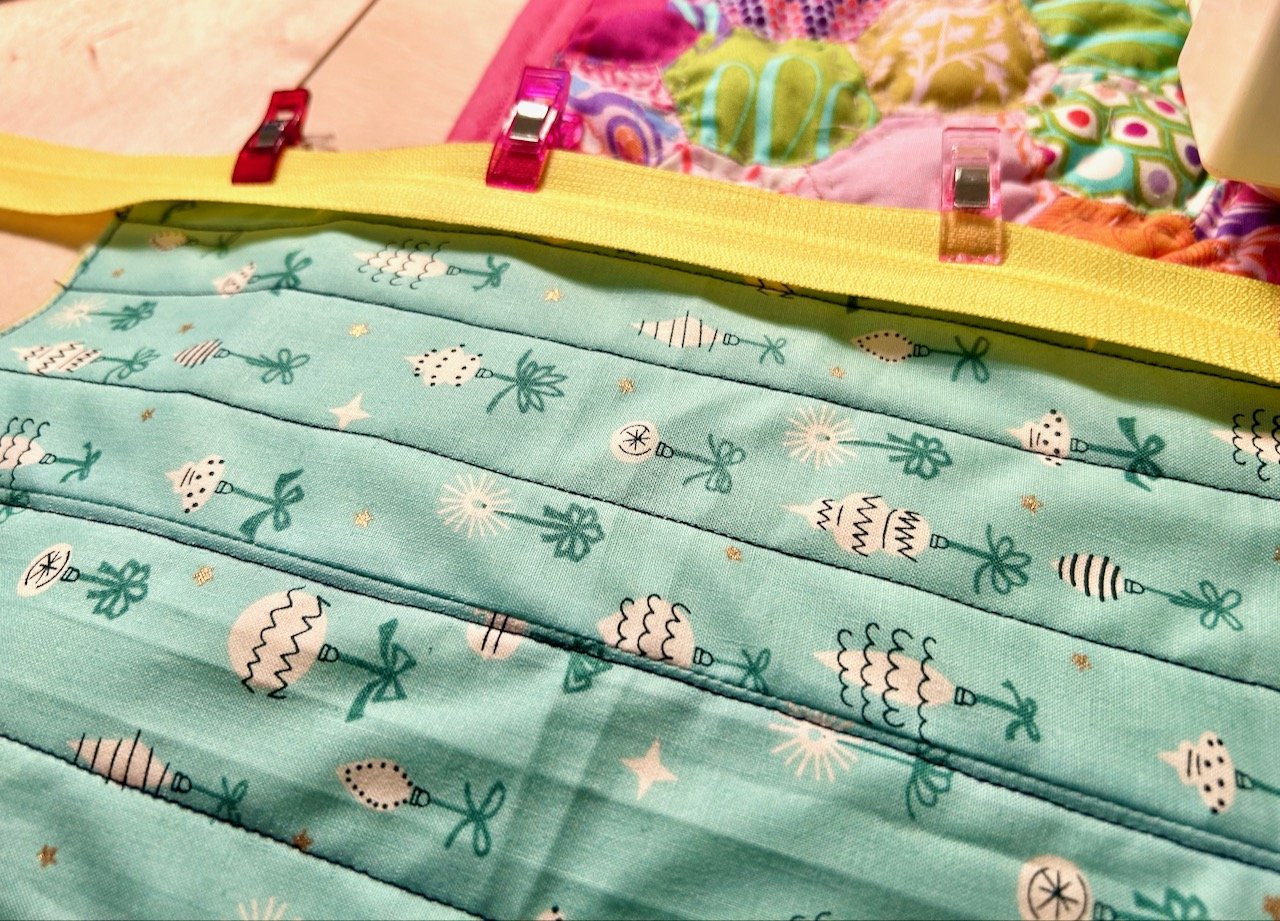
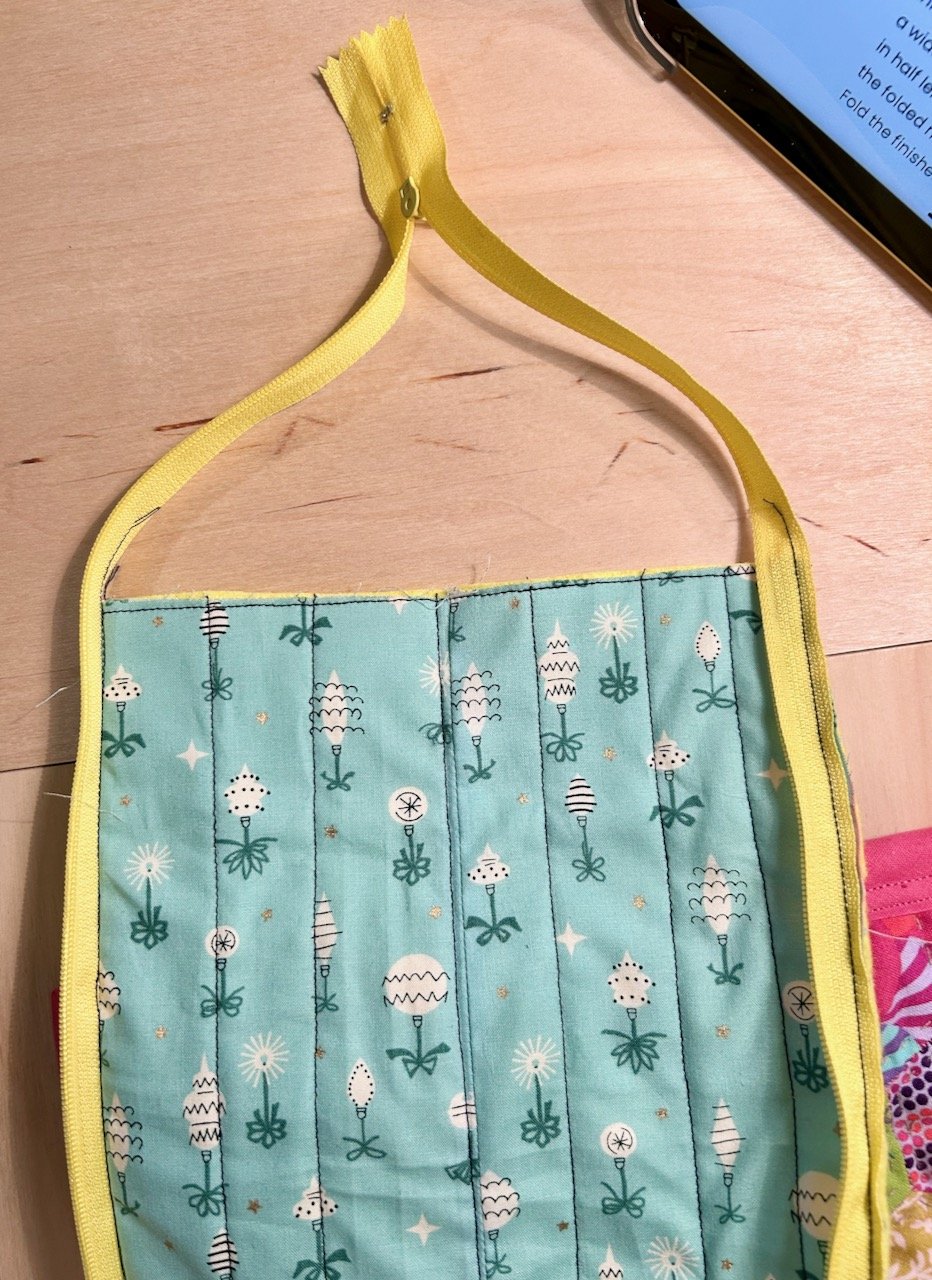
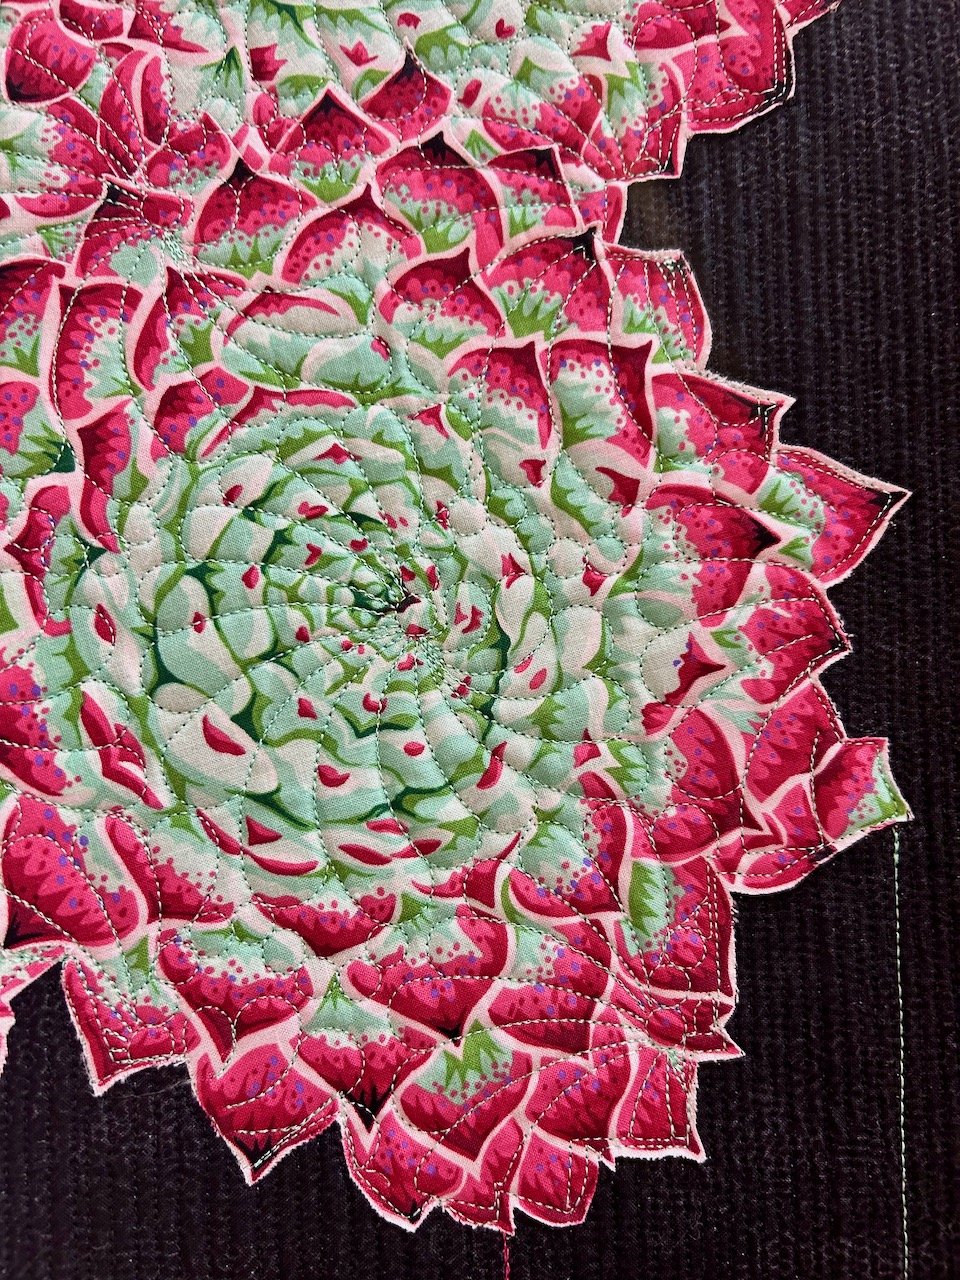
And this is how it ended:

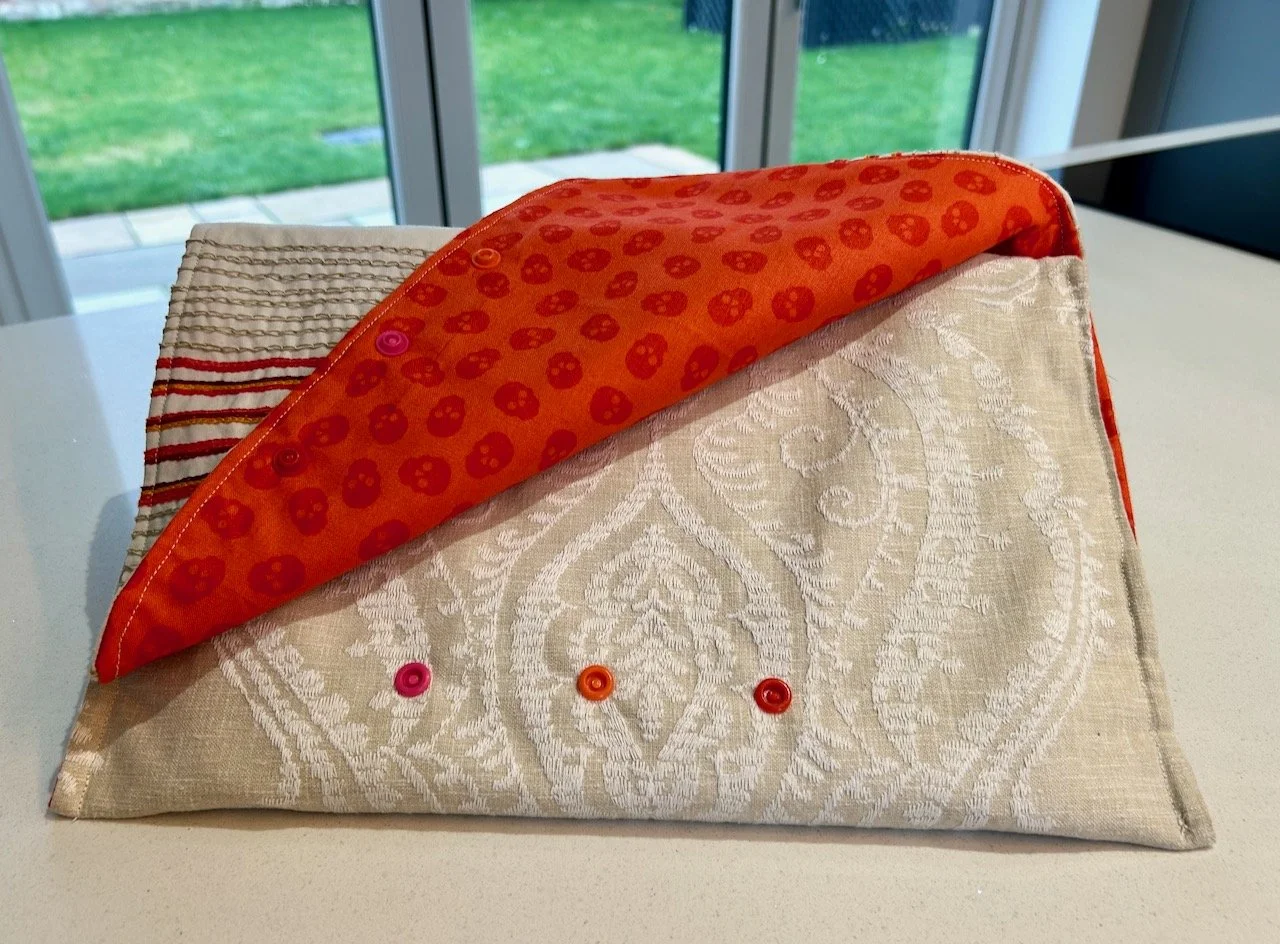
What’s even better is the lining was also in my stash - and while dark orange skulls on an orange background might not have been the natural choice on paper, once I saw the colours together there was no other choice for me. To finish it off, of course I needed poppers, and as the fold over flap was relatively large, it needed more than one - and so unable to choose between pink, orange and red, I had one of each!

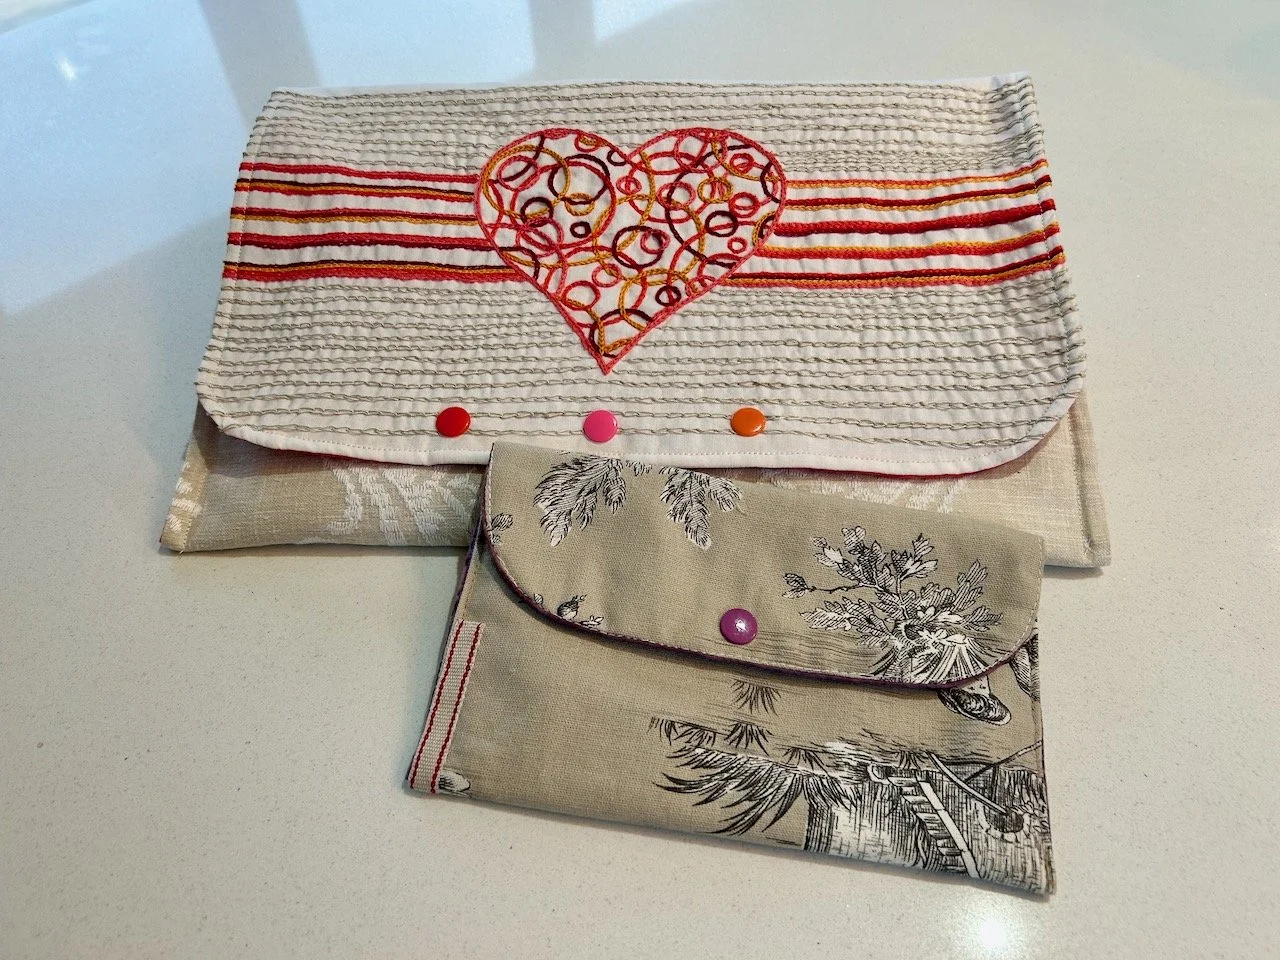
If my embroidered heart pouch reminded you of one I’d already made - you’re not wrong, it’s a much larger version of the baroque lady version which was the first one I made at the bag making sewing course.

I’m loving them both, and I’m pretty sure there’s plenty more pouches to come!

Vibrant blooms and hot pink swings

* I was invited to the press preview of Gardeners’ World Live and provided with a pair of tickets to visit the show, therefore all my posts will be marked as 'Ad’ though as usual my views and opinions are very much my own.

I’m sharing another Beautiful Border which really is beautiful - it’s My Garden Escape which was QVC’s Headline Border and was designed by Kitti Kovacs. The borders at the show were sponsored by My Garden Escape at QVC which is no doubt why this has a larger plot than the other borders I’ve shared so far, but what a space.

Kitti Kovacs designed it as ‘a versatile haven for connection and serenity’ and I know I’d quite happily spend a good hour or two here especially on a beautiful summer’s day, you know the sort that have been so lacking in the greys of February.

This border aims to provide a space for connections and tranquility - a space for socialising, but also for finding peace. It’s definitely a bit of a haven - though the blue skies and warm weather helped, I’ll admit that!

And while the chairs are at the centre of the design, there’s so much more to it than them. The planting surrounds the seating area and the varying levels of height almost makes it feel enclosed and safe. And the plants were also something special - including some favourites of mine, and a new favourite too.

You see it’s so much more than about the chairs when you look, but they definitely catch your attention don’t they? And it really shouldn’t be a surprise that this garden was awarded a Gold, it really was a fantastic space.

* With thanks to Gardeners’ World for inviting me to Gardeners’ World Live, it was just as good as I expected! I’ll be sharing more from my visit to the show - I hope you enjoy it as much as I do.

A quick and easy pencil case

One of the things on the long list of stuff for the floral fancy workshop was a pencil and a fabric marking pen. Clearly I had pencils, but the fabric marker was on my shopping list - I decided that I needed a pencil case to put them in, and as I wasn’t sure exactly what the pencil was for I also looked out a rubber and a pencil sharpener (I like to be prepared!).

I do have a pencil case, two in fact, but they have a variety of pens in. And I could have emptied one out, as I did for the Adult Learning courses, but I also realised that once again the answer could quite easily be that I needed a new one to take out with me, rather than the ones I had for storage!

So after a quick internet search I found the free tutorial for an easy pencil case on the Merriment Design blog. Doubly useful as earlier whilst looking for something else I found a square of felt which I could use, and of course my eBay stash of zips was bound to have something I could use.

As it turned out there was a zip that exactly matched the colour of the bright yellow felt square. I also had a piece of material left from the gift tag pouches, which is cute even though it’s a Christmas fabric, technically.

Starting to sew

This pouch is a departure from my more usual pouch style, and has a more traditional pencil case look to it, although the zip is on the front rather than the top. The free tutorial was also easy to follow, and I think in total I made this in well under an hour, which is pretty good.

Adding the zip to the hastily quilted aqua fabric with christmas baubles on

And yes, the yellow isn’t perhaps a natural choice to go alongside this material, but I like it (though as you’ll know I do like bright colours and have always liked yellow!). I’m also a fan of these super long zips, as they make it much easier for a zip novice like me. But using an extra long zip and then cutting it down to size has been a game changer in these pouches - I’m not sure the same approach would work for dressmaking though, but I’m happy to be corrected.

As you can see I did go for the quick and rough and ready approach, and I’m ok with that.

I didn’t press anything as I went, and I used the thread which was already on the machine - but no matter as I still ended up with a fab new pencil case.

And yes, I’m even using a couple of the ‘procrastination pencils’ - the messages on them are great, these two say: ‘you can’t possibly work in an untidy room and ‘you probably need another coffee’ - both of which can be very true!