Finishing my new hexi sewing machine mat

It’s been a while since I shared how I’d fallen for some of Tula Pink’s bright designs, but since then there’s been a fair bit of activity and I’ve even finished both of my intended makes; one fully, and the other the sewing element is complete, but I’ve still to find the right kind of day to get my paintbrush out.

Today I’m sharing the fully completed project, which wasn’t even a twinkle in my eye back at the start. I enjoyed the whole English Paper Piecing process so much that once I’d finished the top for my sewing box, I wanted to carry on.

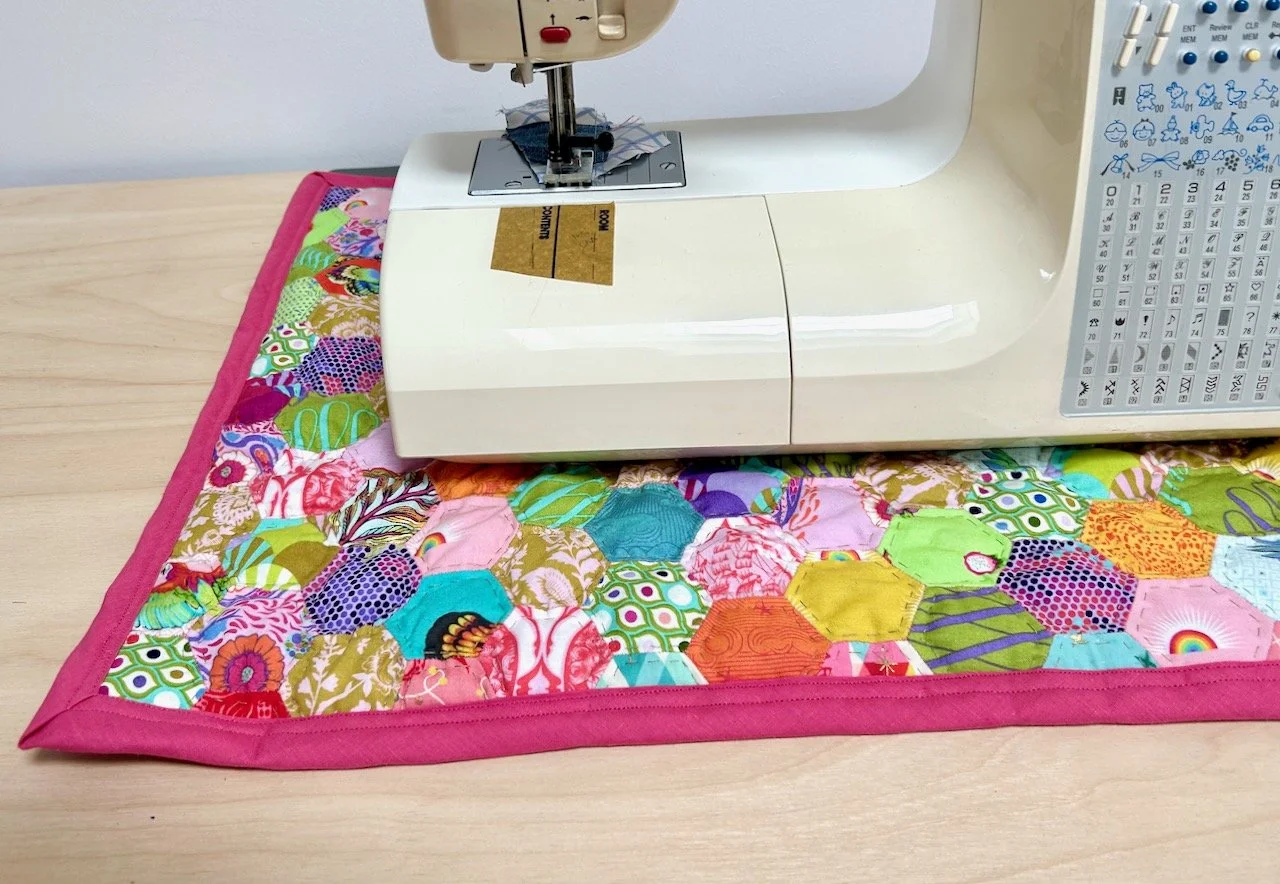
And so I did, and the result is a gorgeously bright mat to go under my sewing machine. Not that I really need a mat, but it will prevent any marking on the surface and I’ve got used to having my sewing machine on a mat. I’d been using an old and worn out cutting mat, and that helps me move the sewing machine back and forth on the desk when it’s not in use.

But it wasn’t very pretty. The finished mat is way prettier, and I’m really pleased with how it turned out.

The finished mat edged in raspberry bias binding on my desk, complete with sewing machine

An organic plan

I didn’t have an exact plan when I started, other than to create a mat for my sewing machine. I knew I wanted it roughly the same size as the old and worn cutting mat I’d been using, but I hadn’t really worked out - at the start anyway - how I was going to finish it, if I was going to quilt it (or how), and what the backing would be.

I knew I probably had some batting somewhere, so that was covered and I knew I wasn’t keen on having the hexagonal shapes on the edges, so I was always going to square those off somehow.

But when I started, finishing this mostly hand sewn project seemed a long way off.

Yes mostly hand sewn.

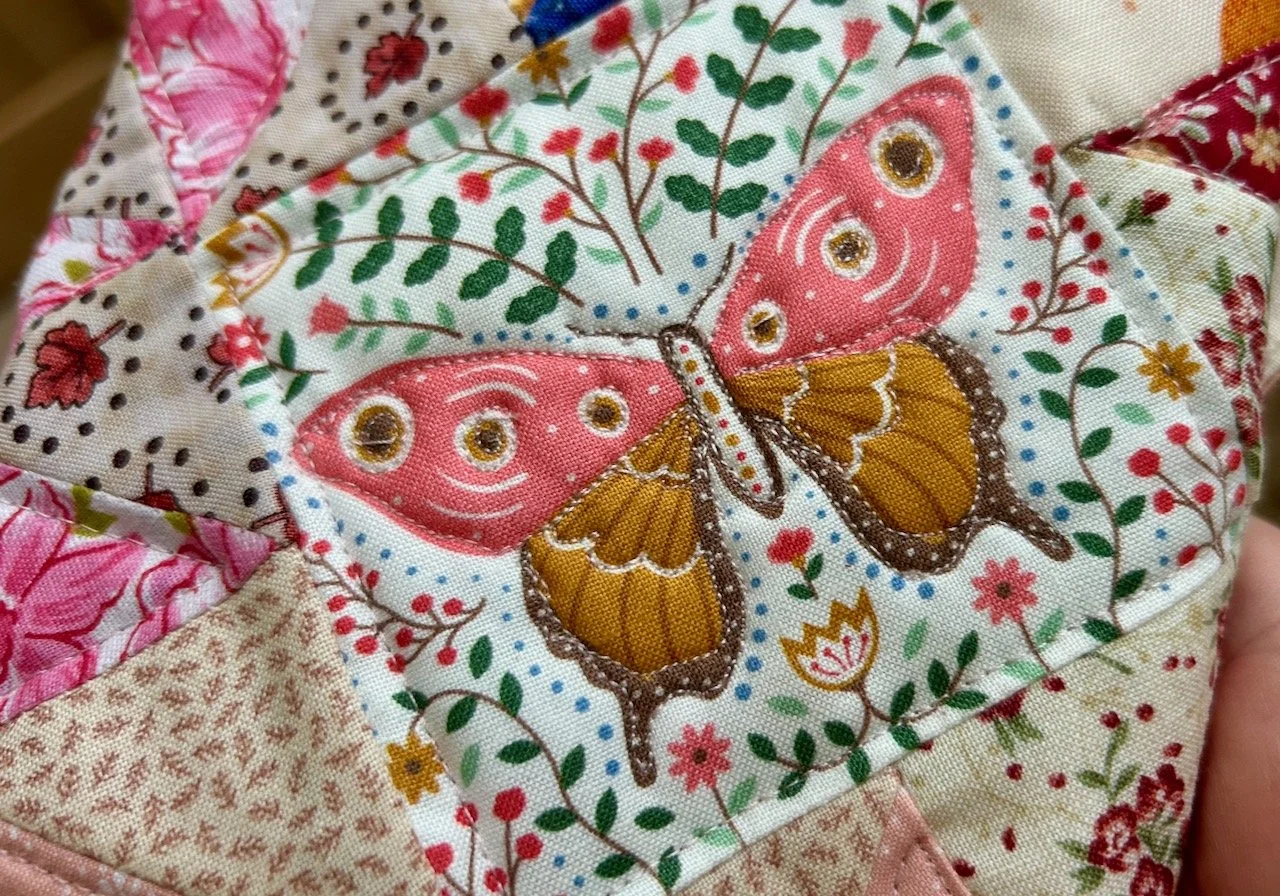
All of the piecing and quilting on the colourful front is done by hand. The binding was added with two rows of machine stitching on the front, and attached to the back by hand sewing slip stitches all the way round.

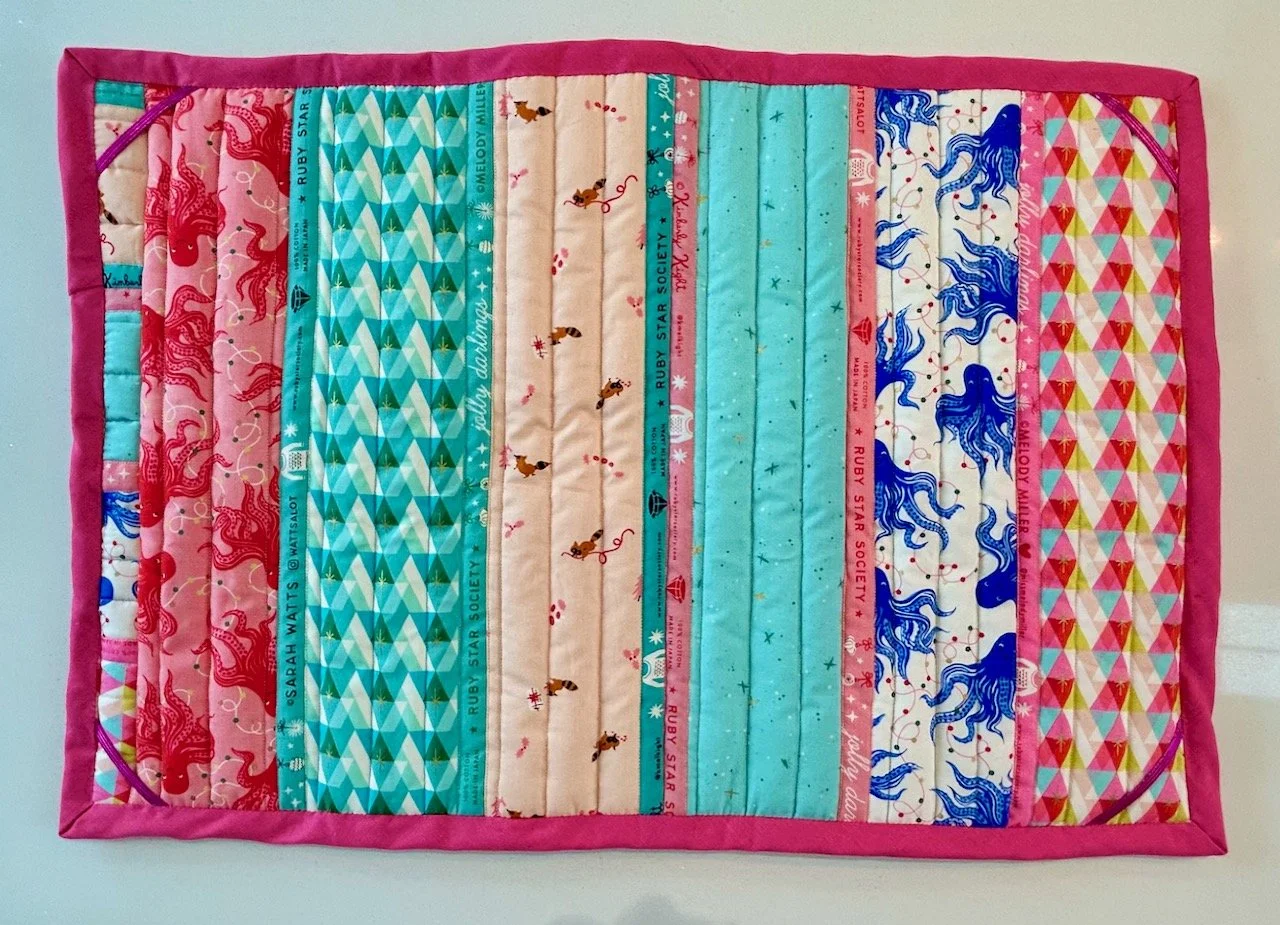
The back though is mostly machine sewn, the strips pieced by machine and also quilted by machine. And you know what, that’s perfectly ok.

Starting out

Back in January I needed to crack on with assembling enough hexies, and deciding on a layout - and the layout was probably the hardest part!

Testing a layout - in curved stripes in graduating colours

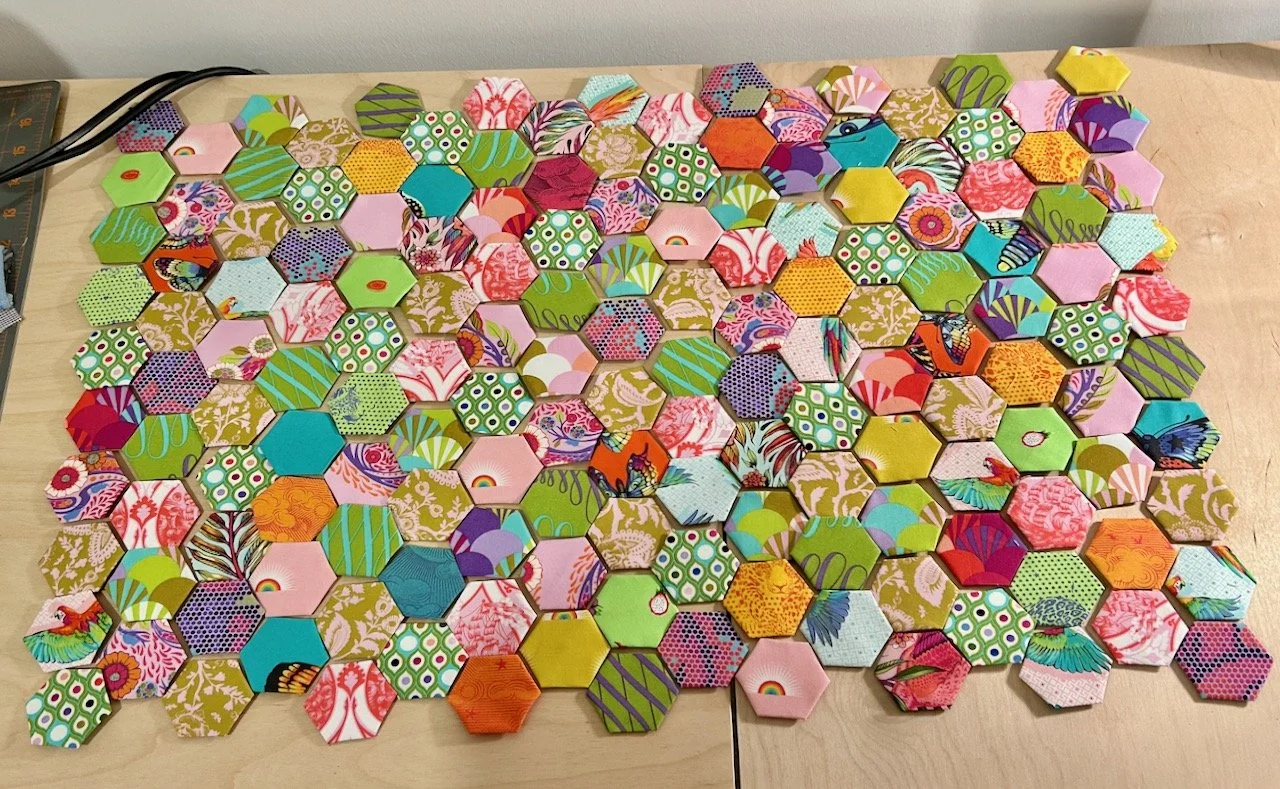
In my head I thought I’d create a colour graduating design, which would look both slick and chic. But try as I might, it didn’t feel right - and so I abandoned the layout above, and adopted a more random placement design. Switching individual pieces around to get a layout that I was happy with - don’t get me wrong, there was lots of switching, trying to get the different patterns evenly spaced.

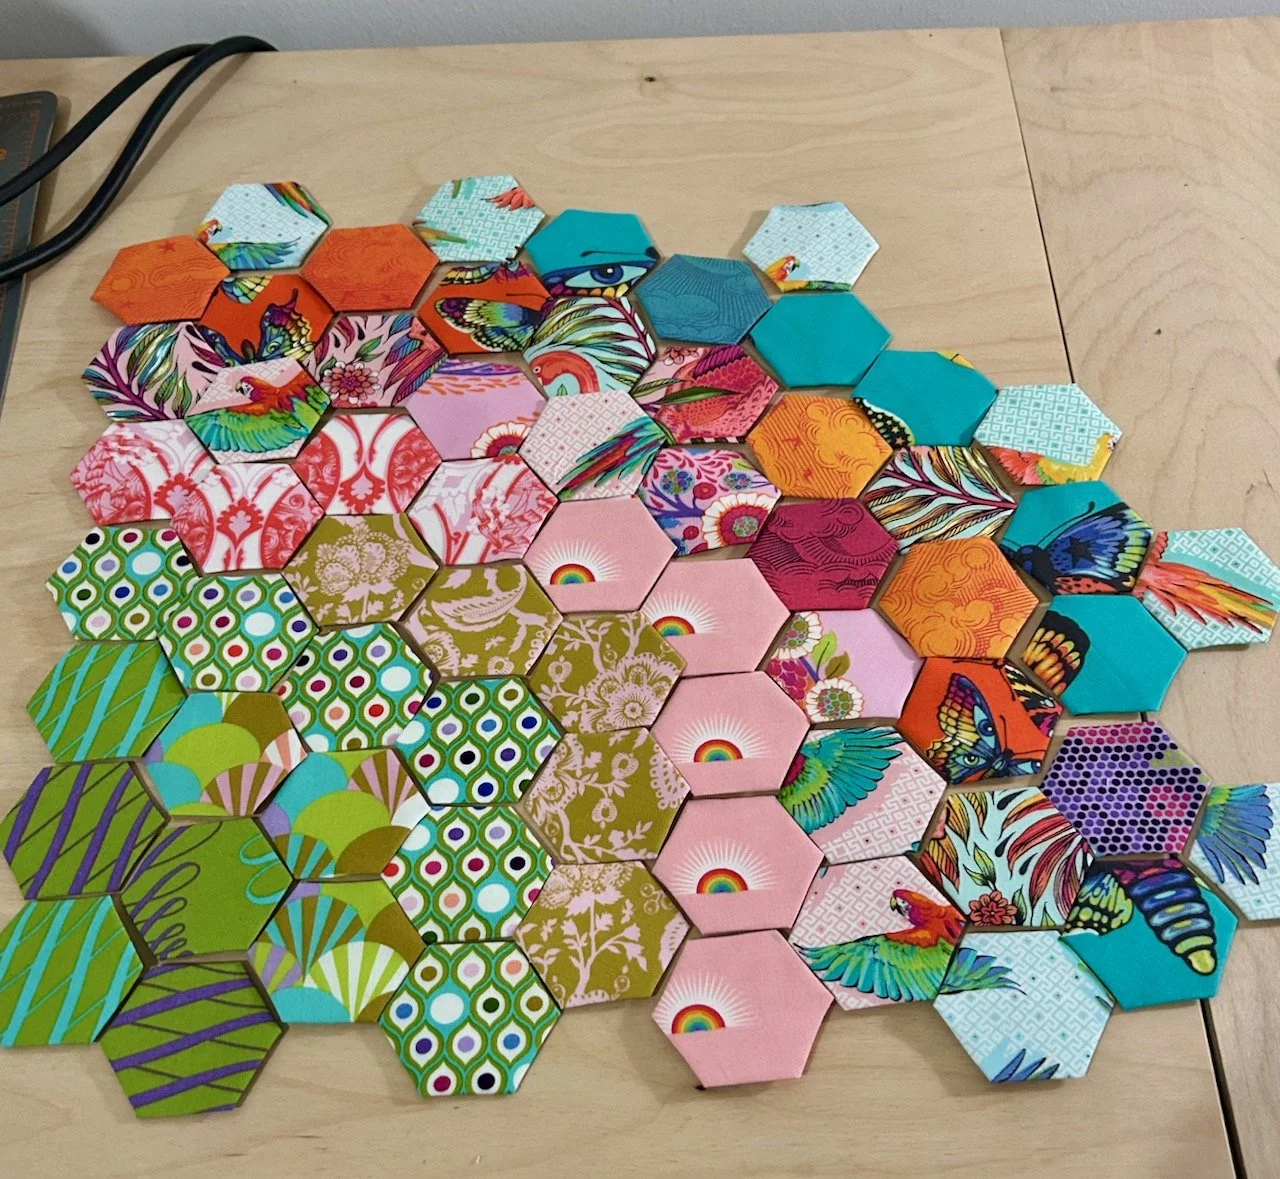
A random placement design of hexies - much more colourful!
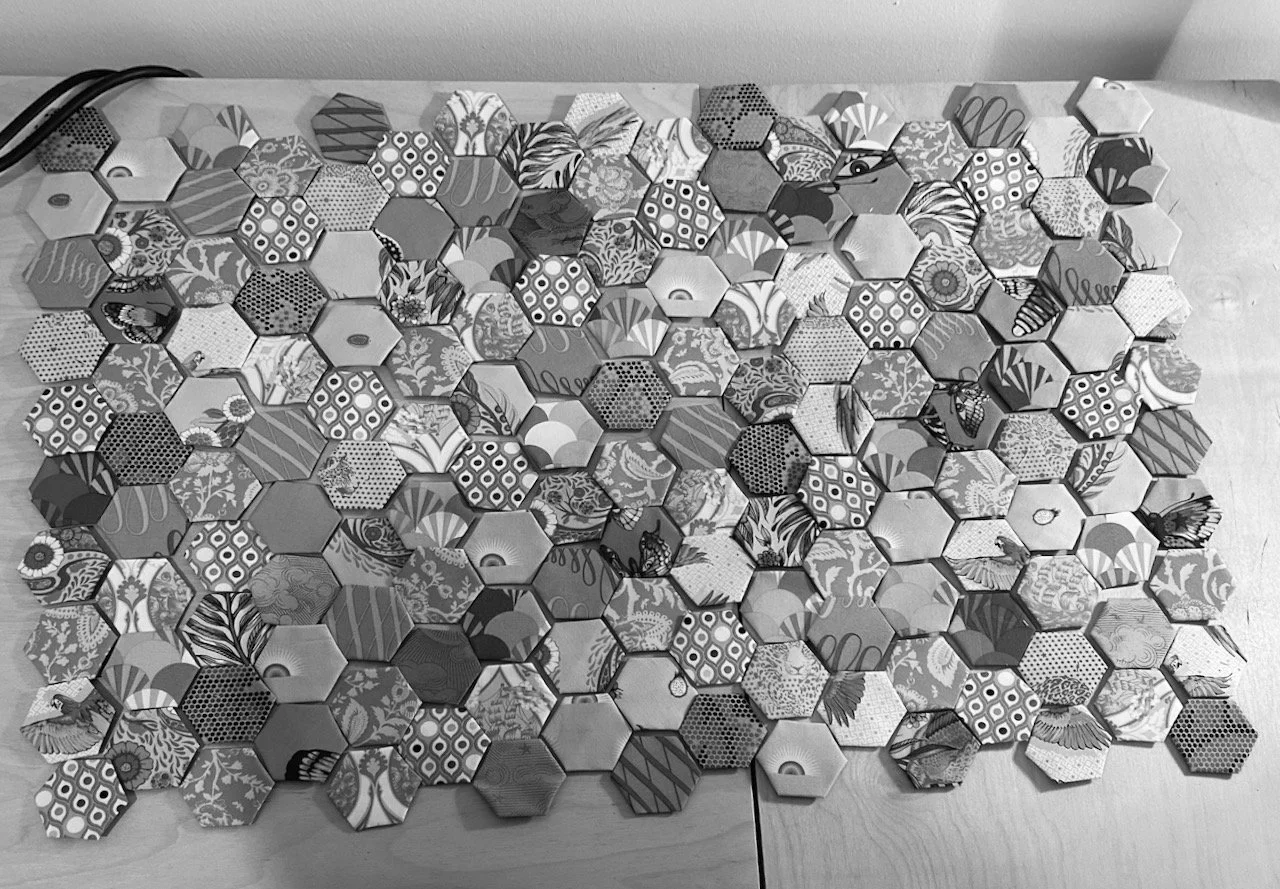
Testing the random layout in grayscale to check for overall colour distribution

Once I’d decided on my layout - and taking a picture so I didn’t forget it, I did the clever design trick of looking at the photo in grayscale to ensure that the lights and darks were also relatively evenly spaced.

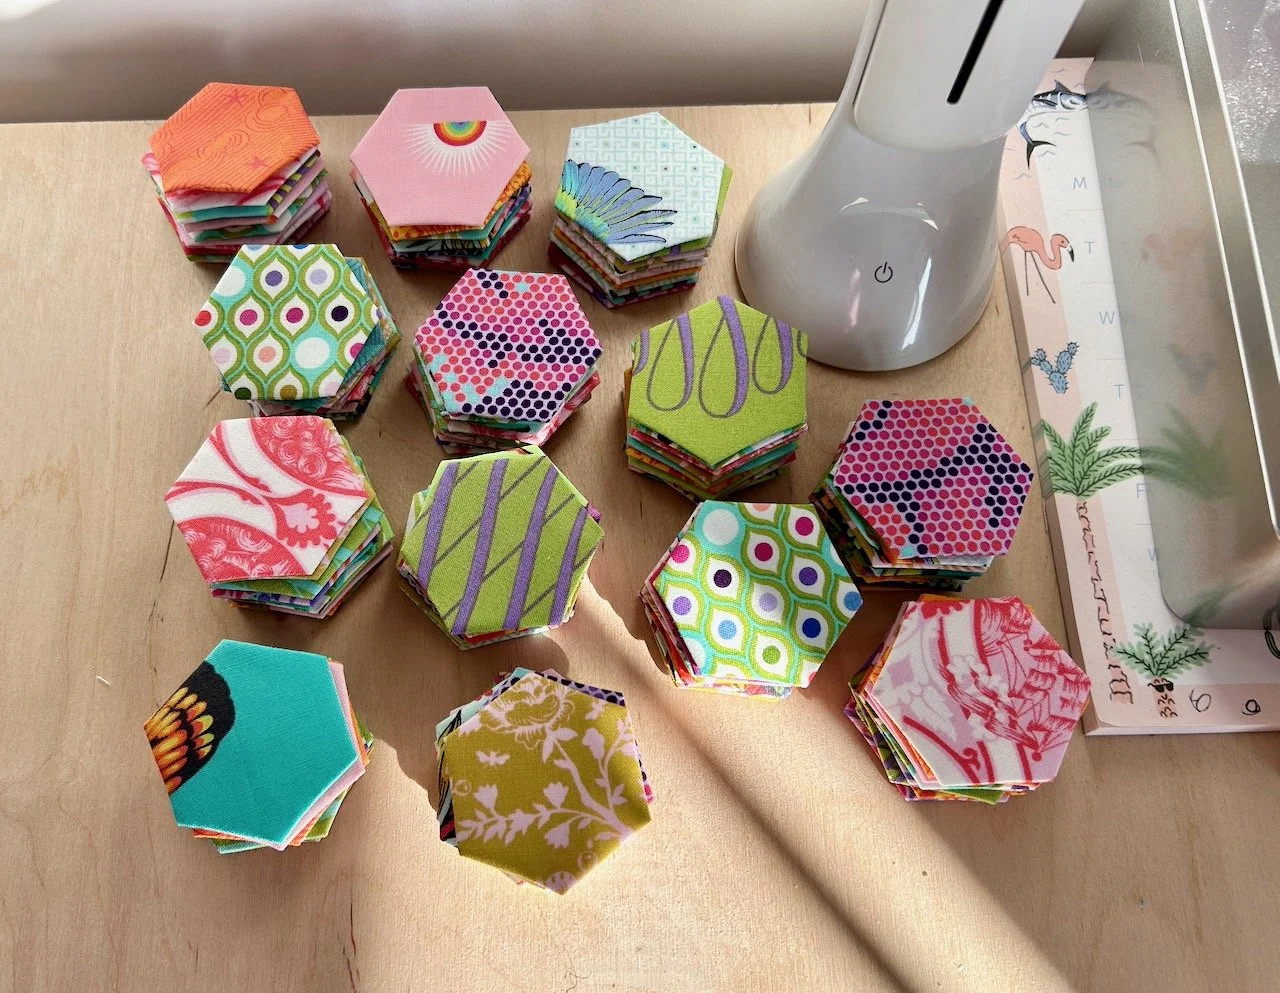
And then I numbered every single hexi with its row and position so that sewing them together could be relatively mindless. With rows for each stack dotted around my craft room, at times it felt like I’d never reach the end.

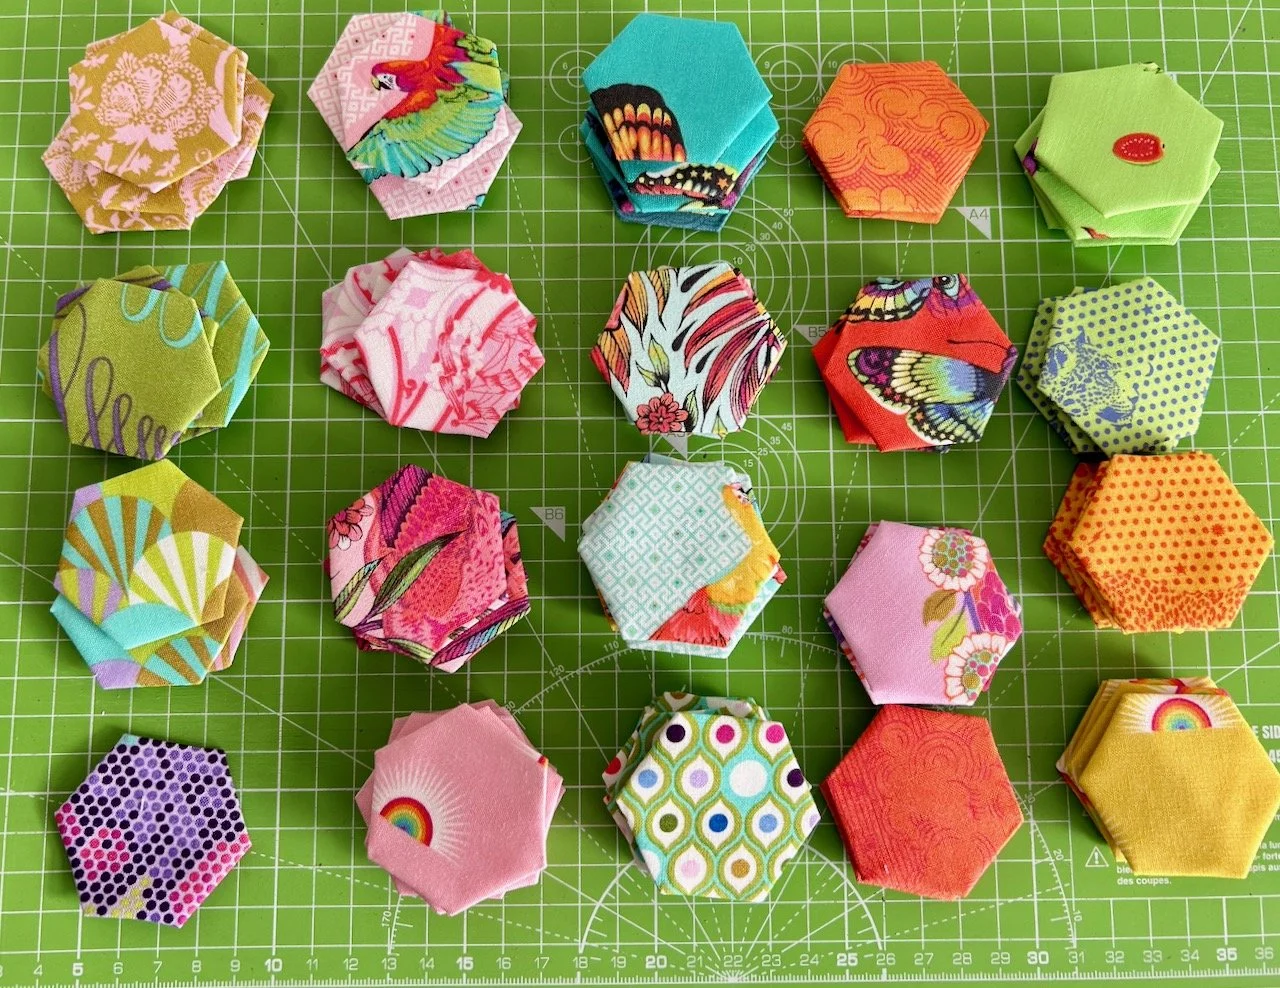
Each pile of hexies representing a single vertical row in the random layout

Front assembled, now for the back

But gradually the individual hexagons were attached into rows, and the rows sewn together in order to create the front of my mat. I decided to fill in the gaps on the top and the bottom, but to leave the smaller gaps on the sides.

And I settled on the backing fabric too. I wanted something equally colourful, but something that would come together much more quickly, and nor did it need to be quite so labour intensive.

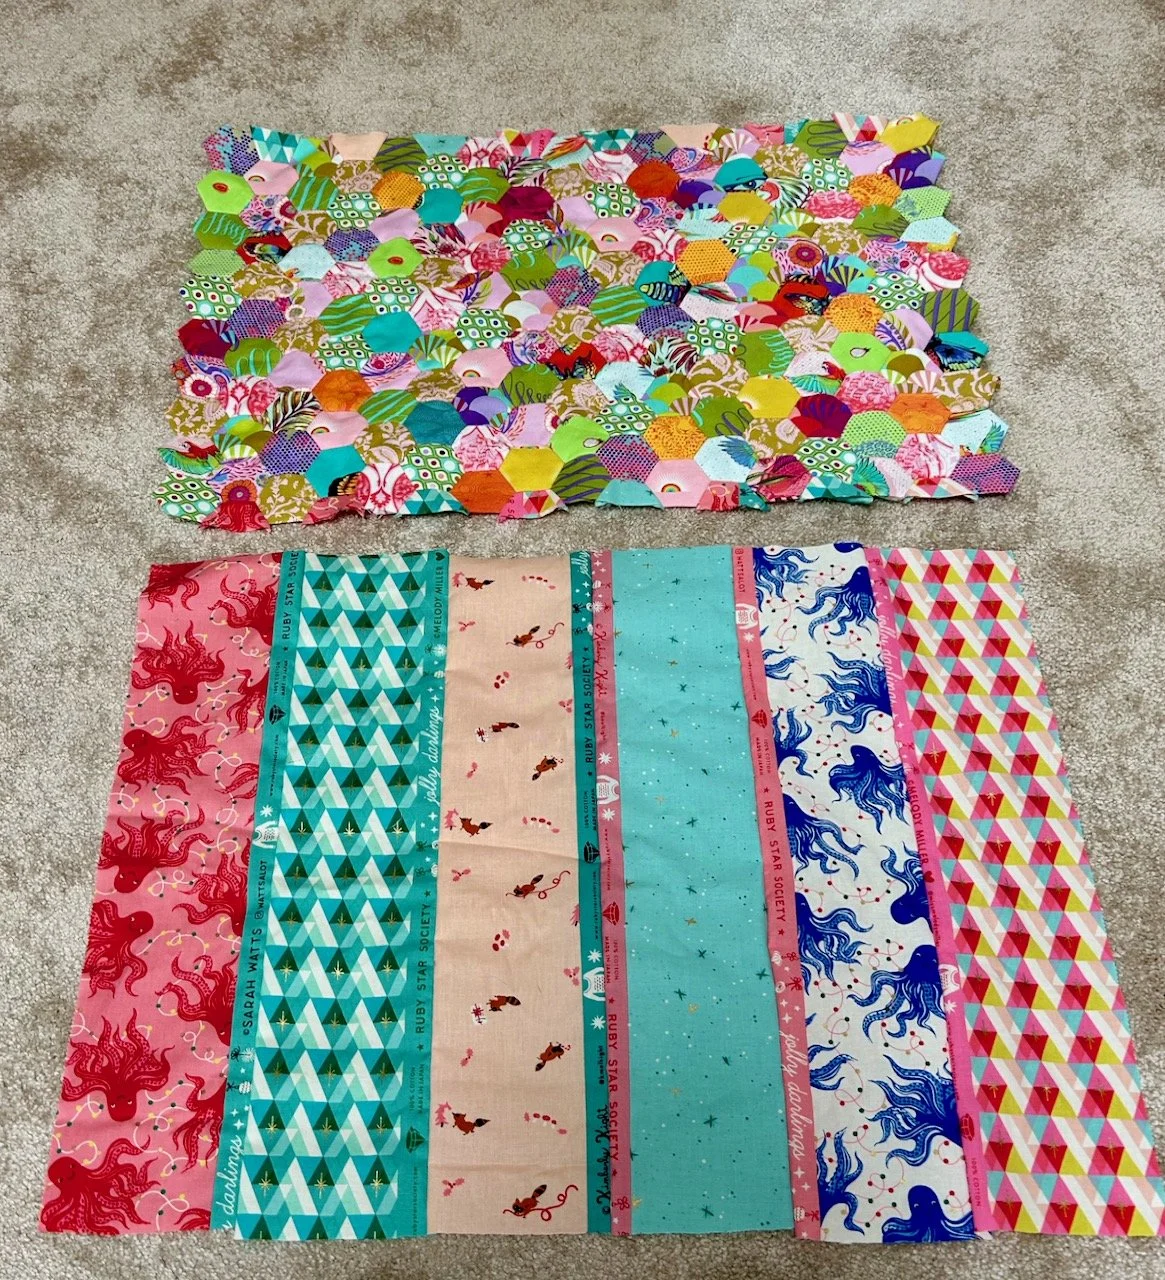
Front and back - top is the random layout front, bottom is strips of fabric from a 'grab bag' machine sewn together

In the end I settled on some of the less Christmassy fabrics that I’d picked up at the Newark Quilt Show at the start of the year. All of the fabrics were part of a ‘grab bag’ and a lucky dip. Part of their attraction for me was their selvedges, so I was keen to keep these on show.

The striped finished back with a strip design, quilted in straight lines

I’d slightly misjudged the size making it longer than it needed to be, but not as wide - so with my organic plan and solutions brain mode, I added part of what I’d cut off the bottom onto the side - which you can see on the left above - and that makes me smile.

Hand quilting the front

With the back complete - sewn together, and machine quilted - I could no longer procrastinate about how to finish off the front. At one local sewing group evening one of the ladies asked me if I was going to hand quilt my piece - I laughingly said no, I’m not a glutton for punishment.

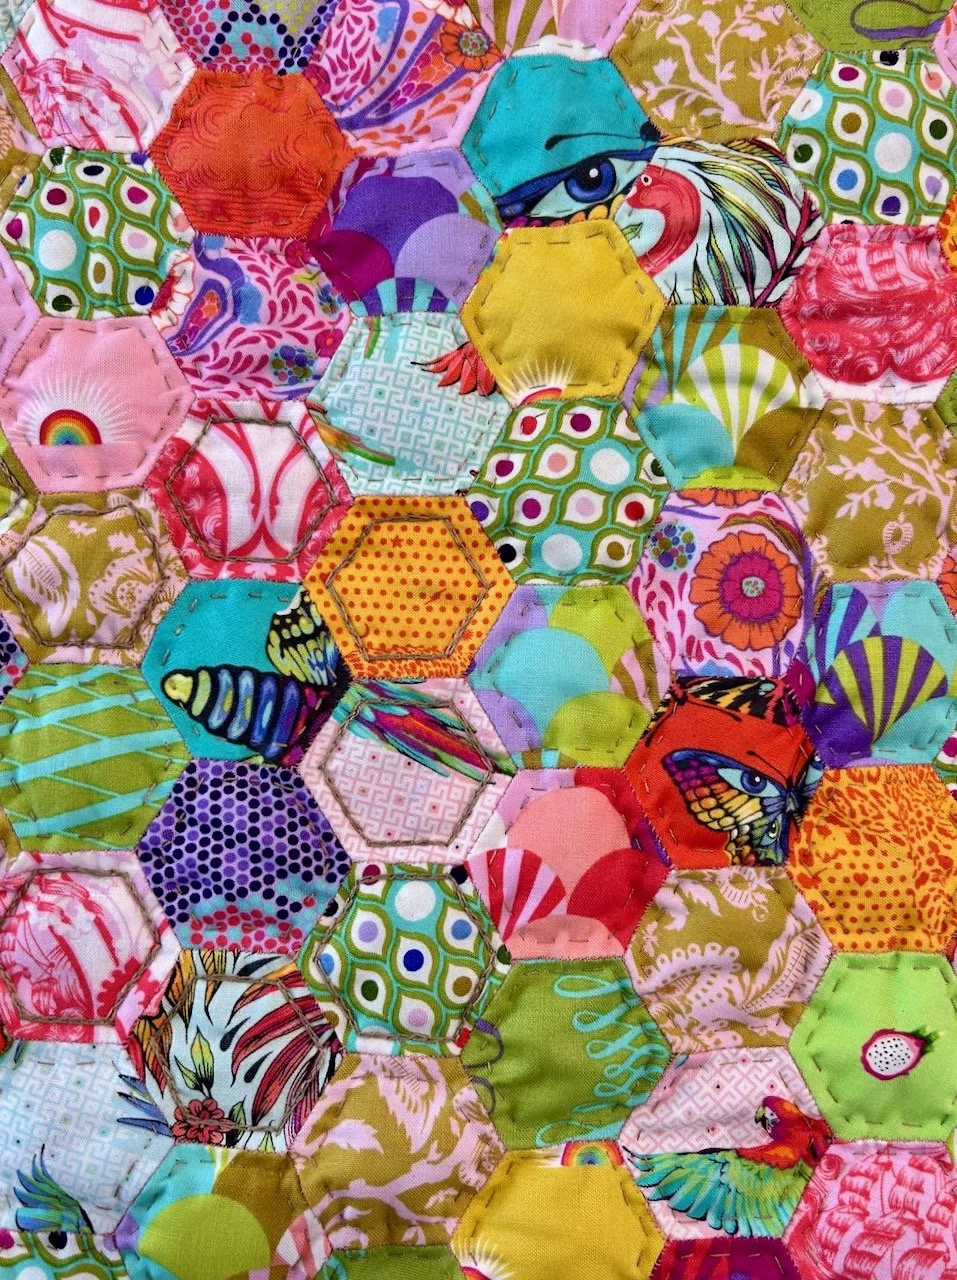
A closer look at part of the hexies on the front with hand quilting - running stitch on most, chain stitch on some

However, it turned out that I am - as it needed some kind of quilting, and I thought machine quilting this side would lose some of its charm. I started out with a plan to chain stitch individual hexies to form an oblong shape, and I completed the inner oblong. But realistically, it took way longer than I wanted it to take and it didn’t look as good as I thought it would. I wasn’t unpicking it though.

So instead I changed tack, and added a small running stitch around the remaining hexies using the same embroidery thread.

Adding the binding and elastic

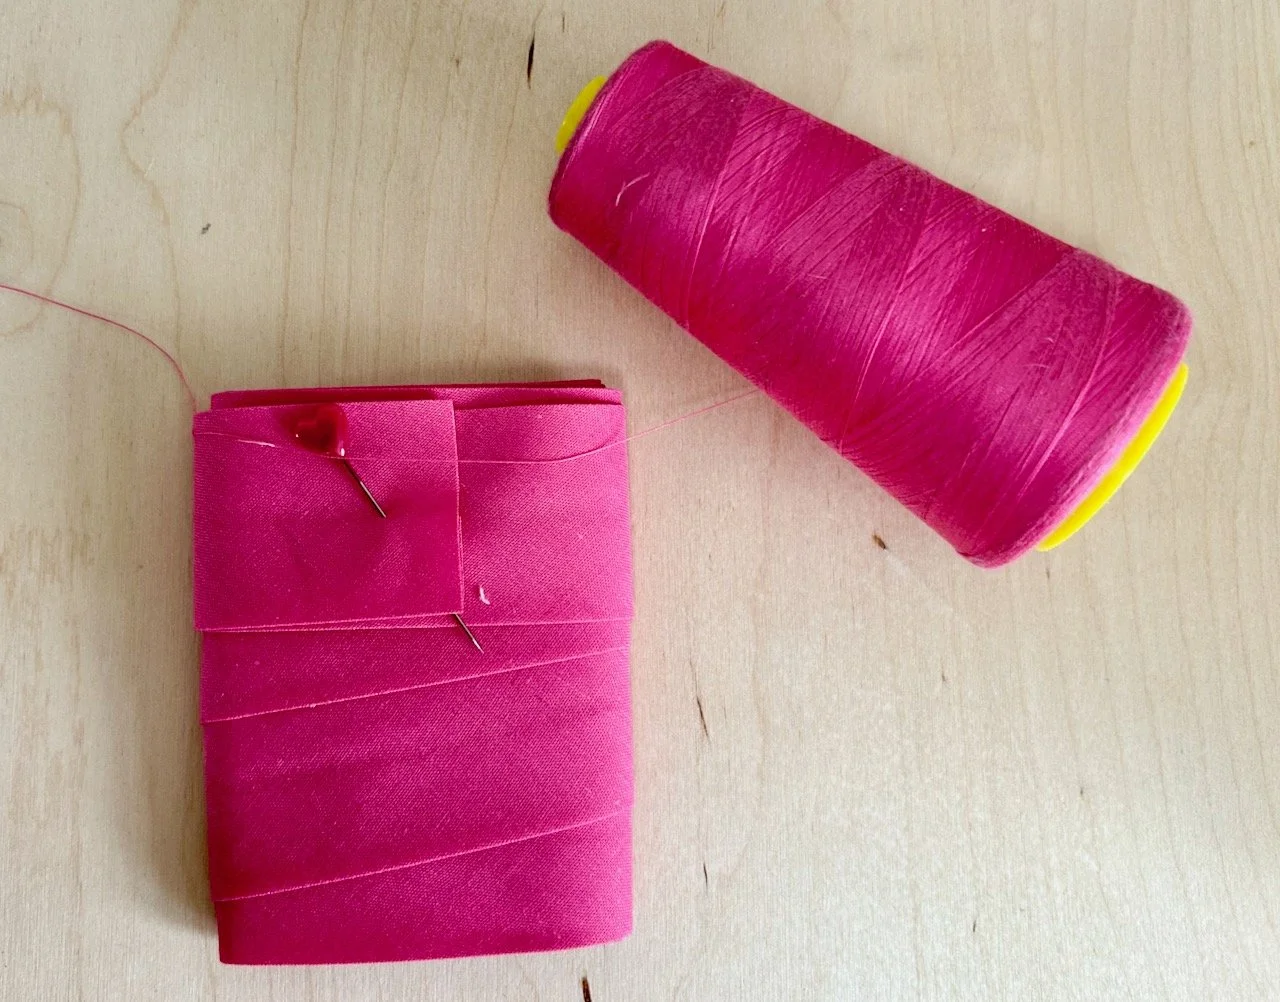
As I neared the end of the hand quilting I was thinking of how to finish this project - by chance I saw a haberdashery company online showcasing their widest bias bindings, and I was hooked. I did a rough calculation of how much I’d need, then added a bit more for good measure and waited for it to arrive.

I hadn’t thought about thread, but thought I’d probably have something. Turned out that I did, and in exactly the same colour - what are the chances? I’d picked up a bag of part-used overlocker threads in a recent WI sale in Newark - attracted by some of the colours, thinking I’d use them at some point without knowing that would be quite soon!

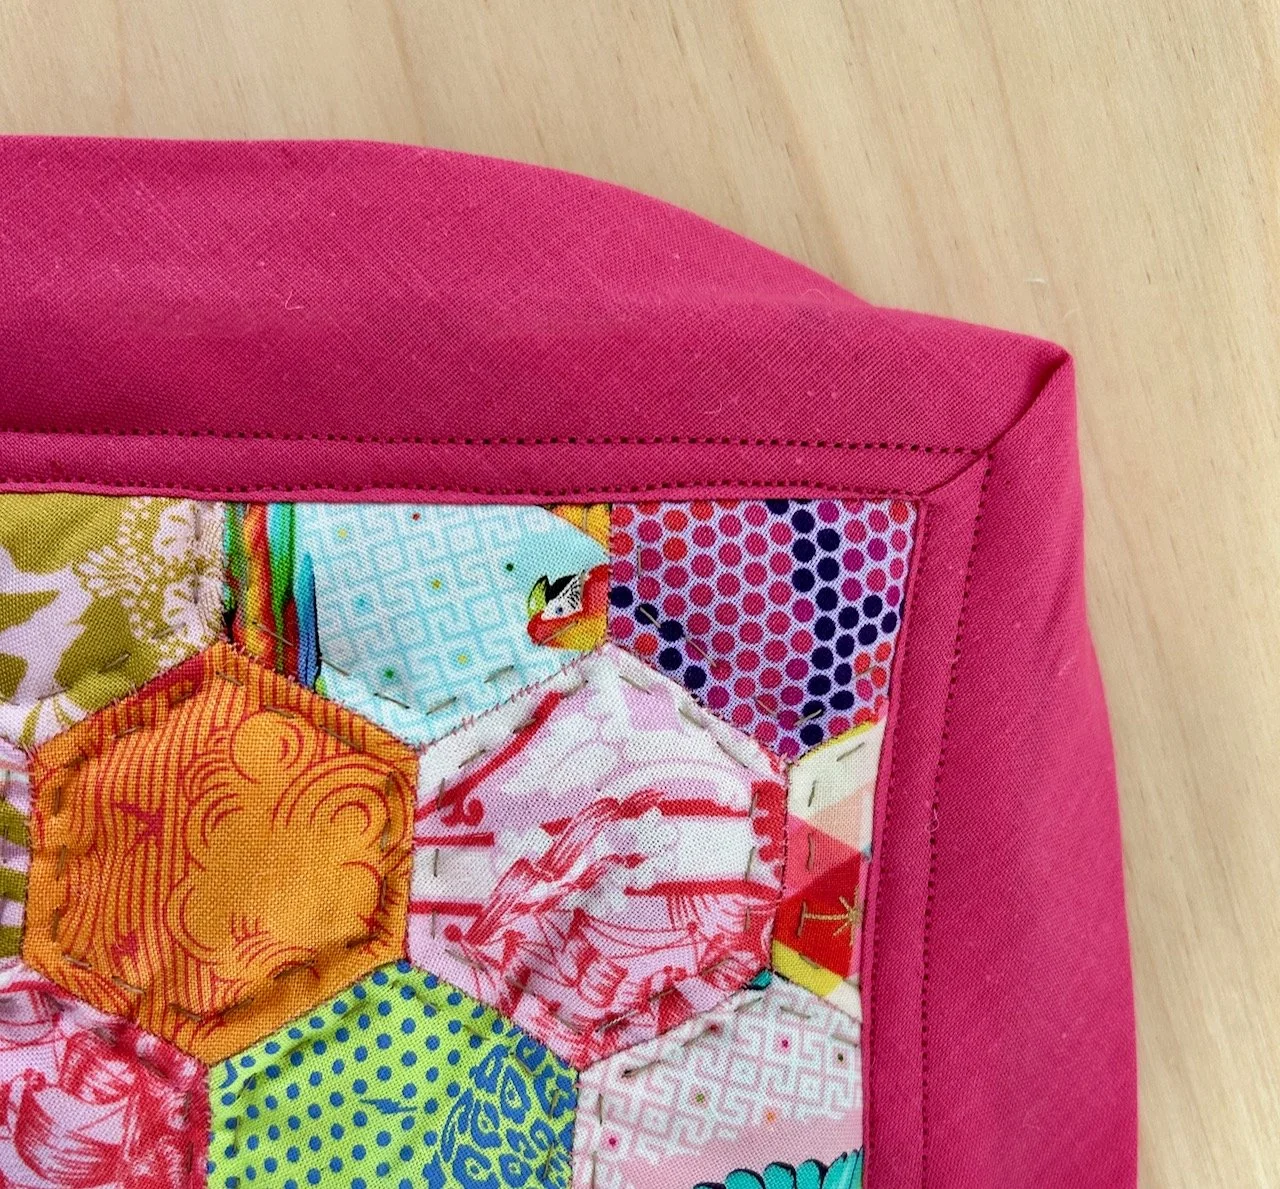
By now both the back and front were pinned together and so I pinned and re-pinned the binding to the front of my mat, mitring the corners as neatly as I could, adding extra pins to keep them in place before I slowly (at times) whizzed round with a couple of rounds of machine stitching.

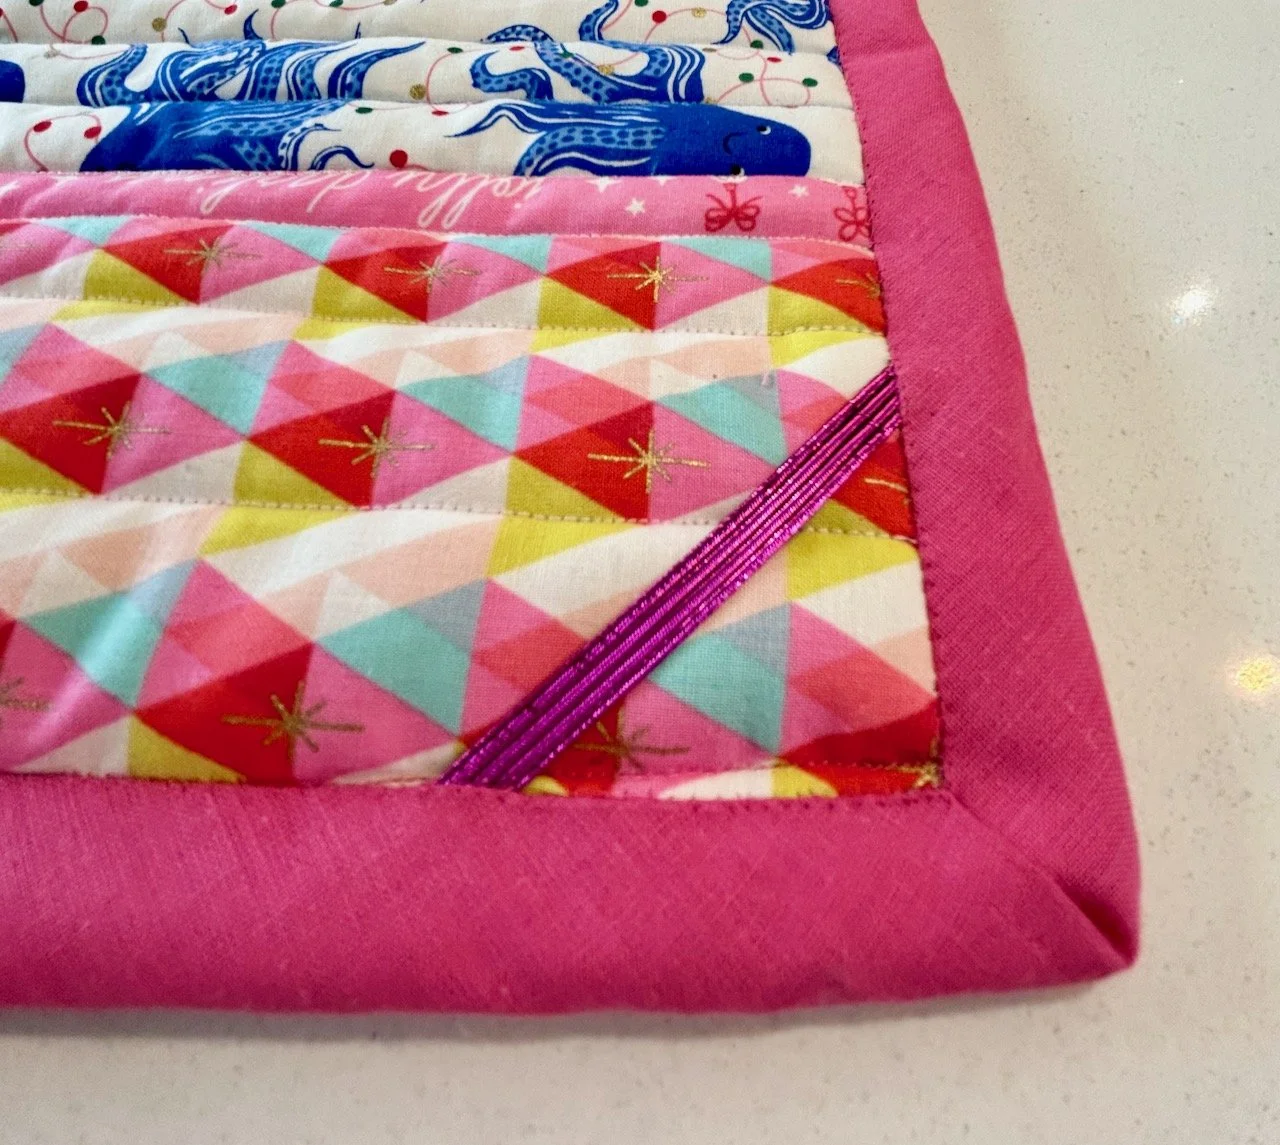
Bias binding and a mitred corner with two rows of machine sewing attaching it to the front of the mat

With a stroke of luck the mitred corners behaved and stayed in place on both the front and the back. For the back I added some glitzy pink elastic (left over from mask making during the pandemic) across the corners and then pinned the back in place before slip stitching it and completing my mat. The elastic means I can slip the corners of the old and worn out cutting mat through these and get the benefit of its solidity, but the prettiness of my new mat. Not something I originally planned for, but a useful addition.

The rear side of the mat with elastic across the corner and hand stitched binding

Definitely a project to take on the go

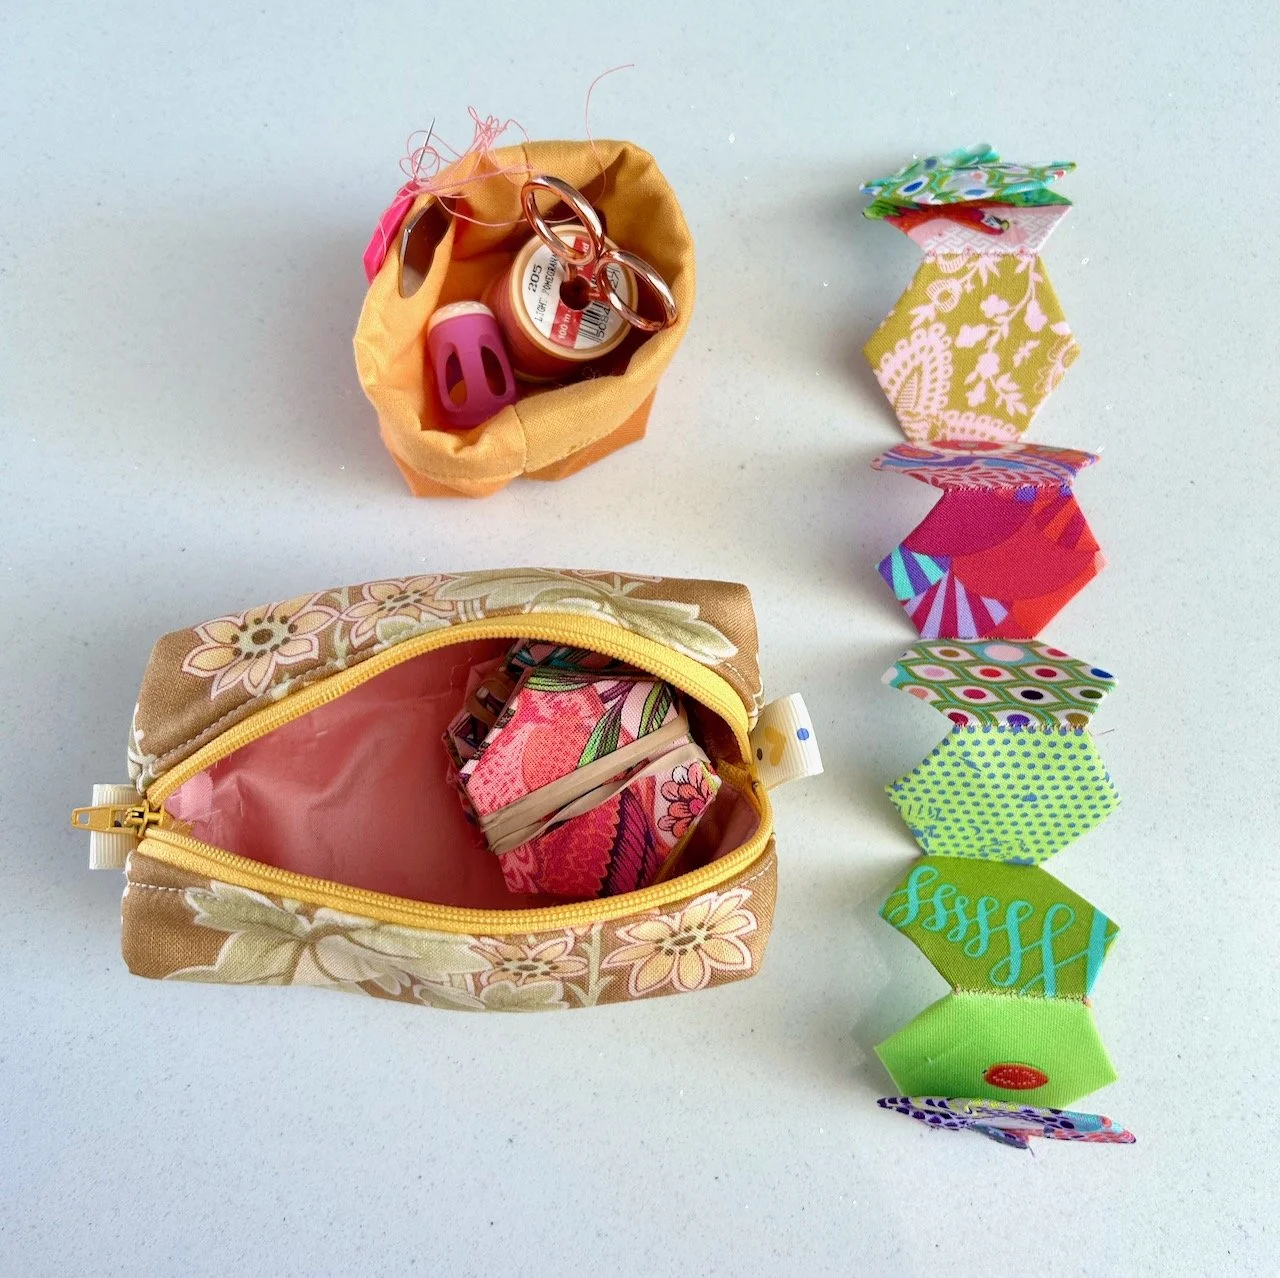
For now my English Paper Piecing (EPP) projects have come to an end, but it’s something I’ve really enjoyed - and it’s something that is easily portable. The mini oblong pouch below - which is no more than 15cm long - carried everything I needed easily, that includes needle and thread, small scissors, a thimble, a thread catcher and approximately four rows of my hexi top. That’s where the row and positional numbering came in handy too - that’s definitely a top tip, write these on the back of the cardboard - mine took the format 6.1, 6.2 etc for row 6 position 1, position 2 and so on. Absolutely invaluable, unless of course you are creating a truly random design.

A selection of hexies secured with elastic bands, a mini pouch, needle thread, scissors and a thimble

So my new sewing mat looks good, is functional and is in place in my craft room. Now I need a day to paint my sewing box charcoal - I have the paint already. I need a day that’s not too hot, not too cold and one where I haven’t already committed to other things! Then I’ll share the other half of my EPP Tula Pink creation - don’t hold your breath!!

PostCommentLove

My highlights from Gardeners' World Live

* I was invited to the press preview of Gardeners’ World Live and provided with a pair of tickets to visit the show, therefore all my posts will be marked as 'Ad’ though as usual my views and opinions are very much my own.

I’m not quite sure where the past few weeks have gone - it’s nearly three weeks somehow since this year’s Gardeners’ World Live. I always seem to have an influx of photos of this time of year - usually with visits to Grand Designs and Gardeners’ World taking place within weeks of each other, but while we didn’t go to Grand Designs in May this year it’s our holiday to the Gargano Peninsular in Italy that’s adding to the photo overwhelm. It’s real - there are a lot of photos to ponder, but they are great records and memory prompts too, so it’s not all bad.

But anyway, this year’s Gardeners’ World Live Show was great - I had high hopes having visited in previous years, and it never fails to disappoint. Each year it manages to retain familiarity while avoiding being stale, and once again there was plenty of new ideas and inspiration to see.

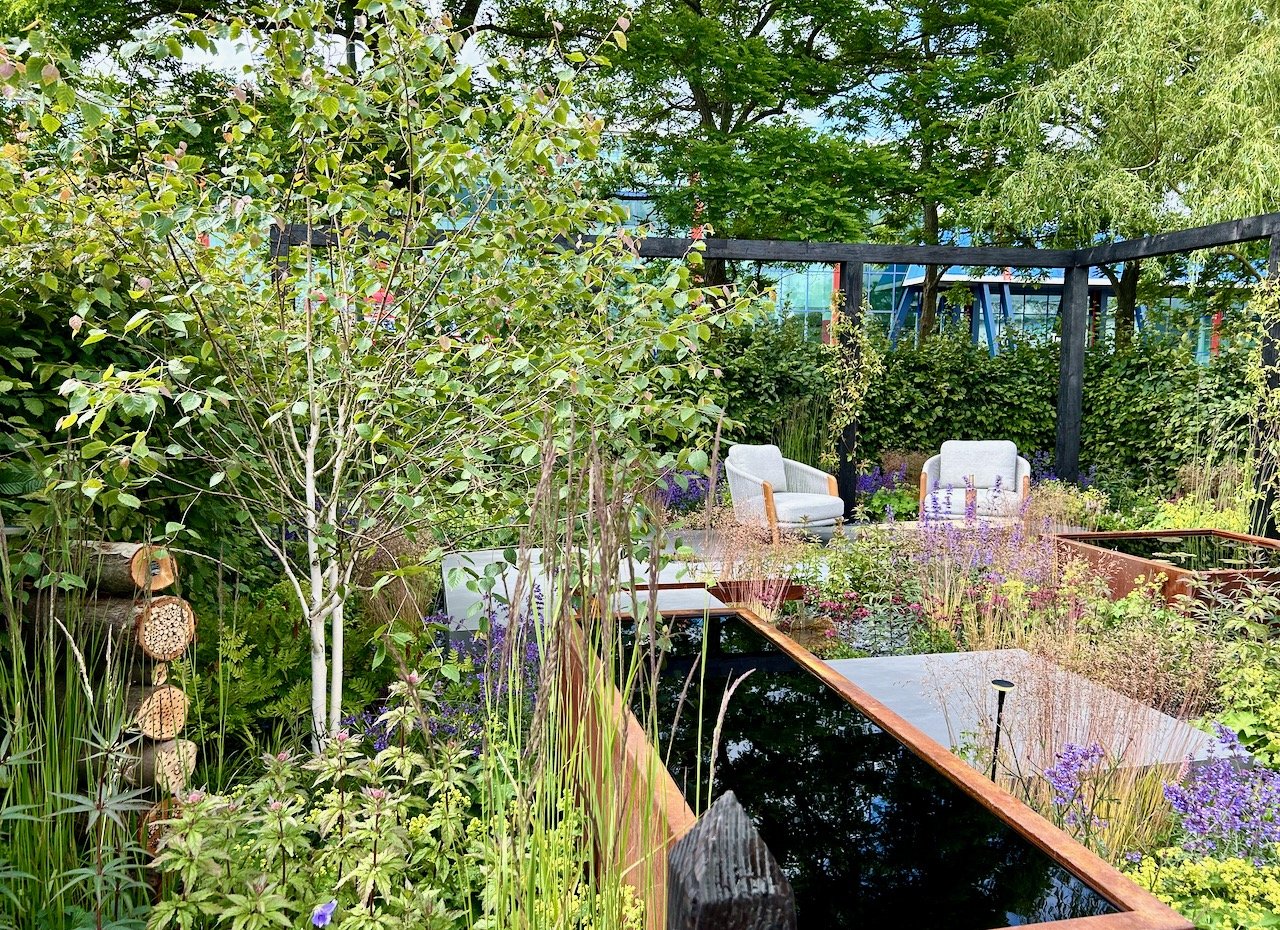
It’s also good to see that corten steel - a favourite of mine - is still ‘on trend’ in terms of garden design, and that many gardens incorporated circles in their designs, and while I’ve ‘been there, done it’ they do look good in a garden, and there are so many ways they can be included, though sadly they’re not for our current garden.

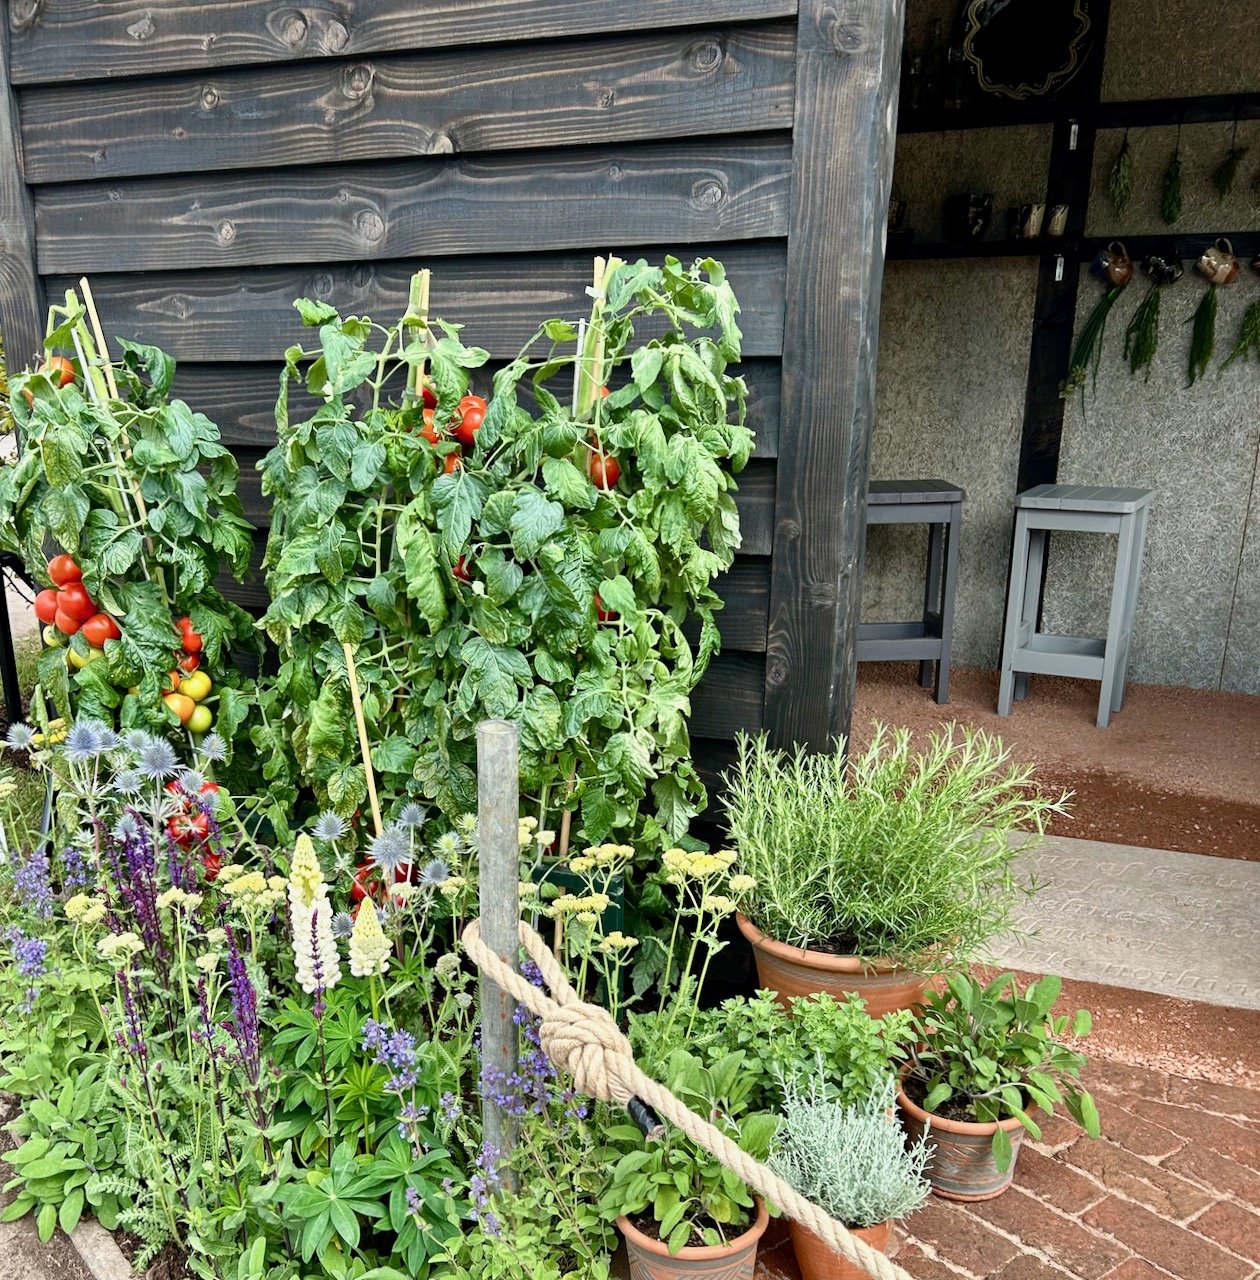
I’m always pleased to see gardens that incorporate vegetables alongside flowers, and still make it look pretty - and that’s exactly what Adam Frost’s show garden titled The Chef’s Table did. It’s an aspiration of mine to have a productive space that looks as good as this, so to hear Adam talk about his plot-to-plate garden - and how he brought many of his hostas from his own garden - was the icing on the cake for me.

THE CHEF’S TABLE, ADAM FROST

THE CHEF’S TABLE, ADAM FROST

THE CHEF’S TABLE, ADAM FROST

yellow chard - that matches my shoes - growing in rows alongside kale and lettuce

THE CHEF’S TABLE, ADAM FROST

It’s a great space isn’t it?

Clearly the best bit was the yellow chard matching my shoes! It’s hard to do any garden justice in just four photos so as last year I’ll be posting posts focusing on each garden, and once they exist you’ll find those either from the menus above, or follow the links on any post from this year’s show.

You’ll spot quite quickly that multi-purpose gardens is also a bit of a favourite of mine, though this is the first time I’ve seen a show garden complete with chickens and a chicken run. I loved the design, but don’t worry that’s not something I’m about to replicate - and yes there are chickens in there, they’re out of shot though under the green roofed ‘barn’ towards the back of the plot.

A chicken run around the garden with gravel and a seating area in the centre, surrounded by pots

A PLOT AMONG CHICKENS, BEN SHUTLER

The planting around this circular pond was just sublime and something that I’d be happy to replicate (but without the pond), and I’m still pondering if the reflect lettering and its reflection is the right way round - or maybe that’s the point?

STOP AND SMELL THE FLOWERS, JULIE HAYLOCK

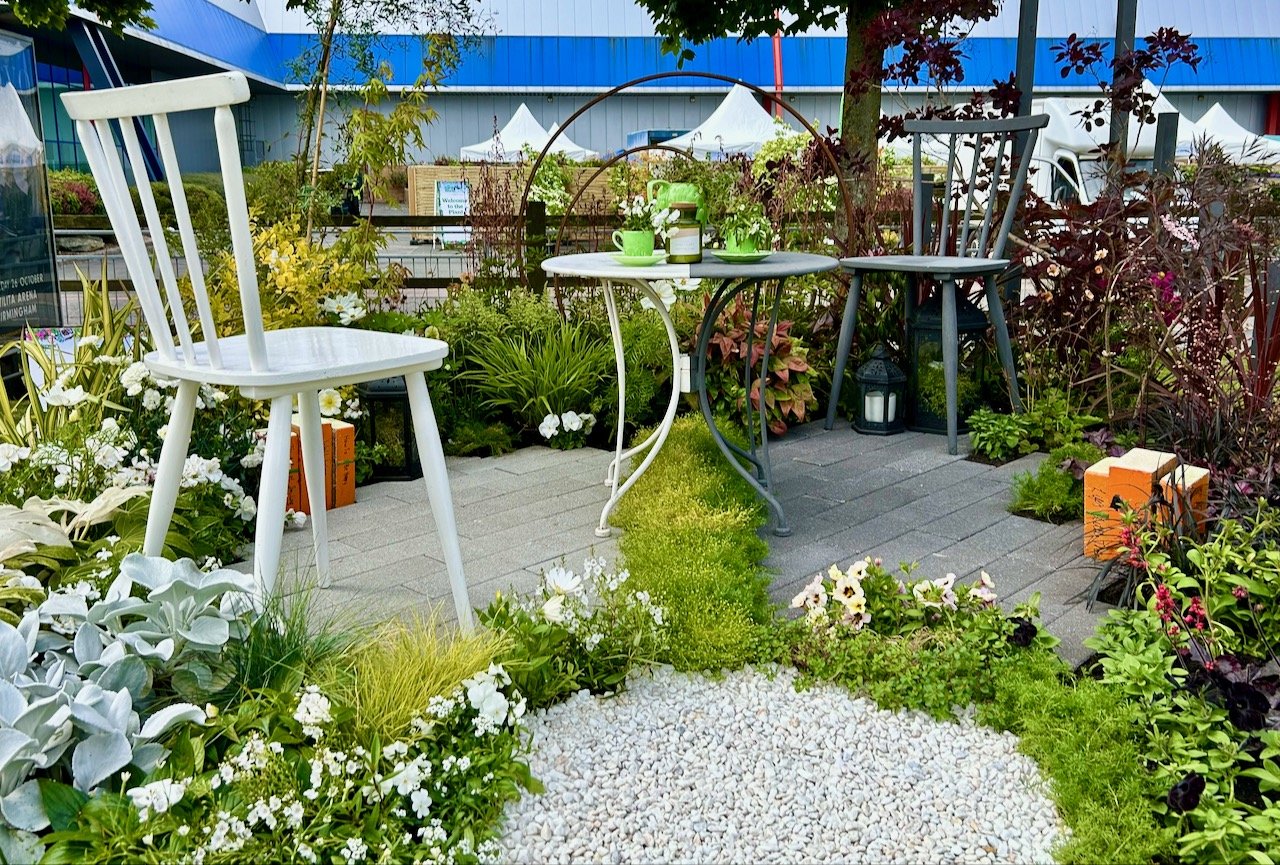
This next garden - the Eco Oasis - was my favourite show garden this year and so it was really good to see this getting a Platinum award, along with the Best in Show award too. I know that the designer Dan Hartley was also keen to get the People’s Choice award, he definitely got my vote

ECO OASIS GARDEN, DAN HARTLEY

As you can see from the photo above, and the one below, that the corten steel game is still strong. Talking to Dan Hartley and pointing this out he was honest enough to say that they hadn’t expected there to be quite so much, but hoped that their interpretation and use was different enough to stand out. It’s safe to say the judges thought it was.

I really liked the informal wooden bench seating in the ‘Costa Cadiz’ garden and we were able to get a much closer look at its construction. The designer also invited MOH to try it for size and comfort and it got a thumbs up - and it looks good too!

WEATHER IT ‘COSTA CADIZ’ GARDEN, ANNA HELPS

As well as the show gardens, and the showcase gardens, there’s also the beautiful borders - another part of the show which I love. I particularly liked this black and white garden and how the planting on each side reflected the colour scheme, and what’s more - the more you looked, the more you saw - it was very clever and an enchanting space.

A beautiful border of two halves - white and black split down the middle and reflected in the planting, surfaces and accessories

A PROBLEM SHARED IS A PROBLEM HALVED, SAMANTHA THEAKSTONE

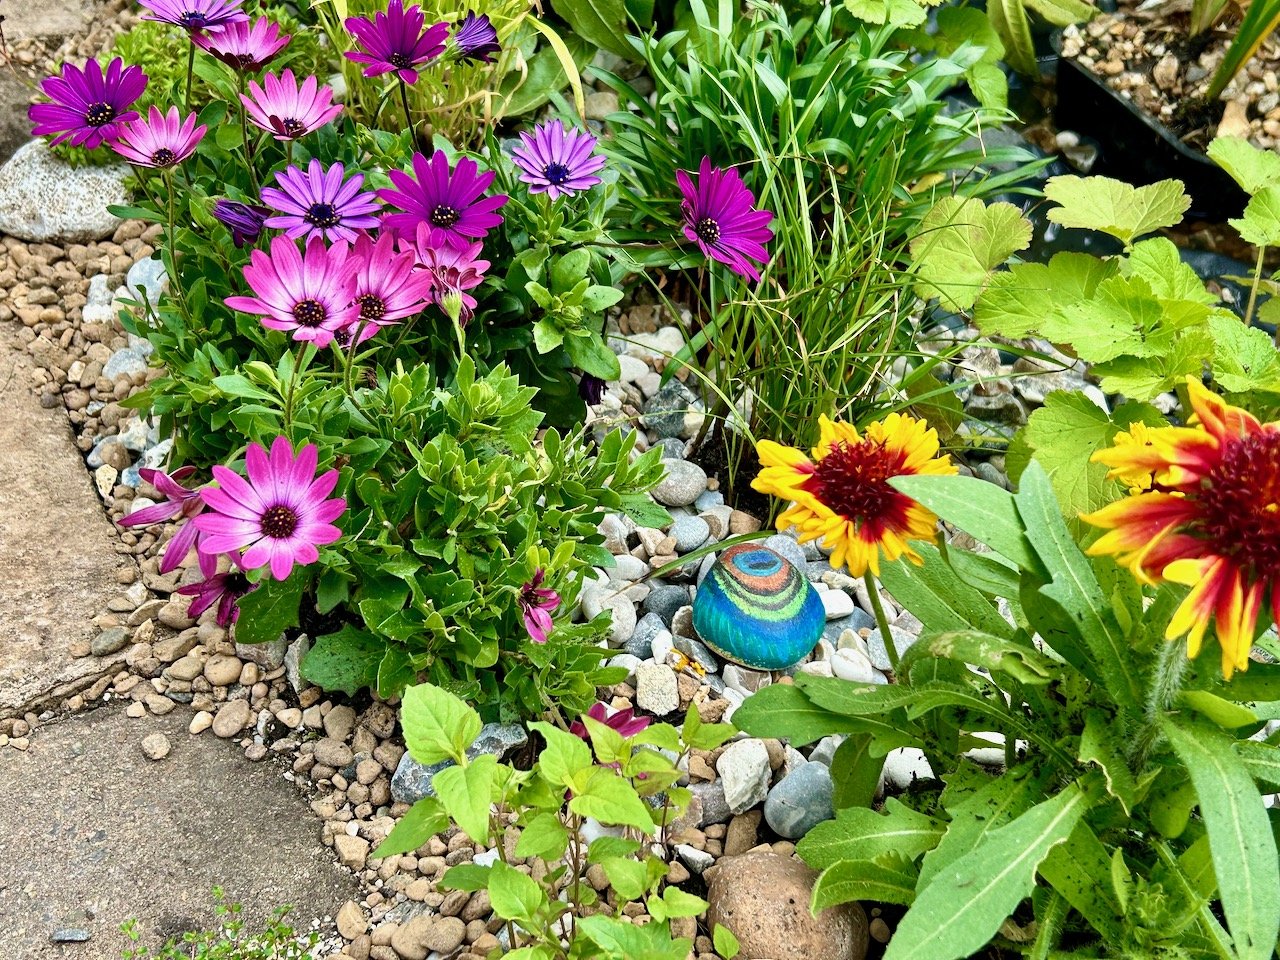
For me though it isn’t always about the big things, it can be the small things too, like the hand painted pebbles in this beautiful border.

A HAVEN FOR ALL, JEMMA ELCOCK

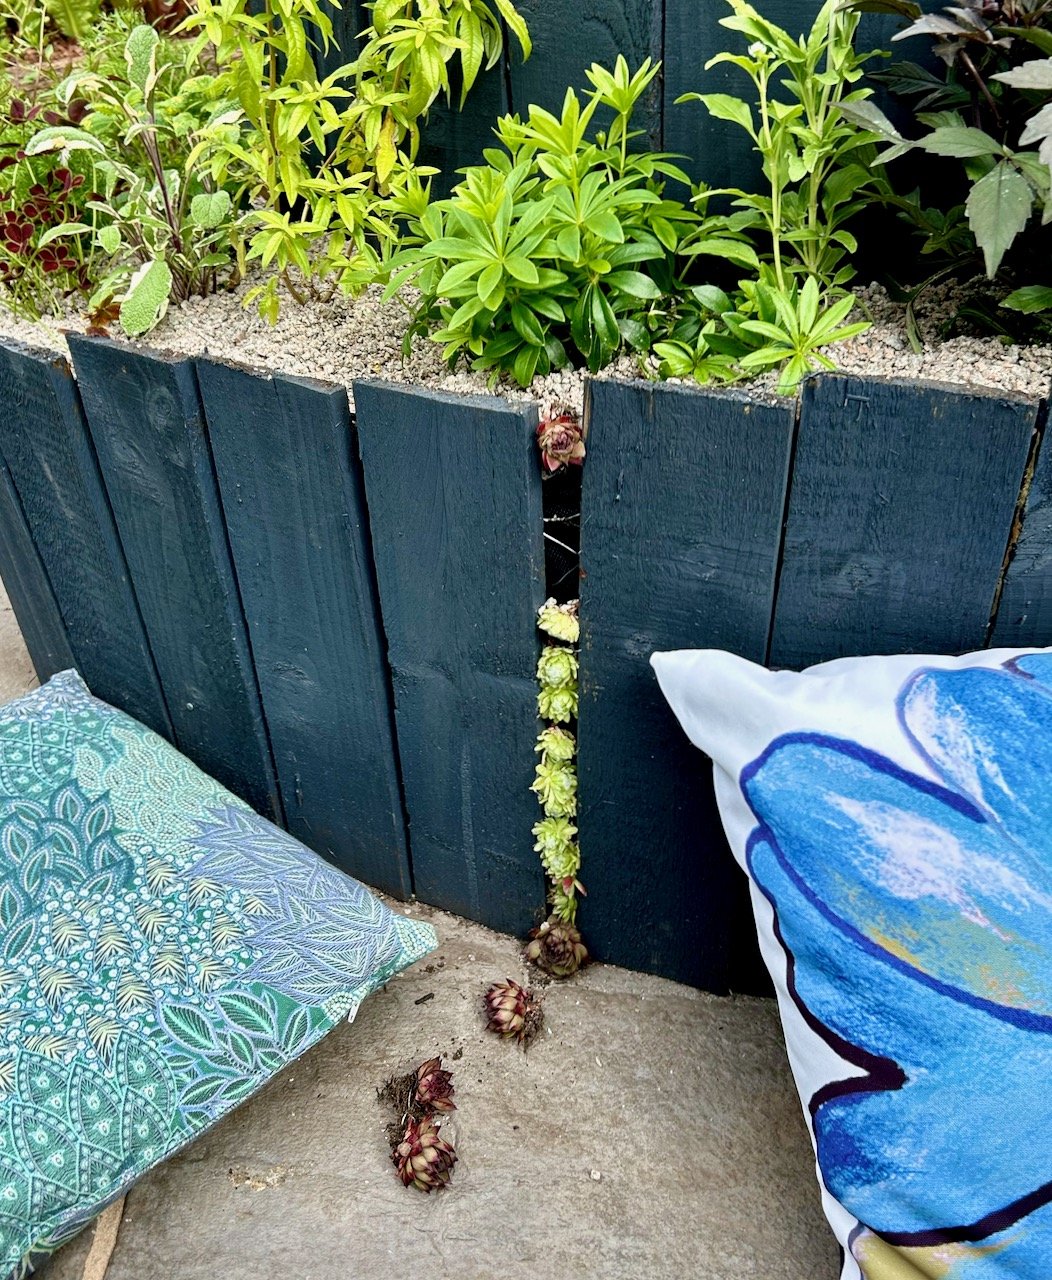
But sometimes it’s about the big things too! I loved the contrasts in the Eat the City garden with its dark timber structure and the green zingy planting. And those succulents which appear to be escaping, which had the designer in a small panic as they weren’t supposed to be like that - but as I said to her, no one knows that only you - which helped a bit, I think.

EAT THE CITY, PHOEBE WALSH-GAMGEE

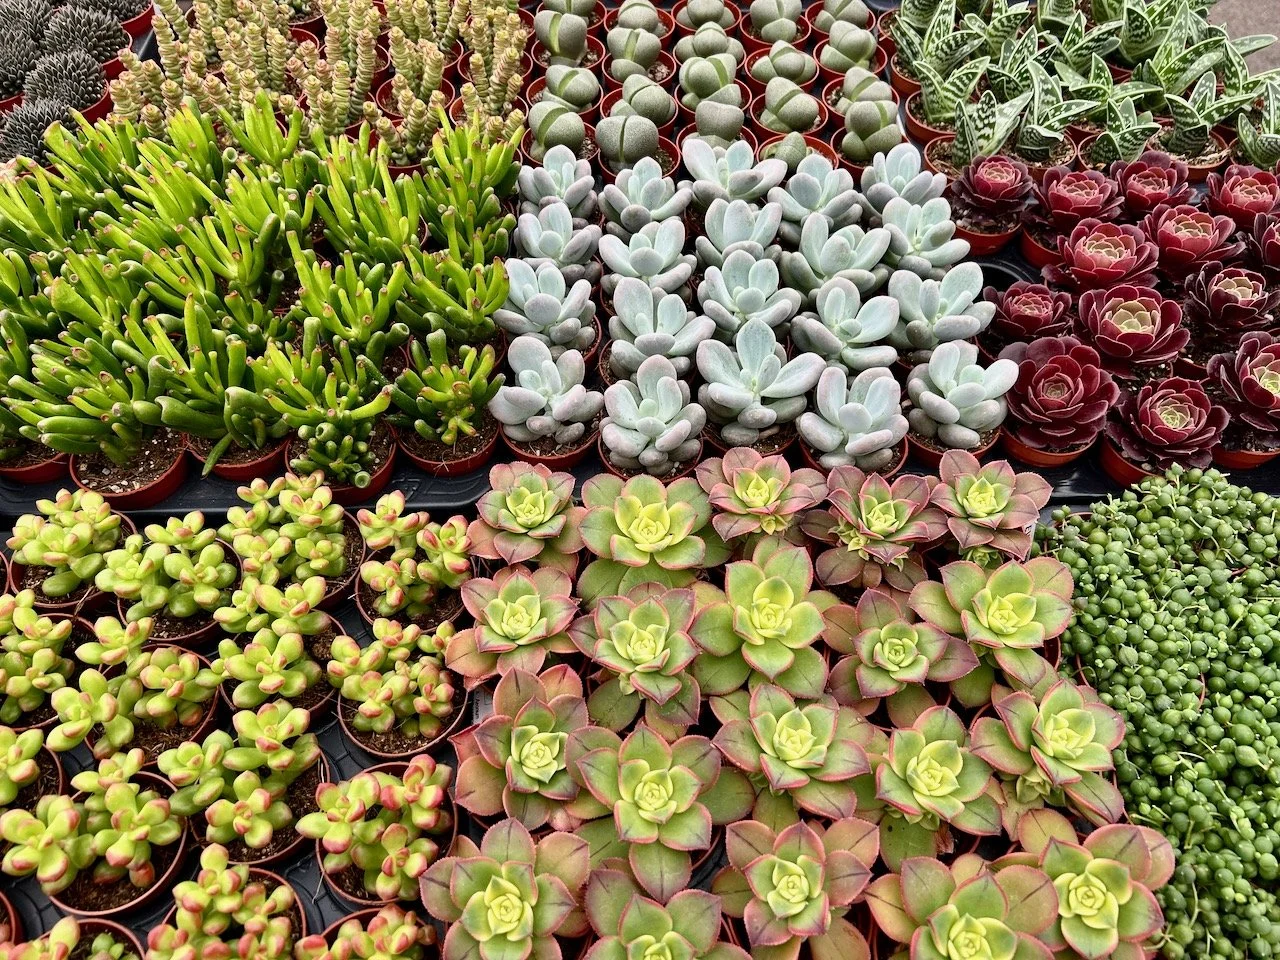
Inside the marquee I marvelled at the rows and rows of mini succulents, and marked this as somewhere to come back to once the show was open. Unusually this year we left with some plants, just some small ones, carrying them back to Nottingham carefully on the train.

rows and rows and blocks of mini succulents in the marquee

As well as some mini succulents I also left with a small Szechuan pepper plant - like the ones below. A huge hat tip to Jurassic plants for their information boards too, they were so informative about plants that aren’t the usual. And all being well in a year or two I’ll have my own Szechuan pepper to harvest, and while I’m not expecting a huge harvest a peppercorn or two would feel like quite an achievement.

A detailed information stand about the szechuan pepper plant

The marquee is as you’d expect full of everything you can ever think of, and some more you probably never would even contemplate - this pink tinged grass caught my eye purely for its unusual colouring. I’d not seen it before and with all the pots together it was truly striking, and who knew it’s called squirrel grass…

pastel pink tipped squirrel grass

SQUIRREL GRASS, AS YOU ASKED!

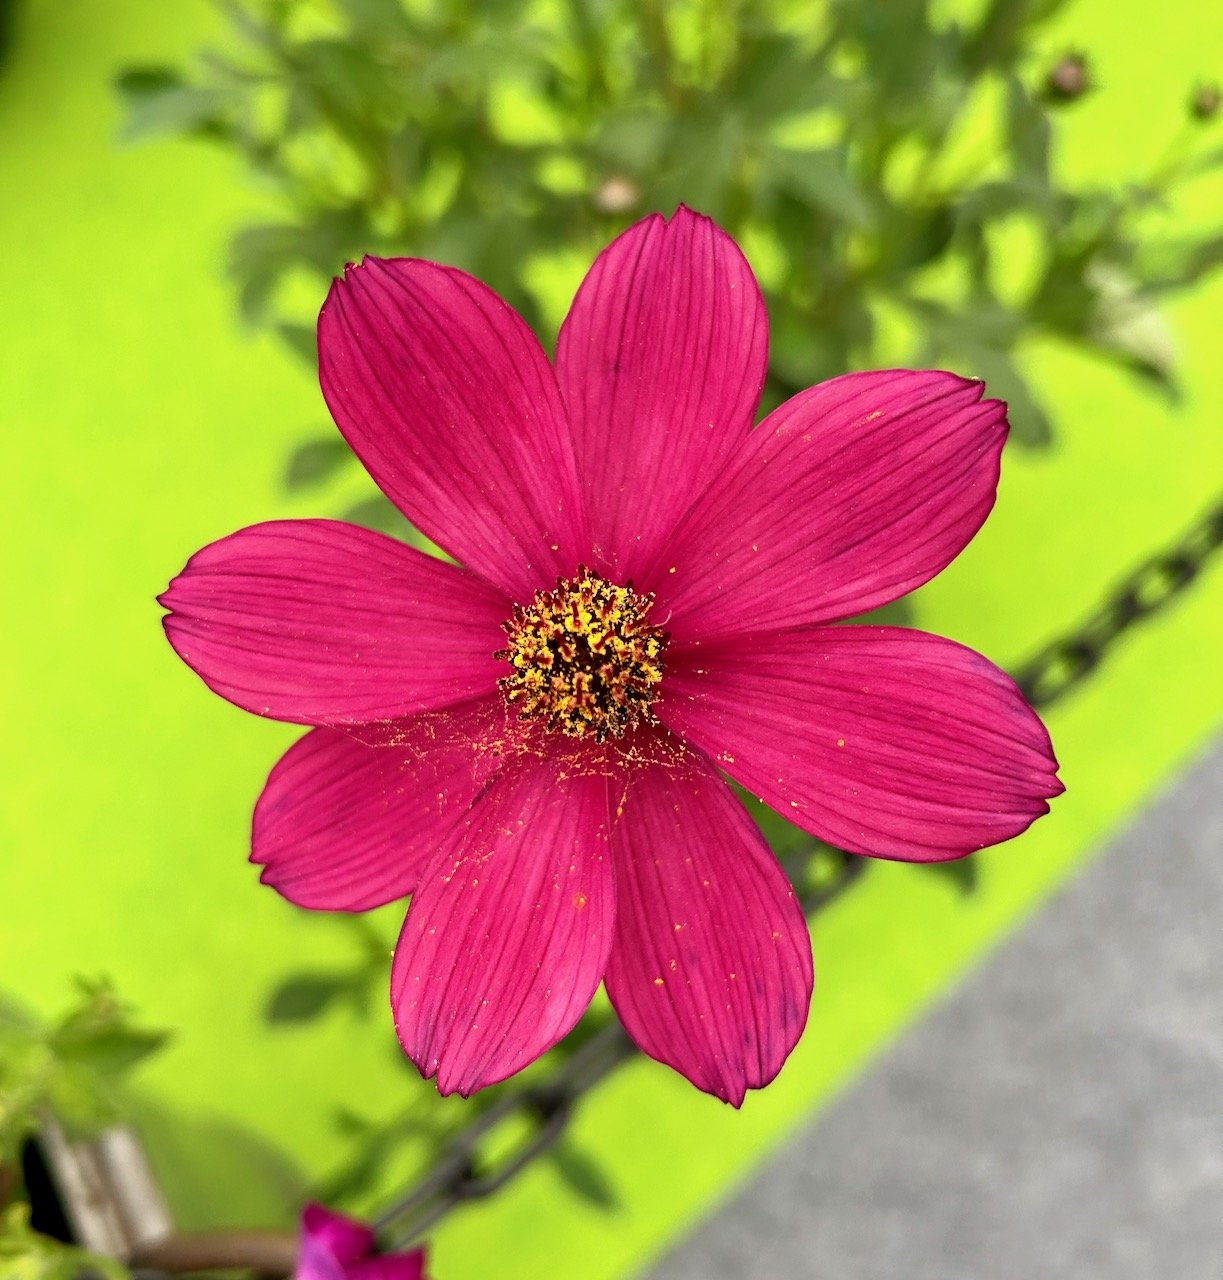
COSMOS CHERRY CHOCOLATE - HOT OFF THE POTTING BENCH

This year we spent more time than usual in the marquee - possibly because I’d already identified some plants to purchase, but it was also good to check out the ‘Hot off the potting bench’ area, which is where growers showcase their new-not-yet-on-the-market plants. Visitors are encouraged to vote for their favourite, and share why - my vote was for this Cherry Chocolate Cosmos. I’m a fan of chocolate cosmos and we used to regularly have these in our old garden, but these just had a bit more pep, which I think brings out the detail even more.

Back outside there were still a few beautiful borders and gardens to check out, and as I was keen to see as much as we could before the show opened to the public we cracked on after the awards had been announced.

You may have seen the Common Ground beautiful border by The Growing Project feature on the TV programme. It’s where they have adopted a stretch of canalside post-industrial land in Digbeth and together are breating new life into the space where surprisingly (or unsurprisingly) life - both plants and humans - flourish.

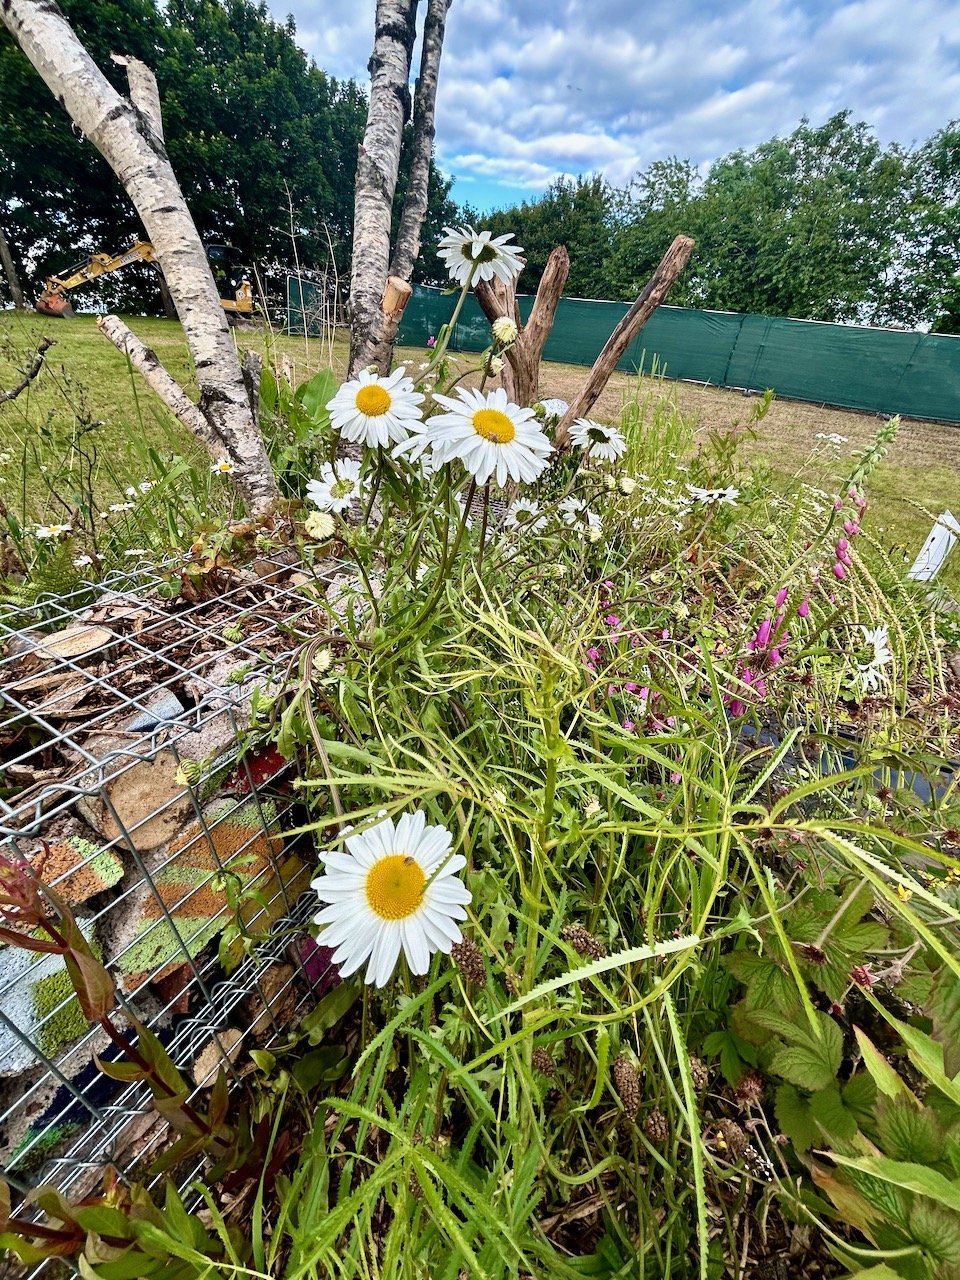
I couldn’t not include a gabion basket in this overview now could I - these are filled with the graffitied remains from the canalside land, and I love the colour that this brings.

COMMON GROUND, MATTHEW COX & KIERAN BIRD

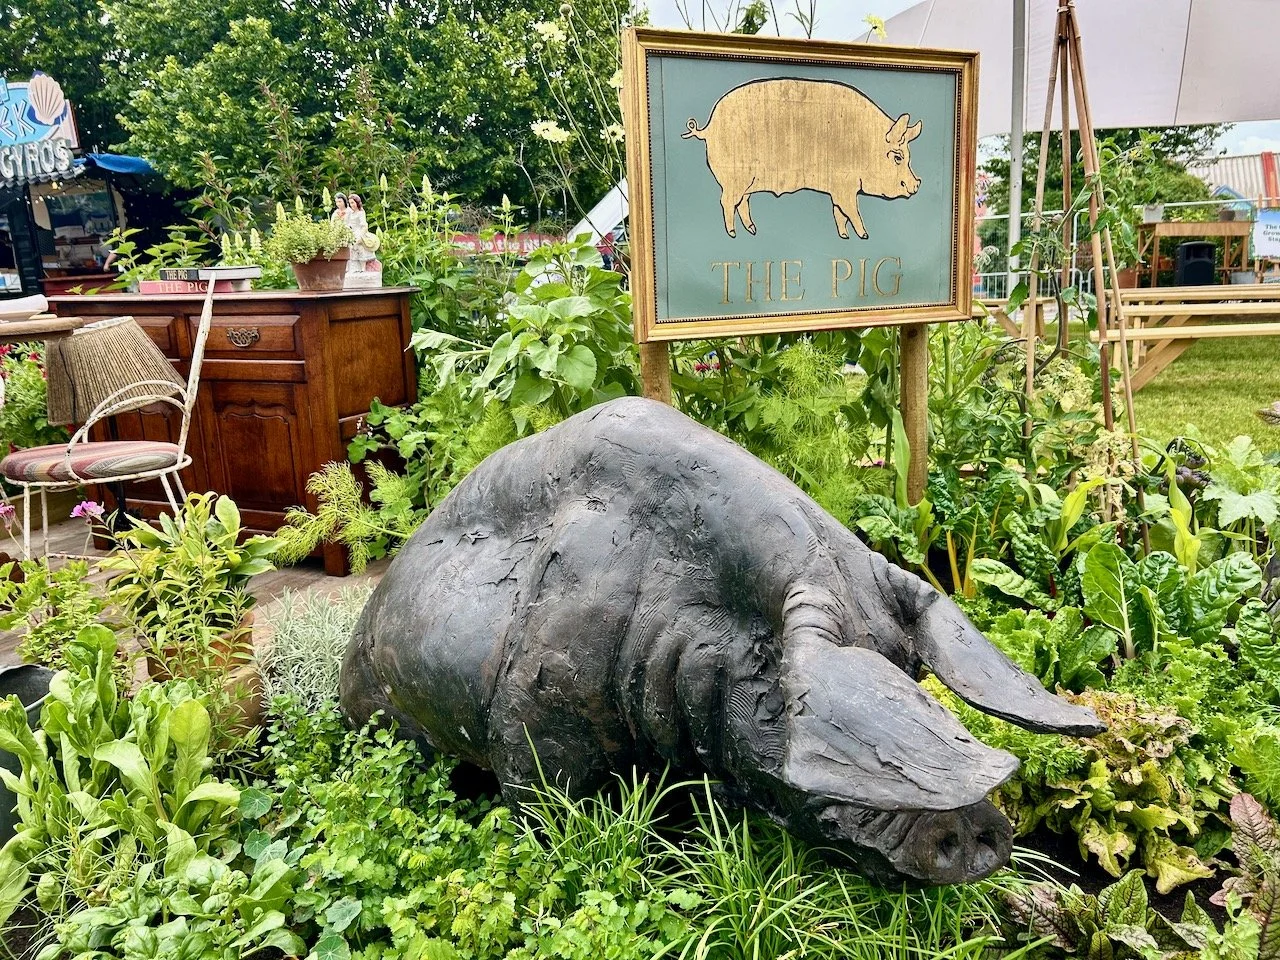
Ah, another kitchen garden - I told you I was keen - this time the Kitchen Garden at The Pig, adorned spectacularly with an iron pig with his nose in the plot.

THE KITCHEN GARDEN AT THE PIG, OLLIE HUTSON & FRAN CHILET-OLMOS

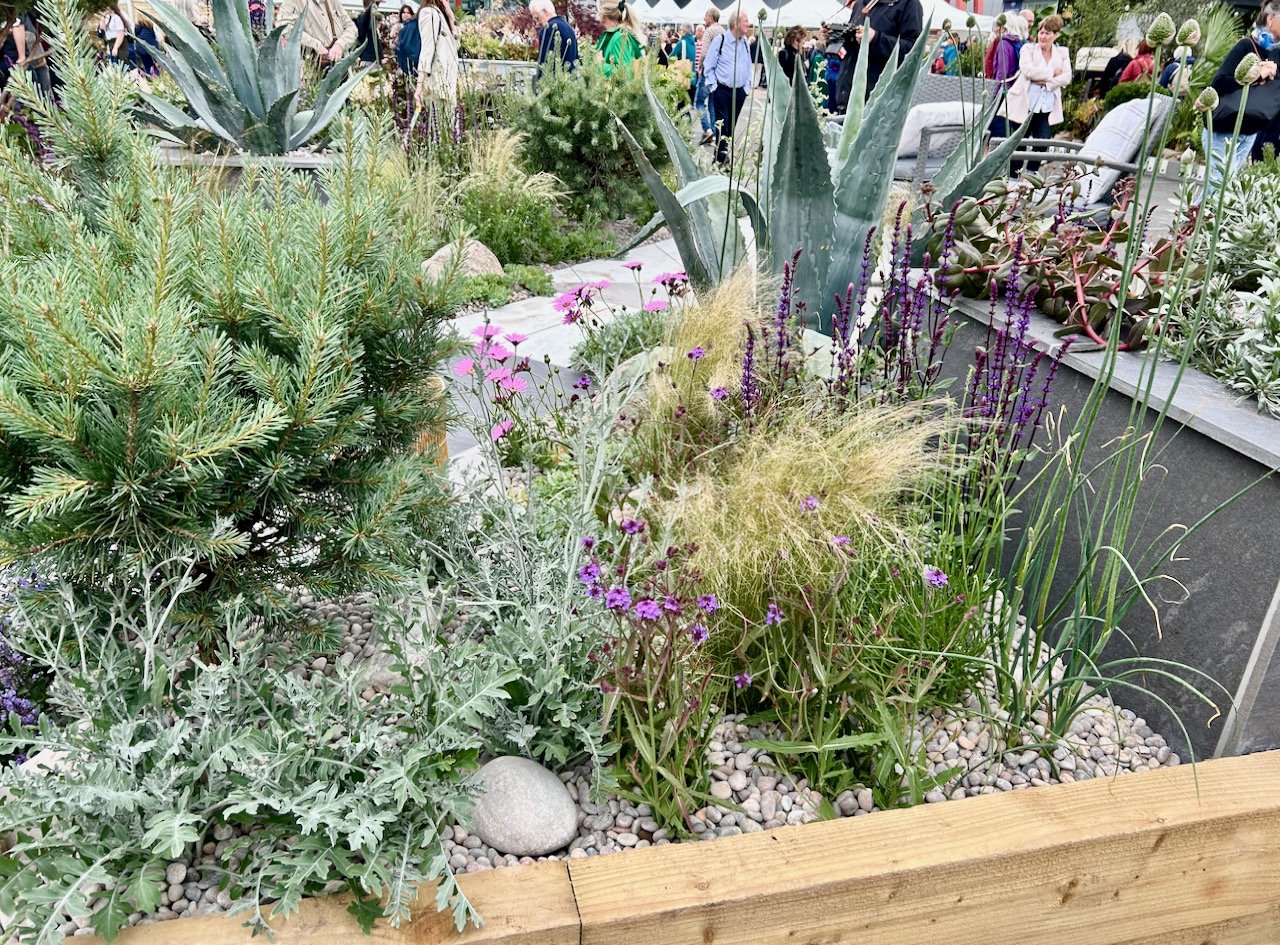
The last of the gardens I’m sharing here is MOH’s favourite - it’s not what I thought he’d choose, but given that our past few summers have been sunny and dry it’s an interesting and informative choice. I think as gardeners we’ll all need to consider more drought tolerant plants, though this argument would be a lot stronger if the weather wasn’t quite so dreary at the moment.

It’s interesting because while I knew he was keen on the strong striking plants, it also gives me much more of an insight into potential ideas to included in our new garden.

A BRACE OF EMBRACES - SUNNY & DRY, CHERRY CARMEN

And that’s what Gardeners’ World Live does - it prompts ideas and conversations, and brings inspiration by the bucket load. Since the show I’ve given our new garden a lot more thought and ideas that were bouncing around are becoming slightly more fixed and thought through - I just need to get those onto paper and I think a moodboard will help bring further clarity, and definitely help MOH see more of my thinking, it’s a way off yet but there’s the startings of a plan!

A BRACE OF EMBRACES - SUNNY & DRY, CHERRY CARMEN

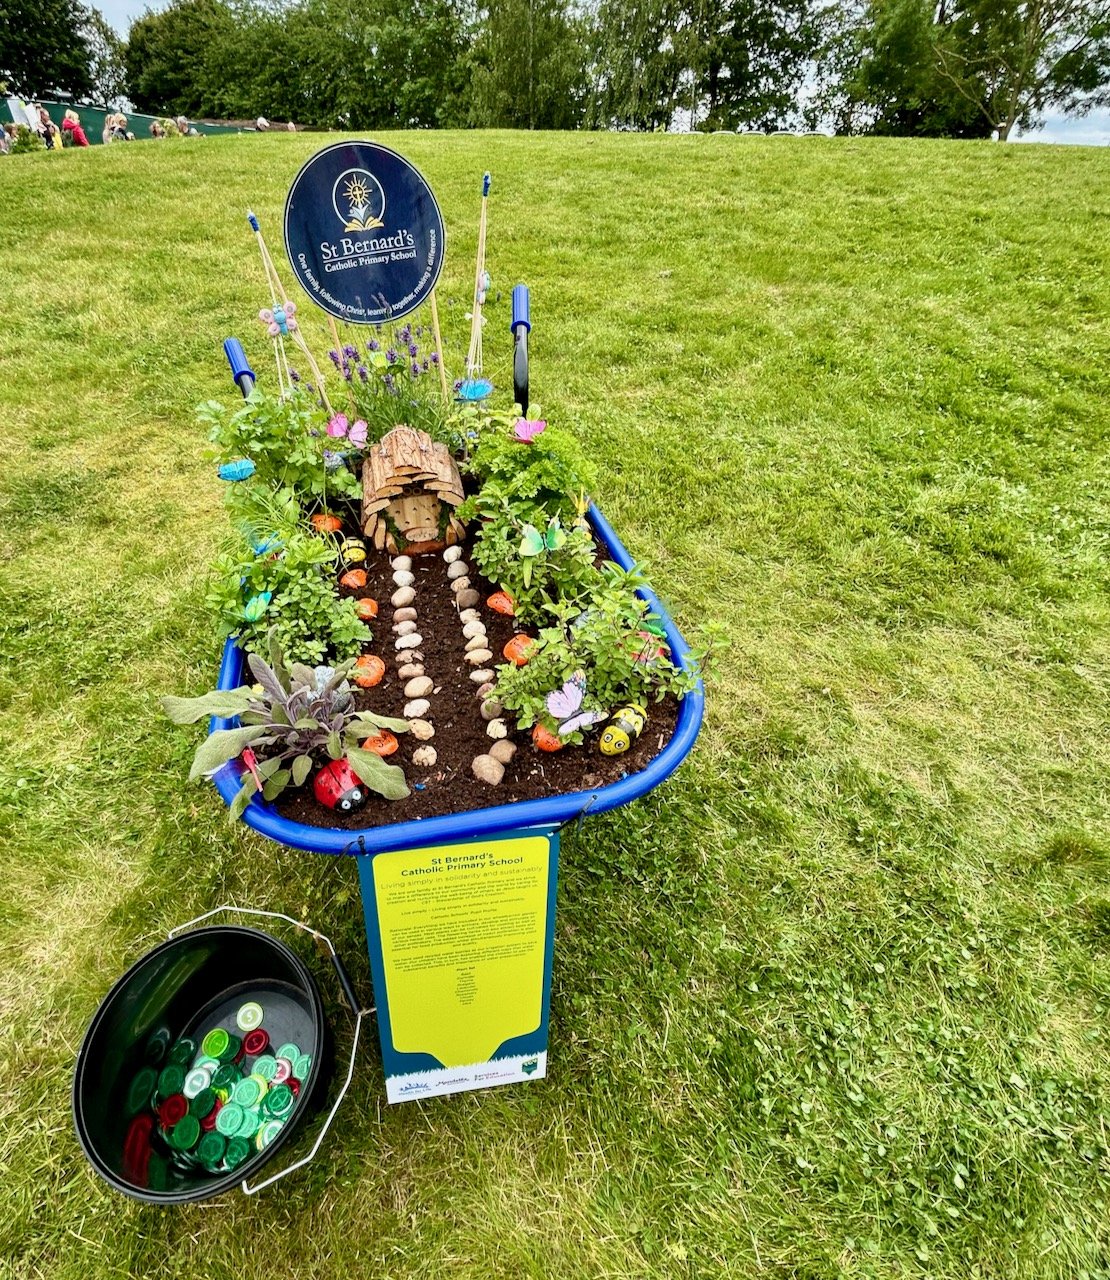
HEALTH FOR LIFE SCHOOL WHEELBARROW COMPETITION

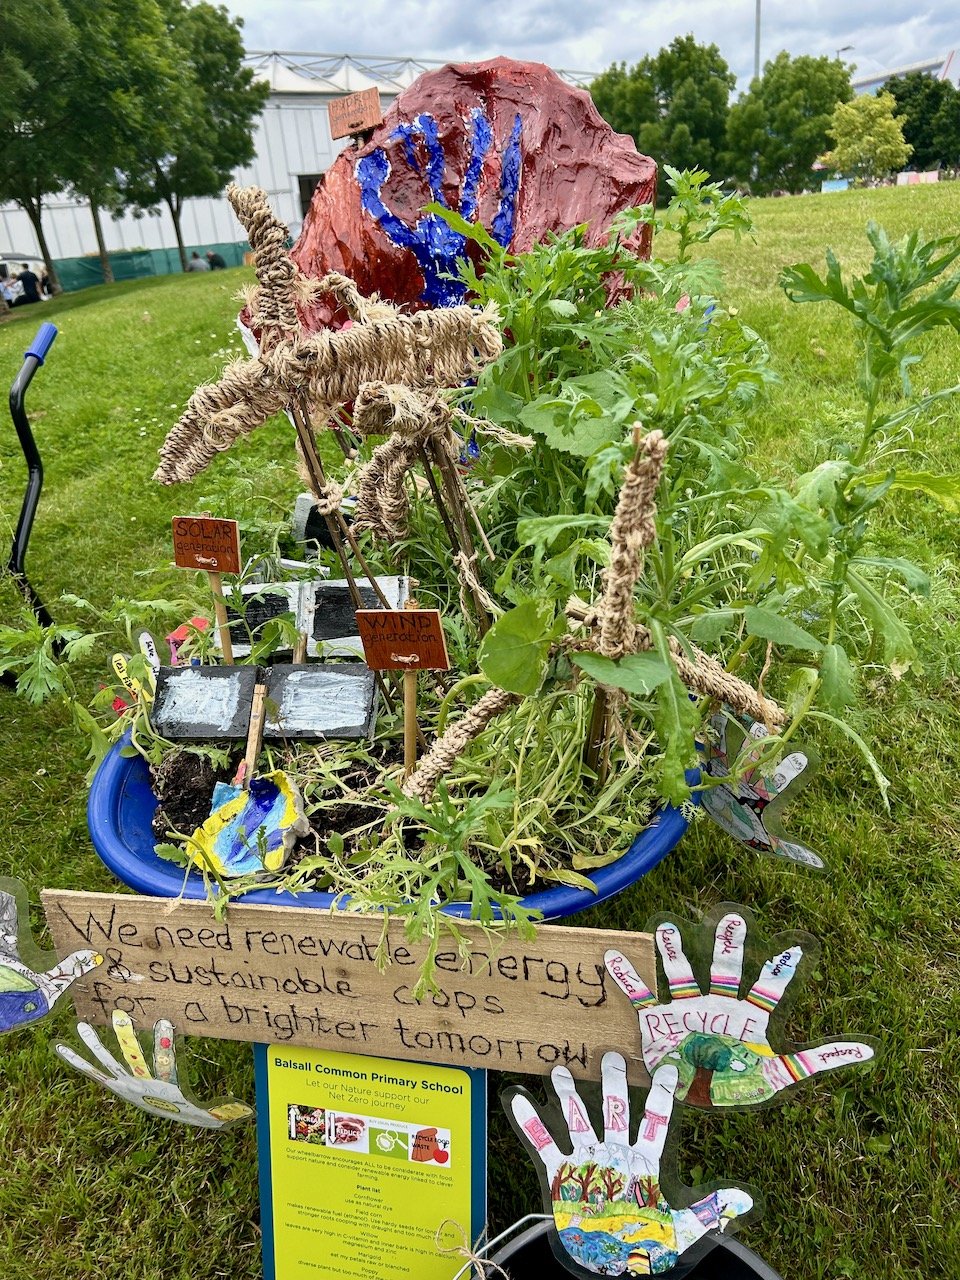
HEALTH FOR LIFE SCHOOL WHEELBARROW COMPETITION

I couldn’t end this post without including the Schools Wheelbarrow Competition - or at least a couple of entries. Each year these are brilliant, and they’re a great way of inspiring and including local schoolchildren. I love to spend time looking at them, and seeing how they’ve each interpreted the theme, which this year once again had a ‘food and climate’ theme.


* With thanks to Gardeners’ World for inviting me to Gardeners’ World Live, it was just as good as I expected! I’ll be sharing more from my visit to the show over the coming weeks and months - I hope you enjoy them as much as I do.

PostCommentLove

Four black and white pictures

I’d been at a loss for some artwork for our bedroom wall. We had one picture on the wall in our previous house, and that wasn’t right for here so I needed to come up with something else. And I really wasn’t sure.

In the end I took inspiration from an existing picture we had - remember back in March 2020 I shared a photo of mine that finally got on the wall with some help from Photowall?

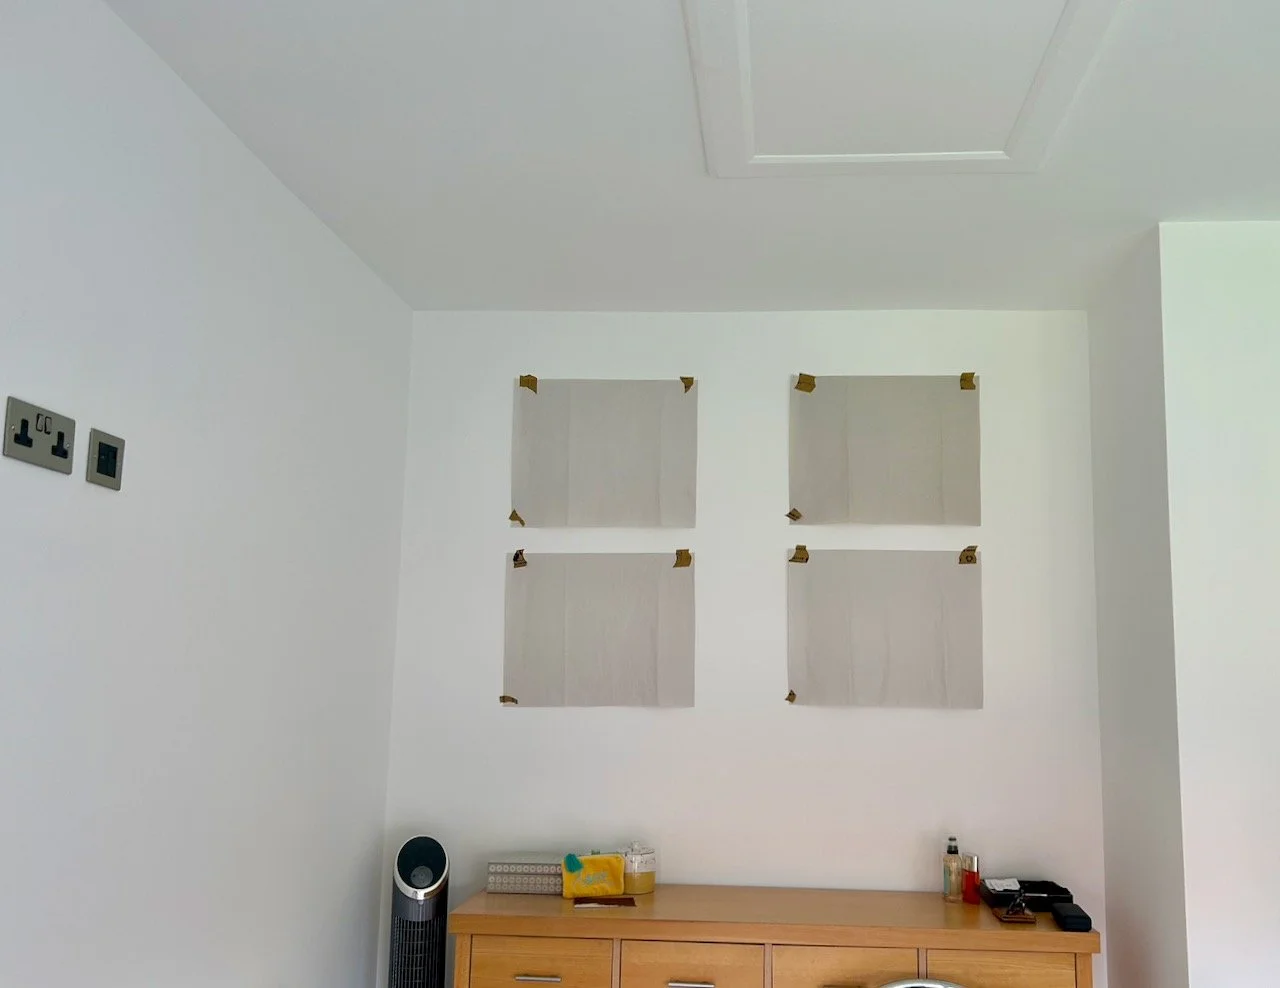
But I wasn’t sure if where I had in mind would work, so I mocked it up.

4 sheets of paper taped to the wall to test if the layout worked

And so for the next few weeks or so, I tweaked their positions - up a bit, down a bit, together a bit more and so on. Finally I was happy and then my attention turned to choosing the images.

We had the rocks from our holiday in Cornwall back in 2014, and I knew I had a picture of storks nesting from a holiday in Portugal. But what else? The good news is I found some.

And I used Photowall again, this time paying for my additional three images to be framed.

The service was still good, and it was easy to upload my images and create my artwork, though I hadn’t realised that they’d changed their frames so the three new frames are a slightly different finish to the one I already had. I was disappointed that the frames and pictures came separately though, and I had to assemble them myself once they arrived - not a huge thing, but a definite difference to my previous experience.

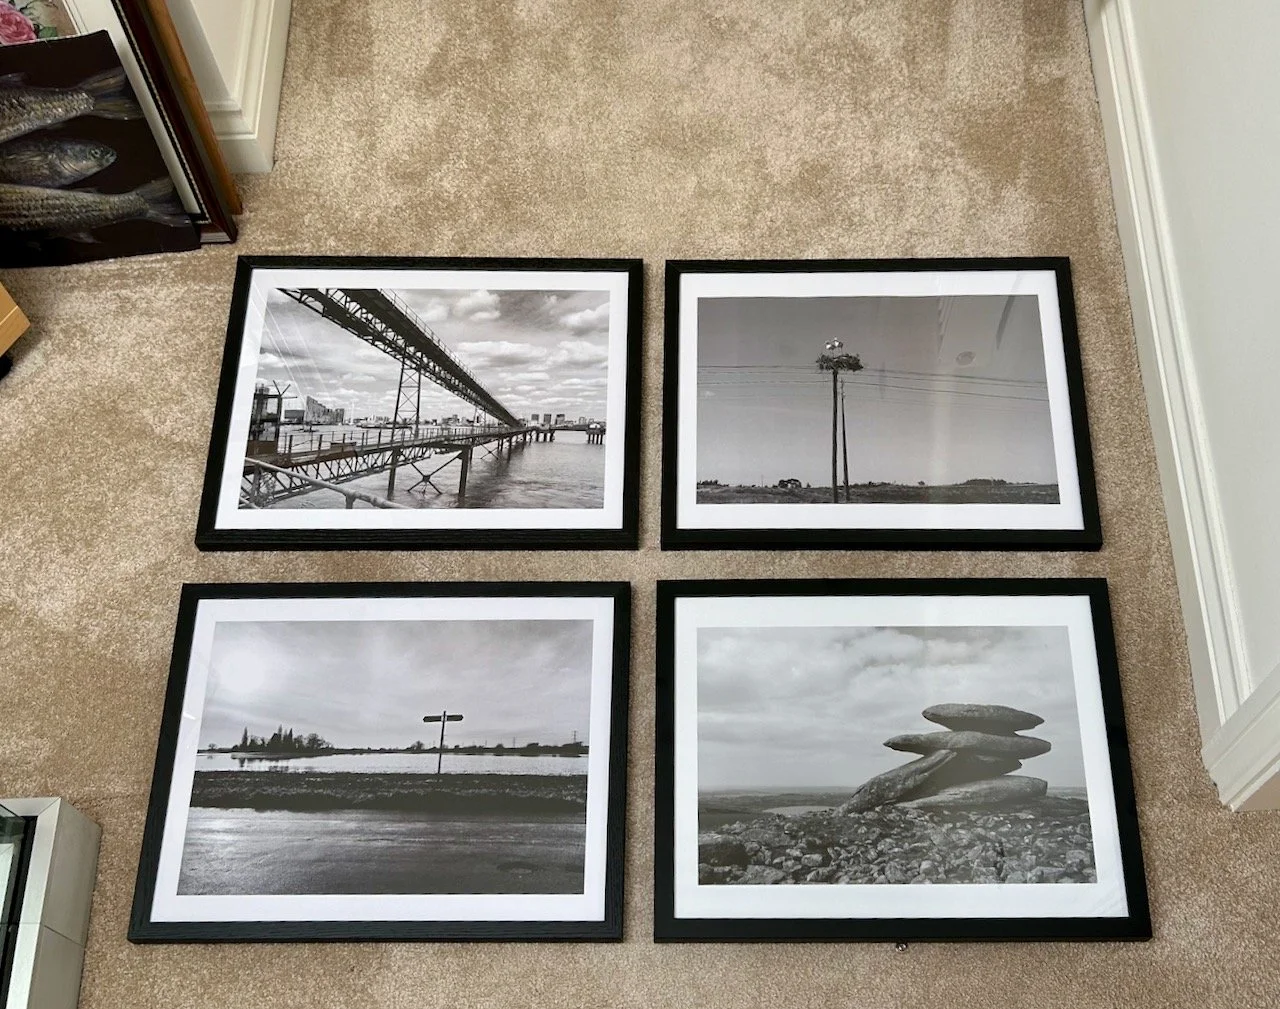
That said, I’m still very happy with the end result. Of course when they arrived I spent more than intended on their layout - thankfully for MOH on the carpet rather than the wall (as there was also a difference in the positioning of the sawtooth picture hanger).

I decided on this layout.

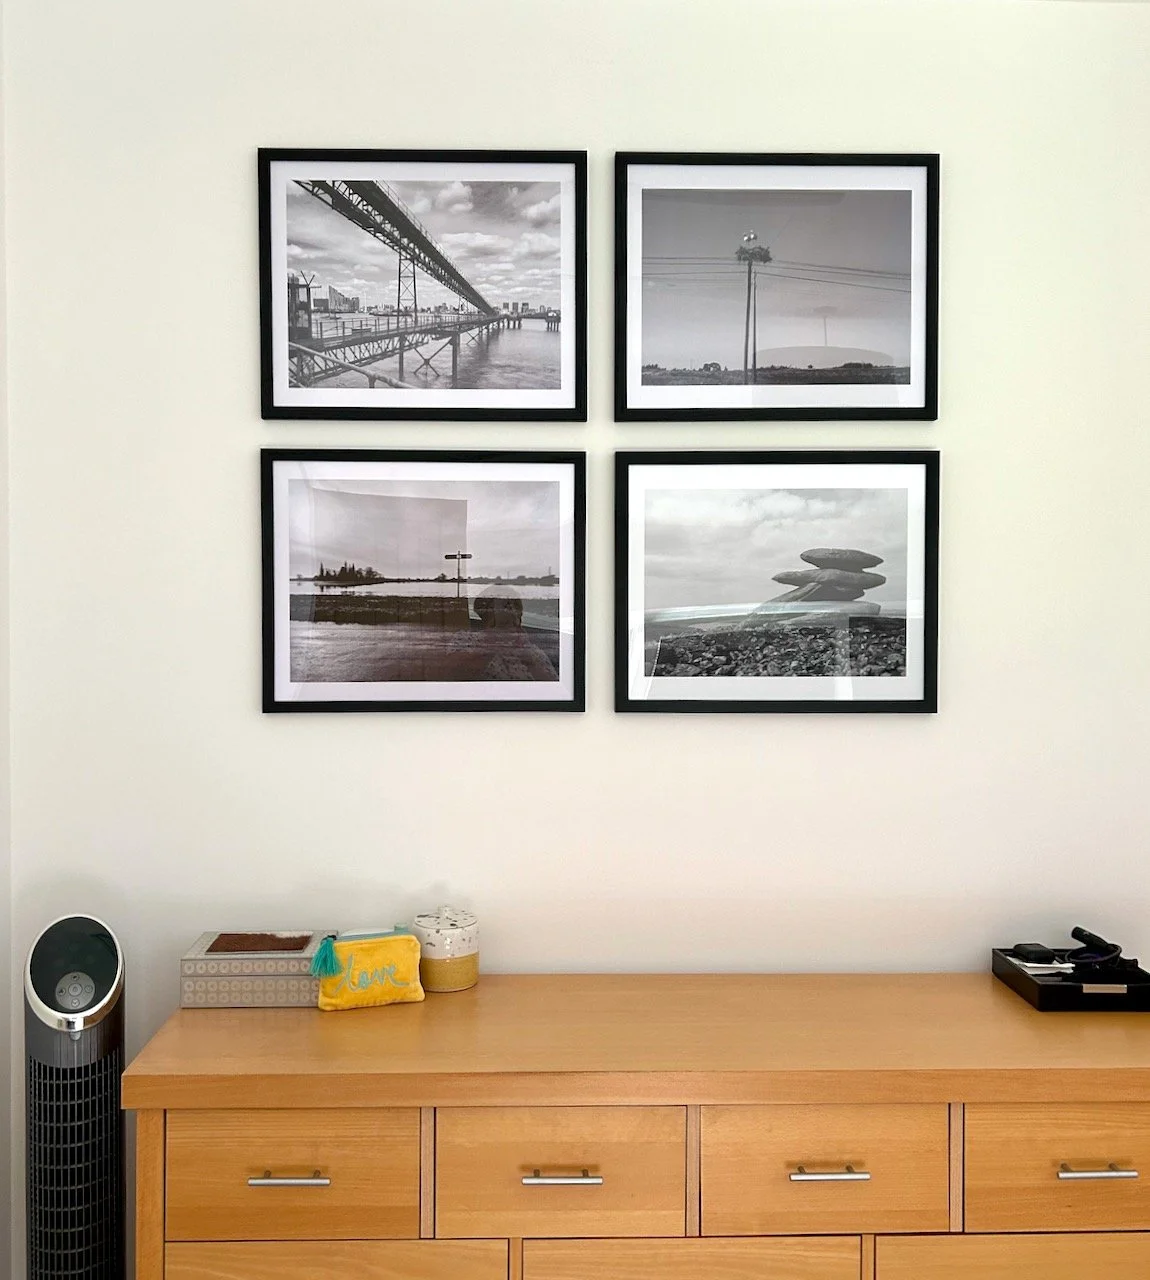
And don’t they look great on the wall?

The four black and white pictures hung on the wall above a light wood chest of drawers

MOH did a great job, under extreme pressure to get the gaps right!!
And as you’re wondering what the images are, they’re (clockwise from top left):

  • A view towards Greenwich from the Thames Path

  • Storks nesting on telegraph poles in the Alentejo in Portugal

  • A flooded field in Elston, one of the villages close to our new home

  • A rock formation from our trip to Cornwall back in 2014.

And all are photos we’ve taken ourselves, and there’s nothing better to have on our walls - our memories captured by us - at some point I’ll do a post about each of the four photos we chose and why.

PostCommentLove