Into the Forest

I left you on a bit of a cliffhanger in my last post, longer than I anticipated too.

In short, a night’s rest didn’t solve the issues I was having with my ankle; knowing that we were heading into the forest and out of civilisation, such as towns and shops, for a couple of days that was a concern.

Thankfully Google told me there was a pharmacy opposite our hotel which opened 30 minutes before our scheduled departure time. So we opted for an earlier than intended breakfast, as we already had supplies for lunch it was down to MOH to deal with checking out of the hotel while I went in search of ankle support, quite literally.

The pharmacy over the road opened on time (phew) and with a bit of gesticulating and some broken Italian and English I was measured for an ankle support, and I left the shop wearing it and with a topped-up supply of painkillers and with more confidence that the day’s 14.5km walk might be ok.

The walk started with a 17km taxi transfer, and we were literally dropped off at a trailhead into the Foresta Umbra - the taxi driver helpfully pointed the way, no doubt noting that this was yet another mad English couple!

So off we headed.

The path and forest ahead of us as we got out of the taxi, slightly unsure!

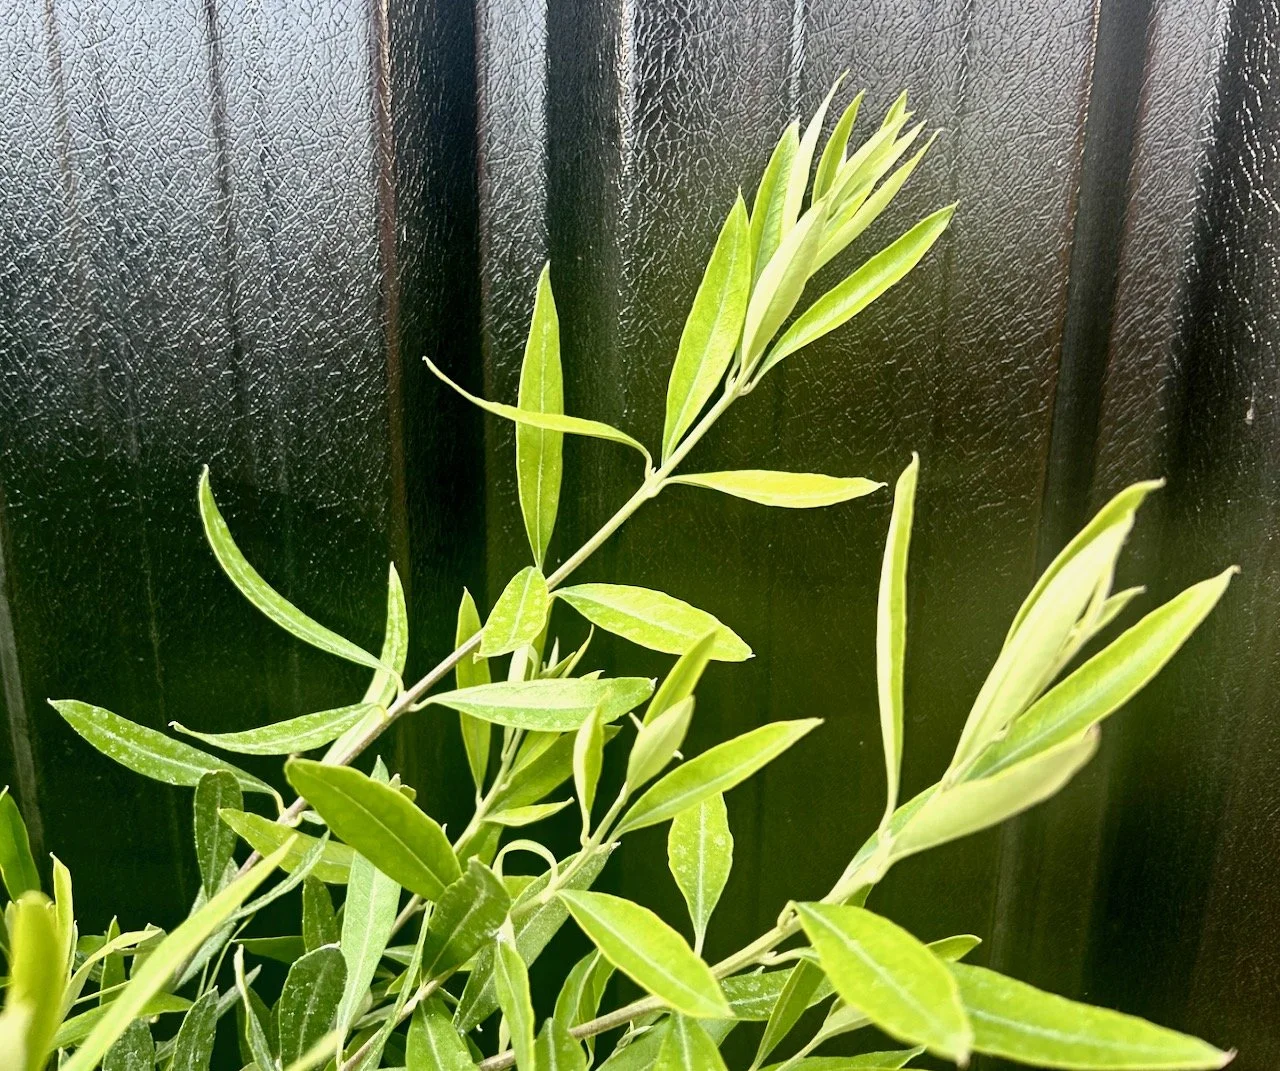
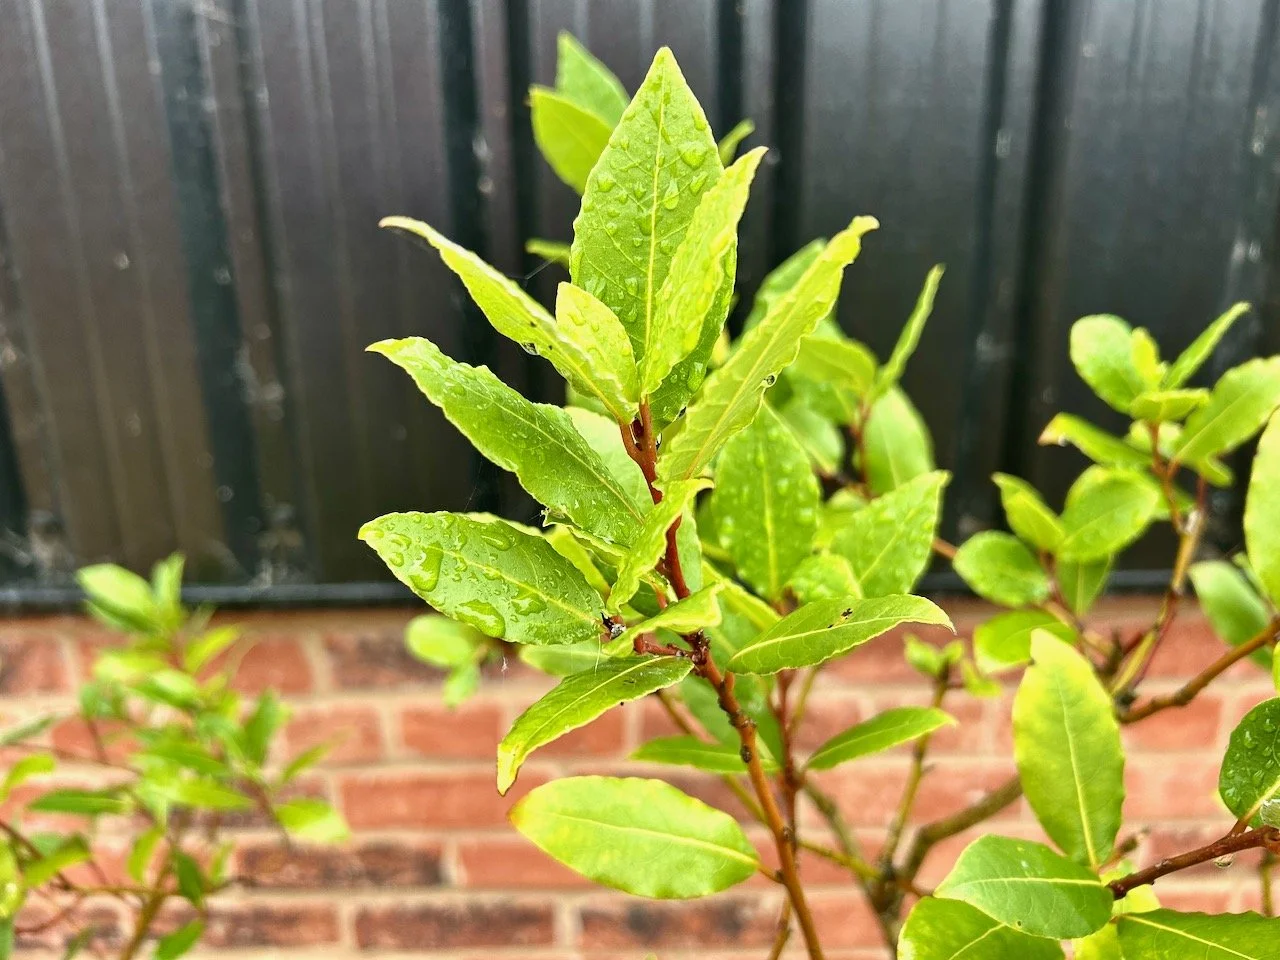
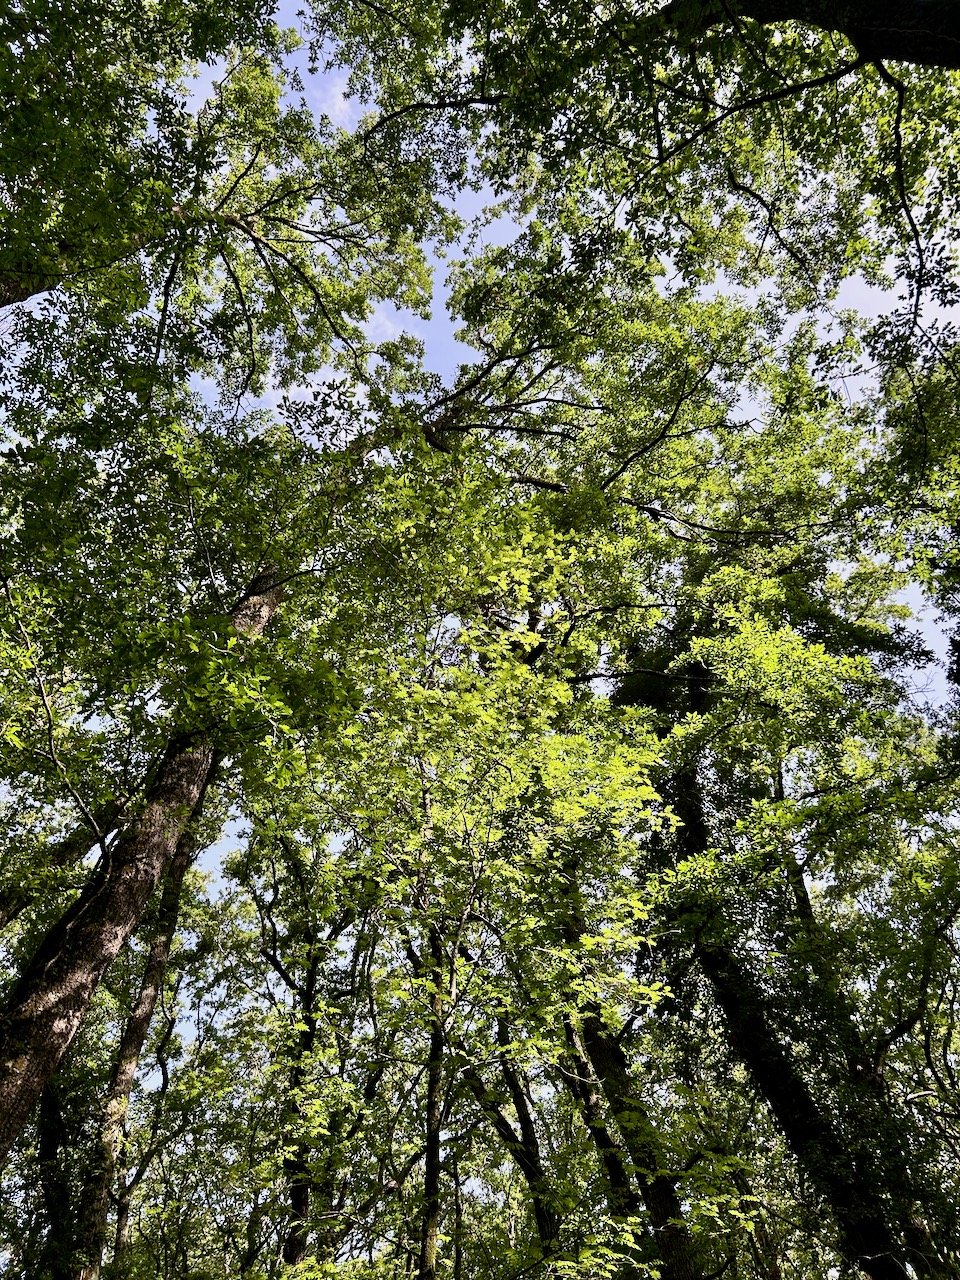
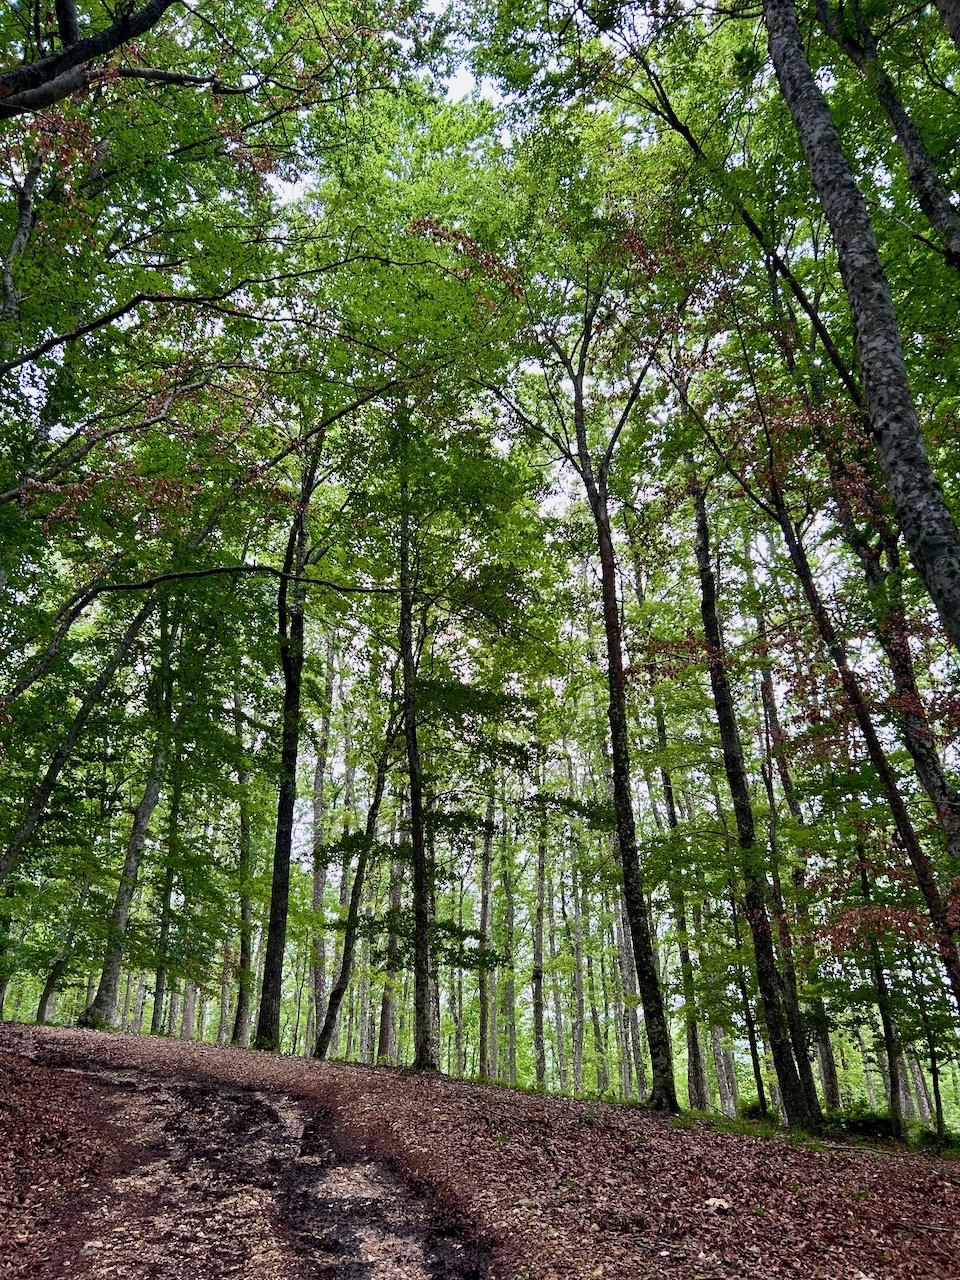
It was immediately different to our coastal walk yesterday, not only in scenery but also in temperature and somehow more tranquil. The Foresta Umbra is the last remnants of Puglia’s ancient forests, with dense and lush vegetation. It contains monumental specimens of beech, oak and chestnut trees, with many secretive and shady paths which would take us (we hoped) to our hotel for the evening, which was located in the heart of the forest.

Looking up to the tree canopy
A yellow waymarker band painted onto a tree trunk

Our walking notes warned that the route is ‘very remote’ amid dense vegetation, and that the paths were not clearly shown on the map provided. Great!! It suggested we follow the written notes carefully, especially in bad weather or fog, and as the primary reference. Then to top it off it added that there was limited mobile phone coverage in the forest. If I were already unsure, none of that information helped.

potentially a stinking iris plant with the red berries on show
A freshly grown conifer branch

The scenery gave us plenty to look at, and while we hardly saw anyone, a few cyclists did go past us and occasionally we’d catch glimpses of others out walking, but none seemingly on the same route as us.

funghi growing up/out of a tree's trunk
A different kind of funghi growing on this felled trunk
A closer look at the paler funghi growing from the tree trunk
Looking up the tree's trunk and to the underside of the funghi

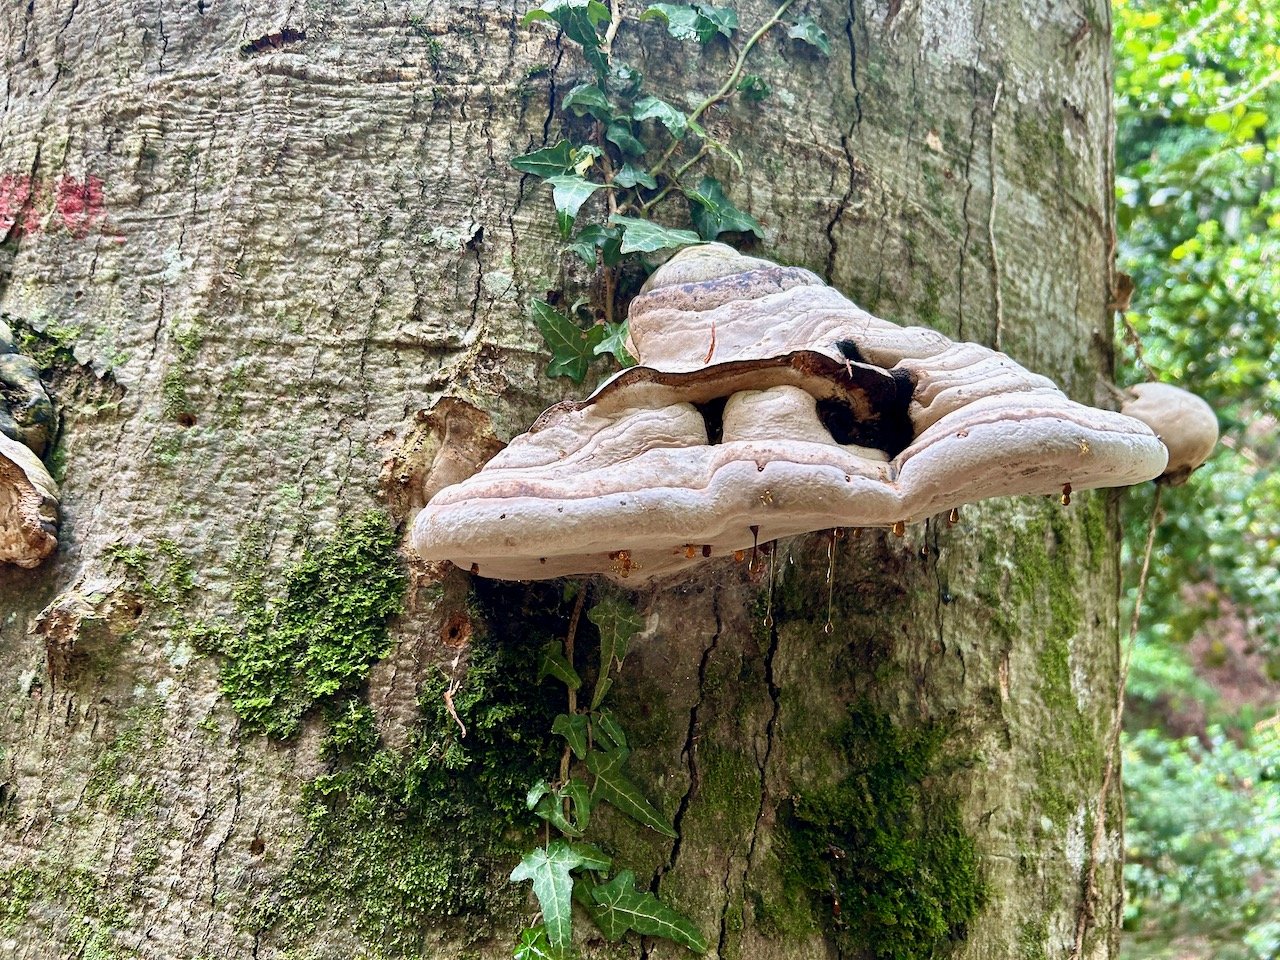
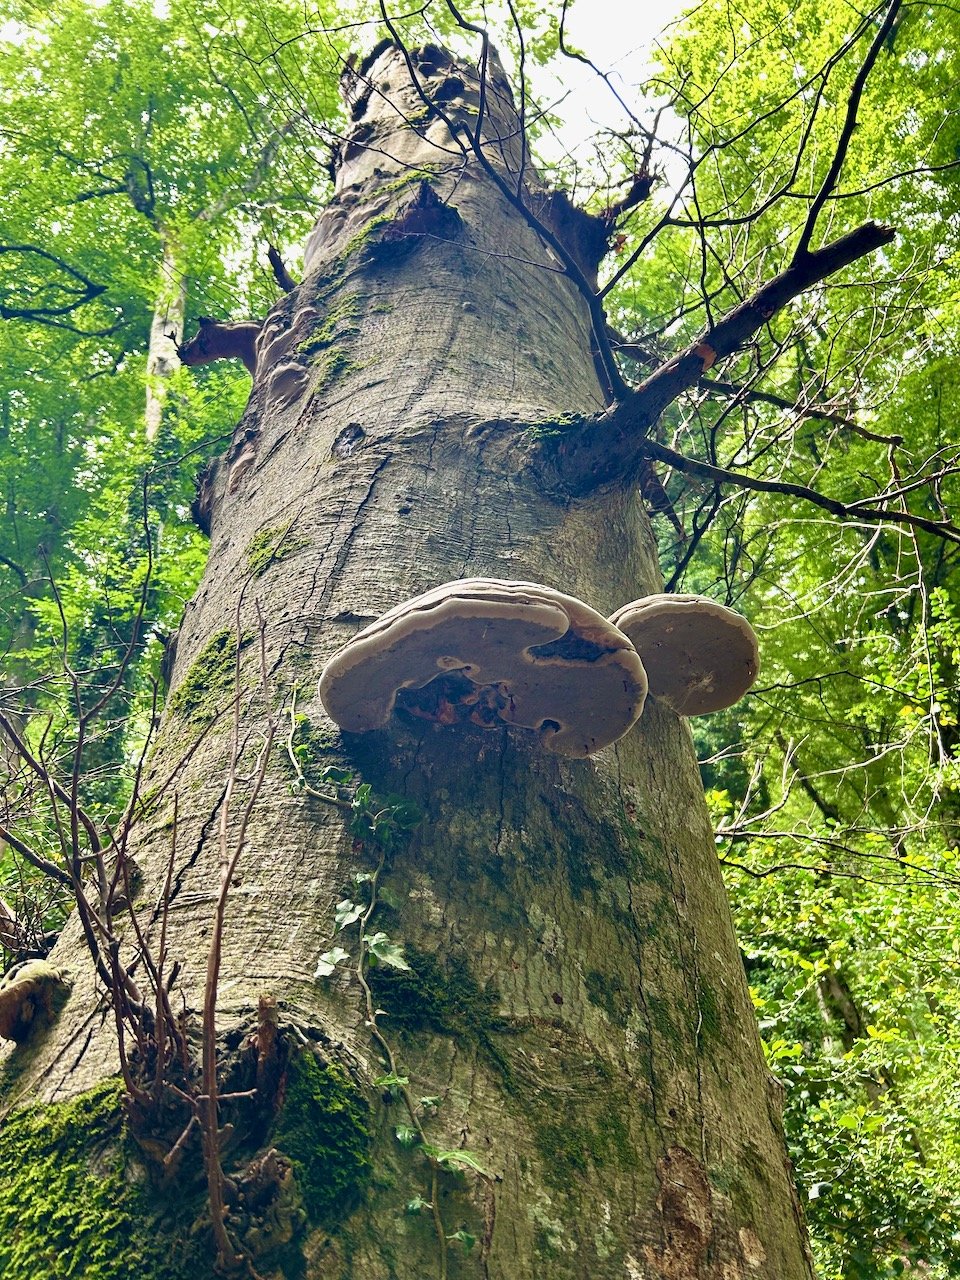
The funghi in one section of the forest was amazing, and these are just a selection of the photos I took. We knew that our hotel for the next two nights offered a ‘forest-to-fork’ dining experience, and we were hoping that mushrooms weren’t on the menu.

plentiful trees in the forest - tall and thin

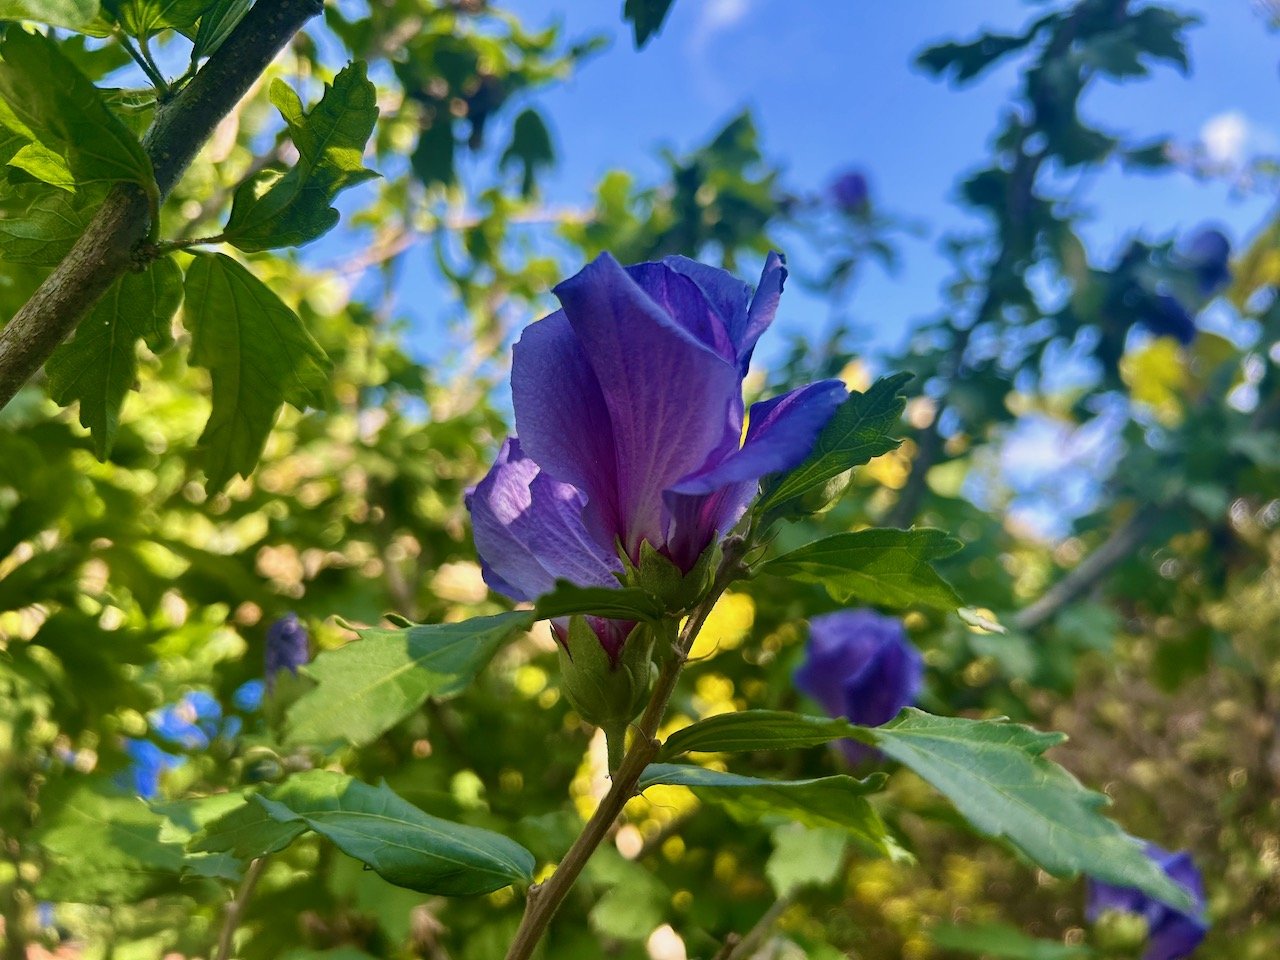
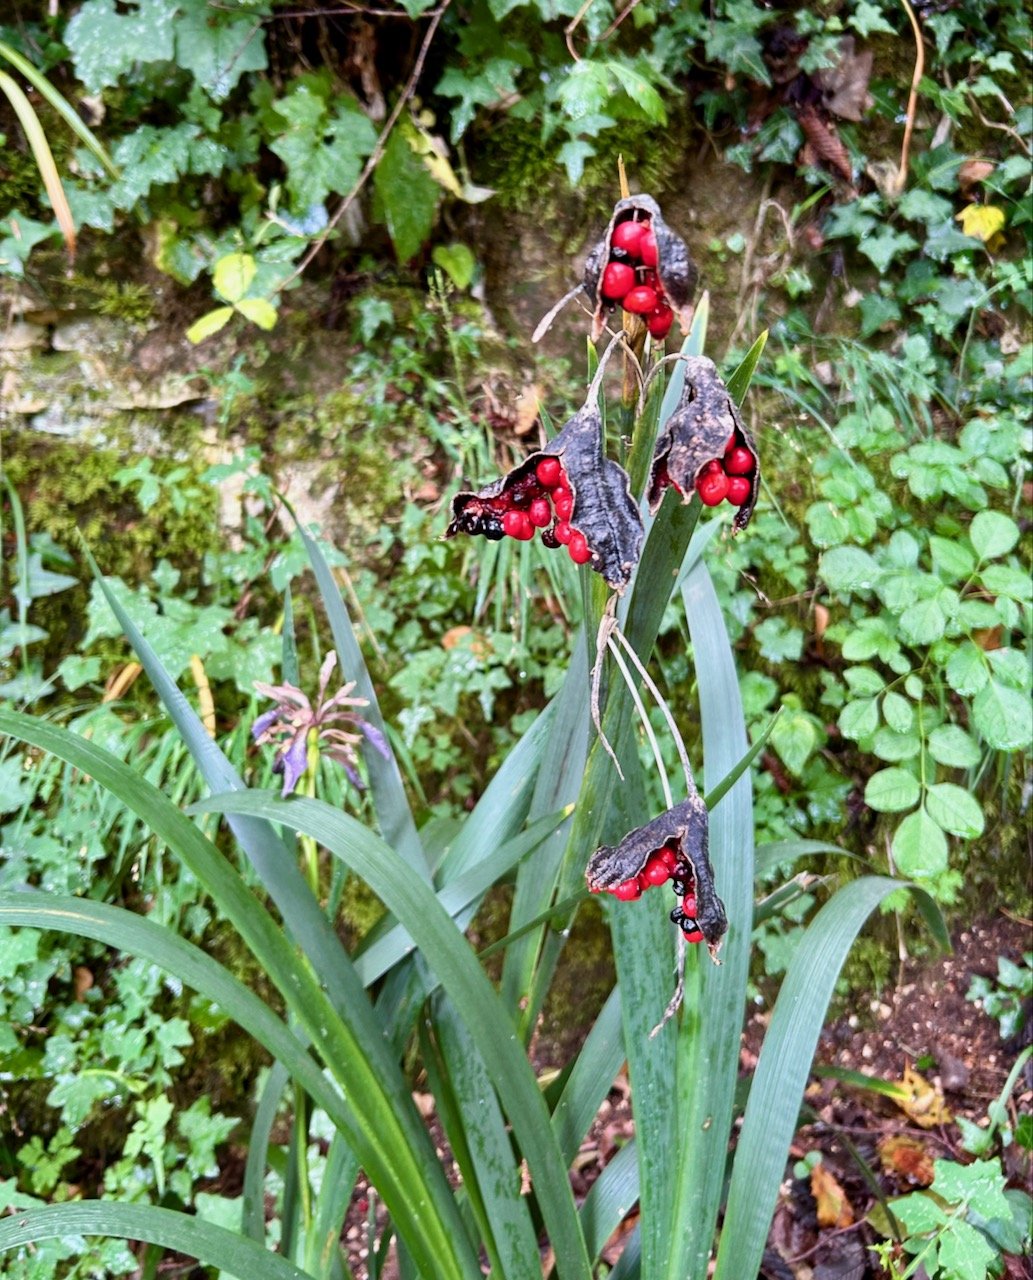
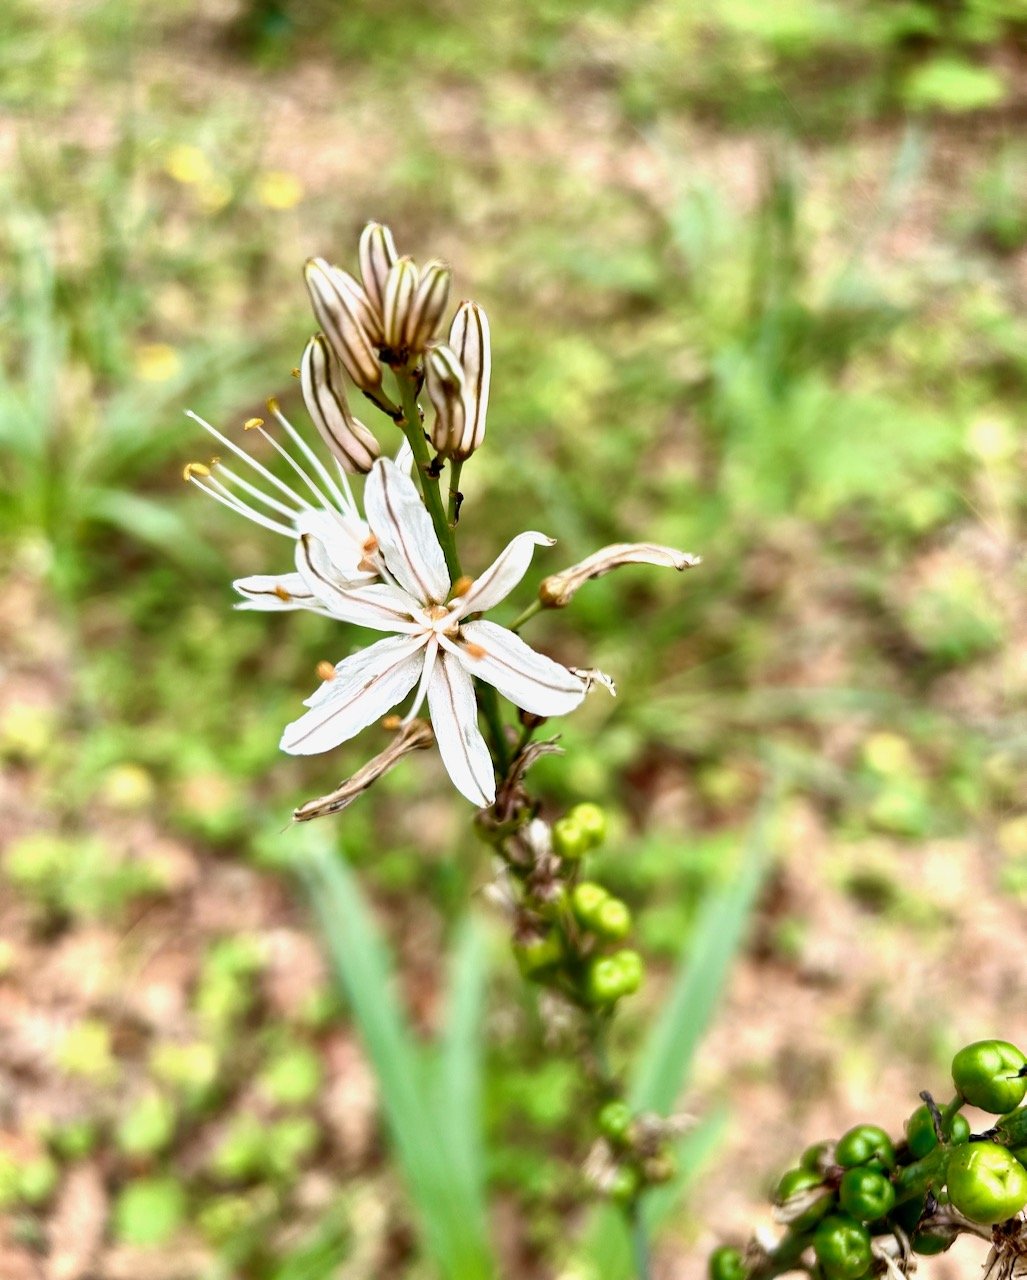
We weren’t just looking up at the tree canopy, or for the various way marking signs. Our notes told us to look out for the many wonderous flowers such as violets, cyclamen, anemones, snowdrops and wild orchids. We potentially saw some orchids but the photos are poor, but we were surprised to find snowdrops out in May.

a snowdrop on the forest floor - in May
A small clump of pink flowering clover growing amongst the fallen leaves
A white flowering most likely Iris

We got the message to go right…

red and white waymarking arrows painted onto a tree trunk - thankfully all pointing the same way
A barrier ahead, with paths either side

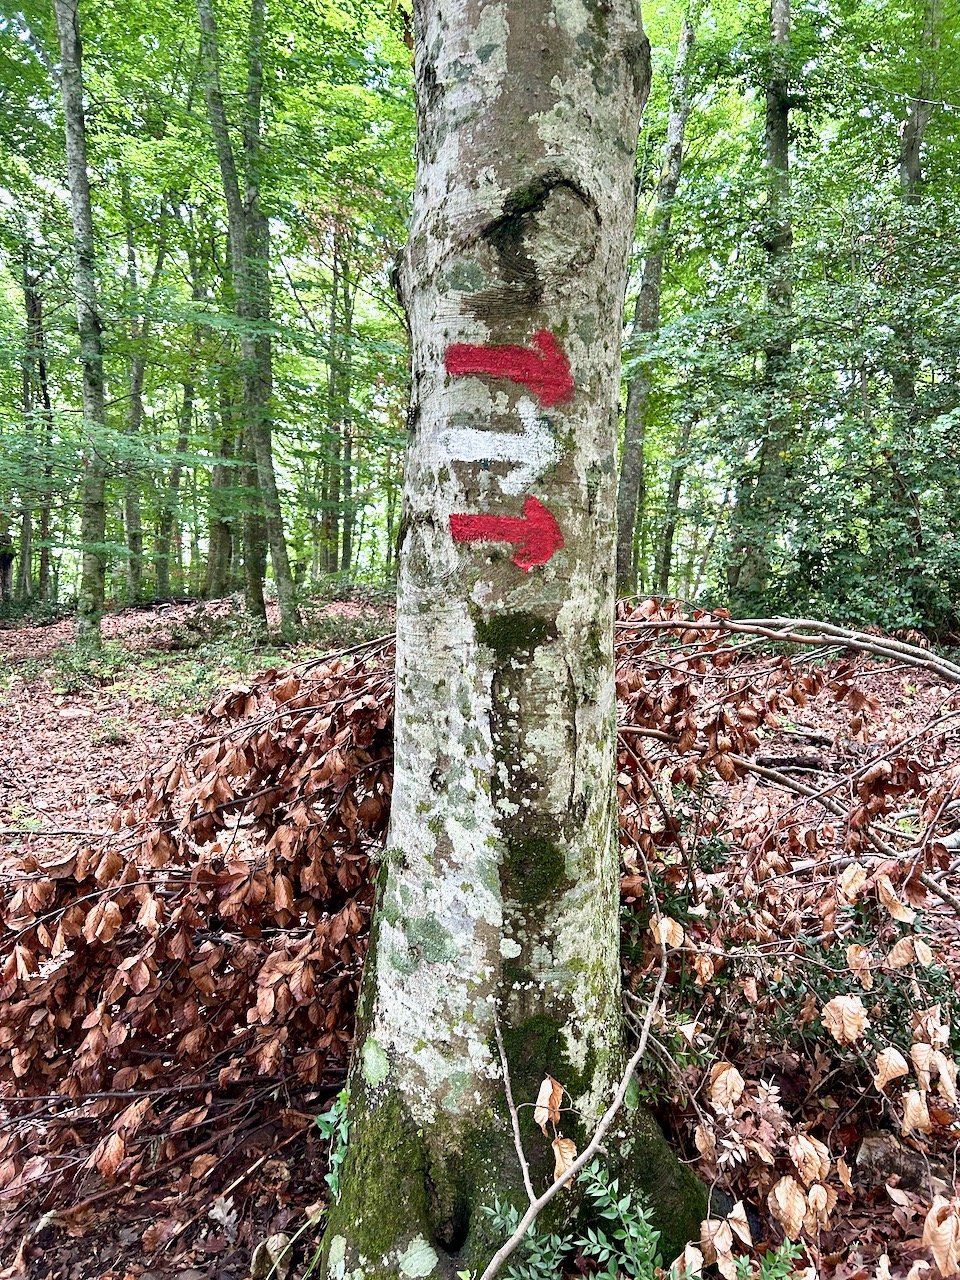
We had a wrong turn or two along the way, which meant some backtracking but we found our way onto the gravel track and then the road in the heart of the forest, known as Baracconi. Then we knew we were close to our hotel.

My ankle held out, the ankle support and painkillers did their job - and actually walking on the forest floor surface turned out to be much easier than the tarmac road, but even so I couldn’t wait to rest it and enjoy a long cool drink from the hotel bar, before contemplating tomorrow’s ‘leisurely 14.4km circular route’.

See all of my posts from our self-guided walking holiday in the Gargano Peninsular. We started the walk on 18 May 2024, returning to the UK eight days later.

Post Comment Love 27 - 29 June

Hello there, and welcome to this week’s #PoCoLo - a relaxed, friendly linky which I co-host with Suzanne, where you can link any blog post published in the last week. We know you’ll find some great posts to read, and maybe some new-to-you blogs too, so do pop over and visit some of the posts linked, comment and share some of that love.

Please don’t link up posts which are older as they will be removed, and if you see older posts are linked then please don’t feel that it’s necessary to comment on those. If you were here last week it was great to have you along, if you’re new here we’re pleased you’ve joined us.

The warm weather continued as forecast - and boy it’s been hot. Apart from keeping cool, and sleeping in the heat my challenge has been to keep the new plants I’ve bought watered. That includes a new olive tree that I bought to go in the large pot that we bought at Grand Designs, that’s my photo this week - I love how its leaves look against the black of the garage, dramatic isn’t it?

Another heatwave is forecast for this weekend, and while the nice weather is nice the extreme temperatures definitely bring their challenges.

Have a great week.

Olive leaves against the black wall of the garage

You are invited to the Inlinkz link party!

Click here to enter

The Friendly Bee

I’ve updated the final section of this post now that the quilt is fully complete. I’d hoped to finish this shortly after our holiday, but what with life, the heatwave it hasn’t happened until now. Though the heatwave has gone, it’s still warm in my sewing room - and plenty warm enough to have a quilt on my knee sewing the binding. But It’s finished, and I think it looks good.

I’ve made another quilt as part of my quilting ‘stretch’ project this time using the April block from Sherri at A Quilting Life’s mystery block a month. As I said then I don’t know if I’ll manage to make a quilt a month, but I won’t really know unless I try…

When I saw this one was another star I questioned my commitment to my challenge, and also my sewing ability. But, it wasn’t as bad as I thought it would be, so phew.

My sixth charity quilt

As I said above, I wasn’t really looking forward to tackling another star block - the February vintage star block had many small pieces, which made me question why I cut up pieces of fabric to sew them back together again! Which is a fair point, when you look at it like that, but in for a penny, in for a pound and all that.

My original intention was to pull ‘yellow’ fabrics from my stash, as I thought this might lift my mood - but as you can see they ended up more beige than I expected.

Well not entirely beige, there’s some gold and rust colours in there too. The fabrics for this quilt included some more of the old orange curtains and of the duvet cover I used as backing last month, some checked material which I used back in January for the cute little houses, two vintage pillowcases and some new-to-me fat quarters bought for a much reduced price at my sewing group’s recent stash sale, plus some ‘wood effect’ material which dare I say it, I wasn’t in love with and some much smaller scraps which I used as the background on two of the blocks.

But actually it wasn’t anywhere near as daunting as I thought it might be once I started. Now isn’t there a life lesson in there?!

The blocks surprised me and came together relatively quickly.

I find it easier to lay all the elements of the blocks out in their approximate location - this means I don’t either over, or under cut the pieces I need, and it gives me a look at how the blocks might work.

I think the colours work well together - I needed to add the pink flowered background (used on the two blocks on the right) as I didn’t have enough of the fabric used for the blocks on the left, but the colours tone.

And with a bit more sewing I had four friendship star blocks.

Introducing the bees

You’re probably wondering why I’ve named this quilt the Friendly Bee, well the border fabrics should help explain that.

Laying out the border fabric - with two bee fabrics - to see how they work together

As you can see both of the materials bordering the Friendship star have bees, hence the Friendly Bee name.

The ‘wood effect’ fabric actually works well in this quilt, and tones nicely with the honeycomb fabric used alongside it. The two outer borders are the vintage pillowcases, and as they’re the material I had the most of they were obvious choices for the longer borders.

With the blocks attached I added the outer border, this time using two different fabrics - and I think this works, I wasn’t keen on having two of the same pattern together, so by using the pink flowered material again here I’ve avoided that.

Finishing the quilt: Update

Last month I opted to quilt the Four pink hearts and a hug quilt with diagonal lines, and it worked well. My plan is to try that again, so that’s what I’m part-way through doing for this one too. Yes, this quilt isn’t finished but it’s pretty close - I’ll update this post when it’s actually finished.

I knew that some months it would likely be harder to fit in making a quilt around everything else that life has to offer, that’s why I’ve called it my ‘stretch’ project. I’ll let you know if a few weeks how it turned out.

Update

It’s taken me longer to finish this one than I’d hoped, but it’s finished and it looks great.

Before I went away I’d got all the sewing done, which left me the job of basting, quilting and binding. With the weather a little cooler, I managed to get that done in two days, just in time to start the next one!

I opted to quilt this one in vertical lines rather than the diagonal ones I mentioned above. I actually prefer this, which is good as not only was it easier and quicker to do, I was able to mark out two lines at a time - speed quilting, if you would!

Using tape to guide my quilting stitches

From this I learnt it’s easy to reposition the tape, but it’s also easy for the tape to move about a bit, so I’ve experimented with the optimal number of pins to keep it in place. That worked, and using the tape as a guide also worked, and so it’s something I’ll do again.

The finished - quilted and bound - friendly bee quilt

It looks pretty good doesn’t it? And way better than I could have hoped for when I pulled those mostly beiges from my stash!

You can see my other quilts which I’ve made to donate to Project Linus - a charity whose mission is to provide love, a sense of security, warmth and comfort to children, who are sick, disabled, disadvantaged or distressed through the donation of new, homemade, washable quilts and blankets, including those that are part of this ‘stretch’ project in earlier posts. I’m aiming to publish an update on my progress in the last week of each month for the remainder of 2025.