


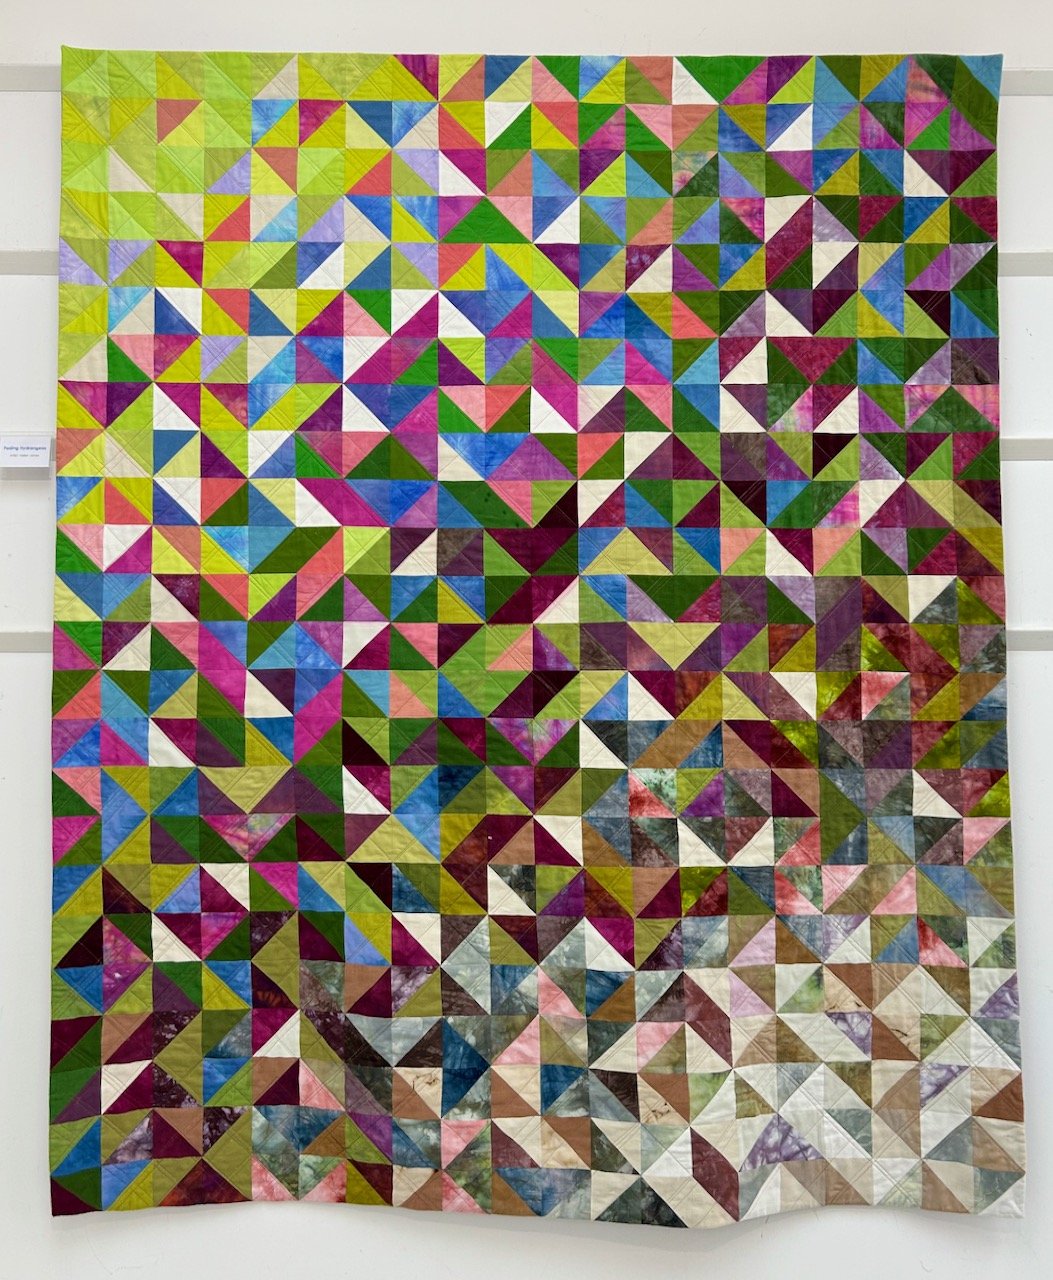


I’ve made another quilt as part of my quilting ‘stretch’ project using the block from Sherri at A Quilting Life’s mystery block a month. As I said then I don’t know if I’ll manage to make a quilt a month, but I won’t really know unless I try…
I’m beginning to think this stretch project was a daft idea.
Though I know it’s a self imposed challenge, I’m not ready to give up or make compromises just yet. To catch up, i.e. to make the July and August blocks that Sherri has released I just need a few days to sew, and that’s no bad thing. I’m yet to convince MOH, but I’m still working on it!
But I don’t like to be beaten, so I’m continuing.
My eighth charity quilt
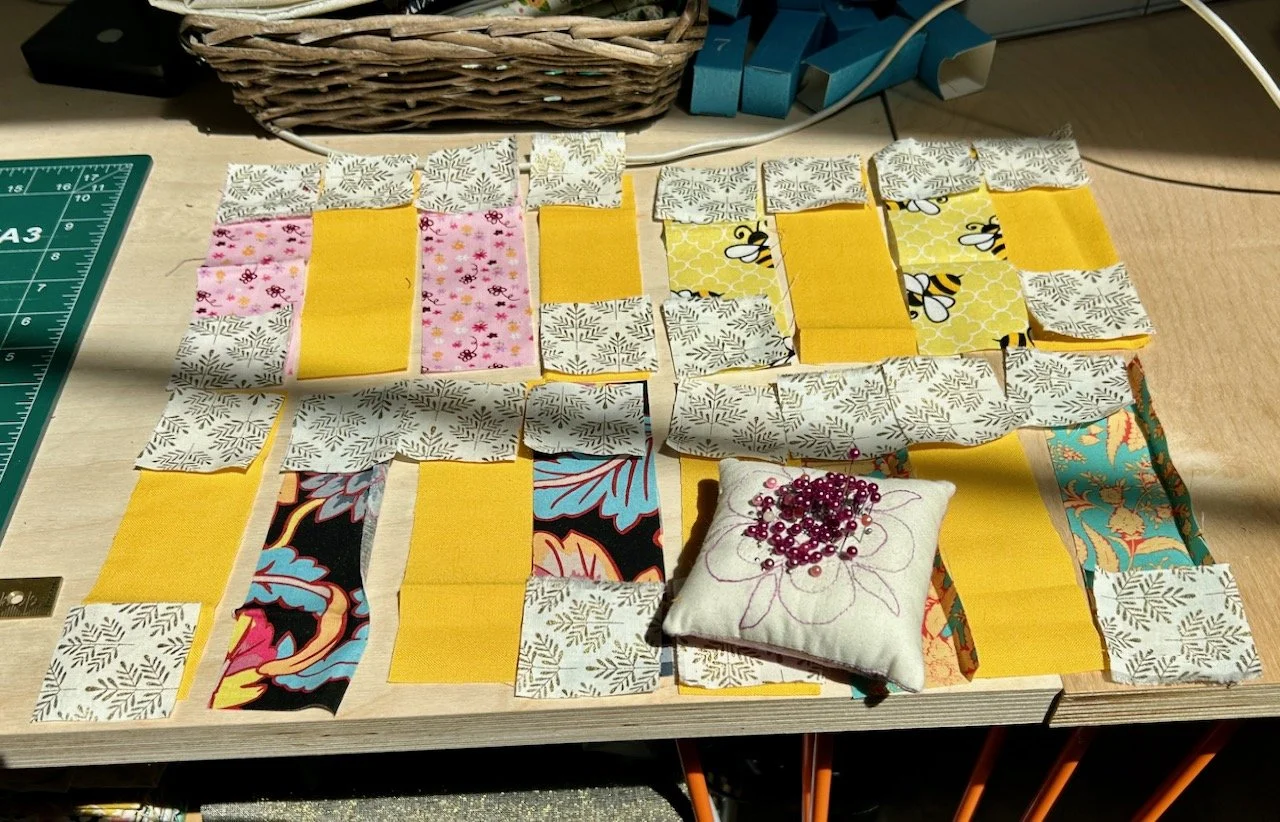
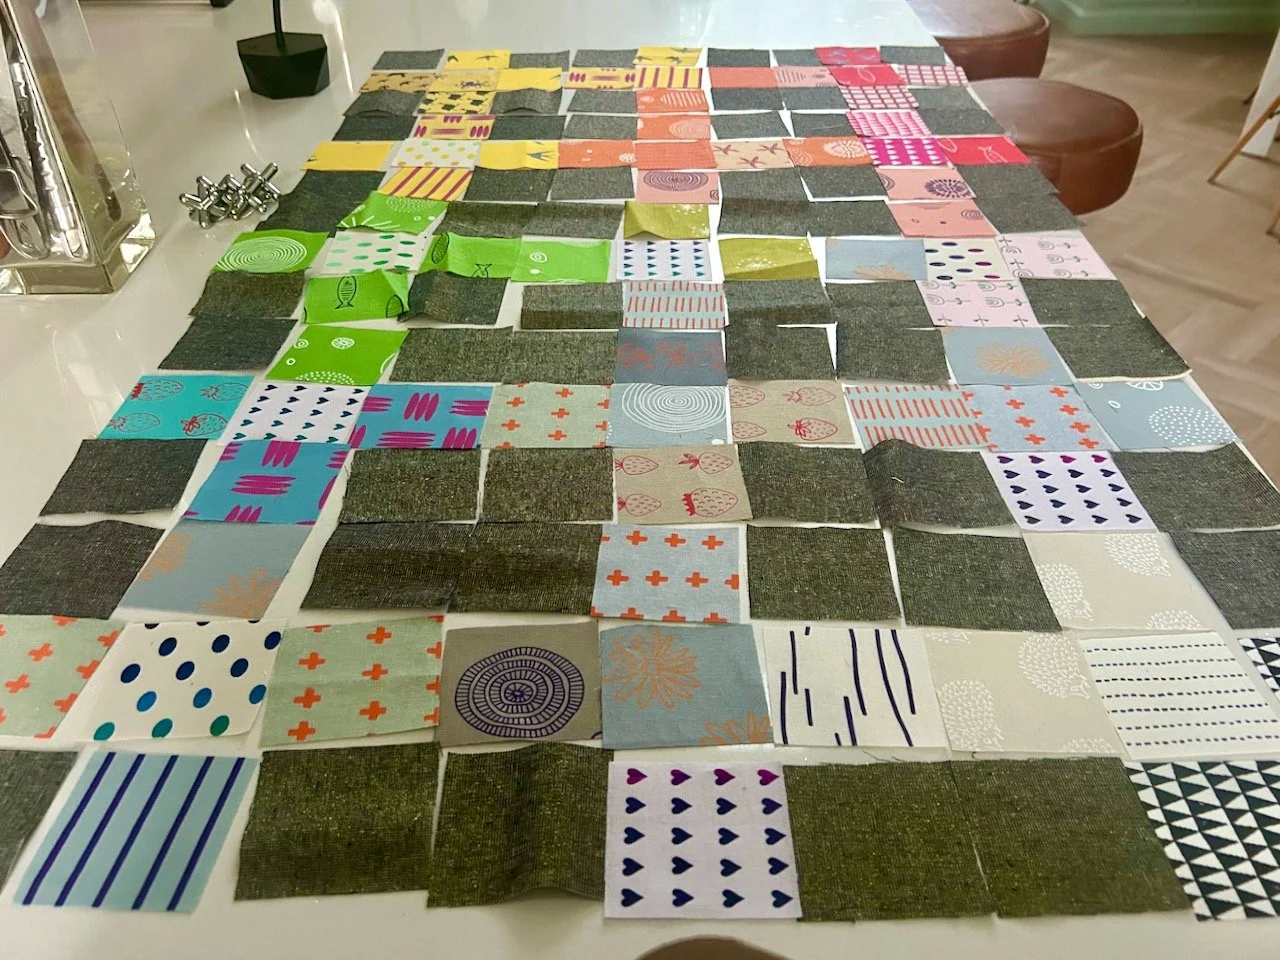
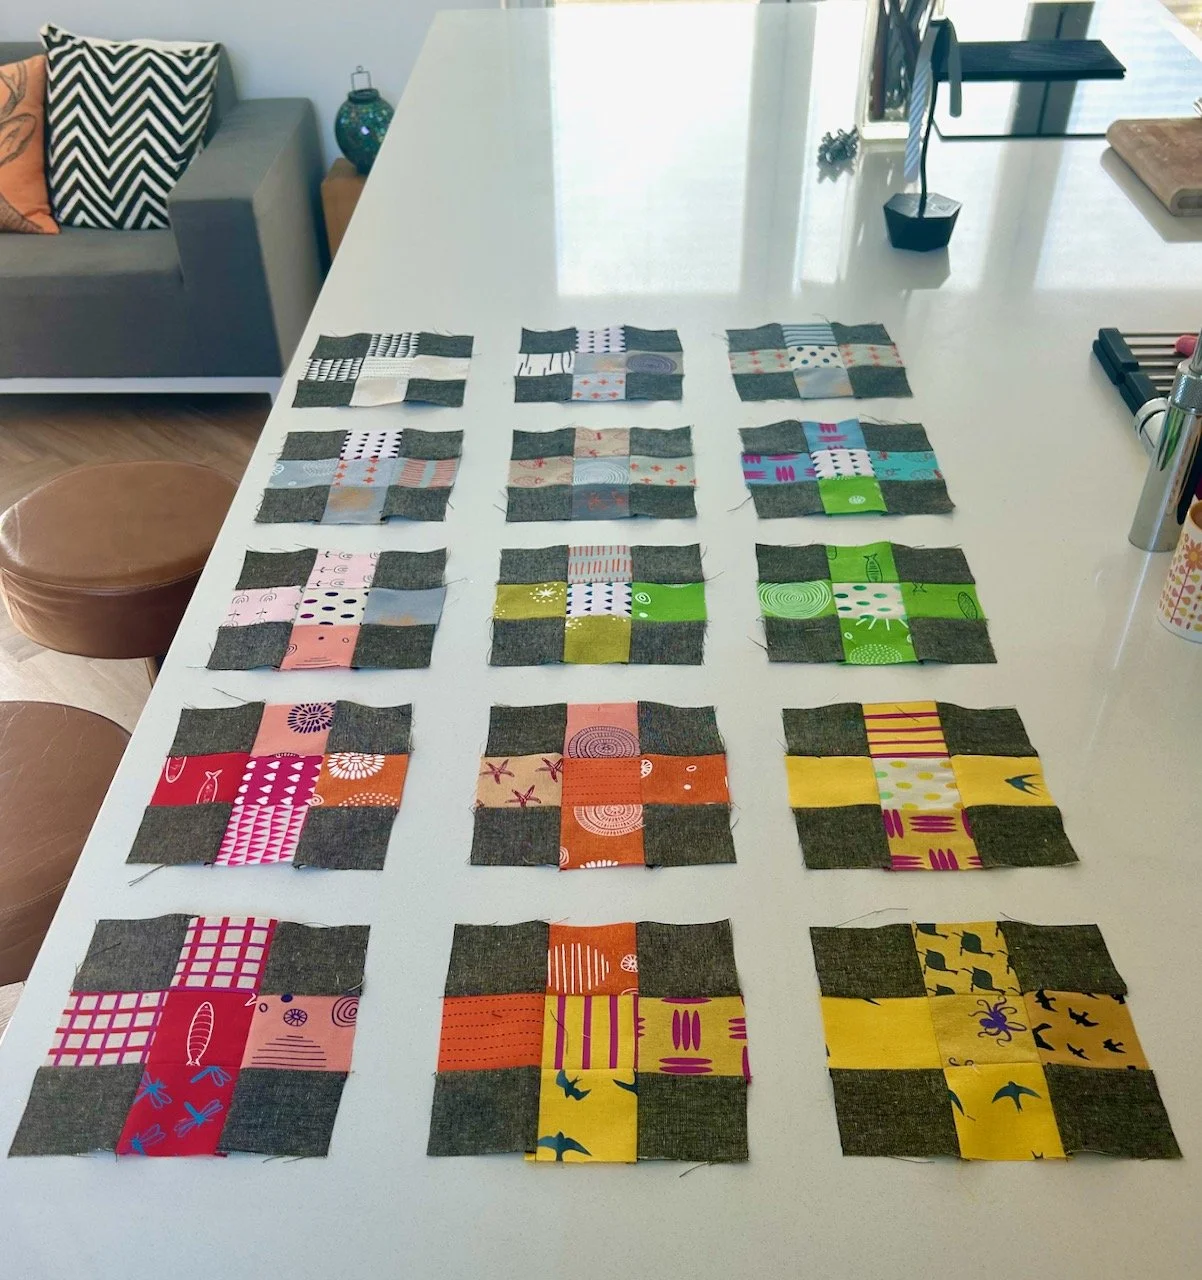
This month I definitely wanted some calmer colours, but had no set ideas when I looked in my fabric stash. These were the colours that called to me this month.
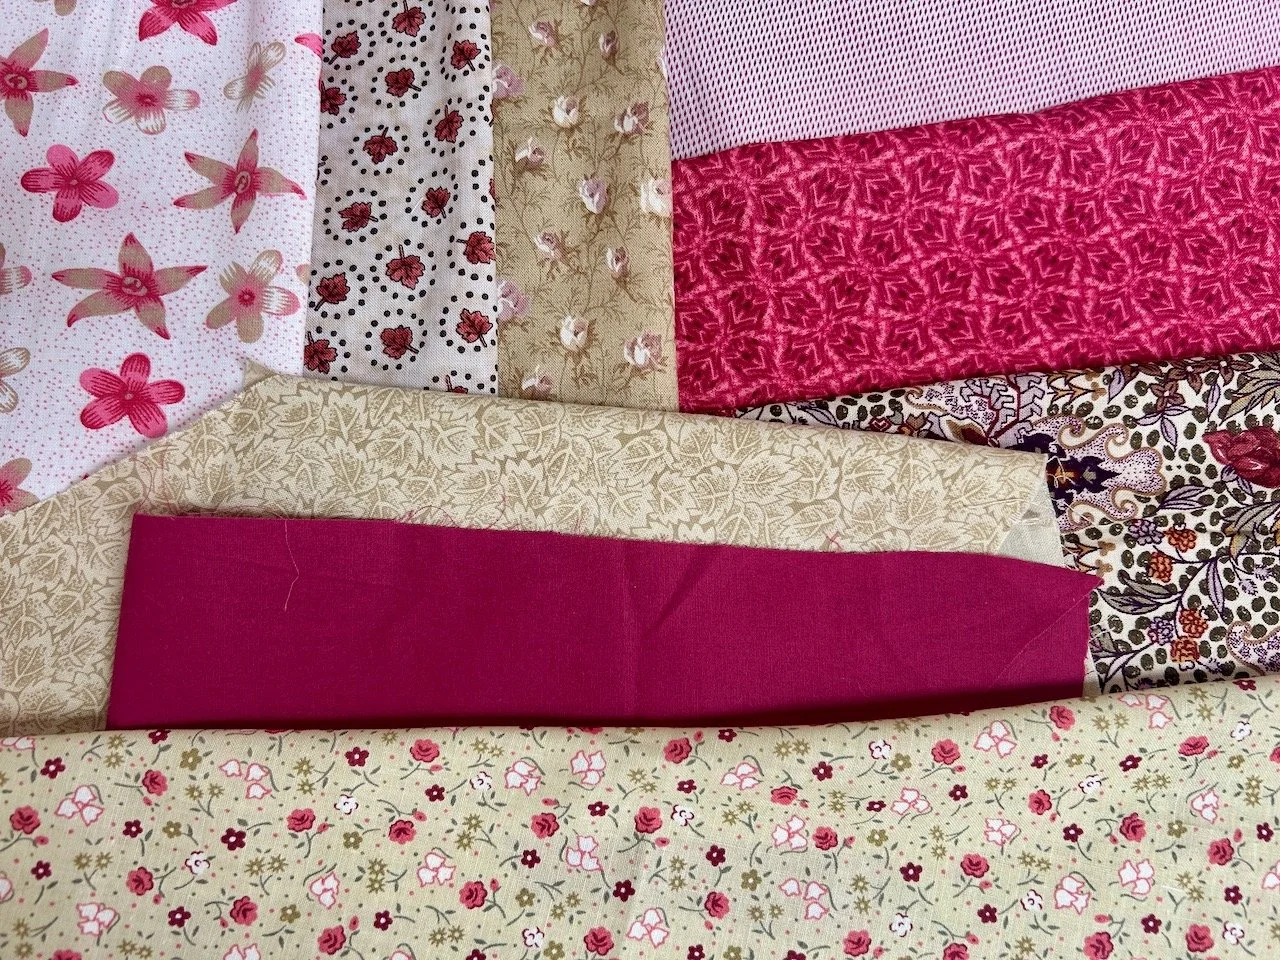
Quite a pleasing caramelly raspberry infusion. The fabrics are mostly fat quarters which I’ve acquired from various de-stashing events, along with two old shirts - one mine, the plain raspberry colour, and the other MOH’s the pink/white small patterned material in the top right of the photo above.
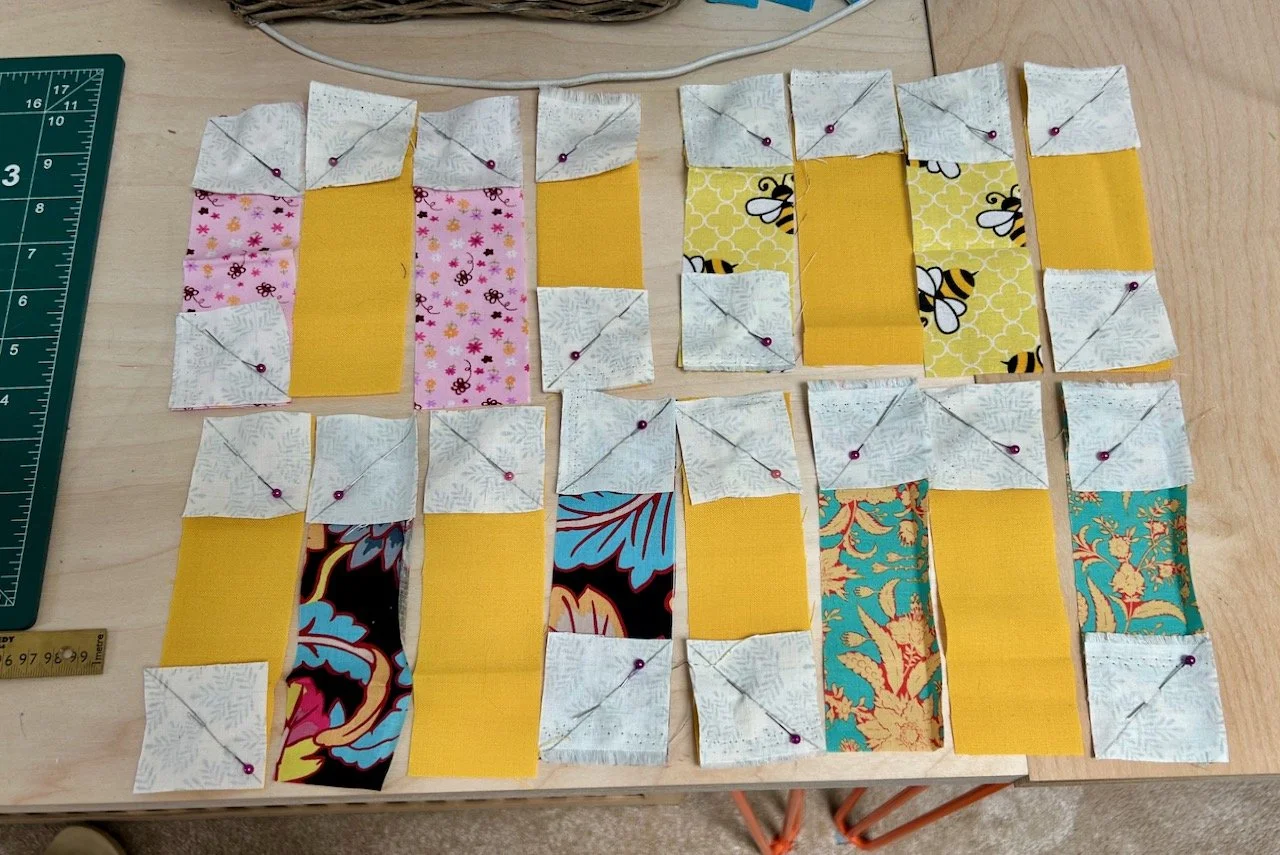
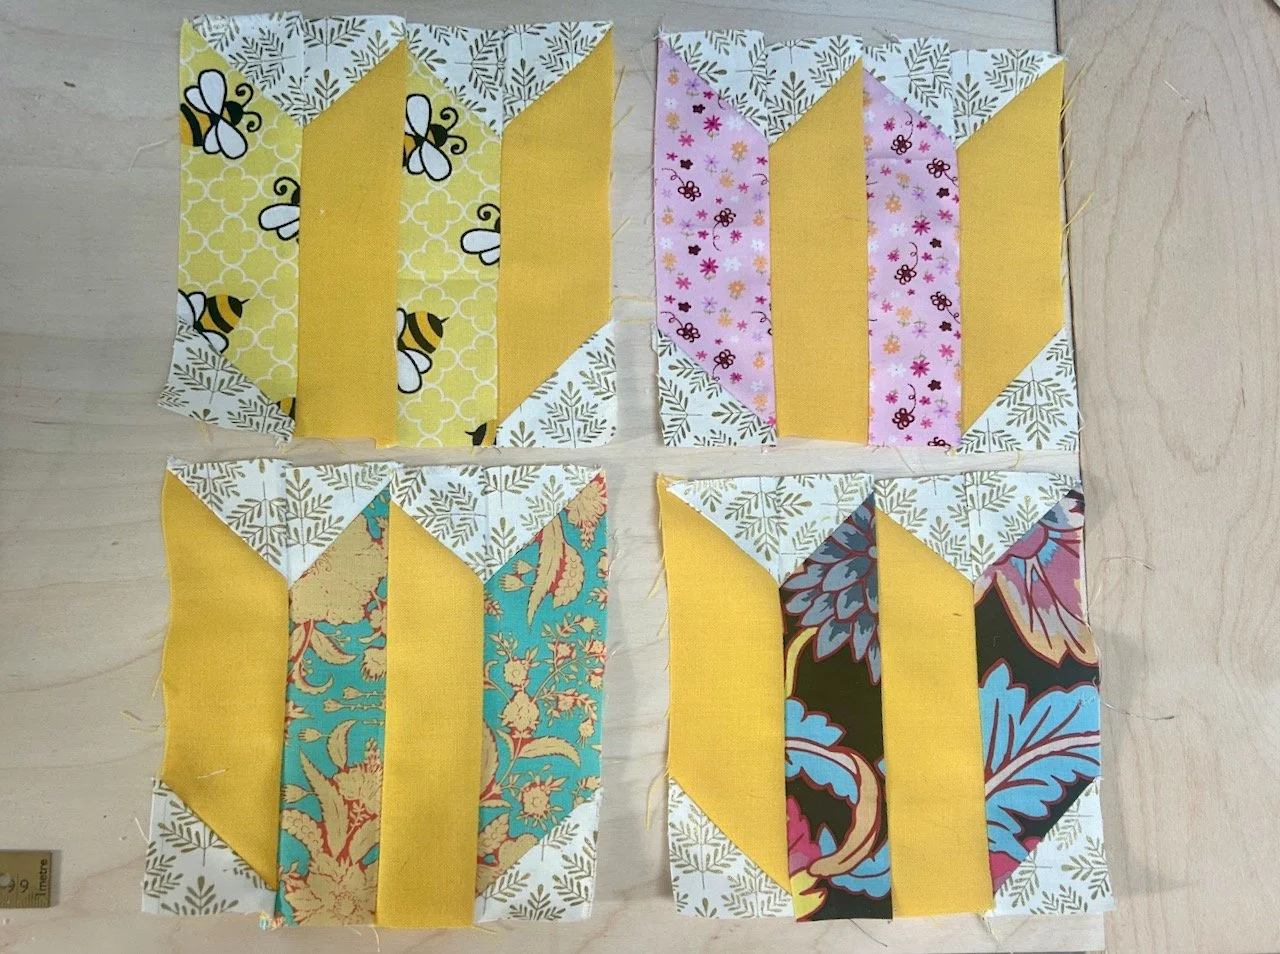
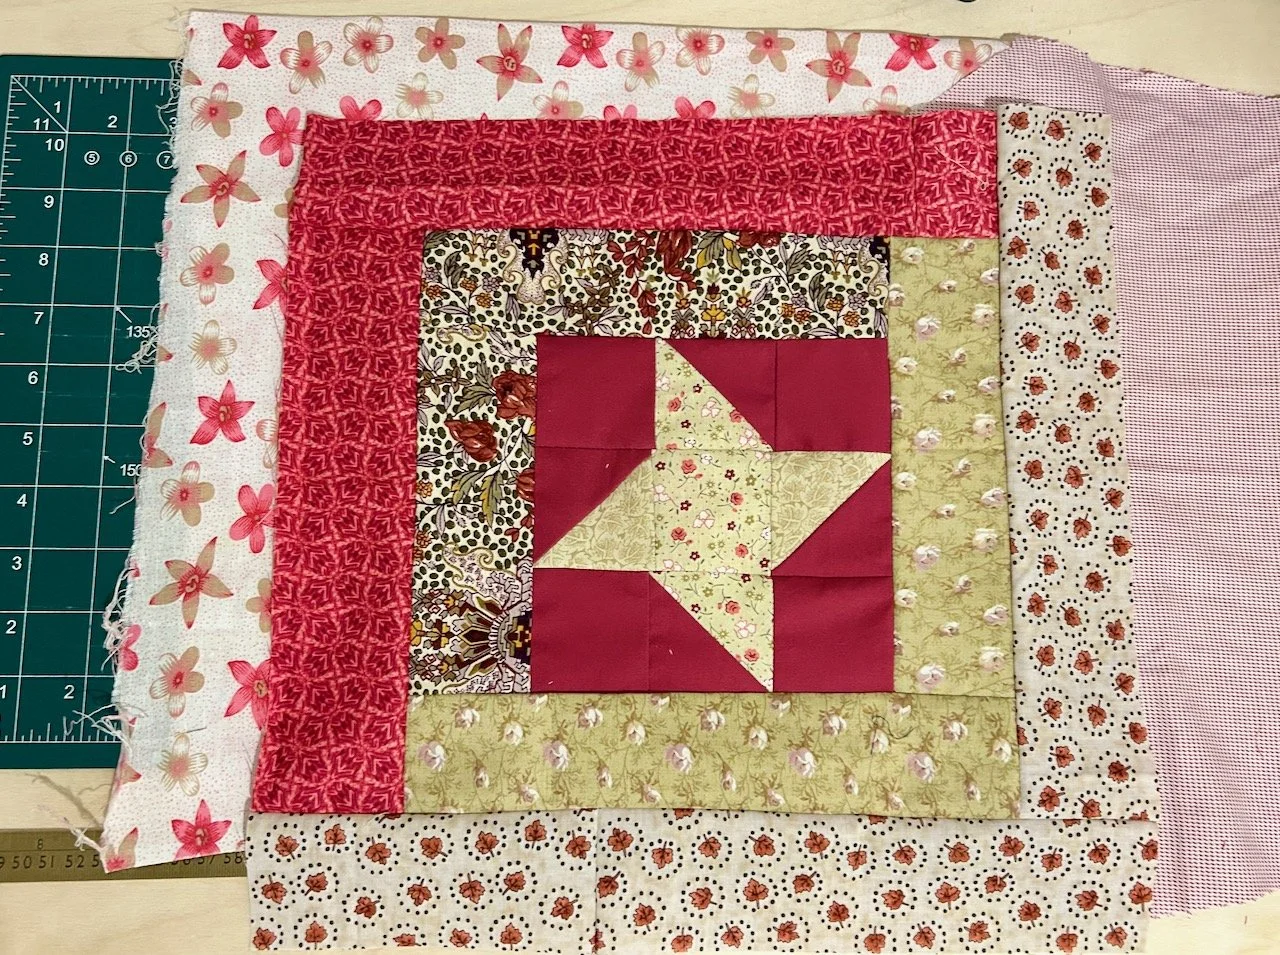
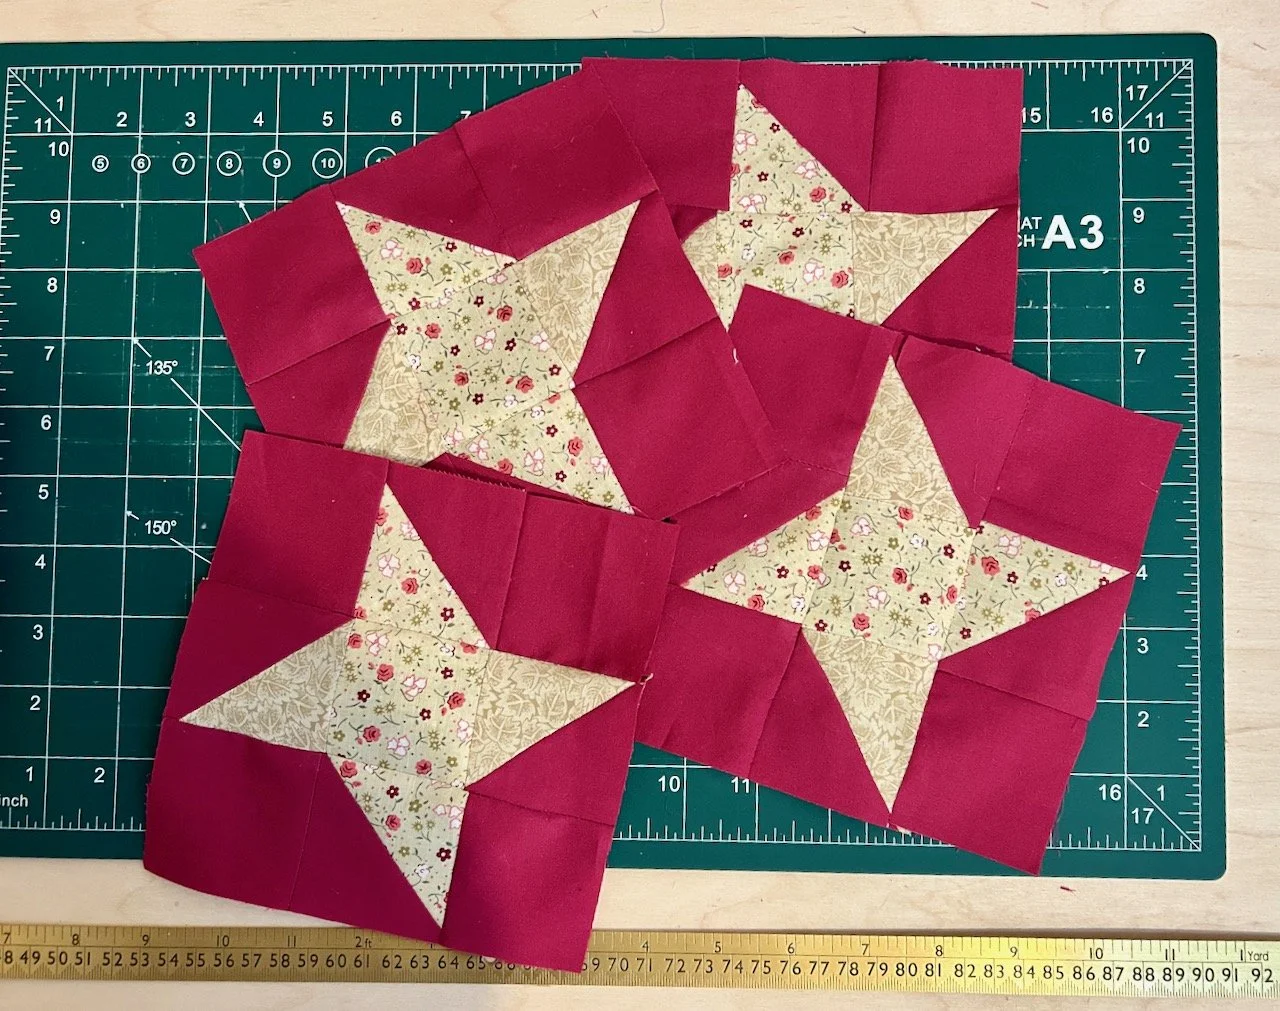
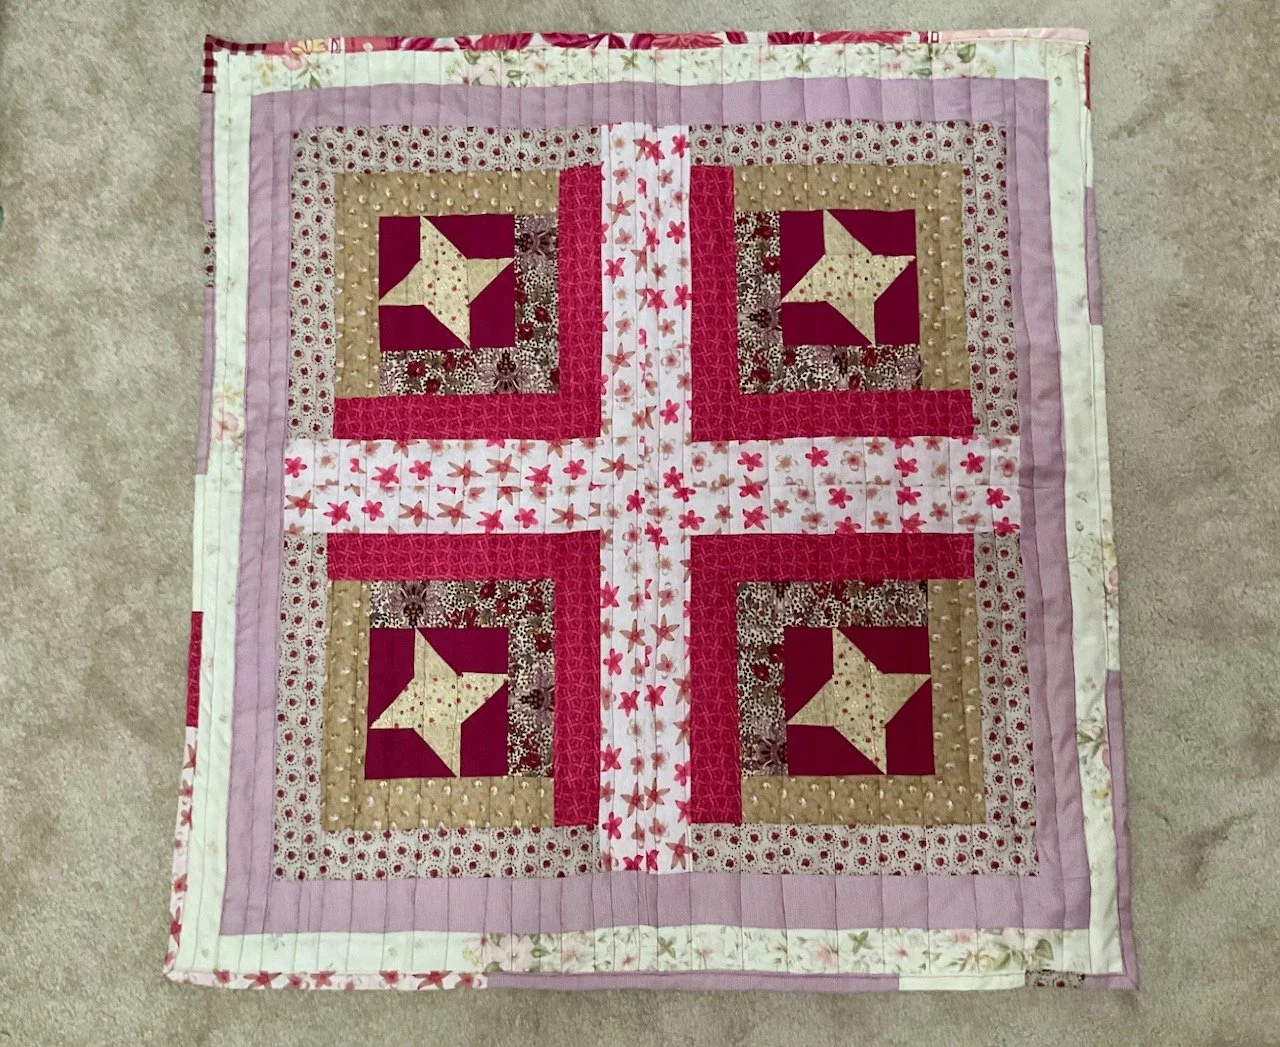
The pattern for this block, the June release, is another star - this time a friendship star - and in my rush to ‘be done’ my points were a bit off on a couple, so that’s yet another lesson for me - patchwork isn’t a speed sport!
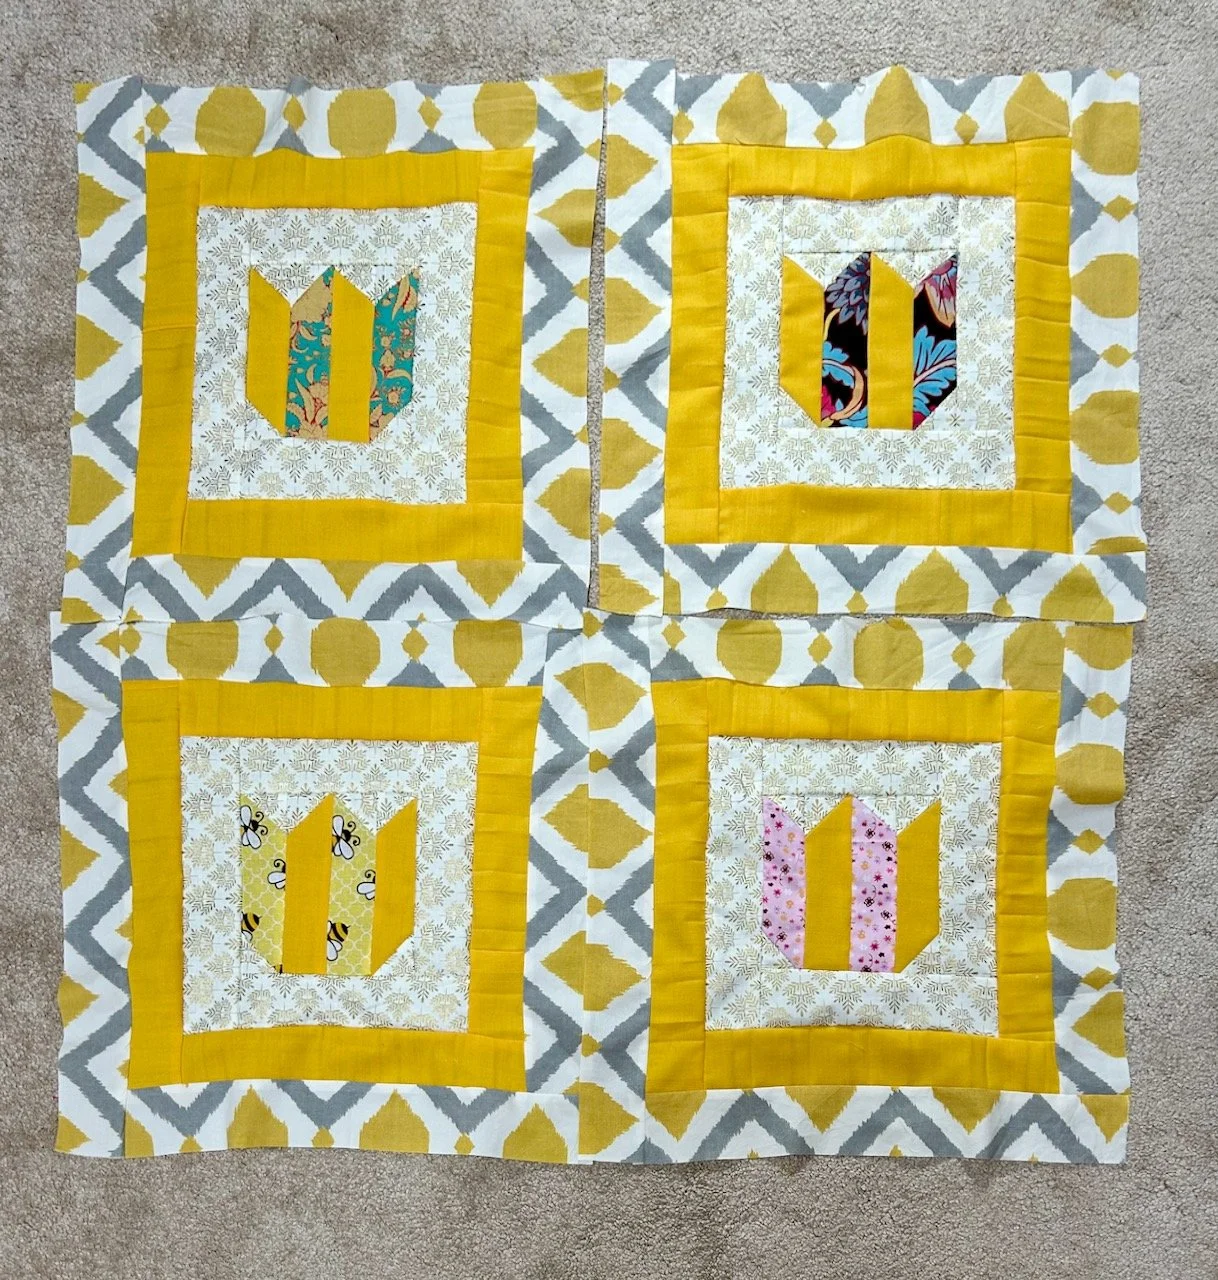
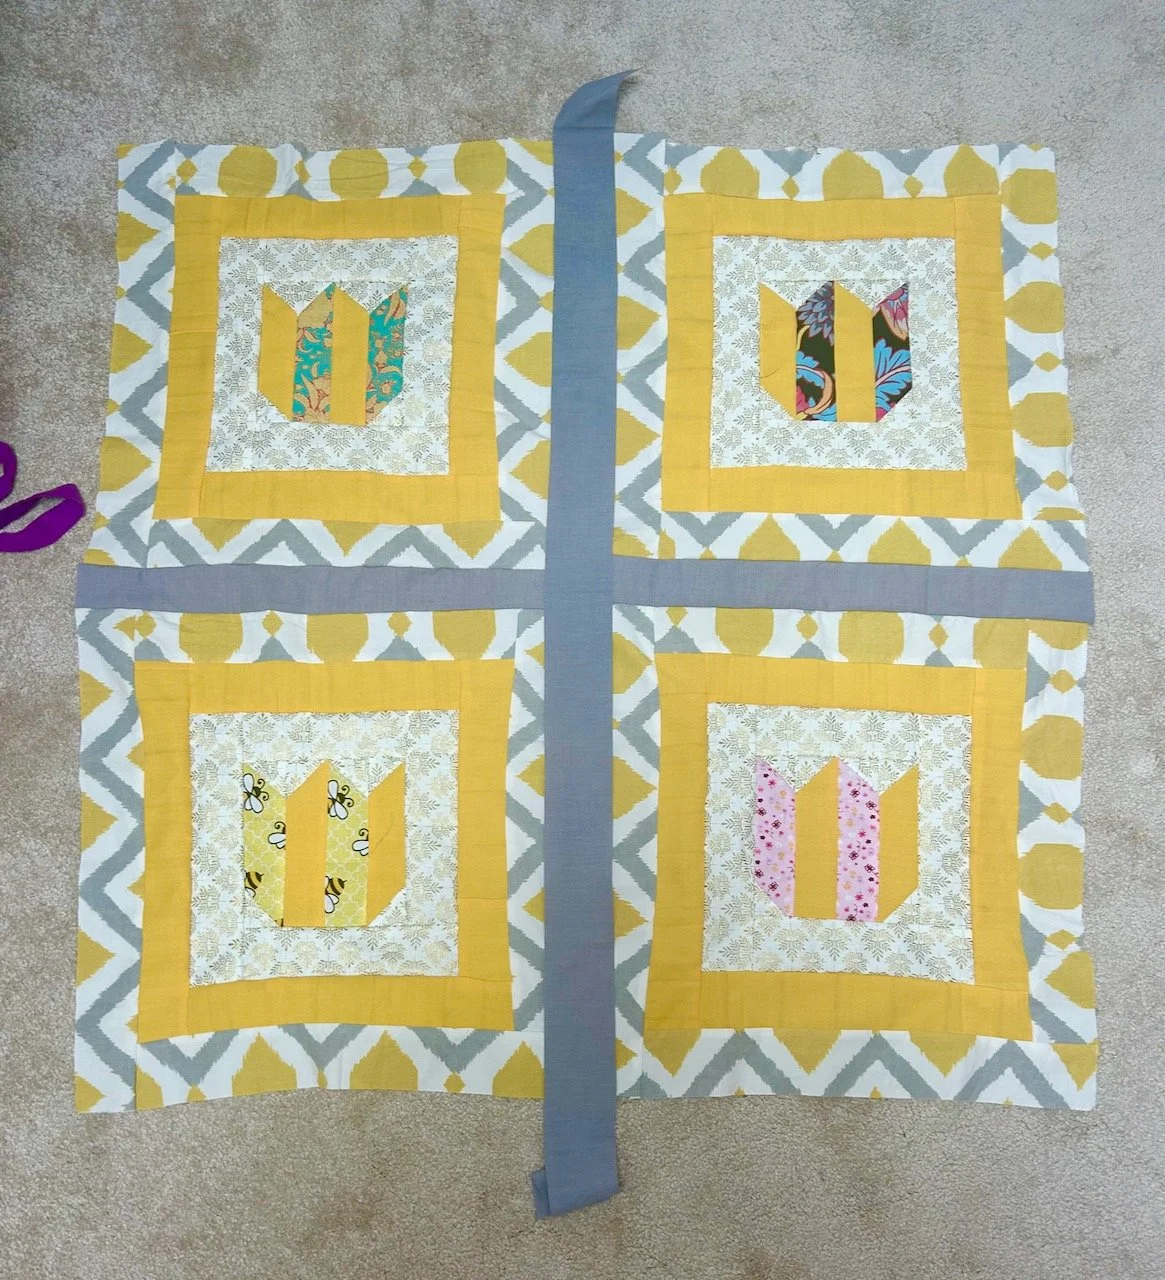
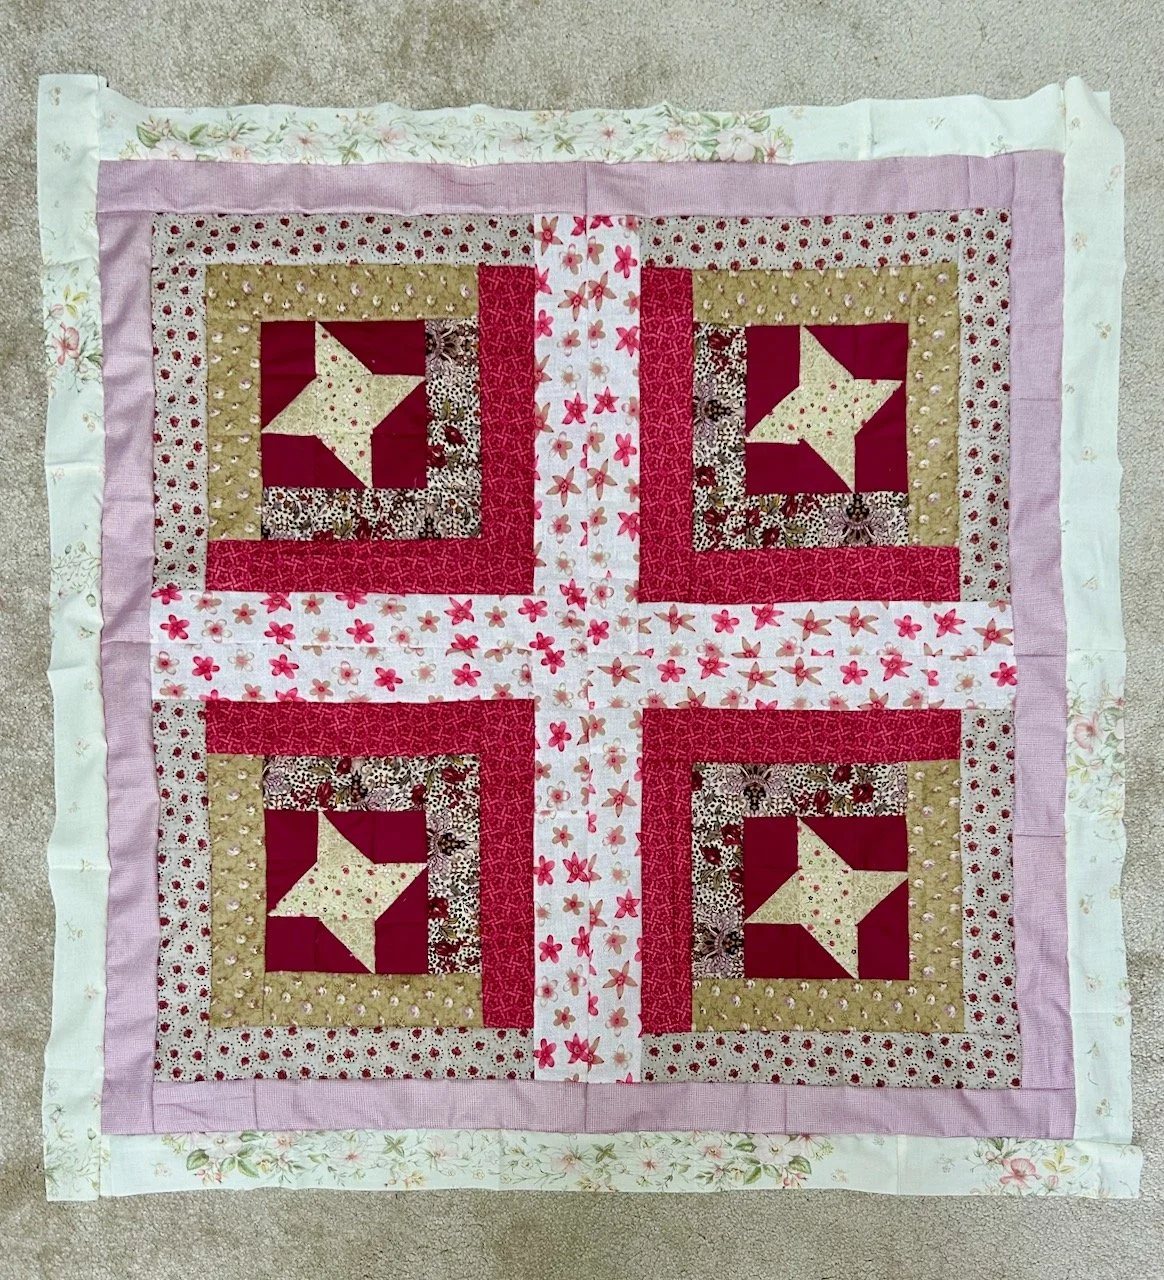
I ummed and ahhed about the border fabric placement, eventually settling on this layout - which was also partially informed by the amount of fabric I had!
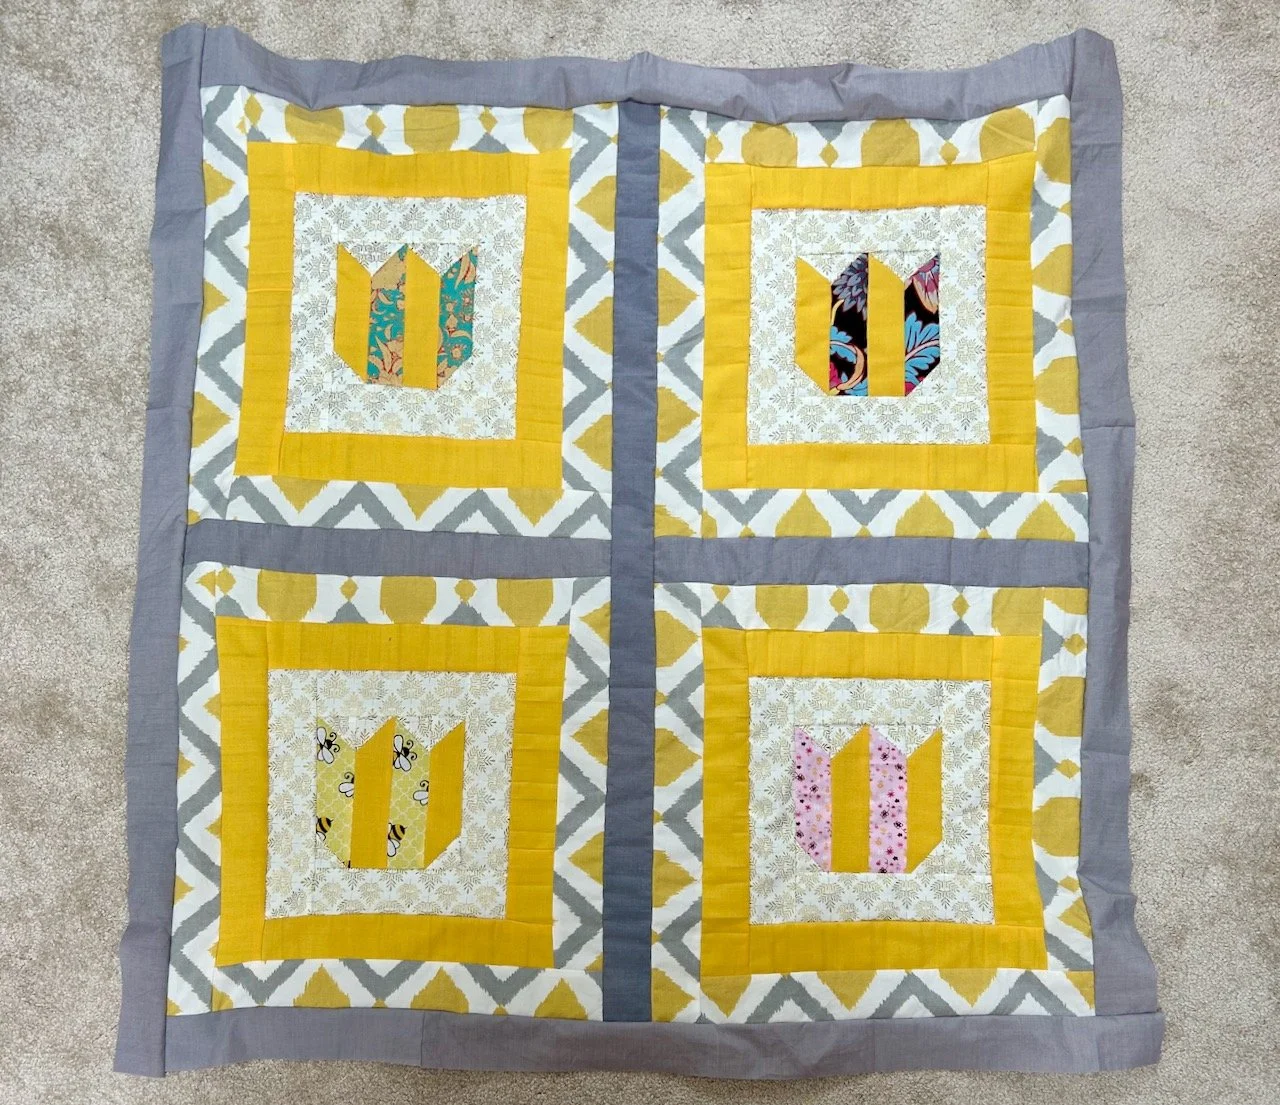
And as ever, it wasn’t long before the borders were on and the squares were sewn together. This time for a single unifying border I added some strips cut from a vintage pillowcase. The floral pattern reminded me of the ‘Edwardian Country Diary’ phase from the 1980s, and I like how the floral pattern is interspersed around the blocks.
I have once again used the vintage single duvet for the backing, which is turning into quite the bargain. It cost £1.04 plus postage from eBay a few years ago, but I’ve used it on plenty of quilts so far - and there’s more to come from this 'costly’ investment!
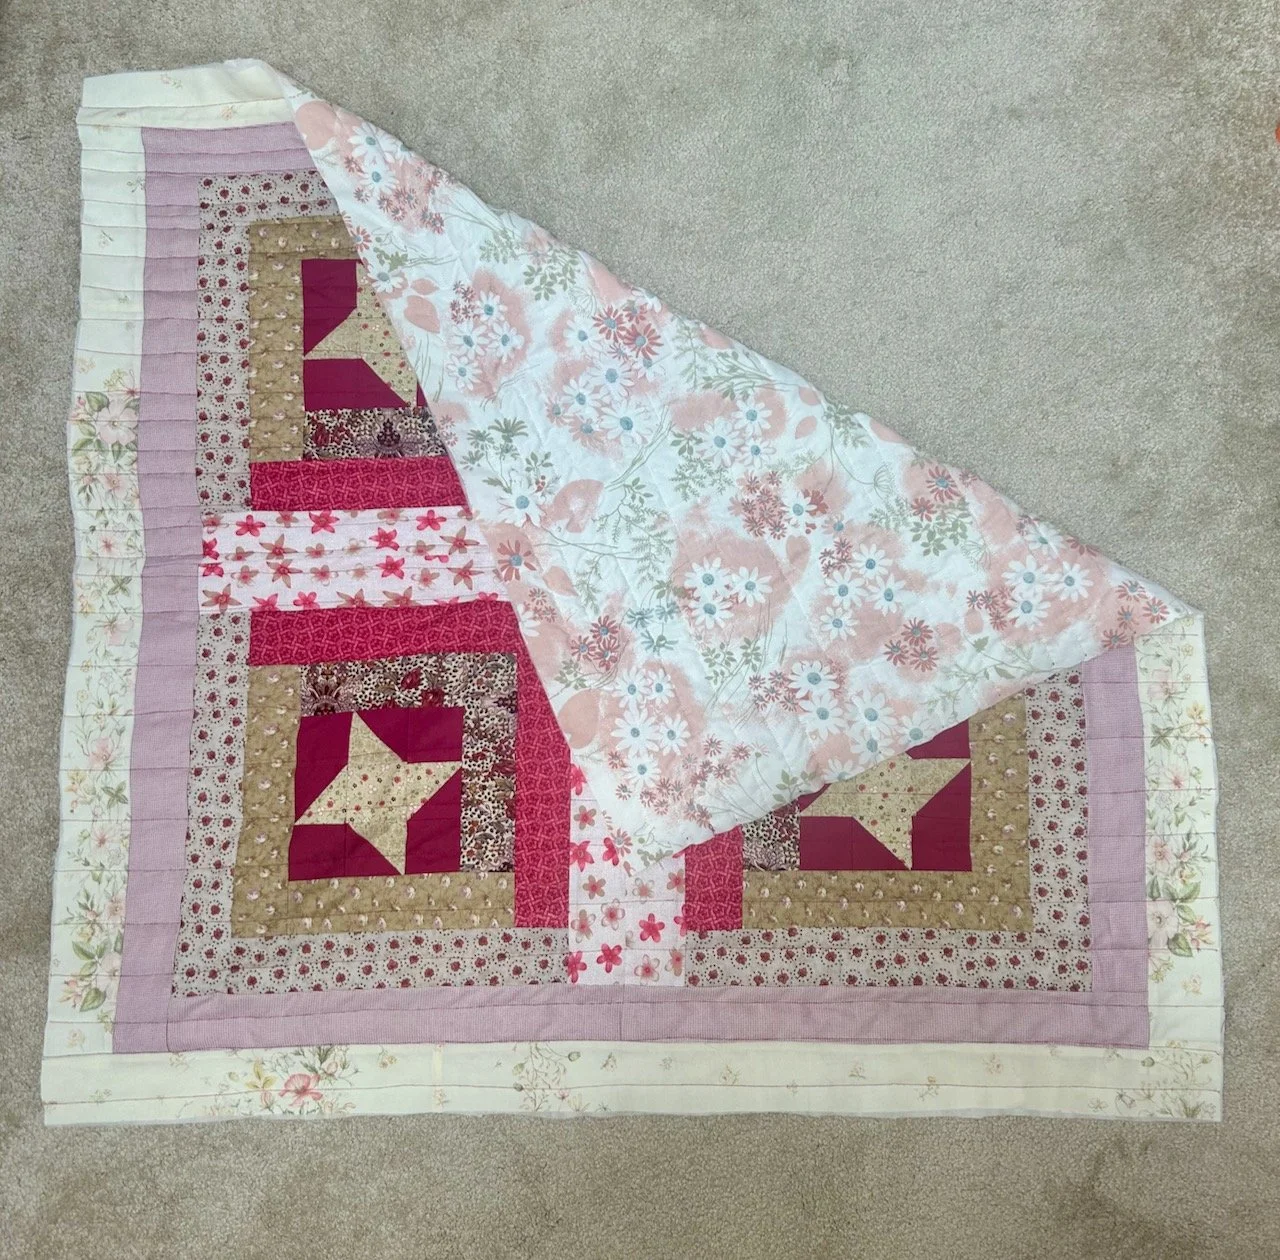
For this quilt I have once again used straight line quilting. This time I’ve used varied widths, mainly to see how that turned out and how much I liked it. I think I prefer more equal distribution on reflection, but it’s good to try these things. I’ve also used a burgundy top thread (with cream beneath) for the quilting, and I’ve learnt that my lines aren’t always straight, and this notices more with a dark thread!
But overall it’s another great looking quilt which I’m pleased with and one where I’ve learnt more about what I like most, and used the opportunity to improve my skills further. As I was sewing this one I was trying to think of a catchy name for it, they centred around caramel, coffee, wine and raspberry - which no doubt is obvious. But as I laid this one out it became clear that there was only one name for this - a great big raspberry plus, so it named itself. Sometimes these things just happen, don’t they?
You can see my other quilts which I’ve made to donate to Project Linus - a charity whose mission is to provide love, a sense of security, warmth and comfort to children, who are sick, disabled, disadvantaged or distressed through the donation of new, homemade, washable quilts and blankets, including those that are part of this ‘stretch’ project in earlier posts. I’m aiming to publish an update on my progress in the last week of each month for the remainder of 2025.