Post Comment Love 26 - 28 January

Hello there, and welcome back to this week’s #PoCoLo - a friendly linky which I co-host with Suzanne, where you can link any blog post published in the last week. We know you’ll find some great posts to read, and maybe some new-to-you blogs too, so do pop over and visit some of the posts linked, comment and share some of that love.

Please don’t link up posts which are older as they will be removed from the linky, and if older posts are linked then please don’t feel that it’s necessary to comment on those. If you were here last week it was great to have you along, if you’re new here this week we’re pleased you’ve joined us.

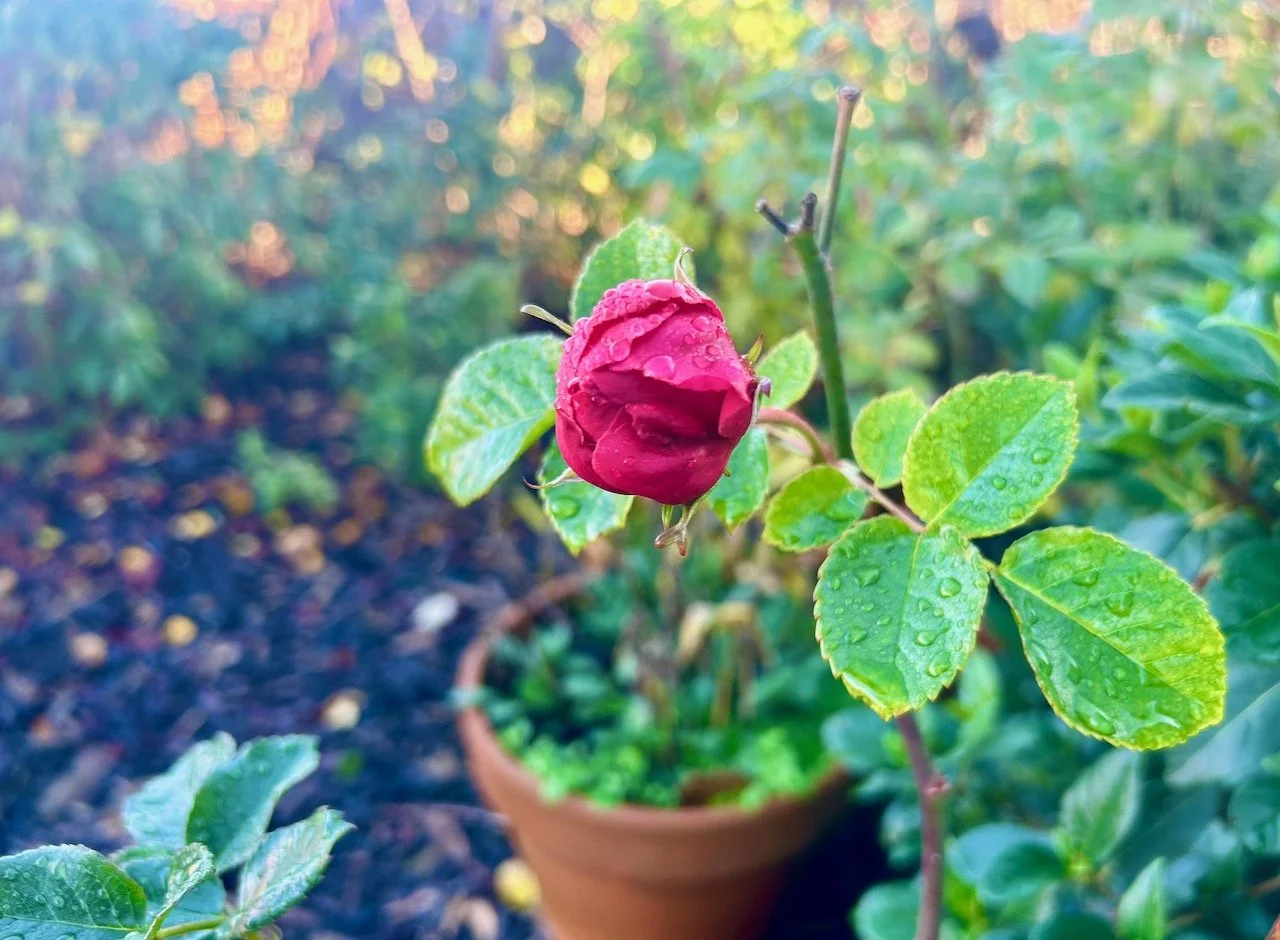
Thankfully the weather has warmed up a bit here, but it’s been so windy with two more storms in quick succession. Our garden furniture blew around a bit, but thankfully that’s been about it for us, apart from listening to the wind whistling past. I hope you’ve been equally as lucky not to suffer any storm damage.

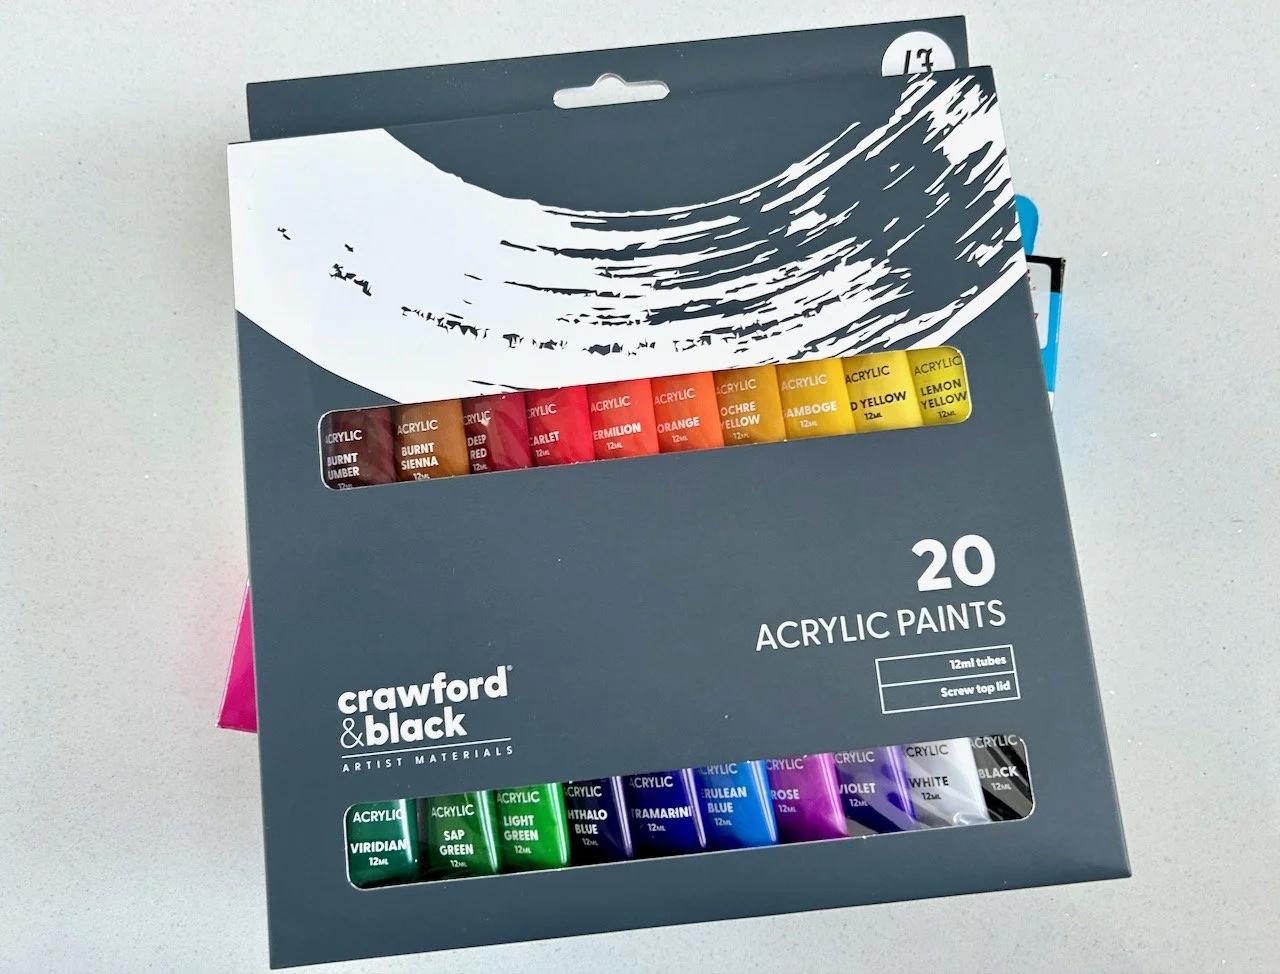
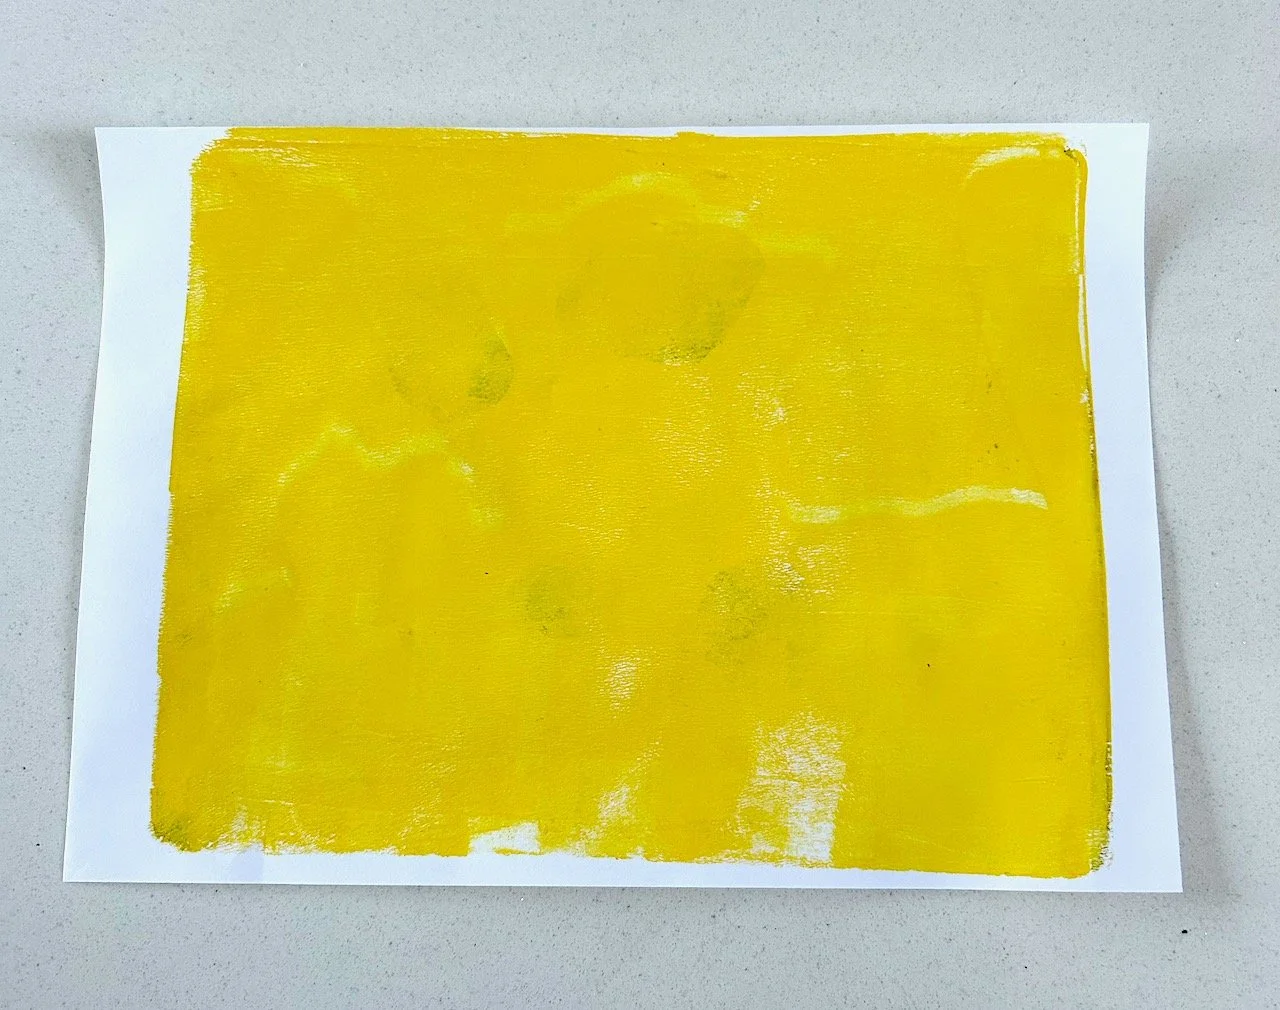
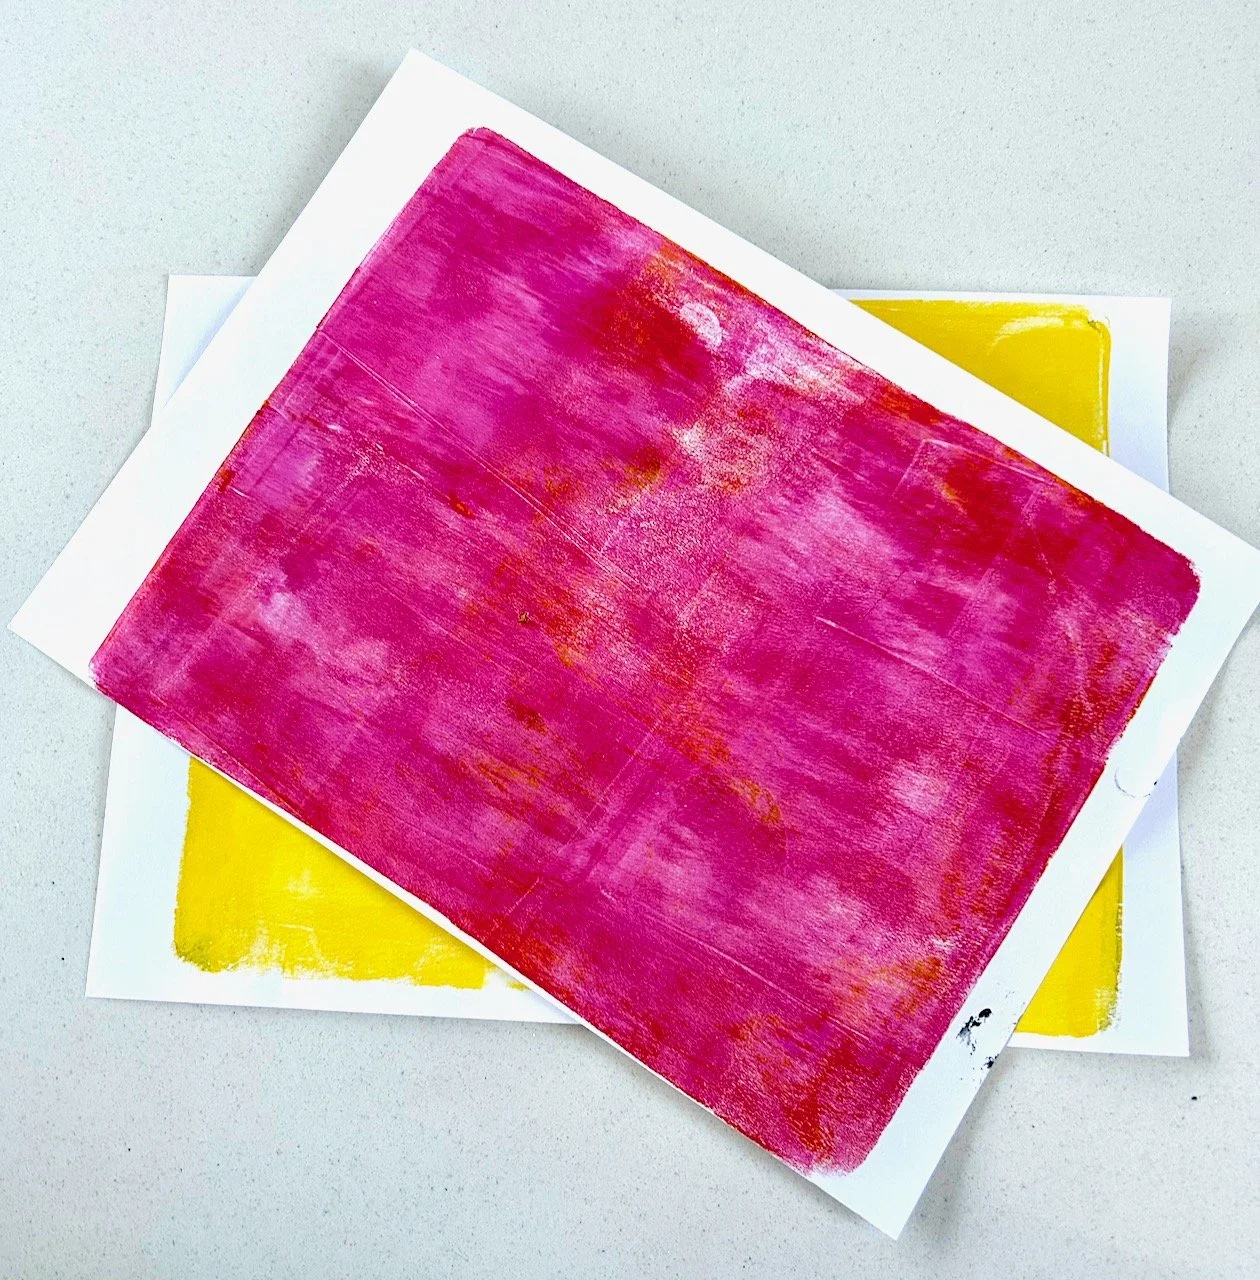
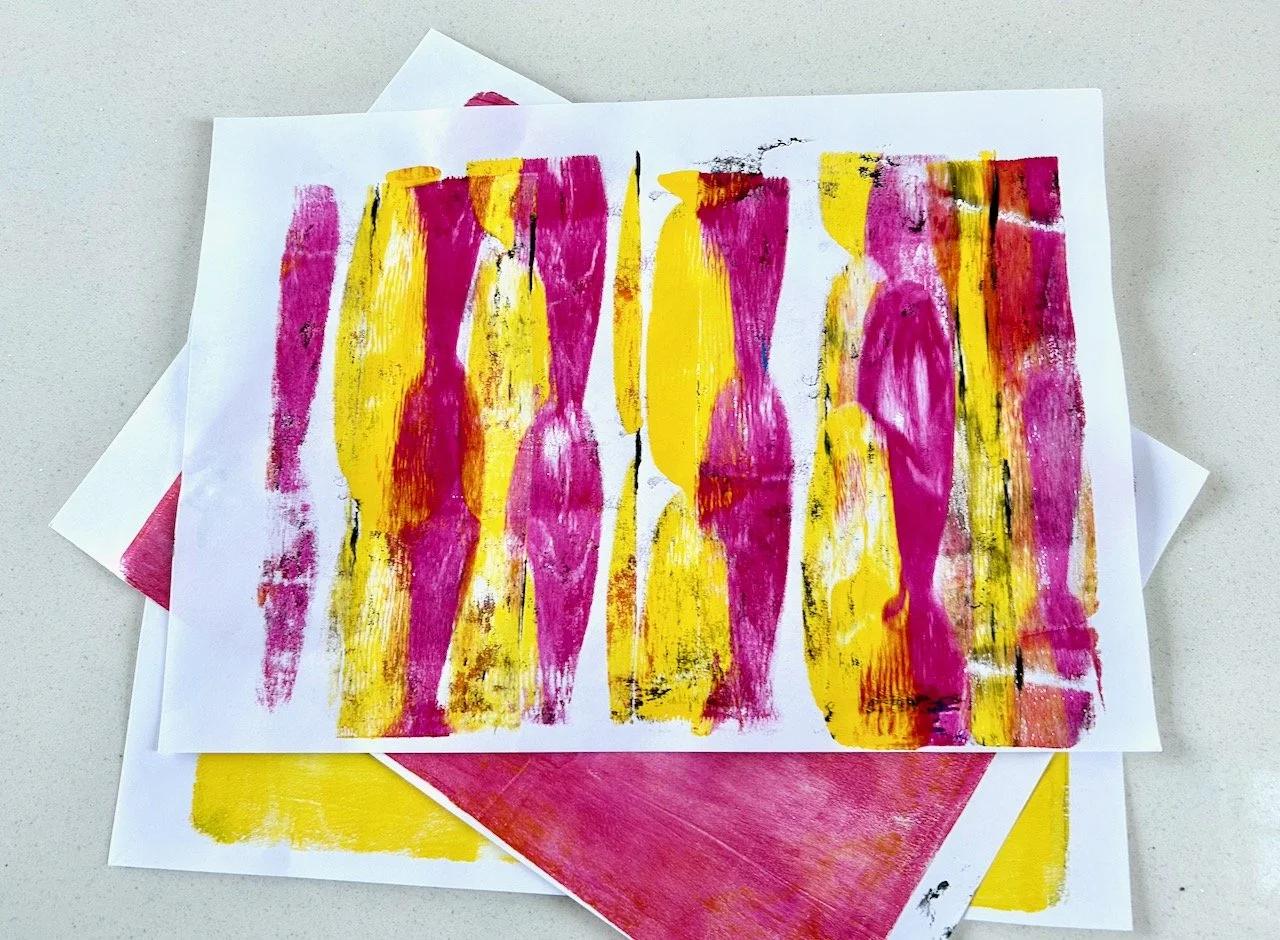
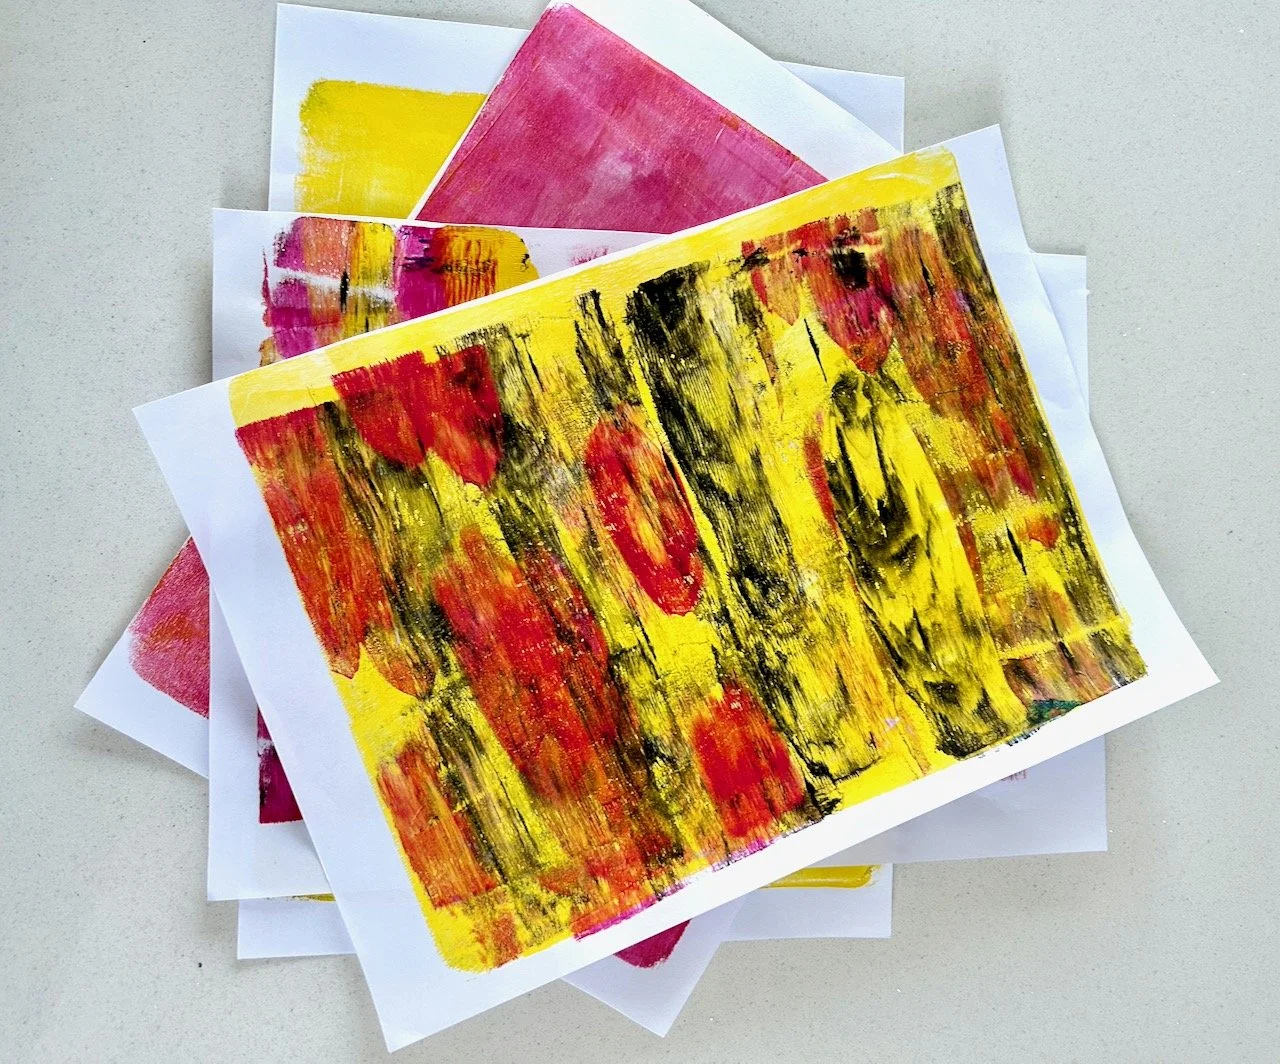
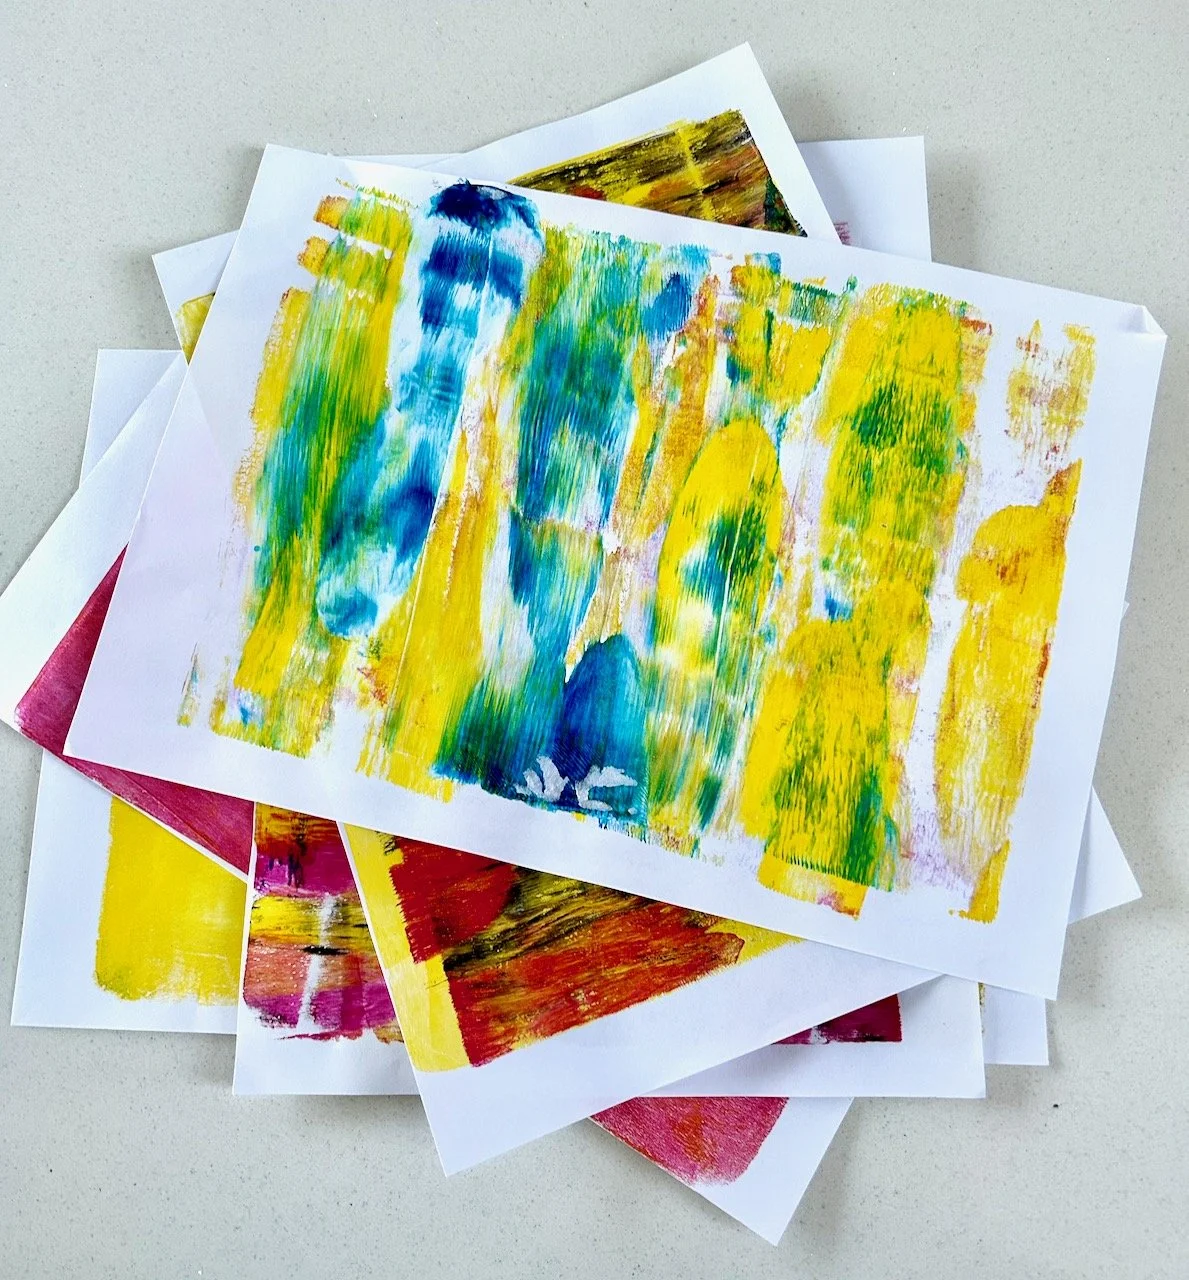
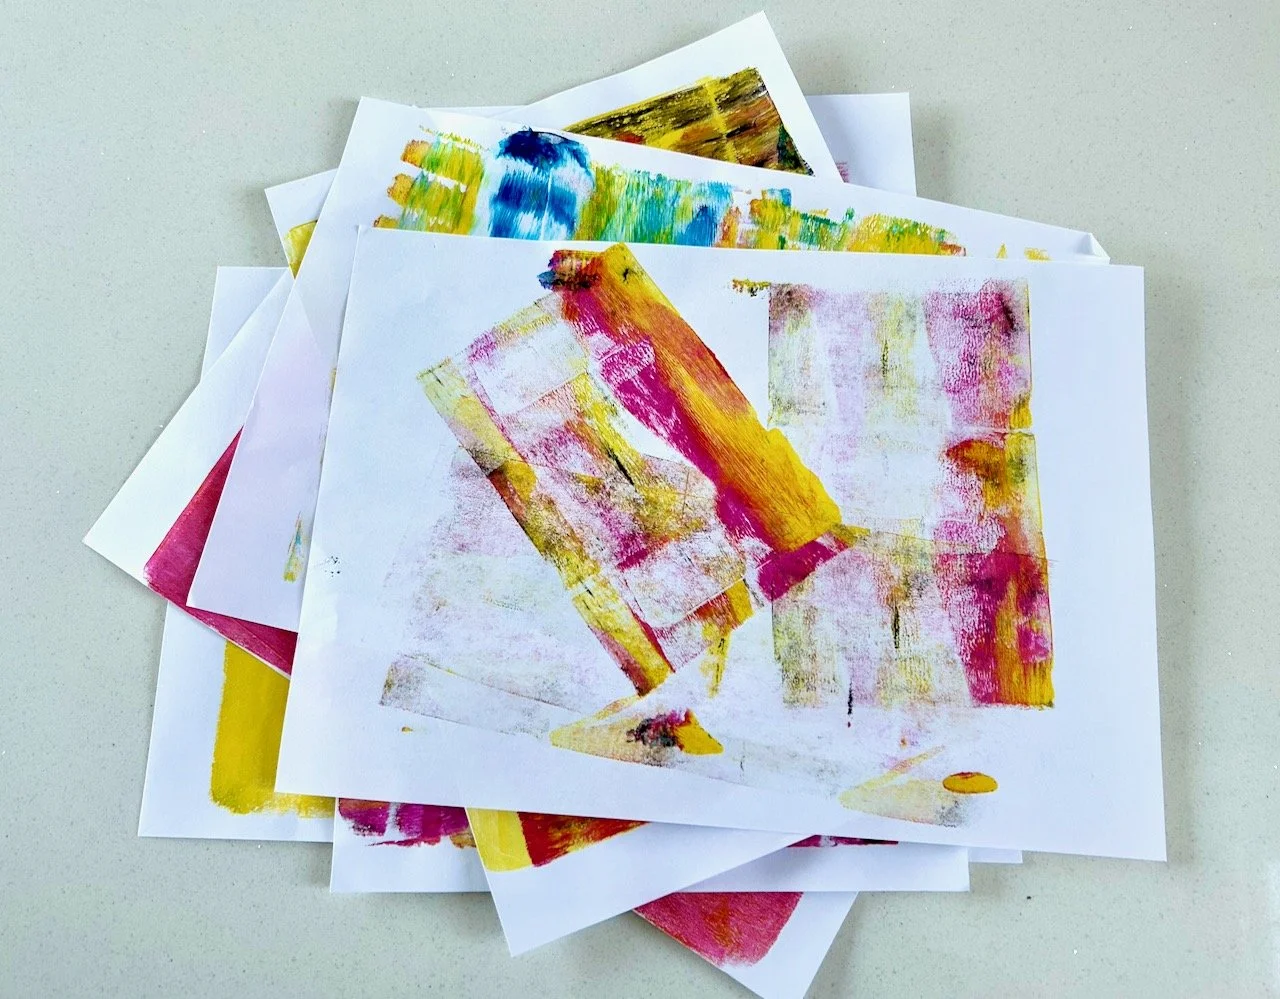
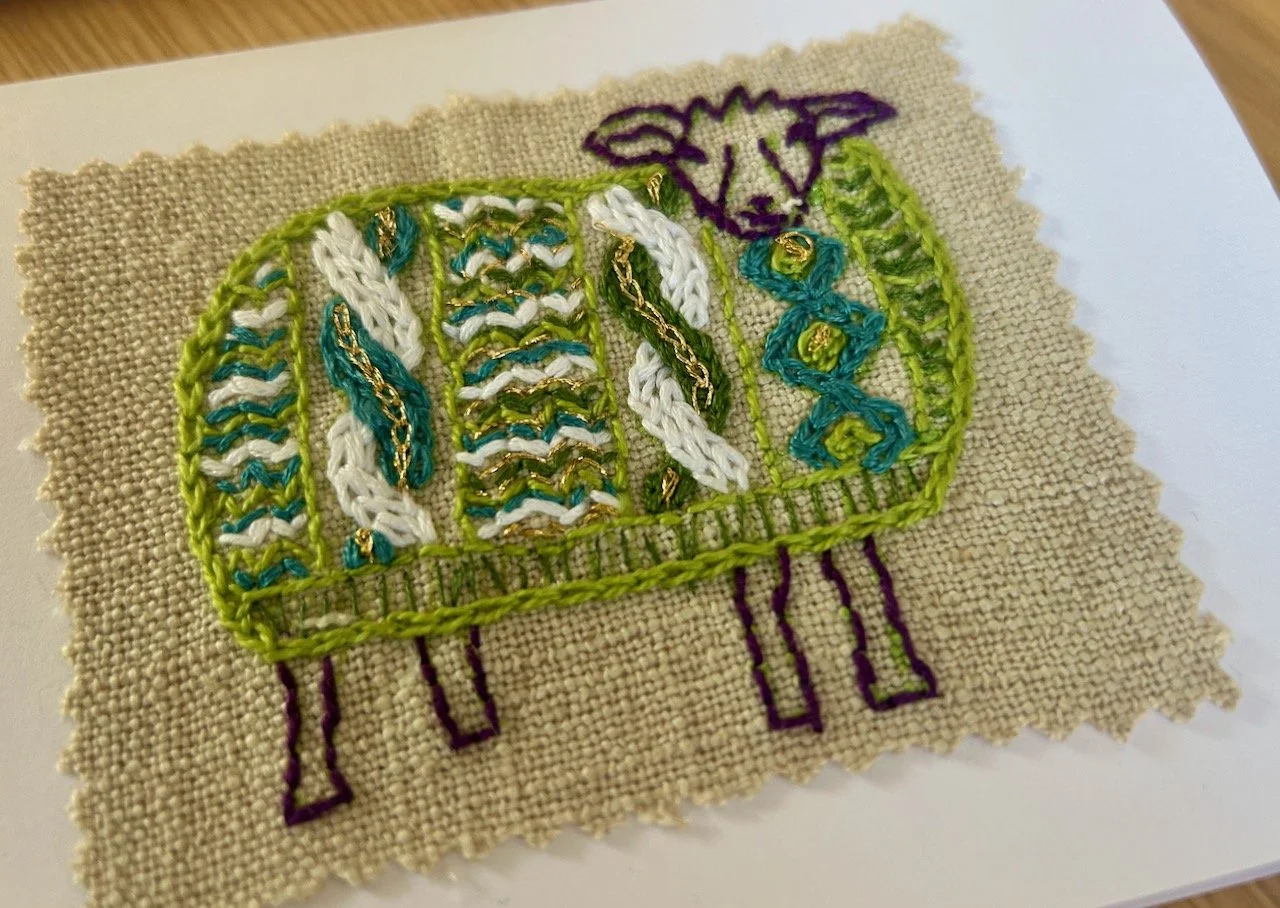
Our days are starting to fill up, and that’s promising. As well as heading off to my second gelli plate printing class, we’ve been out for lunch and this morning we’re off for a walk around the local eco-farm. I’m not quite sure what that will entail, but it’ll be nice to have a look around the farm which is attached to where I go to have my hair cut, occasional massages and the cycling cafe which does a mean cheese and ham toastie!

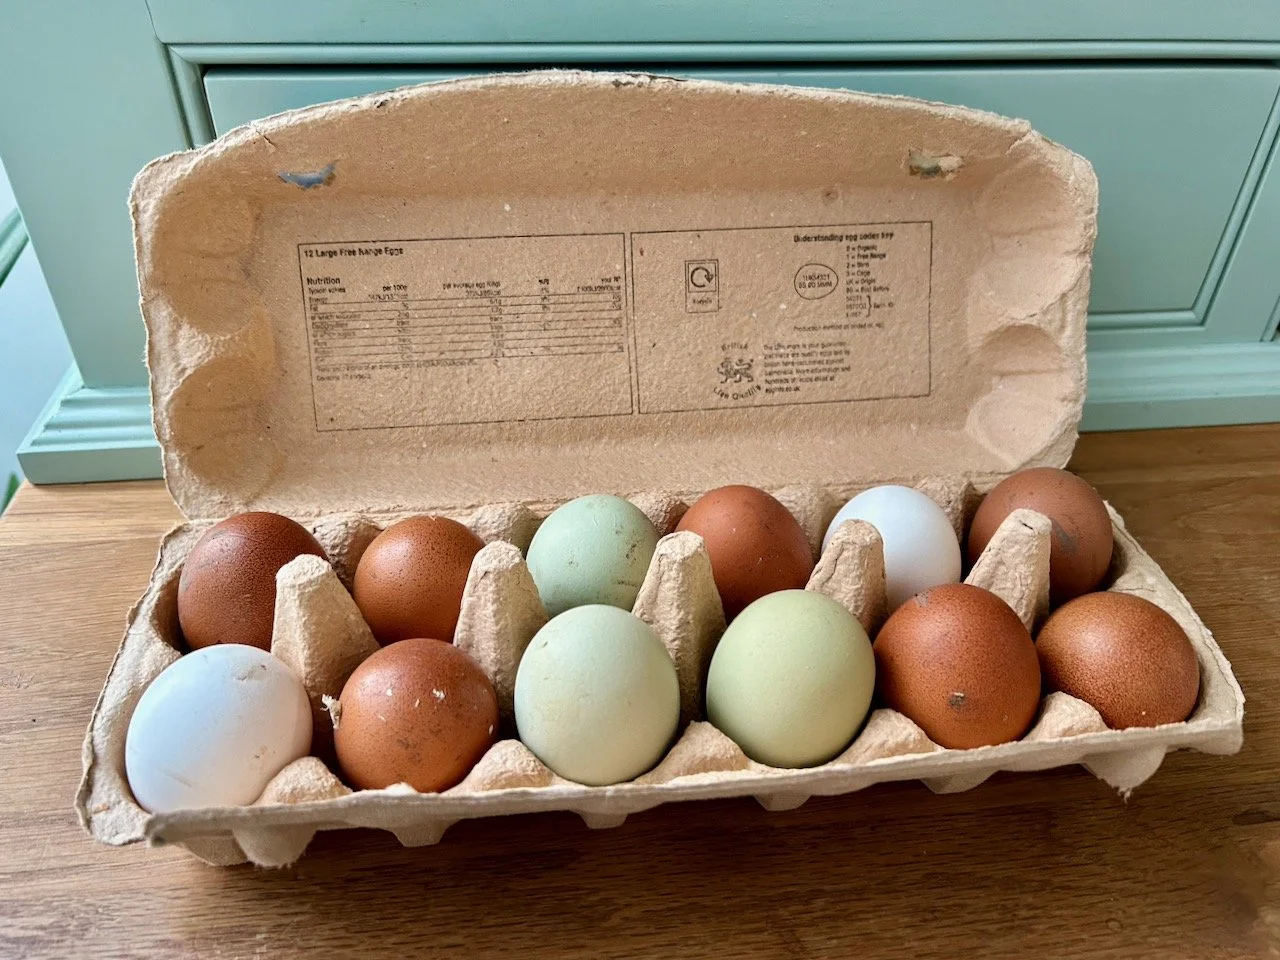
We’ve also picked up some eggs from a local farm - literally four minutes walk (if that) along our road - and so now we’ve also met another villager, and have a dozen eggs in the process.

You are invited to the Inlinkz link party!

Click here to enter

Starting to look back at Gardeners' World Live

* I was invited to the press preview for and provided with a pair of tickets to Gardeners’ World Live so I’m marking posts from the show as 'Ad’ - as usual my views and opinions are very much my own.

This morning I’ve been looking through and editing more of my photos from Gardeners’ World Live last June, with everything else that’s gone on in the past year I seem to have been even worse than normal at keeping up with this. It’s been an ideal task for today as we’re waiting in for multiple deliveries - some of which are more exciting than others, but as we’ve grouped them to arrive on the same day where we can, it doesn’t feel like time wasted. It’s also a good time of year for me to do this (though it’d be better to do it throughout the year!) as I’m not a big fan of January, which I agree seems to go on forever, plus the weather so far hasn’t been great for getting out into the garden either.

So what better way to get my garden fix. I had to smile to myself though when I saw the name of this beautiful garden - SubAqua - it almost sums up the dire weather we’ve had this winter, where there’s been a lot of water about. Either the day of rain we had with Storm Babet back in October, or the more recent Storm Henk, thankfully there wasn’t quite so much rain with Storms Isha and Jocelyn, but the wind was something else.

I’m sure many of us can relate to the wet conditions around the country and beyond this winter, the weather has felt never ending and times, and seeing the disruption and damage it’s brought to villages across our local area is sobering. I’m hoping that we won’t continue on this record breaking storm season for much longer, and I’m very much looking forward to more spring-like weather.

Despite this introduction though this isn’t about the storms, but a beautiful and tranquil garden which incorporates a pond into its space in an unexpected way. And as you can see the pictures are from a much warmer summer’s day, you can just feel the warmth.

The seating area with pond beneath in the show garden - SubAqua designed by Joshua Fenton

The garden is designed by Joshua Fenton who acknowledges that ‘most people can’t afford to give up too much space in their garden to house a large pond despite knowing that it brings a tranquil quality to a garden and brings many benefits to the local wildlife.’

And so in this garden the seating area outside the garden room is suspended above a pond, which not only allows for the space to be fully utilised but also enables planting and provides that oh so calming sounds of water.

Clever, hey?

A closer look at the metal grill with plants and water beneath

But it’s more than just the pond, just look at the planting.

Corten steel planters in the border of the seating area, with a white path linking the two areas of the garden

It also incorporates my favourite corten steel planters, and with the plants tumbling over the edge towards the coolness of the path - well, it just makes you want to pull up a lounger and relax.

And what a space to relax in.

The central part of the garden with planting to encourage wildlife

For me this is one of those gardens you could escape to, and while I admire it and the work behind it, it’s not something for our new garden, though I would be very tempted to have an area/bed planted with similar plants - but I just need to work out how, and where - and how it would fit into the overall design - something we’re not even close to properly considering, yet!

Now that I’ve made a good start on editing my photos from last year’s show, I’ll start to share them here more regularly - with the hope that I’ll get through them in time for the show this June - well, that’s the plan anyway…

* With thanks to Gardeners’ World for inviting me to Gardeners’ World Live, it was as fabulous as ever!

PostCommentLove

Getting started with Gelli Plate printing

If like me you’d not heard of this before, it’s a fun way of printing using a brayer roller and a flexible (gelli) plate to create prints with layers of colour and texture. You can buy gelli plates online, and while they’re not cheap (an A4 size plate is currently about £30) it should last many years. And if you’re wondering why gelli, then it refers to the gelatine used to create the printing plates.

I’ve only recently discovered this fun craft after being intrigued by a local Adult Learning class, which I’ve since signed up for. My course has four two hour sessions and cost me £18 - I wasn’t sure what to expect, but reasoned that I had nothing to lose. Attending one two hour session for that price is good value, four sessions is exceptional. As it turned out, it’s good fun and I’m definitely heading back next week to find out - and create - more.

It’s been a while since I’ve taken a ‘printing’ workshop and this one looks to have more immediate results than lino printing, which I’ve tried before and have done a couple of times since learning.

Equipment for Gelli Printing

Apart from the gelli plate and brayer - I don’t have my own yet, and these are provided in the class I’m taking - the other things you’ll need to get started are paper (and lots of it), acrylic paints and some wet wipes. You might also want to wear an apron as removing acrylic paints from clothes can be tricky, not something I’ve tried yet, and hopefully I won’t need to either!

I had five basic colours - white, black, yellow, pink and blue - and this was enough to get started, though after a few prints I knew that I was keen to add more variety to my paint range. After the class I stopped off at The Works and picked up a set of 20 colourful paints to add to my newly growing paint stash. I’ll be looking out for the perfect tin to store them in soon too no doubt! I also picked up another pad of paper - the £2 bumper pad for kids’ drawing sort, as I think that will also be handy.

My first print

Like everyone else in the class I was keen to get on and do some printing. The advice was to start with our lightest colour, so for me that was yellow as white paint on white paper was unlikely to be that exciting! I wish I’d got a picture of the gelli plate, but it is weird - quite tactile, definitely flexible and well, squidgy in a solid sort of way.

After dabbing on a couple of pea sized blobs of paint it was time to use the brayer (or roller) to spread this across the surface. Here a light touch is everything, and you have to work quickly - especially in a warm room. Then your paper goes on top of the paint, and using your hands you smooth the paper over the gelli plate. This transfers the paint to the paper, and voila once the paper is lifted you have your print.

This is mine:

A yellow oblong of colour gelli printed on a white paper

After an hour or so of chat, this was quite exciting - though I take your point, that it’s not really that exciting. But the point of this was to practice how much paint to use, and for that it was effective as my next print was barely there yellow, which I quickly printed over with pink.

Pink acrylic paint over barely there yellow gelli prints

As you can see there’s some texture and some missing parts, but that’s ok and is part of the beauty of this kind of printing. It isn’t perfect, and you’re never really sure how it’ll turn out. If that’s an issue for you, then gelli plate printing might not be for you!

Using two colours

This is where I felt restricted by my paint colours, and why I added to my repertoire so quickly. There’s many combinations you can do with the basic colours, but with more colours the combinations is almost endless, though the challenge will be to work out the balance on what looks good, and what’s too much, and to avoid over rolling and ending up with ‘sludge’ no matter what colours you start with.

The gelli plate is still the same size, so with two (or more) colours you need to reduce the size of the paint blobs you add to the plate so it’s not awash with paint. I tried with yellow and pink, then some blue and finally some black - with mixed results.

Pink and yellow patterned gelli print
Pink and black paint gelli printed onto a yellow background
Blue and yellow - with some mixed green - gelli printing on a plain white background

Because of how the gelli printing works you don’t need to clean your gelli plate in between prints, but it’s definitely worthwhile rollering off the excess paints in between applications. That’s not onerous at all as you can use a single sheet of paper for that, and it can result in some textured and very usable prints too.

The results of rollering off excess pink and yellow paint from the brayer

Cleaning up afterwards

No special equipment is needed for this either - soap and water to wash the brayer roller, and we used a wet wipe to remove any paint residue that remained on the gelli plate. That’s my sort of cleaning up!

Using my gelli print artwork

Clearly these gelli prints aren’t masterpieces! But even these will have plenty of uses for my other crafts, the obvious ones are card making and collaging. I can see that once I’ve learnt more about adding texture these will be even more useful, and it’s likely that a single gelli printing session will generate prints for a good while, as well as providing the opportunity for a mindful afternoon.

I’m interested to learn more about this craft, and how texture can be added with items such as bubble wrap, packing tape (I have a fair bit of that leftover from our house move!) and especially leaves and more, I’m sure I’ll have one or two items in my craft room to try out too. I’ve another three weeks remaining in the class, so I’ll share more as I learn new skills.

But it’s definitely a promising start introducing me to a brand new craft, and I can’t wait to see where this takes me.